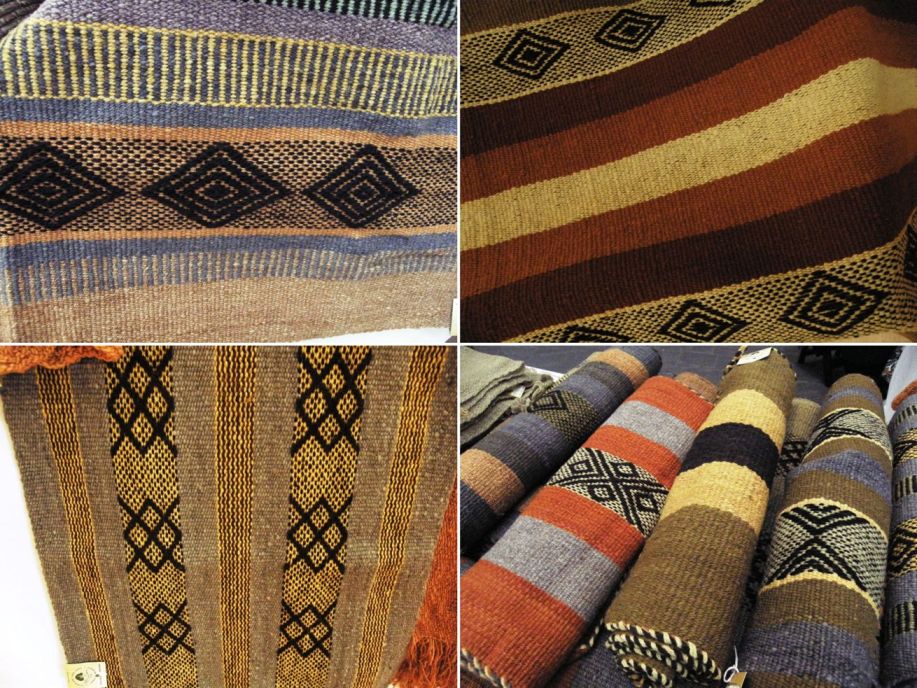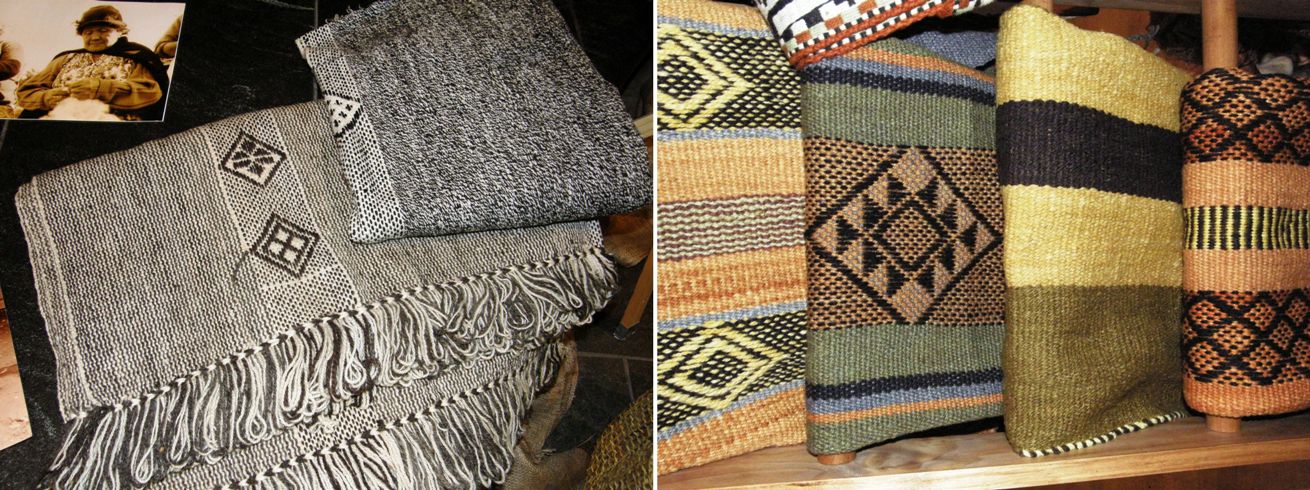
Backstrap Weaving – Forgotten Resources

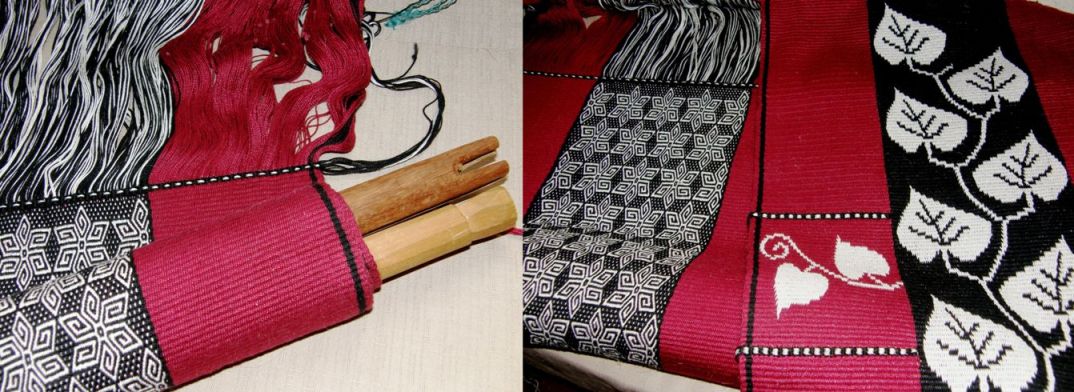
My new Resources page is up but bear in mind that it is a work in progress. You can click on the tab on the header of my blog or on the red image (the same as the one at left) that is on the sidebar.

The idea is to dig out all the links to articles, sites and other resources that I have used in my posts over the last two years and gather them in one convenient place. I know how easy it is to forget that all that good stuff is out there.

It’s even worse to remember that it is out there and not be able to find it! Ask me how I know.

Slowly I am going through old posts and finding those links and re posting themhere. I often wonder if people go back and re read my old posts. I surprise myself sometimes when I do a Google search and run across something from my blog about which I have completely forgotten.
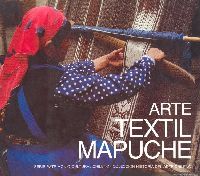
So, you will find a handful of links that I have put there for now. One of them is completely new – a free book on Mapuche weaving.

Many years ago, when I was still living in Chile, I bought a book in Spanish on Mapuche textiles from the Museo Chileno de Arte Precolombino. My friend Caroline, in Australia, told me about the free download of this book that is available some time ago, possibly before I even started my blog.

Recently Luchita on Ravelry reminded me of it when she provided a link to the site where you can still download this book for free.

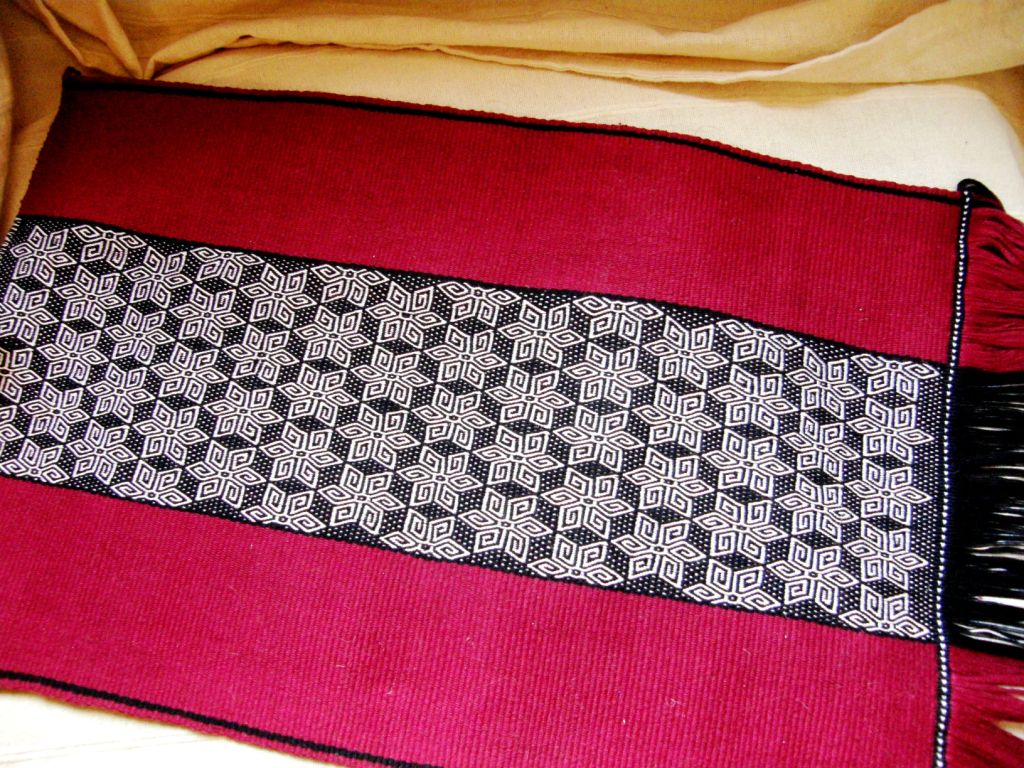
If you go to the RESOURCES page you will find the link. The woman on the cover is weaving a large piece, possibly a blanket or a poncho, which has a plant motif. Copying it from the cover image, I was able to make this the second Mapuche design that I ever wove many many years ago.
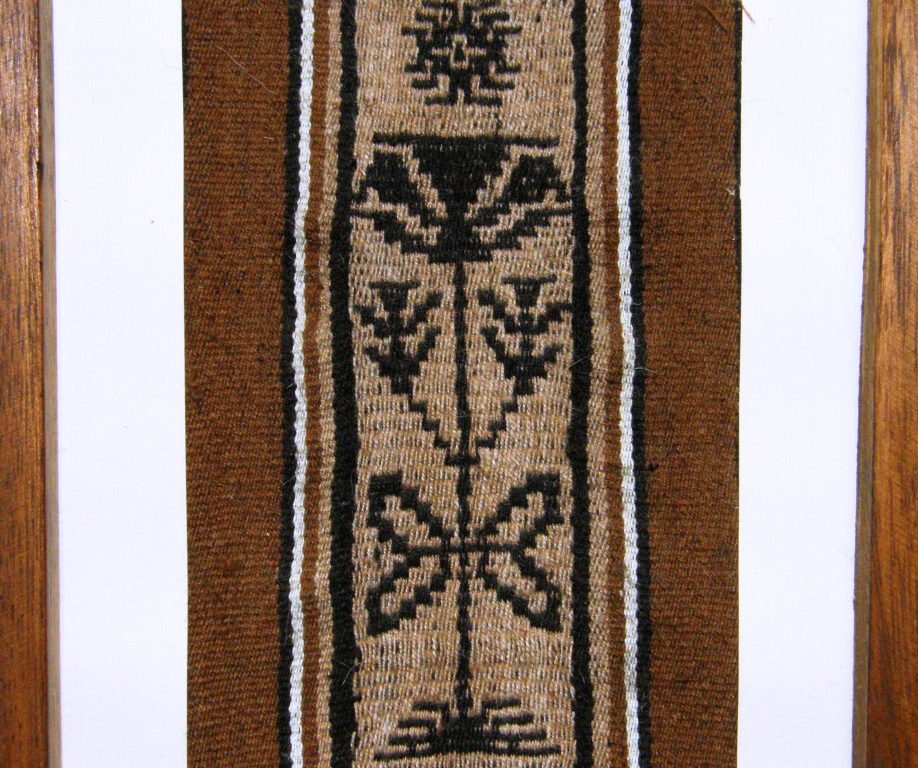
Here it is in my handspun llama fiber and it also happens to be the first time I ever wove with my handspun. I was so pleased with the result that I framed it even though it is rather wonky! I guess I didn’t think at that time I would ever weave with handspun again. It is a tiny piece as, if I remember correctly, many of the warp threads were breaking and it was a trial of patience.

Fortunately my handspun improved as a result of this initial experiment and I have no problem weaving with it now. It is interesting to see variations of this plant motif on old Mapuche textiles and notice how it has changed over time.
While skipping about on the net this week I ran into another almost forgotten resource…WeaveZine!

Of course it is not entirely forgotten for me as my article is there but you tend to forget that WeaveZine has been around since early 2008 and there is a lot of great stuff on there.

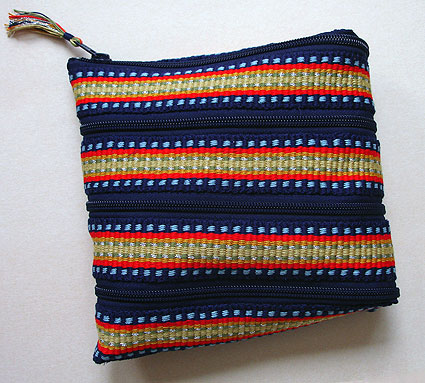
It was the article by Erica de Ruiter on this cute spiral zippered pouch made from a warp-faced band that took me there (go to the RESOURCES page if you want the link!).

As editor Syne Mitchell puts it, WeaveZine is no longer in production, but as weaving is timeless, so is the content within this archive.

I wish I had two months to just sit down with all my books and go through and refresh my memory of all the wonderful resources I have on hand. Many of them have little Post-It notes sticking out of them with inspiration for that next exciting project and the next and the next…

I was clearing up a bit more today and decided to put away the Textile Museum Journal that has been lying about here for ages under a pile of cat toys. Of course this provided a nice excuse to sit down, browse and stop tidying up and I was curious to know what had made me buy this issue of the Journal in the first place.
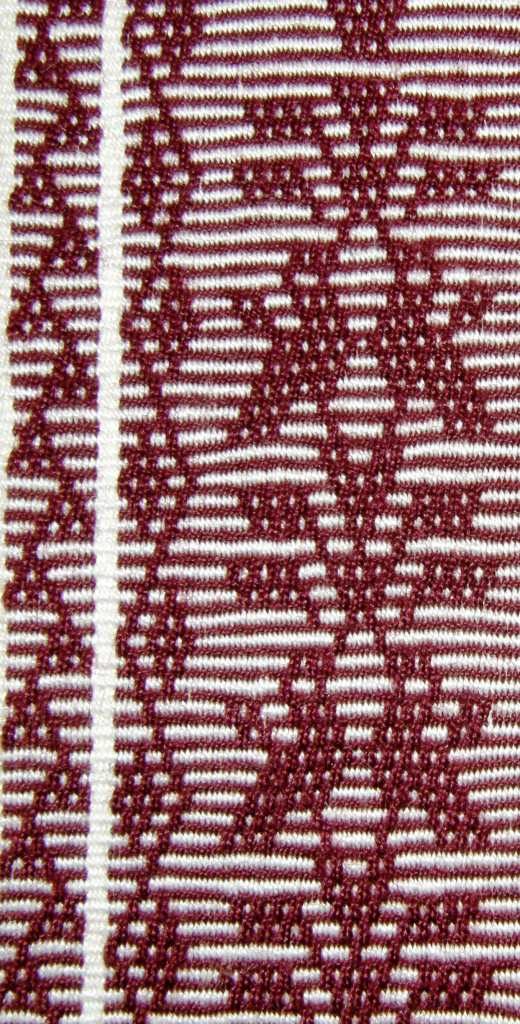
Oh yes, it was the article on the weavers of cotton saddlebags on the Santa Elena Peninsula in Ecuador. This article, among other things, gave me the little twin bird motif in the simple warp float technique that is shown on a cotton saddle bag from this region in the article. My version is at left.

Talk about forgotten resources.

I usually buy these journals for one particular article, sometimes two, and just glance through the others and it is funny how months later suddenly one of the other neglected articles jumps out at me.

This time it was the article in this 1983 issue by Maaike Knottenbelt on backstrap woven Mitla cloth of Mexico. According to the article the cloth was woven in skirt lengths for local use or for trade. Sadly, the article is in black and white and I was curious to see the traditional colors that are used in these skirt fabrics so I went online.

A Google search didn’t turn up anything that looked like the cloth pictured in the article. And then….Teyacapan to the rescue! Of course I should have known to go directly to Karen Elwell’s fabulous Flickr page on Mexican crafts. This is, as far as I can tell, a example of the Mitla cloth shown in the article.

The cloth has two faces, one which is warp-faced which we would normally consider the “right” side  and one which has exposed wefts. According to the article, the side with the weft floats is the one that develops as the upper face while the cloth is being woven and that is the face that can be seen in the picture.

In her article Knottenbelt quotes from Irmgard Weitlaner Johnson:

In 1957 only five weavers (men) knew how to weave this cloth, and only four Indians (men and women) knew how to warp the complete traditional pattern.

Knottenbelt published her article 26 years later and now almost 30 years after that I can’t find anything online about this kind of cloth being woven today and could only come up with Teyacapan’s photo of a museum piece. I wonder if it has completely disappeared.

The article goes into a lot of detail of the warping process where the warp threads are separated into their various sheds on the warping stakes themselves. The warp threads are not wound in a simple figure-eight and then rearranged later once on the loom. This is one of the aspects that the author found particualrly interesting.

Eight stakes are used to set up this warp for a skirt length. Six can be used for shorter lengths. Of course, I have seen this kind of thing done here in South America. Extra stakes are added to the basic warping set-up to conveniently separate warps into different sheds according to the structure being woven.

Felipe in Salasca, Ecuador is making a dovetailed warp for a supplementary warp belt using six stakes. The belt will be woven on his backstrap loom.
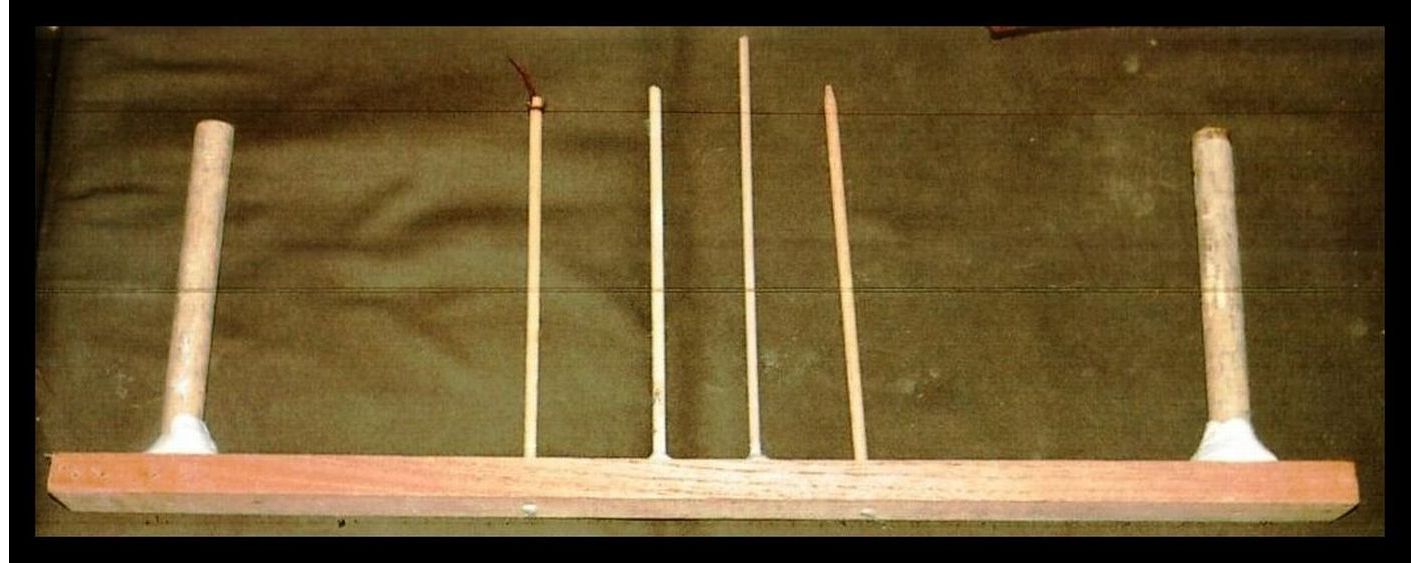
Above is the set-up I created at home to practice what Felipe had taught me except that my set-up is for a warp in a single plane and so doesn’t have the dovetail stake. I actually added an extra stake to further separate one of the colors. Hopefully I will be able to use this to try the Mitla cloth. I just wish there were more pictures out there. Even the simpler four-stake version is a variation of this idea…separate the colors into sheds on the warping stakes themselves….such a time saver!

I wonder what will leap out at me from the pages of that Journal if I pick it up again in a few months. There are three other articles in there and there is already a Turkmen tent band in there calling out for attention!
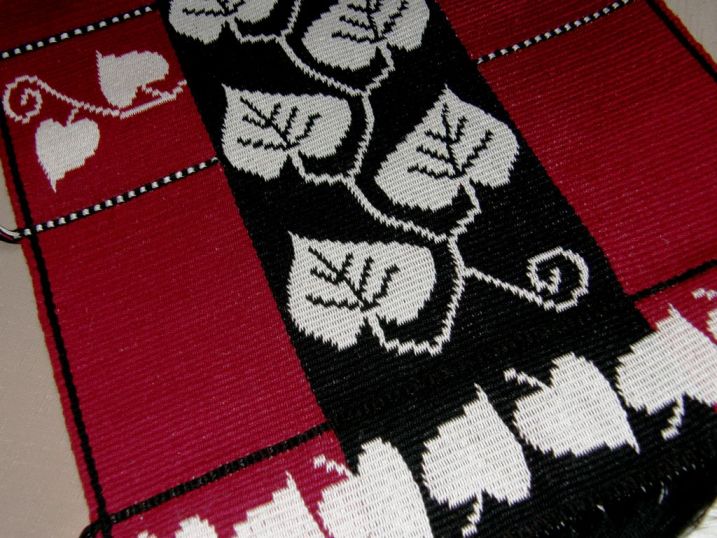
In the meantime, I have just about finished my chamanto inspired wall hanging.

The question is… how much pattern is too much pattern? I am not sure if I went overboard with the last row of leaves.

I am now re-twining the bottom of the Starry Night hanging so that it better matches the twining on this piece. That didn’t seem like a fun thing to do at first as the piece was already off the loom but it turned out not to be a problem as I had not yet cut the end loops.

I much prefer to twine on loom than off so that the warps are under tension.

I was able to slip the far loom bar back through the loops and then clamp and roll the weaving so I could twine with the warps once again under tension.

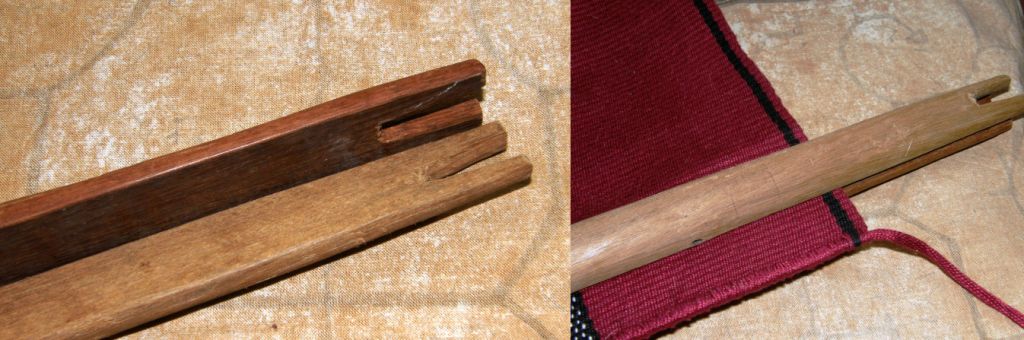
I have this nifty split loom bar that I bought from the Burmese backstrap weavers in Massachusetts. It is a typical round dowel-like bar which has been split in half and is used by the weavers to clamp and anchor their circular warps so that they don’t slip when beaten. The first thing that comes to mind is that surely it would be easier to just use two flat sticks but, they like the loom bar to be rounded, and I could see good reason for that once  I put it into use. Lucky for me I got to buy one ready made.
The third hanging in this series is on the drawing board. It will be influenced by South American weaving from a country a little further north this time. I hope to have made a start by next week’s blog post although there is a lot of sampling to be done first.

Now, about that double weave edge experiment that I mentioned two weeks ago… I made my samples and photographed them. Unfortunately the pictures don’t really tell you anything so you will have to take my word for it!
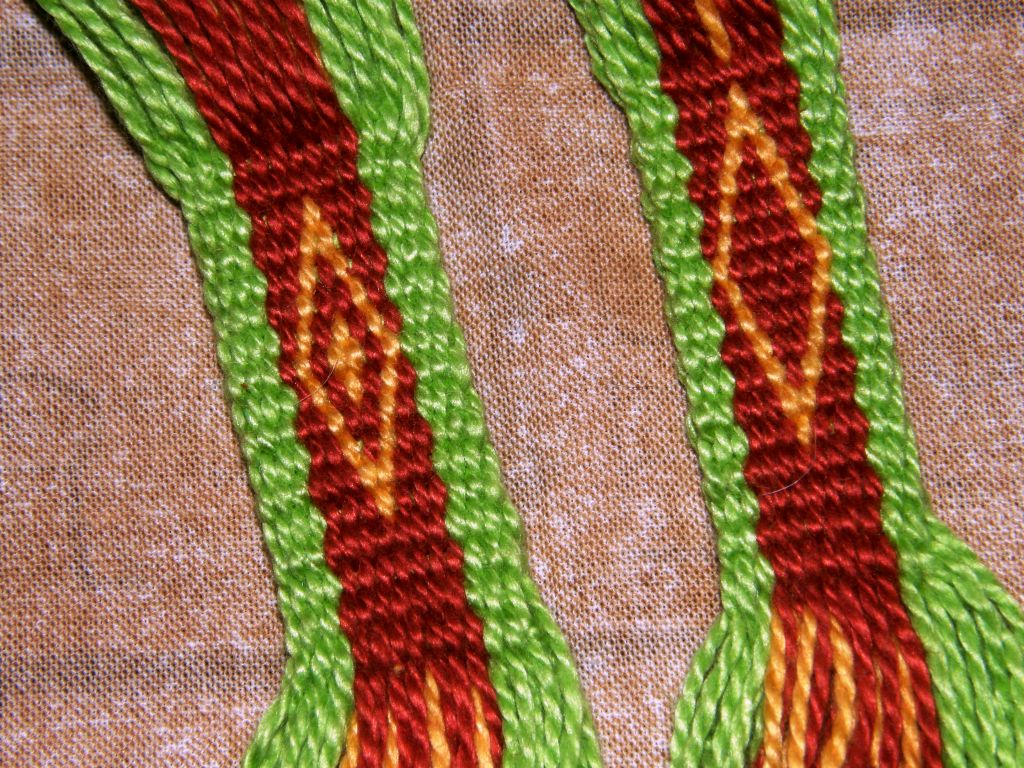
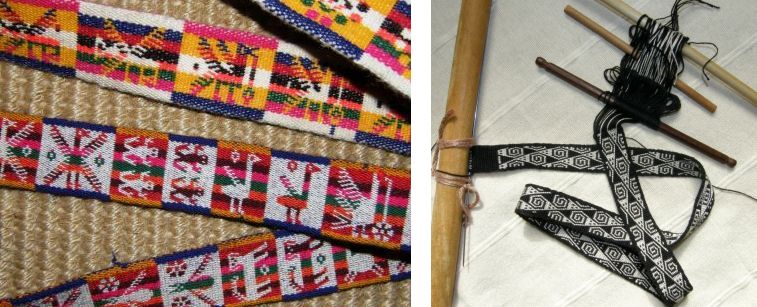
Both these bands have the same number of ends except that the one on the left has two revolutions of single thread on the very edges and the one on the right has only one revolution of single thread. Both methods improve the appearance of the edges for the reasons I gave in this blog post.  The band on the left has a flatter square-ish edge while the one on the left has a more rounded transition from upper to lower layer. I will post all this information on the tutorial page for double weave.

As for my earlier question… how much pattern is too much pattern?…I will leave you to ponder this with something truly spectacular….
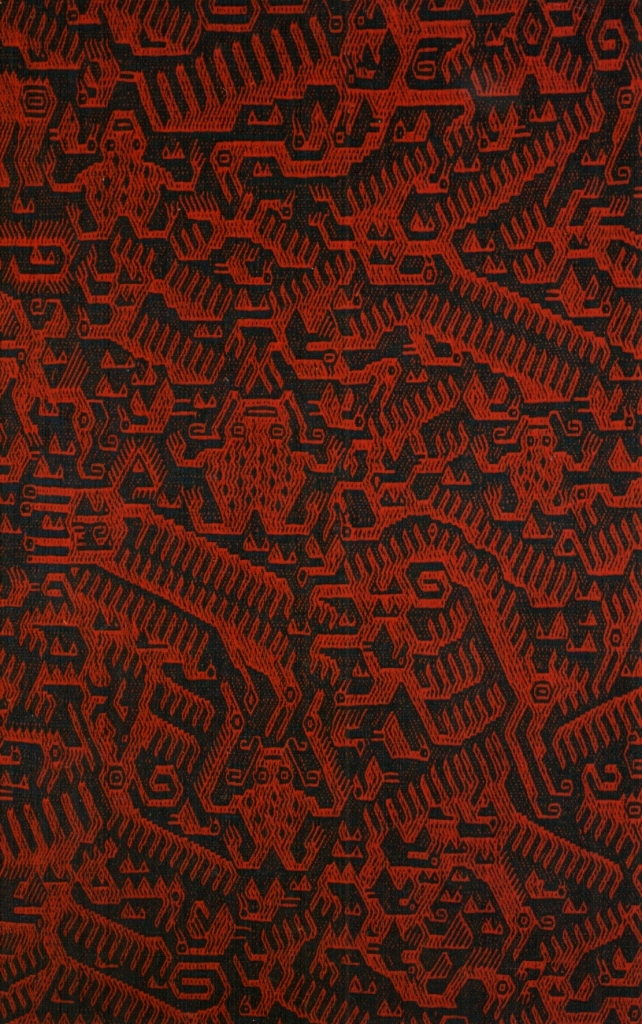
This kind of weaving is made by the Jalq’a people from Potolo in Bolivia on leaning vertical looms. There is barely any space that does not contain a motif. You even see motifs within motifs but, as the idea is to convey a sense of chaos, it all feels and looks just right, doesn’t it?
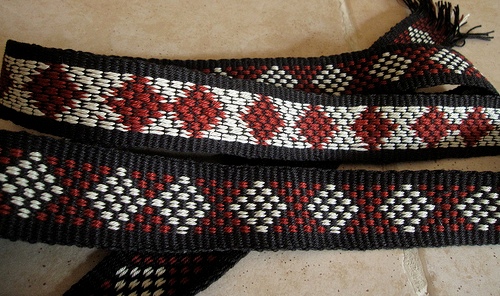
Backstrap weaving – Staying on Track

I have been trying to resist the urge to warp up for an al’ouerjan project and join in on the fun in the Ravelry group. You may remember that a couple of weeks ago, after having posted the warping tutorial for these traditional Bedouin patterns, Tracy suggested a weekend warp-along. Now we are seeing the increasingly large and impressive results of all that warping practice. Take a look at the bag strap that Tracy made at left.

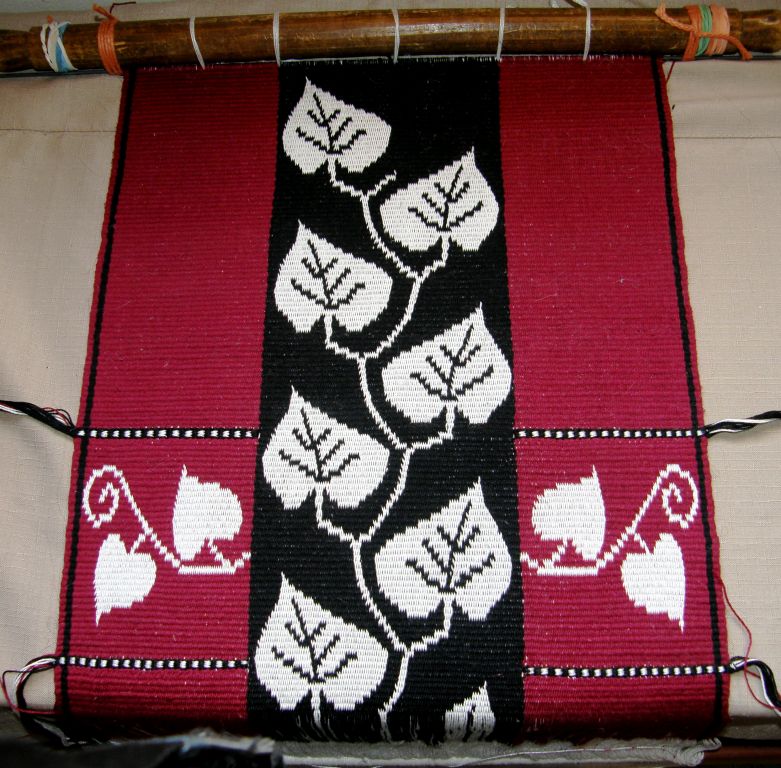
But…I am staying on track which means that I am sticking to my chamanto-style leaf-patterned wall hanging (although I couldn’t resist throwing in a bit of weft twining). I finished the first pebble weave hanging in this set with weft twining and so I decided that, apart from the common color scheme, the weft twining would be another theme that would tie all my planned wall hangings together.

While I sit and pass the shuttle, strum the warps, beat and coax the sheds open I think about what will be next in this series. I have no problem whatsoever in coming up with ideas…the problem is that I want to weave them all at once!

I stand back and look at this piece and I still can’t get used to it.

It’s not quite like anything I have done before but I have to say that I am having fun with it especially adding in that twined section with the motif within. I had to stop for a bit to chart those smaller leaves on their vine, sample them etc…It took a while to get them right.

I think that all my planned red, black and white pieces will look pretty nice when hung all together. The question is….where? Although I have been doing some major cleaning out, I still haven’t managed to uncover any significant amount of wall space.

Next on the clean up list is my dear old Ashford traditional wheel. Yes, I have a spinning wheel…who knew? It has been sitting there so long unnoticed, dusty and in desperate need of oil…poor thing. It was born in New Zealand and made its way all the way over to the Falkland Islands before finding its way into my home in southern Chile. I left a lot of stuff behind in Chile but the spinning wheel came up to Bolivia where it has sat in the corner for almost 14 years…shameful! I won’t take a picture of it now in its pitiful state. I will clean it up and get it back into shape. I have room to use it now!

I only had it for four months before leaving Chile and just got into using it and being able to turn out something consistent. I did, however, spin enough yarn to construct a vest, knitting the natural colored front and weaving the dyed brown back. The edging has been worked in cross knit looping.

This, too, sits neglected here in this hot steamy climate. It is a souvenir at least of the Patagonian sheep.

But, back to the al’ouerjan and let’s see what else the Ravelers have been up to…

So, there’s the strap that I showed you earlier on the gorgeous bag that Tracy made. She will line the bag  to protect the warp floats on the inside. She used an additional weft to secure the floats on the strap. You can see details about how that is done here. One of Tracy’s other warp-along products is the pillow cover which includes some tapestry-style twining in  the lower left hand corner and a striking and beautifully executed joining stitch.

Aunt Janet’s piece above left is in her own handspun wool. She has three sets of al’ouerjan patterning and that blue looks amazing.

Traudi so loved Tracy’s piece that she got into the act too using brown instead of black which looks fantastic. She twined along the bottom of the piece too. We are seeing more and more twining in this group…cool. Here is the tutorial for basic weft twining.

Jennifer did some charting and planning for the shajarah patterns before warping a wide piece that also includes an al’ouerjan design.

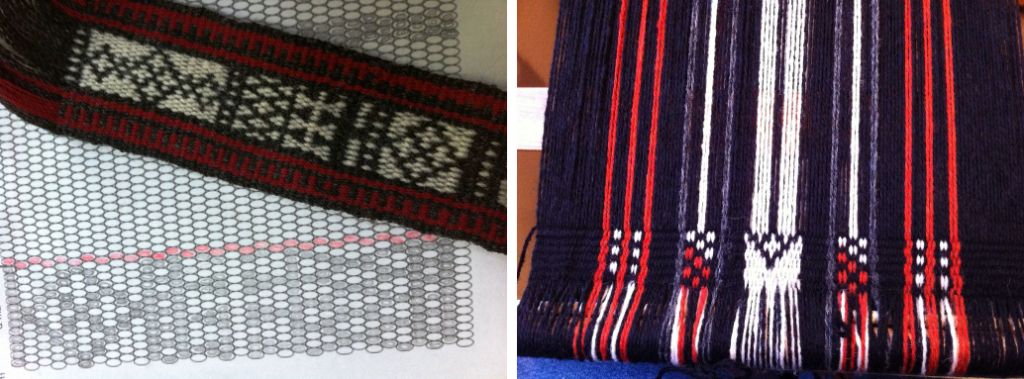
The charting paper with ovals which is useful for double weave, warp substitution and supplementary weft patterns can be found here. A tutorial for weaving these kinds of warp substitution patterns is here.

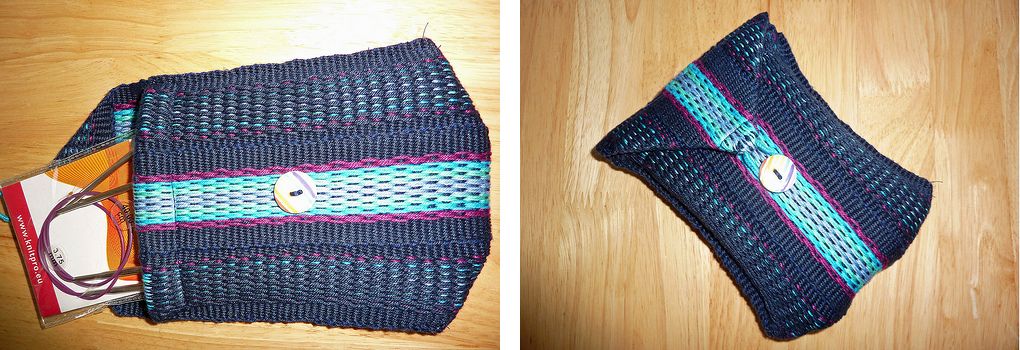
So, January has gotten off to a great start in the Ravelry group! Pantoffels has been wrangling with what she calles an ancient inkle loom and still managed to make this pretty needle pouch with plain pebble weave patterning.

And then she got a new inkle loom under the Christmas tree and will now try the pebble weave patterns in my book Andean Pebble Weave.

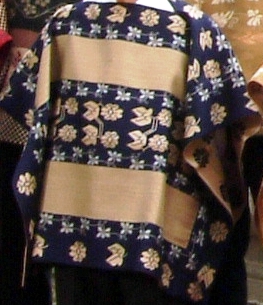
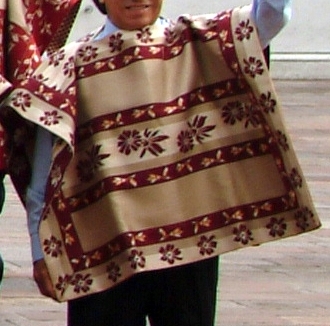
While I have been weaving my “leaf” piece based on the Chilean ponch known as a chamanto, I have been getting out other pictures of ponchos that I have to study the design layout that weavers use on these large pieces.

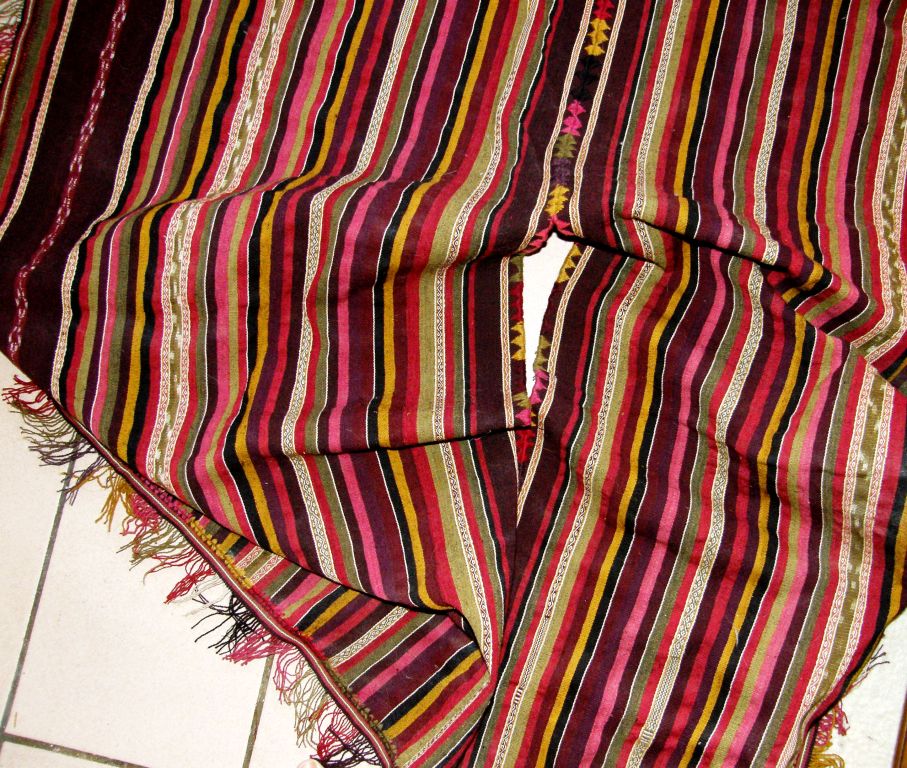
I own one poncho which I bought in Calcha, Bolivia many years ago. It is made from very fine handspun wool which has been colored with natural dyestuffs. It is patterned with simple stripes, some very narrow and simple ikat bands as well as several very narrow strips of pebble weave.

It has been woven as two panels with four selvedges each and a woven band has been sewn around the four edges with an added fringe. Don’t you love that decorative stitch that has been used to join the panels?

There is definitely an art to stripes. You can see the clever placement of fine white stripes to break up some of the richer colors.

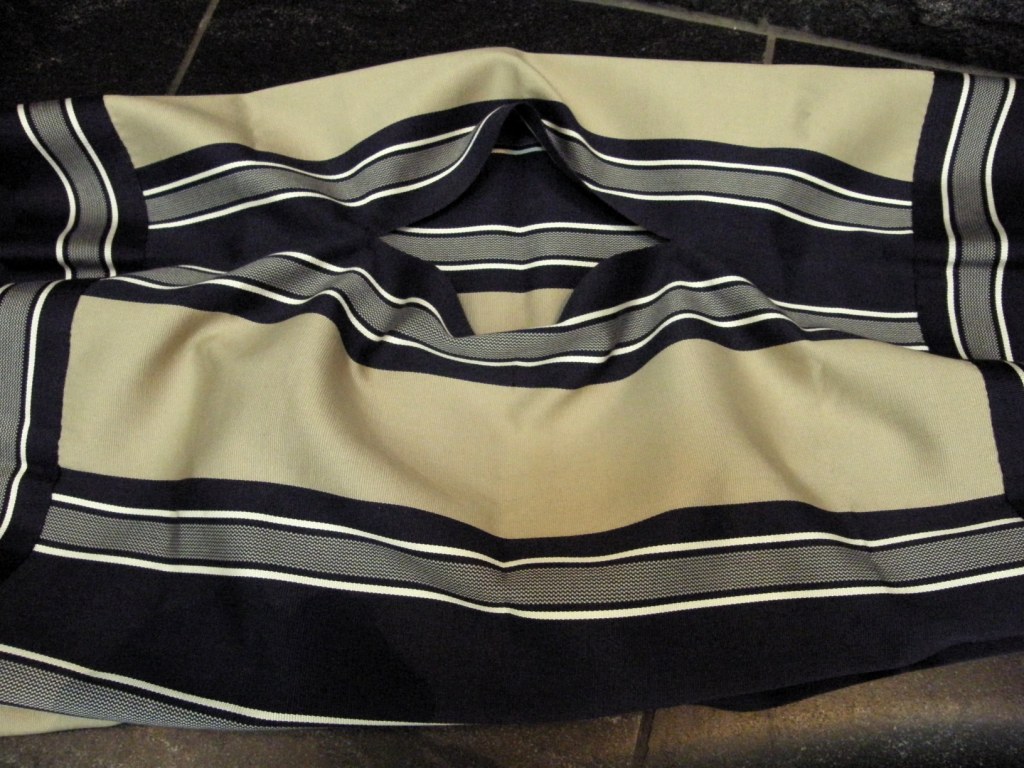
 An extremely fine and simply patterned manta from Chile. It is always interesting to see how the colors and stripes are distributed. As is typical, a broad band has been woven and sewn to the four edges of the piece and there is no fringe.

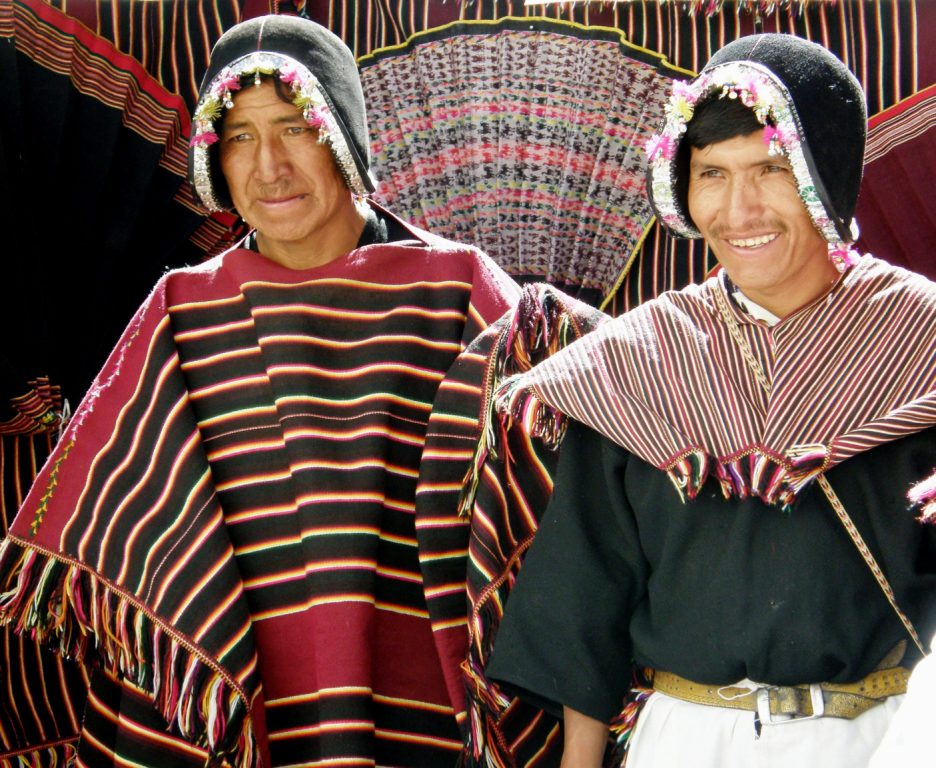
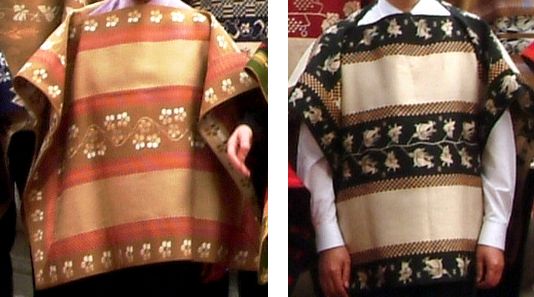
The typical poncho of Tarabuco and the smaller version known as unku can be seen above.

At a handcraft fair in Tarabuco I saw weavers making the long poncho panels. My friend, Anna, showed me the unku on the right that she had bought in Tarabuco when she came to visit me.

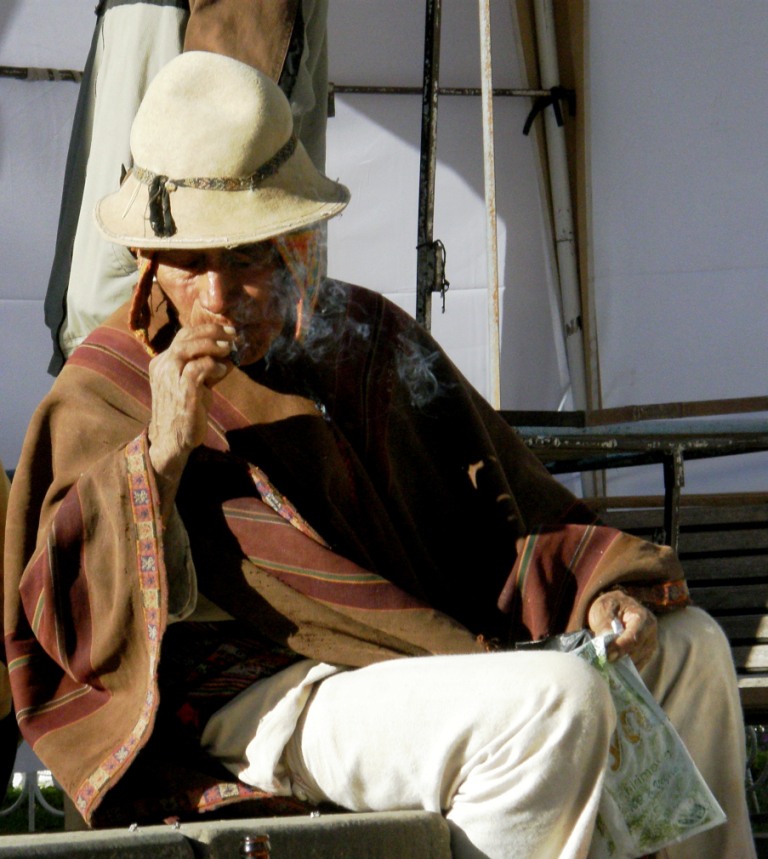
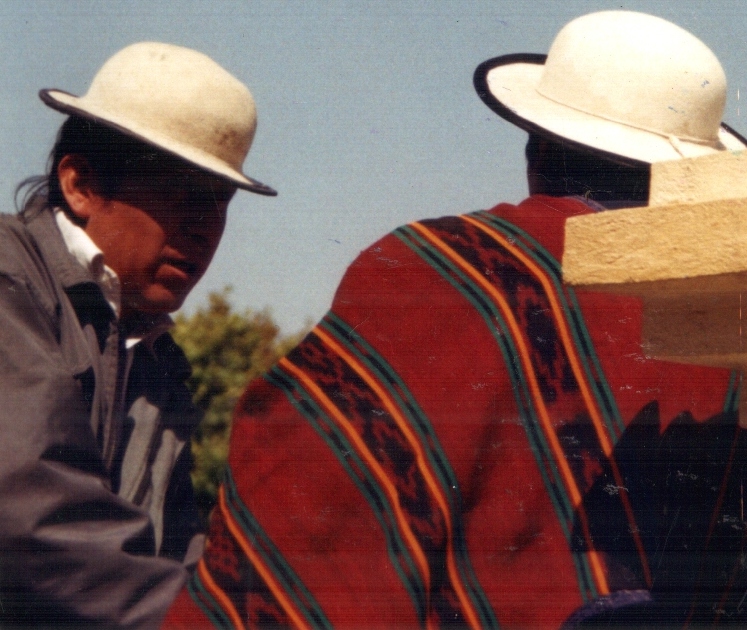
I spotted this gentleman in his much more subdued woolen poncho in a small plaza in Sucre. He was performing an offering to Pacha Mama in the early morning. How wonderfully simple and light the poncho looks although I am sure it is extremely warm and virtually waterproof.

And then you have the incredibly intricately patterned calf-length ponchos woven and worn by the men of Chahuaytire in the Cusco area of Peru.

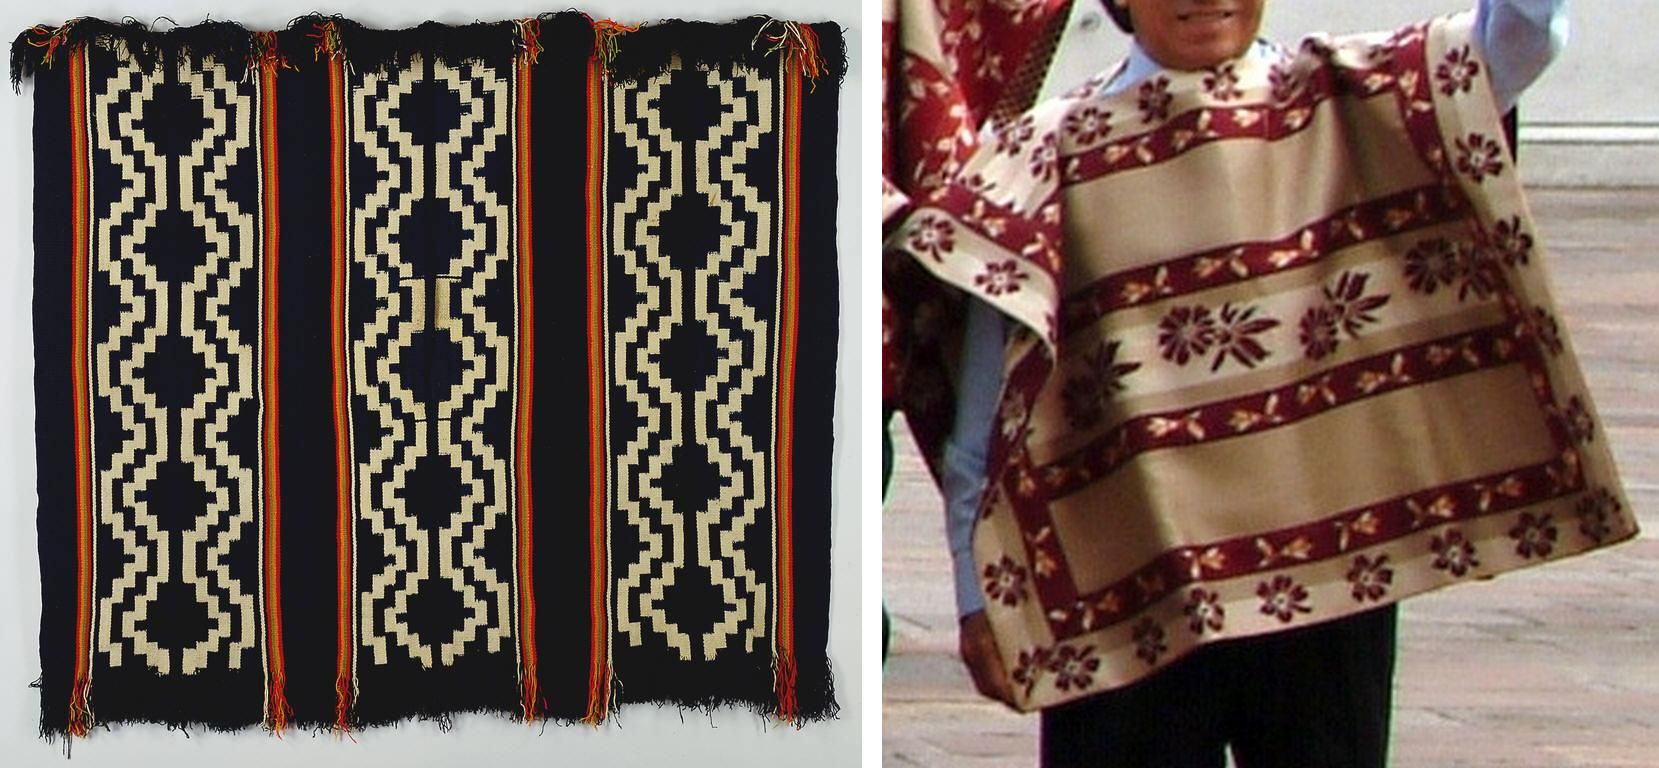
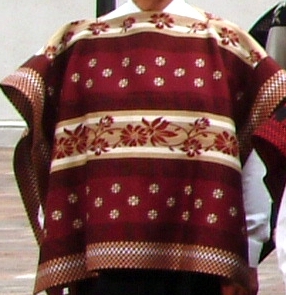
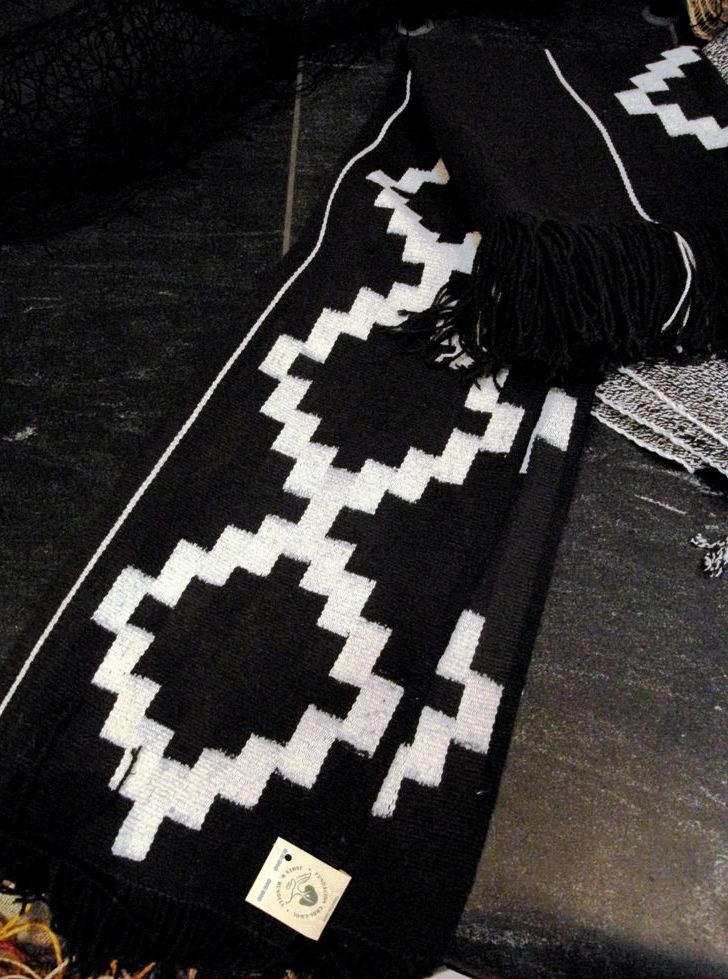
From Argentina and Chile we have the Mapuche makuñ with its ikat patterning technique executed in such a way that there is virtually no blurring of the design. The popularization of the poncho, from what I have read, is generally attributed to the Mapuche who wove them for their own use as well as for barter. On the right you see the chamanto of the Chilean huaso, with its leaf, fruit and floral motifs, which are said to have both indigenous and Spanish roots.

I have  a few pictures from Ecuador too…scans of old prints…

This is the “jijon” poncho which is factory-made in Quito and worn by those men who can afford one in Otavalo. You can see it being worn with its grey plaid face showing by the gentlemen on the left and with its darker face outward on the right. These men were wearing their ponchos to the market on a regular day. Apparently there is a much more costly blue double-faced poncho which is woven on the backstrap loom made-to-order. The ownership of one of these special ponchos indicates wealth and high social status.

On Sunday, which was both market day and church day in Cañar, a very social time around the main square and surrounding streets, I saw quite a few ikat-patterned ponchos being worn.

And finally there’s Juan below, (my pebble weave student!) with his mother and neighbor. Juan put on his  narrow, black fringe-less poncho and felt hat especially for this picture. On another visit during a festival all the men were wearing their ponchos for the occasion.

You can see the backstrap looms on which I was teaching Juan and Natalia pebble weave tied to the pole. In exchange Anita introduced me to her cousin on my next visit and he taught me to weave the typical supplementary warp patterned belts of Salasaca.

Okay, so I promised you some double weave edge samples this week, right? I am sorry, I didn’t get those done. I was busy trying to stay on track and not get “dis-track-ted” by all the goings-on in the Ravelry group. I want to finish my leafy hanging. but I must say that I have a bowl of tencel calling to me wanting to be made into a scarf…
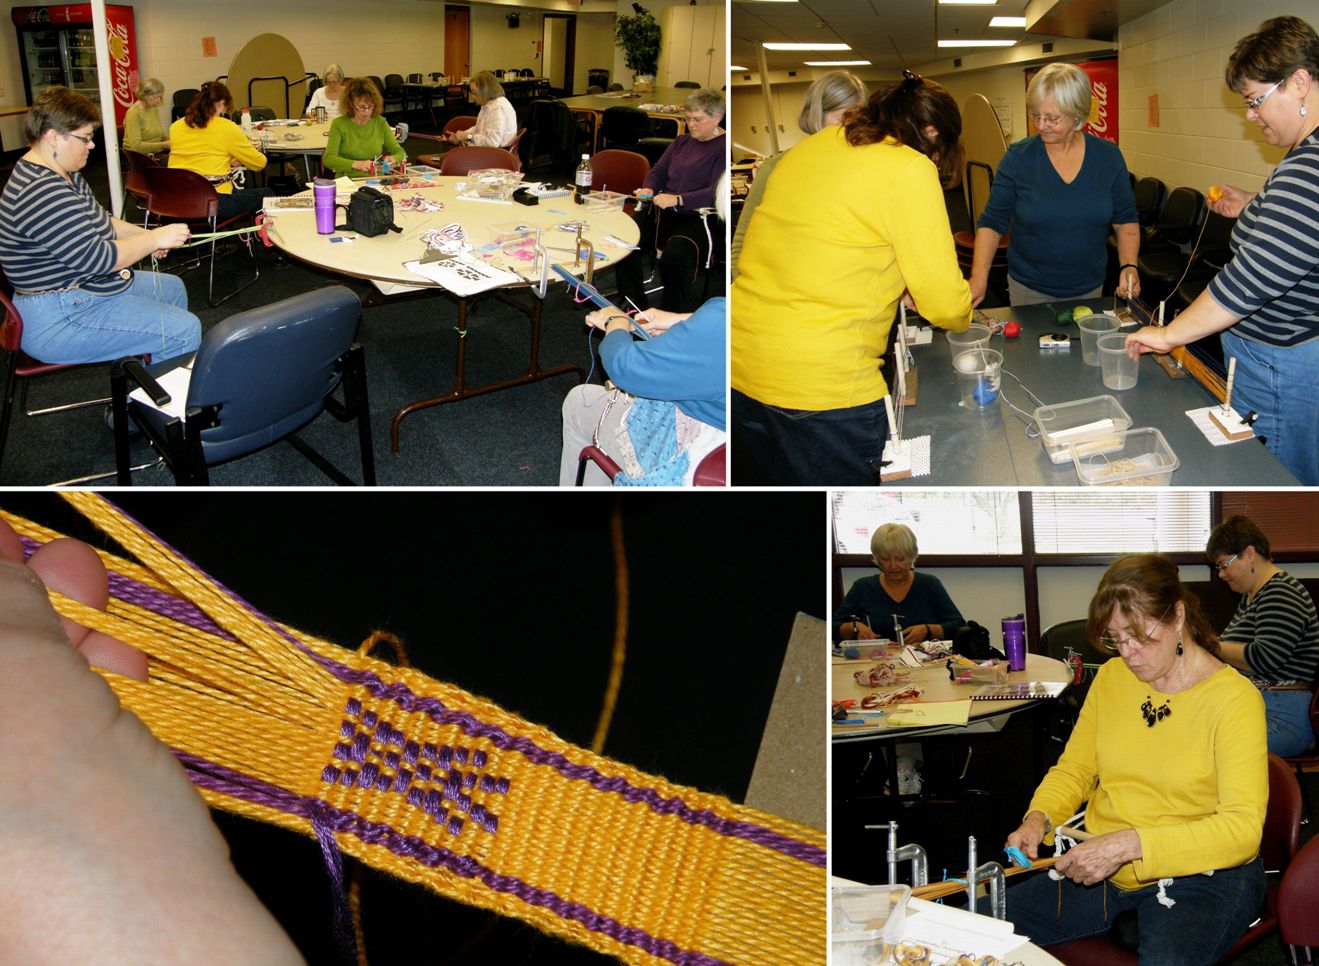
That blue ball is indigo-dyed Japanese silk…a fabulously thoughtful gift brought to me from Japan by one of my old teaching colleagues here.

Hopefully I will get the leaf piece off the loom this week, plan and warp the next hanging, play a little with my tencel, get the Ashford Traddy up and running and do those double weave samples for the tutorial too….phew!

Oh, and I have started a new page for RESOURCES. You will see the tab for that on the header and I am slowly extracting all the links to interesting sites, articles and products that I have linked to in my 105 posts so far. This is quite a job but I hope to add two or three links to the page every week. I hope you find it useful.

.


Backstrap Weaving – Summery New Year Wishes

Well, it’s that time of year again…that feeling of endings and beginnings and my own personal need to do some serious downsizing. My policy is usually “new stuff in, old stuff out” which means that if I return from a trip with something new, something has to go. The new policy is “old stuff out, out, OUT”. Wow, how liberating. I have space again! And the spaces are not, repeat NOT to be filled again…ever.

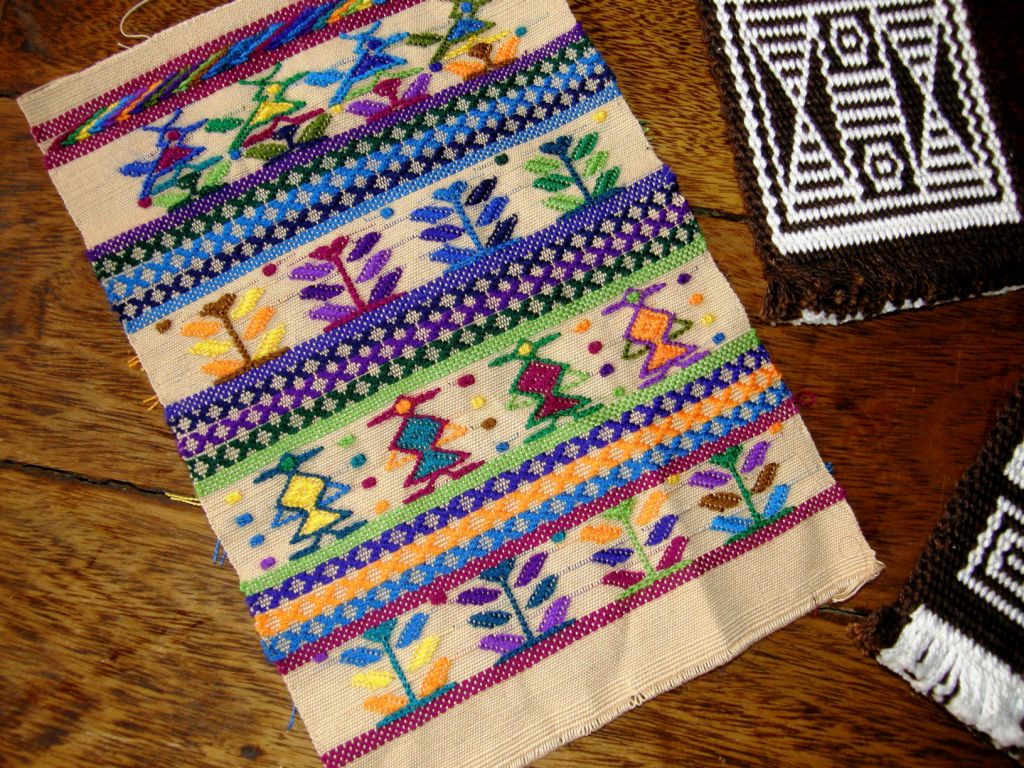
I uncovered some long forgotten stuff in the recesses of the closet like this Guatemalan sampler that I made not long after I returned from my trip there. At the time I could hardly stand looking at it. It was way over-the-top too colorful for me but the purpose had been to practice my newly learned supplementary weft patterning techniques and use the thread I had purchased from my teachers.

Now I kind of like it. After looking at the red, white and black of my current projects for so long, this is so joyful, and refreshing…very summery, as I sit here in temperatures up in the high nineties and fan myself with a condor feather. (I should explain that I used to live near a condor nesting site when I lived in southern Chile and I picked up a feather or two from the base of the cliffs…something else that I have uncovered in the downsizing spree). I am without air conditioning at the moment…long story.

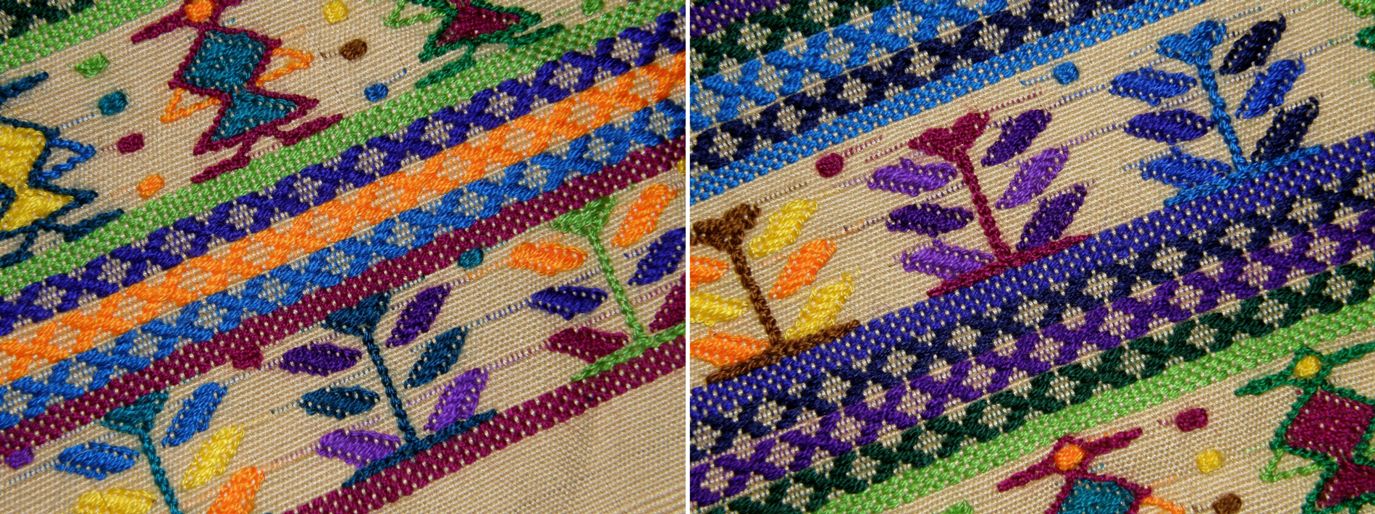
Here are some more detailed shots of the supplementary weft patterns….

The uppermost pattern technique in the next shot, above the birds, is soumak, something which I really want to explore more.

All the figures, the birds, the ladies and the plants are worked on a warp-faced ground weave. Two sheds are programmed on pattern sticks under which the supplementary wefts are passed to form the motifs. This means that threads do not have to be picked or dropped each time the wefts are wrapped around warps or simply laid in to form the designs. You can see the warps that are raised in each of the two patterning sheds in the speckled brick-like design that is woven immediately above and below each row of figures.

There is a tutorial here on my blog in which I show how to set up the patterning sticks and then use them to create these kinds of motifs.

The three  rows of “X” design are temporarily programmed on two additional pattern sticks which are then removed so that the other motifs can be woven.

So, back to the present and my current project…the chamanto inspired wall hanging.

My piece won’t look anything like the gorgeous Chilean ponchos, not even a miniature version of one.

I have just taken the idea of the big, bold solid motifs that speak of the rich, green, temperate central Chilean valleys and vineyards.

I was lucky this week to find the official APEC site which invites one to download a high resolution image of all the leaders attending the 2004 conference in their beautiful ponchos. This has enabled me to cut to just the chamantos and get quite a nice view of the pattern layouts and color combinations. It’s like my mind was read! Just last week I was saying how I would love to see all the ponchos at the APEC meeting up close.

So let’s enjoy looking at some of those…

Here is the piece I am working on…

This is to be one of a series of wall hangings all in the same color combination but I have a feeling that this one will be the sampler as I have had thoughts about the layout and size since starting it and would like to change quite a few things….or maybe not! I hope to weave a patterned band and sew it to the four edges so that the construction resembles that of the Chilean poncho.

As for the nylon string heddles that I mentioned last week…I made them, used them and hated them….took them off and made cotton ones…what can I say?

In the meantime, I uncovered something else in my downsizing frenzy…

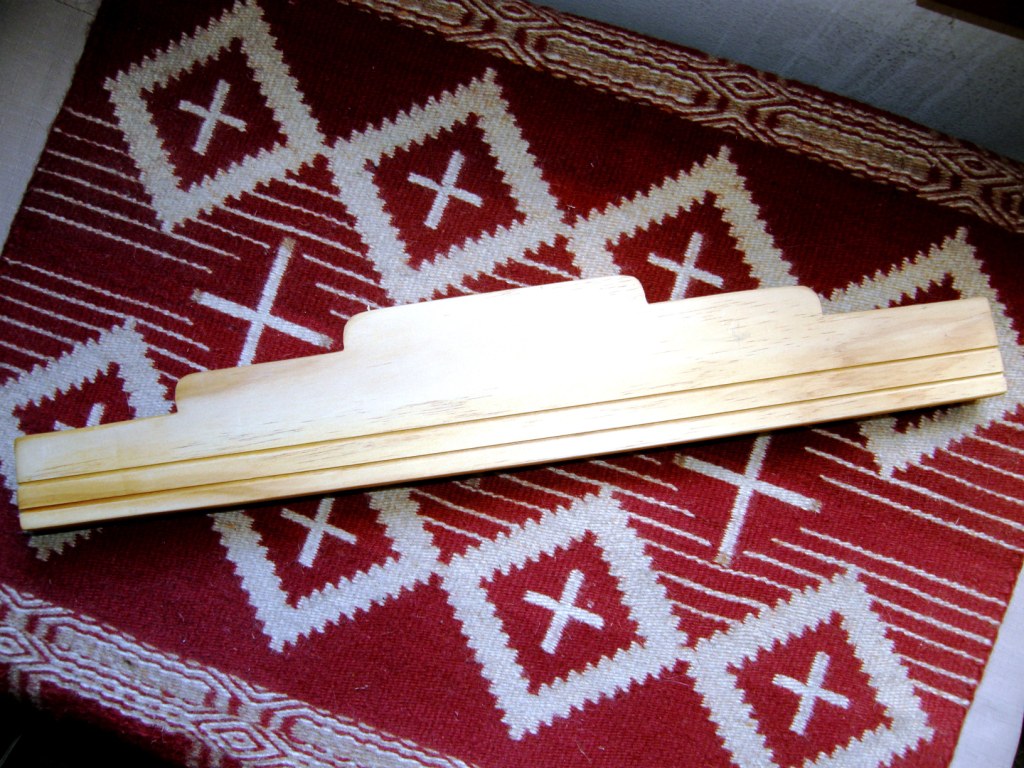
This lovely tapestry hanger was given to me by its maker at Convergence last year and it will give me a very nice way to hang my Starry Night piece once I have that completely finished…I am still pondering that fringe. The hanger works by clamping the top edge of the woven piece between two pieces of wood. Justin Adams makes them in various lengths in his home in New Mexico. He doesn’t have a website that I know of and you can contact me for his phone number if you would like to know more about his work.

The hanger is posed on a Navajo-style weaving that I did many many years ago dyeing and using up as best I could all my left over odds and ends of Navajo wool. There’s that red again. I started it with a twill saddle blanket weave until I realized I didn’t have enough yarn in the three colors to complete it. So, I wove the top and bottom in the saddle blanket structure and filled in the center in plain weave.

What else have I been up to?

Well I am still messing about with weaving nice curved figures in warp-faced double weave but don’t have anything worth showing design-wise this week. However, I have a nice tip to give you for how to get really nice edges in this double weave technique.

In the picture below you will see one of my double weave mug rugs made with a 12wpi cotton. The edges are pretty good but you can see how the weft is exposed on the sides as it travels from the upper layer to the lower layer of the double weave. I have inserted a toothpick under a couple of the wefts to make this clearer. This is very exaggerated with this heavy yarn.

While this doesn’t look bad and the edges are still neat, I have found that when working with finer yarn, the edge warps tend to want to “roll off” the edge along with the weft as it travels the distance from the upper to lower layer and this can give the edge a bumpy look. My weaving teachers here did not show me any other way to do this and it was frustrating looking at other double woven pieces from here and seeing beautifully even and rounded edges and not knowing how they had been created. In the end I had to cut and pull apart a belt I have.

The Bolivian double weave belts above left have smooth two-color rounded edges. My camera strap, on the other hand, has slightly bumpy edges as some of the edge warps are pulled out of alignment by the weft as it turns down to weave the lower layer.

So, here is what I believe is the secret: If you have read or worked your way through my double weave tutorial you will know that both borders and pattern area are warped with doubled threads.

If you start and finish your warping with two revolutions of single threads in your border color, you will create a rounded edge and the gap between upper and lower layers will be beautifully bridged. (Two revolutions give a more rounded edge, one revolution also works well and gives a flatter edge with a little bit of exposed weft but it’s enough to keep the edge warps in check. The method you choose will depend on the appearance you prefer).

Pictures next week! I am working on samples now so that I can show you how these two options look next week and will add all this new information to the tutorial page.

So, enough of my experiments. What have the Ravelry weavers been up to this week? I have a couple of things to show. All of you who are currently in the throes of winter will appreciate these…

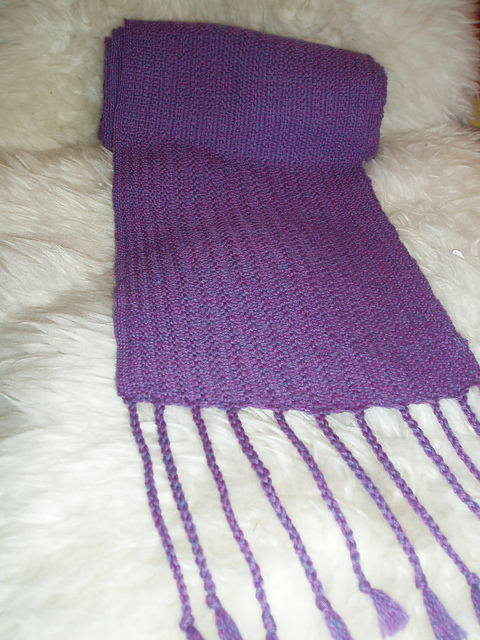
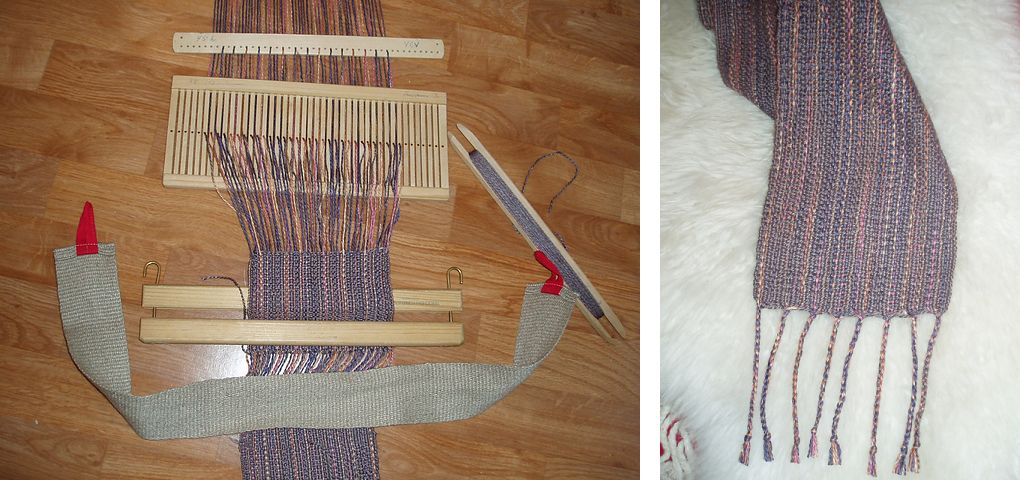
Heidai has been making scarves using the set-up known as grindvev in her native Norwegian. There she has a wooden rigid heddle on her backstrap loom and there is even an extra wooden piece that serves to raise certain warps according to the structure she has chosen to weave. What a neat little collection of pieces!

So, we have agreed to add “weave a scarf using a rigid heddle on your backstrap loom” as part of the new year’s weave-along activity. We don’t have an official start date yet which will gives us time to put some thought into the ikat and other project proposals we have been discussing. I could probably do with a scarf or two if I am to make more fall visits to the US.

Down in the summery southern hemisphere, Luchita in Argentina showed us the gorgeous pillow cover she made by sewing together three bands she had woven with Mapuche inspired patterns using supplementary warps. I love this!

I can’t think of a better way to finish this post…as it started…with uplifting, vibrant, exciting colors inspiring strong positive thoughts and wishes for you all for the coming new year. Happy New Year to you all and thank you for all your support!

Backstrap Weaving – Time for even more Play!

The fall trip is almost over…time to gather and bag my loom bars, fold the backstrap, wind up all the little balls of yarn, stash the beaters and sticks, and stuff them all into the wheely bag ready to fly home….but there is still a little time to play some more!  Now I am home and looking back. I was too busy playing last week to even do a blog post 🙂

The last days were spent backstrap weaving with friends in Maryland.

It was nice but confusing seeing many familiar faces at the guild meeting. Now…. where did I meet these folks…was it at Sheep and Wool last year where Carla and Mary wove with me in the bunny barn or at the guild meeting I attended?

Weaving in the bunny barn at MD Sheep and Wool last year

There was one very familiar face…oh yes, that was Peggy who wove with me in Pennsylvania last spring. On top of that there were familiar names, if not faces, of people who have commented on my blog or Facebook page.

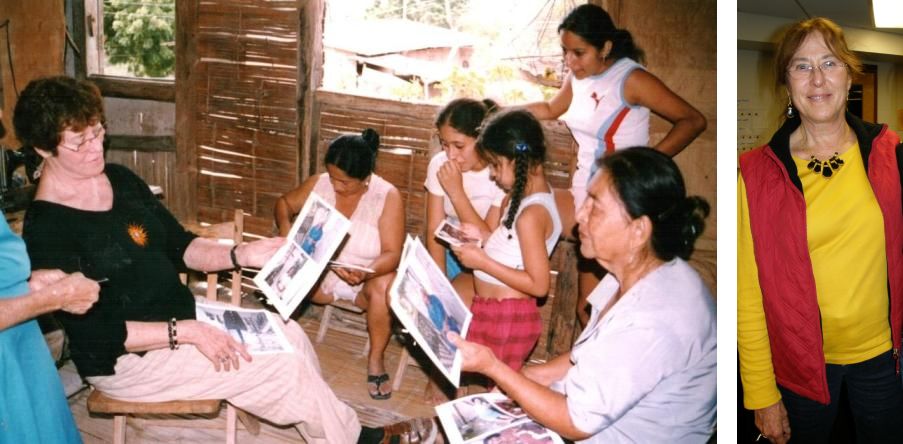
And then there was Kathie! I spent three weeks with Kathie in coastal Ecuador in 2007 with the family of cotton saddlebag weavers that I have told you about here before. Although we have kept up a regular email correspondence since then, we haven’t been able to get together in person until now. She came along to weave with us.

Above left, you can see Kathie on our visit to Ecuador in 2007 showing photos that she had taken when she first met this family back in 1976 and, above right, at our  backstrap weaving get-together.

I unwound with my friends  in their home in Maryland and made plans for my last week in DC. Claudia is a weaver and Janet is a knitter so there were still plenty of fibery things going on around me.

I learned about rag rug weaving from Claudia in her basement studio where she is in the process of making two 9-foot commissioned rugs. I was there to celebrate the finish of the first one. It’s quite a process!…cutting strips, sewing them together end to end, ironing them, winding them onto the long shuttles. I was glad to be able to help at least with the sewing and ironing and the sewing was novel for me…only my second time using a machine.

While the machine is definitely the way to go for sewing those hundreds of strips together, I still prefer hand sewing for my little backstrap woven projects. When I arrived home, I cut the wildly colorful striped demo warp, that I had been carting around the US, off the loom. It had served its purpose, I didn’t really like it and I couldn’t face weaving any more of it. However, it didn’t go to waste as I was able to sew the small piece that I had woven into a new sewing kit pouch.

I folded it in half lengthwise and sewed it together so you only see half the colors at any one time…a little less jarring than the way it looked with all the stripes together on the loom. It is the perfect size for storing tape measure, scissors, needles, buttons and thread. I still have to finish off the sewing on the zip and you can see that the pouch is without the usual baubles and embellishments that I like to add. I think I will leave it this way.

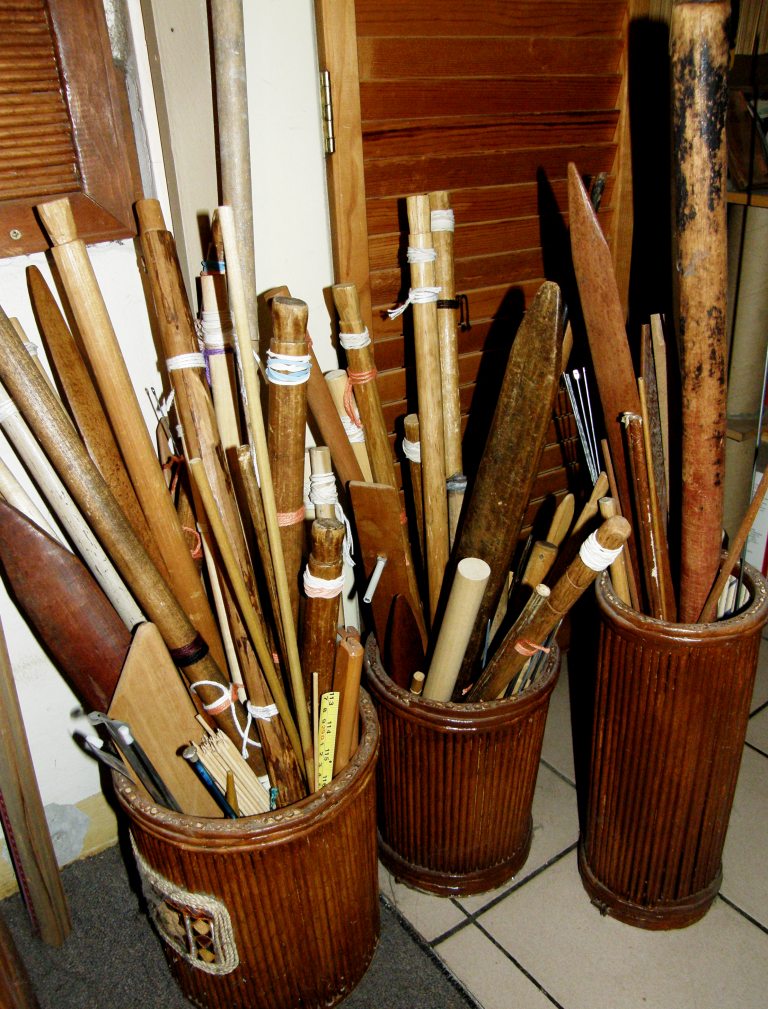
Now I have 26 loom bars standing up in their bins waiting for new warps and I have at least as many ideas floating around in my head for future projects!

But anyway… back to play time in DC.

A couple of emails arrived while I was at Claudia’s place. One from Mary told us about a Chilean handcraft exhibit at the National Museum of the American Indian which would include weaving demonstrations by a Mapuche weaver.

The other was from Peggy who has woven with me a couple of times and who is a docent at the Textile Museum.

She offered to guide me through the current Kuba textiles exhibit on Wednesday which also happens to be the day the museum library is open. I jumped at the opportunity.

Perfect!

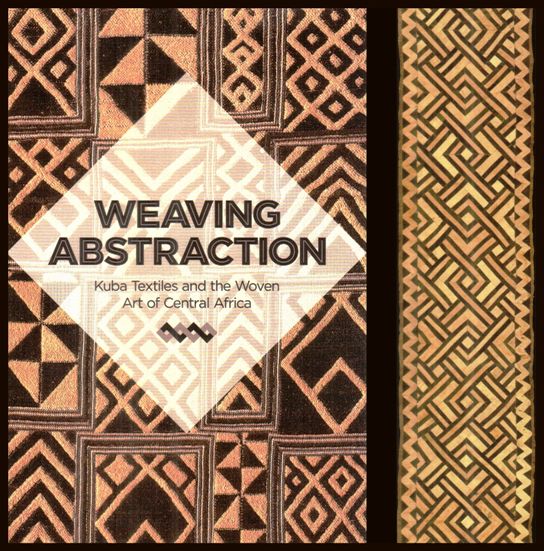
Of course taking photos of pieces in the exhibit is not permitted but you can see above some the publicity material that the museum has put out showing a piece of raffia cloth on the left and bark cloth.

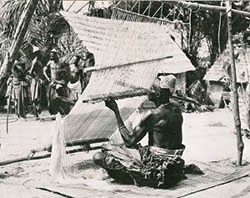
The picture at left of a Kuba raffia cloth weaver in the Congo is on Marla Mallett’s website where you will also be able to see quite a few images of raffia pile and embroidered cloth pieces.

The Kuba Kingdom is a confederation of several groups of people in the area now known as the Democratic Republic of Congo. They were nomadic until the 1600’s and absorbed textile traditions from the Kongo people of the west coast as well as from the Tutsi and Hutu groups in the east.

Men weave the plain-weave panels using fiber from the raffia palm. The cloth is then wet and pounded to make it flexible. The insertion of the colored raffia in a pile technique is the work of the women. The raffia is not knotted. It is simply inserted under warps and/or weft and held in place by the tightness of the weave. The inserted raffia is then brushed with a knife which splits the fibers and creates a fuller more plush texture. I found myself surrounded by bold  labyrinth-like and swirling patterns.

The women also embroider along the edges of the pile sections. I was able to look at the back of the pieces that were on sale in the museum shop. Neither the inserted raffia nor the embroidery shows on the back of the cloth.

One of the uses of the cloth is for ceremonial skirts that comprise many panels sewn together and which are gathered around the body. Smaller panels are used as overskirts by high ranking women while other small pieces are status cloths, amassed as symbols of wealth and nobility.

There was bark cloth from the Bushong people, hats, caps and headdress of titleholders from the Kongo people that I can’t even begin to describe.

I saw a delicate cape thought to be from Angola that looked like it had been made in sprang, tie-dyed cloth using sticks tied to the cloth to create the straight lines in the patterns, patchwork, reverse applique, embroidery and ornate belts decorated with beads and cowrie shells.

I loved the boxes and baskets with shaped lids which immediately made me think of the basket maker from Burundi with whom my friend Joan is working in Massachusetts. (see her piece pictured at left).

Wouldn’t it be wonderful if she could be taken to such an exhibit?!

I bought the exhibit catalog and would love to use some of the motifs in double weave. That museum shop is a deadly place…I came away with the catalog as well as with Ann Rowe’s latest work on costume in highland Ecuador and a collection of papers on Andean weaving on sale for $5 while all the time wondering how in the world I would manage to squeeze this load into my luggage!

The next day was all about Mapuche weaving at the National Museum of the American Indian at an exhibit called Chilean Rakizuam.

Rakizuam is the Mapuche knowledge of being, whether it pertains to the environment or an understanding of life that has been passed from generation to generation.

It was quite  nostalgic for me listening once again to the very distinctive Chilean accents of the exhibitors and the accompanying folk music.

There was even a gentleman there from Punta Arenas, the country’s southernmost city, where I lived for five years.

He brought baskets made by the descendants of the Yagan people as well as his own jewelry which combines pieces of coiled basketry with silver.

When I lived in Punta Arenas there was one elderly pure Yagan woman still making the baskets who has since died. I still have one of the baskets that I bought back then.

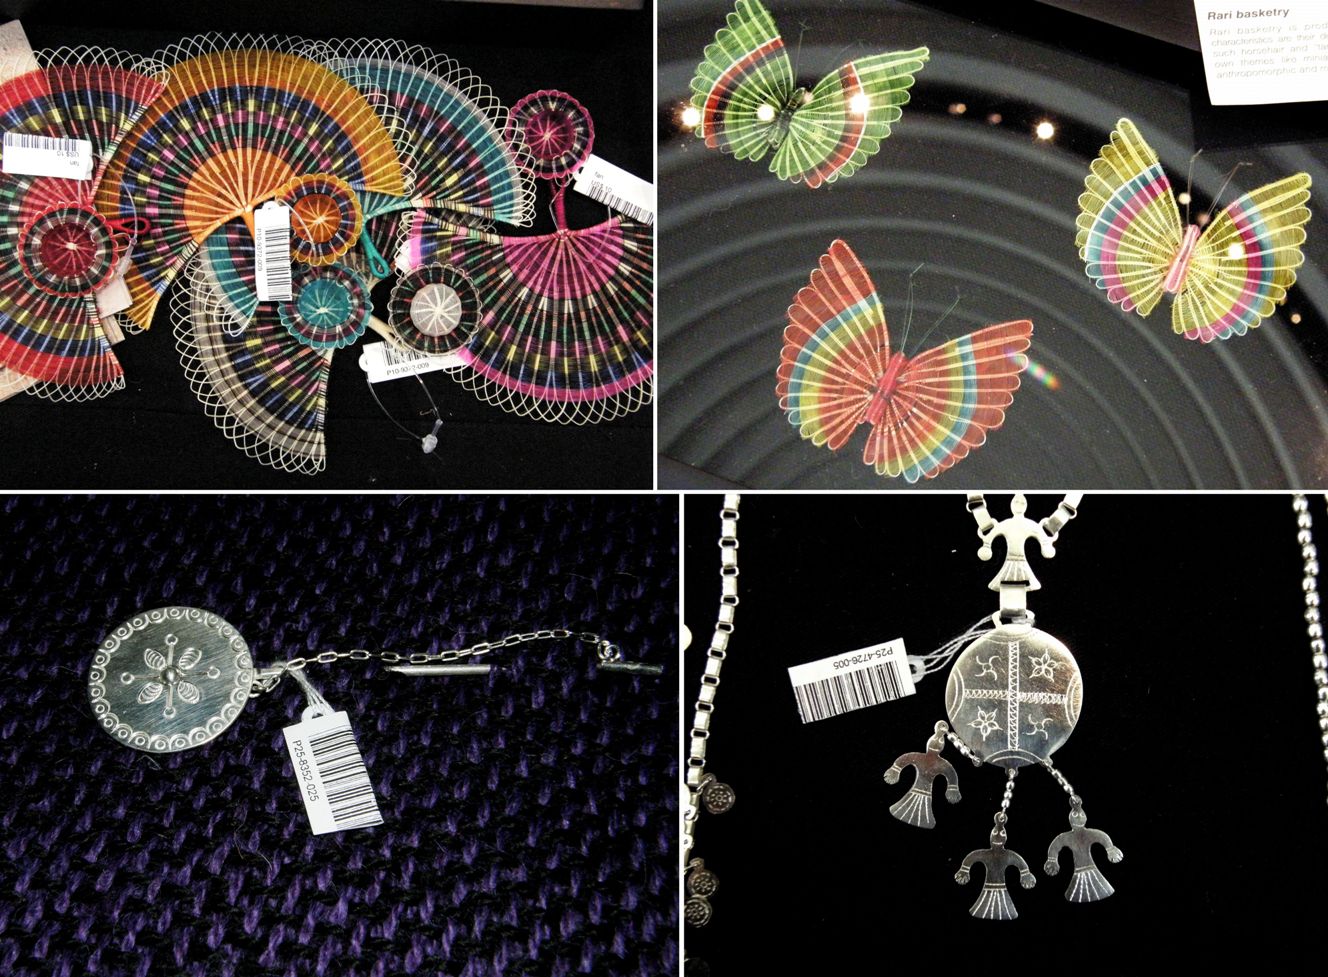
Other displays included pieces from the central zones of Chile south of Santiago…silver work with Mapuche motifs forming pendants and shawl pins as well as almost transparent figures woven from the hair of horses’ tails. The sturdy ribs in the figures are a plant fiber and the finer weft material is the crin, the hair of the horse or ox. And now I know that ”crinoline” according to Wikipedia was originally a stiff fabric with a weft of horse-hair and a warp of cotton or linen thread.

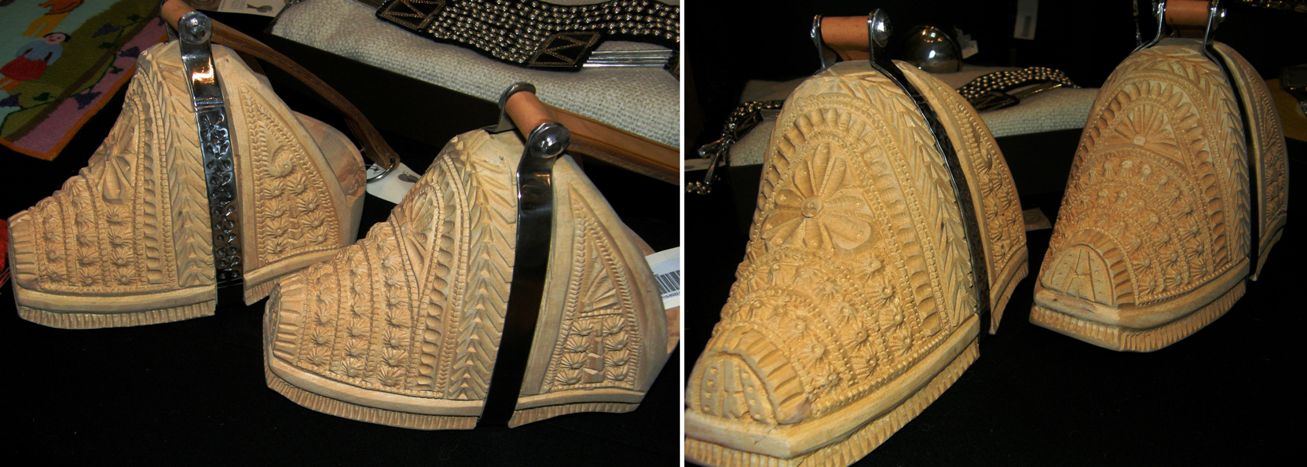
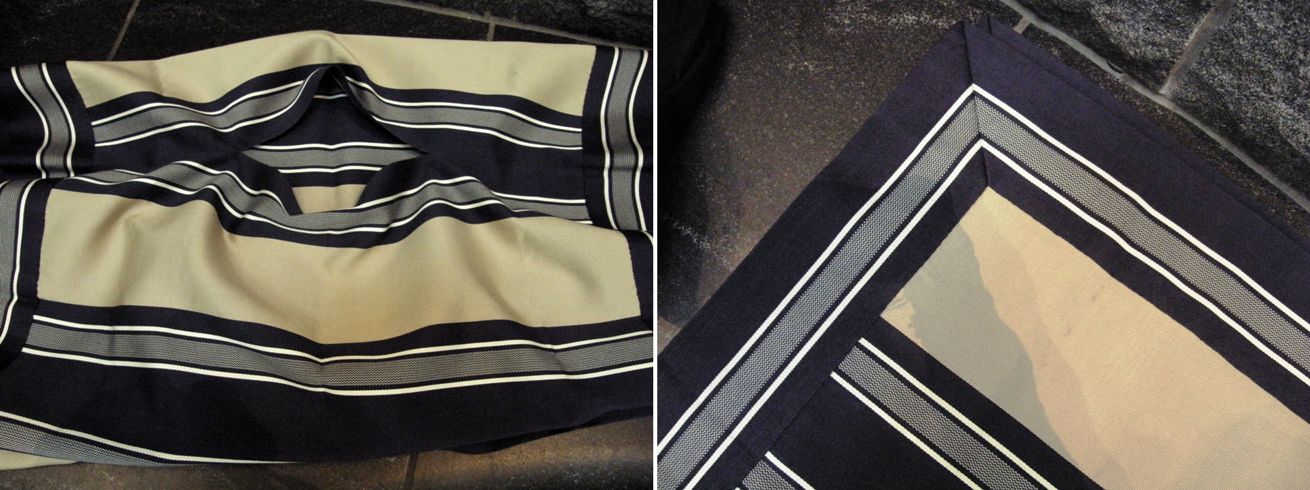
From the central zone of Chile come pieces, such as the carved wooden stirrups above, associated with the huasos, the Chilean horsemen who also use a finely woven silk poncho known as chamanto. The exhibitors brought one of the striped examples which I have been told is called manta with the name chamanto being reserved for the ones that have been decorated with pick-up patterns.

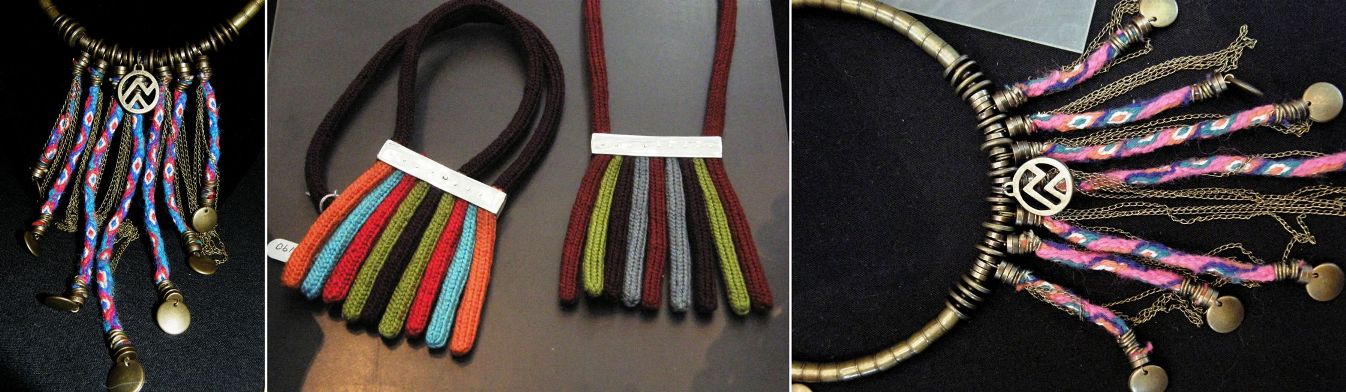
Representatives of the northernmost region of Chile brought jewelry which incorporated traditional weaving and looping techniques. Now there’s another use for the tubular bands!

There was a variety of shawls, pillow covers and other woven household items as well as knitted apparel made with handspun and naturally dyed wool by Mapuche artisans.

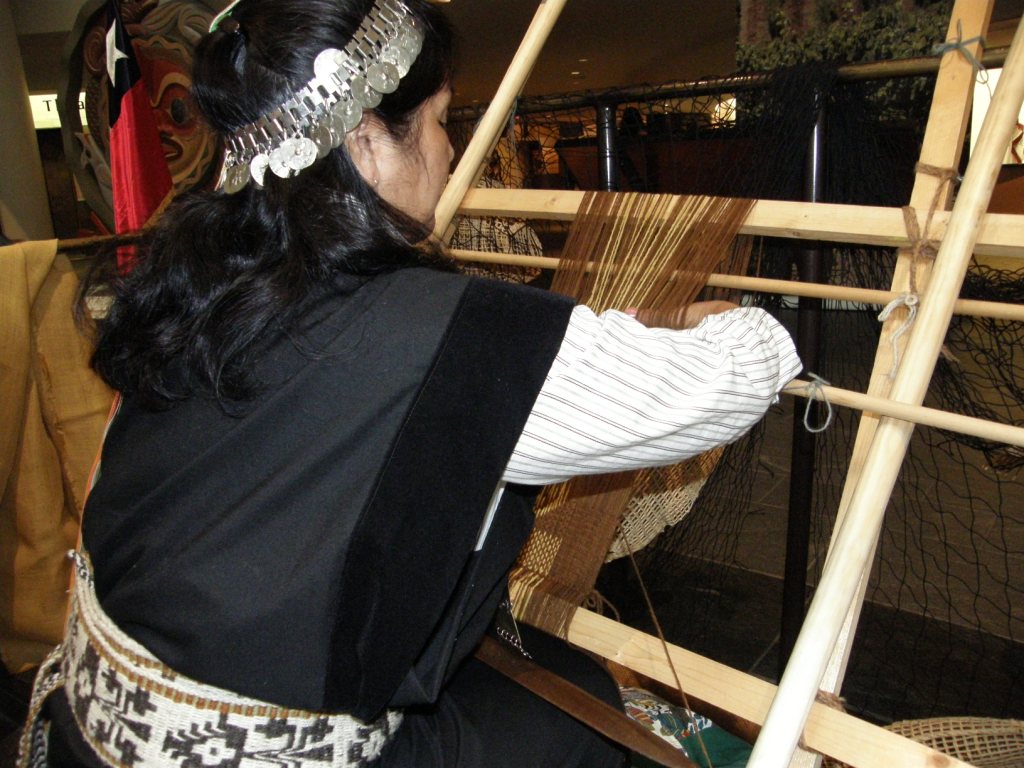
And the best part…a Mapuche weaver, Marta Isabel Huitraiñan Aillapán from Carahue, had been brought by the Chol Chol Foundation to demonstrate her weaving skills.

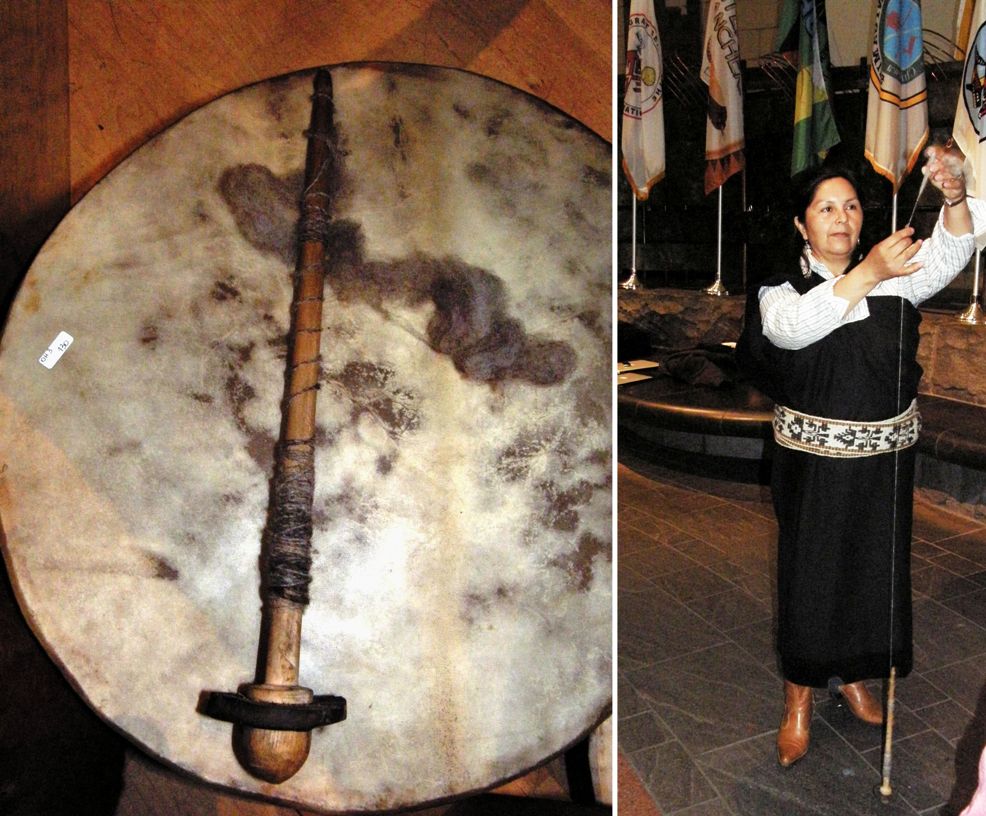
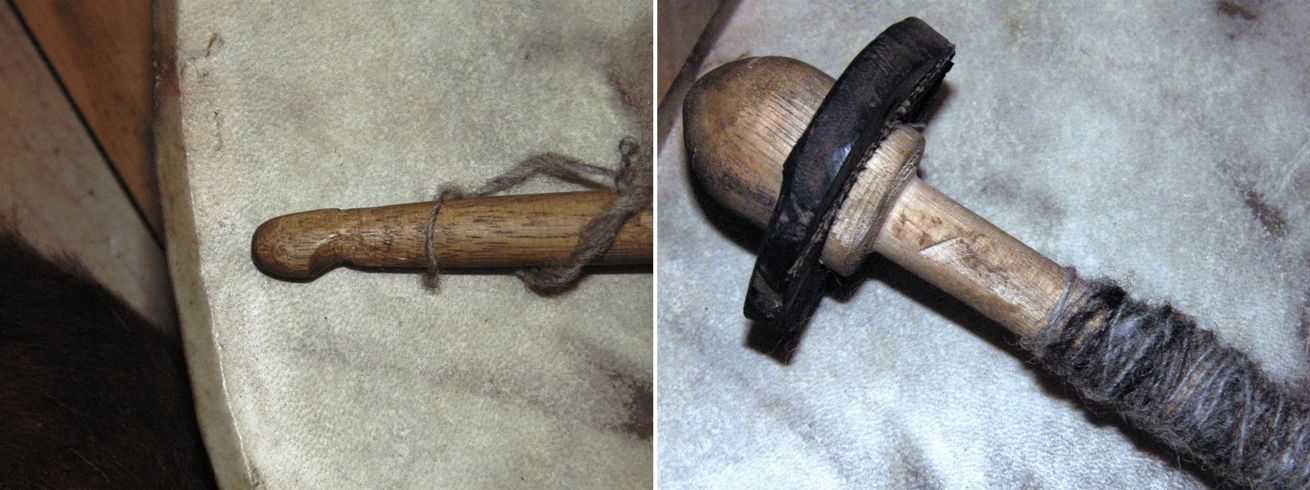
While looking at the displays of woven pieces I spotted a spindle in one of the baskets that had been made for Marta by her son. She was quite happy to give me a quick spinning demonstration.

And here is a video…soft lighting in the exhibit area has made the footage a little fuzzy.

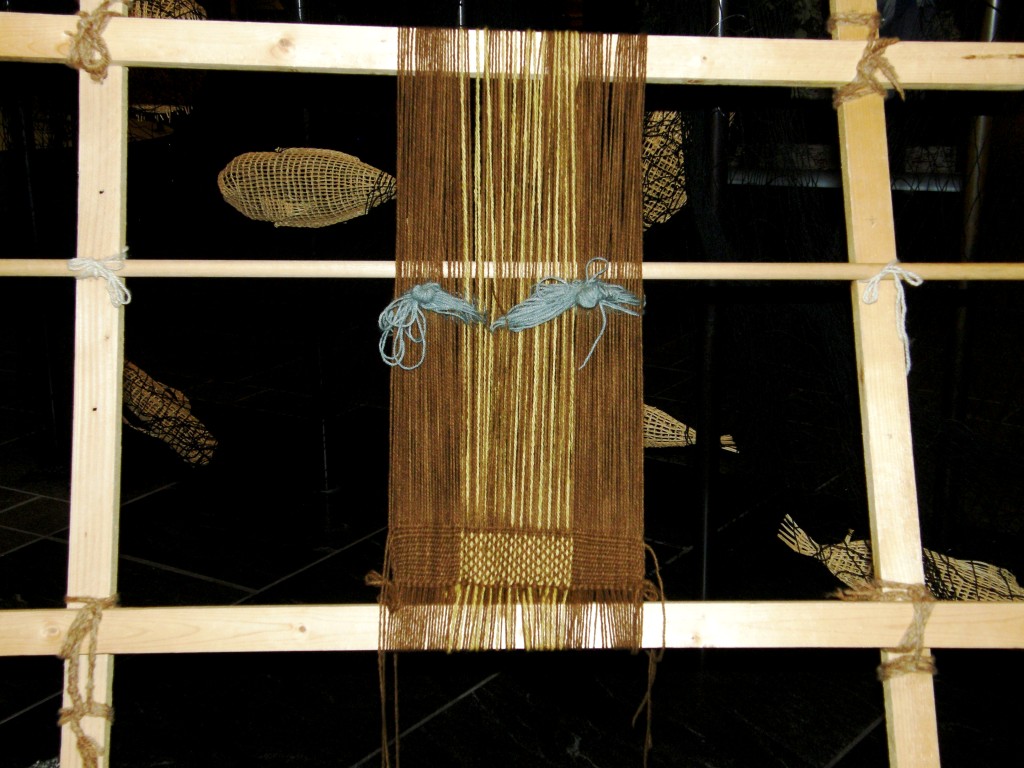
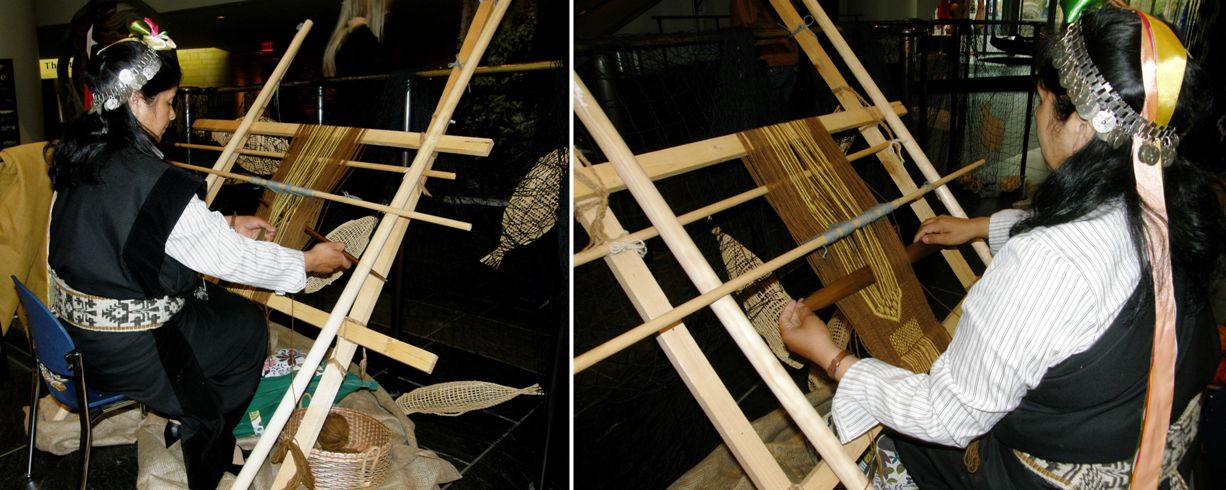
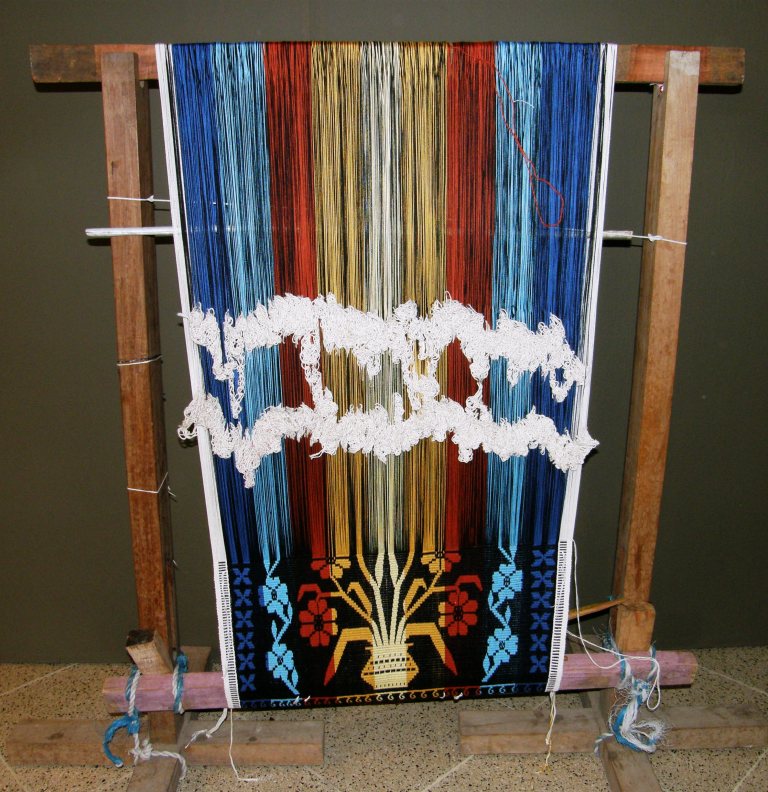
And there was the leaning vertical loom almost ready for Marta’s demonstration. You can see that the shed rod is fixed in place lashed to the posts of the vertical frame. The string heddles were made and tied in bunches to transport the piece to the US. They will later be put on a heddle stick.

In the picture above, Marta is lifting the warps on the shed rod with her hands and clearing them through the heddles.

You can see that the heddle stick is now in place and is protruding from under her right arm. The heddle stick rests against poles which are placed alongside the vertical posts of the loom frame which means that the warps in the heddles are in a permanently semi-raised position. This means that Marta does not have to pull on the heddle stick in order to raise the warps in the heddle shed. By pushing down on the warps held by the shed rod, just enough space is created to allow her to get her fingers under the warps in the heddles and pull and fully raise them.

You will see the process (executed very quickly!) in the following video:

You see that she holds the shed open with the sword in her right hand while picking up and dropping out the supplementary warps with her left. The tension on the warp and her beat are relaxed.

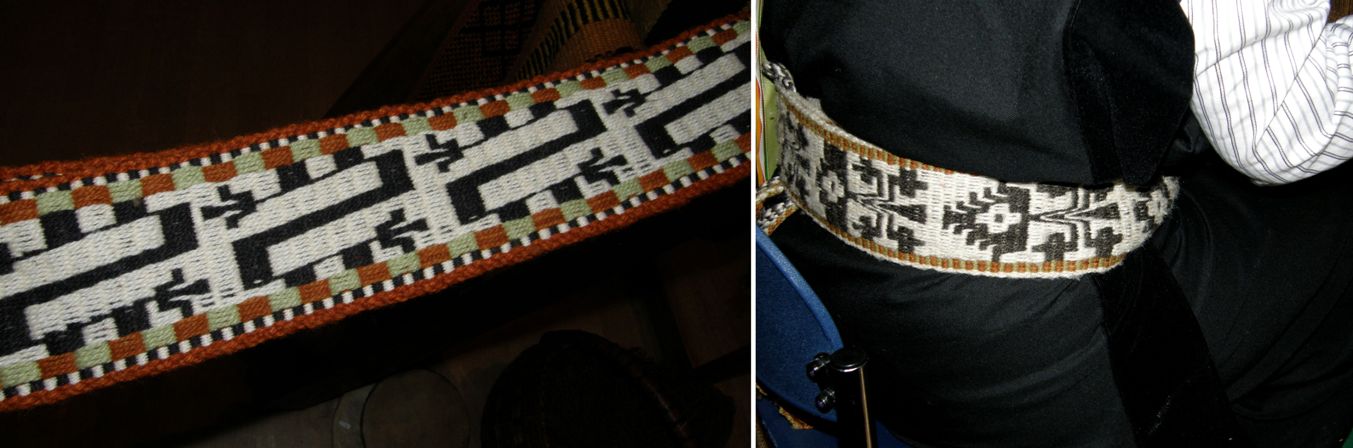
The next day, after warping and weaving the supplementary warp piece above, Marta allowed me to help her warp for the complementary warp technique that is used to weave their belts. With the warp we made, Marta planned to weave a band with lettering (RDO DE CHILE…recuerdo de Chile, souvenir of Chile). I wove the letter “R” with her guidance and then, sadly, it was time to go. And once again twining enters the picture. Marta starts and finishes her woven wall hangings with weft twining before braiding the warp ends or leaving them as fringe.

On this narrow complementary warp piece we did not use a heddle stick but tied the heddles together in bunches instead and pulled on them to raise the warps.

Marta was a great teacher for me – very patient –  and says that she loves to show the process to people who are really interested. I don’t know how many times she answered the question from onlookers “How long does it take you to weave something like that?” I know that question well!!

I was in very good company with Marta on the second day right up there at the loom! On the first day I was very much occupied with taking videos and photos when I suddenly realized that I should probably step back so as not be in the frame of other onlookers’ pictures. It was then that I noticed another particularly interested onlooker with camera in hand… Ann Rowe. So, spending time with Ann made day one even more special.

Another great opportunity at the exhibit was being able to see, for the first time, one of the ikat patterned poncho pieces on the loom.


I have always wondered just how the Mapuche weavers stop the warps from moving out of place while they weave ikat patterned pieces.

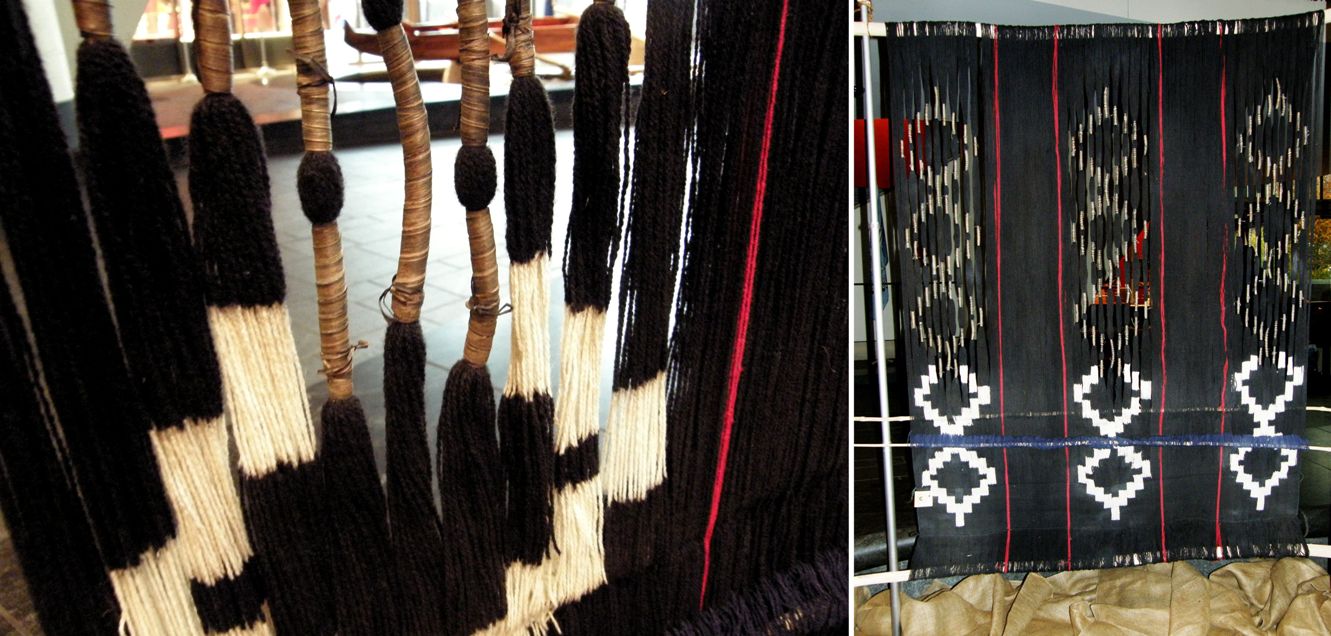
They manage to reduce the characteristic blurry feathered effect on the edges of the designs  to an absolute minimum. The result is beautifully sharp white figures on the dyed black background.

The set-up on the loom certainly didn’t give away any clues!

I was told that of the one hundred and fifty weavers that belong to the Chol Chol Foundation cooperative only one knows how to make the ikat-patterned ponchos.

One thing  that was missing was the double weave belts. I guess I shall just have to take myself off to Chile to see those. And happily now I have a contact in the Mapuche community. While I have been to Mapuche weaving exhibits before in Santiago, I have never been to one where I have been able to have so much interaction with the weaver.

It would also be nice to visit with Celinda and Isobel, the Aymara weavers, that I met at the weavers’ gathering here in Santa Cruz earlier this year. And, if I need any more reasons to justify the trip, I could also go to Doñihue to learn more about the chamantos.

So, here I am at home in Santa Cruz trying to get back into a routine, blogging one day earlier than usual to make up for the missed post last week. I send a big hello and hugs to all the people with whom I wove on this latest US trip and to all the people who so kindly took me into their homes.

Now to decide what to warp up and put on the first pair of those 26 loom bars!

Backstrap Weaving – A Surprising Encounter

A SURPRISING ENCOUNTER

I have been kept from my loom at home this week. Normally this would have left me very agitated but it has been for a very good reason.

I spent my Friday goof-off day and all weekend working on a slide presentation and then woke up on Monday morning to my boyfriend reading to me from the newspaper over breakfast about an Encuentro de Tejedores (gathering of weavers) that was going to happen right here in my home Santa Cruz.

Oh darn I thought with a sinking heart, I bet it’s on when I am due to be away in the US. So, when does it start? I asked, dreading what would surely be a disappointing response.

TOMORROW!

was the shocking reply. Maybe we just missed all the previous announcements. I really had no idea and so there was a mad rush to gather information and make sure that I could be a part of it. The conference is officially entitled…

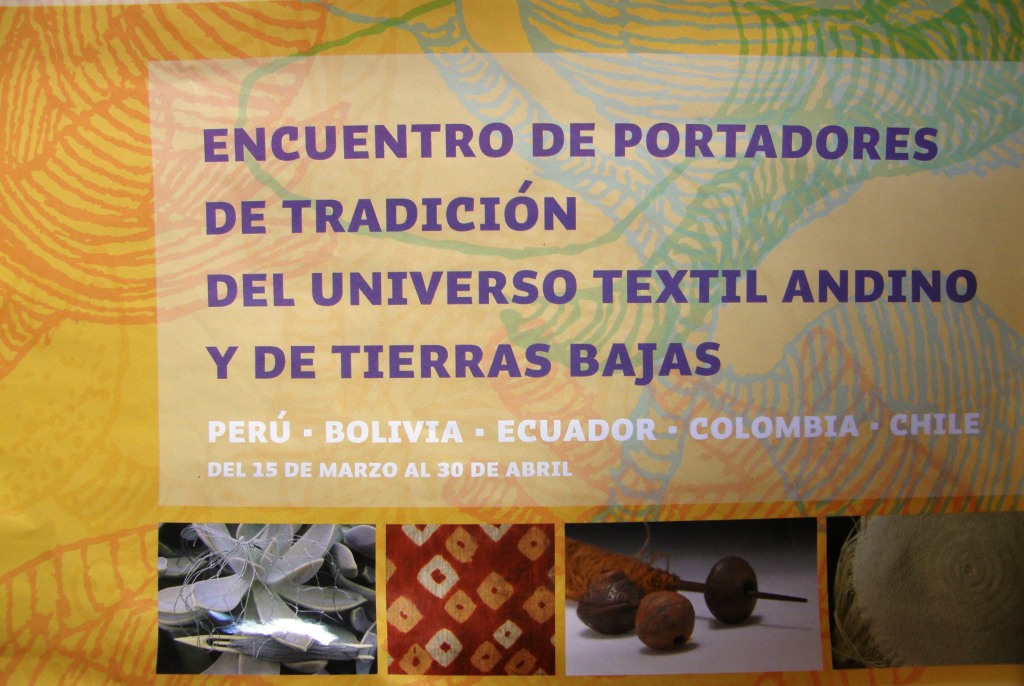
ENCUENTRO DE PORTADORES DE TRADICION DEL UNIVERSO TEXTIL ANDINO Y DE TIERRAS BAJAS

(A meeting of the bearers of the traditions of the Andean and lowland textile universe)

which brought weavers, artisans, anthropologists and academics from Colombia, Ecuador, Peru, Argentina and other parts of Bolivia to my lowland home. Now this sounds like an enormous gathering but it wasn’t really. Only two to four people came from each place which has made it an extremely intimate experience with plenty of space and time to spend chatting with and getting to know people.

Only a handful of outsiders such as myself have attended which makes me feel even more privileged but at the same time alarmed and saddened although not totally surprised by the apparent lack of local interest in this event. Perhaps it wasn’t widely advertised in order to preserve this intimacy and make it more possible for the weavers themselves to interact more closely. Either way I feel extremely blessed to have been able to participate.


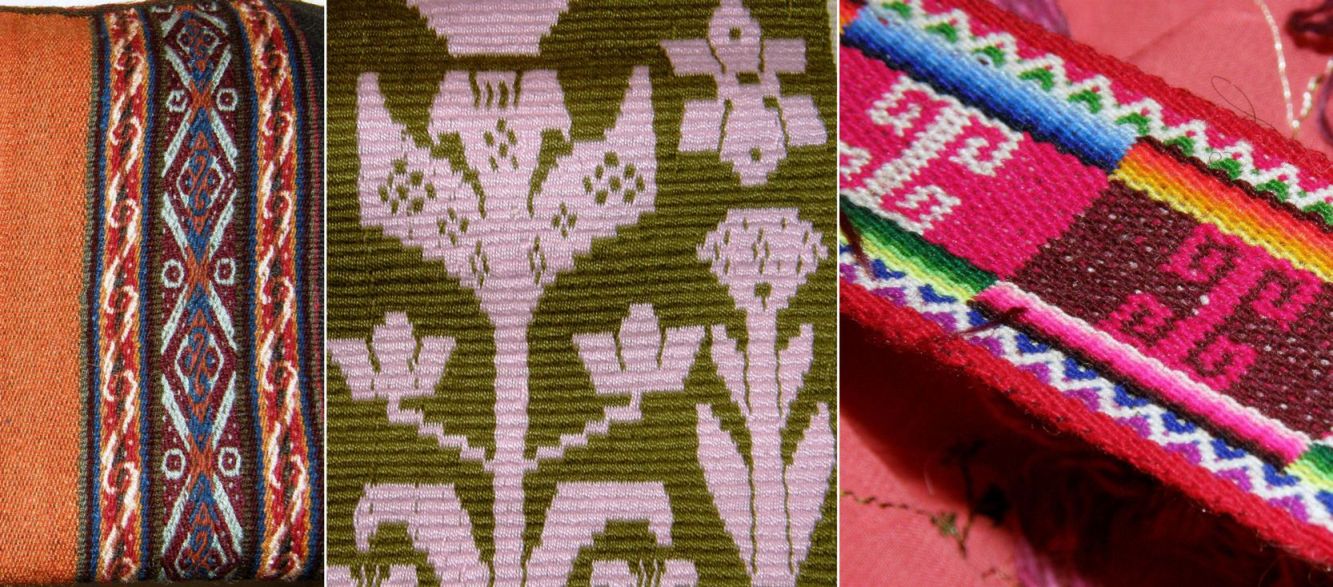
Weavings from highland Peru, lowland Bolivia and the Chilean high plains.


So, this means that this week’s blog post will be rather short as there are still two more evenings and one more day of conference to go. I will give you a few tidbits here to whet your appetite for a full report next week. I am still in the process of gathering information, facts, etc…and would hate to get anything wrong and I apologize if I have misspelled names.

I will tell you now that this whole event was organized by three wonderful Chilean ladies, the idea for which had its roots in an exhibit by Chilean artist Natasha Pons, which will run here for a month, called “Relatos Migratorios”. The Centro Cultural Simon I Patiño made it possible for people like me to experience all this for free. I still haven’t gotten over this fact!

Angela Suarez, a Guarani weaver of the Bolivian lowlands met Chinchero weavers Sonia and Sanaida(sp) at the inauguration gathering.

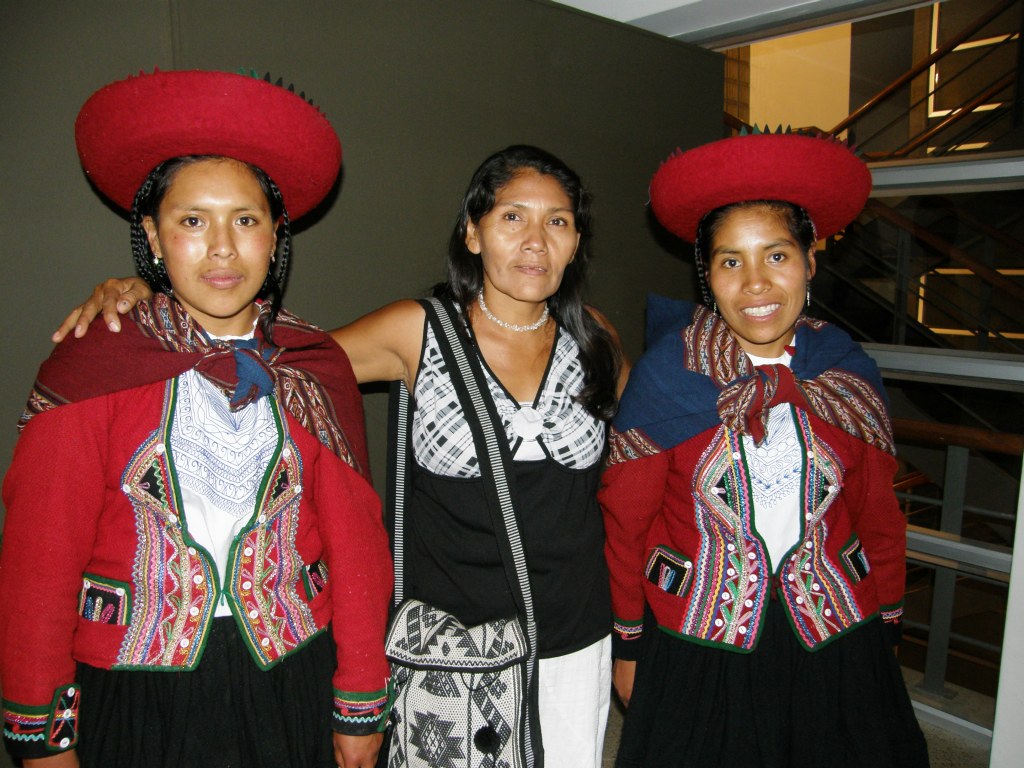
The inauguration of the conference and exhibit took place on Tuesday. I went along and met up with my Guarani weaving teacher Angela. Walking up the stairs at the cultural center, my heart skipped a beat when I saw two ladies from Chinchero, Peru right behind me.

Last November after a little weaving class with Angela we had to part for some time as I was leaving for the Tinkuy de Tejedores in Peru and she was going to her home of Isoso to organize the weavers to make an enormous order of woven Christmas cards. I had told her about the exciting event in Cusco all the time wishing that I could have gotten my act together and taken her with me although I doubt that she would have gone with the extra responsibilty she was carrying at that time to fulfill the Christmas weaving orders.

So, here now was a little part of Peru coming to her instead! along with Colombia, Chile and Ecuador. And, on top of the beautiful pebble weave bag that she is carrying in the picture above, she brought one her wonderful works-in-progress in the Moisy technique to show to the highland weavers.

The program comprises three mornings of four-hour workshops along with audio-visual presentations and conferences in the evenings. The first day’s workshop was backstrap weaving which was offered by the ladies from Chinchero along with Celinda and daughter Isobel, Aymara weavers from the northern Chilean highlands.

Organizer Cristina  introduced the workshop and put it very well when she explained that there are many roads that can lead to a single destination and many ways of achieving the same objective. The warping, set up and weaving techniques used by the Aymara and Quechua weavers teaching us here side by side have their differences but our goal, she explained, would be to learn to weave narrow bands, called jakimas in the Quechua language of Chnichero, and what the Chilean weavers call cintillos.

 Aymara weaver Celinda watches with fascination as Chinchero weaver Sanaida works on her pick up weaving. 
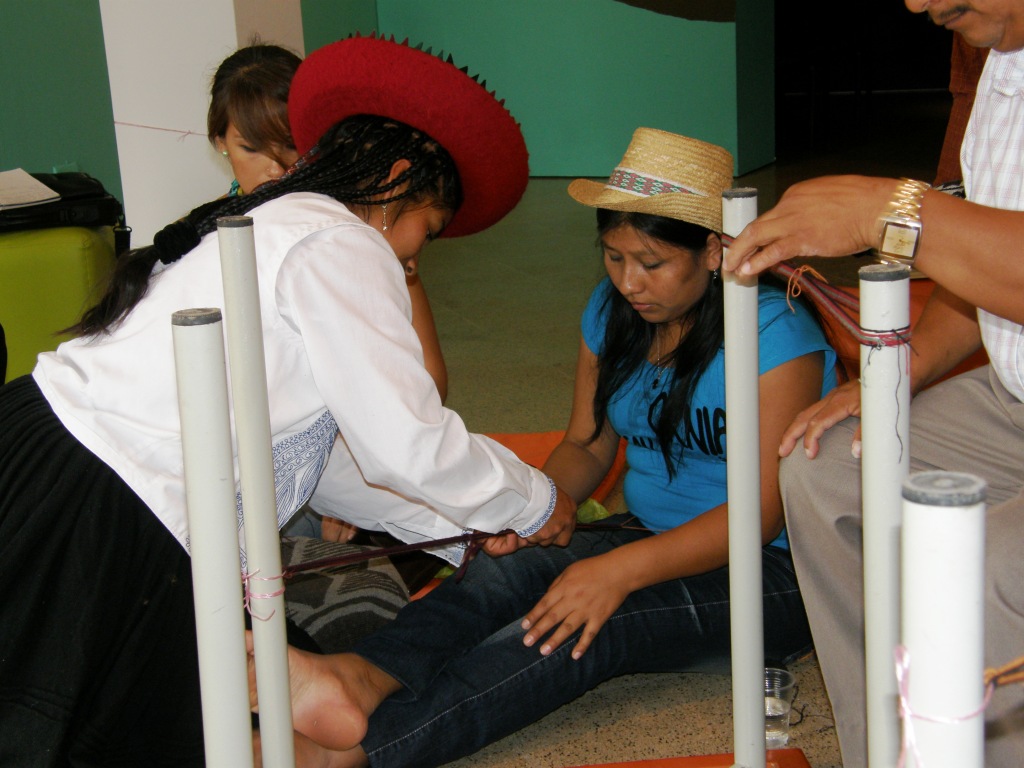
Cabuya fiber artisan Maritza from Colombia receives help from Sanaida while one of the Ecuadoran gentlemen prepares his warp around a pair of table legs.
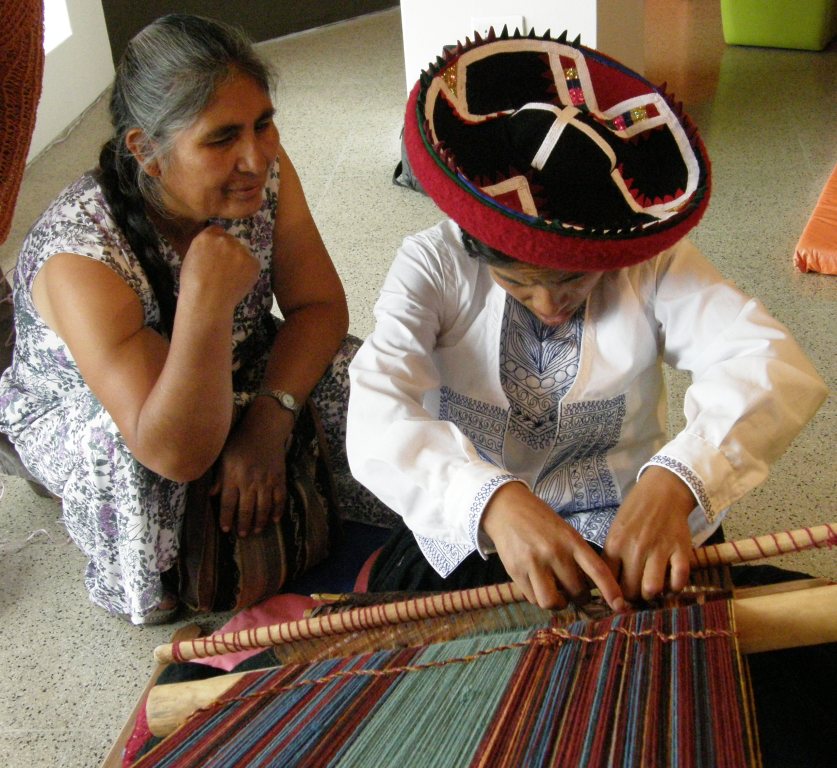
Well, you can imagine that this had me wanting to hop from one group to the next so as not to miss a thing! but I settled finally with Sonia and wove my first flat band with the gorgeous Chinchero handspun (I had used this fiber before to make tubular bands at the tinkuy).
My experience with my own handspun has been almost exclusively with llama fiber and so there were quite a few interesting things to note about this wool warp, the behaviour of the weft, the appearance of the woven surface from the high twist yarn and the different kinds of weft that Sonia and Sanaida were using.
Having the backstrap weaving moves down, I was able to focus very much on the material rather than on the technique. So, I did get to weave this week after all.


Cabuya fiber from Colombia and handspun wool from Chile and Peru along with other random bits of cord and twine that we used to tie up the warps.

The artisans from Ecuador, Colombia and Oruro in Bolivia joined in enthusiastically as well as a small group of outsiders such as myself and staff from the cultural center. Most outsiders were non weavers and were terrified to beat hard and pull at the warps fearing they would break. The handspun wool was of course wonderfully resistant which was a good thing as there was the usual amount of beginner heddle-sawing going on.

I didn’t have to worry too much about missing out on Celinda and Isobel’s (the Chilean weavers) instruction on day one as today Angela and I got to spend a lot of time with Celinda as she wove.  I found her very tranquil and lovely to watch. Daughter Isobel, on the other hand, is a live wire! You will see and hear more about her next week.

The technique that Celinda was demonstrating is a variation of the Moisy that Angela weaves except with three patterning colors which requires a fourth set of string heddles to manage. This does not create a double faced textile but there are no long floats on the back of the band either.

Angela noted that Celinda’s heddle order arrangement was quite different to hers and asked many questions. I could see her soaking it all up.

Finally she wasn’t asking questions but rather pointing things out to confirm that she did indeed understand.  I wouldn’t be surprised to see her adding this to her repetoire and you can be sure that if she believes that any of Celinda’s ways are better she will adopt them. She is already using a stick for her lower set of heddles on her narrow bands after asking me to teach her how to make them on a stick – something she said she had always wanted to learn.

Well, I really must stop here as there are more events to attend tonight and one more day of this conference to go. No doubt there will be much to tell and show next week.

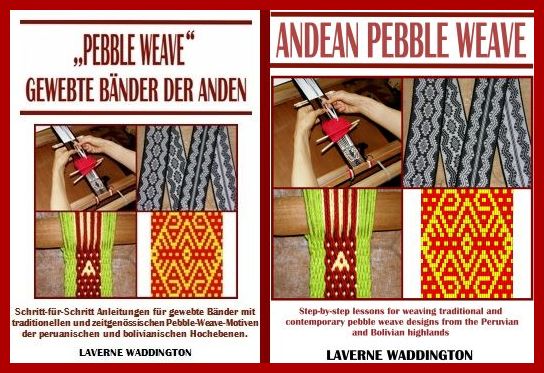
I can’t go without giving my thanks to my online weaving friend Kristina Krenzer who has worked hard to translate my e-book Andean Pebble Weave to German. It is now available on Patternfish. It looks so weird and, at the same time, so great in another language! Of course you can get the English version on Patternfish too.

Ich danke Kristina Krenzer für die Übersetzungsarbeit. Meine Monographie über die Stippenweb-Technik der Anden, auch bekannt als “Pebble Weave”,  ist nun auch in deutscher Sprache bei Patternfish erhältlich .