What is “backstrap weaving”?
I have been weaving on my backstrap loom way too long now to be able to remember what my ideas about backstrap weaving were before I actually started doing it. For me now “backstrap weaving” is just that: weaving on a backstrap loom, and it doesn’t matter what size, shape or form the finished piece of fabric takes.
For some people it may bring forth visions of narrow warp-faced bands decorated with pick-up patterns. Others may think of the white airy gauze weaves of Mexico or the brightly colored supplementary weft patterned pieces of Guatemala, fine Asian silk inlay or the heavy woollen ponchos of Ecuador.
Many of the weaving techniques I have learned here in South America were taught to me by weavers who use backstrap looms while with others I learned on either vertical, oblique or staked-out ground looms. I adapt all the techniques to my loom of choice – the backstrap loom.
So, “learning to backstrap weave” to me is all about learning to warp, set up and operate a loom which uses the weaver’s body as the tensioning device rather than being defined by or confined to any one technique.

Whether it be narrow or wide, plain or patterned, balanced, weft faced, weft twined or warp faced, heavy or fine, made of wool, silk or cotton…it’s all backstrap weaving to me. I even did a tapestry piece once on my backstrap loom (the brown square purse with the orange, red and green figures in the upper right corner – not in a hurry to do more of that! and I know of someone who did knotted pile on hers.)
Being in online weaving groups got me interested in trying some of the more “conventional” weaves (for want of a better word) and so I tried some simple color and weave balanced-weave things like log cabin and shadow weave. I had fun doing the red and white pinwheel and the rosepath patterns using a rigid heddle, string heddles or both on my backstrap loom.
What has me thinking about all this is the arrival of a new non-weaving member to the Backstrap Weaving Group on Ravelry. She was gifted a LeClerc “Mayan” backstrap weaving kit and is looking for tips on how to get started. If you had been thinking that backstrap weaving is all about narrow warp-faced bands you would have gotten quite a shock on opening the box.

The loom is surprisingly wide, around 24″ I am told, and comes with a rigid heddle.
Here are some ladies at Convergence having their first backstrap weaving experience using the Harrisville Designs kit that also comes with a rigid heddle. Dawn is on the left and Kim on the right. I have shown some of the bands that Kim has gone on to weave here in previous posts.

So I am hoping that all of us there in the group on Ravelry can help our new weaver to decide on a suitable first project on her Le Clerc loom and give her some tips on yarn choices for the rigid heddle she has (not my area of expertise due to limited yarn variety here in Santa Cruz!) . I take it that the loom comes with a booklet that will show her how to warp it. So it is not only a case of what she perceives backstrap weaving to be but also what ideas she has about weaving as this will be her first adventure with warp and weft.
This is not my first encounter with a new weaver jumping into a backstrap loom. Esmecat showed up in the Backstrap weaving Group on Weavolution last year after having been given a rigid heddle and all the bits necessary to set up a backstrap loom. Her friend helped her get warped up and ready to go. She was well underway with her weaving when she joined the group and her first project, which is gorgeous, was a loom bag made from sock yarn.

You can see the first post about esmecat’s experience with this on her blog and follow on from there. It wasn’t all smooth sailing – most first projects aren’t – but look at the beautiful result.
Nancy Peck wrote to me recently about her own experiences using a rigid heddle on a backstrap loom. Of course Nancy is by no means new to weaving!!
She shared some pictures with me of one of her projects with this set up.

 So you can see that it is fun and intriguing for both new and experienced weavers. Weaving in an armchair…how nice is that?! And I enjoy using the rigid heddle on my backstrap loom too. It is a nice change of pace from doing pick-up and beating away at warp-faced pieces, inching my way along from day to day. Weaving with the rigid heddle zooms along!
All the rigid heddle loom manufacturers that I know of sell rigid heddles separately or you can buy small rigid heddle segments here. You can make your own…Alaa (weave2 on Rav and Weavo) gave me a link to some instructions for making your own. Ruth MacGregor makes what she calls a semi rigid heddle which you can see at left and read about here.
I have two Ashford ones that were given to me and a Schacht which I bought.
As far as warping goes, as I said last week, there is no one “right” way. I just did what seemed logical and comfortable to me given the small space that I work in but there are most likely much better ways to go about this.
I wound a narrow piece on my warping stakes just to show you what I do.
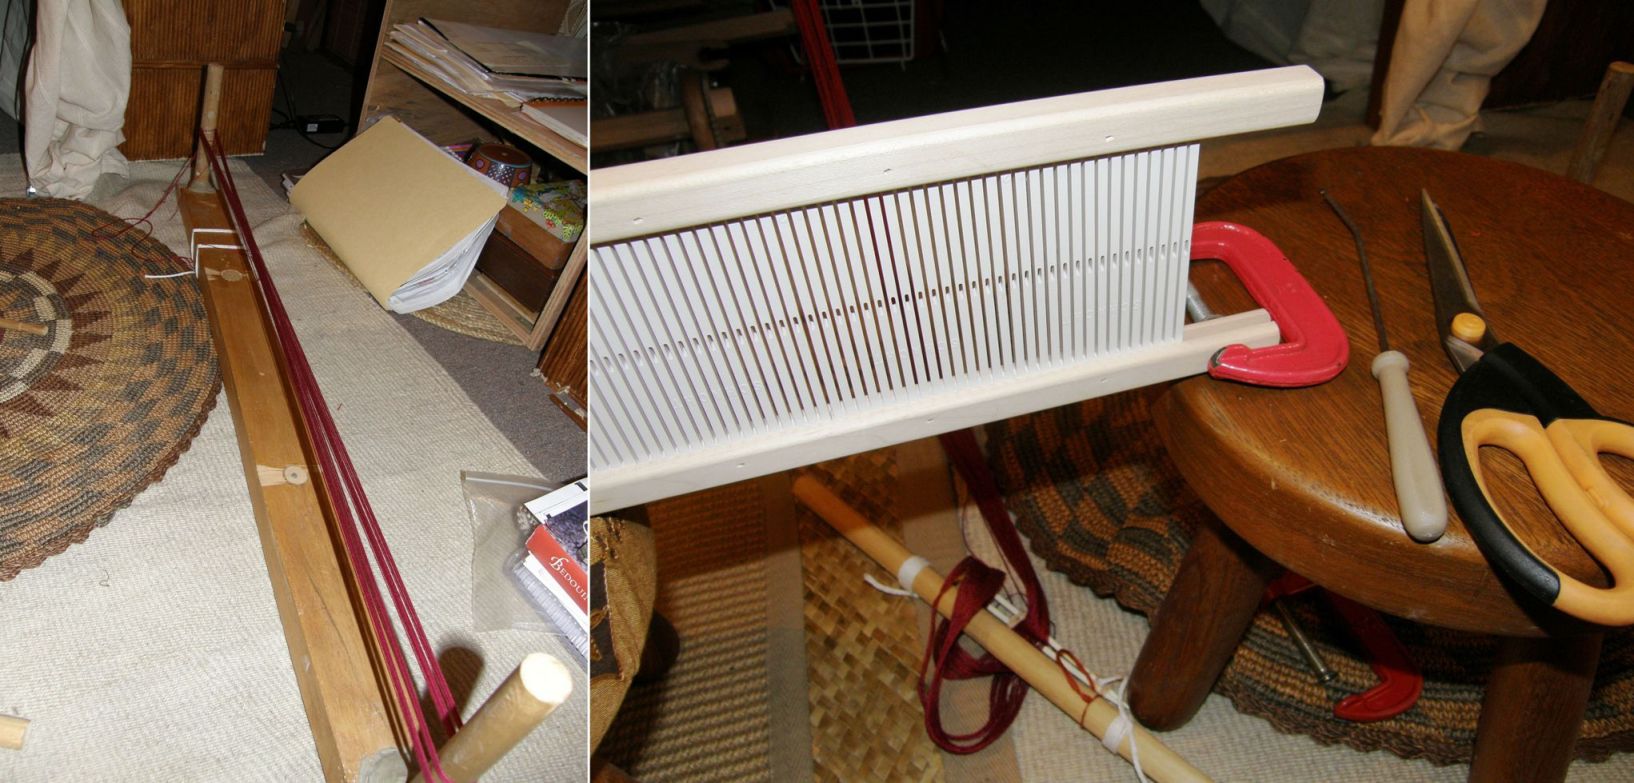
So I warp up as usual on my warping board, transfer the warp to my loom bars and get into my backstrap to tension the warp. I have the rigid heddle suspended over the warp within easy reach. It sits on two small stools and is propped up with a clamp. I use the threading tool that came with my rigid heddle loom but I have also used a needle when I couldn’t find the tool (not so nice that way).

From here I cut an end loop on the loom bar in front of me, and thread the pair of ends, one thread through a hole and one through a slot. Call me crazy, but I like to tie each pair of threads together with a knot as close to the end as posssible and then transfer it to another loom bar on the floor beside me. Most weavers will tie a group of ends together. Actually I usually put the knotted threads on a steel knitting needle which I later lash to a loom bar.
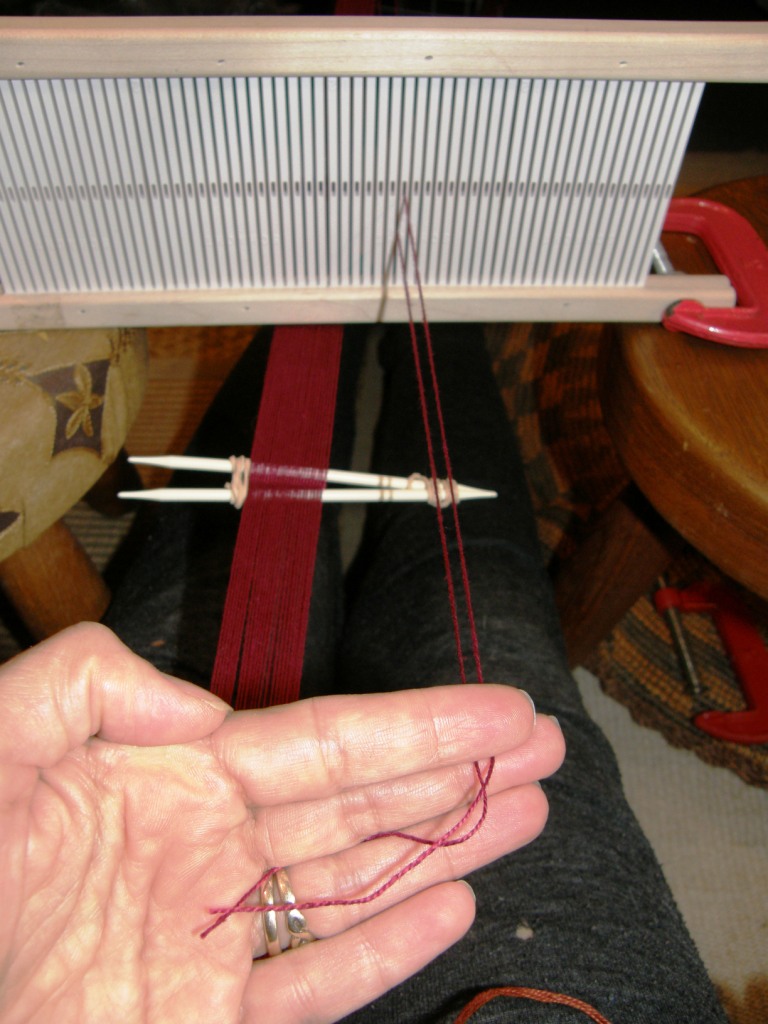
There’s the first pair of threads in their hole and slot.
So this is my way.
It is probably a whole lot easier laying the whole thing out on a table but I don’t have this luxury!
Besides I am very comfortable there on the floor in my backstrap.
I used to work in ski resorts and spent nine months of the year for 5 years on skis. Those long planks used to feel like they were part of my feet and that is how my backstrap loom feels now – a part of my body.
And away it goes…
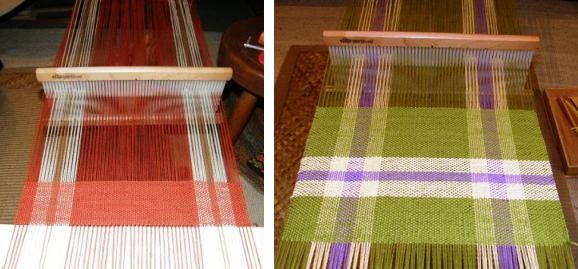
And some of the results…

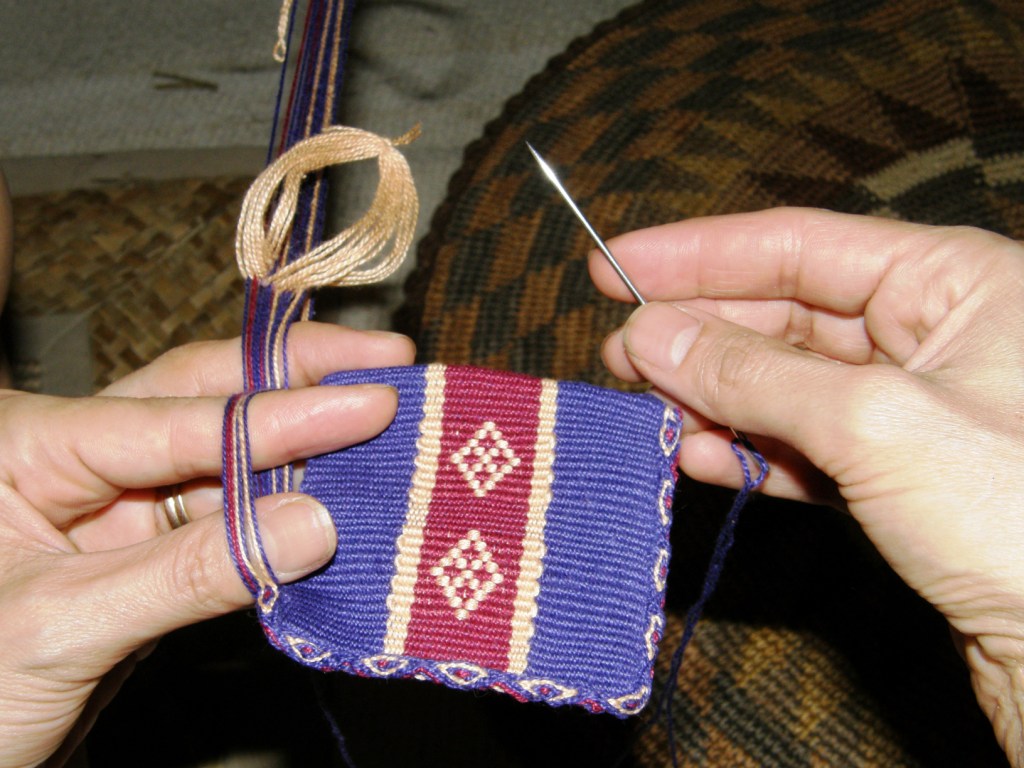
But I always go back to my great love – warp faced, pick up patterned pieces and ethnic themes. Speaking of which…I finished the amulet bag I was working on last week with a crossed warp band for the strap.

I started looking at the different finishes on the various chuspas (coca leaf bags) that I have and decided to try one out on another amulet bag.

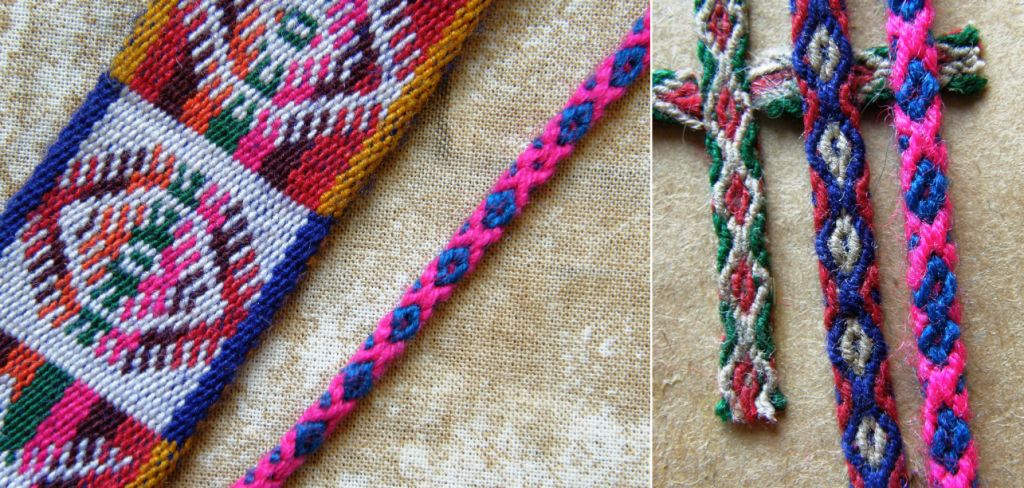
I may have used too much yarn for my version on the right. The weaver had woven and sewn a tubular band with diamond or “eye” patterns along one side of the chuspa. When she got to the bottom of the bag she continued weaving and sewing but, at the same time, lodged strands of yarn between the woven tube and the bag before passing the weft and sewing the tube to the cloth. So I did the same. The strands of yarn form a fringe.
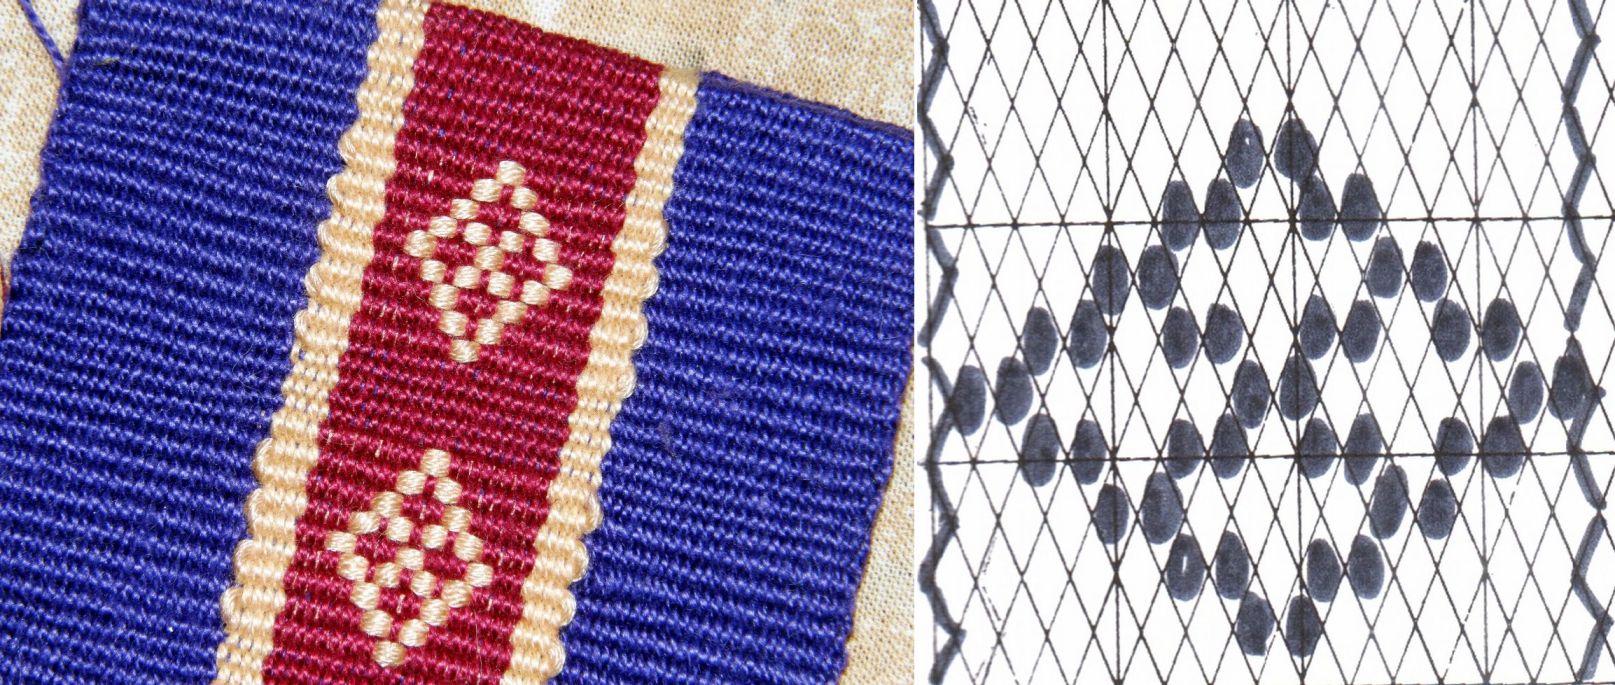
I noticed that the weaver wove the tubular band in plain weave where it was covered by fringe…wise move… why spend all the time making the pattern when it was only going to get covered. Actually I was surprised how nice the plain weave band looked when I wove it due to the unusual arrangement of the warps for the diamond pattern. Silly me forgot to photograph that part.
When finished, the tufts of fringe are bound, sewn to the tubular band and then trimmed. It is a nice finish.
For this amulet bag I wove the tubular band in only two colors just to see how that would look and made a braided rather than woven strap. The braid is a six-strand finger loop braid that my weaving teacher in Potosi taught me. It looks very different on its two ”faces”.
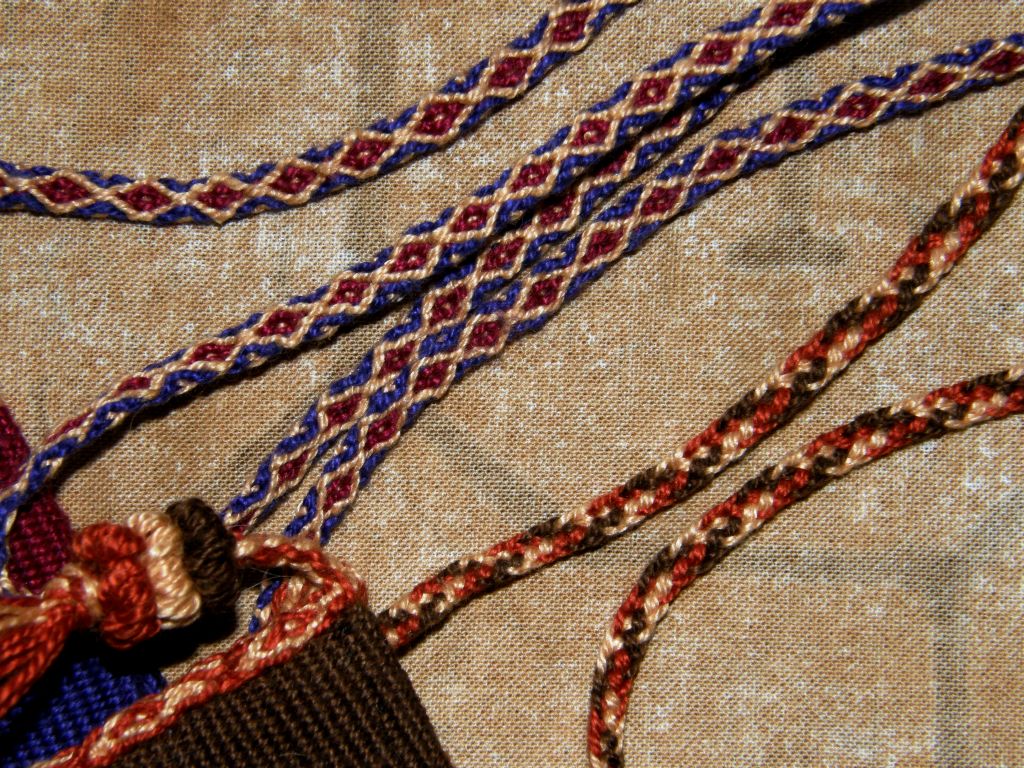
 Done! Tiny projects like these are good for practicing new techniques. I have more chuspas to examine and more finishes to try.
 As you are reading this I should be in Cusco or Urubamba attending the tinkuy, the gathering of handweavers organized by Nilda Callañaupa and the Traditional Textiles Center in Cusco (CTTC). It runs from November 5th -8th with presentations and demonstrations on the 5th and 6th followed by workshops on the 7th and 8th. I know I will be able to catch up with some people I met at Convergence and I know that at least three people I have met through this blog will be there too and then there will plenty of new weavers to meet…all in such a short time!
Navajo weaver D.Y Begay was here in Boliviarecently and I was disappointed to have missed her. Just last weekend we discovered that we will both be at the tinkuy and will be in the same hostel. She has been exchanging weaving know-how with indigenous weavers in Guatemala and Bolivia and maybe other places too that I don’t know of. She will stay on in Peru for some weeks working with the CTTC.
Here’s someone I met through this blog and if you are a regular visitor you will have already met her here a couple of times…”Cycling Anna” is still on the road in Argentina and heading south and I have a picture to show you of her braiding the ends of her double weave band while taking a break in Chile. Recognize those llamas? She has picked this up super fast.
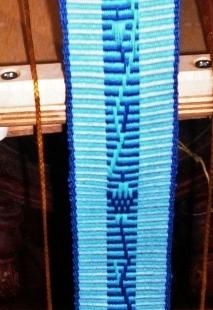
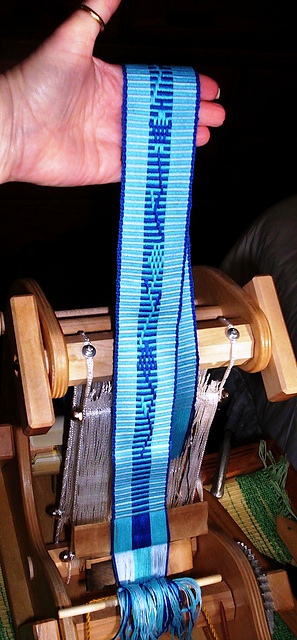 Marsha Knox has been moving along with her experiments in simple warp floats, floating both colors and getting more and more creative with her patterns.
One last piece of news: I have just submitted the Spanish translation of my Backstrap Basics article to WeaveZine and hopefully that will go up on the site soon. Only the videos will remain in English. That, combined with the tutorials I am slowly translating here on the blog, will hopefully make information about backstrap weaving and the weavers of Latin America accessible to even more people.
See you all after tinkuy. I’ll be back with cracked lips (super dry air up there) and bleary eyes (my reaction to the altitude is insomnia) and ready to weave after all the amazing things I saw and heard there. I’ll be back on the 11th to answer comments and emails.
EDIT: Yay I have wifi in my hostal in Urubamba and so am able to post this picture that Helena sent me of the band she made using one of the Bedouin techniques that I used in my wall hanging.

She used the threading from the last page of this article that she found by Joy Totah Hilden. It is a simple and very effective design which has long floats on the back.
And here’s a view from the plane somewhere between La Paz and Cusco today….