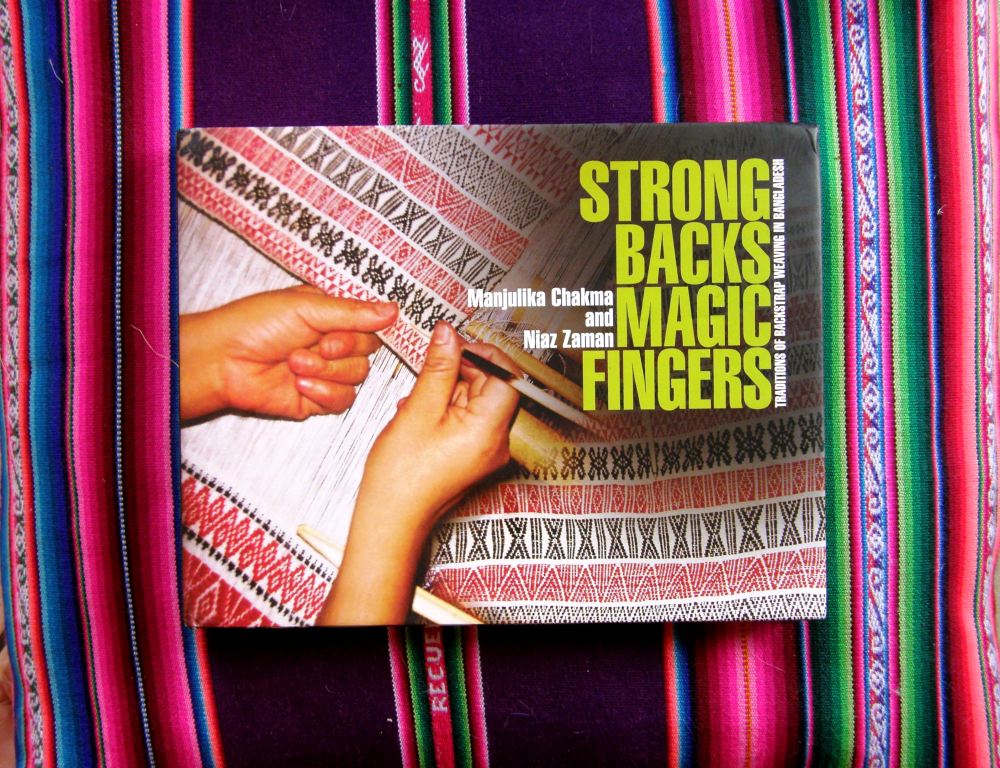
There is no single correct way to do things when it comes to backstrap weaving. I love seeing the similarities and differences in the ways weavers wind warps, set up their looms and operate them as well as the differences in the materials that they use…from pvc pipe to rebar to bone and worn wooden pieces that have been passed down from one generation to the next. Backstraps can be made from braided straw, plastic rice sacks, leather or woven wool and cotton. Warps can be angled upwards ever so slightly or steeply. Heddles can be applied during warping or after. I love the different shapes of tools and materials that I have in my collection. It is not really a ”collection” accumulated simply for the sake of collecting. I have used all these pieces at some time or other and continue to do so. You can see a leather backstrap from Guatemala, a bone sword and pick-up tool from Peru, loom beams from Burma, Guatemala and Peru and a sword from Ecuador…all sitting on a Bolivian weaving.
The thing I want to talk abut in this post is the corrugation or ridging that can occur when weaving a cotton piece in plain weave and the different ways I have found to deal with it. I have covered this in several posts as I struggled to figure out what was causing it and then found out how to prevent it from happening. I now use a coil rod if I am doing plain weave with a material that has little, if any, stretch or ”give”, like cotton or silk, for example. Probably the worst case of corrugation I have ever produced is out there for everyone to see in my tutorial on supplementary weft patterning…
 You can see that the surface of the weaving is not flat and smooth . It looks a lot like corrugated cardboard…bump, flat, bump, flat, bump, flat. I finally figured out that when my warp passed around and was suspended by a large dowel at the far end, the entire warp was free to swivel back and forth around the dowel as I made the movements to operate the loom. This is what was causing that bump to form and it was just a matter of somehow stopping that swiveling from happening.
The corrugation only shows up when I do plain weave. Warp-float structures do not suffer from these annoying bumps.
 You might be able to make out the difference in these two bands. The one on the left has a nice smooth surface while the one on the right is corrugated.
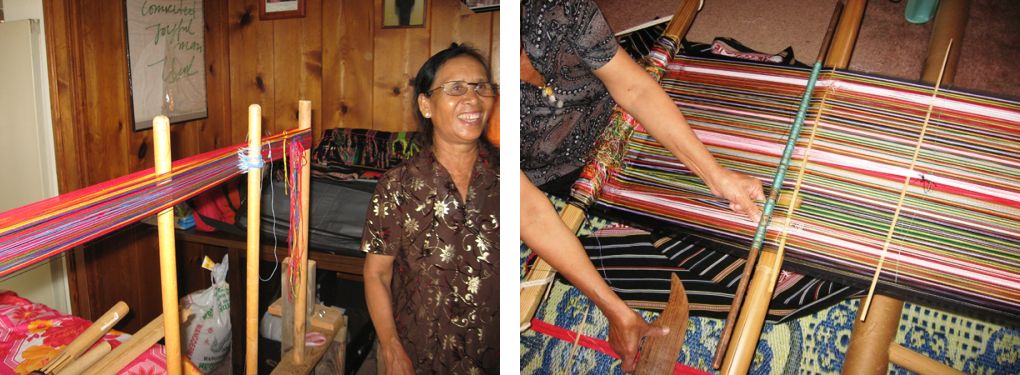
I had been given the know-how to combat the corrugation by my various indigenous weaving teachers without even being aware of it. One of the few places where I have studied plain weave in cotton with backstrap weavers was in Guatemala. There, my weaving teachers would weave an inch or so at one end of the loom and then turn the loom around and weave from the other end. The weaving at the far end of the loom locked the two layers of warp together so that the threads could not swivel back and forth as the weaver operated the loom…result: nice smooth cotton cloth..no corrugation.
The picture below of my teacher is too small to show detail but you will notice that the warp layers at the far end of the loom are squeezed together right at the loom bar rather than being open as they pass around the beam. That is because an inch or so has already been woven at that far end.

So, anything that locks the layers of warp threads together rather than allowing them to be open and swiveling freely around the loom bars will work as a way to prevent corrugation.
Lashing the warp to the near and far beams is another way to lock the layers together…
 This weaver in Peru is lashing her alpaca warp to the square loom beam. A header weft was placed within the open shed and then lashed to the beam. The primary reason for doing this is to allow her woven piece to have four selvedges. But, this technique would also stop a cotton piece from developing corrugation. You can see a very nice video of the lashing process here.
Here, my weaving teacher in Potosi, Bolivia is lashing one end of the warp we just wound to the beam…

My cotton warp in the following picture is lashed to the beam at both ends by way of a metal rod rather than a header weft. This is the way I choose to do it and it gives me nice smooth plain-weave cloth without ridges…
 The red cotton cloth beneath the white sample was also woven on my backstrap loom. It’s plain-weave cotton and is smooth because I used a coil rod.
Some weavers turn their warp ends around a header weft as they wind the warp rather than inserting it later when the warp is off the warping stakes. It is always exciting to see the different ways backstrap weavers do things…
 Of the three methods for locking the warp layers together that I have learned so far…1. weaving at both ends of the warp 2. lashing both ends of the warp to the beams and 3. inserting a coil rod…..the coil rod is my favorite. I am not quite sure why I favor this one. I think it might be because I like to take my warp off the warping stakes and then sit, set up and weave. I can sit and make my heddles, insert the coil rod and weave. I don’t need to be turning the loom around to lash both ends or turning the loom around and rearranging the sheds so I can weave at both ends. I want to just sit and stay put! I feel that the less I handle the loom in terms of moving it around and about, the better.
But, as always, it is nice to have a set of options from which to choose.
 There’s nothing I like better than being seated in front of my warp with heddles, shed rod and coil rod in place, ready to throw that first weft! This is a warp of fine Guatemalan cotton that I wove in plain weave with supplementary weft patterns.
A coil rod has kept all my silk plain-weave projects just as they should be…”smooth as silk”!
 Even though this next project was in wool, I inserted a coil rod. Sometimes, I just like to use one as I like the way it maintains the width of the warp beyond the shed rod.
 My Montagnard (Vietnamese hilltribe) backstrap weaving teacher uses circular warps and inserts the coil rod as she winds her warp. This is the colorful fine cotton warp she created with coil rod in place when she was teaching me how to do this…

This next picture is probably one of my all-time favorite backstrap weaving images and I am showing it here courtesy of Jaina Mishra…

A backstrap weaver is warping directly onto her loom with the help of a friend. It looks to me like a single-plane rather than circular warp and the fun part is that they are installing the coil rod as they go. This would be ultimate for me who likes to sit at the loom and do everything in one go! They are making heddles installing the shed rod and coil rod all at once! I love the backstrap she is using for those very long beams…see the pockets that slip over the ends of the beams? There is so much to love about this picture! The weaver can start weaving straight away without ever having to move.
What I have finally done, for those of you who think that you might like to try using a coil rod yourselves, is make a couple of videos showing you how I go about inserting one. I am afraid that we are back to the bedroom-floor amateur videos of my past with these ones! but I am sure that you will see all you need to know.
 What I usually do is sit in my loom and make my string heddles. Then I decide if I am going to use a loop or shed rod/s for the other shed and get that set up. I leave the cross sticks in place and then insert the coil rod. It’s something I enjoy doing…just like I enjoy making string heddles. I am a little crazy that way! You can see Sara, above, inserting the coil rod in her beautiful silk plain-weave warp. She has made her heddles and is using a shed rod with a second cross stick….the so-called ”twisty sticks” that I talk about in my dvd.
So here are the two videos. I had to make two segments for ease of uploading.
Now you will know why the coil rod is often also referred to in publications as the ”rolling stick”. I like the way it can sort of iron out small tension differences as it is being rolled to the back of the warp. I use wood rather than metal as I like the grip of the wood as opposed to smooth metal.
And, if you really would like to set up the coil rod as you wind your warp rather than after, I am sure that you will be able to see how to do that now that you know exactly how the threads turn around the rod. In past posts about the coil rod, I have shown how to install one while winding a circular warp.
I am going to finish by showing you a few projects by online weaving friends….
My new Operating a Backstrap Loom dvd traveled over the ocean to Maja in Germany. She was curious about learning new ways to set up a wide warp and has chosen the ”twisty-stick” method from the options I give in the dvd. She has already put it to use on her latest warp and I am thrilled about that. Look at her beautiful project!….

Collyer had woven tubular bands and learned about sewn embellishments with me. We decorate a piece of woven cloth made by my weaving friends in Bolivia. Collyer has applied the coil stitches to the flap of the pouch she put together with the cloth and has added a flat strap which she turned into a tubular edging along the sides….

Julia in Australia designed and wove a bee in the Andean Pebble Weave structure as the logo for her local beekeepers association…so striking!

Carmen sent this picture of the piece she has been working on using motifs from my second book...
 Also from my second book is this pattern that David in France used for his gorgeous Andean Pebble Weave band woven on an inkle loom…
 For those of you who have my Andean Pebble Weave book and would like some suggestions for how to set it up on an inkle loom, I will be writing about this in a future post. Many weavers, Like David, have figured out a way to do it. I know of several ways it can be done so I can offer you some options.
I love Terri’s very relaxed and cozy backstrap set-up on her son’s bed…

Kathy showed me what she has been doing with the beautiful two-heddle intermesh technique I teach in my second book…

Lieve in Belgium has been weaving pictures and words in warp-faced double weave on her inkle loom. Charts for the figures and letters are in my free tutorial here…
Jennifer in the USA took a break from Andean Pebble Weave andhas now returned to wind a narrow warp so she can wisely start again at Lesson 1. She is showing the band that she wove with various figures before she took a break to pursue her other fiber activities…you should see her beautiful embroidery! She later said that she got back into pebble weave in no time.

Speaking of Andean Pebble Weave, I finally got the Spanish translation, Tejido Andino ”Pebble” laid out and up for sale on Patternfish.com. Many thanks to Isabelle Marmasse for the hard work she put into it.

As for my weaving, I guess I am about three-quarters of the way along my silk wrap piece. It is getting quite exciting. It really feels like a good length of cloth now and I can see it working as the shoulder wrap that I have planned. I really can’t wait to wash and iron it. However, the most intensive apart of the patterning is still to come…where I have to repeat the 3-color pebble pick-up that I wove at the start. So, while I might be three-quarters of the way in terms of length, that is probably not true in terms of time.

 My dvd on Operating a Backstrap Loom continues to wing its way across the world!
Marilyn at Taproot Video has been keeping track and tells me that Norway and France have been added to the list of countries.
Many thanks to everyone for your support and I have been very happy to receive feedback from a lot of you about the wonderful ”aha” moments you have experienced.
I like to think that people are putting some of the techniques to immediate use just like Maja in Germany has done.
Here’s a sweet way to end this post…
I have another thank-you card that the young ladies in the highlands sent me after my visit. Maxima and I are winding a very colorful warp and there I am in the corner weaving at the leaning vertical loom…such a lovely souvenir of my visit.