Backstrap Weaving – Travel Tidbits from Massachusetts

Well, I am here in Massachusetts with my friend Pam in her peaceful home in a lovely rural area. It was a rough trip with burning smells in the aircraft cabin forcing the flight to land in Orlando where swarms of Brazilian children clutching Mickey Mouse dolls were also stranded due to thunderstorms. This meant arriving in Boston in the wee hours of the morning where I probably caught about 90 minutes of sleep on the airport floor before the early flight check-ins brought in the excited hordes.

But…I am here and I have a few tidbits to share…some interesting things that I have seen in the day and a half I have been here so far.

Firstly, the skies cleared today and I got to go out and see Pam’s indigo crop. Hopefully we will harvest some leaves and do some dyeing during my stay. Pam has done it before with her own plants and so I am looking forward to learning a lot.

We pulled off a leaf today and scrunched it about and left it to see if there were any signs of blue as this is apparently a way to see if the leaves are ready for picking and, yep, a few hours later when we remembered to go look at it, the signs were there.

And this is what we are going to dye….silk! all the way from Uzbekistan.
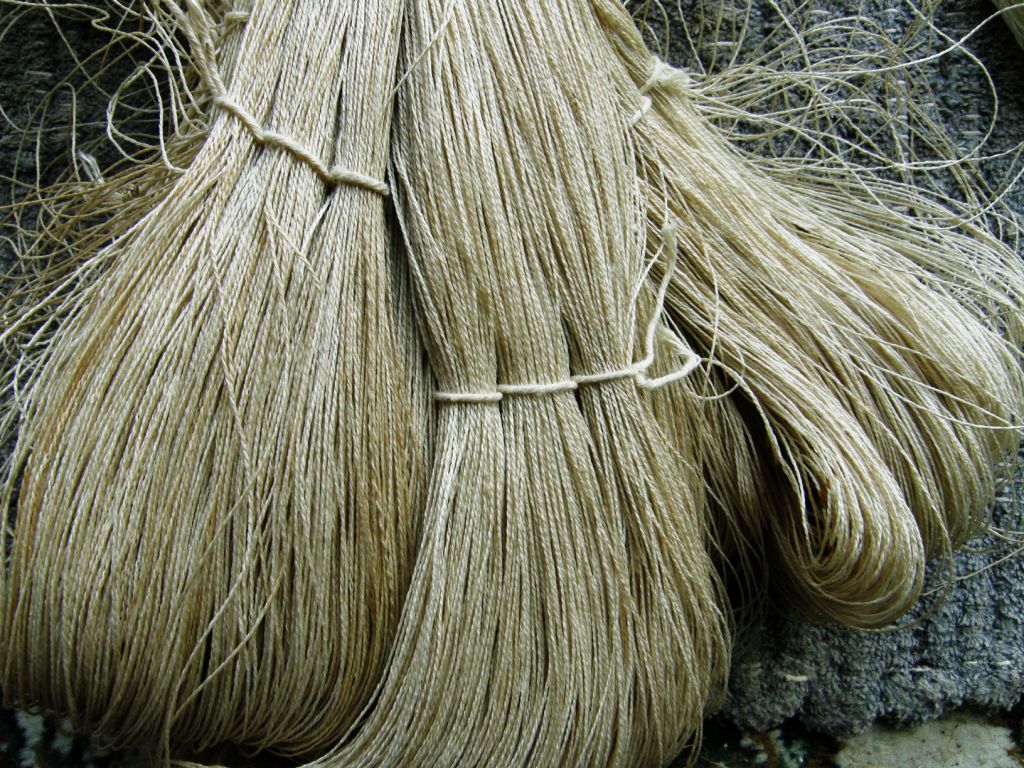
Here is the silk with its coating of sericin. I had no idea that this is how it looks and feels…stiffish…before being scoured with washing soda in simmering water.

Fortunately Pam also has a lot of beautiful soft scoured silk all ready to be skeined for dyeing.

I spent the afternoon revisiting Pam’s collection of textiles from Uzbekistan. I posted them in a previous blog post but getting to see them again with fresh eyes is always welcome. Even though these pieces were all bought on the three trips that Pam has made to Uzbekistan, some of the textiles actually originated in Turkmenistan.

The rug and rug piece which has been sewn into a bag caught my eye as both have been made with the warp substitution technique. Who cares about long floats on the back when you have weaving in this beautiful handspun yarn and gorgeous color combinations.

This is one of several rugs on the floor of the office in which I am sleeping. I love the fact that the long floats on the back of the piece give me a chance to feel and closely inspect the yarn.

This is a piece of rug that has been made into a bag. You can see both faces of the fabric. I just love those washed-out reds and blues. The rug was cut and then a woven band was folded lengthwise and sewn to the raw edges to cover and protect them.

The strap is interesting. Doesn’t that look like finger weaving?

I am pretty sure that this motif was done in three-color warp substitution. You can just make out two colors in the motif along with the red background. Only by looking on the other side where the colors were still bright you could clearly see the orange and green warp threads that alternate in this design.

This bag is my favorite…

I am definitely going to cut a fancy flap and add some tassels to the next bag I make. I have just been getting confident with cutting and edging rounded flaps. Now look at this shape! This piece, which Pam says used to be part of a rug, is woven using the two-color alternating warp float method which I have been calling, for lack of a better name, “warp floats galore”. You may recognize the “S” motif from a belt, cell phone pouch and notebook cover that I made. The woven band has been sewn on beautifully and it all feels very secure.

Little “comb” patterns separate the warp float bands and a simple warp substitution design has been woven into the edging band.
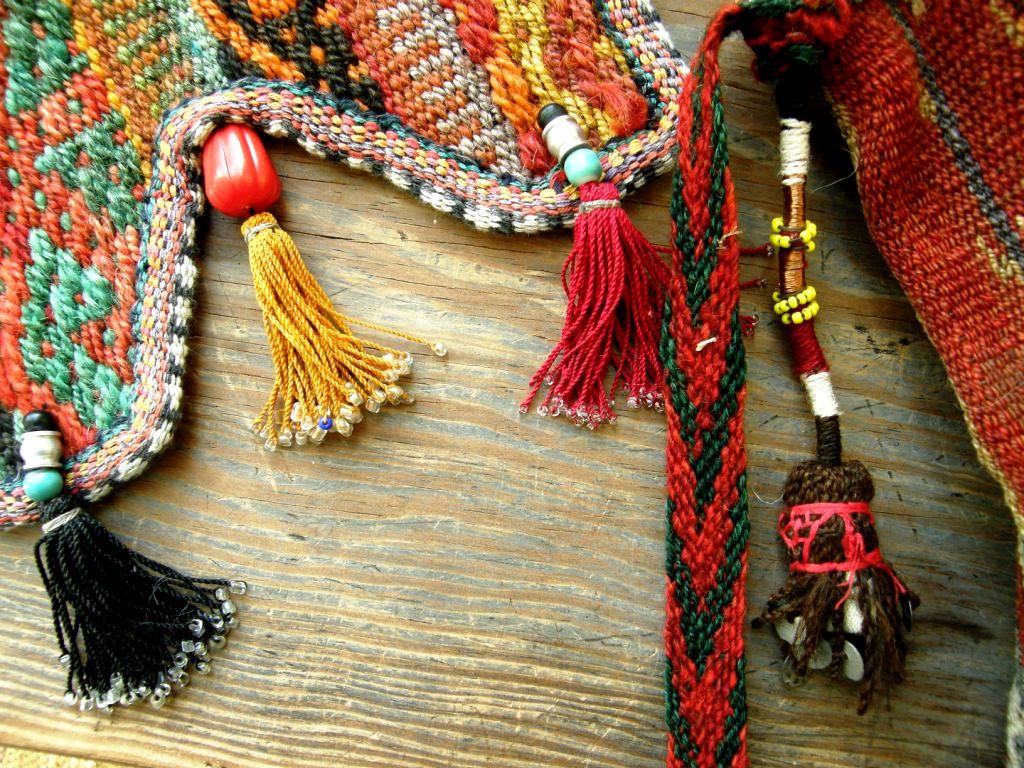
The fabulous tassels…one has embroidery on the outside and the one on the right includes copper wire in its wrapping.
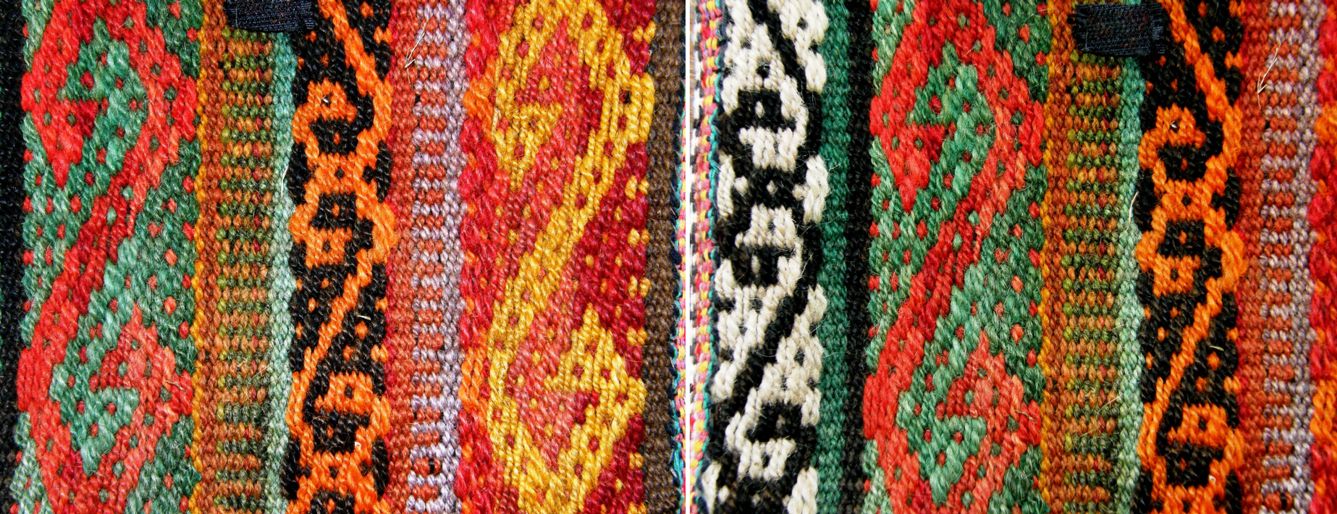
Here is a close-up of some of the warp float designs.

The bag strap has the same simple warp substitution design that appears on the edging. There is so much to be enjoyed in this one piece!

There is plenty more to show and tell from Pam’s lovely weaving space and home but I told you that this would just be about tidbits and so I will end with something that Pam’s friend Joan showed me on  a quick visit to her home in Worcester. I stayed with Joan and her husband Attila last spring. Joan introduced me to Saori weaving and took me to see Dar Ku, a Burmese weaver now settled in the US.

Joan is involved with new settlers in her area coming from all parts of the world. She has recently made friends with a basket weaver from Burundi as well as with textile weavers from Bhutan. An Ethiopian lady showed her how she spins cotton and gave her a spindle, some of her spun thread and a piece of Ethiopian woven cloth…all gorgeous!

 A close up of the end of the spindle and the woven cloth…I didn’t have the right conditions in which to photograph this well.

Unfortunately, lack of time won’t permit a return visit with Burmese weaver Dar Ku but I have posted a video I took last spring of Dar Ku at her backstrap loom weaving a supplementary weft design on warp-faced fabric.

I am so glad to be finally able to show this. It took forever to upload!

She weaves with the wrong side of the cloth facing her and carries her supplementary weft from place to place across the back to weave the parts of the pattern. She has a very soft beat and her tension seems to be quite relaxed.

I am told that these weavers usually weave with their legs braced against something and that this has been difficult to set up in their homes. For now they are just doing without the foot brace. I am sure it must feel weird for them weaving that way.

I wove once with Salasaca weavers in a shop rather than in their home where they have everything set up. They spent the whole time scrabbling about on the floor with their heels trying to get some purchase so that they could push and tension the warp more. Dar Ku on the other hand looks quite at home weaving with her feet crossed and not pushing against anything.

I love the way she opens the pattern heddles so delicately and smoothly. Everything just pops open so easily! It looks like the most relaxing effortless thing in the world. It is lovely to watch.

The Ravelry backstrap weavers and my other online weaving friends are hard at it turning out gorgeous projects…

How’s this for contrast…Jennifer is weaving a myriad of colored cotton stripes while Tracy just finished a pebble weave hanging with her handspun wool.
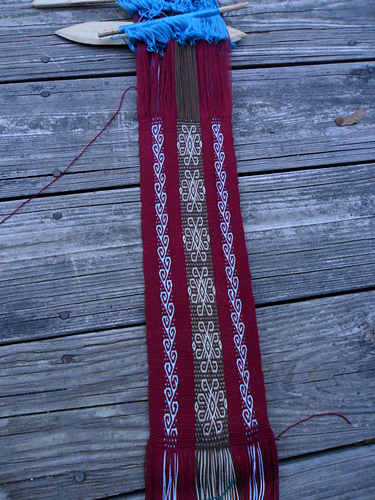
Verena has also been weaving pebble weave and hopes to sew this into a pouch.

Verena was my student here at Pam’s place last spring and has been getting on very well with her pebble weave since then.

And lastly, I have some charting paper to share.

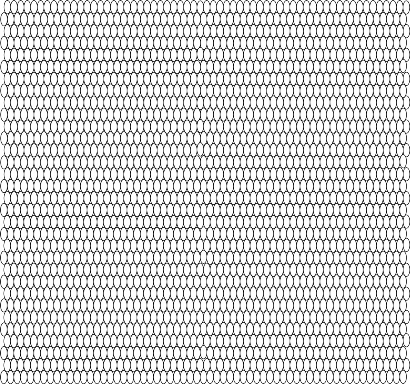
Lately, I have been charting my double weave, warp substitution and supplementary weft patterns on paper with elongated ovals rather than diamonds.

I made a sheet of ovals on a drawing program that I have and have posted it on this page for you all to use.

I am so used to the diamonds but I think that these ovals may be easier to use. I have had people tell me that they go cross-eyed with the diamonds!

I hope that this new charting paper helps.

Here is what it looks like. The page with the full version is is linked above.

Back with more travel tidbits next week.
Backstrap Weaving – A Feast of Knotted Fringes

This is a week in which I have been insanely busy with very little time spent at the loom. My pre-trip preparation has kept me busy at the keyboard making arrangements, digging through the closet to find the warm clothes, dragging out backpacks and bags, warping projects and gathering sticks to take on the road.


I washed and pressed my finnweave piece and was pretty happy with the result (wet finishing always makes me nervous). I wove a simple strap and now need to decide how to put it together. I also warped up a bright striped piece for a tote bag project but simply couldn’t live with the color arrangement. I have to confess that I hadn’t put a lot of thought into how I arranged the stripes and that has now come off the loom.

And then came an email from Eladio in Mexico sending me a link to a video showing the rebozo weavers of Santa María del Río, San Luis Potosí knotting designs in the warp ends of their shawls….stunning!

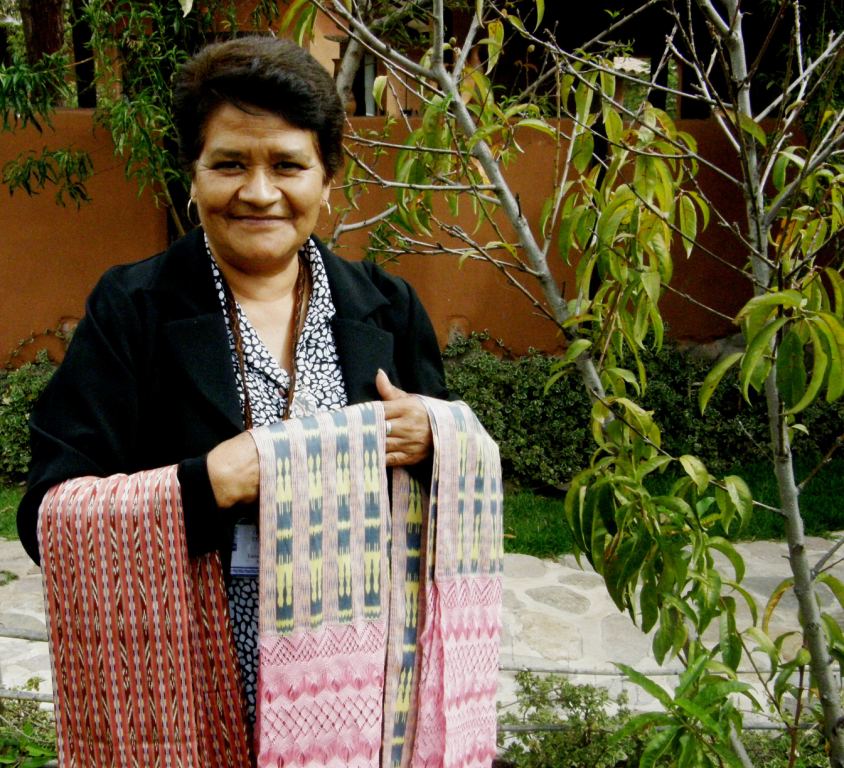
At the Tinkuy de Tejedores, in Urubamba Peru last year, one of the presenters was a weaver from this very place…Luisa Govea, pictured at left, with some of her work, is known as one of the most highly skilled weavers of silk ikat rebozos using designs from the 17th , 18th and 19th centuries.

Carol Ventura has a web page with pictures from the backstrap weaving school in Santa Maria del Rio where many of these shawls are made.

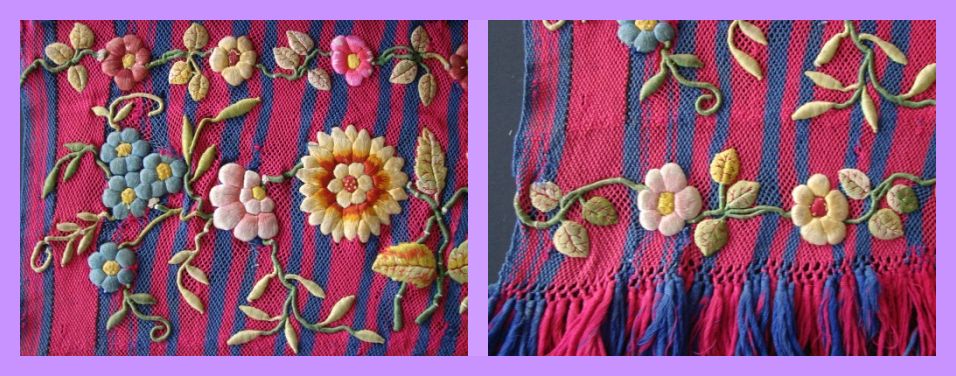
This reminded me that I also have a lot of photos which my online weaving friend, Phil sent me of ikat shawls in the collection of the late Dennis Penley. These also have magnificent designs which are created by knotting the warp ends and sometimes even embroidering on top of the knot work. These shawls are from the towns and villages around Cuenca in Ecuador.

Whether the knotting technique used by the weavers in Mexico and Ecuador are the same or similar, I can’t tell you. All I can do is watch the video in wonder and enjoy the images that Phil has sent me and hope one day that I may find out more about them on a return trip to Ecuador or, even better, on a first trip to Mexico.

Here ‘s the video….

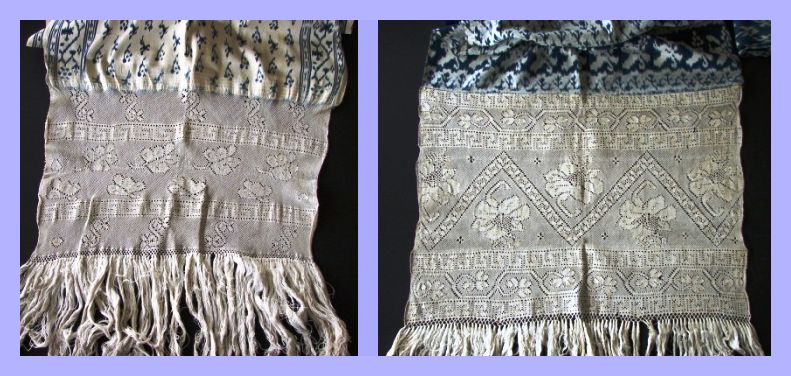
And now I can treat you to images of the designs on the fringes of ikat shawls of Gualaceo, Bulcay and other towns and villages around Cuenca in Ecuador….

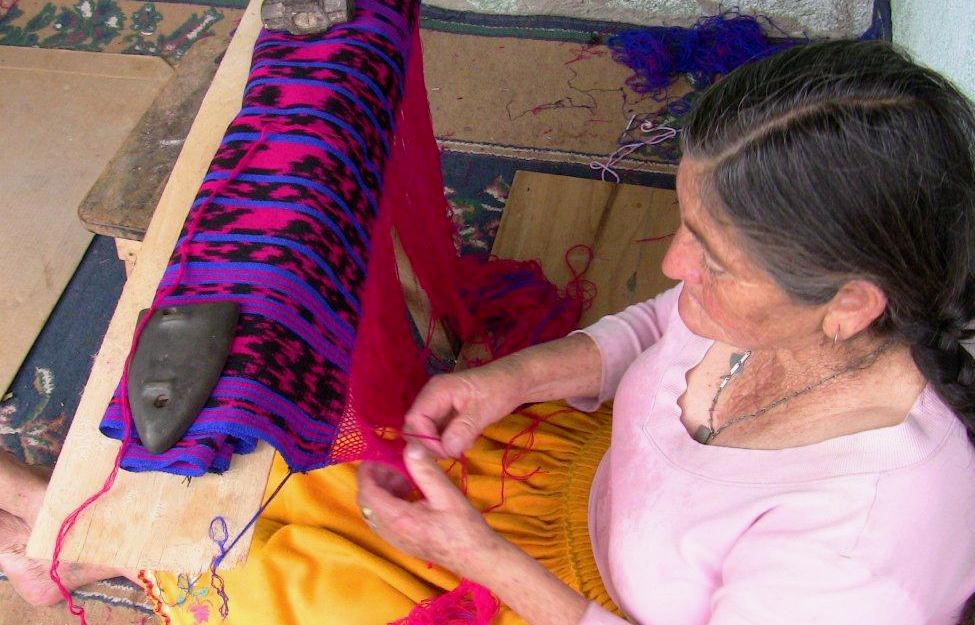
Many thanks also go to Agaath who has allowed me to use her picture of a lady knotting the fringe on an ikat shawl in Ecuador…

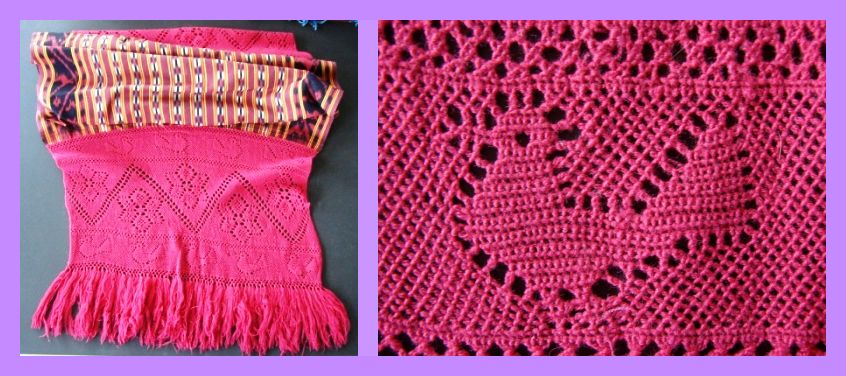
We can imagine that she is knotting a design something like the one seen below…

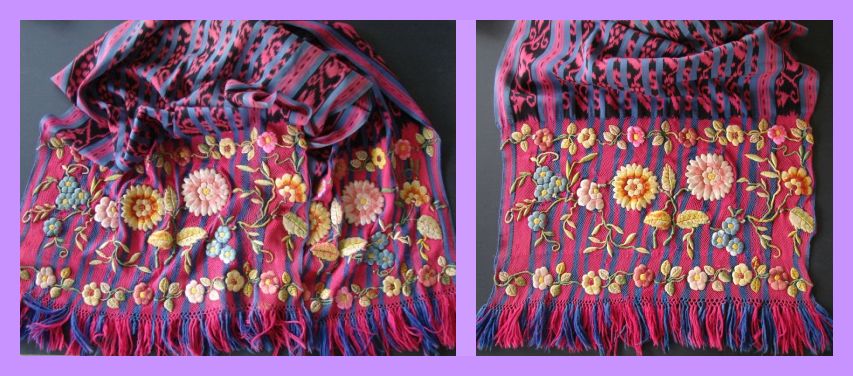
Or perhaps she is just knotting a fine mesh without designs onto which she will later embroider figures like these:

And a closer look…

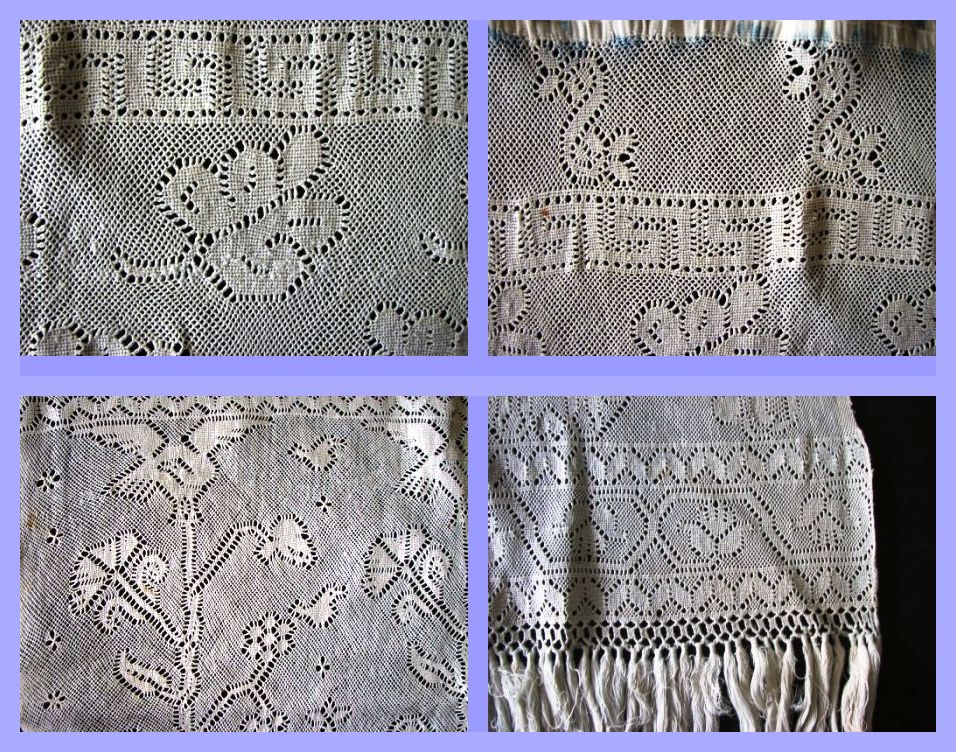
And then there are the fine elegant white fringes. This one includes the Ecuadorian Coat of Arms…

If you can’t quite make out the patterns there, here are a few pictures of some of the details…

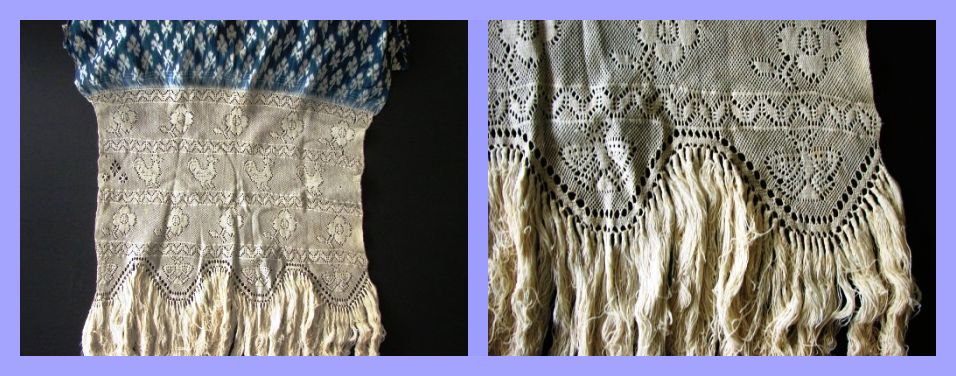
More knotted fringes with their intricate designs….

I love the shaping on this next example…

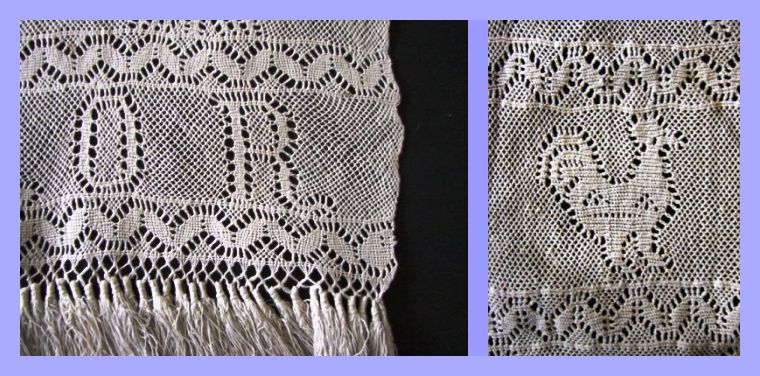
Sometimes the designs incorporate words….

And here are details from various pieces….

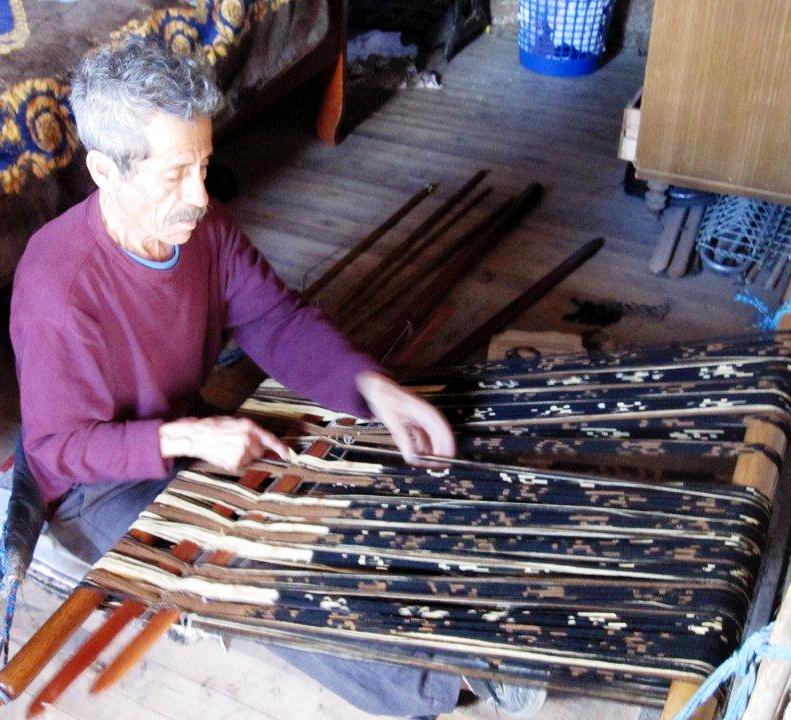
And what about the ikat pieces themselves which are woven on backstrap looms like these? (another picture courtesy of Agaath)…

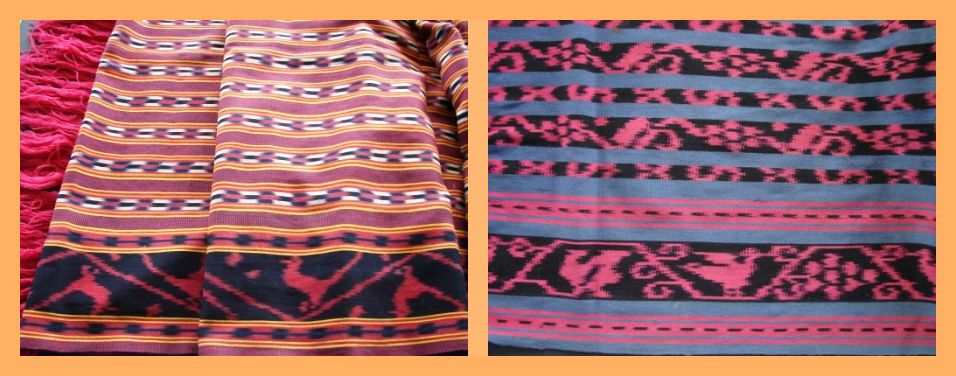
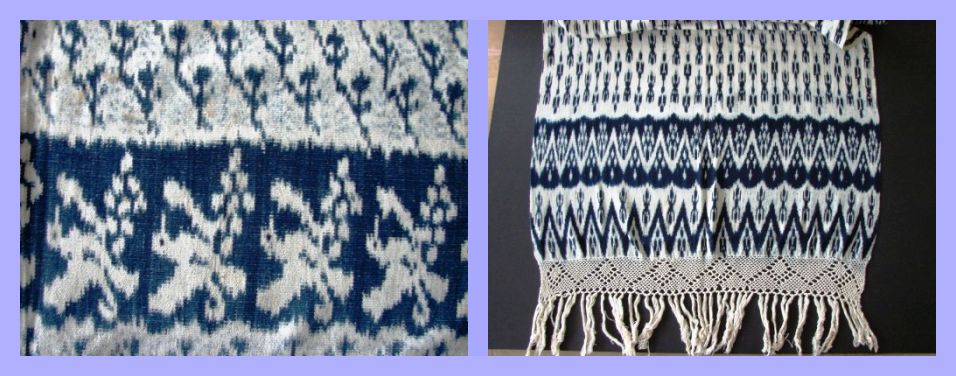
Here are some more pictures, taken by Phil, of pieces in the Dennis Penley collection….

And these….wow!!

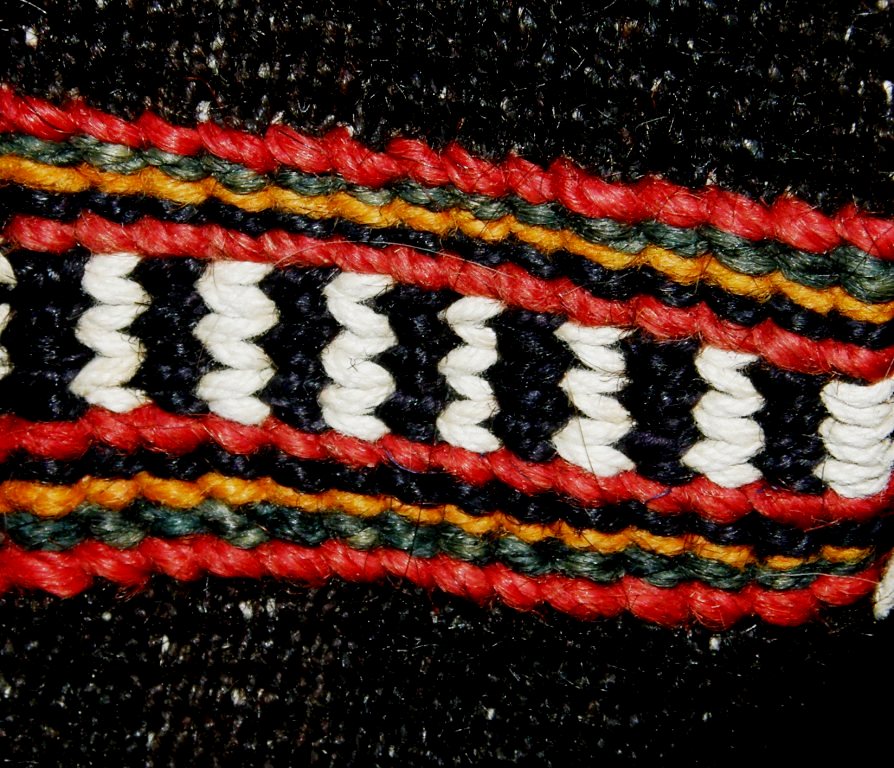
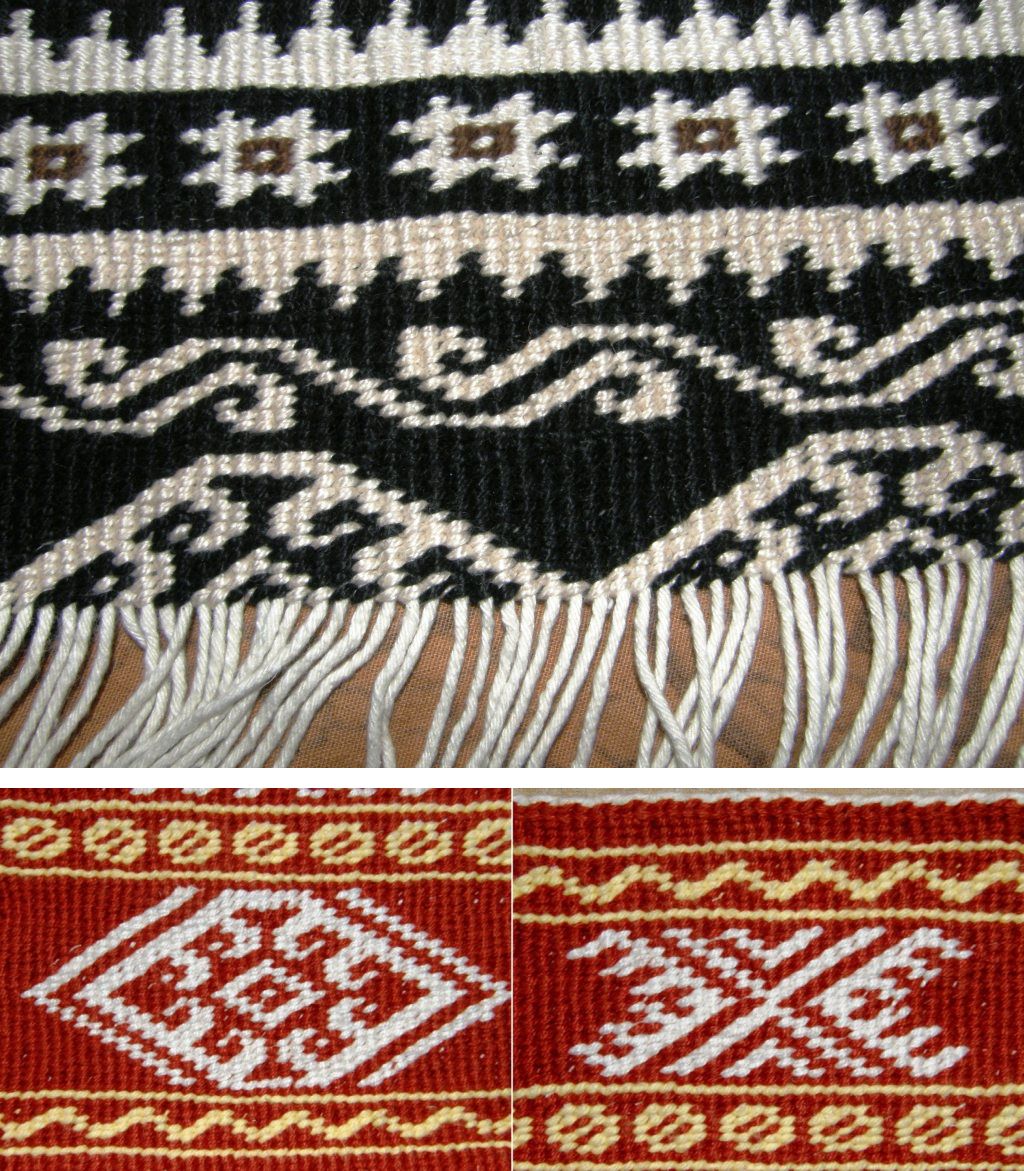
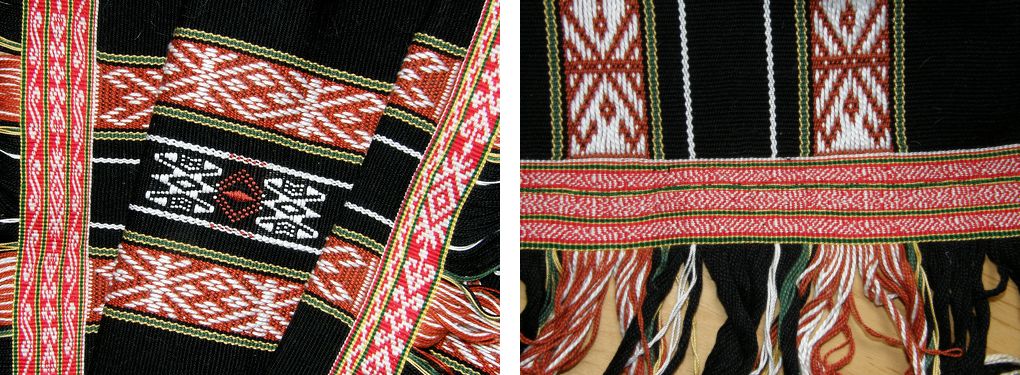
So, that’s it from me for this week. I wonder if any of you tried the weft twining that I showed in my instructional videos last week. I found a picture in my file of Montagnard weavings of some of the basic weft twining I showed in the videos…single rows of alternating colors and chevrons created by working four threads at once…simple but effective.

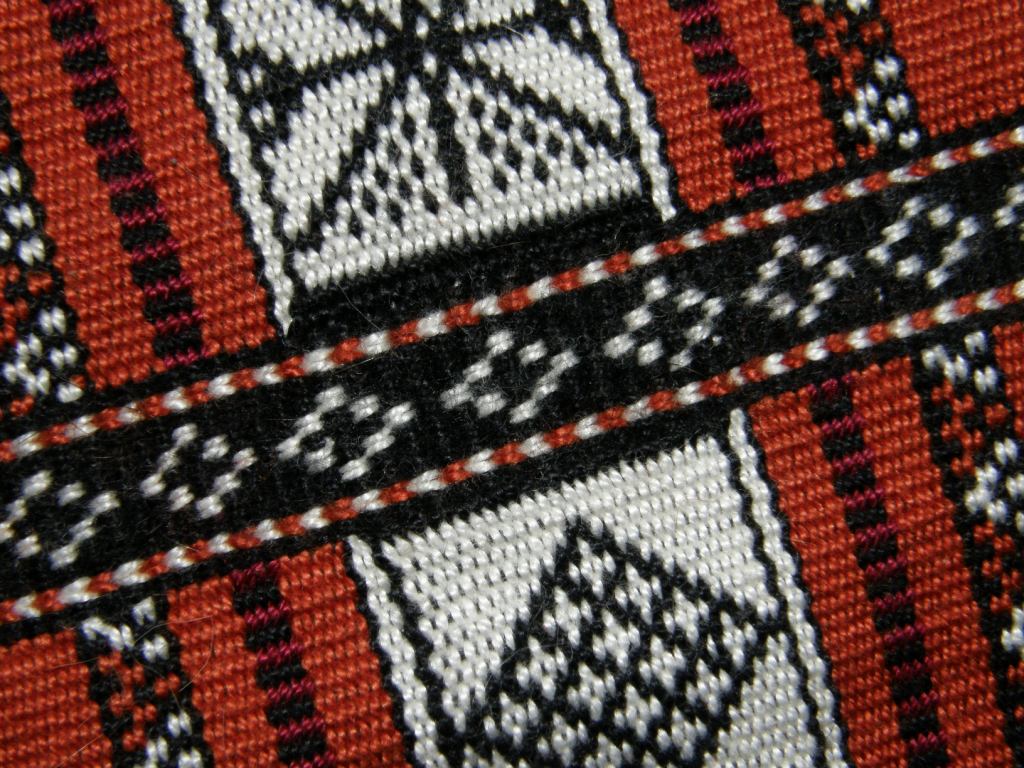
These stacked chevrons on the Bedouin weaving that Tracy in Qatar sent me are also very striking sandwiched between the multiple rows of single-color twining.

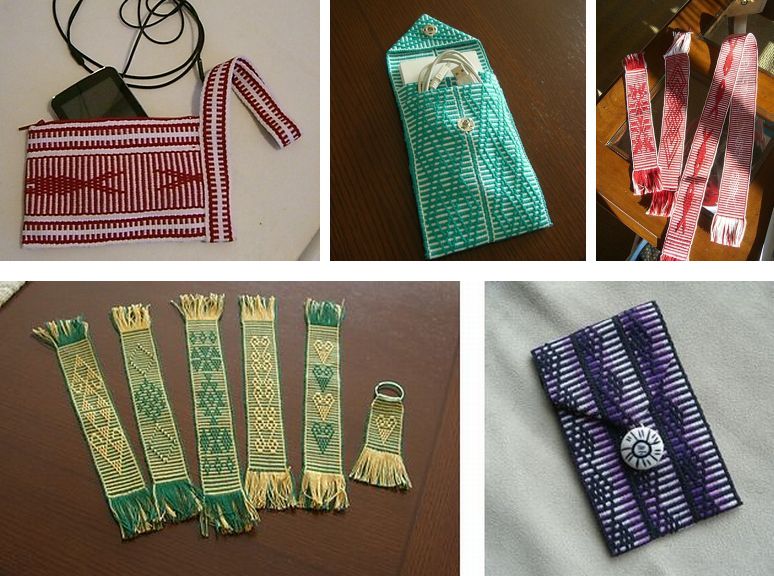
Maaike27 from Canada has been weaving up nice bands on a homemade inkle loom using many of the pattern charts that I have posted here on my blog. These bands have all been made with what I call the simple warp float technique and she has sewn them into a bunch of useful purses, key fobs, bookmarks and pouches.

There has been action in the Ravelry group both in and around the plain weave weave-along but I am saving all that for next week.
I will be leaving next week and hope to hit the northeast at the height of the fall colors. I arrived  a wee bit late for it last year. I will try to keep up the posts while I am away but they may be a bit erratic.

Backstrap Weaving – Finnweave, Funweave and Finishes

FINNWEAVE, FUNWEAVE AND FINISHES

My finnweave piece is off the loom and is just the right size to make my storage bag. It will be a basic bag construction, simply folded in half and sewn together at the sides.

Then I will let it sit for a while to see what ideas I get about dressing it up….a strap will be needed, maybe some large tassels on each bottom corner and some kind of edging.

It is going to hold all the cds with photos from my recent travels. These are currently in a pile on the floor under my computer table which is on top of another pile of charts and booklets which is on top of another pile of….well, you get the idea.

Which is why I need another system. I am currently rearranging my wall hangings so I can hang my woven storage bags out of the reach of my cat.

I am hoping to have a bunch of these in different colors and structures to add to the “textile bazaar” feel of my room.

While this will be made into a usable product, I still feel that it should be filed in the category of “sample” as there are a few things about it with which I am not all together happy.

I have made a couple of other useful items from my samples such as, the two purses pictured at left, and I have all the pieces I have made here as reminders of how to chart designs or what to do and what not to do next time.

Give me some time and will probably sew all the samples up into something!

So, what am I unhappy about? Firstly, as I mentioned last week, my warps in the center of the piece were spaced wider than those along the sides so I know next time that I need to pay more attention to that.

The other thing is the separation of the layers. I know from doing warp-faced double weave that the two layers of fabric are not joined in places where there is no pick-up pattern but you really have to pinch the fabric and try to pull it apart to feel the separation of the layers in the warp-faced fabric.

However, in this balanced double weave structure, the separation of the layers is far more apparent and not something I like too much. I think it was a mistake weaving those long columns of motifs and leaving those long plain spaces between them. While, thankfully, the fabric doesn’t “billow” in the places where the layers are not attached (I have read that this is something that can happen), it does somehow feel unstable in those places.

The above sample designs have the pick-up better spaced across the width of the fabric. The narrow brown and white band, above right,  is a reproduction of a pre columbian piece from Peru and you can see how the weaver has added small spots, crosses and squiggles in the negative spaces around the bird motifs in order, I would imagine, to bind the two layers of cloth.

The lattice design in black and white (from an issue of Prairie Wool Companion) holds the layers together beautifully.

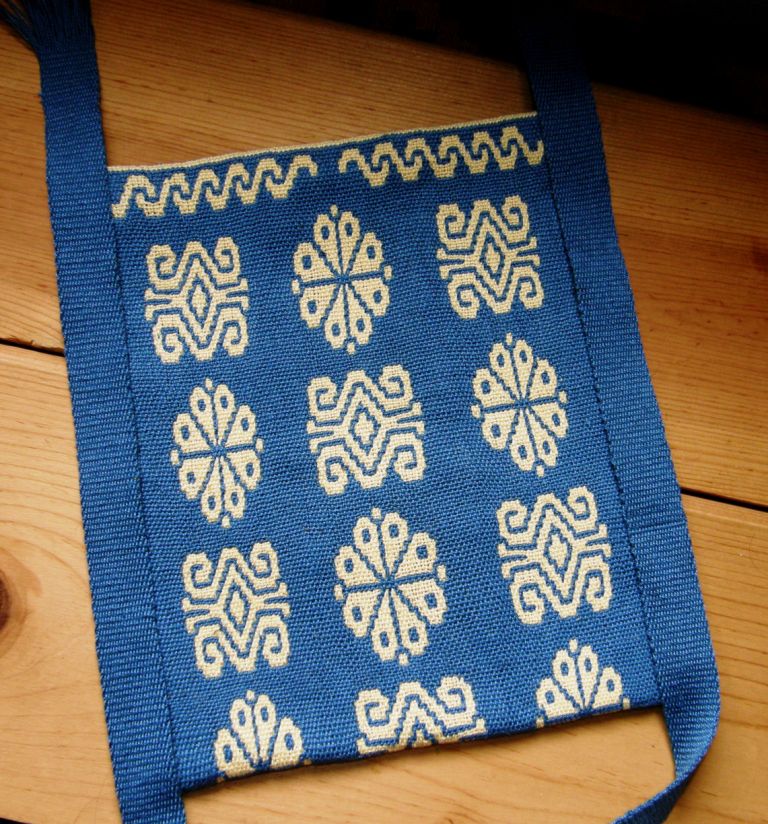
So, my next piece in this technique will have an all-over design and I have already found the one I would like to do on a Huichol bag. Now to chart it…I am not yet at the point where I can read the design straight off a photo but am getting closer! I might be able to do it with the actual cloth in my hands.

Of course, the fact that the layers in plain double weave don’t bind can be used to your advantage if you are wanting to make a seamless pouch (see the eyeglass case I made in this blog post).

From here I move on to what I call in the title of this blog “Funweave”. All weaving is fun for me but Jennifer in the Ravelry Backstrap Weaving Group reminded us all this week about how fun and satisfying it can be to weave using heavy yarn.

I wrote a post entitled Big Bang and Big Thread some time ago about this topic when I made four backstraps very quickly using 12wpi yarn – Plymouth Yarn Fantasy Naturale together with doubled Tahki Cotton Classic.

These were fast and fun to make with their pick-up patterns: pebble weave and simple warp float patterns but, hey, who needs pick-up patterns to make beautiful designs?

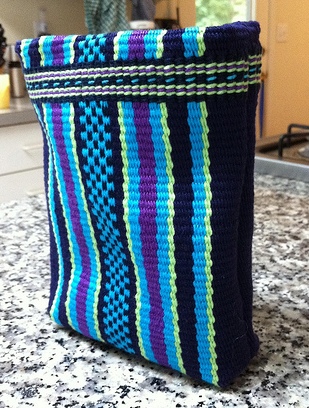
Look at that bag…what a beauty! Here is what Jennifer calls an ”eight-hour project” using Tahki Cotton Classic. The checkerboard design is programmed into the warp so that once the warp is on the loom it is all plain weave. She even did some weft twining. I have to tell you that weft twining is SLOW but not so bad when you are using yarn of this  weight and can work your way from one edge of the warp to the other relatively quickly.

She also made a backstrap using Plymouth Yarn Fantasy Naturale which is heavier than the Tahki Cotton Classic.

So, I decided this week to show you a little about basic weft twining and made a couple of videos.

My interest in this technique goes back a long way starting with Cheryl Samuel’s beautiful book on Chilkat dancing blankets and I have written about this in several previous posts.

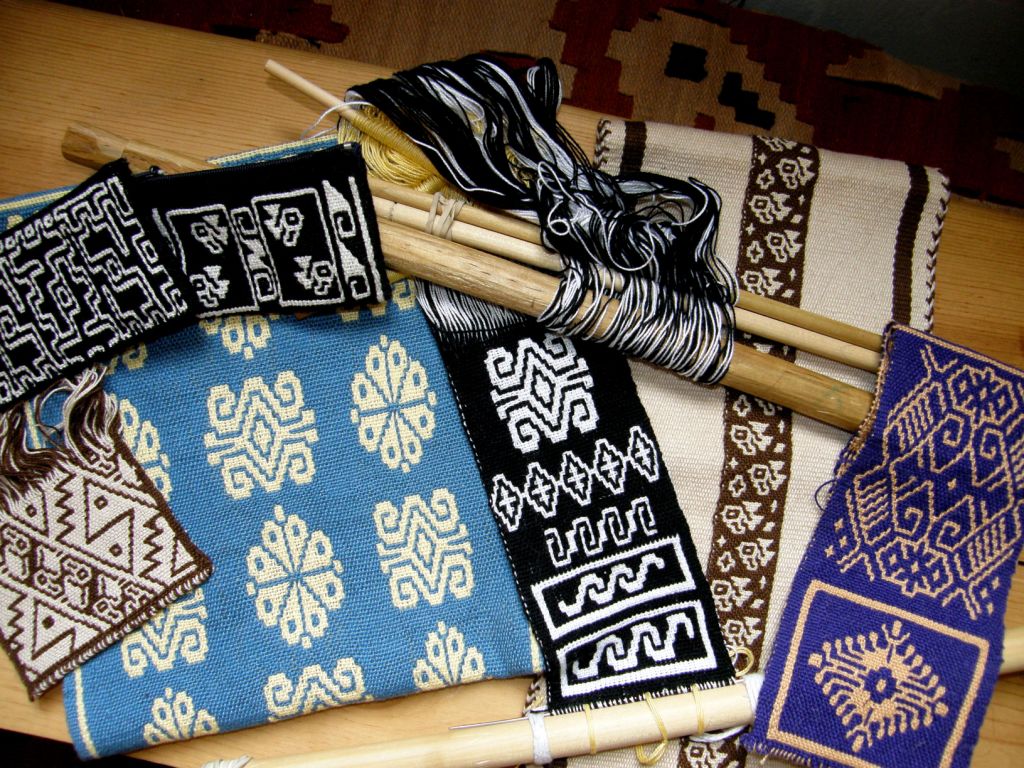
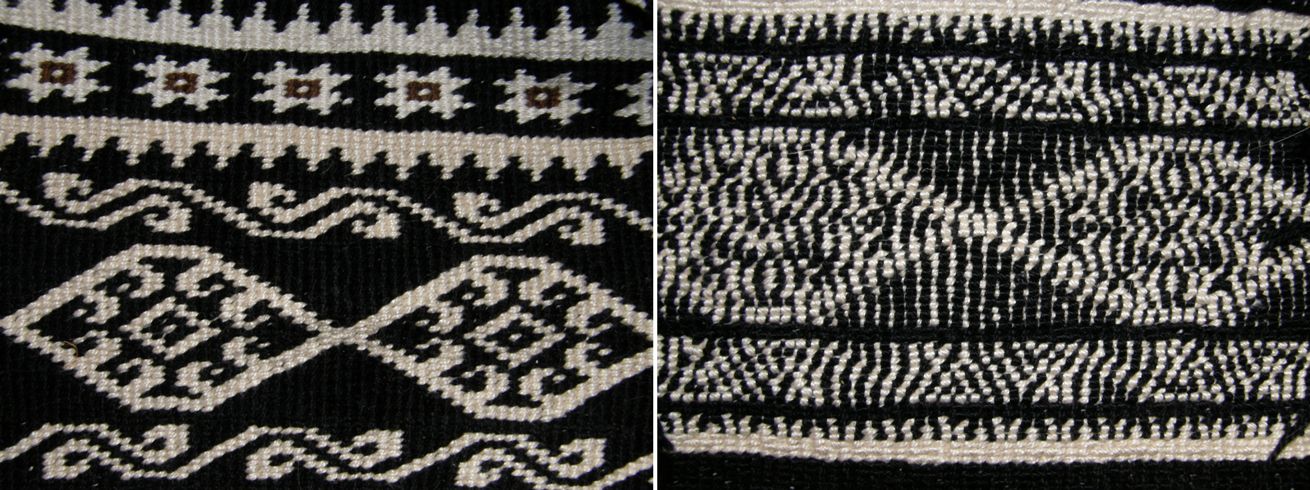
What got me out of the book pages and into the technique was seeing the twining on textiles made by the Montagnard (Vietnamese hilltribe) backstrap weavers. They call this twining technique kteh. Some of their traditional designs can be seen above left.

On my first visit I only got to see the designs and didn’t see how they were created and so I started on some off-loom twining experiments using thick yarn as weft twined around cotton string.

I copied some of the Montagnard designs as well as woven motifs from Bedouin textiles and played with one, two and three-color twining.

I also started some one-color textured twining but got distracted when the opportunity came to actually go and learn twining with the Montagnard weavers and so I will return to the textured twining one of these days.

The Montagnard weavers twine their pieces off-loom. They twine the edges of their skirts and blankets. To make these large pieces, several panels are woven and then sewn together. Then the twining is added along the edge of the connected panels. I also understand after having spoken with Ngach that there are specialists to whom weavers take their cloth to be twined. Ju Nie often sends her skirt fabric back to her sister in Vietnam who twines the edges and returns it.

Even small pieces are twined off loom. The fabric is hung on a specially made stand or on a bar which is rests on two pieces of furniture.

Here I am learning to twine with Jarai weaver Ngach. This is a beautiful way to twine. The thread that Ngach uses is fine and she has her wefts wound on bobbins. Her movements are fluid and graceful.


There is more detail on my second visit with the Montagnard weavers in this post.

Here is a short video I made of Ngach twining. After  you watch the instructional video I have made, you will better understand what she is doing in the different movements. Watch how she twists the wefts sometimes once and sometimes twice and note how tightly she holds the warps under tension. She has her woven piece sewn around the metal bar so she can pull down on the warps. This is something I couldn’t do with my off-loom lap twining.

I have tried both on and off-loom twining and find that I much prefer twining while my woven piece is still on the loom. For me, it is easier to twine around warps that are held under tension. This also allows me to twine in the middle of a weaving as the Bedouin often do.

Something I have yet to try which I have seen in Bedouin textiles is twining a design that is completely embedded in the cloth, that is, it does not travel from edge to edge but sits in the middle completely surrounded by weaving. (see here…although I can’t be sure if this is twining or in fact wrapping, soumak or some other technique that is worked in conjunction with a ground weft which would bind the whole piece of fabric together).  What do you all think?

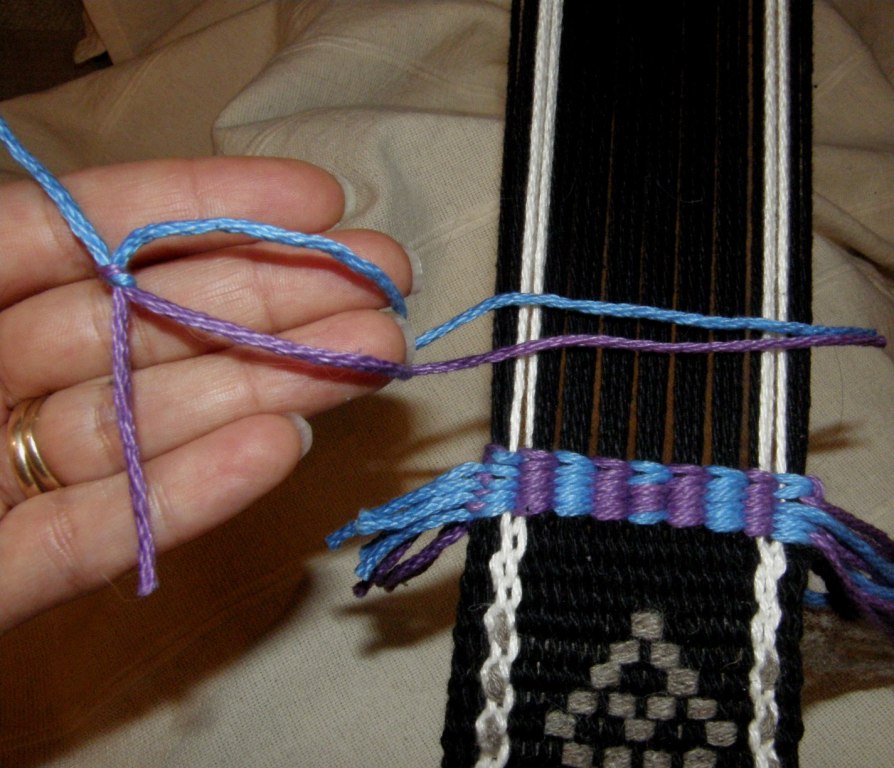
I have made two videos showing two-color twining as I do it on the loom (not as I was taught by Ngach.) The first video shows how to twine with two colors and determine which color shows on the surface to create your pattern.

I am twining in the middle of a narrow band woven with yarn that is very similar to Plymouth Yarn Fantasy Naturale. I use the same yarn as the warp and weft for the twining and I twine around groups of six warps.

I am working sitting in my backstrap loom with the warp under tension.

I start by tying the two strands of weft in a square knot. The Montagnard weavers twine from left to right leaving the weft tails hanging decoratively at both edges. If you are planning on sewing your piece and hiding the weft tails, you may want to start with a slip knot which you can later easily undo and therefore not have a bulky knot interfering with your seam.


If you look at the large picture of Jennifer’s bag earlier in this post, you will see that the twined wefts sit on the surface of the cloth at an angle.

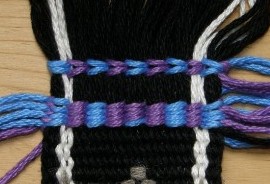
The next video shows how to create two rows of twining at once with the wefts lying at opposite angles creating little “v”s.

To have this show up well, this kind of twining should be separated from the rest of the two-color twining by a row or two of single color preferably in a third contrast color. You can also stack several rows of this for a very nice effect.

You can see it in red and white on this piece I made surrounded by black.
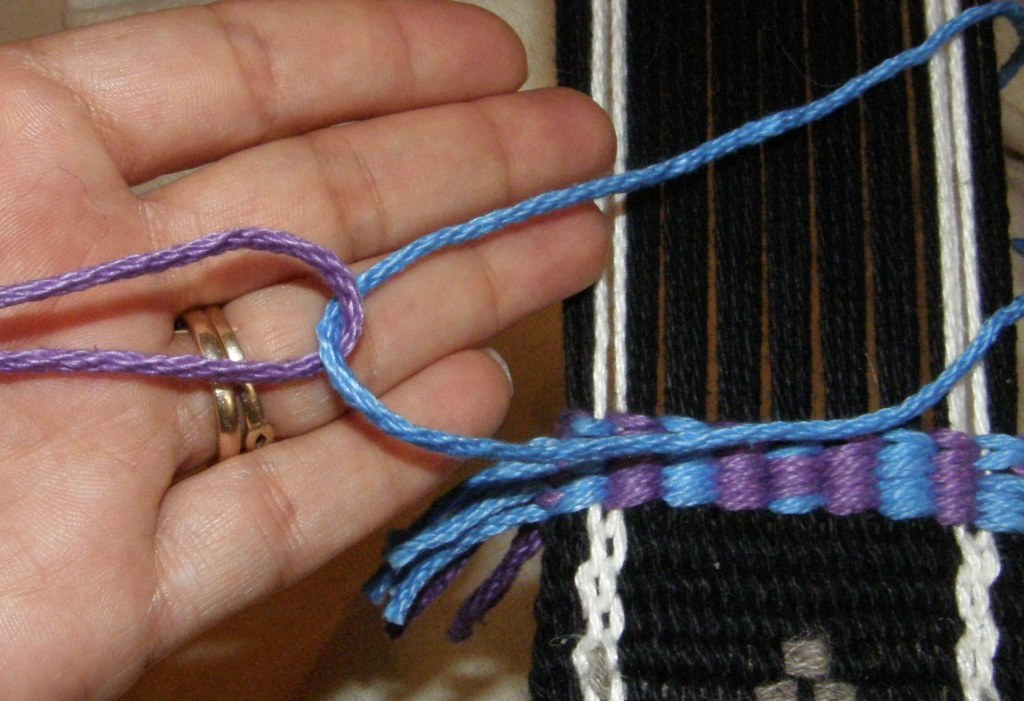
I start by hooking the two threads together. By doing this, you won’t have starting tails.
If you prefer to have tails, you can just knot the four strands together. As for the length of the wefts, I will leave that up to you to figure by trial and error. Unless you really want to avoid wasting yarn, I would go with long wefts which can be trimmed later. Having long pieces of weft to hold and work with in your hands is easier than having short ones which you can’t quite grasp.

As you can see, the weft builds up around the warps in vertical columns. This means that any motif that has been drawn on a chart that is based on columns of squares can be used…motifs designed for cross stitch or knitting, for example. I choose to hide the little “bump” at the back of the fabric. I have seen Indonesian textiles that have the bump exposed and used as part of the design almost like little beads.

In the videos I am twining up and away from the weaving line but I have also on occasion, done it the other way around. I finish my weaving and then return to the start and twine around the unwoven warp ends at the beginning of the piece. The twining grows towards me rather than away. Both ways work equally well for me.

And what’s on the other side when you twine motifs? This is how the piece in the heavy yarn looks on both sides….

And here is the finer twining I did on the Montagnard-style piece that I wove…front and back. You will notice that the twined band is slightly wavy. As I had twined around groups of four warps, the twining actually turned out wider than the woven fabric. Since then, I have twined around groups of six warps and always used the same yarn as my warp and weft for the twining wefts. That works out perfectly.

An entire piece can be made up of twining. Those off-loom pieces that I made with the chunky yarn, with a bit more practice, could be used for mug rugs or sewn into bags. You can twine around a piece of cardboard and form a tube to create a seamless bag as my friend Franco did.

I twined around single strands of cotton string for those. The close-up at left will show you the material and a first attempt at some textured twining. For the piece in this picture I have used doubled strands of #3 crochet cotton for the weft.

Twining on a woven piece adds a nice bit of decoration and can strengthen an edge. I have not seen exactly how the woven Bedouin tent dividers are hung but wonder if they are hung from the twining in the mid sections of the weaving. I imagine those tent dividers are very heavy and perhaps the stronger, more rigid twined parts can support the weight of the hung weaving (pure speculation on my part).

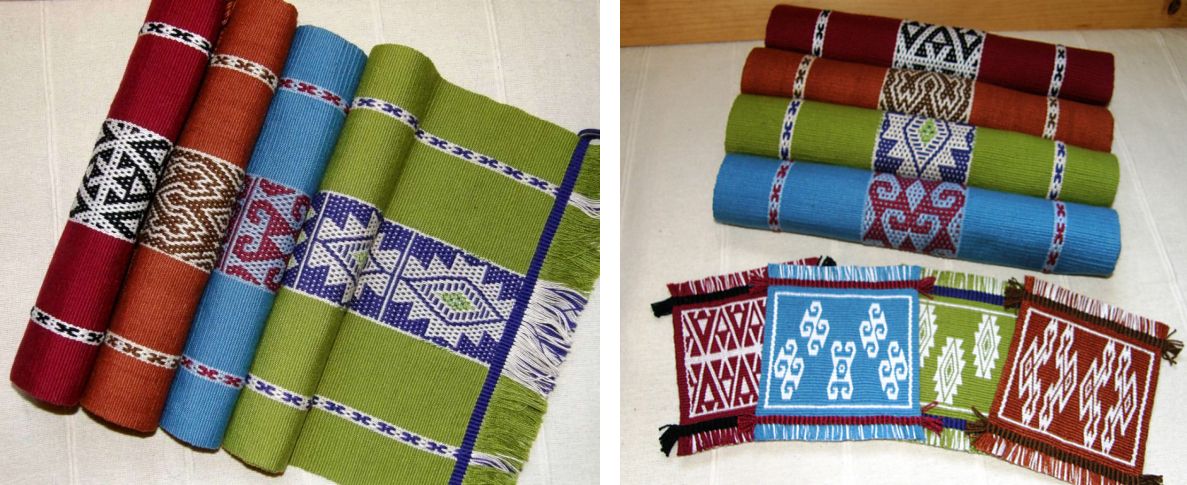
I used twining in a single color to edge these placemats and mug rugs just for something different.

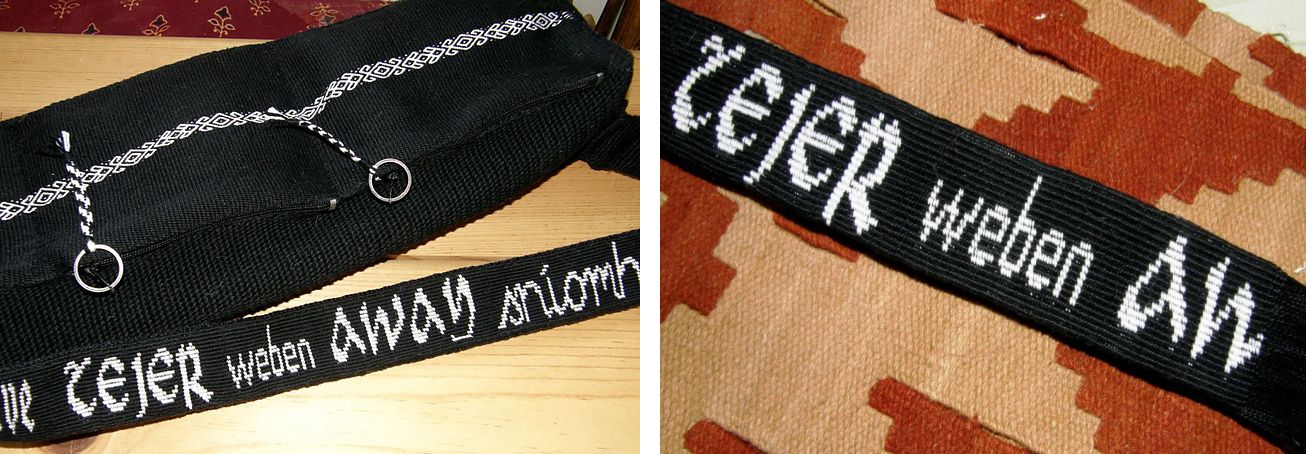
I wanted a sturdy shoulder strap for my loom bag and so twined the whole thing with #10 cotton. I twined in the word for ”weave” in different languages. The twining was done width-wise and all the weft ends were sandwiched between the twined band and another woven one which were sewn together.

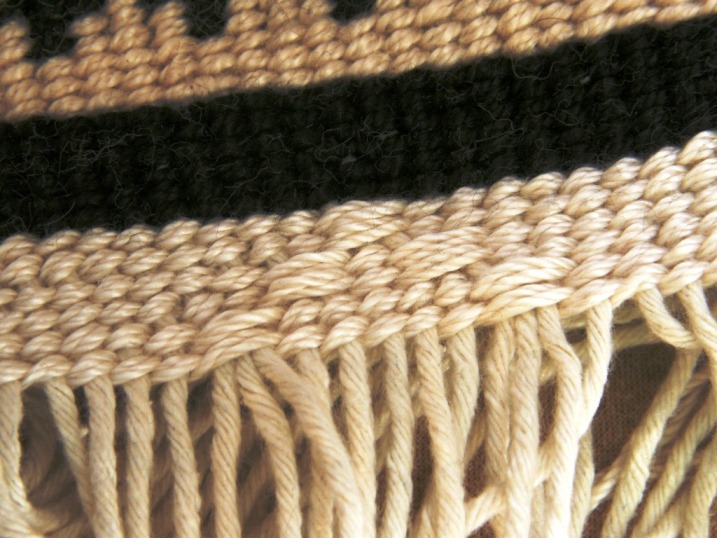
Remember the “sausage” bag I made last week? Well I finished it by sewing in the zip and am still lamenting the fact that the twining ended up on the bottom!

It really holds a lot of stuff and will make a great toiletries bag for travel. The twined motif has three colors in the center and with practice you will see that it is not any harder to twine with three colors than with two.

And speaking of decorative finishing techniques, Tracy in the Ravelry group showed us the pretty herringbone stitch that she is working along the edge of one of her Weave Along projects. Tracy lives in Doha, Qatar and has made contact with a Bedouin weaver there who uses this finish on her woven pieces.

On the left you can see a pebble weave piece she is also currently working on using her homespun yarn.


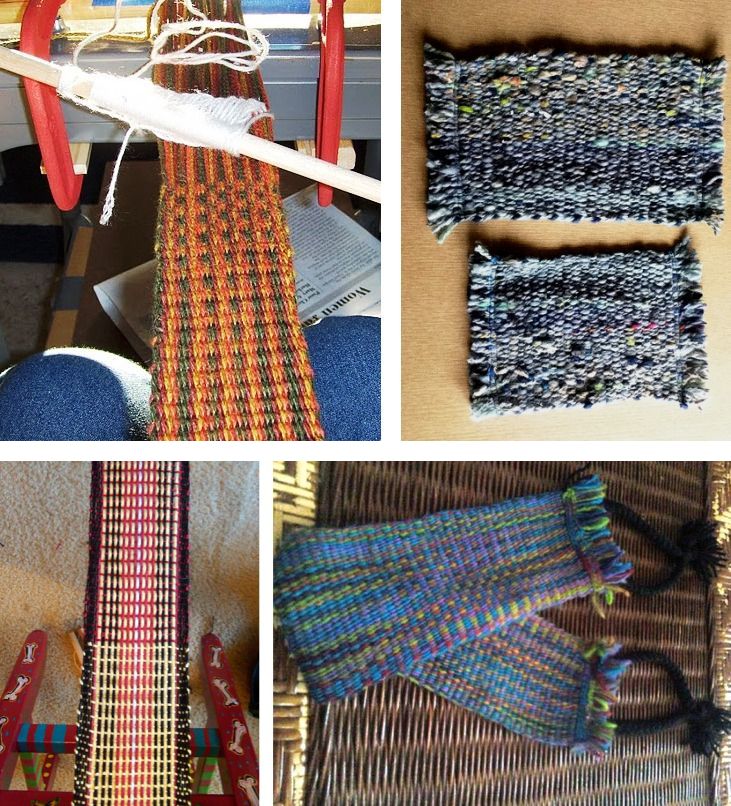
Here are other Weave Along projects from the last couple of weeks…..As you know this Weave Along is all about PLAIN WEAVE.

Peg and Cindy made their first bands. Cindy used her handspun. Ellen and Jenny made backstraps. Jenny used a semi rigid heddle on her backstrap loom.

Janet has both balanced and warp-faced projects on the go.

Marsha is doing both balanced and warp-faced double weave.

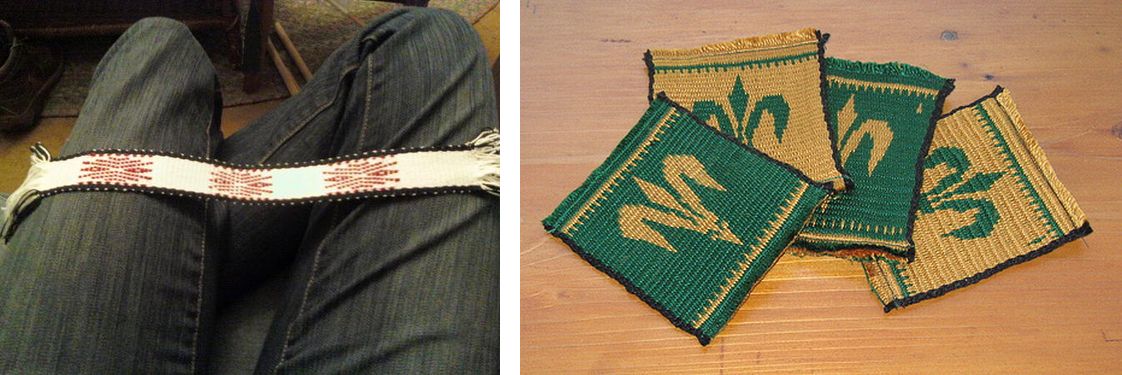
Ellen made a bookmark from her first supplementary weft band and Traudi made mug rugs charting  her own design in warp-faced double weave.

Susanna is weaving her first ever backstrap piece while Dyggvi is planning a Tibetan-style bag with bands made using the simple warp floats technique.

So, I hope you use the tutorial, twine away…and show me what you have made.