Backstrap Weaving – Accidents

There’s been weaving happening at my backstrap loom but this has been a bit different from a standard band-weaving project. A recent incident turned this into an interesting challenge.
This screen shot from security camera footage shows white-headed me walking away in the distance while a happy-go-lucky dog bears down on me. It kept going and ran right into the back of my legs taking me out like bowling ball hitting a pin!
Rocío showing me how she connects two lengths of thread without using a knot.
Showing Rocío some woven rather than stitched garabatá.
The fiber is spun and plied by rolling it along the upper leg. Both hands need to be involved so I’ll just have to be patient.
It was a little discouraging at first because this is the distance I was able to weave after three consecutive days of spending one to two hours at the loom.
One-handed pick-up. I’m just holding the sword here for the photo. I couldn’t rotate my wrist to be able to insert it in the shed.
In progress on the loom and finished. I wish I could complete the gift by attaching it to my friend’s hat but I don’t think either hand is up for that kind of sewing right now.
Eldina working on a warp just wide enough to be able to demonstrate for me the technique the Guaraní weavers call Moisi.
I forgot to bring my swords so we used scissors to separate the threads that needed to be heddled. Three sets of heddles are used for this structure. Eldina’s 5-month-old baby girl is never far away when she’s weaving and teaching.
A cell phone pouch that I wove using the intermesh structure back in the days when phones were small and cute.
Mother and baby busy at the loom!

Backstrap Weaving – Yards of Deserts and Dreamlands

Great width and great length are two things that I cannot hope to comfortably achieve on my backstrap loom and so it was nice to be able to spend time with my friend Claudia and be there just in time to see her pull yards and yards of  soft Hawaiian sunrise fabric off her floor loom. Claudia and Janet, who together form Lotsaknots Studio, have been weaving baby wraps….yards and yards of custom baby wraps. It seems that many new moms out there in the Western world like to “wear” their babies these days and put a lot of thought into the color of their custom-made baby-carrying fabric. Claudia cut the fabric off the loom and then pulled and pulled out over 8 yards of fabric for two wraps. It tumbled onto the floor in a pile of  luscious soft sunrise tones.

Of course, mothers in Asia, Africa, Central and South America  and many other regions around the world have always carried their babies either in front or back wrapped in fabric so that baby can accompany them in every aspect of their daily lives…on a trip to market, working bent over in the fields or at the stove, carting water from the well…

One of my weaving teachers in Guatemala shows me her nephew which she carries in a woven sling. His little cap is a woven piece which has been decorated with a double faced supplementary-weft technique. Therectabgle of fabric has a draw string through the top which is pulled to the form the cap.
One of my weaving teachers in Guatemala shows me her nephew which she carries in a woven sling. His little hat is a woven piece which has been decorated with a double faced supplementary-weft technique. The rectangle of fabric has a draw string along the top which is pulled to close the top of the hat

A lady in Bolivia carries her randchild on her back leaving her hands free to spin yarn on a drop spindle. The carrrying cloth is traditionally hand woven although this lady is using a synthetic factory-made piece. These cloths are used tocarry any kind of load...goods being taken to and from market or "luggage" on a trip.
A lady in Bolivia carries her grandchild on her back leaving her hands free to spin yarn on a drop spindle. The carrying cloth is traditionally hand woven although this lady is using a synthetic factory-made piece. These cloths are used to carry any kind of load…goods being taken to and from market or “luggage” on a trip.

When I went to the Tinkuy in Cusco in 2010, I accompanied a group of weavers from Cochabamaba. We had quite a trek to make from the bus stop to our lodgings and I was very envious of the ladies as they wrapped their duffel bags in their carrying cloths, tossed them on their back and headed off down the dusty road. I lugged mine, handles over my forearm and with bag clumsily bumping along against my hip. Guess who made better progress.

My Vietnamese weaving tecaher Ju Nie showed us how she wraps a baby sling. The Montagnard baby slings are woven on backstrap looms and often decorated with motifs in supplementary weft. made
My Vietnamese weaving teacher Ju Nie showed us how she wraps a baby sling. The Montagnard baby slings are woven on backstrap looms and often decorated with motifs in supplementary weft. Using a circular warp on a backstrap loom make these kinds of lengths more manageable. They are usually woven as two separate panels which are then sewn together.

I enjoyed learning about the whole process involved in the creation of one of the Lotsaknots custom wraps. First, the mother will describe her needs and  usually provides a picture which contains the kinds of colors that she would like to have in her wrap.

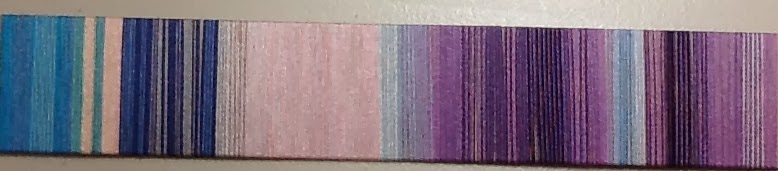
dreamland inspirationThis is the picture that was used for the latest wrap on Claudia’s loom which has been entitled Dreamland. The yarn is ordered and Janet wraps colors around card to help determine the final layout. She has amazing talent for this and I think that she has captured the tones and mood of the picture beautifully. As I stick to red, black and white for my entire series of wall hangings, this talent for combining colors is one that I envy.

IMG_0460


Then comes the job of winding all those yards of warp. One half will be the custom wrap made to the mother’s specified length. The second wrap will have a different weft color which will give it quite a different look and this “sister wrap” can be sold online.

I loved seeing these chained sections of warp sitting on the floor ready to go on the loom. They reminded me of snakes of berry-flavored soft serve icecream oozing out of a machine.

??????????????????????I am often mystified by the way people gasp at all that is involved in setting up for backtrap weaving. People roll their eyes when they look at all the string heddles I have to make. I don’t get it.  I have to say that that is nothing compared to the process of getting this kind of warp onto a floor loom! Now I know what rough sleying is and understand the need for a trapeze when warping. Then there are all those heddles to thread and then the reed. Some of it seems really hard for one person to do all alone.

??????????????????????Here are all the threads on the apron rod after having been rough-sleyed. Doesn’t that look gorgeous! I learned a lot watching Claudia do all this and I was even able to lend a hand now and then. I was sorry not to have been around long enough to witness the entire process.

We could have finished it but Clauda wanted to take advantage of my being there to get in a little backstrap weaving so we spent some time on that. She has been wanting to do rep weave and, as she has never done it before, I was happy to be able to get a sample project set up and started on her loom.

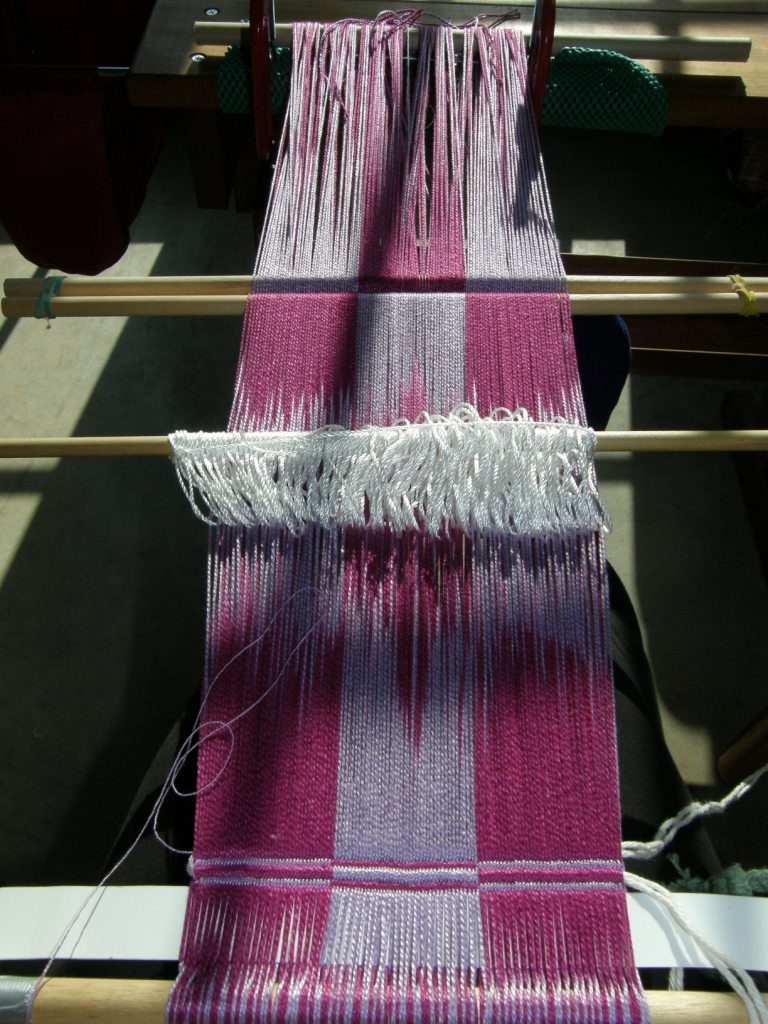
???????????????????????????????Here’s the start of a pink and lavender rep weave. I love the kind of ikat effect that appears in the warp threads as you are in the process of changing sheds. Rep weave is a piece of cake for me as I am used to doing warp-faced weaves and rep weave simply involves alternating a thick and thin weft.  The effect is lovely and it weaves up so very fast with that thick weft. Claudia would like to make a set of four placemats in repweave on her backstrap loom and will use a circular warp to get the desired length for all four pieces. The width is one that is easily manageable on a backstrap loom.

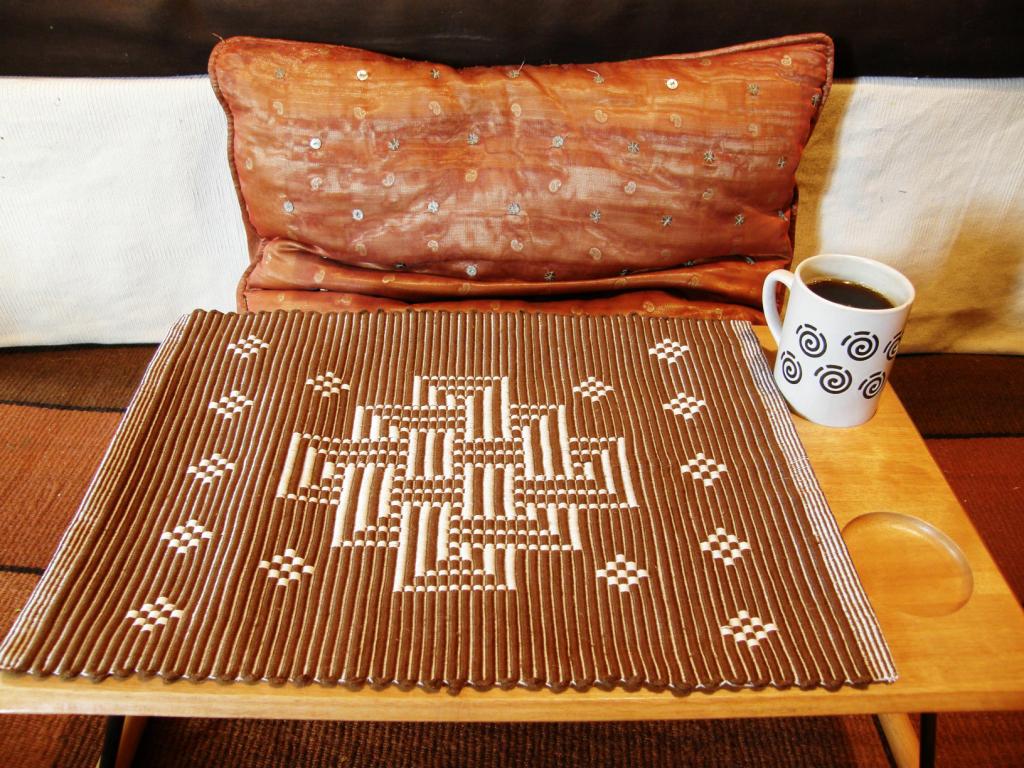
rep runner on tray tableHere’s the rep weave piece that I made some time ago for my tray table. It is decorated with complementary-warp pick up pattern.

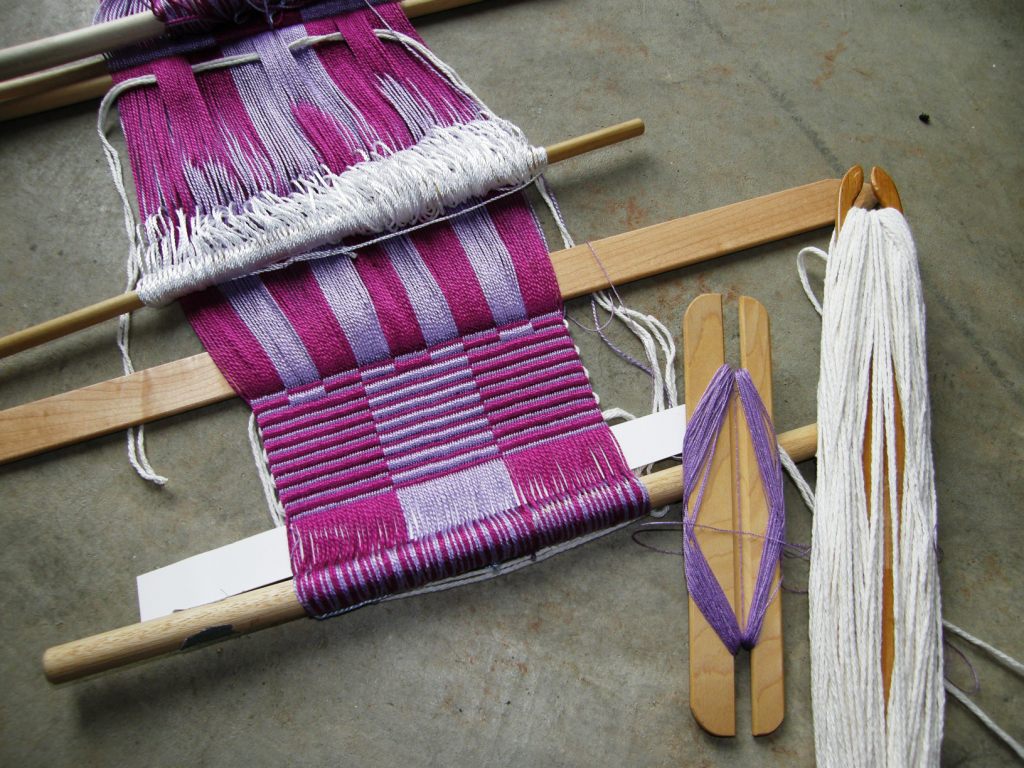
??????????????????????Here’s Claudia’s piece underway. I was having fun with it and had to try not to go too far before letting Claudia take over. She was busy hemming her just completed pair of wraps while I worked on this. Above you can see where I have just started making a change of dominant color by swapping the sheds into which I place the thick and thin wefts.

??????????????????????Claudia does some backstrap weaving every time I visit and goes back to her floor loom when she finishes her project. Therefore, it takes her a little time to get back into the swing of things after having had a long break. Above, you can see that she is well underway. We used a pick-up stick to make that small block of color change and now she is back into the original sequence.  It is just a short warp for sampling. Now she has a nice width sample which will help her calculate how much warp she needs to wind for her placemat project. She is using 3/2 perle cotton.

This was a nice break for Claudia between baby wraps. The baby wrap business is never ending with 47 people on the custom order waitlist!

Here’s one of the earlier wraps which was called Sedona. I love this one!

The color arrangement was inpired by this painting…

sedona inspiration

And here is the fabric….it is a wonderful representation of the painting, don’t you think?

??????????????????????

This next one was entered in a Facebook wrap challenge which had a theme of Wizard of Oz…

wizard of oz swirlThe metallic red threads, which I think are such a nice touch, represent Dorothy’s ruby red slippers.

Unfortunately, I didn’t photograph the Hawaiian sunrise beauties when they came off the loom but, no doubt, they will be on the Lotsaknots blog page soon. Doing custom-made pieces is quite a challenge, I think. With only phone calls, email correspondece and maybe a photo, a major piece like this has to be designed and constructed to match what the mom envisions as being perfect for her baby.  I really believe that Janet and Claudia are a good team for this. Janet doesn’t weave but is so good at putting the colors together while Claudia has years of experience at the loom and sewing machine. I can’t wait to see Dreamland when it comes off the loom.

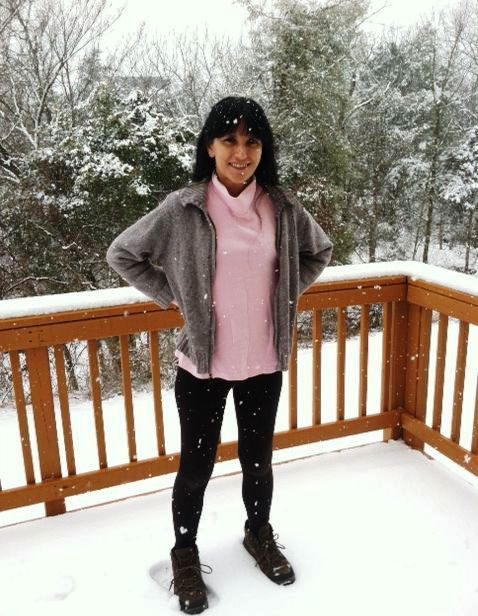
snow2Last Saturday I wove at Terri’s place. Some of you may know Terri as Magical Moons on Etsy. Terri makes beautiful swords for backstrap weaving as well as spindles, pick-up sticks and other tools for fiber artists.

She weaves with me whenever I am in the Maryland area. Laritza joined us. Stephanie, who has never woven fabric before, (she studies basket weaving with Terri) came to have her first-ever try at backstrap weaving.

It was a spring day…a REAL spring day… and we all felt guilty for being indoors in Terri’s workskop while the sun poured down and warmed the air outside. For everyone who had endured the long long winter it was a truly unique day.

It didn’t last long as you can see at left. That was the following Tuesday. I felt guilty about being so pleased with it when everyone just rolled their eyes and said “not AGAIN!”. I didn’t want so much snow that my travel plans would be disrupted…just enough to make things pretty.

We didn’t have to be out in it. We were weaving away warm and snuggly in the studio looking out and watching it accumulate.

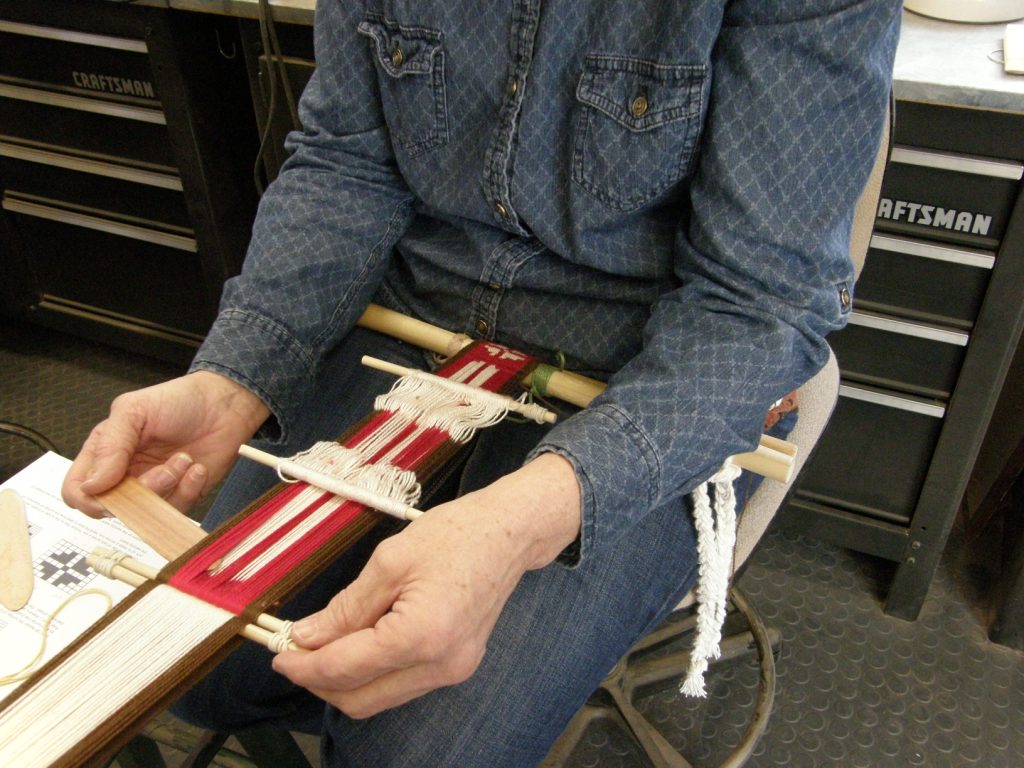
Stephanie backstrap weavingHere’s Stephanie making her first patterned band using what I like to call the “barefoot method”…no sticks… just string and fingers.

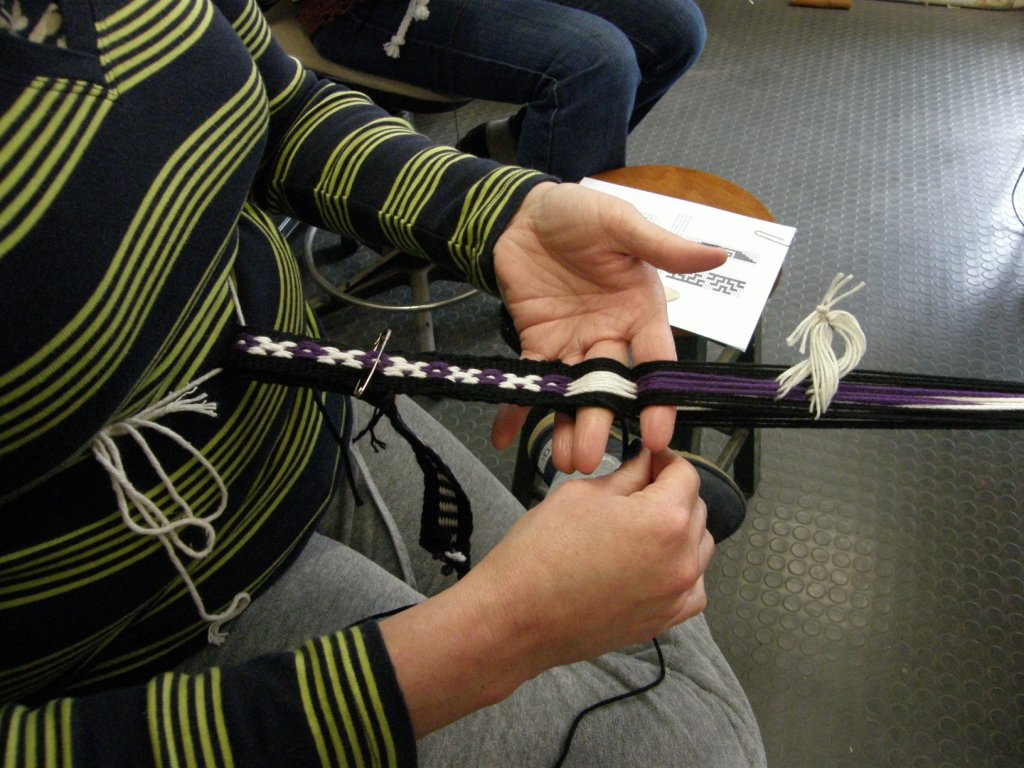
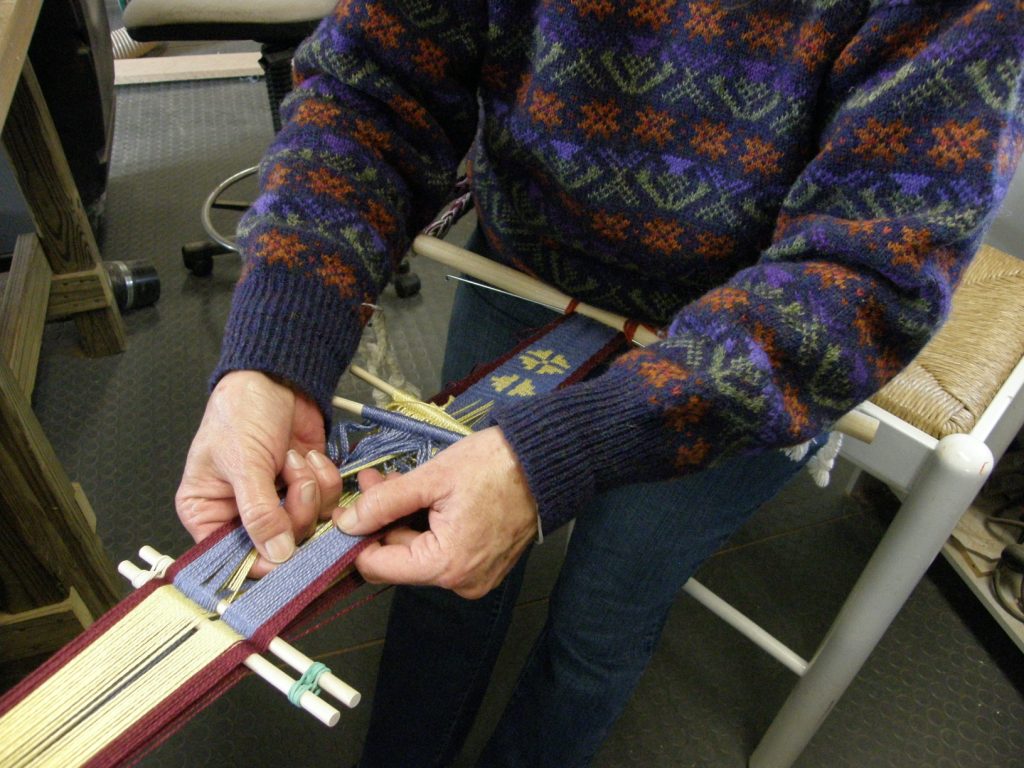
Laritza and Terri wove intermesh. This technique was taught to me  in Peru with two sets of string heddles. This gave the ladies some good heddle making practice as a warm-up before they could get into the weaving. This is one of the patterning techniques that I teach in my second book.

Laritza backstrap weavingLaritza’s warp goes well with her sweater. Inside it was sweater weather…outside, it was almost warm enough to shed them.

Terri backstrap weavingThat’s Terri working on her intermesh warp.You may remember from previous posts that Terri spends a good part of the year living on Nantucket Island where she has studied basket making with the master weavers there. Below you can see an example of one of her friendship baskets. The little dog figure was contributed by another artisan but the basket is Terri’s. Everything she does including her woodwork is impeccable. I love using her swords.

Sam on friendship basket N Chase T SackettHere is a gorgeous keyfob that she gave me after our time together. It has a piece of whale tooth which Terri shaped and polished. It is a “worry” piece, Terri tells me, as the piece of tooth is just the pefect shape for holding in your hand and rubbing with your thumb when you are feeling agitated. The smooth polished surface really does have a soothing feel.

whale tooth keyfob Terri Sacketttrisha and april at the mannings spinning seminarSo, now I am in South Jersey ready to weave with a group tomorrow..

I met Trisha and April from this group at the annual Spinning Seminar at the Mannings last summer and the idea for this gathering was born. How time flies! I had known Trisha for a long time as part of the Backstrap Weaving Group on Weavolution from way back in 2009. Now we finally get to weave together.

I just received one of my new books from the printer. It looks very handsome with its new red coil binding in place of the black comb that I have been using. I love it.

See you next week from Massachusetts.


Backstrap Weaving – The Plain Parts

I live right in the heart of Santa Cruz city. It is a crazy jungle of tangled electrical wiring, crumbling adobe and sagging red rooftops. Even when I am alone in my little condo I can sense the beat of the city as people go about their daily lives…booming tropical rhythms, car horns constantly blaring, the scratching scraping sound as the washer woman in the building next door scrubs the heck out of the clothes. And then there are the smells. At any hour of day or night someone somewhere in the neighborhood is having a barbecue. I live within a stone’s throw of one of the city’s largest street markets. That brings its own collection of interesting aromas.  The football stadium is four blocks away….faint cheers, chants and whistles on weekends and, if the wind is blowing the right way, I get to hear all the concerts for free.  It is colorful and somewhat joyful…nothing “plain” about it, that’s for sure.

I have been going through old pictures. Here’s a reminder that there are some simple, “plain” places to which one can go to escape all the man-made mayhem. Right here in the city there is a very odd and very large and unexpected stretch of sand dunes. Go there mid-week and you can have it to yourself. On weekends it becomes yet another venue for salsa music and barbecues.

OLYMPUS DIGITAL CAMERA???????????????????????????????I am weaving the black panel of my wall hanging project. Nothing plain about this. In fact, I have to keep stopping and checking myself…how much pattern is too much…have I gone too far? Is it too much, overdone?

The thing is, I am still learning LOTS of lessons from weaving this piece and so I won’t be using it for the wall hanging. I will finish it and keep learning from it.

There are definitely some things I would do differently a second time around. Luckily I have a whole lot of green Guatemalan cotton that I can dye black for a second attempt and I think that my silk supply will hold out too.

I can probably make something nice from what has now become another “sample” and I will start again on the wall hanging panel.

I will tell you just one of the lessons I learned. If you are doing plain weave and using black warp and weft it really doesn’t matter if some parts of your piece are a little less warp-faced than others. You won’t be able to notice that fact.

However, when you are using a white continuous supplementary weft, it DOES matter. The smart thing to do is to put that white weft in as a tester right at the beginning. That way you will be able to tell if some of the black warps have a slightly different spacing to others as the white weft will show through. You can then go about shifting and settling the warps so that their spacing is consistent and completely hides the white weft.

At the same time I have been doing a little study of some of the different ways that indigenous weavers here treat the plain parts of their woven pieces. By plain parts I mean those that do not have any kind of pick-up patterning.

???????????????????????????????

Here are some examples…from left to right…

Sample 1: A rolled edge. There are actually 18 brown warp ends there on that border that have been woven and rolled to form a sort of tube edge. The edge is good and thick and would provide very good protection for the sides of a belt. The weavers from San Ignacio de Loyola use this kind of edging for the plain weave that borders their belts.

weaver san ignacio de loyolaSample 2: Two-weft-span borders. I learned this method from my teacher Maximia in the Bolivian highlands. Look at difference in the yellow edge on sample 2 and the green 1/1 plain weave border on Sample 3.

??????????????????????Maxima makes a cross with her fingers while she picks the various colors needed to create her pebble weave pattern. She first takes the borders from the far side of the cross, then works her way across the warp picking her pattern , She finishes by taking the borders from the near side of the cross. This is what enables her to form the two-weft-span borders.

Sample 3: 1/1 Plain Weave. Using  1/1 plain weave  as the border gives the  pattern area another dimension. The border remains “flat” and the pattern area is raised. This is a very nice effect.

Sample 4: Intermesh border. This is the “thick border” that I explain in Andean Pebble Weave and was taught to me by weavers in Ayacucho. Because it is a three-shed structure, it is the perfect companion to the two-heddle pebble weave set-up. The plain borders match the thickness of the pebble weave sections.

intermesh borderIn this pebble weave piece from Ayacucho, the red plain area on the left is woven using the intermesh structure.

pebble weave cell phone pouch backstrap weavingHere are some of the sample bands that Maxima and I wove using the border method in Sample 2. My cell phone pouch uses the method in Sample 4 for the plain red sections.

The method I most use is that in Sample 4…intermesh.

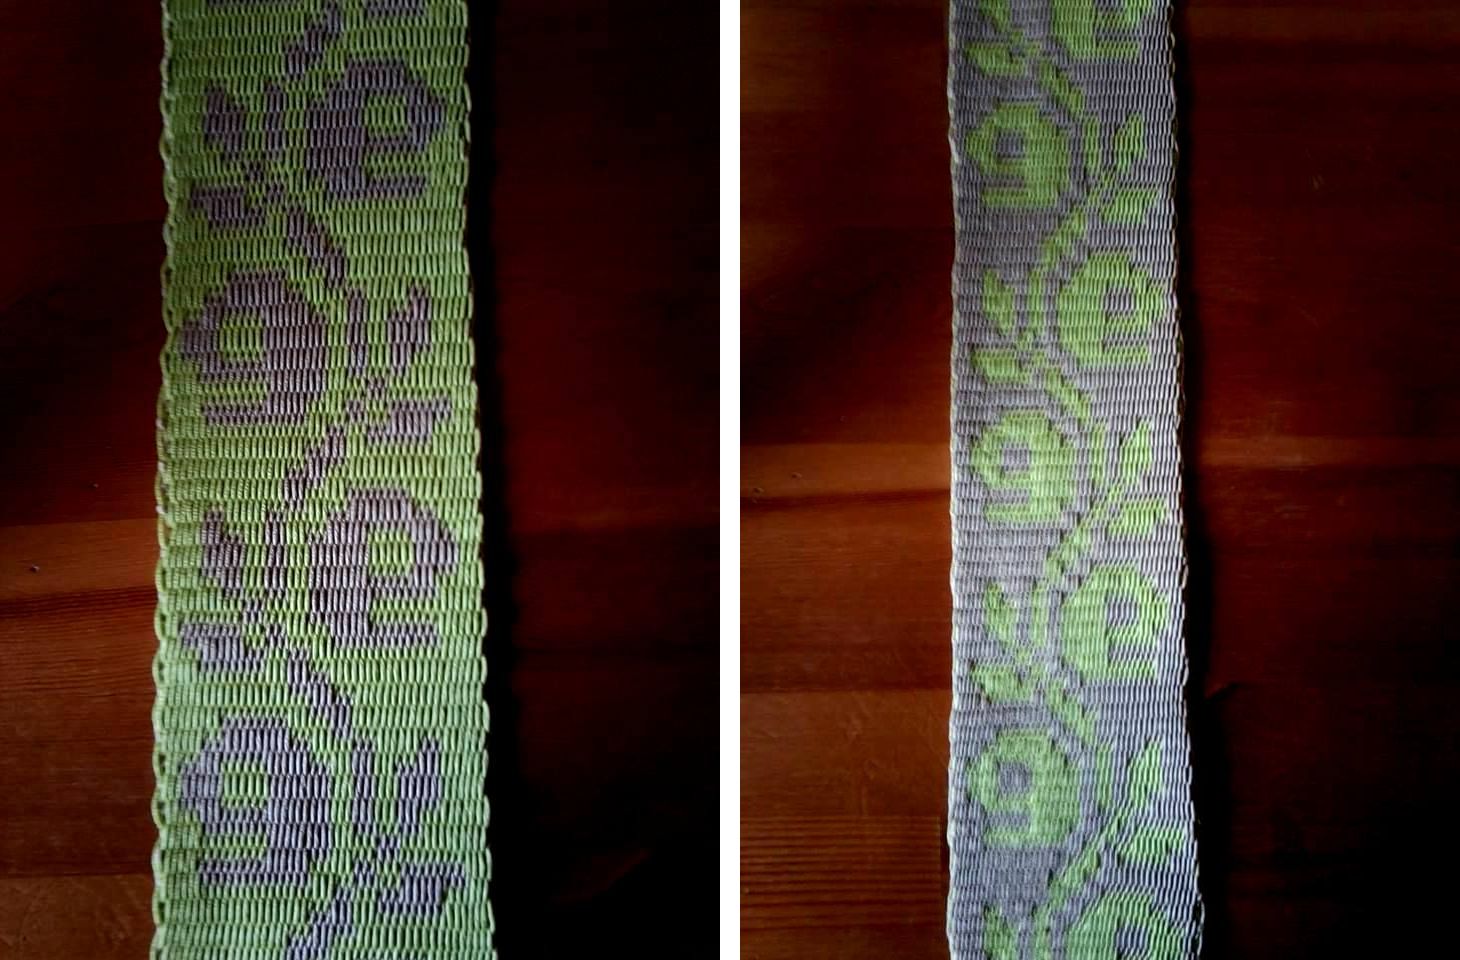
Oline friend Larisa sent me pictures of her project using intermesh using scrap yarn for learning purposes and so the piece does not have as good a contrast in colors as she would have liked. She says that she believes that intermesh is good for “bold statements”.

larisa flowersLarisa tells me that her rosebud motif is based on one from Palestinian embroidery.  Gorgeous!

Julia used Plymouth Yarn Fantasy Naturale to make the pebble weave band, below. This yarn, for me, is the perfect weight for making a backstrap and I have used it often for that purpose alongside some doubled Tahki Cotton Classic for additional colors. You will need two skeins of Plymouth for a backstrap in the dimensions I give in my WeaveZine article.

julia plymouthYou can see one of the beautiful swords in the picture from Magical Moons.

,y backstrap s made from Plymouth Yarn Fantasy Naturale and doubled Tahki Cotton Classic.
My backstraps made from Plymouth Yarn Fantasy Naturale and doubled Tahki Cotton Classic.

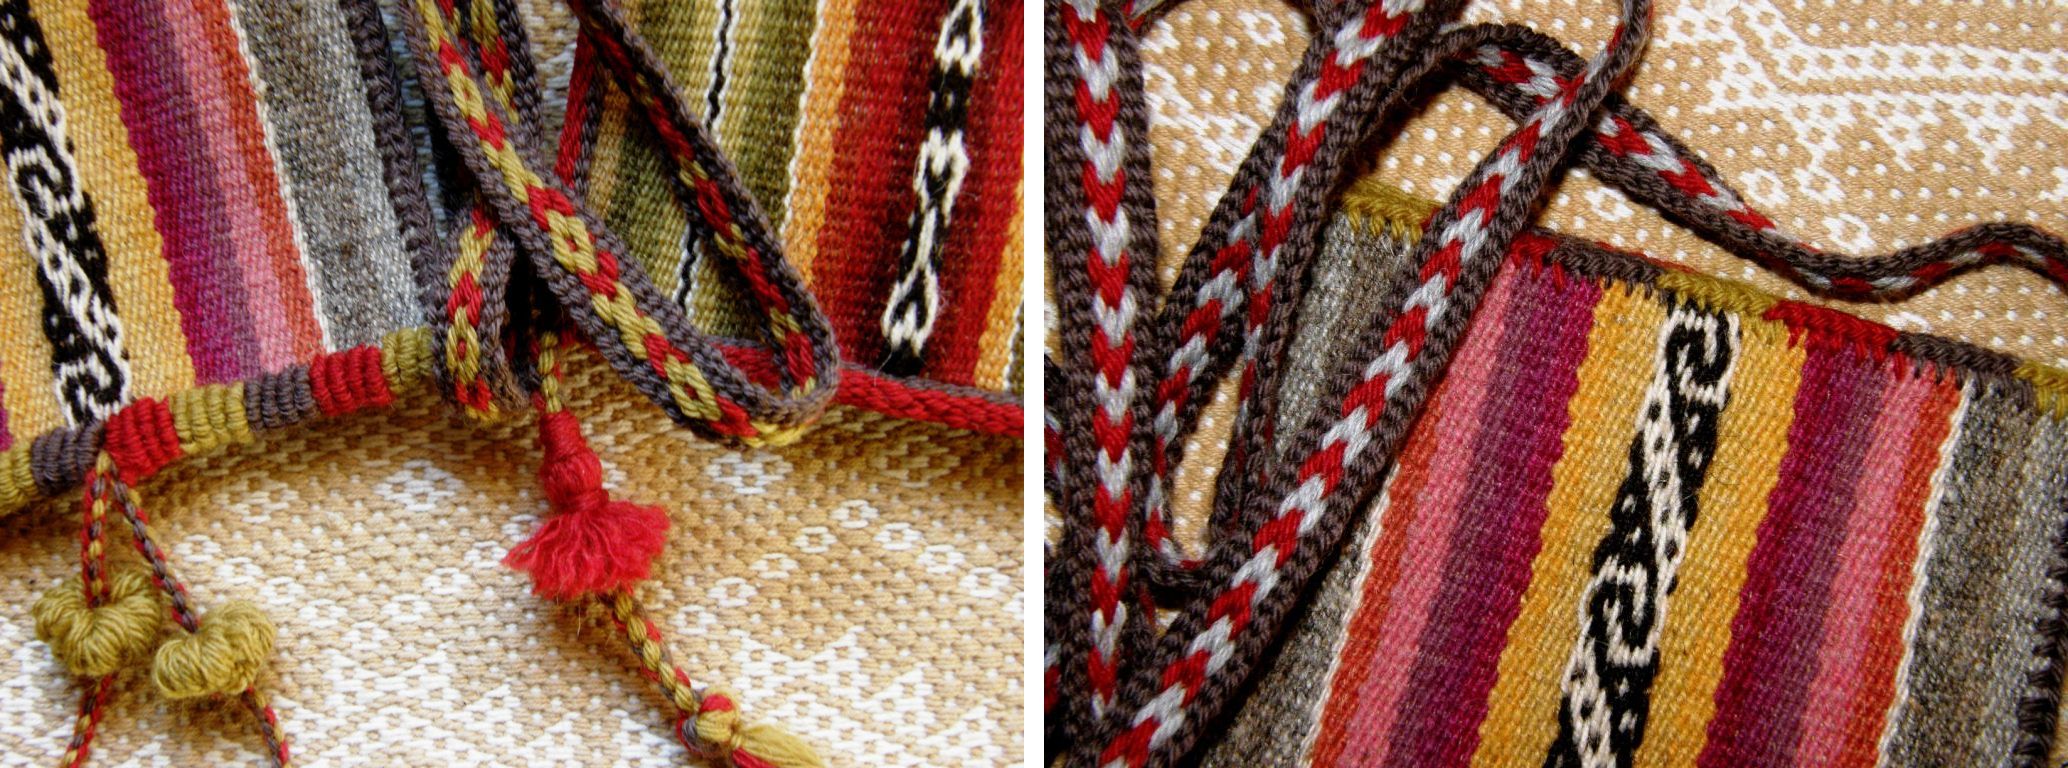
Julia wove with me one day and we played with the finishing techniques shown below in which we worked with tubular bands, coil stitches and cross knit looping.

finishing techniquesI gave Julia a piece of wool woven cloth made by Maxima and weavers in her cooperative in Cochabamba so that she could practice her new skills. Here is her finished bag:

julia bag tubular class (2)The broader part of the strap is two tubular bands edging a piece of linen. Beautiful work and she had just the right colors of yarn for this project.julias bag of finishes

~~~~~~~~~~~~~~~~~~~~~~~~~

4mum

~~~~~~~~~~~~~~~~~~~~~~~~~~