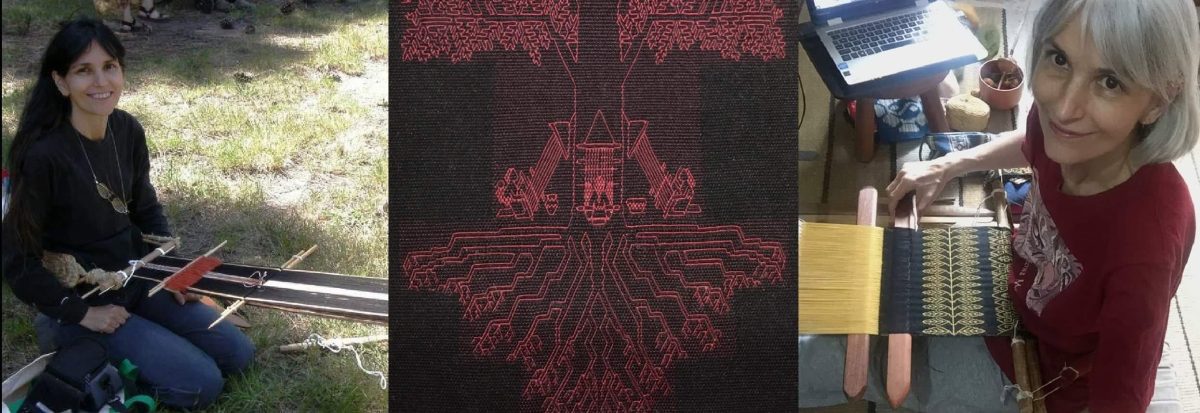
Backstrap Weaving – An Early Start on the Finish

I have two out of three panels for the wall hanging finished. That sounds like a lot but these two panels are just the “quiet companions” for the center black panel which will be heavy with supplementary-weft patterning. So, while it might sound like 66% of the work is done, it isn’t so. Still, it feels good to have this project well under way. I have even wound the warp for the center panel and now need to install 312 heddles and wind 624 ends around the coil rod….it’s worth it!

2 of 3 anels supplementary weft inlayThe black panel will have a lot of supplementary-weft inlay filling both positive and negative space. Then I would like to join the three panels across the top using weft twining and need to plan a design for that which will suit the woven patterns.

The Montagnard (Vietnamese hilltribe) backstrap weavers with whom I studied in the US use weft twining across the ends of the panels they sew together to make blankets. Two or three panels are sewn together once off the loom and then weft-twined patterns are added to one edge.

ngach twining set upAbove you can see my teacher Nagch working on a piece draped over a frame. The colored threads that she uses to encircle the hanging warp-ends are held on small cement bobbins that she made.
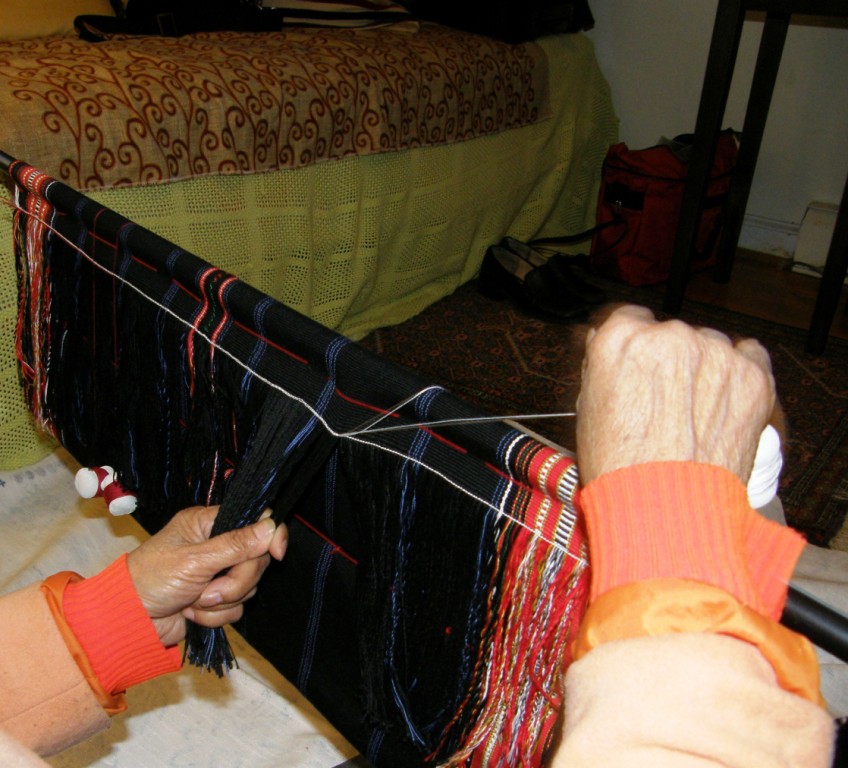
??????????????????????You can see how it is necessary to have the warps-ends under tension while the twining takes place. Nagch pulls the ends tight with one hand while twisting the bobbins with the other.

LEFT: Twining class with Nagch at Betsy's house. At right, Ju shows me how she gathers the warps in groups and sizes them before twining.
LEFT: Twining class with Nagch at Betsy’s house. At right, Ju shows me how she gathers the warps in groups and sizes them before twining.

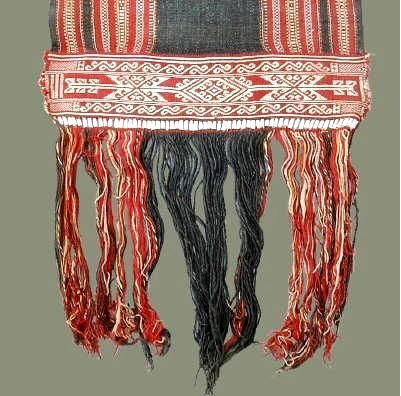
Here are some the beautiful examples of twining on the edges of Montagnard skirts and blankets made by Nagch and Ju Nie…just the right colors for my project!

kteh designs

Twining on the bottom of a loin cloth. This image was shared with me by Susan Stem.

I have tried weft twining both on and off the loom and it is far easier for me to control while the pieces are still on the loom with the warp ends under tension. As my wall hanging is nowhere near as wide as the Montagnard blankets and skirts, I will be able to put the three panels on my backstrap loom side by side and twine all the way across them. That will be the only place that the three panels will be connected.

Then I will add some twining to the bottom of each individual panel. Again, it will be fun coming up with a design that works well with those on the panels.

I think they will need the weight of the twining at the bottom to help them hang well. I have always imagined that one of the possible reasons Montagnard weavers add twining and beads to the bottom of the loin cloths they weave is for the added weight. You wouldn’t want the flaps of those loin cloths blowing about in the breeze!

Anyway, that is what I envision for my wall hanging for the time being. Who knows how this plan will be modified along the way.

I have other ideas for perhaps edging the piece with a tubular band. So, I took some time off from the wall hanging project and brushed up on a tubular band structure that Marijke van Epen and I studied together when I visited her in the Netherlands last year. We had a picture from a book and were able after a couple of attempts  to figure it out.

As luck would have it, just ten days after I got home from that trip, I went to Peru and came across a weaver from Chahuaytire, in the Cusco region, weaving and sewing one of these very bands to the edges of a large piece of woven cloth. I saw how he had set up the warp and separated the threads into their various heddles and was able to buy a prepared warp from him.

tubular band of Chahuaytire

chahuaytire band three versionsIt was a long loooong warp!

It was designed to go all the way around one of the typical large carrying cloths.

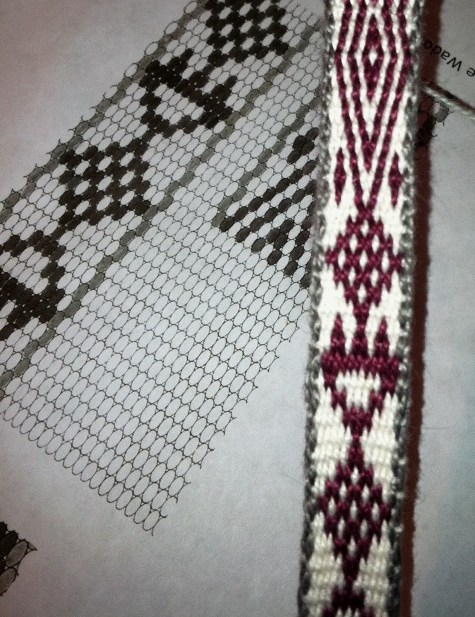
Look at all that luscious handspun thread! The thread was colored with natural dyes and some of the shades of green were very similar. This means that the pattern is a little hard to discern.

The example that Marijke and I had been studying in Nilda Callañaupa’s first book had been done in very bright and distinct colors…six in all counting the border color.

I have made a few examples and have decided that I prefer a quieter version. The minimum number of colors could be as few as two.  That’s just as well as my wall hanging uses only three colors.

I have been sewing them along the edge of a wool band for practice. The one on the right is probably closest color-wise to the one in Nilda’s book. There is one fewer color in my wool version in the center.

Here is the three-color cotton version I made that I would prefer for my project:

three color version of chahuaytire bandHere is one from Chahuaytire that I photographed at the CTTC stall at the Santa Fe International Folk Art Market in July….those colors are so gorgeous!

???????????????????????????????Weft twined bottoms and tops and tubular edgings…it seems that I am more intent on thinking about the finishing touches for this project before I can even get started on the meaty part of it.

And, while on the same break…basically dithering around before getting into what I was really supposed to be doing, that is, winding the warp for the black panel….I decided to continue the three-color Andean Pebble weave sampler. It was coming out so well that I decided that I really needed to use it for something. I will probably sew it onto a woven piece of fabric. Too bad we won’t be able to appreciate the fact that it is reversible that way but it just so happens that all the mistakes are on the back! Never mind, there are some bigger and better projects yet to come using this structure!

???????????????????????????????The flower head motif is the center and I am now working my way backwards repeating the patterns. There you can see the hummingbird sipping from its flower.

Now, if only I were as talented with fabric and sewing needle as Julia….

julias sewing  with pebble weave(2)

julias sewing (1)Julia and Cindy, who are both in the Ravelry group and live on opposite sides of the US, got together at the Mannings to show and share their backstrap weaving work. Cindy lives in the northwest and has woven with me and Julia and I have gotten together a couple of times too. That’s Julia on the left and Cindy on the right.

Julia and Cindy at the ManningsThat’s an impressive display of their collective backstrap weaving work! I see some weft inlay work in there amongst the pebble weave and there must be a bunch of tubular bands there too.

Father Kyriakos in Australia sent me a picture of his Andean pebble weave work. He has both my books and is playing with color changes as well as working on using narrow patterns with reversals and reflections to create wider designs. I would say that he is a natural!

fr kyriakos pebble weaveWell, that’s enough thinking ahead about how my wall hanging will be finished.  It’s time to knuckle down and continue weaving it. I am off to dress up that black warp with its heddles and coil rod….see you next week.
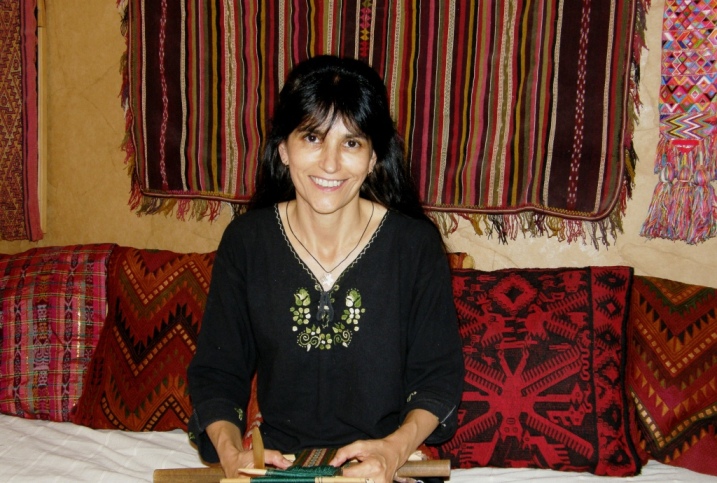
Backstrap Weaving – All that Weaving in a Nut Shell

I stopped buying textiles when I travel a long time ago. Firstly, I simply don’t have room to hang or display them and I hate having them stuffed in boxes in my closet.

Secondly, I don’t live in a climate that is friendly to textile preservation…the humidity!…and there is no escaping that now that I have decided I am never using an air conditioner again.

And thirdly, I would rather spend my money on getting places, taking classes and taking a lot of pictures which I can more easily store, enjoy, share and study. I think my digital camera was a far better purchase than any of the textiles I have brought home over the years. Too bad I left it until 2009 to go digital.

Oh, and one more reason…some of the things I have left out have been chewed by my cat. Above you can see some of the bits and pieces I took out for a profile picture I needed.

This means that I can’t take a case full of gorgeous handwoven textiles of Bolivia and other countries I have visited when I go to the US or elsewhere and want to tell people about the weaving I have seen. Even my own backstrap woven pieces are staying home now after seeing how they emerge in an ugly crumpled state from the bottom of my backpack. There  just isn’t a way to carefully pack these things. How do I capture all that weaving in a nut shell without packing and taking half the house with me?

As far as all the amazing indigenous textiles of South America are concerned, I am slowly building a nice digital collection of those and I carry it with me at all times to show on a space-efficient, crumple-proof, cat-resistant disc.

And, if I do take anything at all of mine, it has to have a dual purpose…something that is pretty to look at or which serves as an example of a structure that I am showing, as well as being useful while I am on the road.

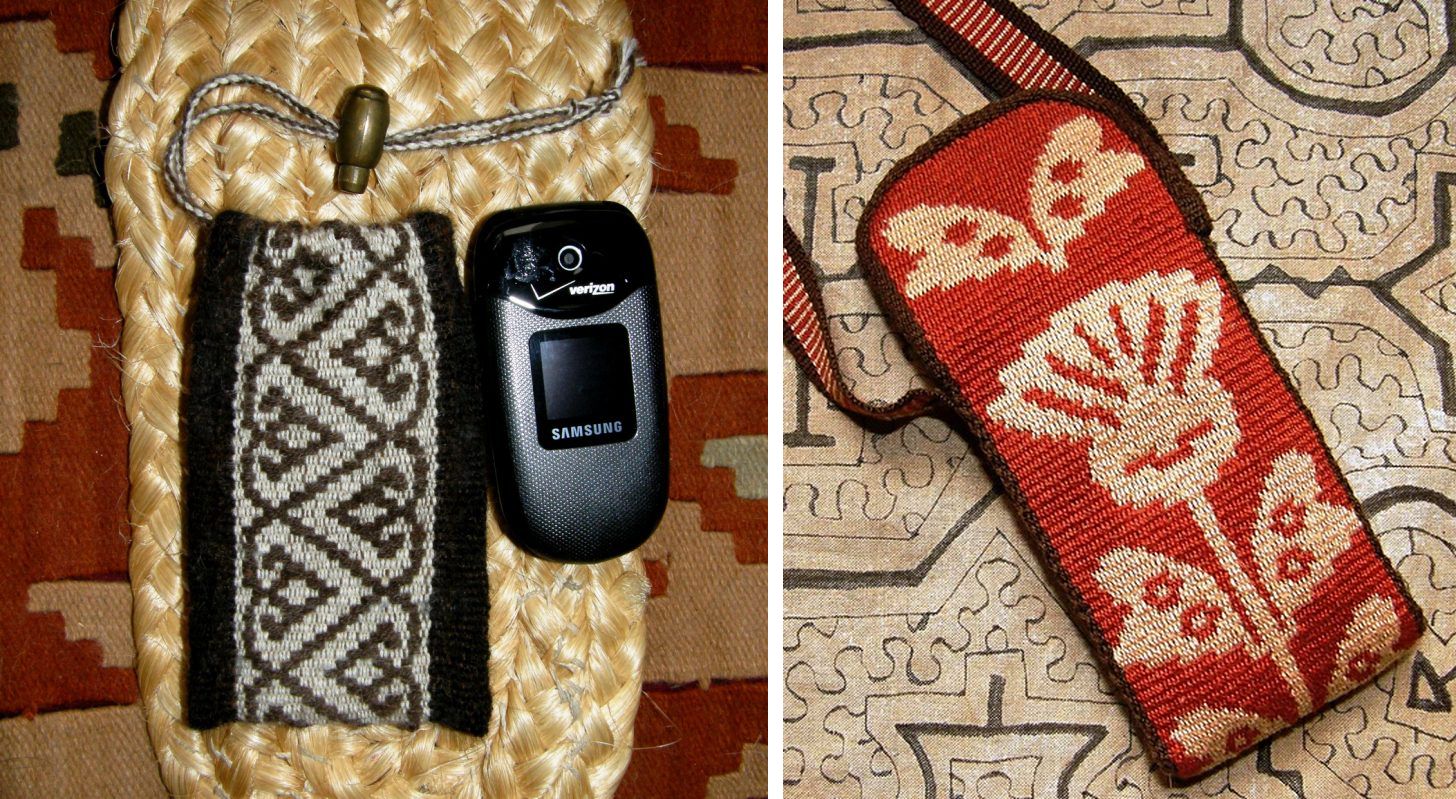
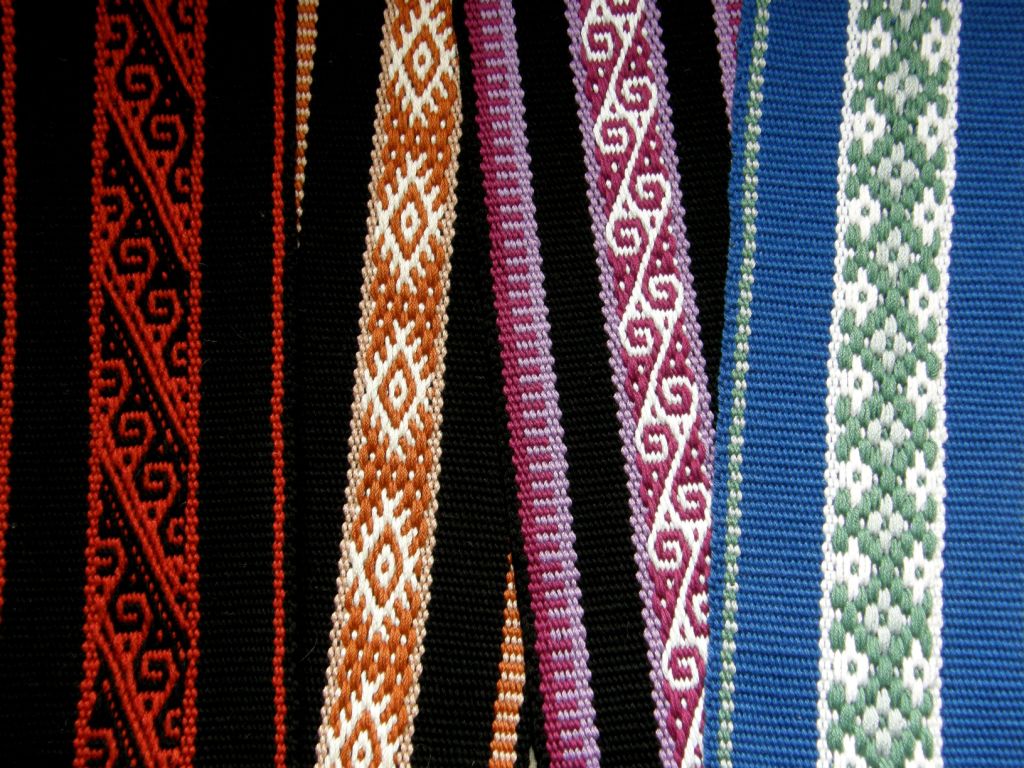
Something like these backstraps… I can’t believe that it was this time last year that I was weaving these in preparation for my spring trip to the US. How time flies! They show some simple and complementary-warp structures as well as being useful to people who want to weave along with me. They are sturdy and  roll up nicely for packing.

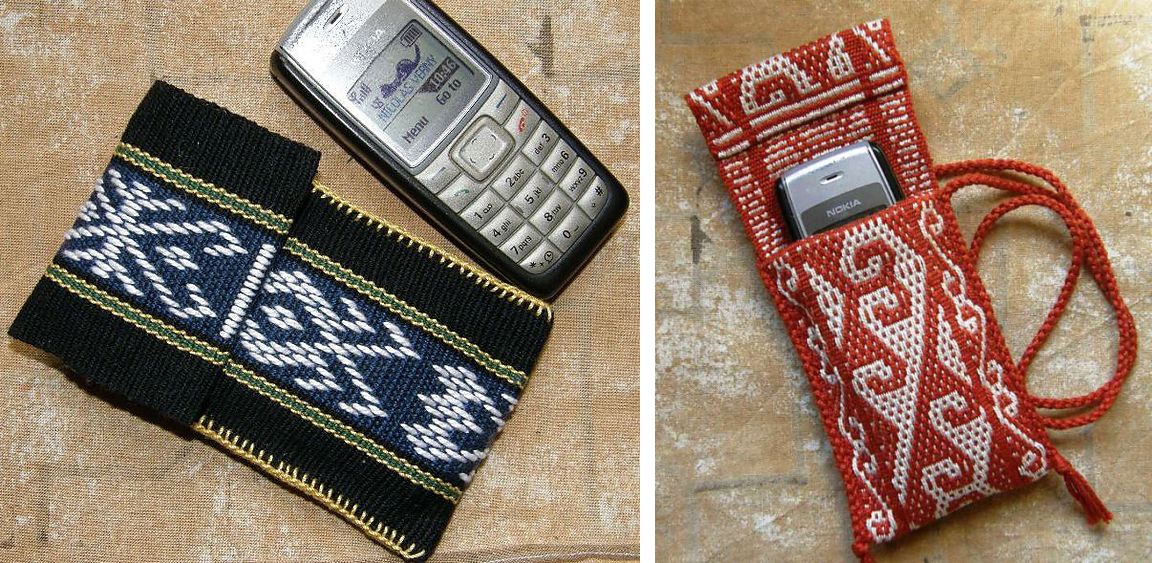
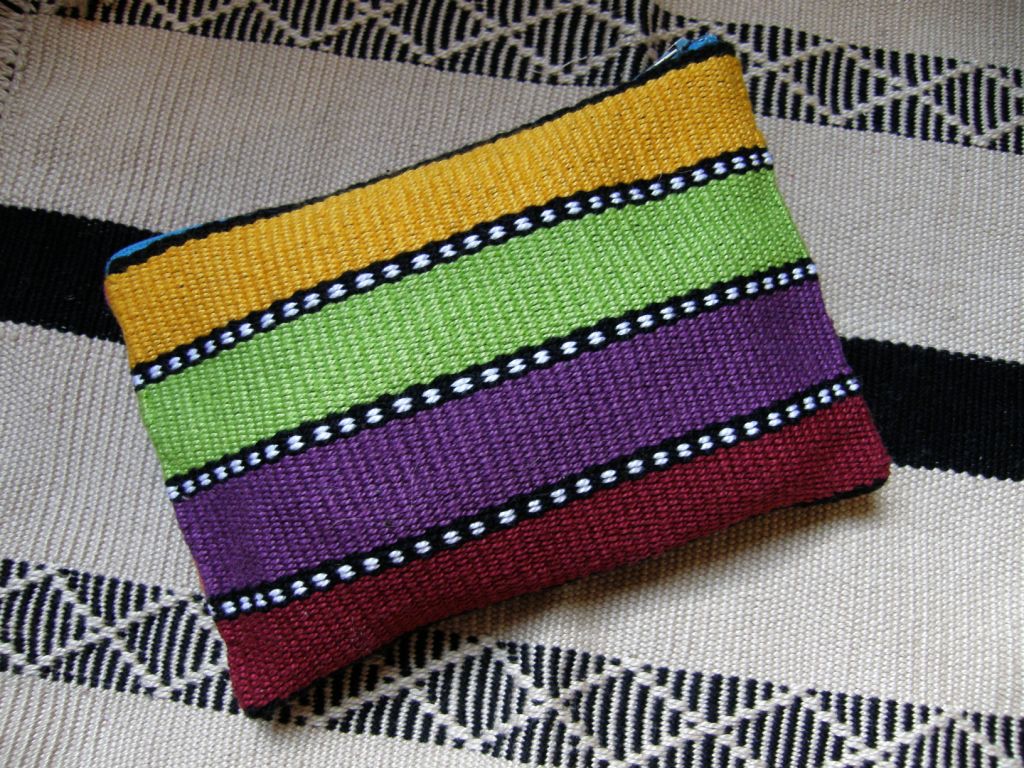
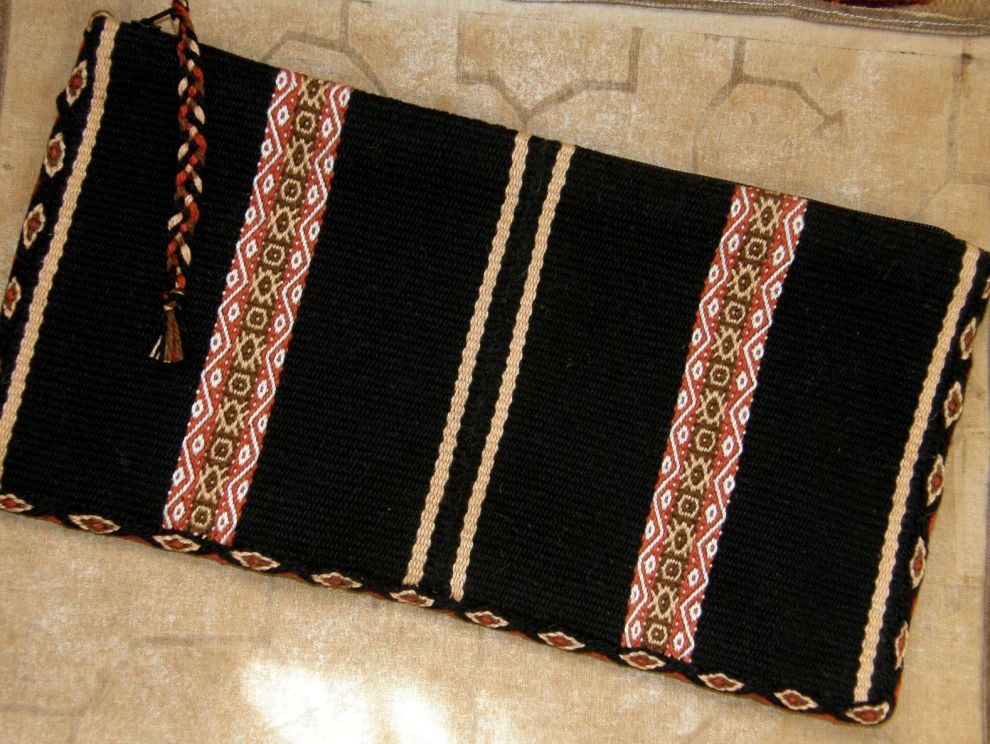
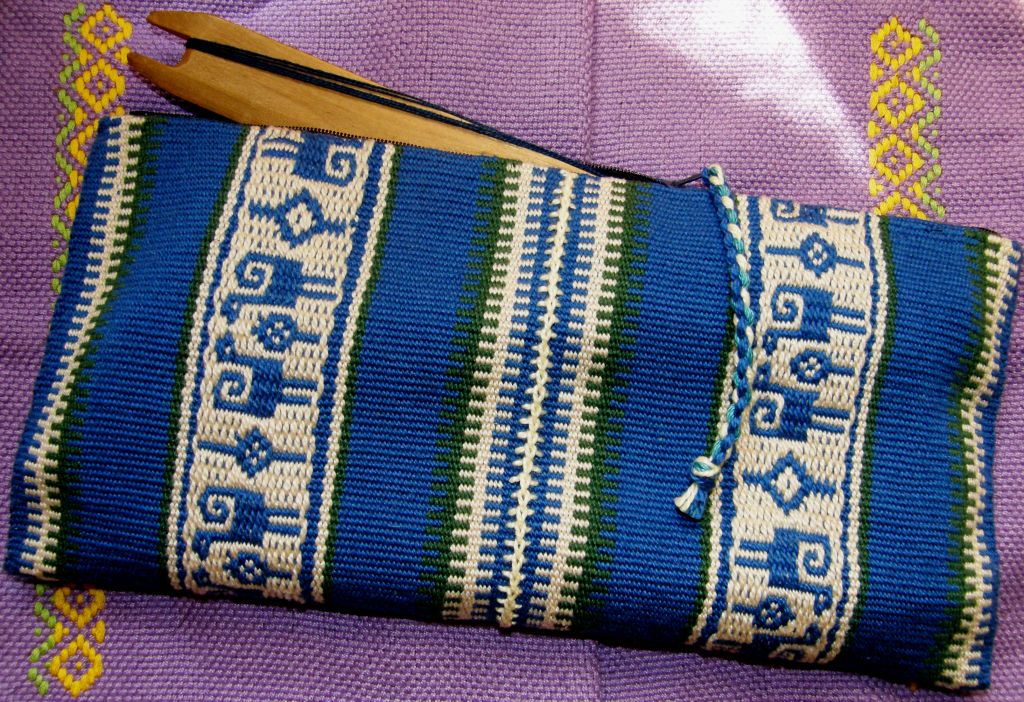
I don’t have a cell phone here in Bolivia but I find I really need to use one in the US for airport pick ups and that sort of thing. And it is just as well as I have quite a few cell phone pouches to choose from. I take one pouch for the phone and one for the charger.

Here are a few of them…

I should choose the ones that show structures that are not part of the backstraps. So, I could use the finnweave examples above or the supplementary weft patterned handspun alpaca one below or….

the one below left with the Van Dyke stitching that the Montagnard weavers use on the edges of their bags or….

…the one above that has a tubular woven band finish on the shaped flap. These little pouches are also handy as business card holders when I travel.

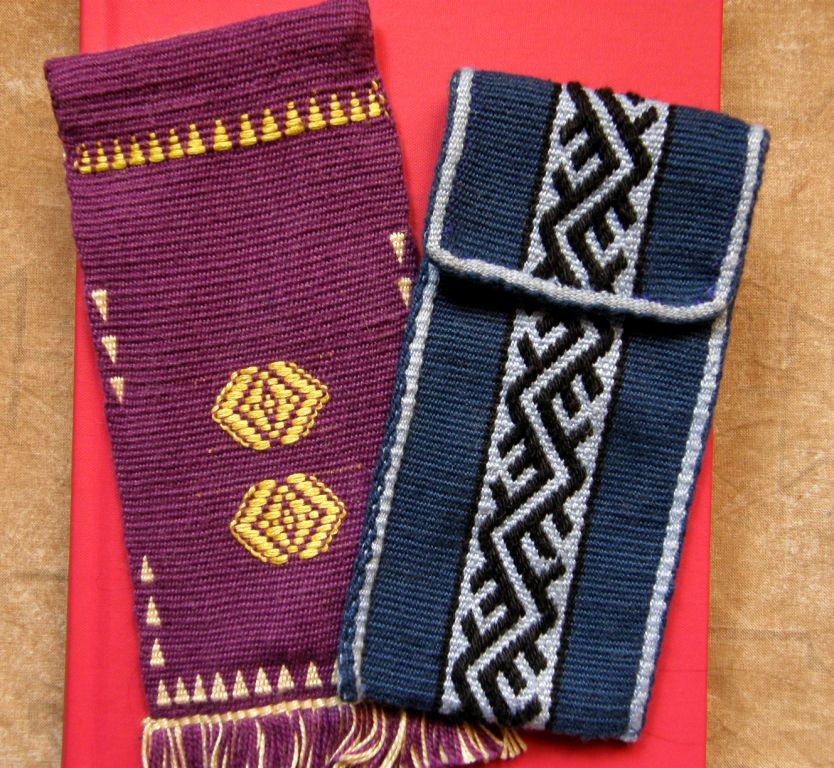
Then the glasses need to be accommodated. Ah, as the years go accumulating, so do the eyewear needs…reading, long distance, over contact lenses etc….What ever happened to the days of traveling light?

With the wool one above I can show people the theory behind the technique for making the discontinuous warp textiles that has being revived in Pitumarca, Peru.

At left I have a seamless tubular case made in double weave with a little supplementary weft patterning.

The blue case has a supplementary warp patterned strip and has been edged with a pebble weave tubular band.

These are all just samples that got made into things that now have the dual purpose of showing structures and techniques in a nice compact form as well as protecting my glasses while on the move.

If only I would use them here at home too, I might be able to locate my glasses more easily before I end up sitting on them!

Key fobs are useful for quickly locating all those keys to the TSA approved locks. Yes, I finally got some of those after getting tired of finding my broken locks inside my open luggage with an explanatory note. Would you believe that I don’t have a single woven fob right now? I always end up giving them away. I shall add that to the pre-trip “to-do” list. They are particularly good for showing lots of different structures in a very compact form.

I usually take a couple of projects on the loom so I can demonstrate backstrap weaving. I don’t warp with anything in particular in mind and the purpose is just to show how the loom works. Those projects usually suffer a lot as the loom gets tied up in different places at different angles and under different tension and the projects often are not looking quite their best by the end of the trip.

Fortunately, on the my last two trips the projects survived and I was able to make them into something on my return which are handy items to take on the road….

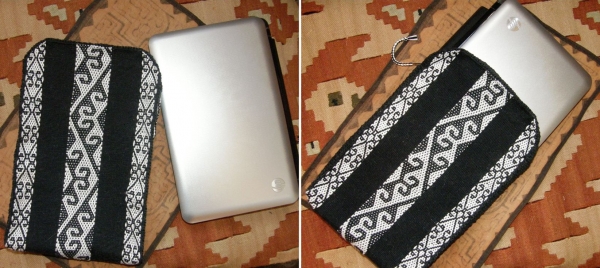
A dust cover for my notebook computer in two-color simple warp floats,

…a good sized pouch for my sewing materials in good ol’ plain weave,

…a nice large size tool bag to show a ñawi awapa band. It goes along with this next one (can’t have enough tool bags!)

…which shows the Van Dyke stitch used for joining pieces of cloth.

Oh, and there are a bunch of other pouches and purses that I use for coins, writing materials and documents, like this handspun alpaca passport pouch…

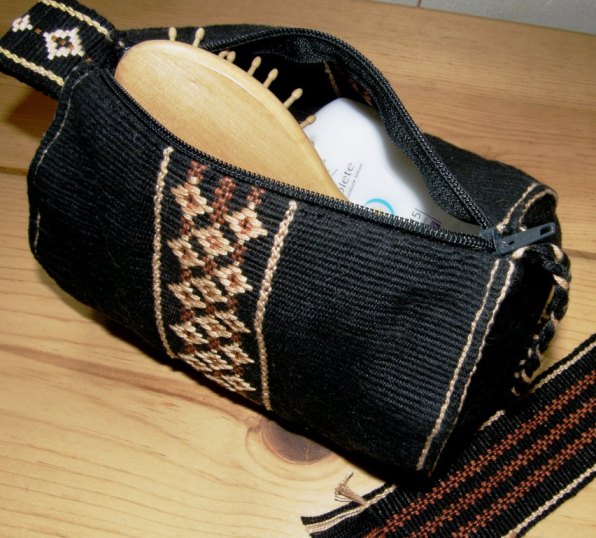
This little sausage pouch makes a great cosmetics bag and it shows how supplementary weft patterns can be used on top of warp patterns rather than just being woven into single-color cloth.

I love being able to take these things with me but, sadly, I have to admit that clear plastic bags are often much better. It is maddening sometimes trying to remember which pouch holds which items!

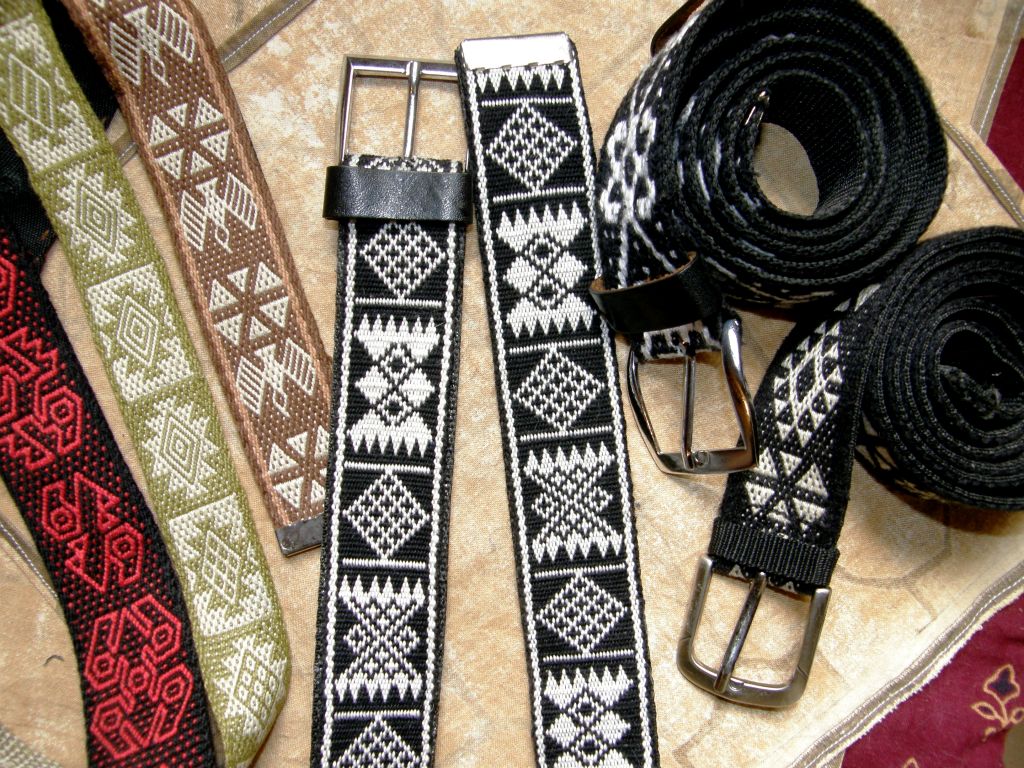
I almost forgot belts! You can’t get more efficient than that…I can wear the woven structure example that I want to show. Belts, however, are an added pain when going through airport security.

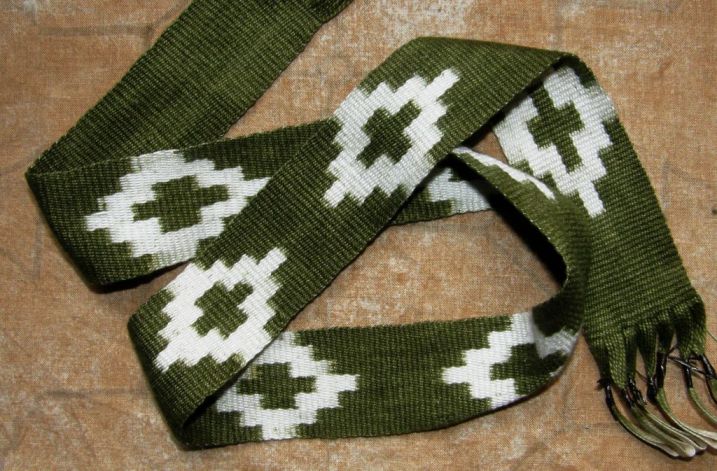
I finished my wee ikat sample and I am thinking of making it into a belt somehow.

It’s a bit on the short and flimsy side but maybe some added leather might work.

That’s all I managed to weave for myself this week. I did find the time to warp up for the next ikat project and on this one I am hoping to dye two colors.

Oh boy, this experiment is bound to give me a very much increased appreciation of and respect for the  Guatemalan, Indonesian and Central Asian ikat artisans and the textiles they create with multiple colors.

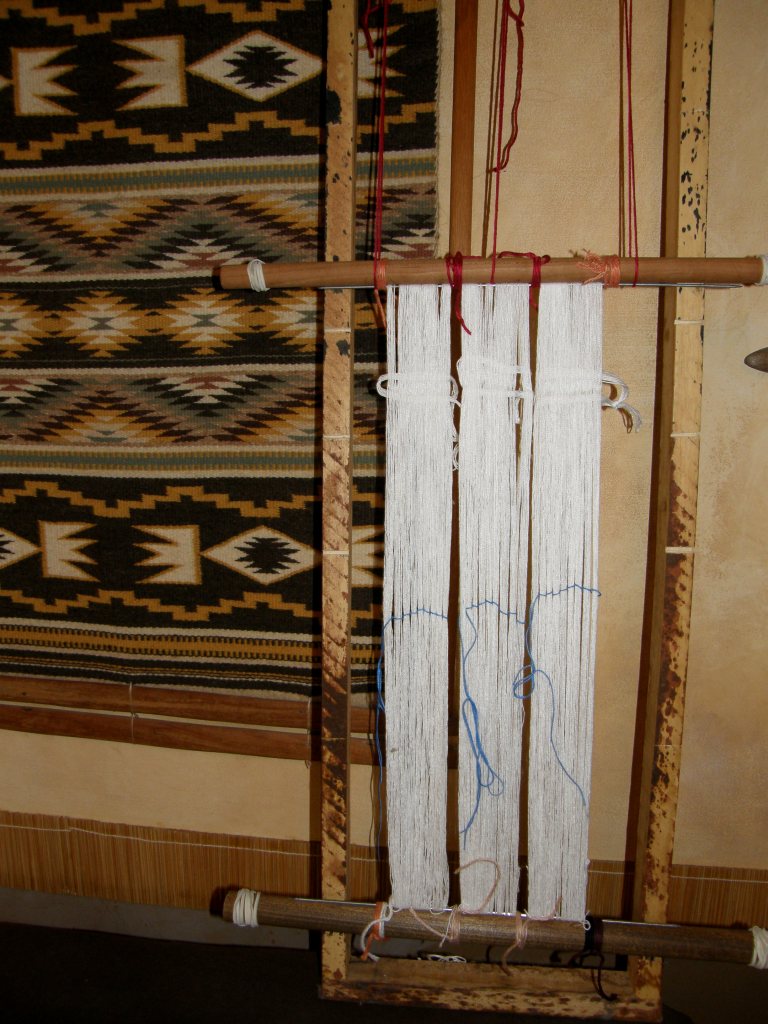
Here’s the warp on a frame ready to be tied. There are three panels but each panel will only have one motif. I am not going to get crazy with this! Let’s just see how this one turns out and I will take it from there.

In the Ravelry group Blomster joined in on our ikat weave-along using her rigid heddle loom. We decided that this WAL would be all about ikat on any kind of loom and I love what she made in a balanced weave. The ikat patterning is very subtle and she is pleased with the way it turned out.

Bobbie has been working on her simple warp float piece which has been inspired by a Guatemalan weaving she saw on the Education and More website. She bought naturally dyed cotton from Education and More for this project.

We don’t get a good look at the actual fabric in this shot but I will show you in the weeks to come. I just love looking at that gorgeous warp!!…the colors, the smoothness! I will tell you a little more about the process for this pattern too as Bobbie makes progress. I hope she will keep us supplied with pictures as it comes along. I am hoping to get together with Bobbie and other north-westerners from the Ravelry group when I am up that way next month.

Yonat, who weaves with me when I visit Santa Cruz California, has been practicing double weave..

She is using Bedouin shajarah motifs which are traditionally woven in a warp substitution technique. As that technique produces very long floats on the back of the fabric, weaving it in double weave as Yonat has done will produce a textile with identical faces in reversed colors and no long floats.

I am looking forward to going back to California and the ocean and some cooler temperatures…remember that it is summer down this way. 

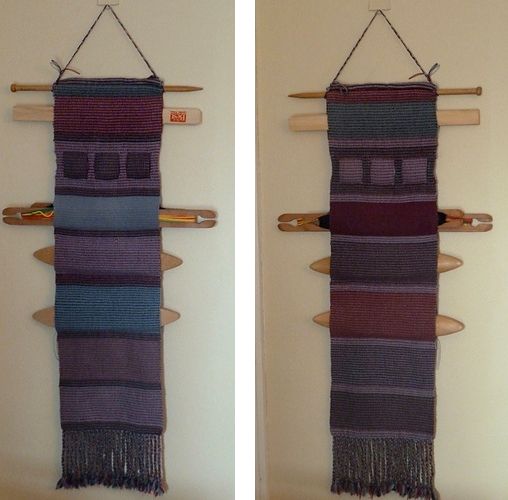
I loved seeing this project that Akknitter posted on Ravelry in the Warped Weavers group…nothing to do with backstrap weaving but I just really like this idea. It is from a project in the Nov/Dec 2008 Handwoven. It is being used for shuttle storage. I can see my loom bars nicely nested within something like that. It is double weave and so has two differently colored faces.

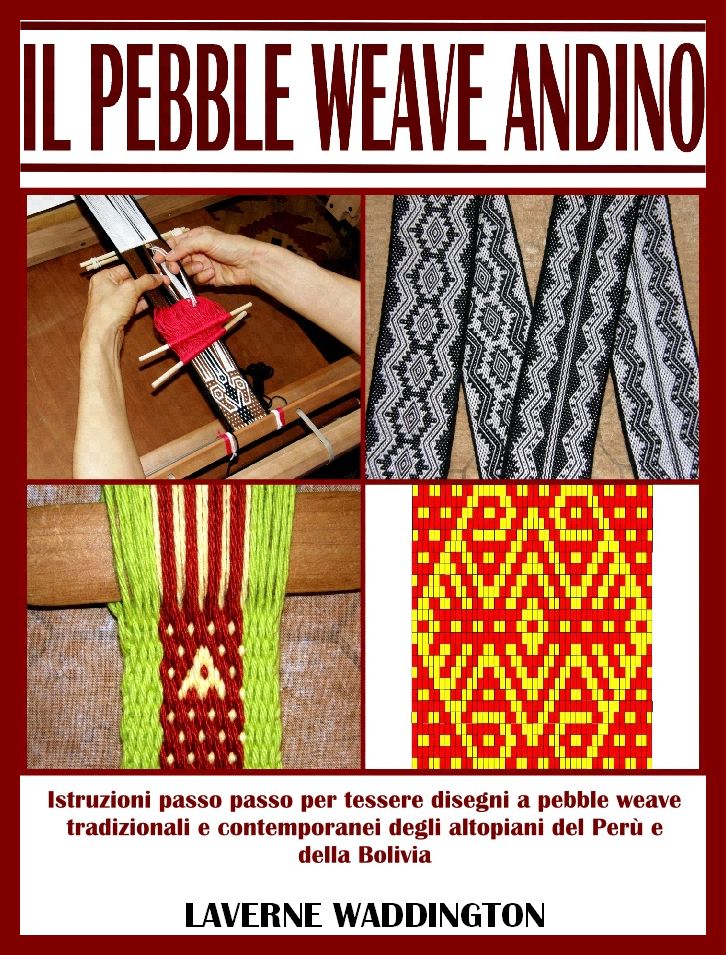
So….let’s see what I can accomplish weaving-wise in my last week of pre-trip madness. I am trying to put together the Italian version of Andean Pebble Weave and get some weaving done for myself. I can’t complain as all is going very well.

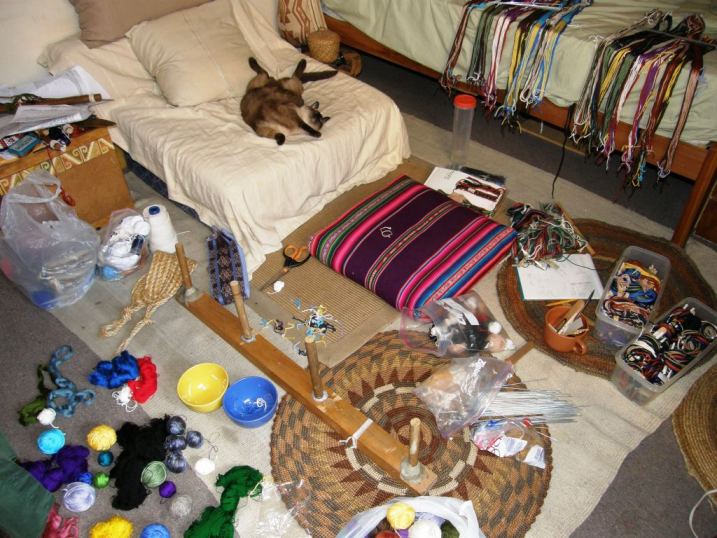
I will leave you with a picture of the organized chaos that is my bedroom these days. You can see that my cat doesn’t think much of it…

Coming soon courtesy of translator Lidia Guffanti…..