Backstrap Weaving – A New Year and a New E-Book!

Happy New Year to all of you! I usually let December 31st slip on by but this time it was a little different because it marked the finish of my latest e-book on the eye-pattern tubular band and other decorative finishing techniques. It really did feel like a big finish and, as the fireworks boomed outside (we tend to only have the noisy ones here and not so many of the pretties), I almost felt as if they were cheering for me. I guess the end-of-year means something different for each and every one of us. This is what it meant to me at that very moment, and on and off until 2am! There are no official public displays of fireworks. People buy them in the market and let them off in their back yards. It can go on all night!

So….about the e-book. You may know this pretty eye-pattern tubular band by its Quechua name, ñawi awapa. I have seen it woven in various places across the highlands of Peru and Bolivia. Because I know of at least one other local name that is used for it, I decided to simply call it the eye-pattern band in my book.

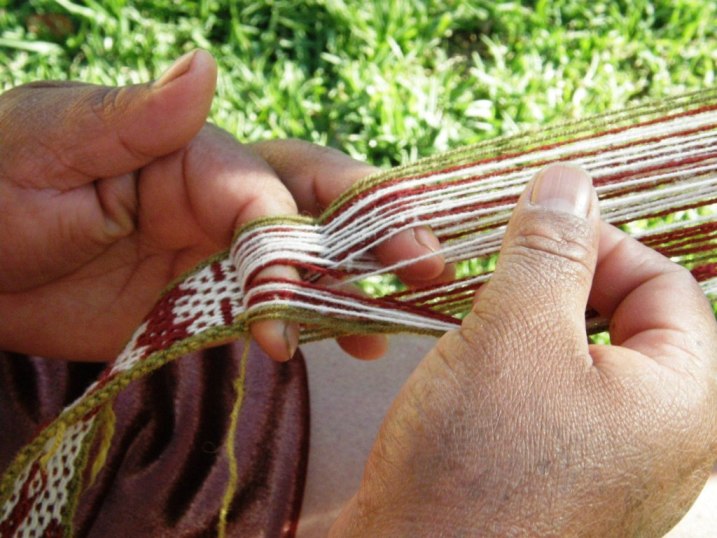
Weaving the eye-pattern tubular band in the central Bolivian highlands.

I have been happily applying it to my small woven pieces ever since I learned it. The novelty of seeing those little eyes appearing along the band never wears off! Used as an edging, it is the perfect finish to my woven pieces. In the highlands it is used for both decorative and practical reasons as it protects the edges of the fabric which are often the first parts to wear out.

Here’s my latest finished project using a simple two-color eye-pattern band as the edging on my Andean Pebble Weave wrist-cuff .

The tubular  band is woven and sewn simultaneously to the perimeter of the cuff using the weft as the sewing thread.

When I was learning to weave a coca-leaf bag with my teachers in Bolivia in 1997, I realized that removing the cloth from the loom did not mean the end of the project. It actually signaled the beginning of a whole new process that involved embellishing the piece with various decorative finishes. I saw that the eye pattern has different levels of complexity in different regions and that the methods used to create it can also vary. These kinds of similarities and differences have always fascinated me.

And, I have since learned that the eye-pattern tubular band is fun to weave on its own rather than purely as an edging. It makes lovely necklaces on which to hang pendants, sweet bracelets and bangles, and can be used in a variety of ways in accessories….fobs for keys and tools, lanyards, eye-glass holders, shoe laces, straps and drawstrings…. From my own experiments, I show you how to create straight, curved and spiraled versions of the tubular bands. They all have their particular charm!

One of the many fun things about this pattern is that you can make it as subdued or as lively as you like. I am generally limited to using only two colors at once in a pattern when I do most of my basic pick-up weaving techniques. The eye-pattern band allows you to use up to five or even more colors in the pattern. My favorite combination is usually with only three but you can make them as colorful as you like!


The traditional way to weave these tubular bands is by having the narrow warp attached to the weaver’s waist or belt with a piece of string. String heddles are not used at all and so the weaver’s body is simply suspending the warp. The weaver is not required to move the body back and forth to add or relax tension on the warp to help operate the heddles.

You should at least be familiar with weaving terminology…warp, weft, beat, shed etc…before you approach this.

Because heddles are not used at all to create the sheds, the warp can be easily set up and woven using an inkle loom or any other loom or frame that allows you to adjust tension for take-up. Full instructions on how to set up and weave the independent band on an inkle loom are included in both versions of the e-book.

Here I am weaving one on my tiny Ashford Inklette.

My e-book is available in two versions. One contains the instructions for weaving the eye-pattern band as an independent tube and then goes on to show how to weave and sew it simultaneously as an edging along the two sides of a project, or around corners, covering all edges.

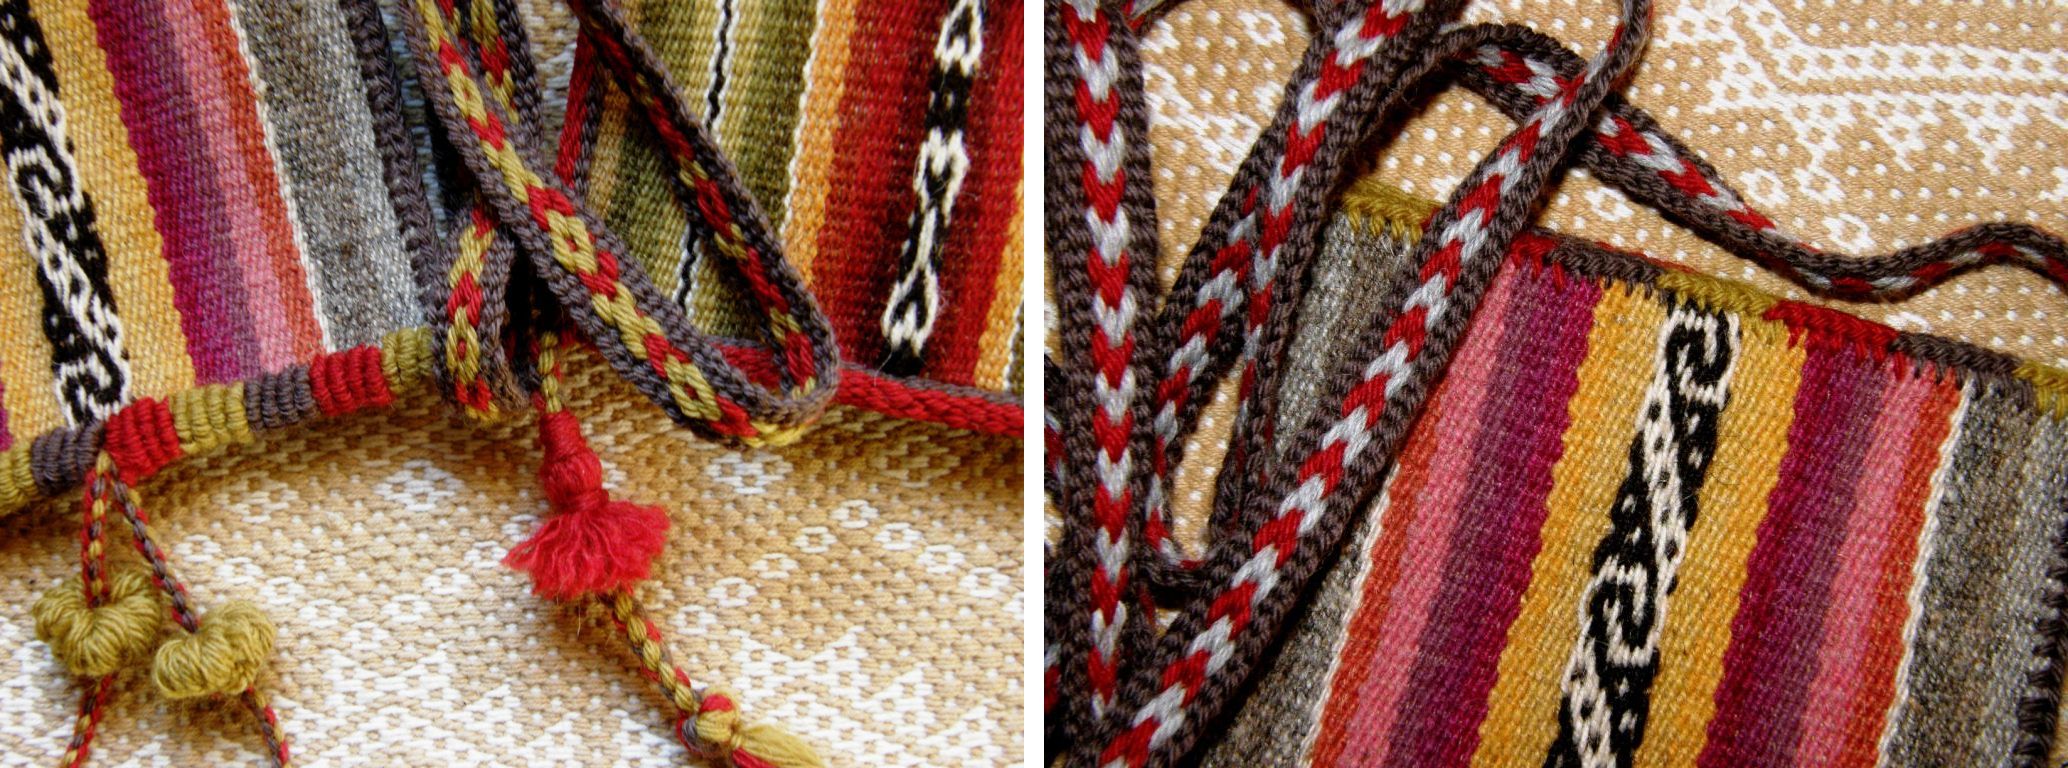
I used a two-color eye-pattern tubular band to dress up a simple pouch that I made with commercial cotton fabric. The cross-knit-loop stitch decorates the mouth of the pouch.

Other decorative sewn finishing techniques such as the coil stitch, pictured below, are included with dozens of step-by-step photos as well as drawings.

The other version of the e-book is for those who only want to weave the band as an independent tube, perhaps for using it in jewelry and accessories, and aren’t interested in the sewing techniques. Both books provide ideas, instructions and suggestions for finishing the bands and for using them in such projects.

There are links to both versions in each one’s product description on the Taproot Video page.

And, let me tell you about something new for my e-books……

Both e-books include access to supplemental video clips. These are not stand-alone tutorials. They were designed to allow you to see “in action’’ some of the processes. The techniques are thoroughly explained in the books using over 140 photos, drawings and diagrams and so the videos really are optional supplemental material. With these additional materials I hope to be able to cater to a greater variety of learning styles. I had a lot of fun making those video clips and I am thrilled with them! Links to the videos are provided in the ebooks where they can be viewed and/or downloaded, if you like. They are better viewed after you have read each tutorial. Little video camera symbols in the book will let you know when there is a related video clip to be viewed.

For my left-handed weaving friends, I have included instructions in the Appendix on how to adapt the weaving technique to suit. You will notice that I said for my left-handed weaving friends. I am sorry, but for the sewing techniques in the book, I have left it up to you to adapt.  My left-handed students have always been so awesomely good at doing that in my classes!

I will leave you with this picture of me with one of my teachers, Maxima, spending a tranquil afternoon together. I weave as Maxima sews a decorative edging to a small pouch. The pouch on which she taught me to weave and sew a tubular band, lies on the ground between us. This was on my birthday back in 2011….a lovely way to spend it.

So, I hope that you will enjoy the e-book and I look forward to seeing what you create using it!

I wish you all the best for 2019!

(Hair update, for those who are interested…. I now have a blunt-edged chin-length hair cut with a good five months of grey growth!).


Backstrap Weaving – The Plain Parts

I live right in the heart of Santa Cruz city. It is a crazy jungle of tangled electrical wiring, crumbling adobe and sagging red rooftops. Even when I am alone in my little condo I can sense the beat of the city as people go about their daily lives…booming tropical rhythms, car horns constantly blaring, the scratching scraping sound as the washer woman in the building next door scrubs the heck out of the clothes. And then there are the smells. At any hour of day or night someone somewhere in the neighborhood is having a barbecue. I live within a stone’s throw of one of the city’s largest street markets. That brings its own collection of interesting aromas.  The football stadium is four blocks away….faint cheers, chants and whistles on weekends and, if the wind is blowing the right way, I get to hear all the concerts for free.  It is colorful and somewhat joyful…nothing “plain” about it, that’s for sure.

I have been going through old pictures. Here’s a reminder that there are some simple, “plain” places to which one can go to escape all the man-made mayhem. Right here in the city there is a very odd and very large and unexpected stretch of sand dunes. Go there mid-week and you can have it to yourself. On weekends it becomes yet another venue for salsa music and barbecues.

OLYMPUS DIGITAL CAMERA???????????????????????????????I am weaving the black panel of my wall hanging project. Nothing plain about this. In fact, I have to keep stopping and checking myself…how much pattern is too much…have I gone too far? Is it too much, overdone?

The thing is, I am still learning LOTS of lessons from weaving this piece and so I won’t be using it for the wall hanging. I will finish it and keep learning from it.

There are definitely some things I would do differently a second time around. Luckily I have a whole lot of green Guatemalan cotton that I can dye black for a second attempt and I think that my silk supply will hold out too.

I can probably make something nice from what has now become another “sample” and I will start again on the wall hanging panel.

I will tell you just one of the lessons I learned. If you are doing plain weave and using black warp and weft it really doesn’t matter if some parts of your piece are a little less warp-faced than others. You won’t be able to notice that fact.

However, when you are using a white continuous supplementary weft, it DOES matter. The smart thing to do is to put that white weft in as a tester right at the beginning. That way you will be able to tell if some of the black warps have a slightly different spacing to others as the white weft will show through. You can then go about shifting and settling the warps so that their spacing is consistent and completely hides the white weft.

At the same time I have been doing a little study of some of the different ways that indigenous weavers here treat the plain parts of their woven pieces. By plain parts I mean those that do not have any kind of pick-up patterning.

???????????????????????????????

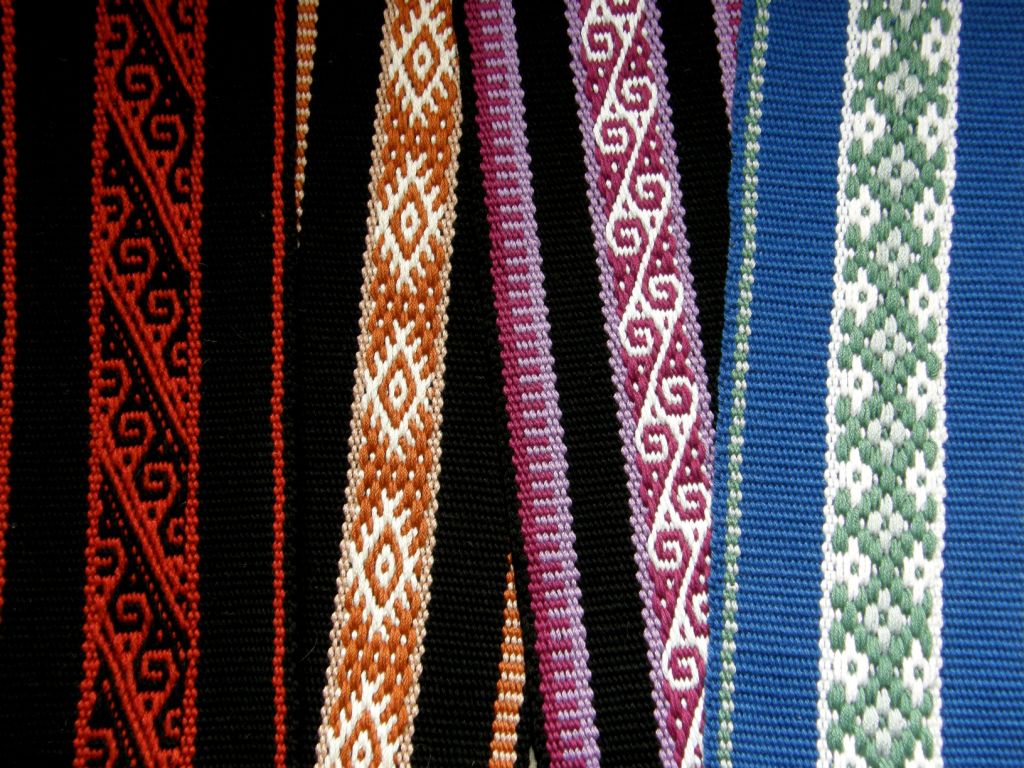
Here are some examples…from left to right…

Sample 1: A rolled edge. There are actually 18 brown warp ends there on that border that have been woven and rolled to form a sort of tube edge. The edge is good and thick and would provide very good protection for the sides of a belt. The weavers from San Ignacio de Loyola use this kind of edging for the plain weave that borders their belts.

weaver san ignacio de loyolaSample 2: Two-weft-span borders. I learned this method from my teacher Maximia in the Bolivian highlands. Look at difference in the yellow edge on sample 2 and the green 1/1 plain weave border on Sample 3.

??????????????????????Maxima makes a cross with her fingers while she picks the various colors needed to create her pebble weave pattern. She first takes the borders from the far side of the cross, then works her way across the warp picking her pattern , She finishes by taking the borders from the near side of the cross. This is what enables her to form the two-weft-span borders.

Sample 3: 1/1 Plain Weave. Using  1/1 plain weave  as the border gives the  pattern area another dimension. The border remains “flat” and the pattern area is raised. This is a very nice effect.

Sample 4: Intermesh border. This is the “thick border” that I explain in Andean Pebble Weave and was taught to me by weavers in Ayacucho. Because it is a three-shed structure, it is the perfect companion to the two-heddle pebble weave set-up. The plain borders match the thickness of the pebble weave sections.

intermesh borderIn this pebble weave piece from Ayacucho, the red plain area on the left is woven using the intermesh structure.

pebble weave cell phone pouch backstrap weavingHere are some of the sample bands that Maxima and I wove using the border method in Sample 2. My cell phone pouch uses the method in Sample 4 for the plain red sections.

The method I most use is that in Sample 4…intermesh.

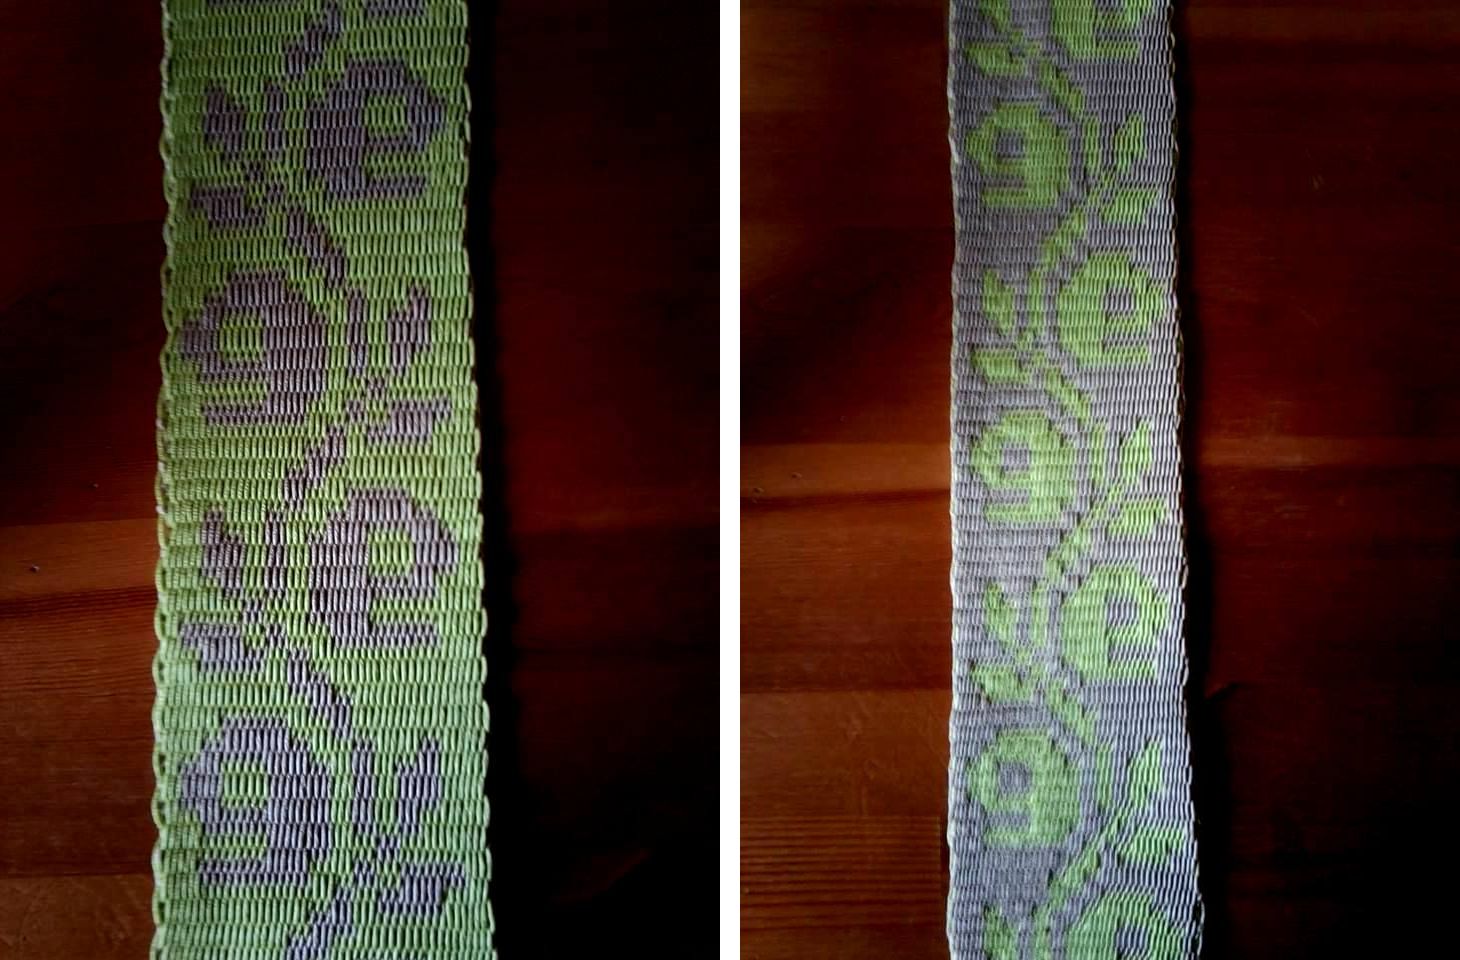
Oline friend Larisa sent me pictures of her project using intermesh using scrap yarn for learning purposes and so the piece does not have as good a contrast in colors as she would have liked. She says that she believes that intermesh is good for “bold statements”.

larisa flowersLarisa tells me that her rosebud motif is based on one from Palestinian embroidery.  Gorgeous!

Julia used Plymouth Yarn Fantasy Naturale to make the pebble weave band, below. This yarn, for me, is the perfect weight for making a backstrap and I have used it often for that purpose alongside some doubled Tahki Cotton Classic for additional colors. You will need two skeins of Plymouth for a backstrap in the dimensions I give in my WeaveZine article.

julia plymouthYou can see one of the beautiful swords in the picture from Magical Moons.

,y backstrap s made from Plymouth Yarn Fantasy Naturale and doubled Tahki Cotton Classic.
My backstraps made from Plymouth Yarn Fantasy Naturale and doubled Tahki Cotton Classic.

Julia wove with me one day and we played with the finishing techniques shown below in which we worked with tubular bands, coil stitches and cross knit looping.

finishing techniquesI gave Julia a piece of wool woven cloth made by Maxima and weavers in her cooperative in Cochabamba so that she could practice her new skills. Here is her finished bag:

julia bag tubular class (2)The broader part of the strap is two tubular bands edging a piece of linen. Beautiful work and she had just the right colors of yarn for this project.julias bag of finishes

~~~~~~~~~~~~~~~~~~~~~~~~~

4mum

~~~~~~~~~~~~~~~~~~~~~~~~~~

Backstrap Weaving – The Positive and the Negative

I have been working a lot with wool this week as I sew pieces of woven wool bands from Cochabamba into little pouches and dress them up with all kinds of pretty finishing techniques. Some of the finishing stitches are easy but they require precision and doing this work increases my admiration for those who do fine embroidery work. I am using wool for my stitching thread.

Working with wool is wonderful but, above all, working with wool is forgiving! This is one of this fiber’s big positive features for me. It fluffs out happily and fills in tricky spaces. Never mind if you didn’t insert the needle the exact same distance from the edge of the woven piece every single time…wool will forgive this…it has a certain rustic look that forgives even if it doesn’t always hide the imperfections. I love it. I am glad that I have spent years getting my “training” using cotton for these sewing techniques. When you switch to wool, it is all so much easier. My indigenous teachers used acrylic when they taught me these things.

??????????????????????I added multi-color cross knit looping to the top edge of this little pouch and wove a strap. You can just see the grey cross knit looped stitch along the right hand edge.

??????????????????????Here you can see the bottom edges of the two pouches on which I have been working this week. The one on the right has been edged with a tubular band and I added what I am calling a “coil stitch” to the bottom of the other…lots of fun to do albeit rather fiddly. I made a braid with a couple of pom poms for one pouch and added tassels to the other. It was fun weaving the strap. I am using just regular knitting wool for these finishes and am not re-spinning or treating it in any way. It stood up wonderfully well for weaving the straps which were woven on 72-inch circular warps.

Note to the pebble weavers out there: can you see the “blip” in the pattern on the pouch on the right? The weaver used the same pebble shed twice instead of alternating them. You see, even the experts get caught sometimes!

finishing techniques on bolivian pouchesAnd then I played with some decorative joining stitches on some of the left over pieces. That’s where wool really was my friend. It was really hard to count the warps and place the needle accurately on that variegated grey wool. If I had tried this with cotton, it would have looked awful. Wool is Cool! (Too bad that doesn’t really rhyme. But try making it rhyme…it’s kind of funny. Ah, the English language!)

tinkuy 2010Weaving with wool, on the other hand, is a different story. It can be rather unfriendly depending, of course, on your level of expertise in preparing wool for warp-faced weaving.

If not well prepared, each warp will extend its little hairy fingers to grasp its neighbor and protest loudly as you try to open a shed. Worse still, they will start to break. But, you can learn to deal with that stickiness.

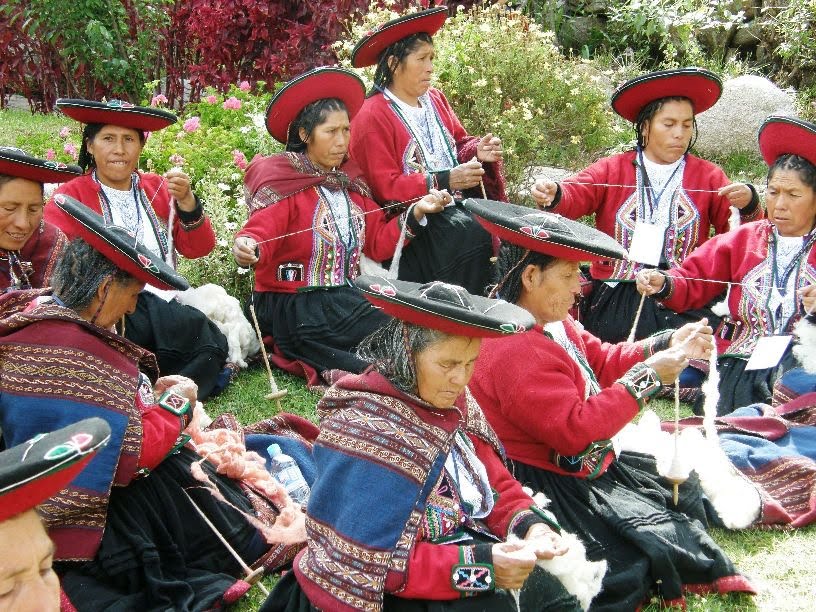
Even if you haven’t learned how to prepare the wool to the state of fine, smooth, even, perfection like the spinners in Chinchero do, there  are strategies for dealing with those sticky warps. It can slow things down, and I guess you could call this one of this fiber’s negative aspects. The results, however, are always worth the effort.

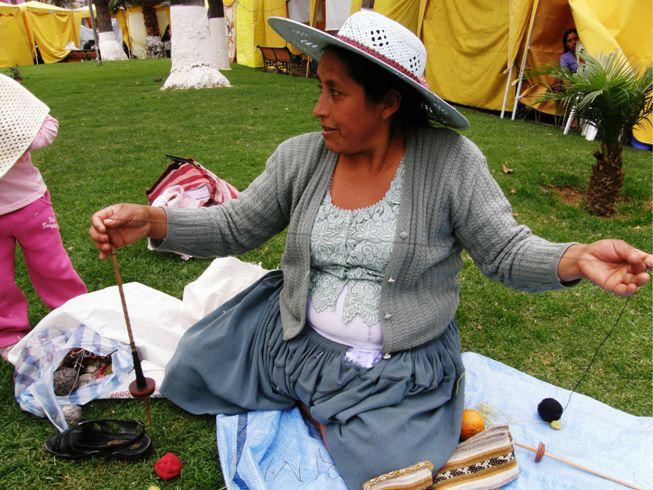
Maxima in Cochabamba adds extra twist to her hanspun yarn before winding a warp for a pebble weave band.

Connie's pebble weave1Speaking of beauiful handspun, Janet, Ace, Connie and Gina from the Humboldt backstrap weaving gang got together at Ace’s place in amongst the gorgeous redwoods for a weave-along.

It was a chance to practice among friends and lend a hand to those with a little less experience.

Janet and Connie helped Gina and Ace remember how to make string heddles. Ace is working with his own handspun wool and Gina is using Tahki Cotton Classic to make a backstrap. Janet gave Ace tips on how to handle the wool warp and open the sheds smoothly.

Janet and Connie worked on pebble weave projects. Janet, of course, is using her handspun while Connie used 8/2 tencel to make the lanyard for her name tag for CNCH (pictured at left). I imagine that must feel gorgeously silky in that tencel.

And there they were on Ace’s balcony with their warps attached to the railing calling me to join them from Bolivia via Skype! How cool is that?

Ace and ConnieAbove you can see Ace with his wool warp and freshly installed heddles next to Connie’s latest tencel warp…yummy colors!

Jnet weaving her handspun wool1Janet gets to work on her wool warp while Gina installs heddles on her cotton one. I love that this group is finding time to get together and do this and support each other and I hope that they Skype me every time!

Back at my own loom, I have been sampling supplementary-weft inlay while playing with positive and negative spaces. I showed you in the last blog post how I want to try covering the negative space on a band with supplementary wefts leaving the ground weave exposed to form the motif. So, I have been sampling away and have made some useful discoveries about the changes in weaving width that happen when you do that. This will be something to keep in mind when planning bigger projects later. I have to say that I am loving the way this looks! I am using the 60/2 silk on the Guatemalan cotton warp.

suppleemntary weft in negative spaceI think I will still try to sew this in to something despite the width inconsistencies. I will just keep on sampling and see when I am done what can be made with it. I am keen on dressing it up as I did the wool pouches but I will use cotton instead of wool for that.

positive and negative space inlay in supplementary weft inlay??????????????????????I continued and added a bit of “positive” pattern just to compare.

Now I would like to adapt some Andean warp patterns where both the positive and negative spaces form the same motif and weave those with supplementary wefts.

There are certainly many of those to choose from and I am sure that I can find many on textiles from other cultures too. If you are not sure what I mean, take a look at the motif at left which is from the edge of a belt woven and used by Russian Old Believers.

I will leave you this week with a couple of pebble weave projects.

Larisa has been writing to me via my Andean Pebble Weave Facebook page and sent me pictures of her first pebble weave band using some of the 4 rev patterns from my first book on a wider band. I like the way the hearts look with the border around them. She is going to use this band as the tie for her end loom bar.

larisa pebble weaveAnd Julia continues to adapt traditional Japanese embroidery patterns to pebble weave. She uses the spotted charting system that I show in my second book to sketch the patterns ready to be woven using the pebble weave structure. Inspiring! Background, pattern, positive and negative spaces merge into a spectacular pattern.

julia pebble weave adaptation japanese embroidery

See you next week….