Backstrap Weaving – How warp-faced are you?

I have to remind myself now and then that there are varying degrees of “warp-faced-ness’. Goodness knows that I have told my students this many a time when they have asked me to help them figure out the number of warp-ends they need to create a certain width. I can only give a ball-park figure because my warp-faced may be very different to theirs.

I often give the same warp (same material, same number of ends, same length) to a group of weavers and then have them compare their woven bands. All will turn out good warp-faced bands but the differences in width in the bands can sometimes be quite surprising. There isn’t a correct width as far as I am concerned, as long as it is indeed warp-faced. You just want to have a consistent width. If the band gets too wide, the weft will be exposed. If it’s too narrow, the weaver won’t be able to get a good straight beat as the threads will be crammed and may even be trying to climb one on top of the other. I encourage them to compare bands because in the early stages, before habits are formed, they can easily adjust their methods if they happen to prefer the way another weaver’s band looks.

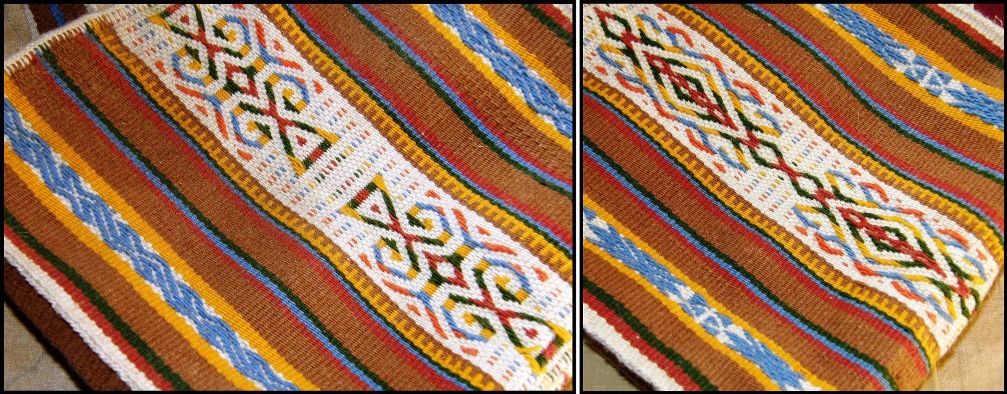
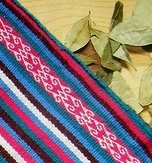
Everyone eventually settles into their own version of warp-faced-ness. Mine tends to be on the more open side with perhaps a hair’s breadth space between the threads. I see these differences even among my indigenous weaving friends here in Bolivia. These ladies have been weaving most of their lives. I buy bands from the weaving co-op that my teacher Maxima runs in the central Bolivian highlands. Several of the bands woven by women in the same community will have the same motif but look different, even if ever so slightly. I can see each weaver’s version of warp-faced. Is the motif long and narrow or wider and more squat?

For me, the important task is knowing exactly how wide my project is going to be on the loom so that I can make sure that I get started on the right foot. While planning, I will use measurements from previous projects to figure this out. As my projects get wider and the thread I use gets finer, I find that there is another important task that sometimes gets overlooked. That is, making sure that the threads are equally spaced across the width of the warp. That’s a big task when you are working with 1600+ ends. I can measure my warp before starting to weave and see that the width is spot-on. However, I also need to check that the threads are evenly distributed across that width. They may be more spread in one part and much less so in another but still give me that perfect width. Believe me, when you have a bunch of brown or black threads spread before you, it is not that easy to tell!

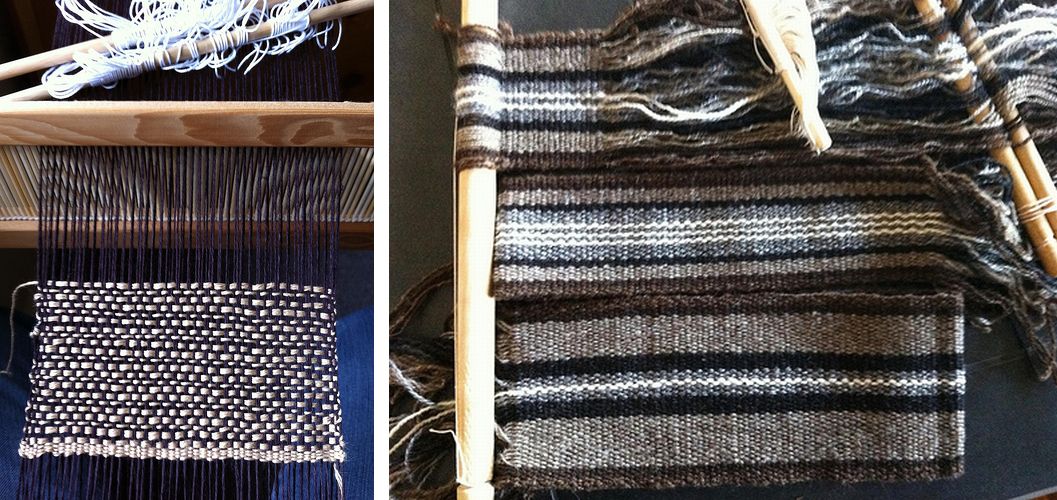
Having stripes in the warp makes the task so much easier. My warping notes tell me the number of threads in each stripe. I can calculate how wide each stripe should be and move threads around until they are all sitting as they should. I can take an entire morning to do this! I sit there pushing threads around, measuring, pushing them around again until I finally feel ready to throw the first shot of weft. I’ll keep measuring and checking until I have at least an inch woven.

When there aren’t any stripes, you don’t have any kind of visual aid. Just eye-ball it? That’s not recommended in my case. I have no talent whatsoever for eye-balling things.

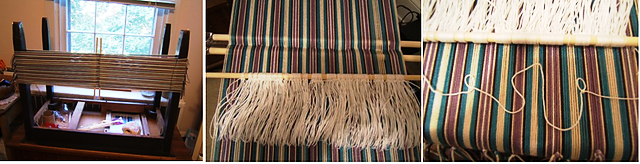
The first give-away of uneven spacing when using a warp with no stripes can come when you weave supplementary weft motifs that span the warp. The little leaves that run across the bottom of this solid red piece varied in girth and showed me clearly that the threads were pushed slightly closer together in some places than in others. I consoled myself with the fact that identical leaves are probably pretty hard to come by in nature! Another sign that would suggest a more serious difference in warp spacing would be if you were unable to achieve a straight weaving line. If one part of the cloth is advancing more rapidly than others, one possible reason is that the threads in that area are sitting closer together than they are in the rest of the warp. I have had that happen and I know just beating harder on that one spot doesn’t help!

Of course, there is a way to check in the absence of stripes. It’s just a little more fiddly.  Tie off the warp threads as you wind the warp in even sections. Figure out how wide those sections should be and then measure each section as you spread the threads out ready to weave. Easy!

The last ikat project I did had stripes. This had not been intentional but ended up coming in handy.

Once the plastic ties had been removed from the warp, I could use the thread-count in the stripes to help spread the warp out evenly across the beams of the loom. As a result, the repeated patterns in that project were evenly distributed across the width of the warp.In my excitement to get my very latest ikat experiment underway, I neglected to consider the way the threads had been distributed along the beam. Firstly, I had to recalculate the target width because you may remember my mentioning a certain mishap with scissors in which a chunk of ends got cut when the warp was on the ikat wrapping frame. I caught that error just in time because I had been busily spreading the threads out to the original width calculation. I guess I was too distracted with congratulating myself on picking that up to remember to check the distribution of the threads! It’s not disastrous. But you know how it is… you, the weaver, can see it when most likely no one else can. In any case, this gives me a chance to point out to you this idea of varying degrees of warp-faced-ness which might help you in your own projects.

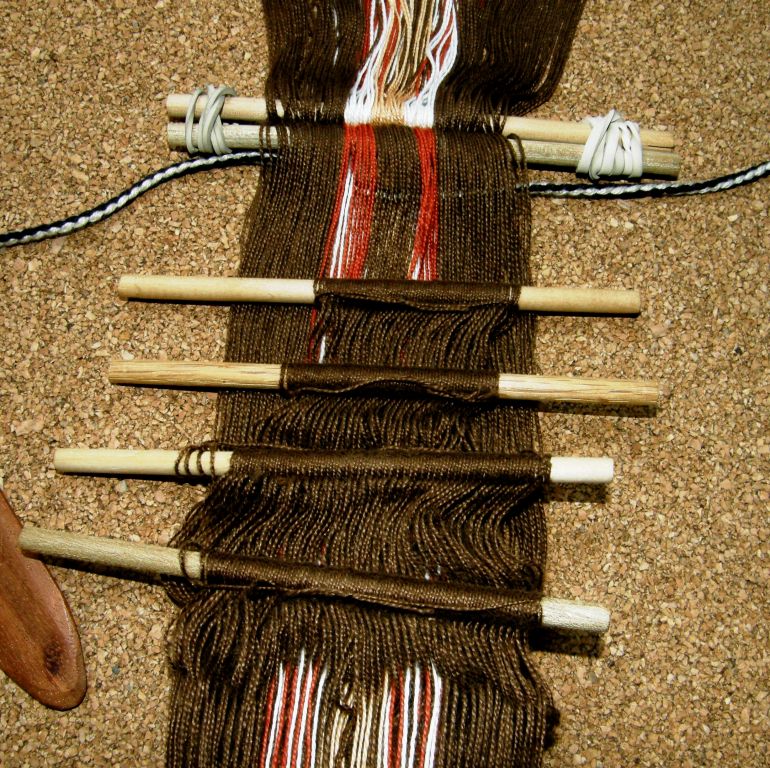
Here’s what the warp looked like after it was dyed…

It’s back on the wrapping frame so that I can unwrap. You will see that there are more ties on the horizontal bar on the right than on the left. The left bar is at the starting end of the warp. I wrapped two layers together to create that bar. For the other bar, I wrapped the two layers separately so that I could open out the warp to its full width and leave those wraps in place while I wove.

In my happy place: weaving has commenced and I am part-way through the first row of supplementary-weft figures in the first un-dyed section. You can just see the very edge of some of the pink wrapping tape at the far end of the warp. I was over-frugal when I wound this warp because my silk is in short supply. It’s a short warp and I didn’t leave myself much working space at the end.

This is what the supplementary-weft motif looks like….

I particularly like the appearance of “reverse embossing” (my made-up term) that is created on the back of the piece when I use this particular supplementary-weft technique…

Here it is fresh off the loom. There’s lots of fluff to be picked out (this silk is surprisingly fluffy…not all slick and smooth as you might expect silk to be). I also broke two warp threads which I had to replace with a color that doesn’t quite match. Luckily this happened outside the ikat areas. Those ends need to be woven in. You can see them in the lower part of the picture. The cloth has a very matte appearance at this point and is somewhat stiff.

I washed and pressed it….maybe you can see how that brought out the sheen…

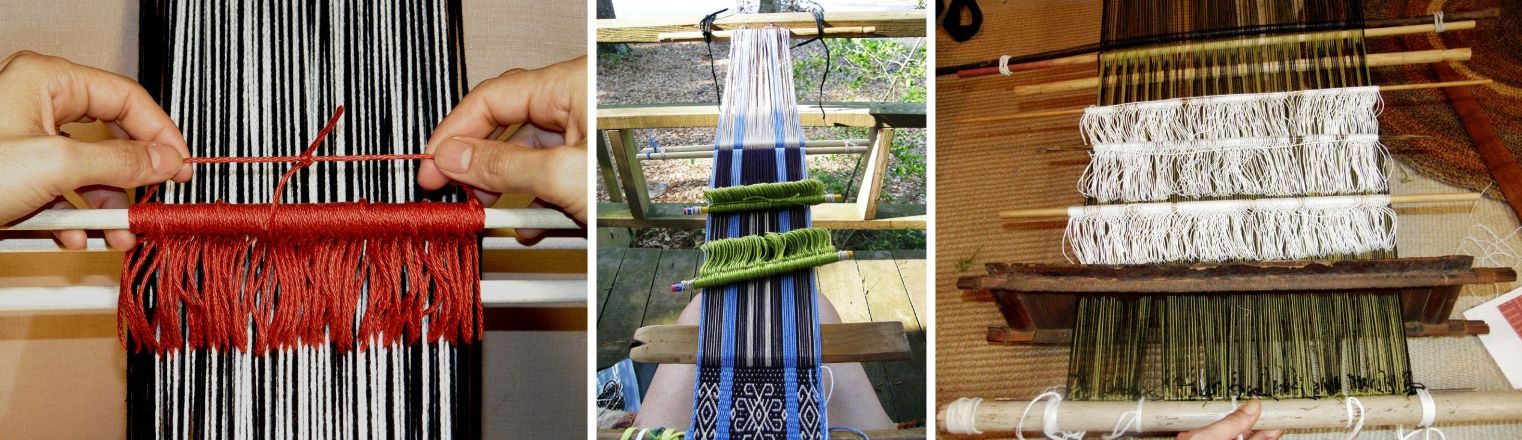
Then I decided to add a warp-faced band to one of the ends using the un-woven warp-ends as weft. This is the way that some ikat textiles from Sumba, Indonesia are finished. The bands are applied to both ends of the cloth. I have been told that these textiles were typically finished with striped warp-faced bands in plain weave. In the 1970s some weavers started using ikat-patterned bands on these edges and I have also seen examples of bands with pick-up patterns. In examples that I have seen, the bands sometimes turn out to be slightly shorter and in some cases quite a lot shorter than the width of the cloth and end up pulling in and puckering the cloth. On other examples, the length of the band perfectly matches the width so that the cloth lies flat. I don’t know whether these different ways of applying the band have been intentional.

What I can tell you is that in my experience of having woven only two of these kinds of bands, it is really hard to prevent the puckering!

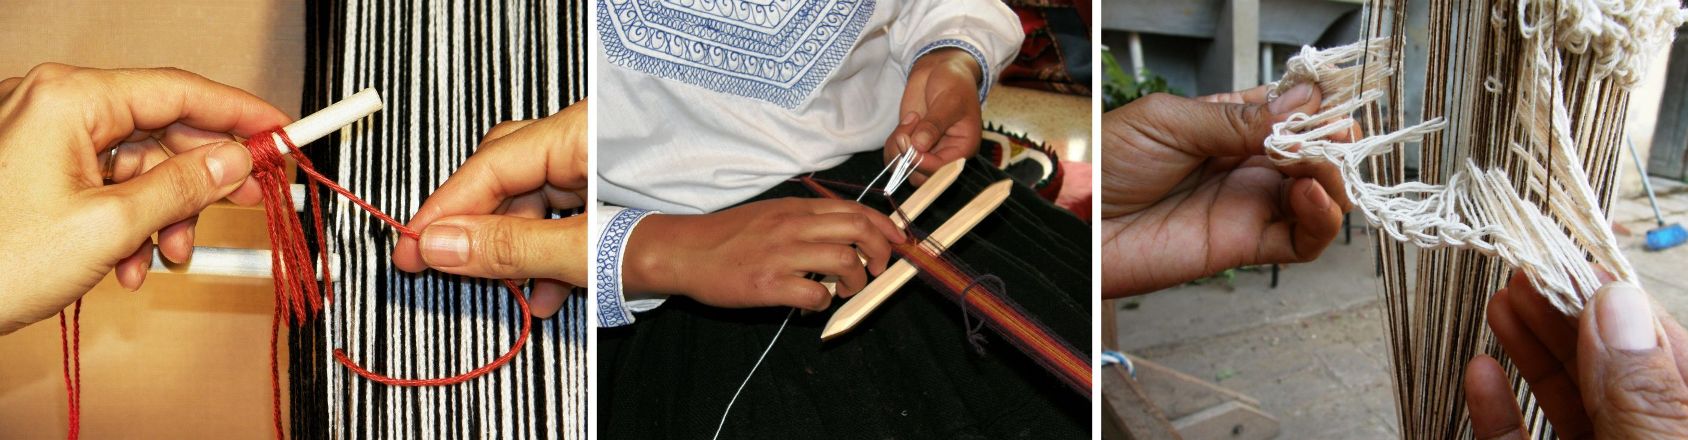
I have seen a couple of videos of weavers in Indonesia weaving these bands (I embedded one video that had been made by the late Kay Faulkner in one of my recent ikat posts). Here’s another which was filmed by David and Sue Richardson in which the weaver twists the warp ends that have been pulled through the shed.

Her textile was going to be worn and washed and the fringe, therefore, needed to be tamed.  In the videos I have watched, I have not seen the weaver using an additional weft thread that moved back and forth through the sheds alongside the bundles of warp-ends. Strictly speaking, I have been using the un-woven warp ends as supplementary-weft because I do use an additional weft thread to hold the band together. In my examples, adding the bundles of warp threads to the shed is what attaches the band to the cloth but is not what is being used to actually weave the band. As my piece will be hanging on a wall and, most likely, won’t be washed again or be subject to wear and tear, I will leave the fringe in its original wild state.

Let me try attaching these bands fifty more times and I just might be able to conquer the puckering!

You will see that the two ikat motifs that are supposed to be identical in proportions are not. After all I told you at the start of this post, you will know why. 😉

I have lots of things to show you from my online weaving friends. I continue to get woven feedback on my latest book Warp-faced Double Weave on Inkle Looms and was excited to receive a message from Susi in Germany showing the motifs she has designed in double weave on a band for her niece. Showing people how easy it is to design in this structure and encouraging them to do so was one of my goals in writing this book. I am going to save those pictures for the next post but would like to leave you with something bright and beautiful after all the dull brown I have been posting!

The backstrap loom is so versatile and this following project by Judy Kavanagh shows another exciting way of using these looms. This project is very different to mine in that it is not warp-faced, it is not woven using commercial yarn, it is not in muddy colors and it is practical rather than purely decorative….

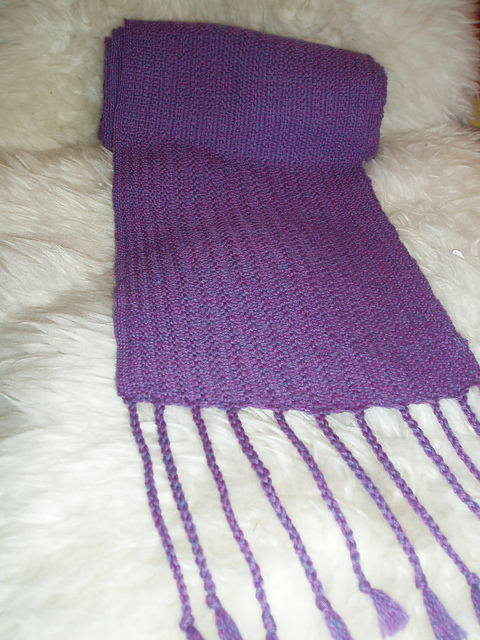
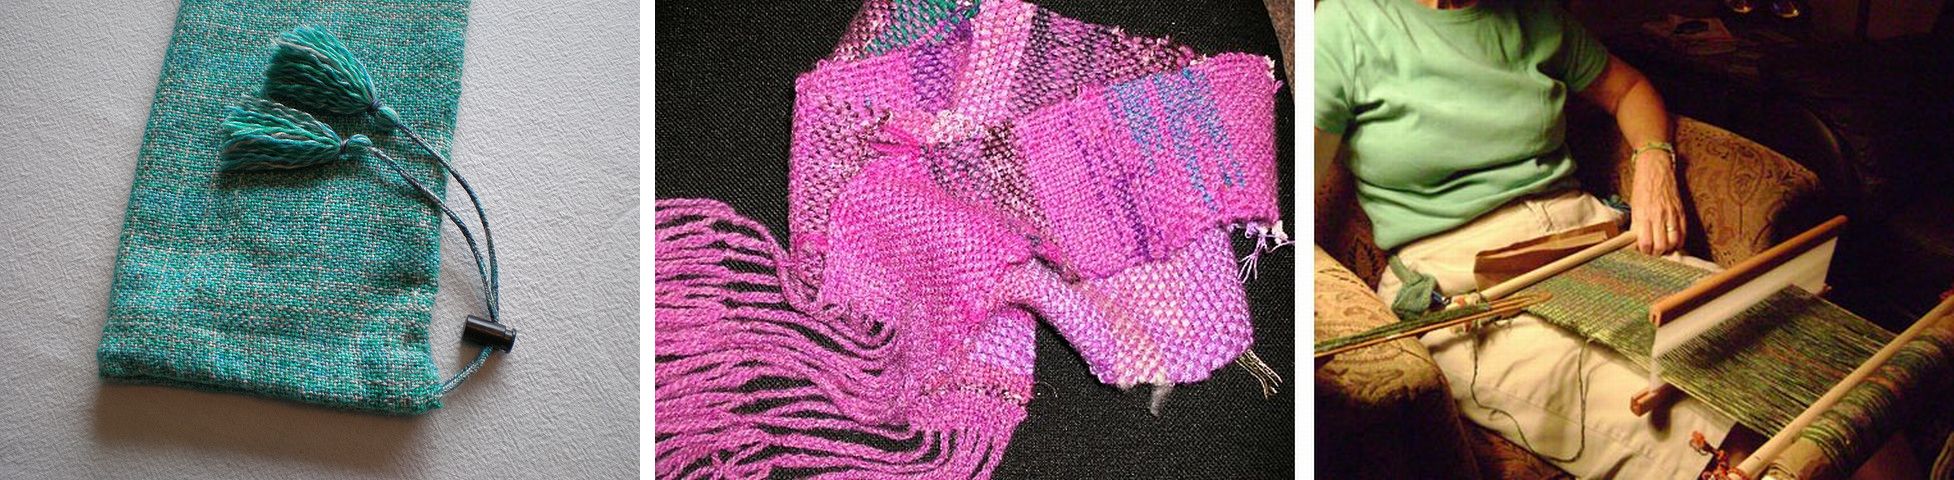
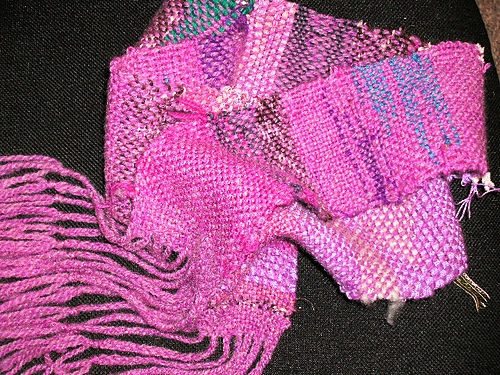
Judy is using a rigid heddle and her own handspun wool and silk yarn to create a scarf. She uses a cardboard sleeve around the woven cloth to help her maintain a consistent width.

How gorgeous is that?! She used three strands of a 2/28 merino in dark fuschia as weft. I hope this has you all whipping out your rigid heddles.

And, here it is finished with twisted fringe. Thanks, Judy.

I am staying safe and well here. I sewed my masks and continue to build up my pantry in the hope of being able to spend even less time out of my home should things get worse here.

Take care, please.
 

Backstrap Weaving – Summery New Year Wishes

Well, it’s that time of year again…that feeling of endings and beginnings and my own personal need to do some serious downsizing. My policy is usually “new stuff in, old stuff out” which means that if I return from a trip with something new, something has to go. The new policy is “old stuff out, out, OUT”. Wow, how liberating. I have space again! And the spaces are not, repeat NOT to be filled again…ever.

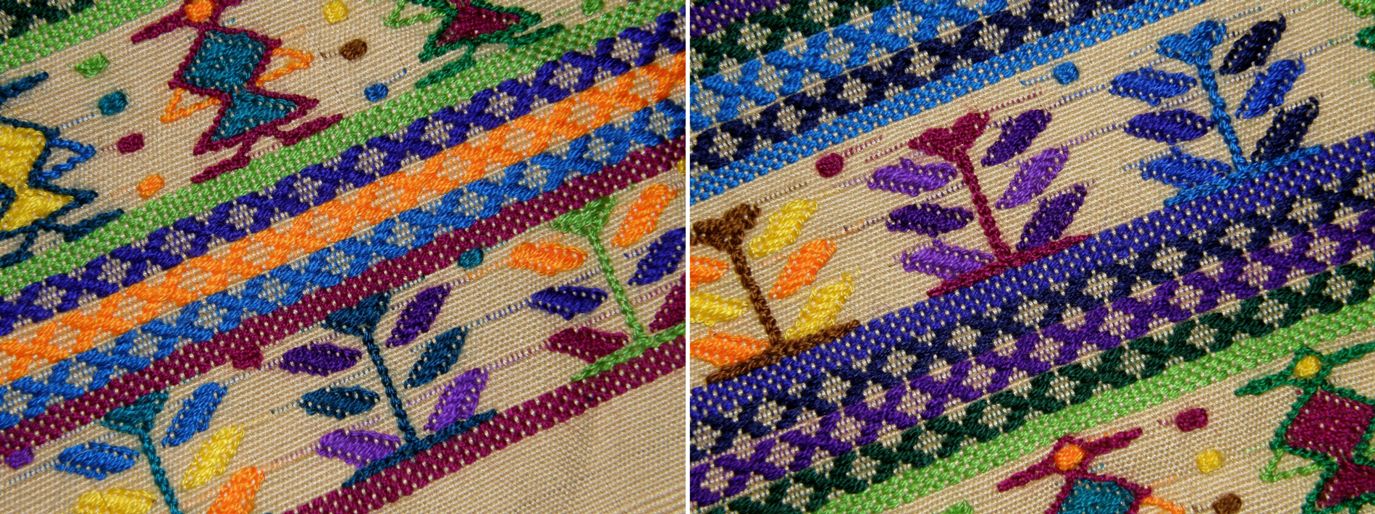
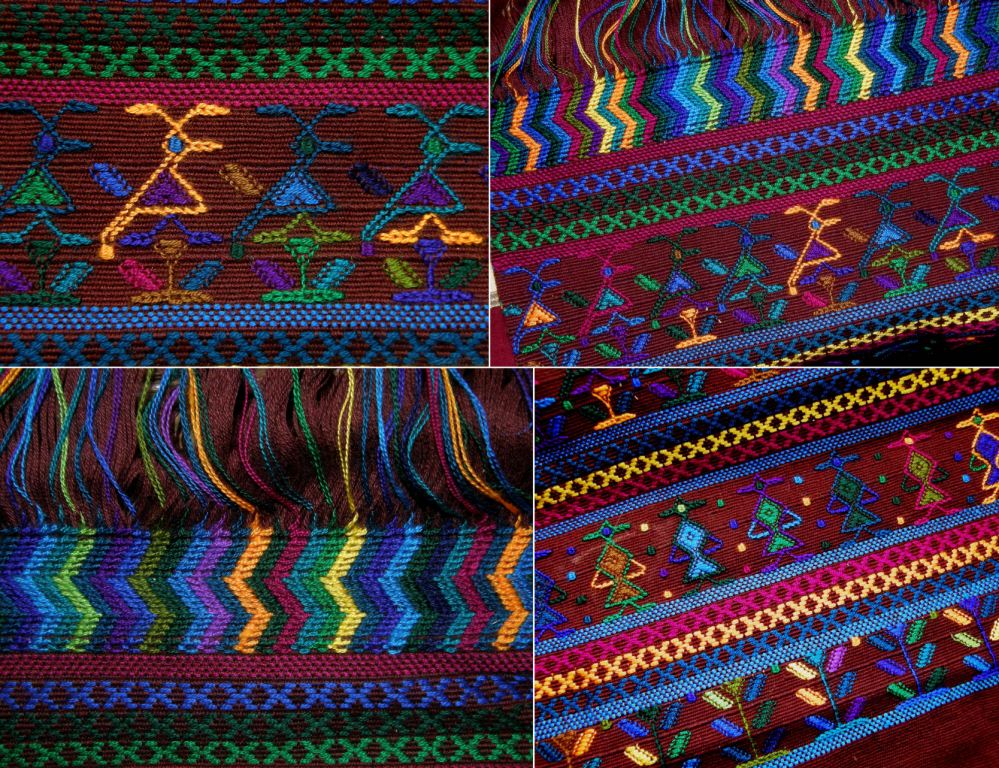
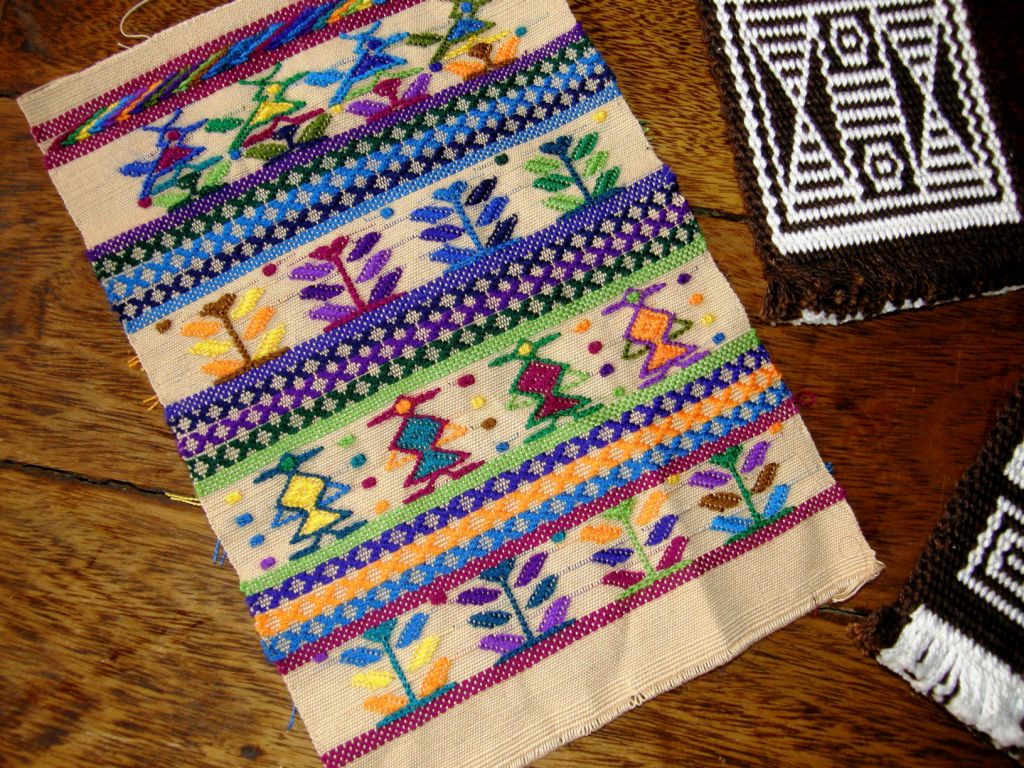
I uncovered some long forgotten stuff in the recesses of the closet like this Guatemalan sampler that I made not long after I returned from my trip there. At the time I could hardly stand looking at it. It was way over-the-top too colorful for me but the purpose had been to practice my newly learned supplementary weft patterning techniques and use the thread I had purchased from my teachers.

Now I kind of like it. After looking at the red, white and black of my current projects for so long, this is so joyful, and refreshing…very summery, as I sit here in temperatures up in the high nineties and fan myself with a condor feather. (I should explain that I used to live near a condor nesting site when I lived in southern Chile and I picked up a feather or two from the base of the cliffs…something else that I have uncovered in the downsizing spree). I am without air conditioning at the moment…long story.

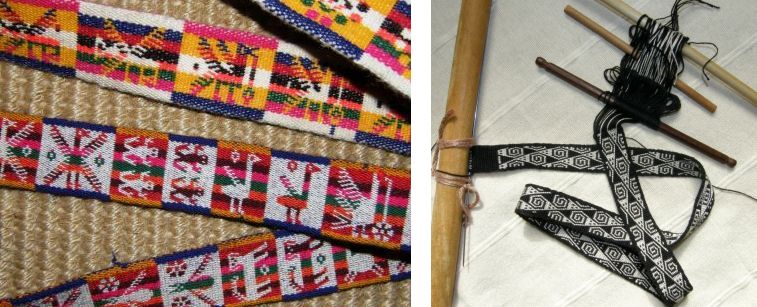
Here are some more detailed shots of the supplementary weft patterns….

The uppermost pattern technique in the next shot, above the birds, is soumak, something which I really want to explore more.

All the figures, the birds, the ladies and the plants are worked on a warp-faced ground weave. Two sheds are programmed on pattern sticks under which the supplementary wefts are passed to form the motifs. This means that threads do not have to be picked or dropped each time the wefts are wrapped around warps or simply laid in to form the designs. You can see the warps that are raised in each of the two patterning sheds in the speckled brick-like design that is woven immediately above and below each row of figures.

There is a tutorial here on my blog in which I show how to set up the patterning sticks and then use them to create these kinds of motifs.

The three  rows of “X” design are temporarily programmed on two additional pattern sticks which are then removed so that the other motifs can be woven.

So, back to the present and my current project…the chamanto inspired wall hanging.

My piece won’t look anything like the gorgeous Chilean ponchos, not even a miniature version of one.

I have just taken the idea of the big, bold solid motifs that speak of the rich, green, temperate central Chilean valleys and vineyards.

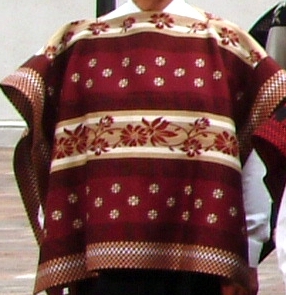
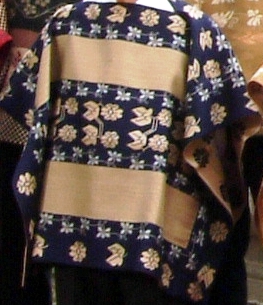
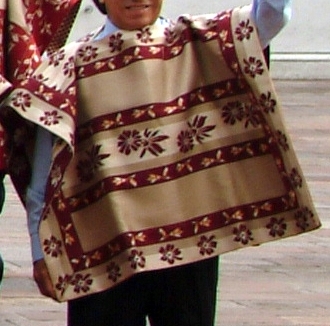
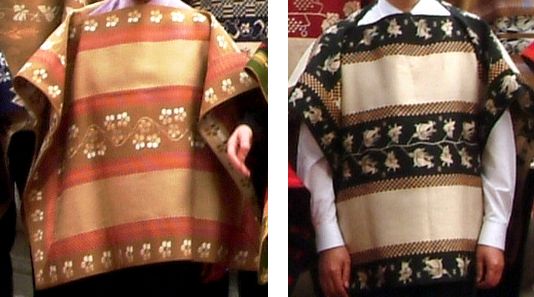
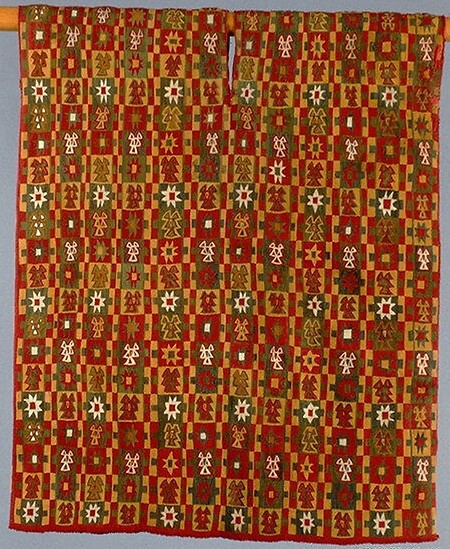
I was lucky this week to find the official APEC site which invites one to download a high resolution image of all the leaders attending the 2004 conference in their beautiful ponchos. This has enabled me to cut to just the chamantos and get quite a nice view of the pattern layouts and color combinations. It’s like my mind was read! Just last week I was saying how I would love to see all the ponchos at the APEC meeting up close.
So let’s enjoy looking at some of those…

Here is the piece I am working on…

This is to be one of a series of wall hangings all in the same color combination but I have a feeling that this one will be the sampler as I have had thoughts about the layout and size since starting it and would like to change quite a few things….or maybe not! I hope to weave a patterned band and sew it to the four edges so that the construction resembles that of the Chilean poncho.

As for the nylon string heddles that I mentioned last week…I made them, used them and hated them….took them off and made cotton ones…what can I say?

In the meantime, I uncovered something else in my downsizing frenzy…

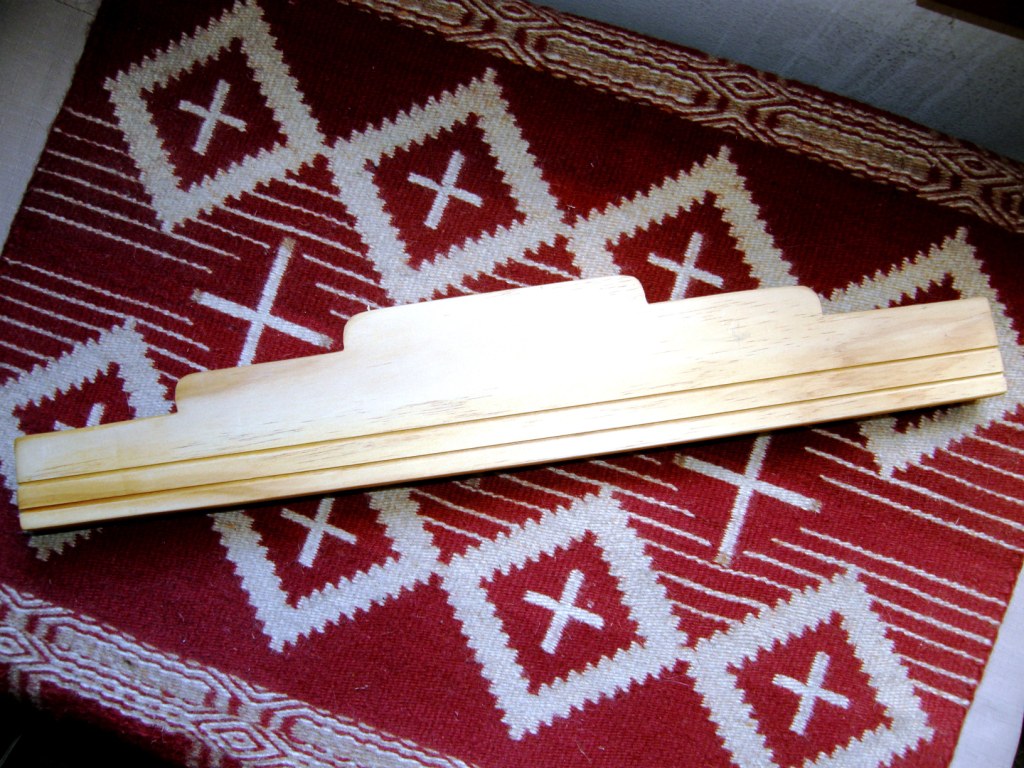
This lovely tapestry hanger was given to me by its maker at Convergence last year and it will give me a very nice way to hang my Starry Night piece once I have that completely finished…I am still pondering that fringe. The hanger works by clamping the top edge of the woven piece between two pieces of wood. Justin Adams makes them in various lengths in his home in New Mexico. He doesn’t have a website that I know of and you can contact me for his phone number if you would like to know more about his work.
The hanger is posed on a Navajo-style weaving that I did many many years ago dyeing and using up as best I could all my left over odds and ends of Navajo wool. There’s that red again. I started it with a twill saddle blanket weave until I realized I didn’t have enough yarn in the three colors to complete it. So, I wove the top and bottom in the saddle blanket structure and filled in the center in plain weave.

What else have I been up to?

Well I am still messing about with weaving nice curved figures in warp-faced double weave but don’t have anything worth showing design-wise this week. However, I have a nice tip to give you for how to get really nice edges in this double weave technique.

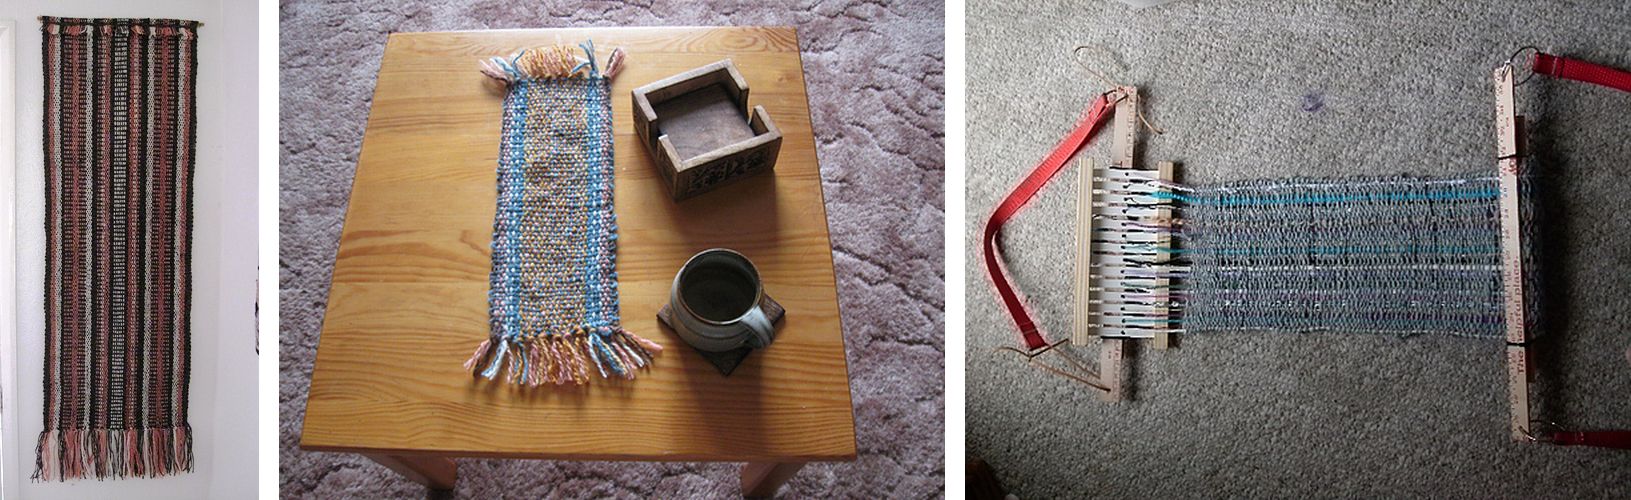
In the picture below you will see one of my double weave mug rugs made with a 12wpi cotton. The edges are pretty good but you can see how the weft is exposed on the sides as it travels from the upper layer to the lower layer of the double weave. I have inserted a toothpick under a couple of the wefts to make this clearer. This is very exaggerated with this heavy yarn.

While this doesn’t look bad and the edges are still neat, I have found that when working with finer yarn, the edge warps tend to want to “roll off” the edge along with the weft as it travels the distance from the upper to lower layer and this can give the edge a bumpy look. My weaving teachers here did not show me any other way to do this and it was frustrating looking at other double woven pieces from here and seeing beautifully even and rounded edges and not knowing how they had been created. In the end I had to cut and pull apart a belt I have.

The Bolivian double weave belts above left have smooth two-color rounded edges. My camera strap, on the other hand, has slightly bumpy edges as some of the edge warps are pulled out of alignment by the weft as it turns down to weave the lower layer.

So, here is what I believe is the secret: If you have read or worked your way through my double weave tutorial you will know that both borders and pattern area are warped with doubled threads.

If you start and finish your warping with two revolutions of single threads in your border color, you will create a rounded edge and the gap between upper and lower layers will be beautifully bridged. (Two revolutions give a more rounded edge, one revolution also works well and gives a flatter edge with a little bit of exposed weft but it’s enough to keep the edge warps in check. The method you choose will depend on the appearance you prefer).

Pictures next week! I am working on samples now so that I can show you how these two options look next week and will add all this new information to the tutorial page.

So, enough of my experiments. What have the Ravelry weavers been up to this week? I have a couple of things to show. All of you who are currently in the throes of winter will appreciate these…

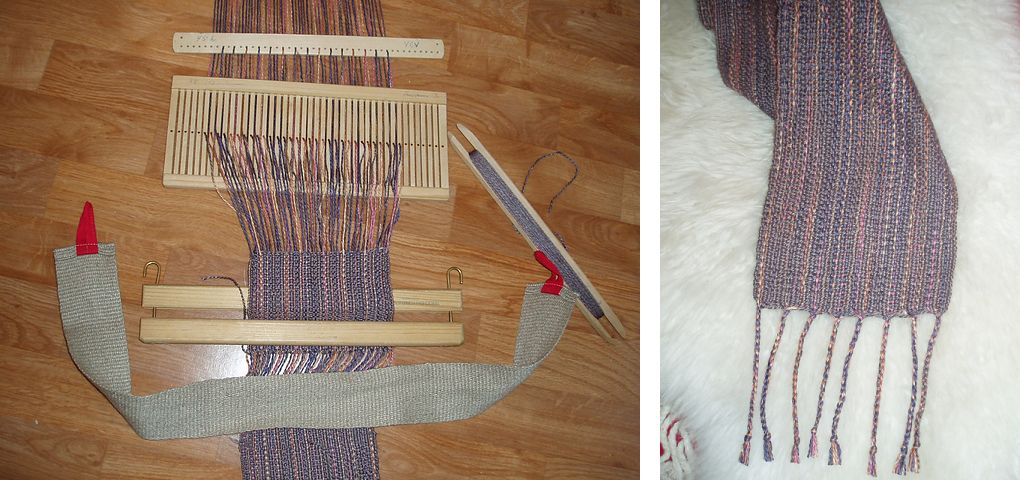
Heidai has been making scarves using the set-up known as grindvev in her native Norwegian. There she has a wooden rigid heddle on her backstrap loom and there is even an extra wooden piece that serves to raise certain warps according to the structure she has chosen to weave. What a neat little collection of pieces!

So, we have agreed to add “weave a scarf using a rigid heddle on your backstrap loom” as part of the new year’s weave-along activity. We don’t have an official start date yet which will gives us time to put some thought into the ikat and other project proposals we have been discussing. I could probably do with a scarf or two if I am to make more fall visits to the US.

Down in the summery southern hemisphere, Luchita in Argentina showed us the gorgeous pillow cover she made by sewing together three bands she had woven with Mapuche inspired patterns using supplementary warps. I love this!

I can’t think of a better way to finish this post…as it started…with uplifting, vibrant, exciting colors inspiring strong positive thoughts and wishes for you all for the coming new year. Happy New Year to you all and thank you for all your support!

Backstrap Weaving – Pondering Plain Weave

What exactly is a backstrap weaving? I talked about this a bit in a previous post and looked at some of the different kinds of fabrics that can be produced. It doesn’t have to be all about pick-up patterns and it doesn’t have to be warp-faced.

For some people it may bring forth visions of narrow Scandinavian warp-faced bands decorated with pick-up patterns. Others may think of the fine ikat fabrics of Indonesia or the brightly colored supplementary weft patterned pieces of Guatemala, rich Asian silk inlay or the heavy woollen ponchos of Ecuador.

It is any kind if fabric that is produced on a body-tensioned loom and I have only just scratched the very surface in my exploration into what can be woven on these simple looms.

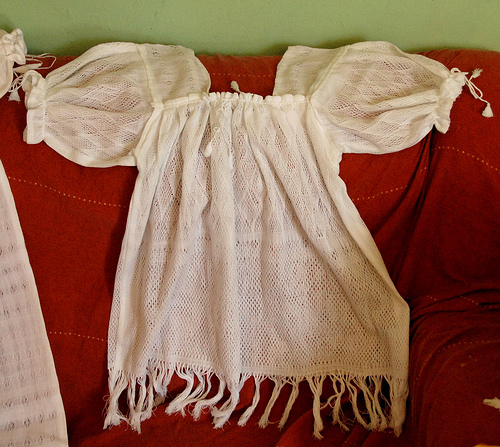
And if you are still thinking stiff-ish warp-faced cloth, take a look at this…

I just gasp every time I see this!! This picture is from Teyacapan’s fabulous Flickr page. The weave is known as tejido patakua and the blouse was made in Aranza Michoacan, Mexico.

Here is another picture of a similar piece of fabric on the loom….(again, courtesy of Teyacapan)

Spectacular!

In our backstrap weave-along on Ravelry we have been leaving behind the pick-up patterns for a while to play with plain weave in warp-faced and balanced weaves. It has been amusing for me to spend more time on warping and making continuous string heddles for a piece than actually weaving it. That never happens when I am doing pick-up! Plain weave is so very fast.

I decided to play with stripes…no rules…go mad, stash bust. It has been a fun way to get rid of all those annoying teeny tiny balls of colors that are always sitting in a tangle at the bottom of the basket that I have never been able to bring myself to throw away. Warp up stripes, stripes and more stripes.

I decided to do as one of my Guatemalan weaving teachers, Carmel, would do. She would sit at her loom and just plunge her hand into her basket of yarns and use whatever color she grabbed first for her supplementary weft patterns…a wild combination of colors!

I only did this on one piece. That is about as wild as I was going to get for this weave-along and then I put a bit of planning into the other pieces. Who knew that combining stripes would be that hard?

My Guatemalan multi-colored juggling balls were used to influence the color choices of the first two and then I chose some woody tones for the next. The yellow and green one was supposed to represent my home of Santa Cruz…yellow and green for pineapples and jungle and somehow black got into it too. The multiple stripes were tedious to warp but these pieces were fun to make. It was novel to be able to zoom along in plain weave.

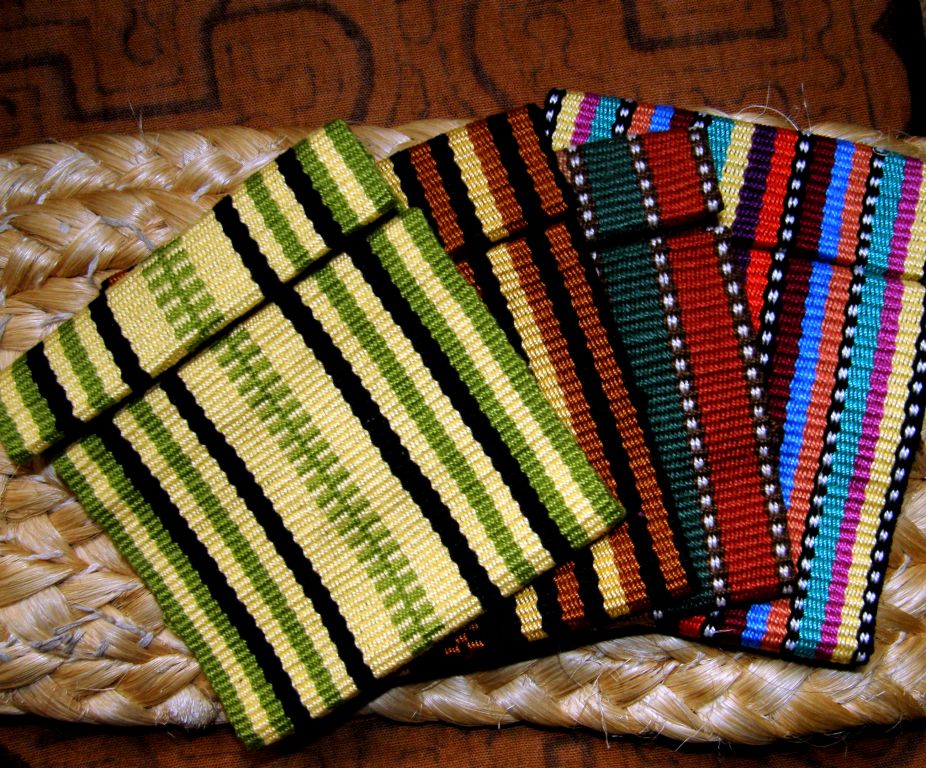
I plan to fold them as shown below and make four small purses with the zips on the front. They will be big enough for credit and business cards. Thanks to Sharon and Betty I have two large bags of colored zips to choose from.

Now to get down to the sewing. There is still a lot of planning and warping and weaving going on in the weave-along so I may have time to do a balanced weave project as well using one of my rigid heddles or my bamboo reed. Figuring stripes in balanced weave is even more mind boggling for me!

For warp-faced stripes I found a couple of sites. On the Handweaving.net site there is a book by Ralph E. Griswold entitled Warp-Faced Stripes. Sounds perfect, right? I have to admit that I didn’t find it, at first glance, all that helpful and got a bit fed up after five pages. Apparently there are 687 drafts in the collection and one of these days I must sit down and go through it thoroughly. I am sure it is an invaluable resource.

Another page which I found more immediately inspiring was a set of textiles with woven stripes and bands in the collection of the Knoxville Museum of Arts on Flickr.

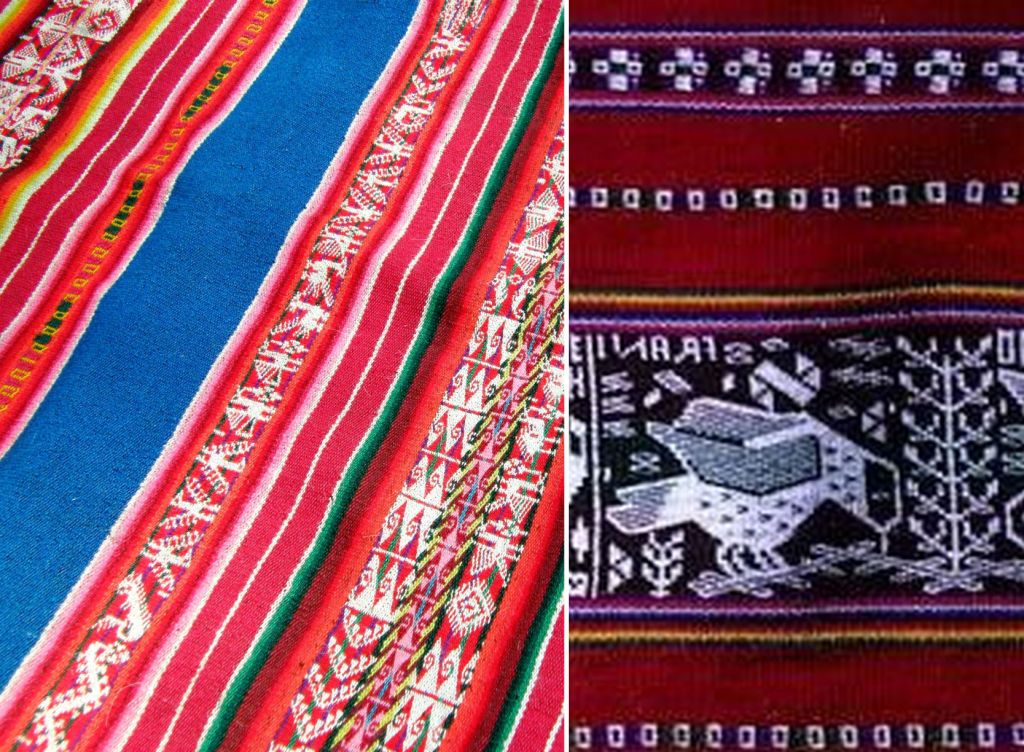
As for bold colors and bands of striking motifs take a look at the site of the Metropolitan Museum of Art which shows its current exhibit of Andean Tunics 400BCE-1800BCE (thank you Sally for the link).

How nice that they allow those of us who can’t get to the exhibit to see these images. The exhibit will close in mid October before I get to the US (darn).

Now I find that it was open when I was in the US last May (double darn).

After all the color, I am wallowing in safe black-and-white yet again as I sample for my finnweave bag project. This will be my first large-ish finnweave piece and, as I haven’t woven this structure for a while, I figured that I should do some width samples and try out some of the motifs that I might be using.

I have been practicing some of the more common border motifs that I have seen on Huichol and Otomi bags and belts.

The diamond motif on my sampler is a Scandinavian one which I just thought I would throw in there. I have a couple more border patterns to try and then I will plan the large project which will be one of the hanging storage bags that I talked about last week.

One lesson learned about that: storage bags must be hung high as my cat is already getting her claws into my Bedouin one.

My Bhutanese motif storage bag project is on hold until I can get more black thread but I did finish the hanging strap as well as the guitar strap that was so fast to weave with its four sets of string heddles and saver cord.

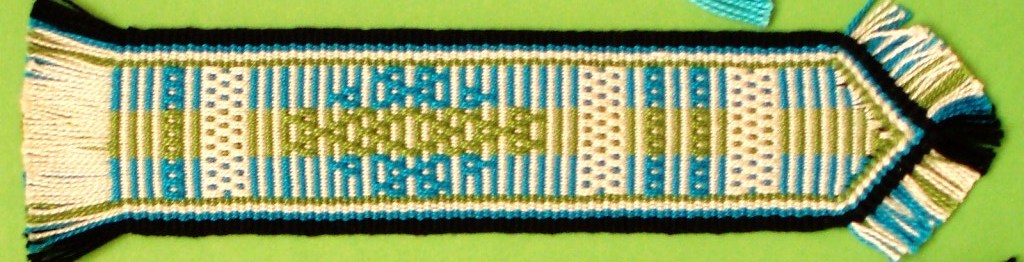
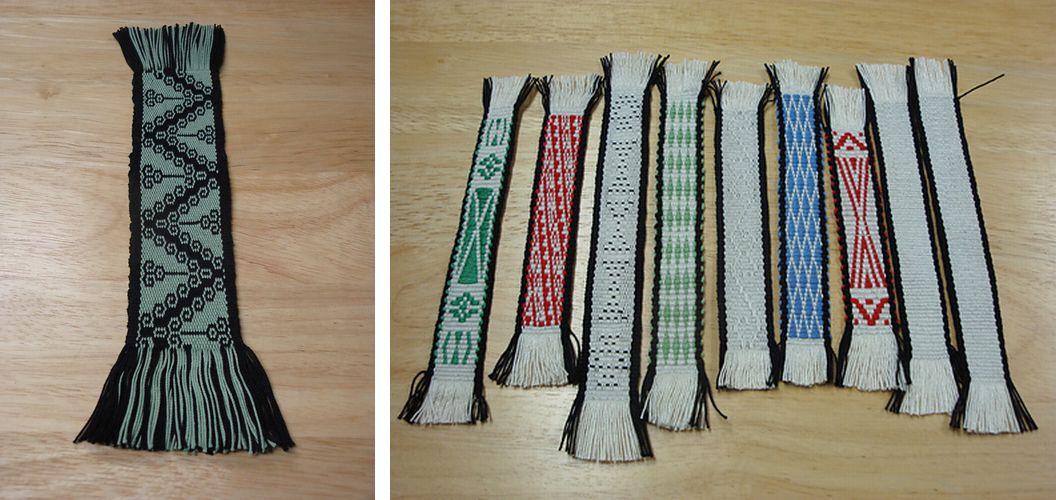
Now I am working on perfecting the beautiful finish that Andreas used on his woven bookmark. See how he has shaped the end?

It is straightforward enough as he explained. Just eliminate warp ends gradually to reduce the width of the band and then twine the warps ends down the sides. That I can do but it is getting all the twined ends neatly interlocked at the tip which has been defeating me. Perhaps I should take my own advice and try this first with thick yarn and not #10!

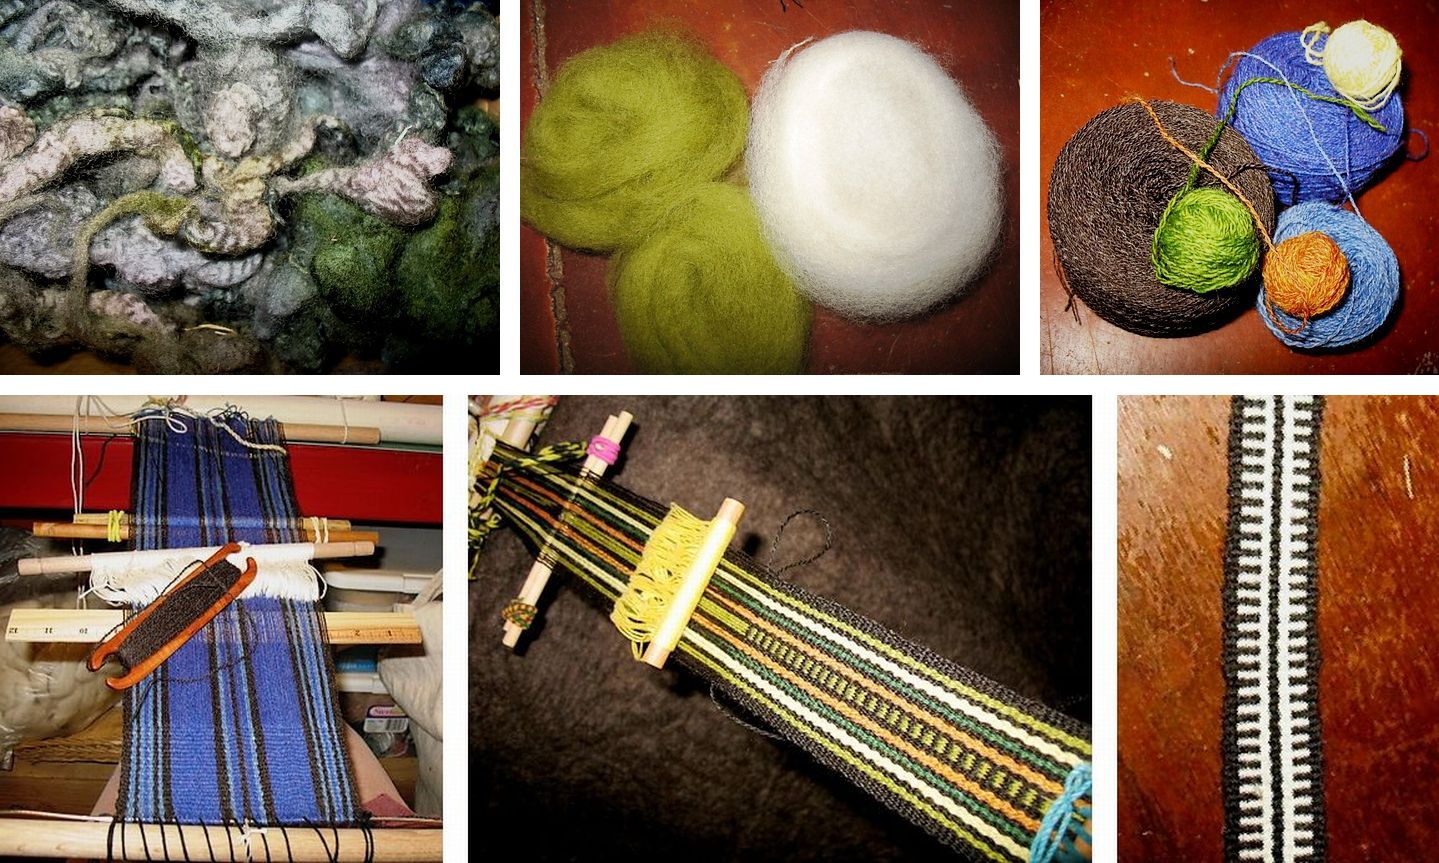
So, weaving-along on Ravelry we have Janet aka AuntJanet who gave us a photographic tour of the whole process behind her lovely handspun weave-along pieces…

She started off with the raw wool which she dyed and combed to produce that gorgeous fluffy top, spun the yarn and wove her three projects. The blue one will be a bag and she is currently weaving its strap.

She has been looking around Ingrid Crickmore’s wonderful blog on loop braiding and has been braiding her warp ends using different techniques.

This gives me the perfect opportunity to tell you about the online loop braiding workshop that Ingrid is offering in the Yahoo braids-and-bands group this month. All you need to do is join the group to have access to the files and Ingrid will be around to answer questions.

I met Ingrid at CNCH in 2010. She was teaching braiding at the Education Booth where I was playing with my backstrap loom and I could see that she was a wonderful highly energetic teacher. She has also woven with me on a couple of occasions.

Our other Janet, aka popsicletote, made one of the photo collages that we all love so much…

I just love all the different tones of her indigo-dyed weft. The piece has leaf and flower details in it. I am not quite sure how they were constructed but here’s a close-up of one…

More weave-along projects and progress…

Anna has warped some beautiful natural handspun alpaca that she bought in Chile. Even though Karri  finished her plain-weave striped backstrap- her second backstrap woven project ever- just before she joined the weave-along, I am counting it in.

Here’s her latest warp which she says is inspired by “gorgeous southern sunsets”.

Cindy is weaving her first ever band with stripes and a little help from a friend and Dyggvi has a nice striped band going too.

Kareanni is a volunteer with Education and More and often manages to have a weaving lesson on her visits to Guatemala. She has incorporated strips of warp thread, prepared in the ikat technique that she bought in Guatemala, into her pink, black and green warp.

Blomster’s wall hanging, which she based on a textile she bought in Oman, is off the loom. That one she made on her rigid heddle loom and the little  piece to the right, which was made using a rigid heddle on her backstrap loom, is also done.

Kathi, whose project you can see above right, reports that her homemade rigid heddle works perfectly. There is actually a fair bit of woven fabric rolled up on the front loom bar which we can’t see. Her alpaca handspun weft had beads added to it while it was being spun, a technique she learned during the Tour de Fleece.

Here are the two participants so far who are weaving balanced weave pieces without the aid of any kind of reed. Marsha made a prototype for a back scrubber in worsted weight cotton. She incorporated the braid at the start of the weaving and will try to do a four-selvedge piece next time so both ends will be the same. Phil is weaving his painted handspun warp. He feels it may have looked better warp-faced but I think that the exposure of the weft gives the image the lovely softness of a water color painting.

And then jentide blew us all away with her stripes!

Outside the weave-along Yonat continues to make me smile with the bands she is turning out on her inkle loom.Her bands are patterned with, from top to bottom, Andean pebble weave, simple warp floats and supplementary weft. Her Judaic bookmarks on the right, patterned with simple warp floats and supplementary weft are her contribution to a winter art sale at her temple.

Anna, who bicycled her way through the Americas and stopped off to visit me for some weaving time, sent me a picture of the pebble weave and comb design belt that she has made since getting back to Australia.

Before I leave you for this week I would like to tell you that registration opens on September 15 for Braids 2012 – 2nd International Conference on Braiding which will be held in Manchester, UK August 19-25, 2012. I am very excited that I will be attending and that Ingrid Crickmore will also be there giving an introduction to making “double braids” along with many other international tutors/authors teaching a variety of  braid and band related topics….Jacqui Carey, Rodrick Owen, Carol James, Robyn Spady…I am not even going to attempt to name them all!

I would love to meet up with blog followers and backstrap weavers in the UK so do drop me a line if you think this will be possible.

Backstrap Weaving – Ready, Set…Weave Along!

I fear the truth in the adage ”out of sight, out of mind”. You wouldn’t believe my computer desktop! It is a cluttered mass of folders and icons. I just know if I put anything away into a file, I will forget about it and I have new ideas coming up all the time.

The same goes for my bedroom/work space. We have had to come up with some interesting solutions to the lack of space in this little home which means we have two single beds side by side, one of which folds away during the day so I can have some floor space on which to work.

Everything has to be rolled up, picked up and put away at the end of the day so the bed can come back out. You would think that that would keep things fairly orderly…

I still seem to end up with piles of stuff on the floor everywhere…weaving sketches, books, tools, baskets of yarns, things I don’t dare put in a cupboard or closet because they serve to remind me of the latest new weaving idea I have had. They have to be covered so the cat won’t get at them. It is a merry mess, it lives and grows and never stagnates. But, it’s time for a change!

The fact is that there simply isn’t anywhere to put things anymore as my books have completely taken over…no more floor, shelf or closet space left but aha! there is wall space!

So, I am going to have lovely woven storage bags hung on the wall to hold my project bits and pieces and, on the whiteboard, a nice orderly list of what’s waiting to be explored. The bedroom will start to look like some kind of crazy textile bazaar! Actually it kind of does already.

Storage bag ideas: I love the woven sacks that are used up in the highlands for storage, transport and display in the markets and fairs. I have been searching for ideas for interesting bag shapes but I have to admit in the end that a rectangular piece of cloth folded in half and sewn together at the sides is probably the most economical if not the most elegant way to create a practical bag from a piece of handwoven fabric.

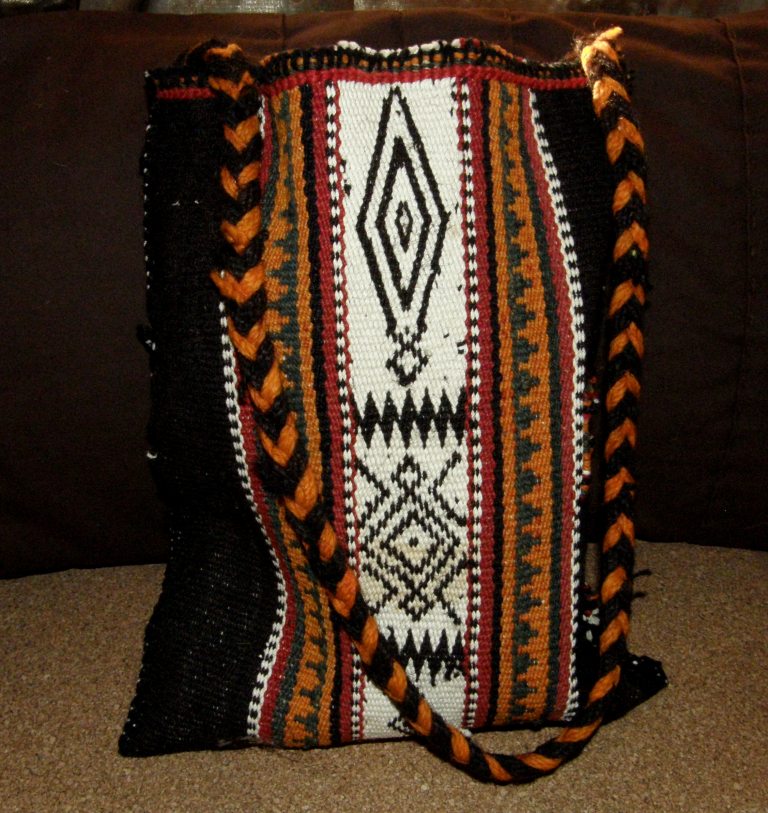
You can see one deep storage bag that I have at the top of this post that Tracy sent me from Qatar. The wool fabric is part of a Bedouin tent divider. That currently holds all my Tour de Fleece gear.

This wool bag that I made years ago with  Mapuche designs woven with supplementary warps hangs on a doorknob and holds all my camera stuff…battery recharger, cables, tripod attachments etc.

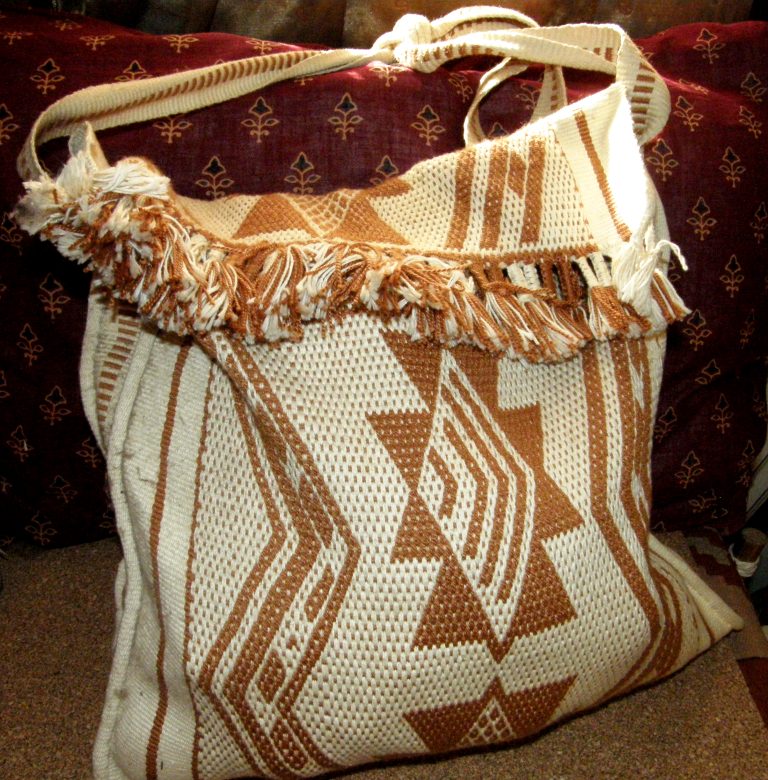
This gigantic cotton bag with Guarani pebble weave designs, which was bought here in Santa Cruz, hangs off one of the bed posts.

So there are more bags to be made so I can get everything off the floor and onto the walls! Well, you all know that I am just looking for an excuse to weave more things.

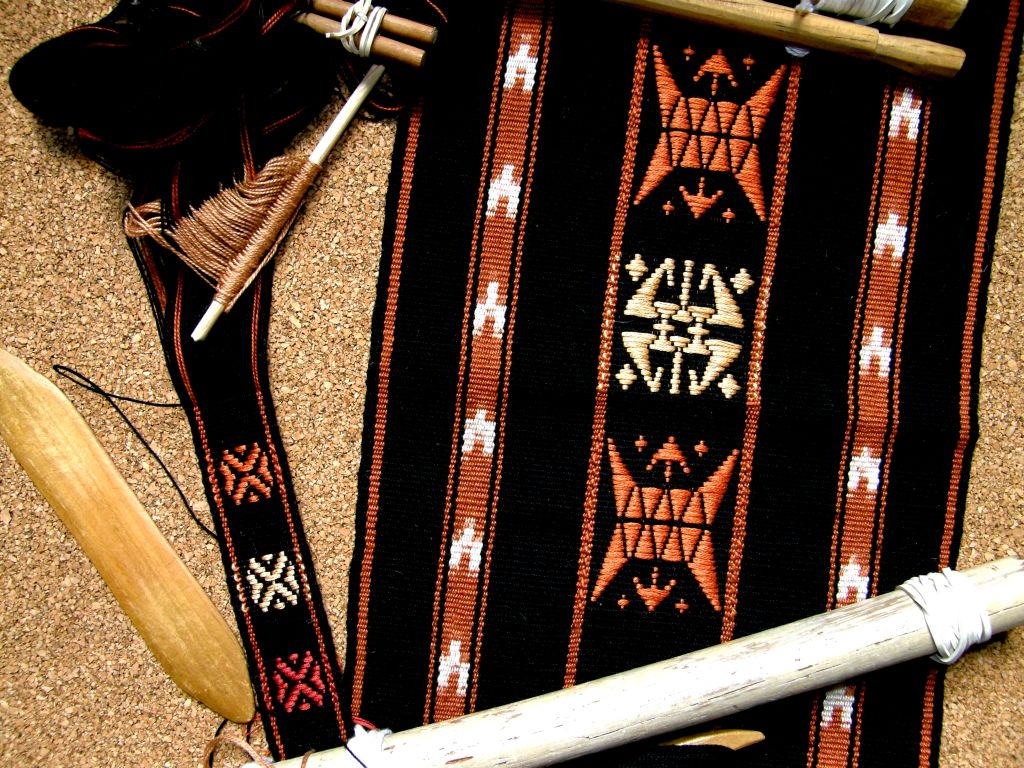
So, I am in the process of weaving a hanging strap, which I couldn’t resist decorating, for what will be a new storage bag made from a piece of fabric I wove some time ago as an ikat experiment. The strap has motifs from Bhutan as does the bag fabric.

It will also need a back and some sides in plain black…it will be very fast to weave those.

This will hang on the wall and hold what is currently being stored in a large basket on a shelf. The basket will go and yes! that way there will be more room for books or at least something that is currently on the floor. (I have a new book coming in the mail…thanks Anna!)

The motifs have been woven using supplementary wefts. I used one and a half strands of embroidery floss as the supplementary weft with my 35wpi cotton warp and weft. Veeeery slowly things may become a little better organized.

I have been admiring the designs made by the Huichol people of Mexico in balanced double weave for a long time ever since I first ran across their work in a museum in the US in 2007. They make bags on which they add large corner tassels and have an unusual way of braiding the warp ends.

These are a couple of samples I made in this technique some time ago.

 I prefer the patterns that they use in their belts and so I will probably try to make a storage bag in this double weave with motifs from their belts. I wonder if I can figure out how they work those warp ends.

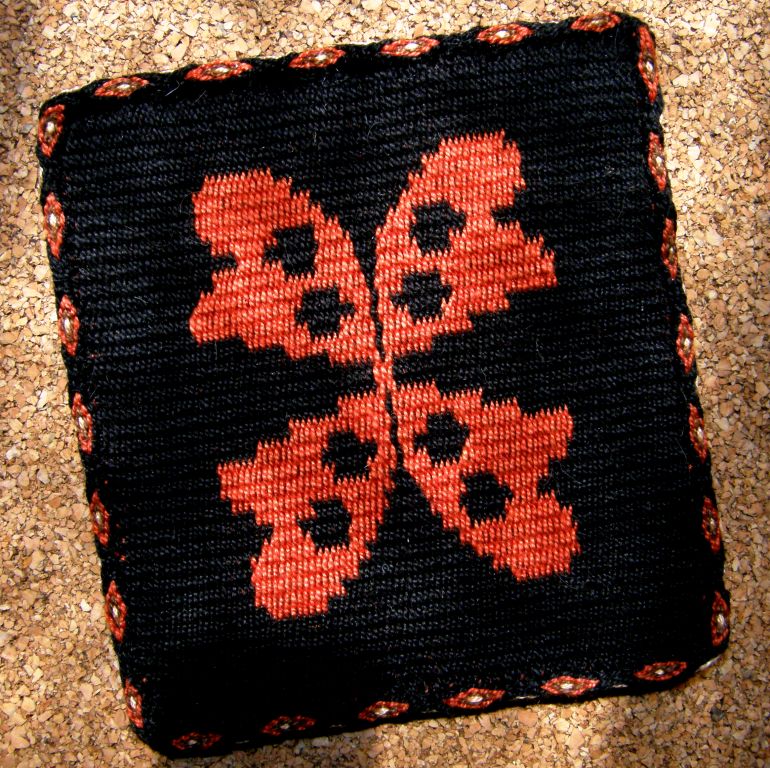
The other project I worked on this week was the mug rug set.

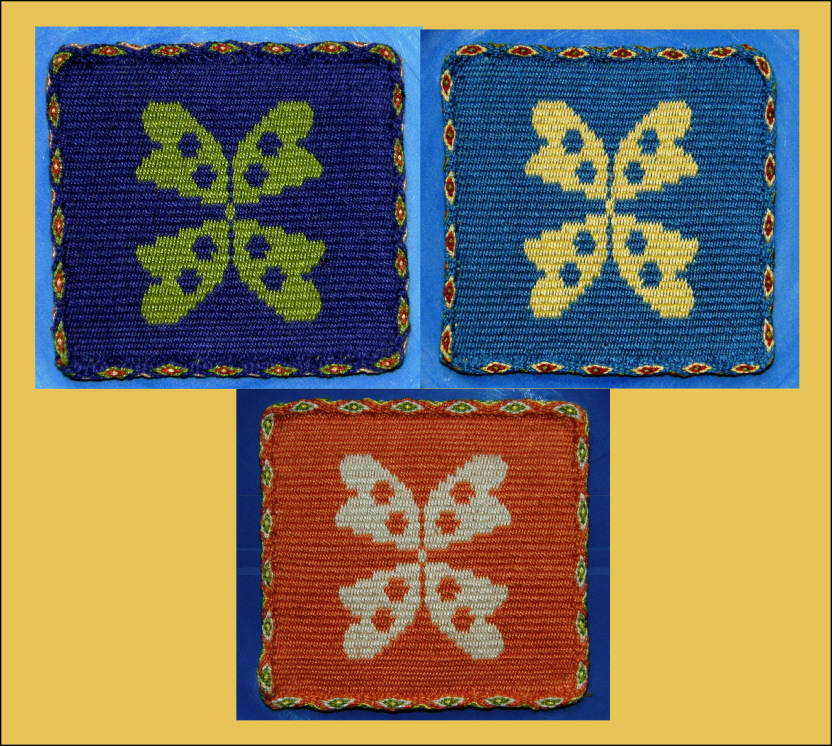
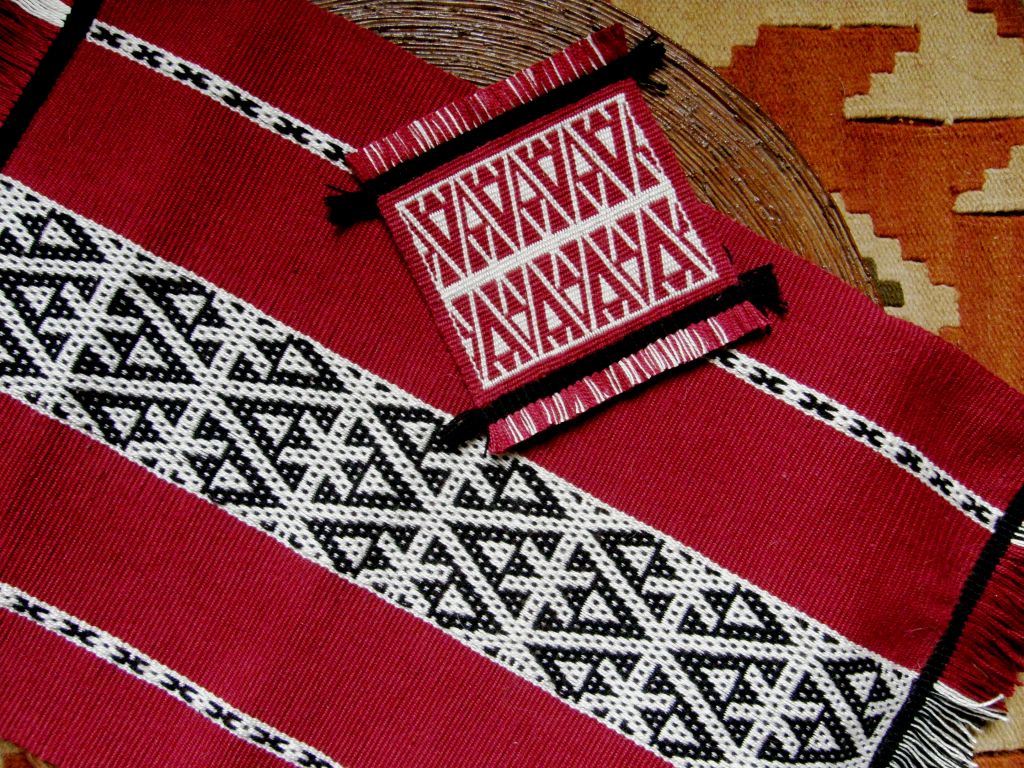
My friend, who has decorated her kitchen with flower and butterfly motifs, saw the prototype I had woven (at left) and asked for a set for her breakfast bar. Now she tells me that they are too pretty to use and that she will put them on her wall.

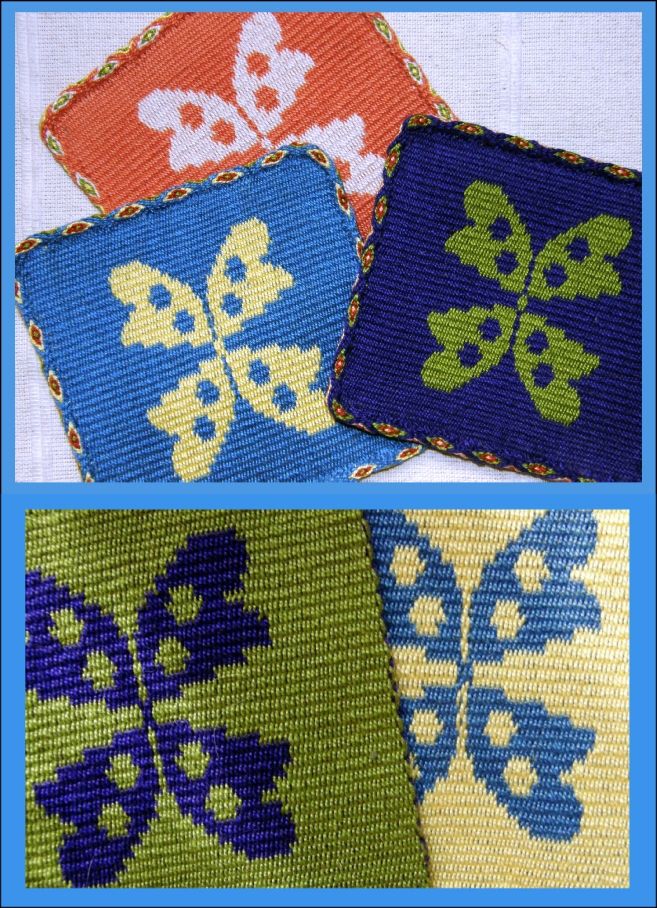
I have made three and will wait for her to choose the colors for the fourth. The motif is neither butterfly nor flower and is based on a Guaraní leaf design which I wove one way and then mirrored.

The red and black sample, which is larger than the other three, will stay here as my tea mug rug where I work on the floor and the other three will go to Evelyn with a fourth one yet to be made. They have all been edged with tubular bands.

Evelyn’s kitchen is yellow with bits of green and blue in the wall tiles so I think these will look nice there.

It’s hard to decide which face to make the “right” side.

There is another commissioned piece that I have been working on, which I can’t show here yet, but this piece has made me even more enthusiastic about the simple string heddle.

This is a particuarly long but narrow piece that I am weaving in Andean pebble weave and I have set up the warp with four sets of string heddles (two more than I would normally use for pebble weave), and what an incredible time saver this has been! This project is simply zooming along!

The black and white cord that you see in the warp is my “saver cord”. By using these two additional sets of heddles and the saver cord I actually get to do seven consecutive weft passes without having to do any pick-up for this particular design.

String heddles are so cool! I love how they allow you to put one warp thread into multiple sets.

No matter how they are made, whether they are single or continuous, I love them.

You can use one, two, three or four as I am currently using. I am not sure what limit I would put on the number that I would personally consider comfortable or practical for my own backstrap weaving. I have seen backstrap weavers in pictures with many more.

The warp on this vertical loom in Ecuador will have eleven sets of patterning heddles plus one that will control one of the two plain weave sheds.

They can be made on a stick, made around the fingers and knotted into a bunch or chained together.

There are so many different ways to make them with no one particular way being the “right” way. I have chosen my favorite ways over the years but love seeing and learning new ones.

Education and More has just posted the following video on YouTube showing a Guatemalan weaver teaching her foreign student the way she makes her string heddles.

While on the subject of Guatemala, it is always fun for me to go to Facebook and see the latest video that Red Corn Tours has posted on Guatemala…weaving, costume, festivals and different aspects of simple daily life from the making of tortillas to the washing all those beautiful hand woven huipiles.

And now for our plain-weave backstrap loom weave-along progress….

We started this week with more people, so far, opting for the balanced weave project after a flurry of pre weave-along DIY reed and hole-and-slot heddle making activity.

Warp-faced projects for the color and stripes challenge from Bobbie in cotton and Jennifer in her homespun wool.

Those who have not joined the weave-along have been turning out projects on their backstrap looms as well.

Jennifer is weaving a balanced piece using hemp yarn and a reed made for her by Janet. She has also finished three plain weave warp-faced panels with her homespun wool which will be joined into a bag.
Here's the beautiful reed that Janet made. Kathi has set up her loom with a rigid heddle with different kinds of yarn for her balanced weave project.
Cindy has joined in showing us her warp wound on its stakes and there she is with loom set up and ready to weave a warp-faced band.
Blomster is using wool in a piece she is weaving with a rigid heddle on her backstrap loom. It is pictured next to the warp-faced band she made with the same warp. She is making a bigger wall hanging using her rigid heddle loom and natural color and madder-dyed wool as, being new to backstrap weaving, she does not feel ready to attempt such a wide piece yet on a backstrap loom. Her wide piece is inspired by the hanging you see nearby which she bought in Oman. She thinks that it was probably made with goat hair.

Both Amber and catknitlatte have reported that they are on their way and we hope to see progress pictures soon.

Fiall and WannaGTD finished these backstraps before the weave-along started but these backstraps could easily be weave-along projects as they fit the plain weave criteria.

The instructions for weaving these backstraps are in my WeaveZine article.

Janet is making a shawl using her 24" rigid heddle and a bunch of different yarns. Her warp is cotton and her indigo-dyed weft will come from her homespun stash. This is really amazing! She will weave it in several panels.

Knitnfrenzy and ElizArtist have both checked in. Knitnfrenzy is going for a warp-faced project while spindleori showed us her homespun, at left, which she will weave up with a rigid heddle to make a bag.

Dygvvi is going to weave fabric which will go around a frame to make a yarn storage bucket.

We are waiting to see what Franco, AuntJanet and Phil have been up to. We know that Phil has a painted warp and can’t wait to see how that is going.

Marsha and Traudi have been working on their patterning techniques on projects outside the weave-along. Marsha's band has designs in both simple and two-color alternating floats ("warp floats galore") while Traudi has been playing with supplementary weft patterns.

And what about my weave-along project? Blush…I had better get going and go warp one up!


Backstrap Weaving – Preparing to Weave Along

Preparations are underway for a new weave-along in the Backstrap Weaving Group on Ravelry.

The rules are simple: no pick-up, only plain-weave.

We are proposing two options.

The first is for a warp-faced project playing with COLOR and stripes or maybe even ikat and we have been looking at the bright cheerful colors of Guatemalan and Mexican textiles, the washed-out tones of Central Asia and the gorgeous reds of Bedouin cloth…colors obtained from cochineal and indigo and other natural sources and those bright synthetic neons favored by many weavers in the Bolivian highlands.

Simple spots and chevrons can be programmed into a warp by tying and dyeing. Checkerboard designs, horizontal bars, comb patterns and stripes can be set into the warp on the warping board and weaving can then proceed without having to count, float or pick up a single thread or look at a pattern chart.

The second option is also about plain-weave but this time we are talking about a balanced plain-weave something like the loom bag that Jen put together, the scarf that Kathi made recently and the scarf that Nancy is pictured weaving all using a rigid heddle on their backstrap looms…


The Backstrap Group members have homespun yarn on hand after having completed the Tour de Fleece and so plans are afoot for making wool shawls and scarves with purchased or homemade heddles and reeds.

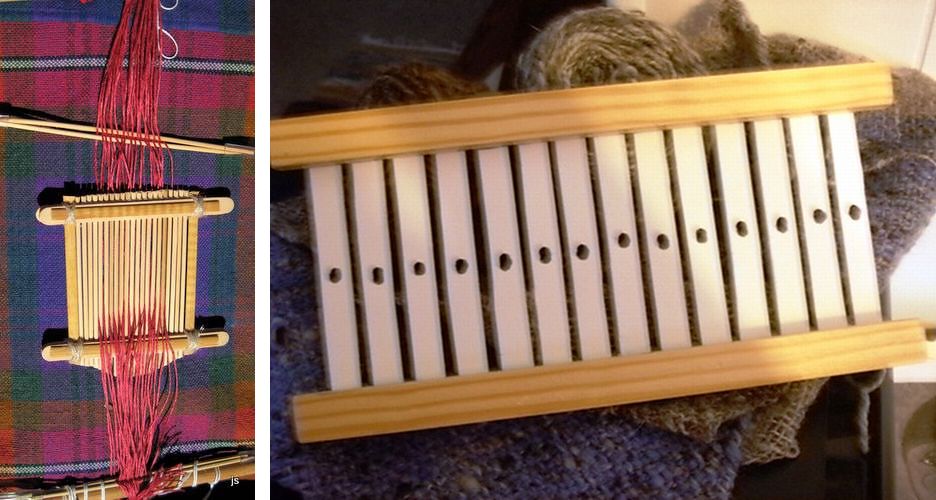
Janet has already made herself a reed to try out before we start the weave-along in September as has Kathi who made a hole-and-slot heddle. Phil is taking up the challenge to create a balanced-weave piece with his homespun without the aid of reed or rigid heddle.

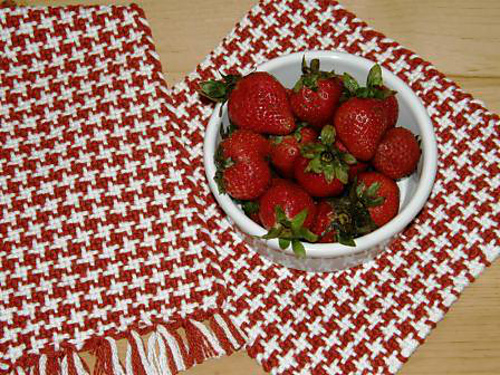
With cotton, towels and place mats can be made very easily using one of the standard rigid heddles that come with a rigid heddle loom. I have three 12-inch heddles that work beautifully. Some of the color-and-weave type projects would be good for this weave-along too…log cabin or simple houndstooth patterns can be woven in plain weave using two weft colors. I wove the one at left with 13 wpi mercerized cotton.

Right now we are filling up the thread in the Backstrap Group with ideas and hope to start weaving on September 1st.

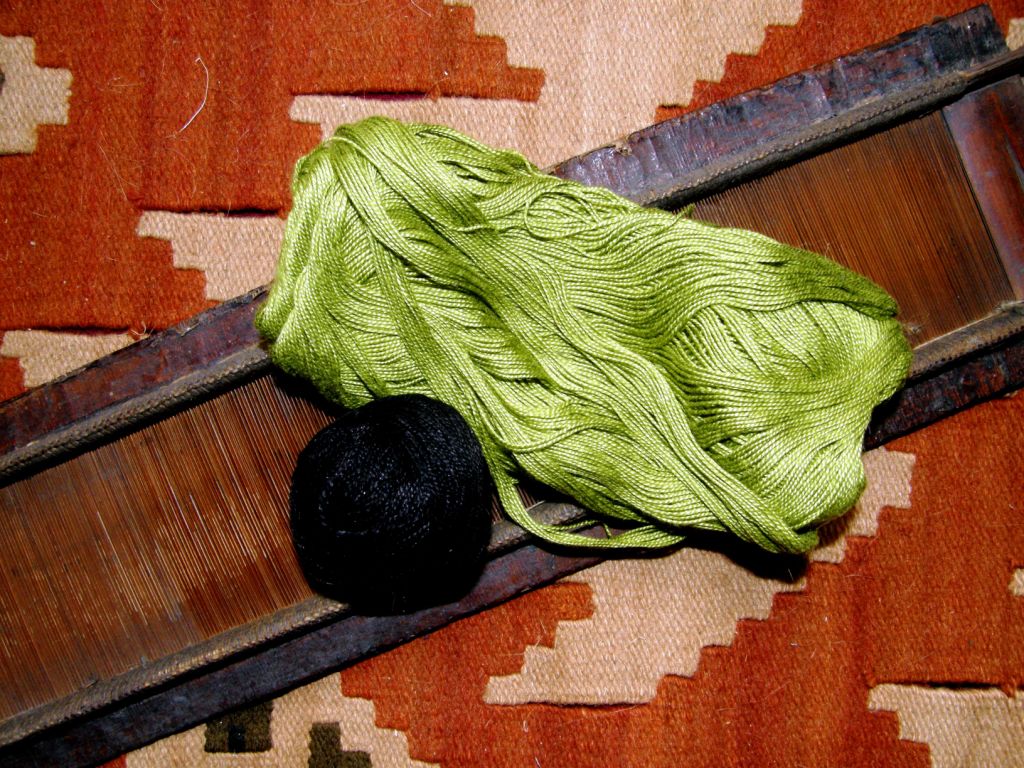
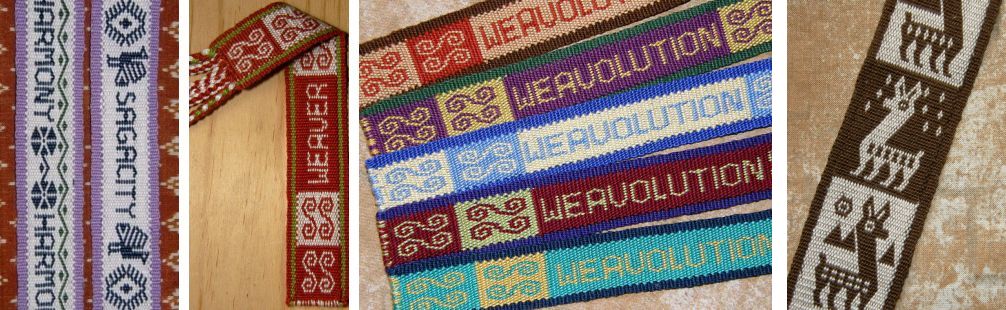
In the meantime, I am itching to get at my shadow weave project using my bamboo reed. I recently saw some fabulous shadow weave pieces made by Dawn McCarthy on Weavolution. They are 8-shaft patterns and not the kind of thing I am willing to take on just yet! but her color combinations are what most attracted me particularly a black and light leafy green piece and those are the two colors that I have decided to go with on my four-shaft sample piece.

I would never have thought to put these two colors together in my project so, thank you Dawn for the inspiration. Dawn is offering online classes on shadow weave soon through Weavolution’s Cyberfiber. “Click, click” with the mouse and I got some inspiration from Dawn and a free shadow weave draft from Handweaving.net.

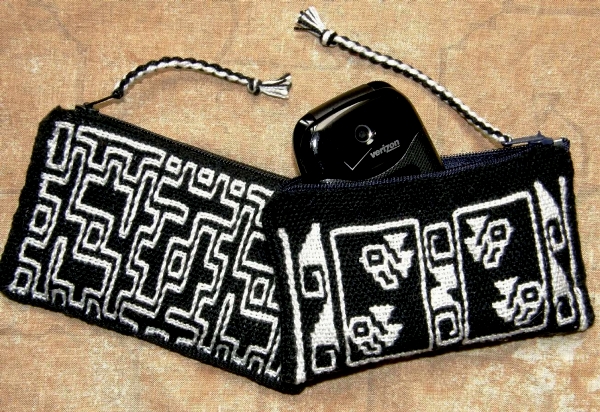
So these are all the future plans. As for what I have been up to this week, following my experiment with double weave edges and the motifs from Bhutan, I now have yet another cellphone pouch to add to my growing supply of gifts.

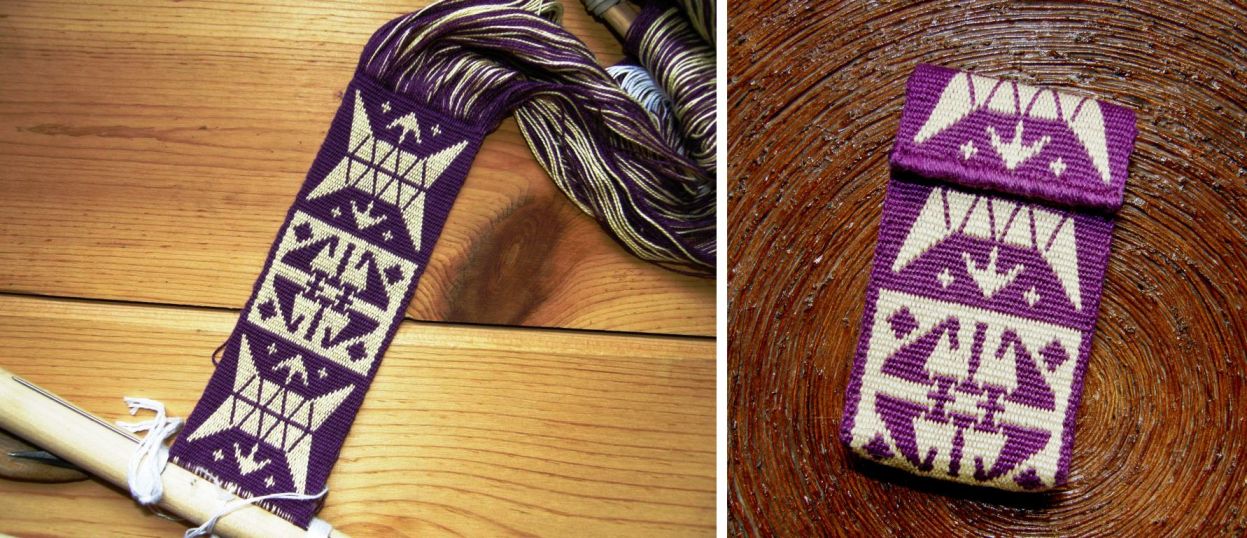
I sewed a band to make rather broad sides as this double weave sample band was only just wide enough for the cell phone. I cut and “stop frayed” the edge of the flap and then just simply sewed over and over it with matching thread and used a simple snap closure. It is quite a sturdy little pouch in double weave.

Sticking with double weave and my experiments with warping to create straighter edges, I made the first of a set of mug rugs to match my placemat set. This first one was actually supposed to be a sampler to see if I could make a good square and to test how well I had adapted the float design on the placemat to double weave. The lines of the design could be improved but the size and shape of the finished mug rug is just as I had wanted it to be so this one may be a keeper.

I wove this mug rug using #10 crochet cotton and it is thick enough in double weave to make an effective mug rug. I enjoy doing the twined finish which enables me to use the third color and I quite like the little tasseled ends that the twining produces.

So, each place mat will have its mug rug and I have just warped for the Mexican design one. I am also trying to figure the shortest warp length I can get away with using for these tiny projects.

I have also been warping, measuring, fiddling about and learning some lessons about tension for my chuspa project which I talked about last week. The sample has been made and I will probably get the real project going next week.

Above is the body of the bag warped up with the extension for the pocket.

Warping was easy. The main thing I learned was how even the very slightest variation in tension between the outer sections and the center will be immediately apparent in the weaving. This crochet cotton is particularly unforgiving for this. I will have to call in an extra pair of hands to help tie up the loom bar extensions and get this right next time.

Ha! Now I know that there was a real reason why my two teachers in Potosi set this up together!

There are a few more experiments I have been doing which I will talk about in a future post.

What I spent the rest of my time doing was setting up my tutorial on two-weft double weave here on this blog.

I actually prefer to give this my own name…“embedded double-weave” as there are bands of double-weave embedded in a plain-weave piece.

I consider this an intermediate level technique. 

Sometimes it is nice to have bands of warp-faced double-weave patterns embedded in vast fields of plain-woven solid color or stripes. This means that one can have a large textile that is not entirely double-weave and, therefore, not thick and heavy and still be able to enjoy the crisp motifs on their smooth solid color backgrounds which are characteristic of double weave.

If the large expanses of solid color were woven as double weave, the two layers of cloth would not bond and the weaver would produce two distinct layers joined at the edges, in fact, a tube, as can be seen above.

Here are a couple of my “embedded double weave” examples…

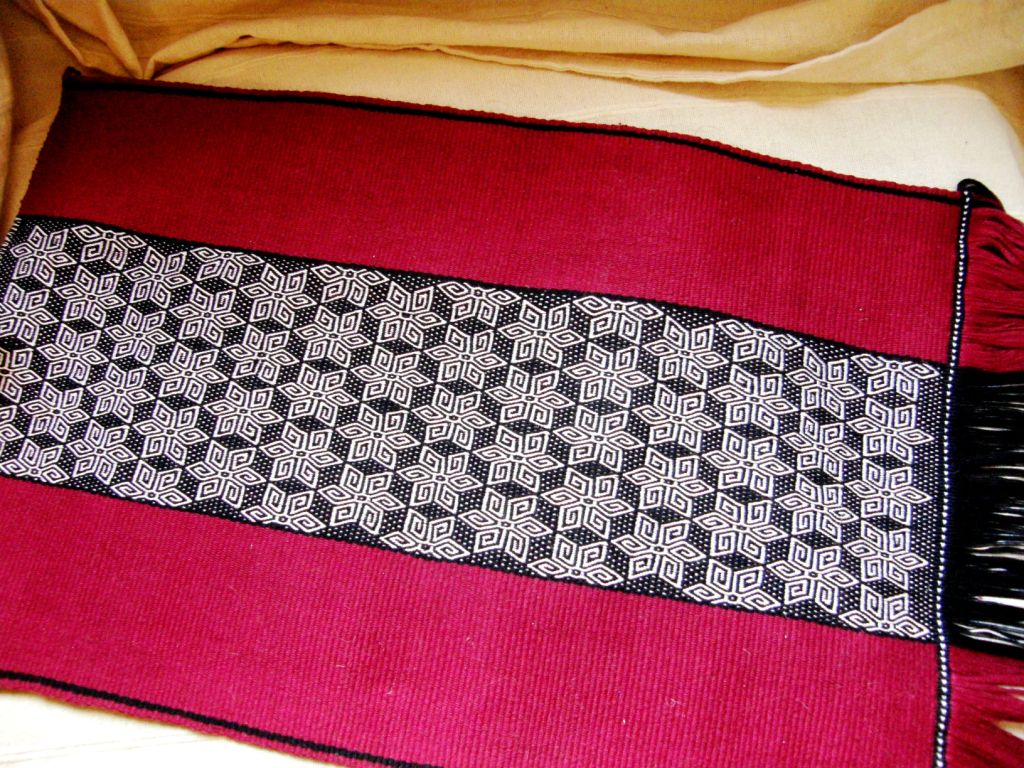
The long black and white piece above left is a table runner in this embedded double-weave technique. Only the center band with the Abba Yohanni motif is woven in double weave. It is bordered by large areas of plain-weave. On the right, the Mapuche design is being woven in double-weave with plain-weave beige borders.

And one more…

Sometimes I choose to use this embedded method for narrow bands simply because I like the way it looks.

The plain-weave borders on these bookmarks nicely frame the double-weave patterned area both in color and relief. The llama motif pattern charts are in this post and lettering charts can be found here.

Weavers in Charazani often use this technique on their large carrying cloths while those on Taquile Island use it on their broad waist bands. They use extremely fine thread and are able to weave intricate detail in their double-weave motifs.

Well, I hope that you enjoy the tutorial. It has some video segments which I had posted to my Flickr page a long time ago.  I am also going to set up an index page of intermediate level techniques and hope to add to that a video showing the basics of complementary warp pick-up soon.

To finish, this is what Amber in the Ravelry group has been working on…a beautiful double weave band and some supplementary weft patterned bands. She also made a white on white warp float band (on the left of the blue supplementary weft band) which looks great.

Now she is preparing her project for the weave-along. Come and join us!

Ooops! My subscribers will have received a message about a Pattern Chart post. Sorry, the charts are there but I didn’t mean to publish them as a post. They are on a page here.