Backstrap Weaving – Great Lengths for Good Results


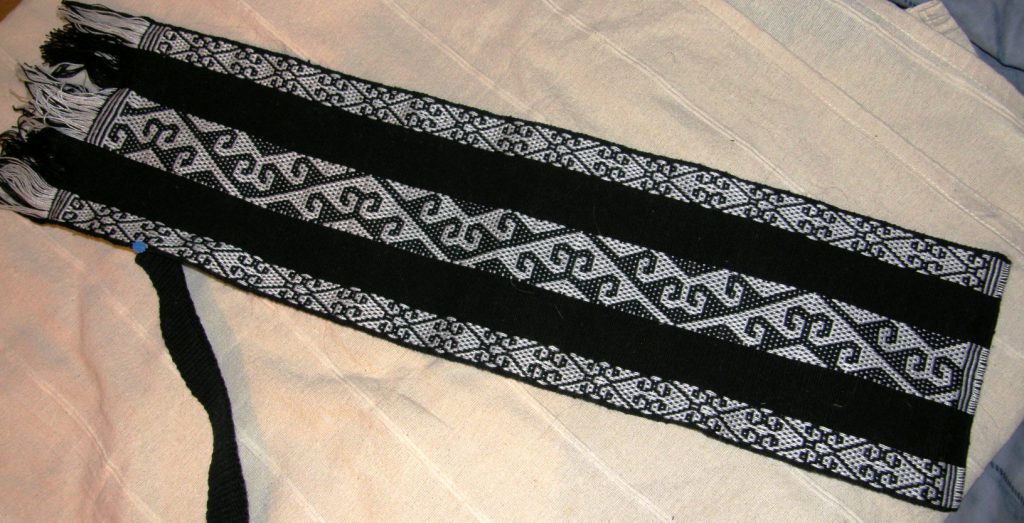
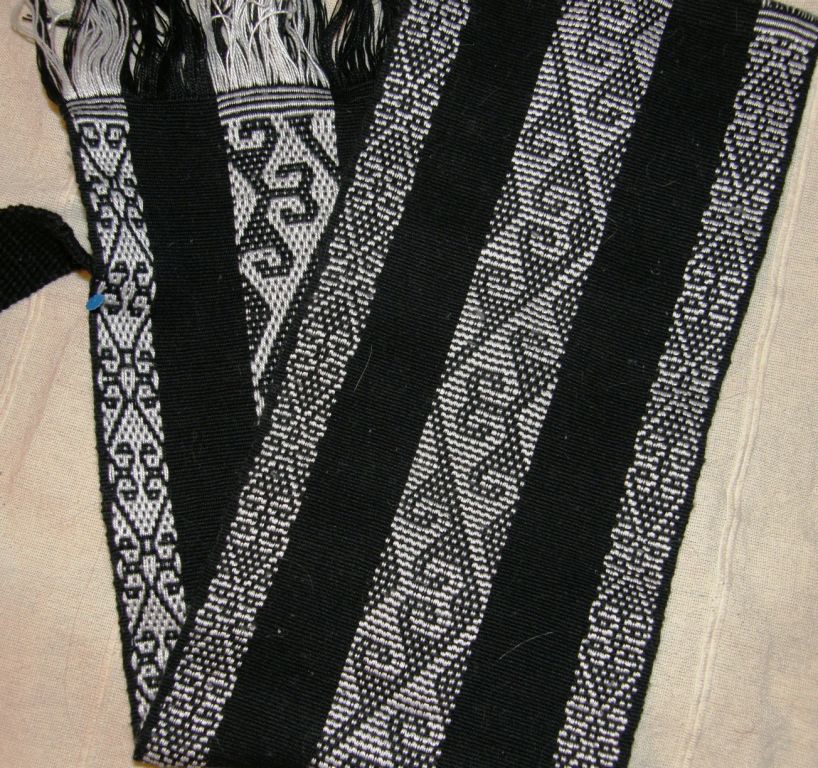
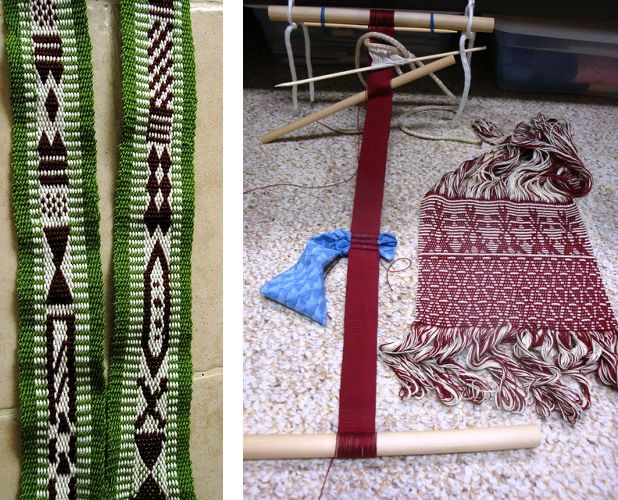
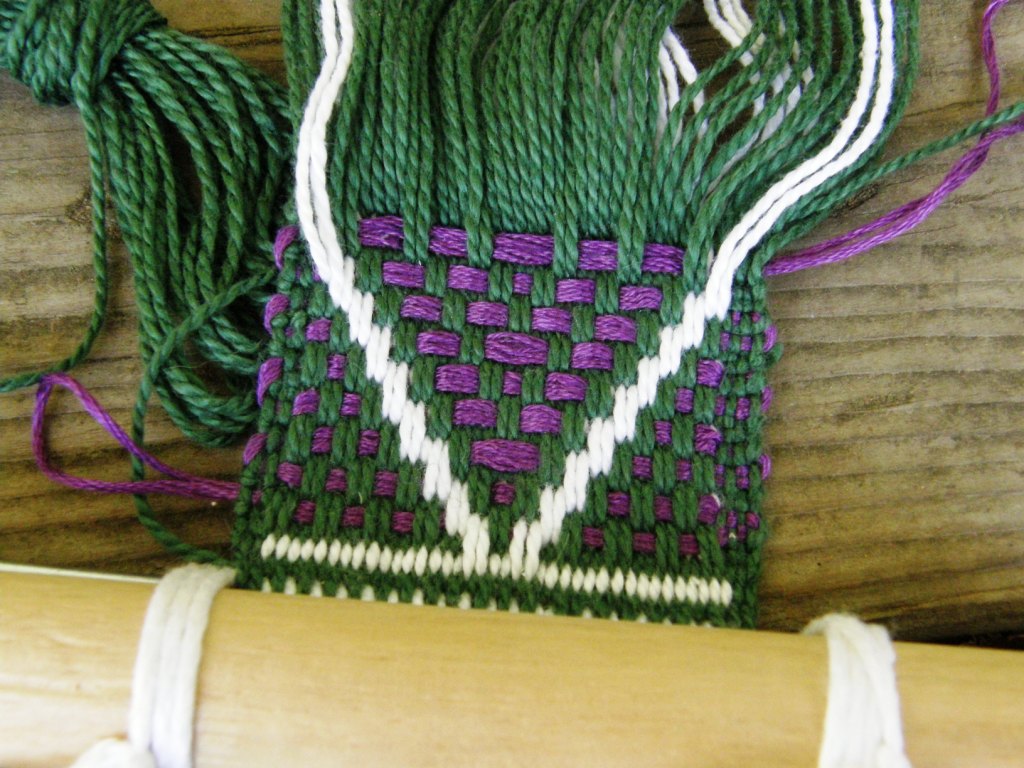
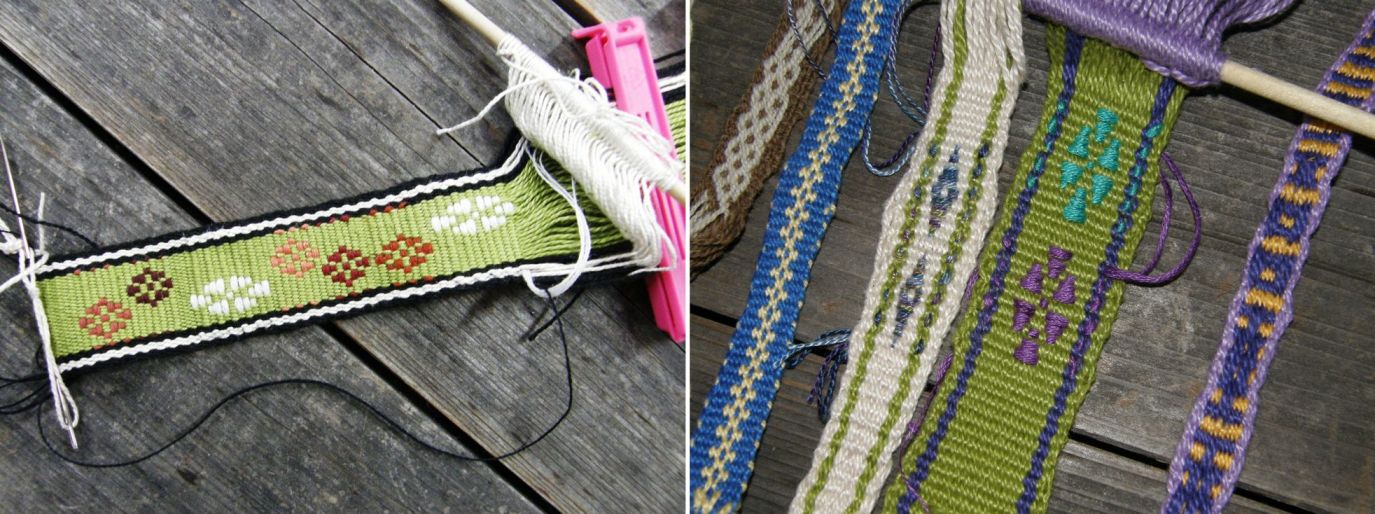
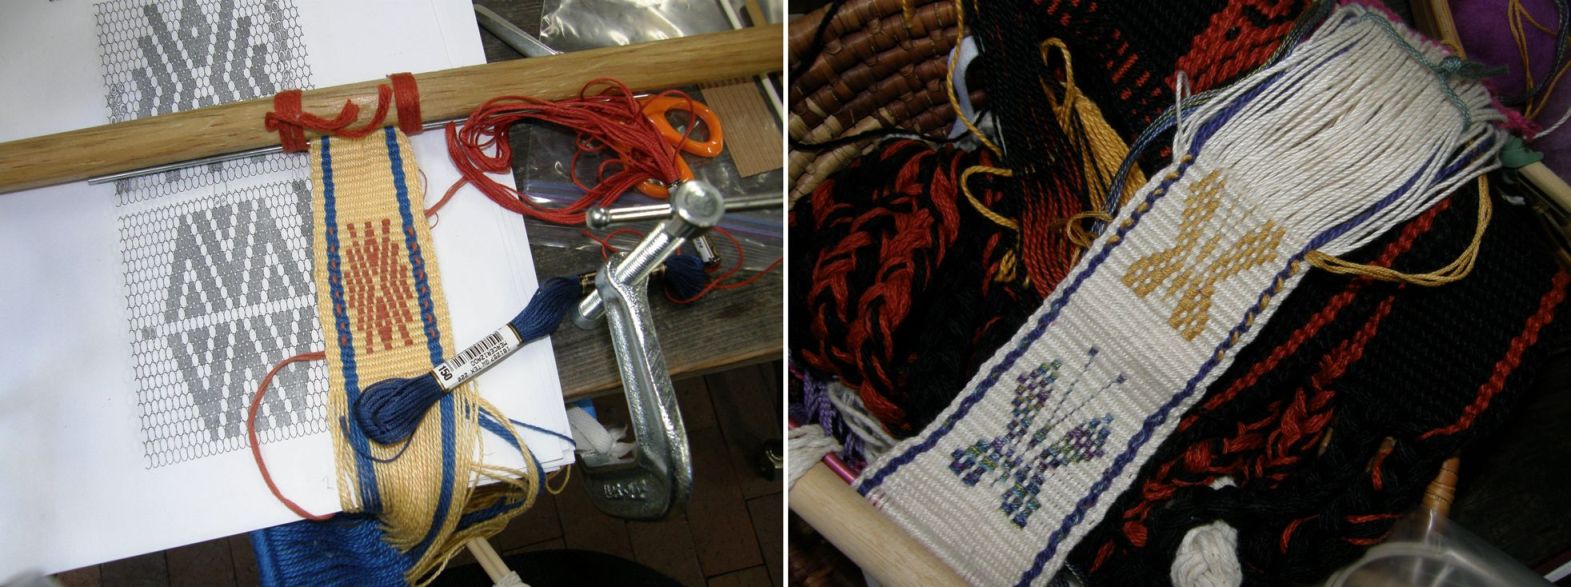
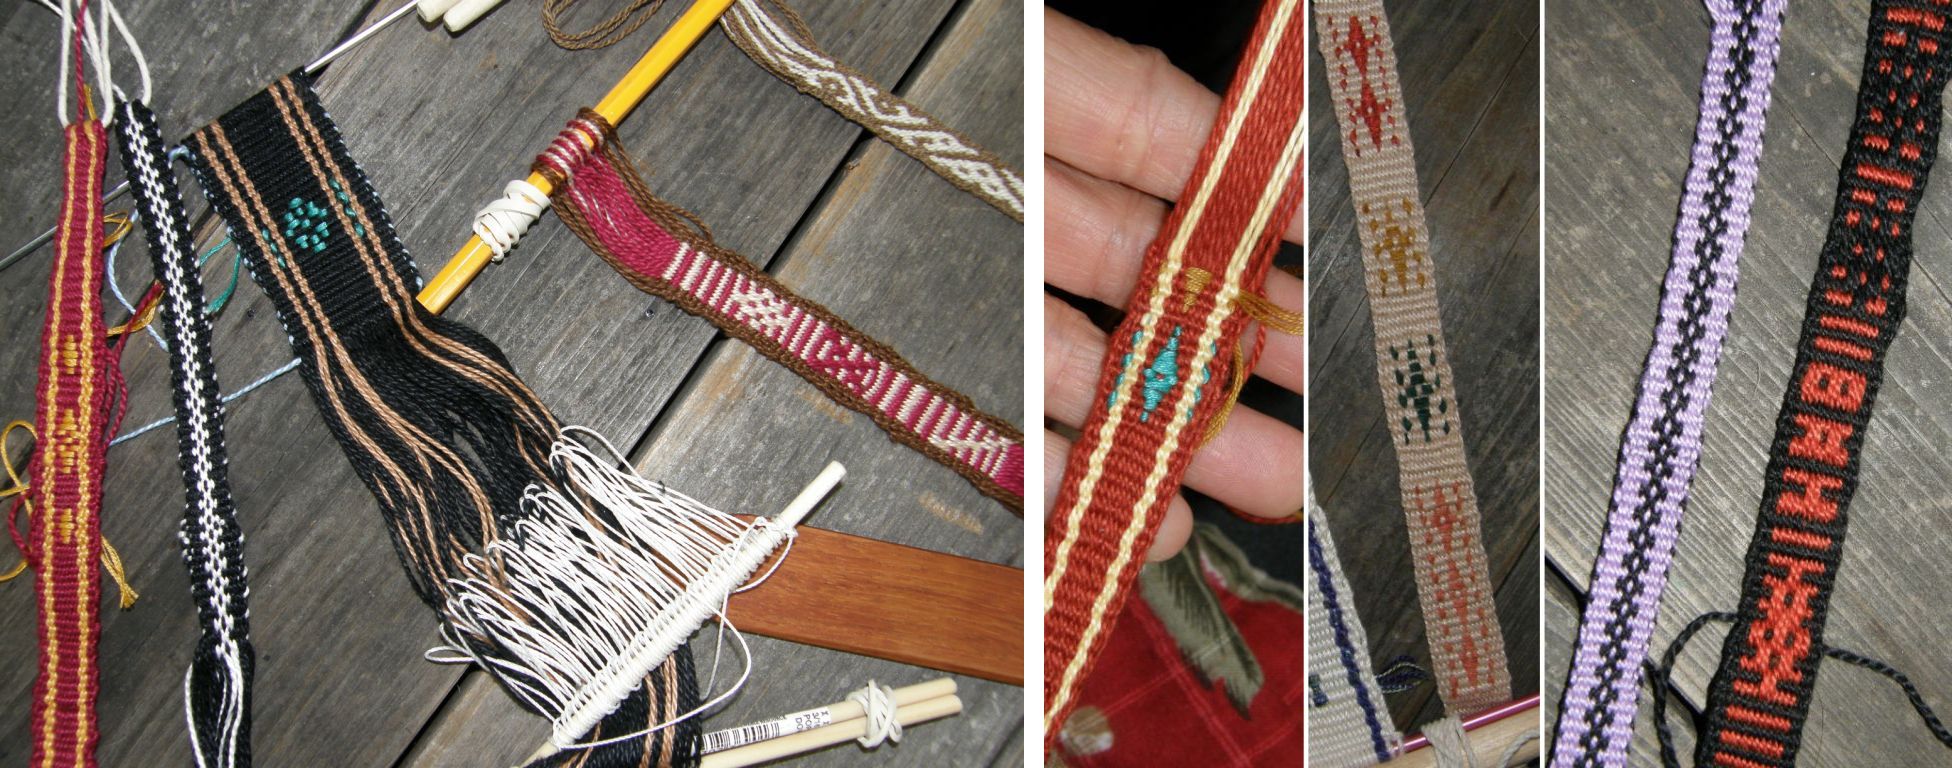
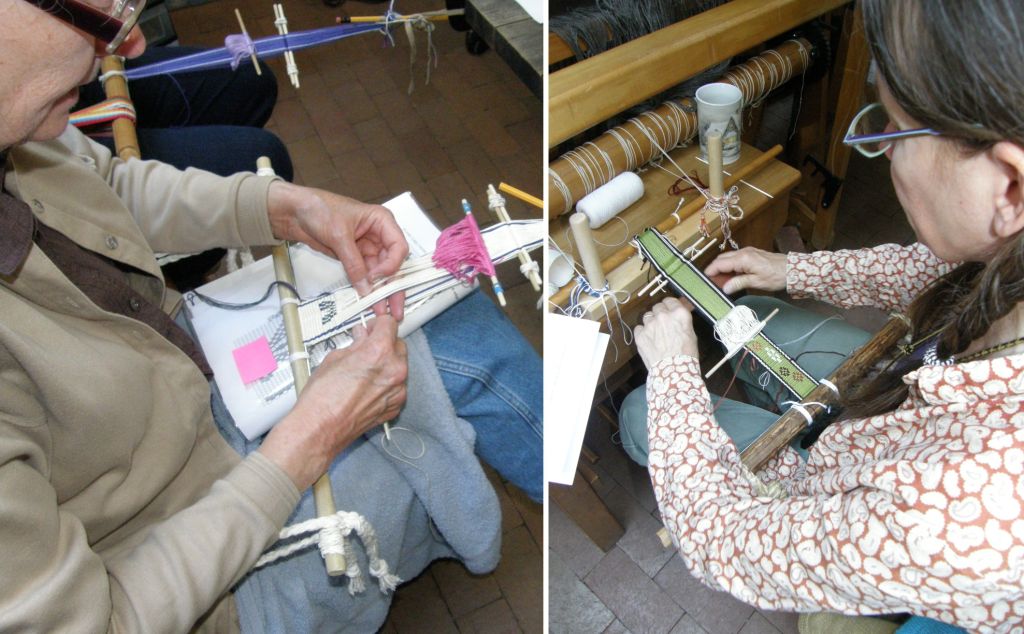
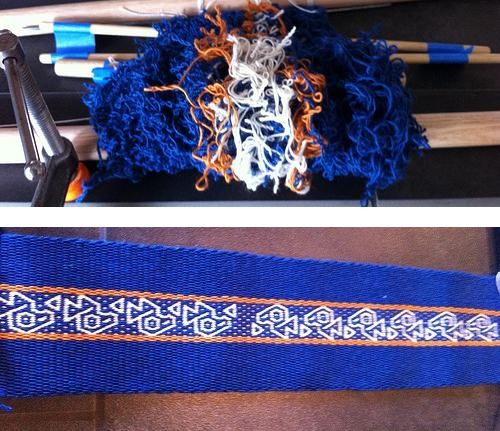
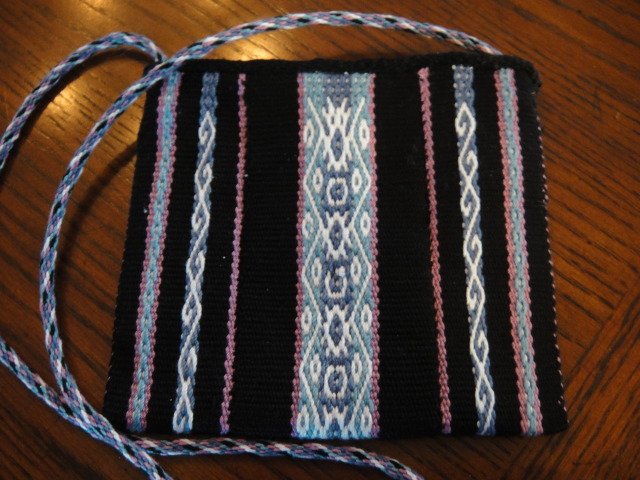
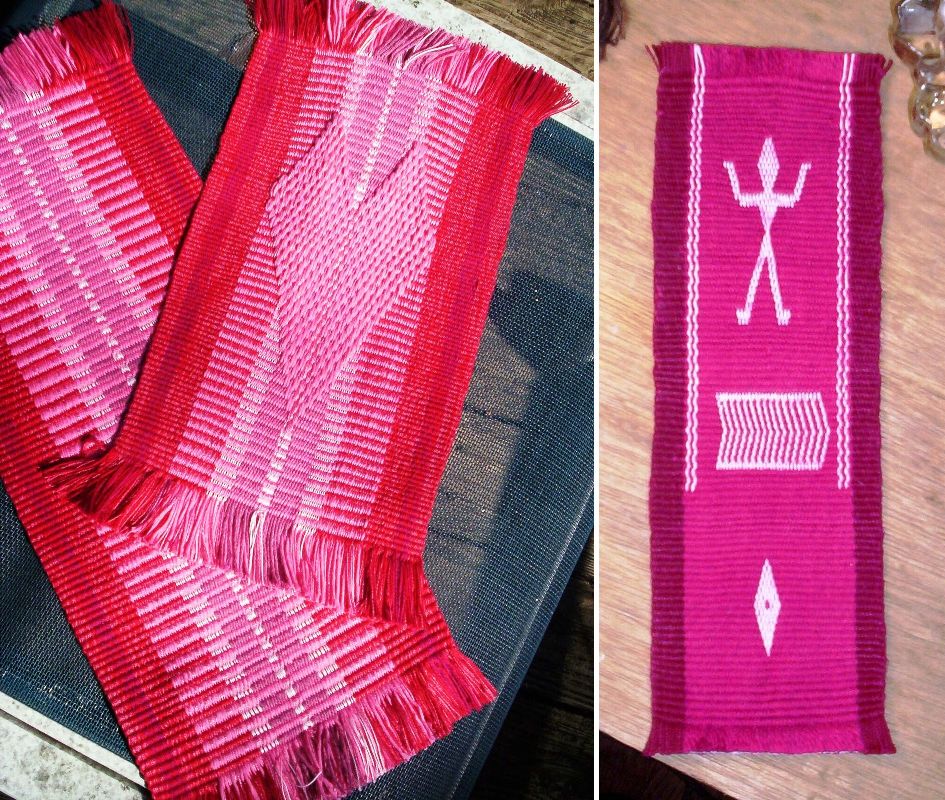
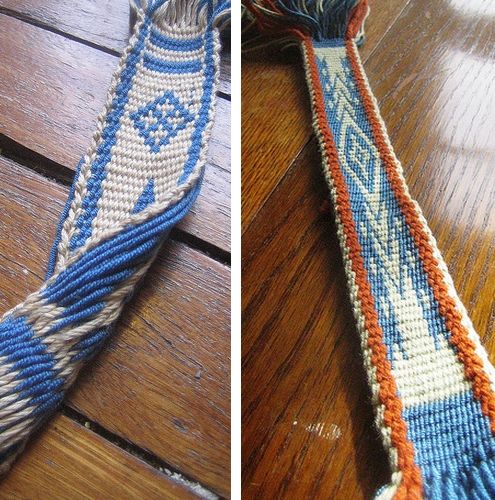
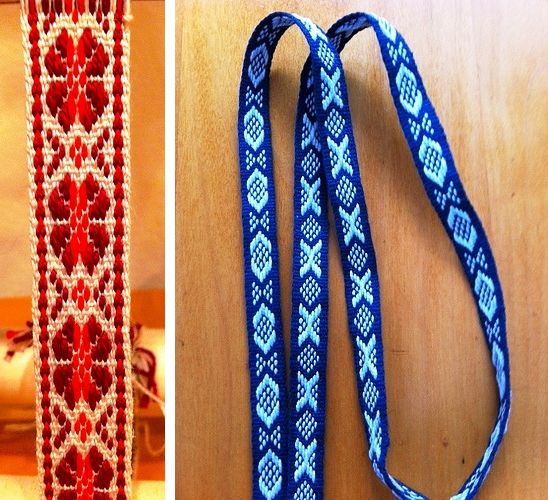
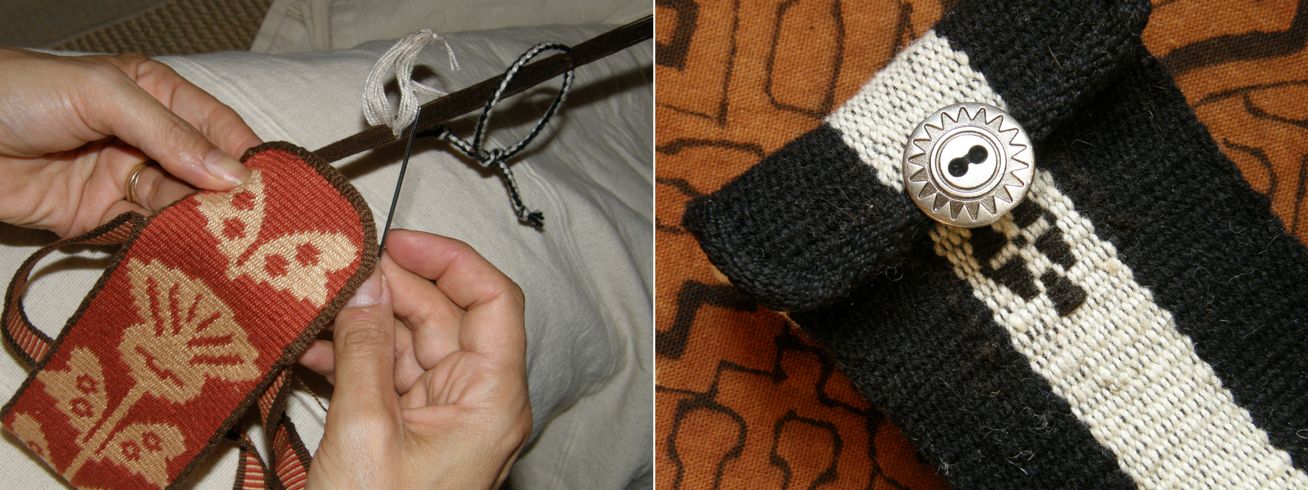
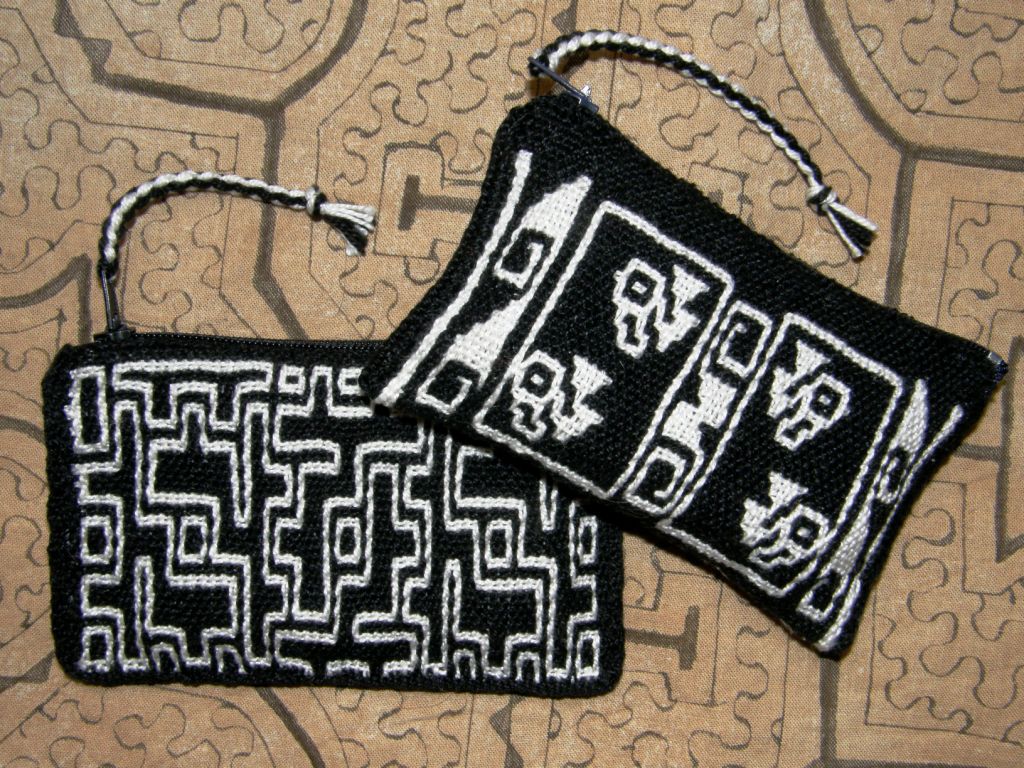
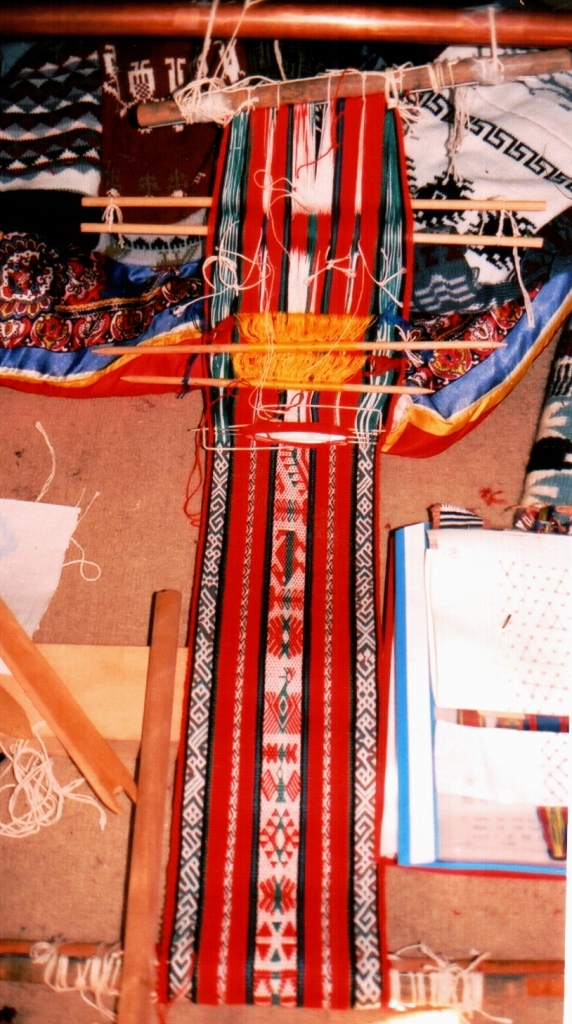
The more you weave on a backstrap loom, the more you come to realize the importance of good warping. I so wish I had photographed the great lengths I had gone to to warp for the four-color pebble weave piece above. It was a mad never-to-be-repeated combination of knitting machine tension rods planted in bottles, planks, toes and stakes! It was the time when I lived in southern Chile with little experience or materials on hand. All I knew was that good even tension was essential to a successful project and I was determined to achieve that. Well it worked and I was pleased with the results.

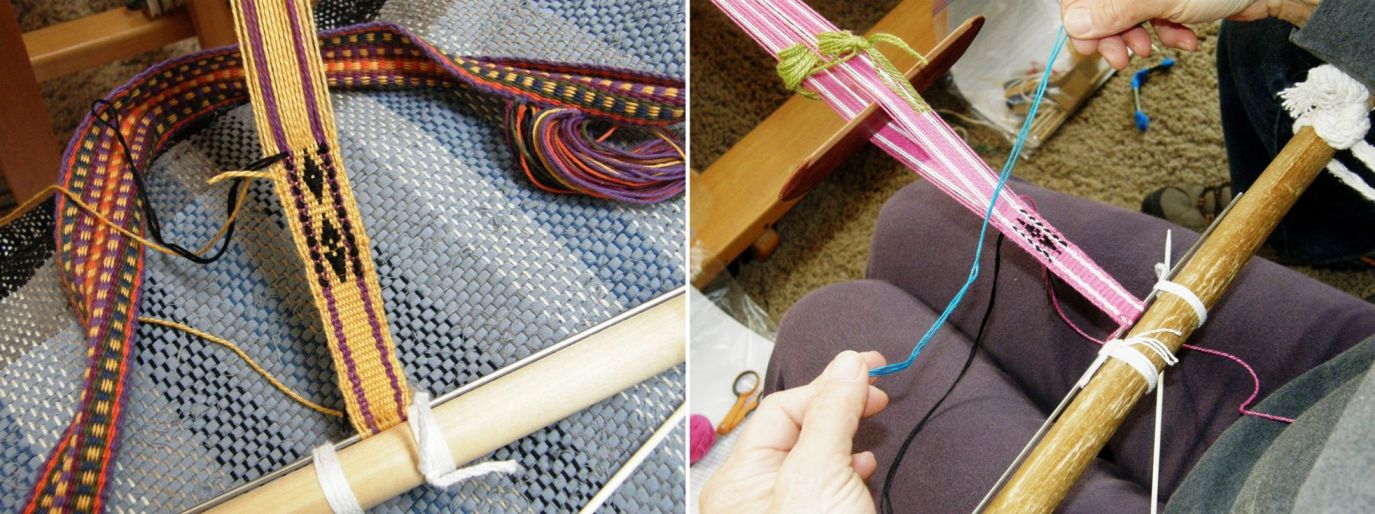
There are so many parts and tools for the backstrap loom that can be made from bits and pieces that one already has lying around the house. And even a warping set up can be easily constructed…just whack a few stakes into the ground in the backyard….and in one’s enthusiasm to get a warp onto the loom and start weaving one may be tempted to ignore the fact that the stakes leaned inward ever so slightly while the warp was being wound.

You learn after that first wonky warp that it is worth going to great lengths to make a suitable warping board if you want to have good results. I consider this the most important part of your backstrap weaving kit.

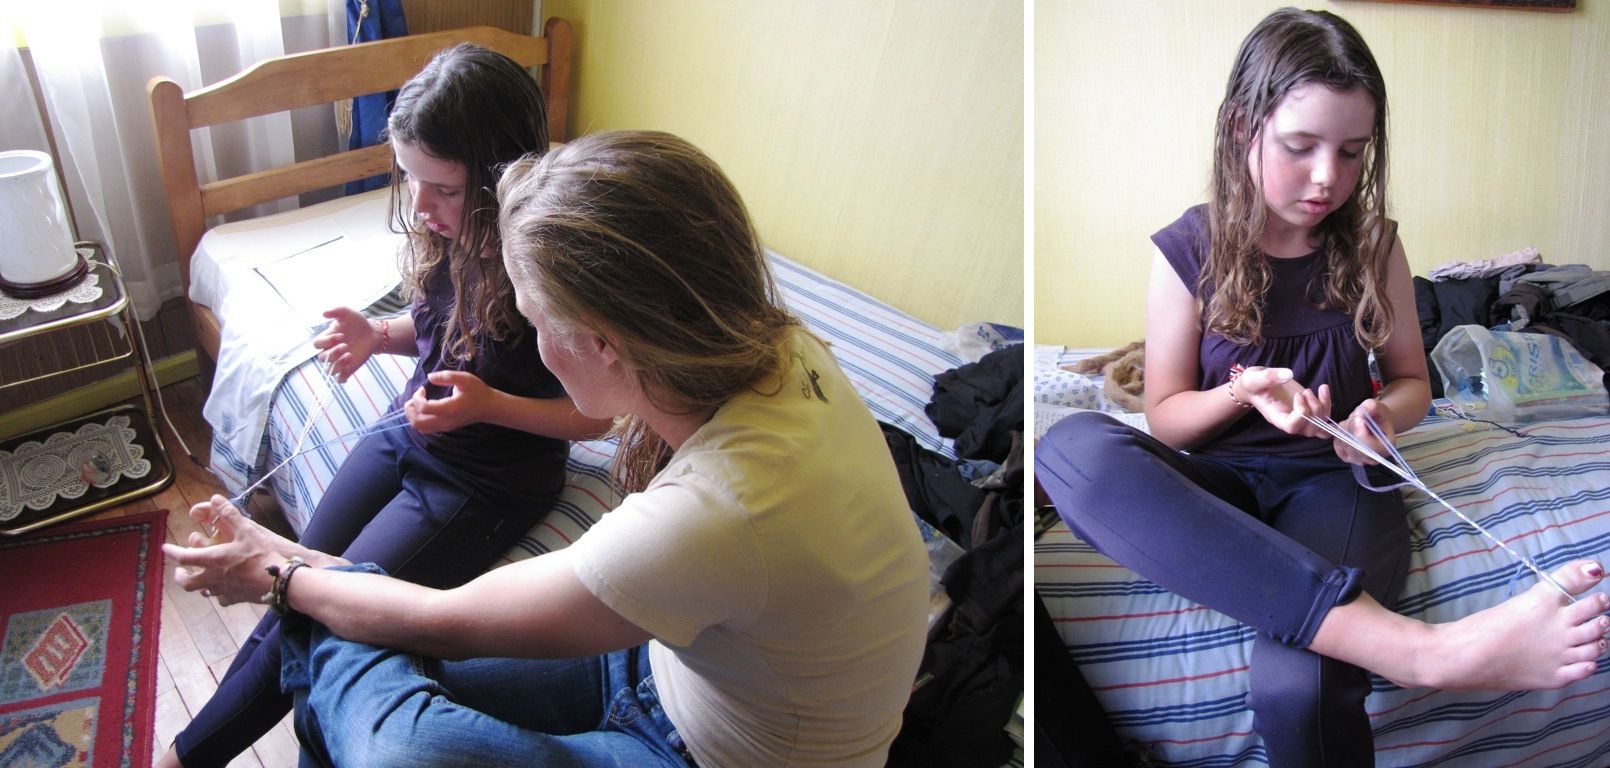
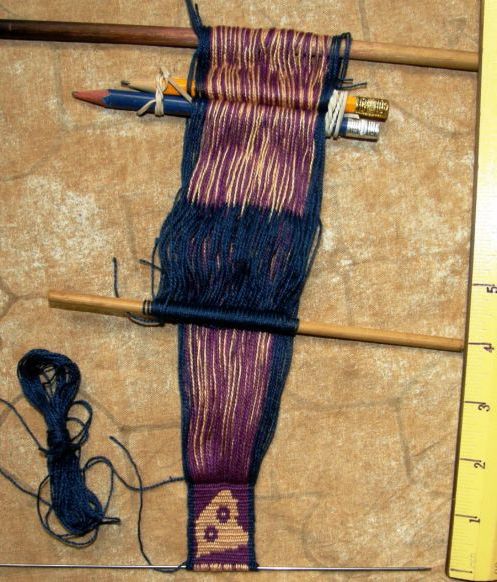
You can see at left my first warping attempt in Chile after returning from my first backstrap weaving lessons in Peru. Look at that crooked end! I had been warping successfully for Navajo weaving until then and tried to adapt that system to four-stake warping for pebble weave….didn’t work!

Even though that was fifteen years ago, I haven’t come up with any terribly sophisticated ways to warp. Sophistication isn’t necessary. I just make sure that my stakes are well grounded and cannot move or lean in.
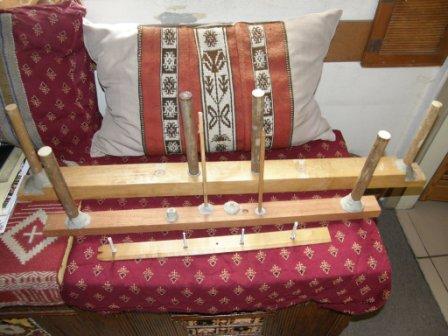
This family of simple warping boards has served me well over the years. Even when I need a longer warp for a belt or guitar strap I manage to combine the boards somehow to fit the bill. I made the middle board to accommodate the multiple sticks that are needed to warp for the supplementary warp technique that I studied in Salasaca Ecuador. The mini board in the foreround is the one that goes traveling with me. The ”stakes” are long screws which are bolted to the wood and can be removed for travel. I also use it at home for keyfobs and bookmarks.

It seemed that all my needs were met with these three simple boards. However, recently I have been weaving with my handspun alpaca yarn. All you spinners out there will understand my desire to not waste a single inch of this stuff!

Last week I showed you the passport pouch I made with my first lot of handspun. I warped it on the middle warping board and it was tough cutting the project off and “wasting” all that handspun. Normally I warp longer than the project requires…there is always that “just in case” factor and so what if a little cotton gets thrown away? But not my precious handspun!

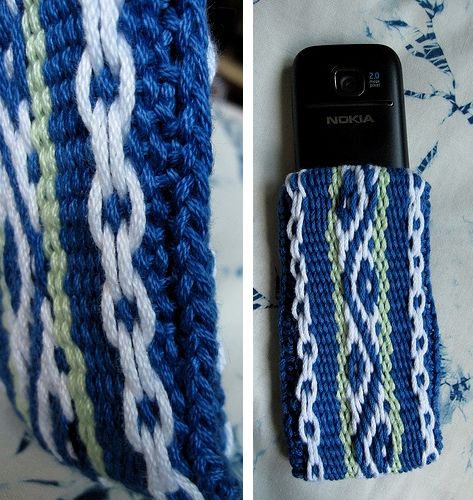
So, I kept all the cut off alpaca yarn thinking I would use it as supplementary weft and that is just what I did this week. I had just enough handspun left to make a cell phone pouch. The dilemma was that I did not have a warping board that would allow me to warp just the right amount for this project. There wasn’t enough yarn to get the right width on the larger warping boards and the mini was too small for a cell phone pouch.

And then I remembered the nifty single warping pegs that my friend Janet and her husband Larry made for me. These can be clamped to a table to warp any length. My problem is that there isn’t a free table here to do that but I managed to use the tray table on which my computer sits and that was the perfect length.
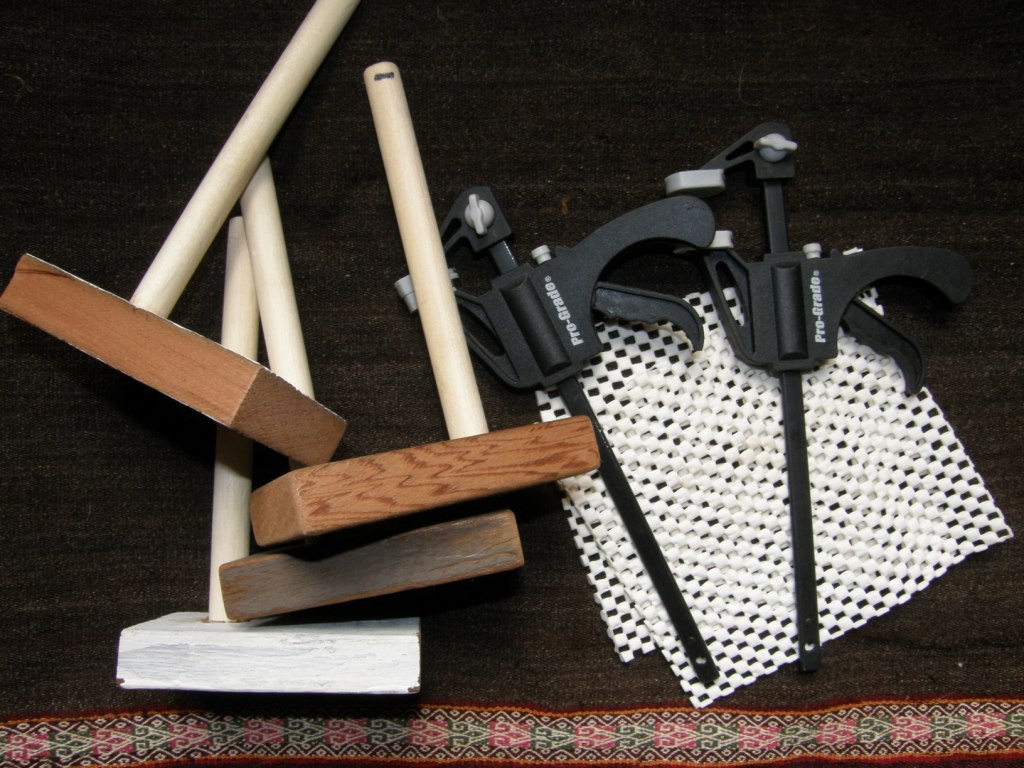
This worked like a dream. I must warn you that clamps can slip while you are warping, quite often imperceptibly, and it won’t be until your warp is on the loom that you notice that one side is hanging slack while the other side is taut. I solved this problem by using that rubbery draw liner stuff that you see pictured above on both the top and bottom surfaces of the table…no slipping…beautiful warp.

I have a lot more about warping and the different ways my indigenous weaving teachers warp in this previous post and also here.

As I told you last week, I put only the slightest amount of overtwist in this yarn so you can see here that the warp can lie quite flat and not go curling up on itself. It is hairy, though, and I did have to work to clear my sheds. I had to put glue on the knots at the color changes after having the knots in this sleek fiber work their way undone multiple times and drive me nuts!

So, this was to be a cellphone pouch with supplementary weft patterning. I would never have thought of doing a piece in wool or fiber with this technique had it not been for Phil in our backstrap weaving Weave-Along on Ravelry who wove a band with his handspun which he decorated with a snake motif using his handspun as the supplementary weft. Then when I was staying with my friend Janet, who is an awesome spinner, I was further inspired when she wove a band with her handspun with silk supplementary wefts.
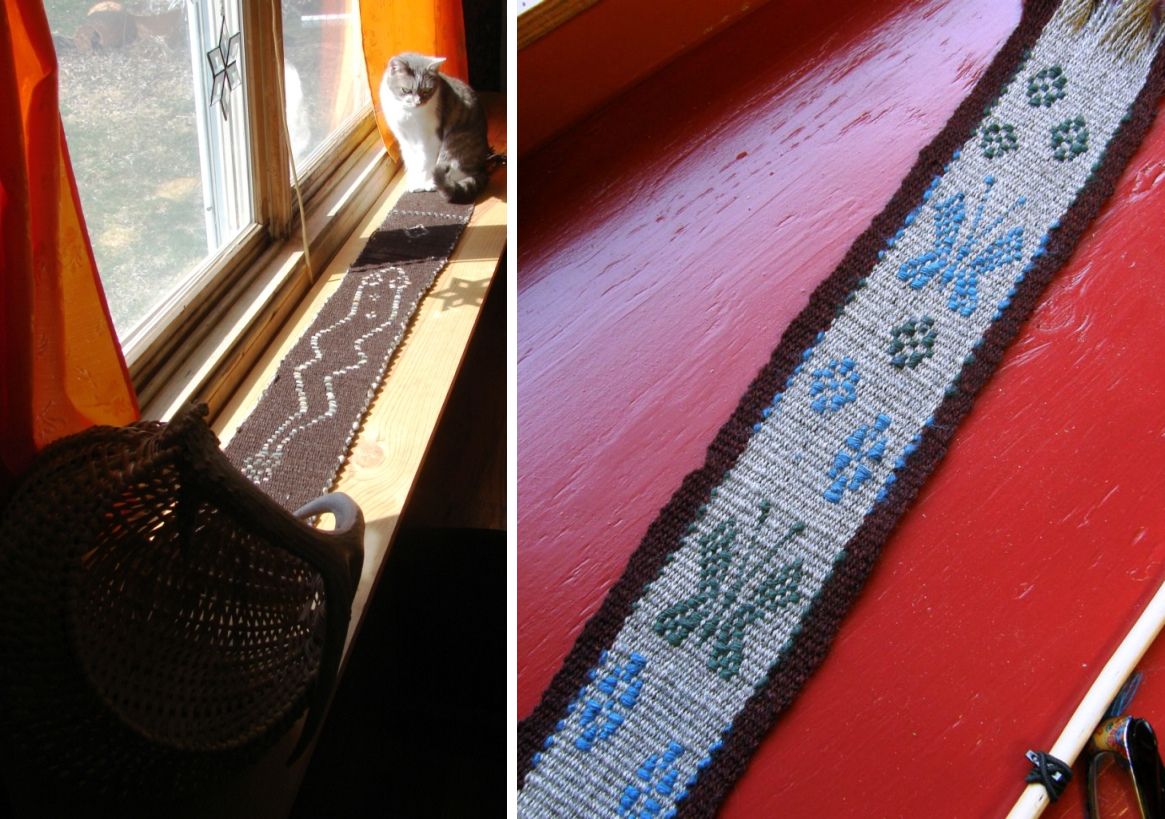
So, many thanks to Phil and Janet for giving me this idea.

And here is the finished cell phone pouch…

All the other pouches I have made have had flap closures. I decided on something different for this one and added a drawstring instead – an alpaca drawstring, of course!

The design is actually Indonesian. It was a scroll that repeated itself across the width of a piece that I saw at Convergence last year. I stacked the scroll and inverted it to make this new design.

The turns of the supplementary wefts are on the face of the weaving but are quite well camouflaged in the darker warp color. I dabbed glue on the supplementary weft ends as they exited on the back side of the piece. Again, the yarn is so sleek, I didn’t feel secure just cutting and leaving short ends as I would if I were working in cotton.

I am very happy with the way this turned out!

And that was the end of my alpaca yarn…now back to the spindle to make some more and just in time for the Tour de Fleece that starts this weekend.

I have quite a collection of cell phone pouch projects now influenced by Vietnamese hilltribe weavings, Central Asian yurt bands, Guarani designs and Indonesian textiles. Half of them have been given away. Hmmm…as I type I am getting ideas for a couple more!

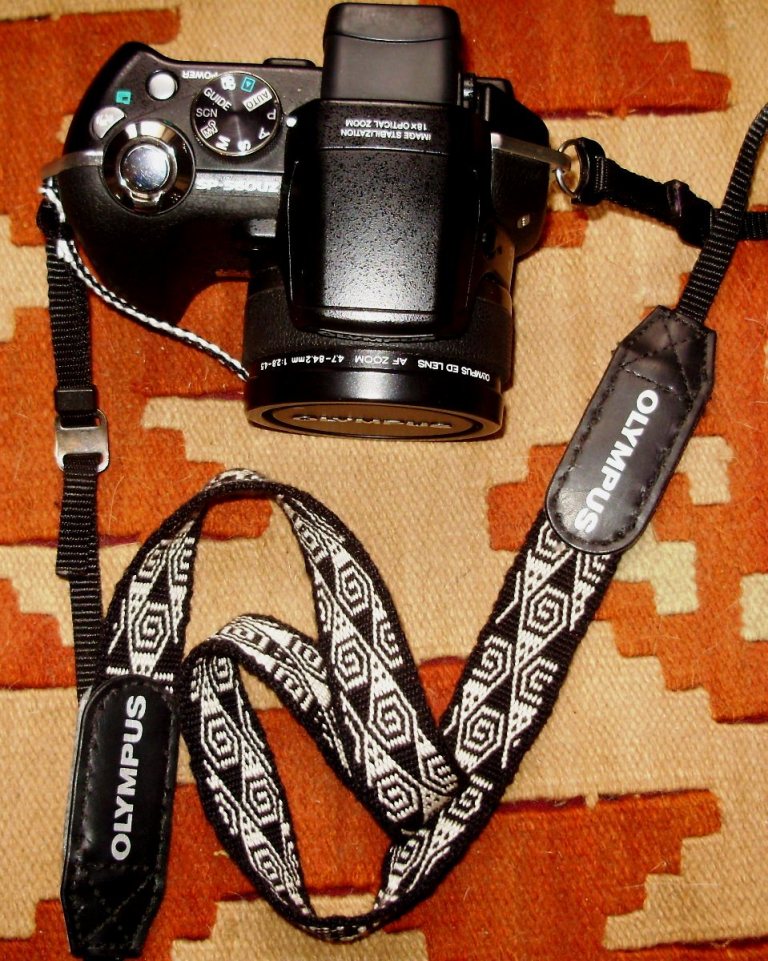
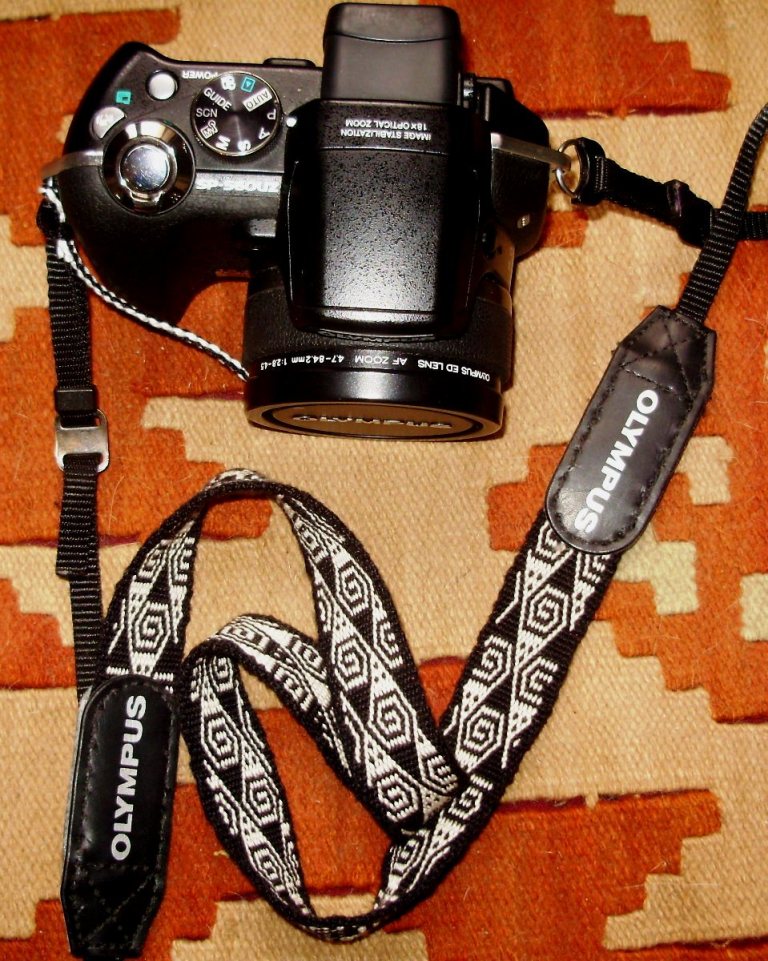
Last weekend I completely ignored my to-do list and launched myself into a new project. What brought this on? Some friends sent me pictures from my recent visit to the US and I realized that in almost every picture of me I was clutching my camera. I decided that my camera needs a bit of dressing up…well, to tell the truth, I probably do too but that ain’t gonna happen!

So, I wove a strap and braided a tie for the lense cap.
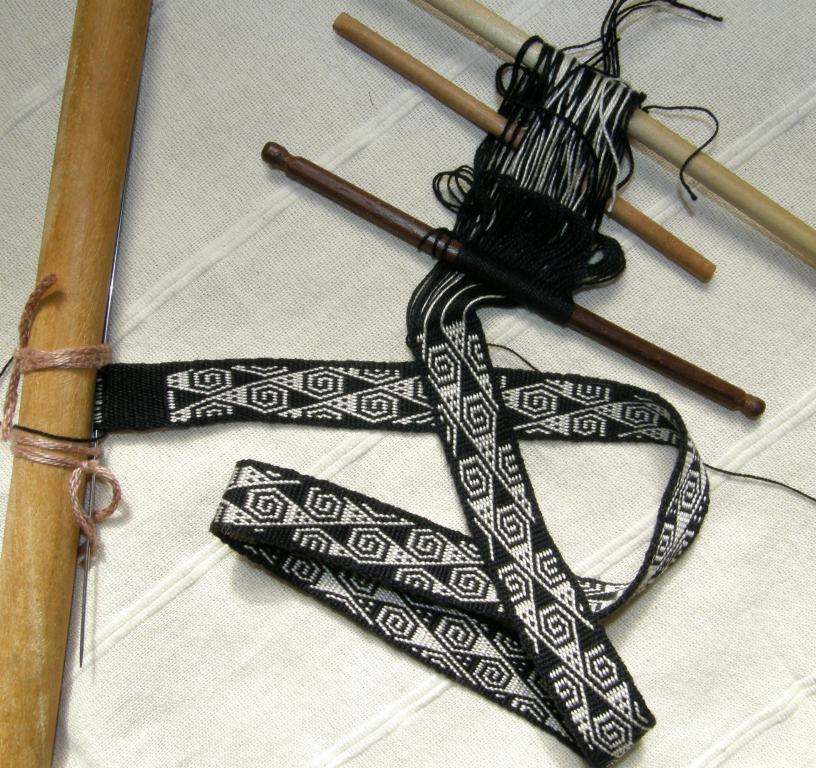
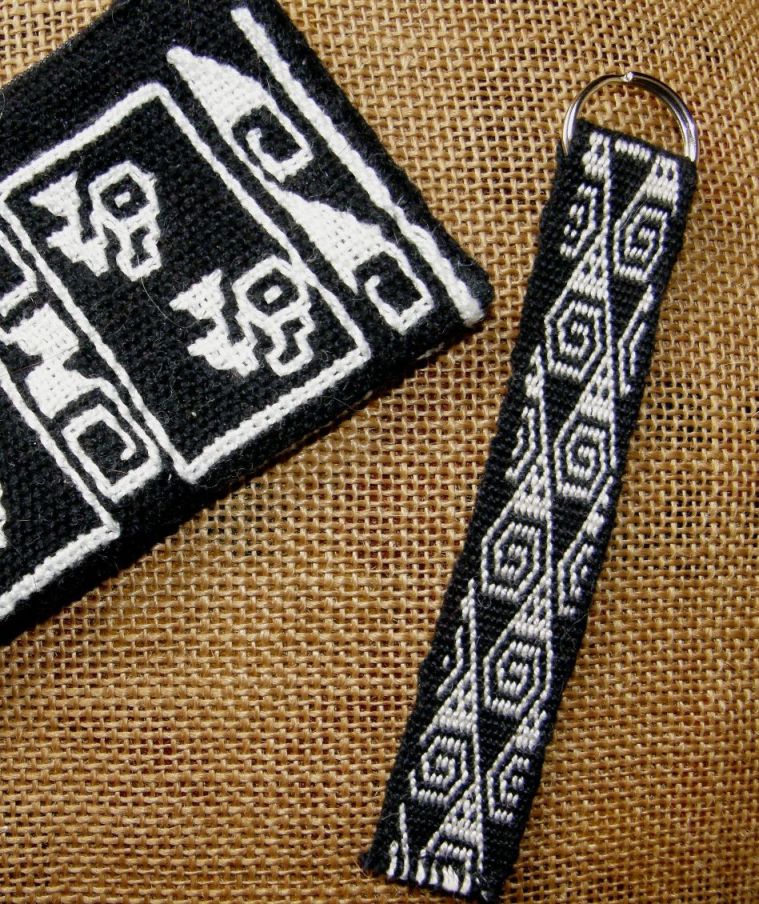
 I wove this in one-weft double weave and you can see that it is based on the float pattern that I used on the passport pouch I wove last week. I think that this design would also make a good project for warp substitution. Those of you  who have dabbled in warp substitution will know that one of the technique’s drawbacks is that you end up with long floats on the back but, if you are weaving an item where the back of the piece won’t be seen (unlike my camera strap project), the floats won’t matter.
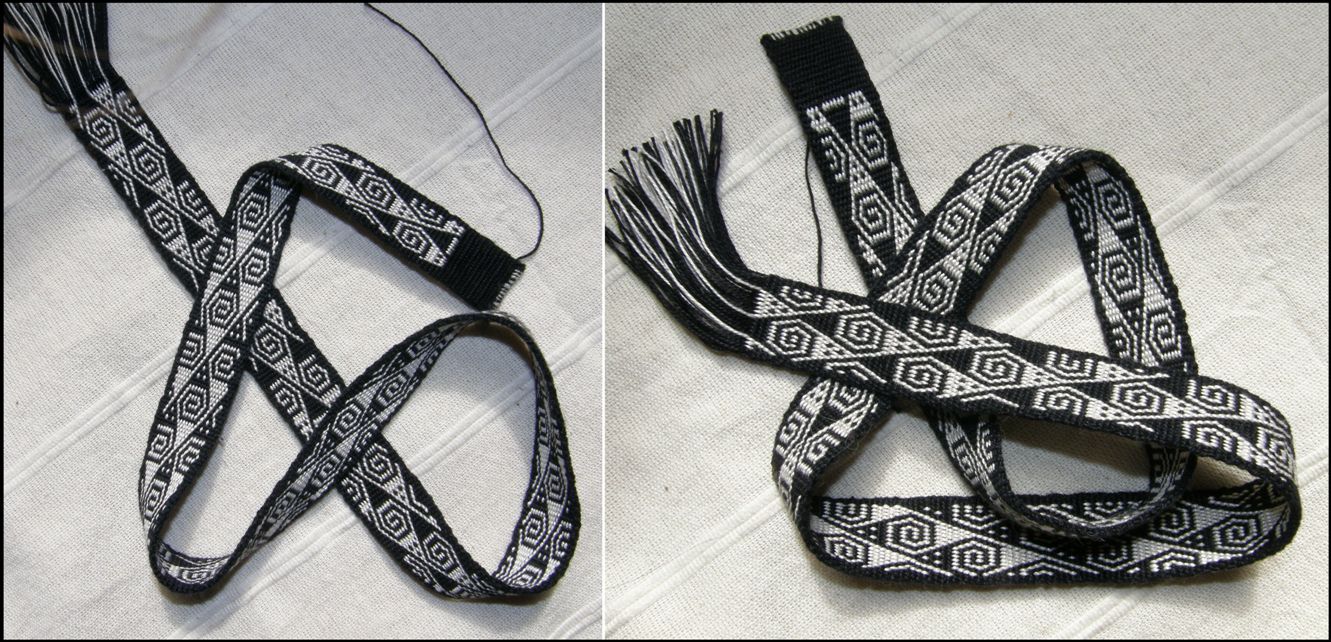
Here is my dressed up camera…


I wove more length than I needed for this strap and so made a keyfob from the left overs and you can see above that not much warp was wasted.

Actually I could have woven more but I had had enough of these swirls by that time!

I have added this double weave pattern chart to this page. Take my advice and extend the chart if you plan on weaving it.

The design did not repeat at all for the entire length of the band and it is easy to go on weaving and forget when to start weaving the design as it enters from the right edge. You need to weave a fair bit before the design starts sinking in.

I just hand stitched across the bottom to seal the end.

Let’s go back now to the original topic to show you a couple of nifty warping ideas from some of my online weaving buddies.

Sometimes you have to get creative according to your budget, your lifestyle or living situation…lack of space and considerations like that. Above left is Marsha’s new warping set up using long screws and drilled holes and segments that can be joined together to accommodate a variety of warp lengths. It all comes apart for travel. Marsha is a terrific DIY-er and is also making lovely beaters and pick up sticks so, you know where to go if you would like to have some made.

And now you will see what I mean about going to great lengths…

Tracy and her husband lugged a bed frame onto the roof of their home in Qatar. That looks like a great sturdy set up and adding extra stakes to that for four-stake warping should be easy. The two extra stakes don’t need to be firmly grounded. In fact, I have seen a picture of a weaver warping seated on the ground with the two extra stakes lodged between his toes.

This set up was spotted today, by Dyggvi (from the Ravelry group) on this blog (it wasn’t wound for backstrap weaving)…Not sure about this being a good option as the legs look curved.
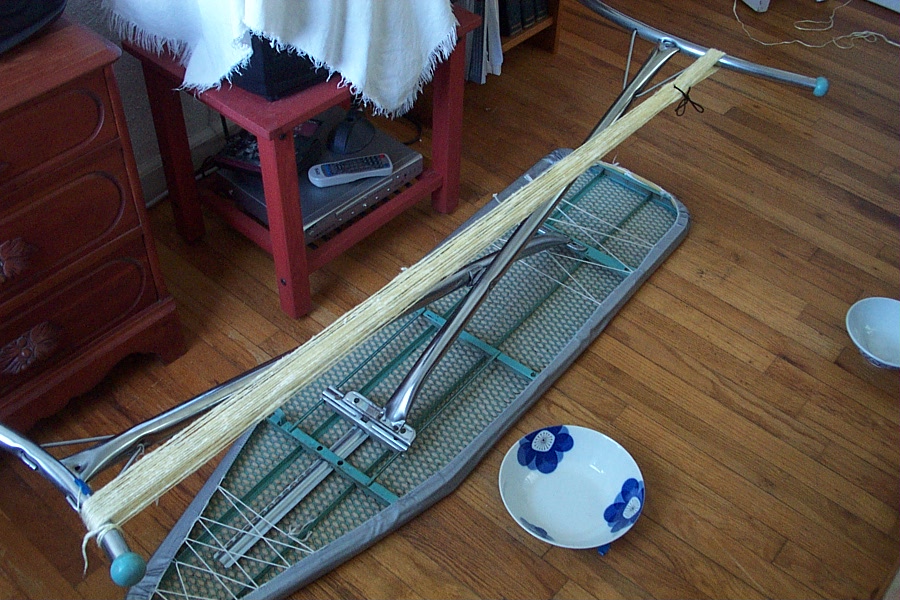
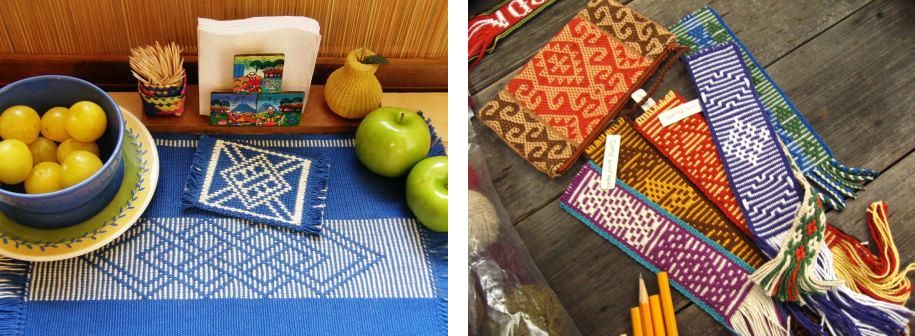
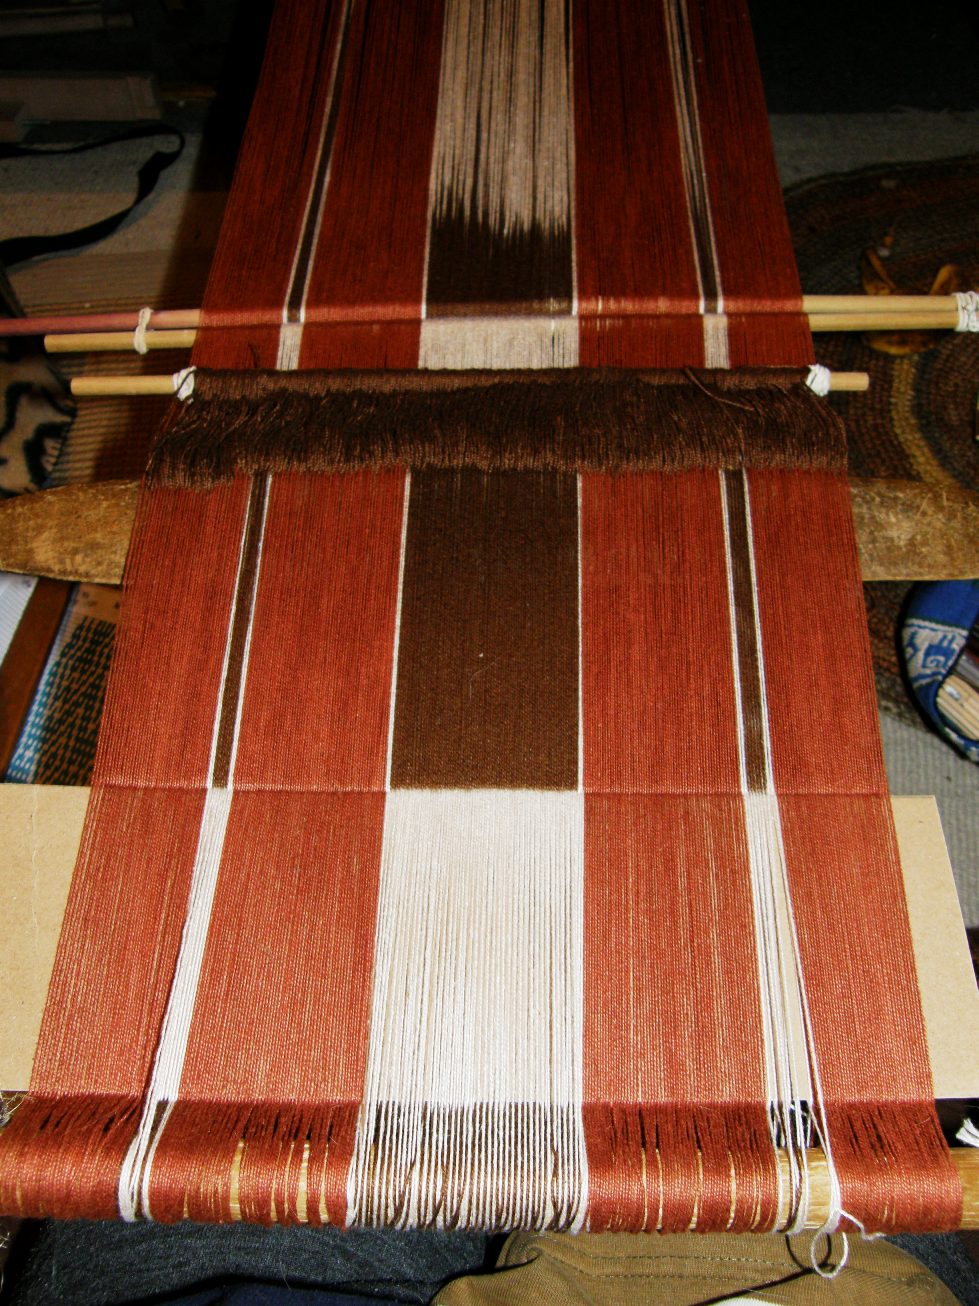
I warped up the widest piece I have done for a long time yesterday. It was warped in two sections and transferred to the loom bars. This will hopefully be the first of a set of four placemats all using the two-color warp float technique. Each one will be in a different color with a motif from a different culture.
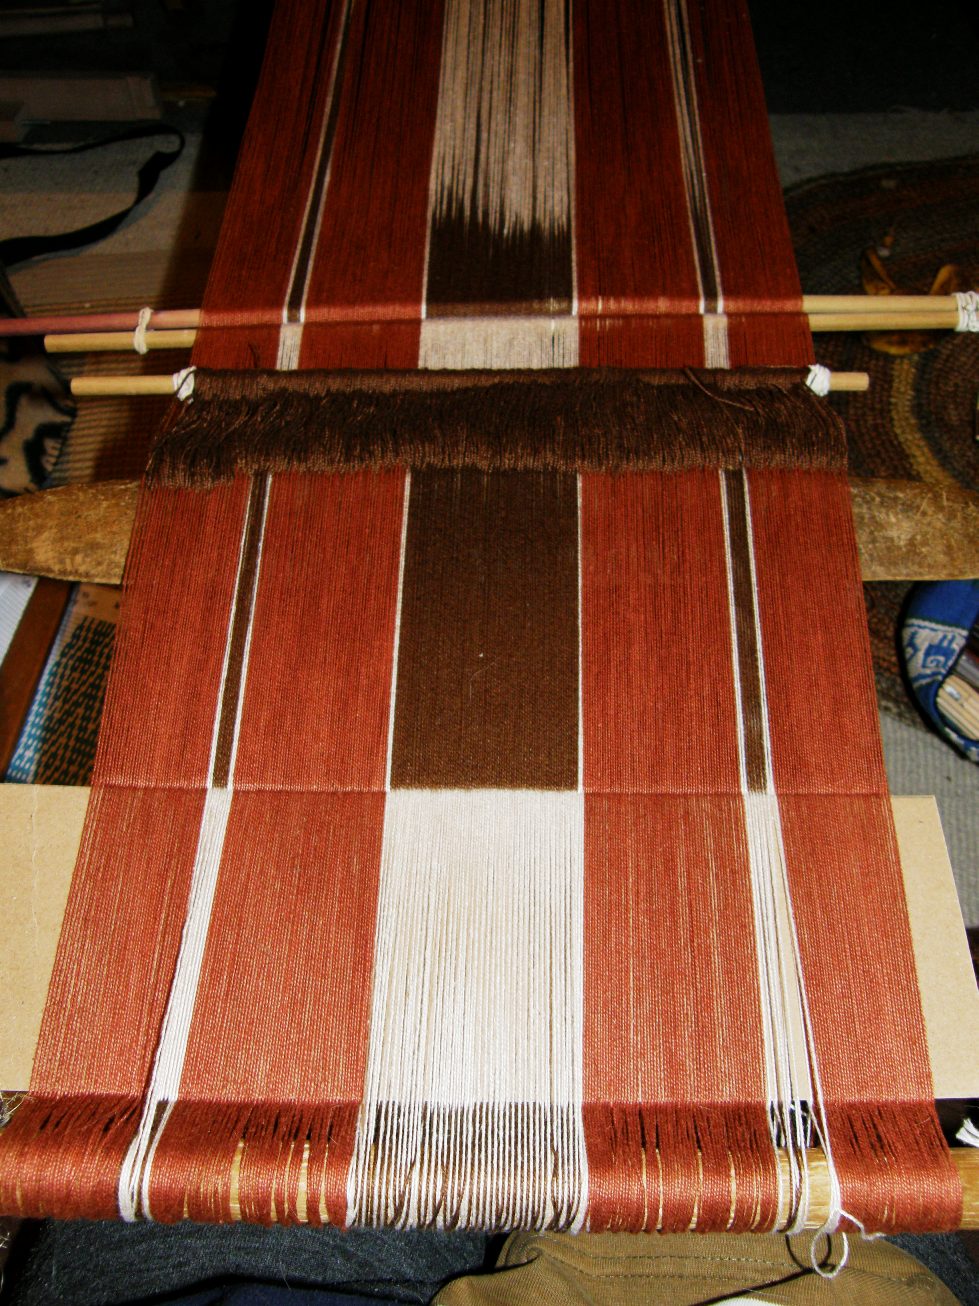

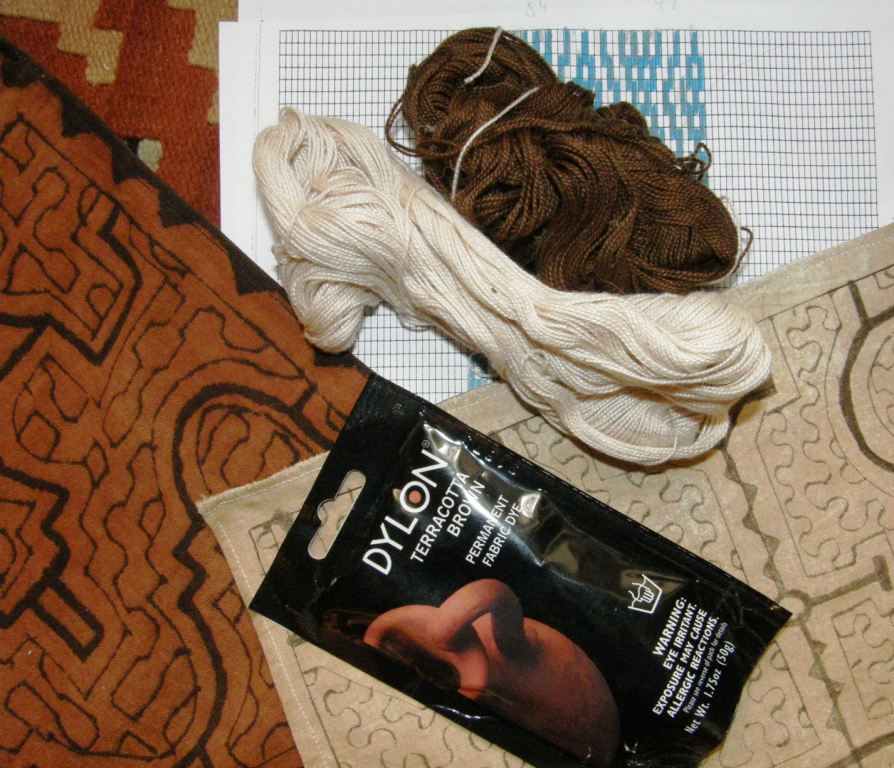
I am leaving a pretty big fringe as I plan to twine a design on each end and will dye some of my Cebelia #20 thread brown for that (doesn’t seem to come in brown, does anyone know if that is a fact?)
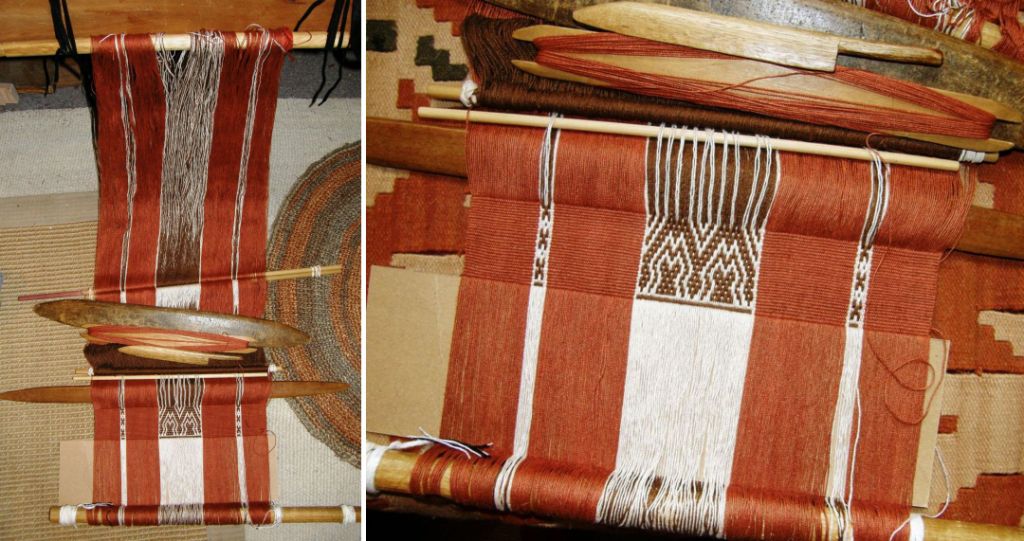
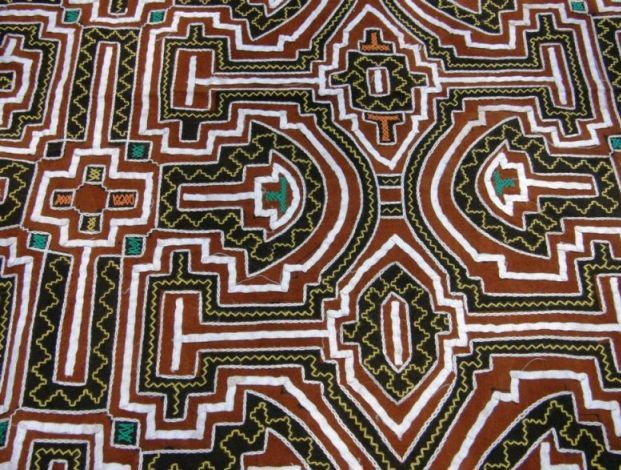
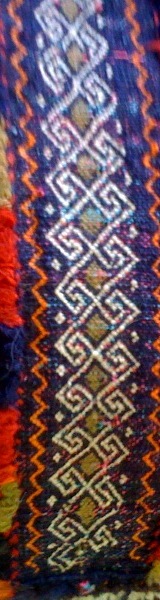
I am using that gorgeous terracotta brown color that I dyed last week which I wanted to have resemble the color of the Shipibo cloth pictured below left. The design is from what I am pretty sure is a Shipibo bag woven using the same technique. I have not seen many Shipibo textiles and have not traveled to the area of Peru where these people live but I have bought a few small pieces of their painted cloth and was shown some of their embroidered work by Yonat who has some of their textiles in her collection.
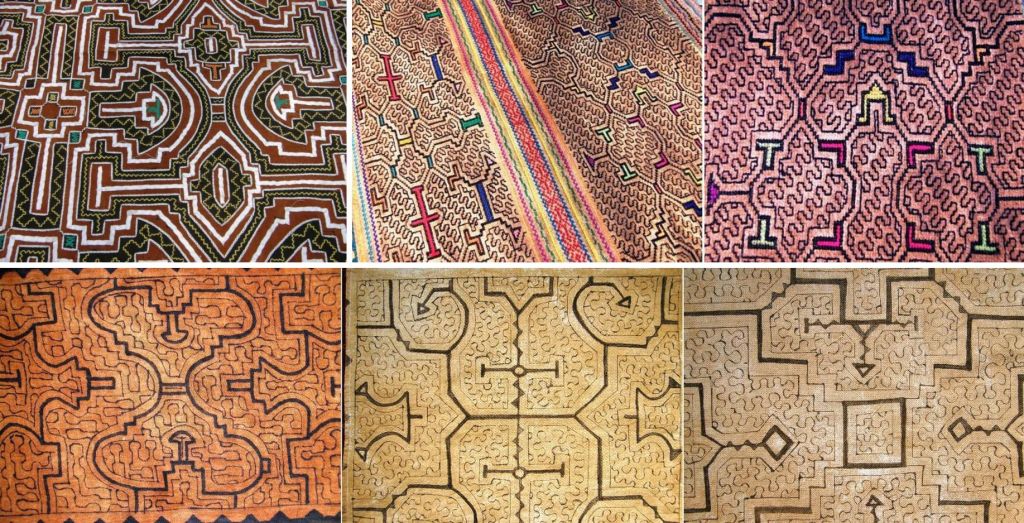
I would love to go and learn more about the Shipibo people and their work with textiles as these days I feel quite drawn to the weavings of the people of the lowland areas of this great continent which is very often neglected.

I would like to share a link with you which was sent to me by Yonat after the inclusion of some braids and Andean and Tibetan slings in my post last week. I definitely want to try some of those braids.

Also, Dyggvi, one of the group members on Ravelry, shared a couple of interesting links to images of backstrap weavers in Taiwan and their very unusual loom set up. The first picture in this link is of an Atayal weaver but there are backstrap weavers from other countries on that page too.

Tracy has written a blog post about the al’ouerjan weaving that is practiced by Bedouin weavers. It is a warp substutition technique and her post shows lots of lovely variations of the design.

I will leave you here with some outdoor backstrap weaving shots from both sides of the equator….
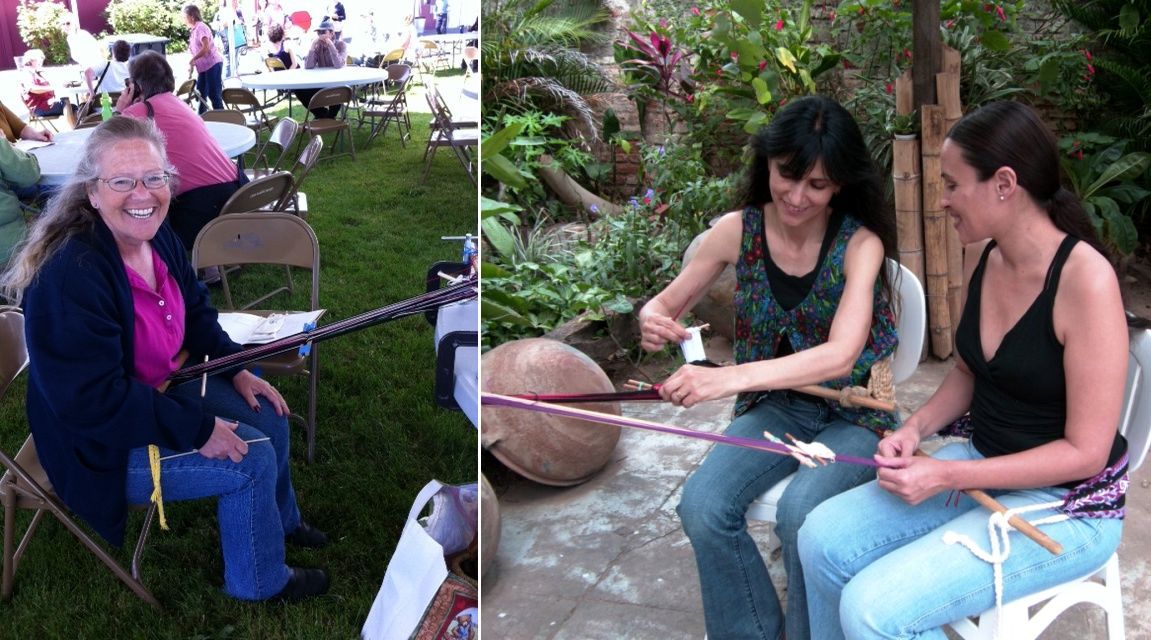
That’s Bobbie at the Black Sheep Gathering in Eugene Oregon last weekend. She met up with Jennifer and Janet, a couple of other Ravelry backstrap weavers and they were able to spend some time together weaving. That’s the early Oregon summer, still a little cool in the shade. Here in Santa Cruz Bolivia we are in the depths of winter as you can see on the right! I spent an afternoon weaving in the patio at my friend Lalenya’s house. There are only about ten cold days in winter here and that wasn’t one of them!

Thanks to everyone who visited my Andean Pebble Weave Facebook page. I am constantly posting photos and bits and pieces there. I hope you will continue to drop by and hit the “like” button.
Backstrap Weaving – Sampling: Short, Sweet and Simple

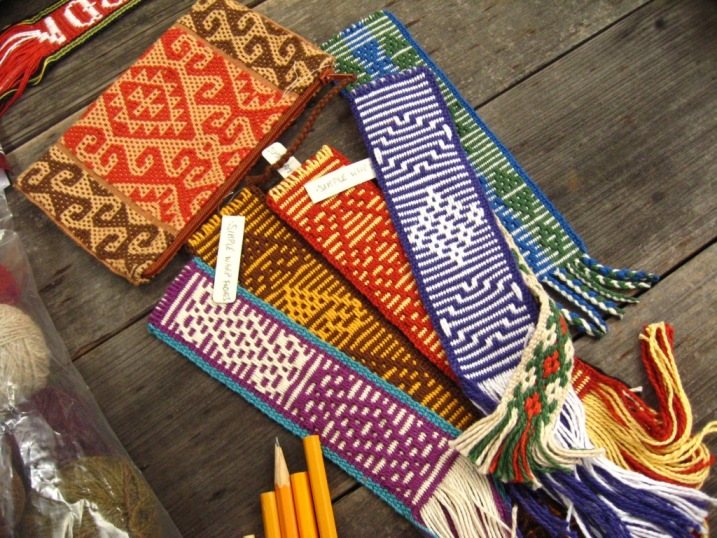
I don’t mind sampling before I take on a new project. I usually end up making something with the sample…count the zippered purses I have around here! They are just a fraction of all the sample projects I have made. Those little zippered purses make great gifts and swap items.

I know how important it is to sample width when trying a new pick-up technique on my warp-faced weavings.

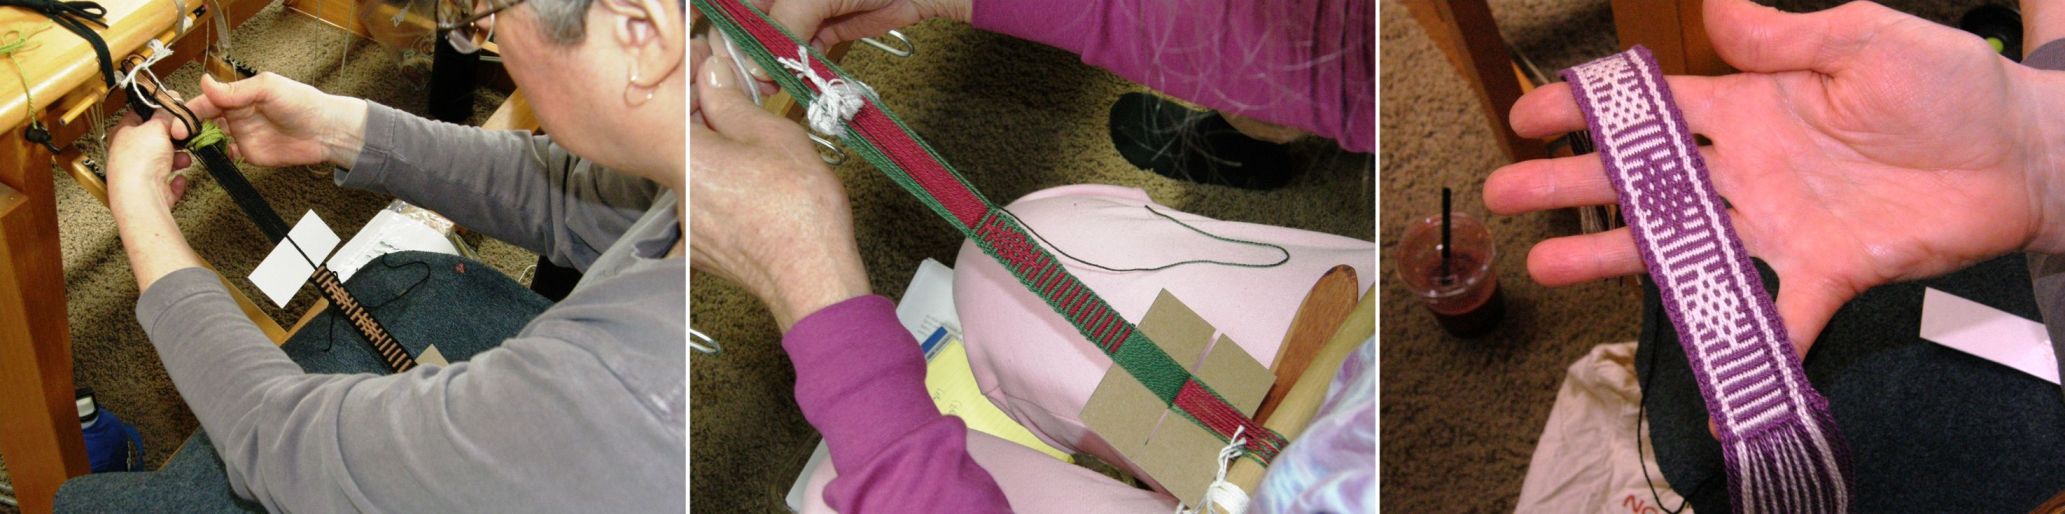
With a backstrap loom it is so easy to wind a twelve-inch long warp or even shorter and test this out before warping up the major projects.

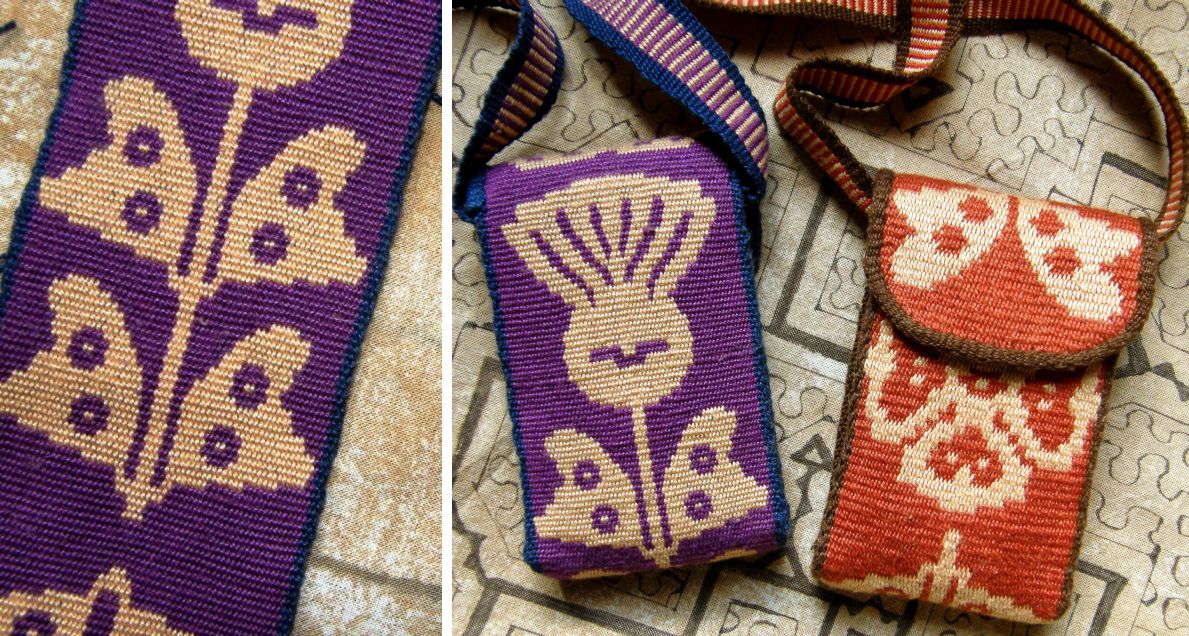
Sometimes I just need to see if I have gotten the scale right when I am charting a new design which is what I was doing on the sample pictured above.

That sample was enough to show me that I was on the right track and from there I finished the chart and wove my cell phone pouch.

Right now I am agonizing over colors, trying to find the right combination of red and blue to weave a Central Asian design that I have had my eye on. It doesn’t matter how long I sit here and stare at my color options, nothing helps. In the morning I favor one combination and in the evening it is another. I even pleaded with the online backstrap weaving group to make the decision for me only to be reminded of my own words…”make a wee sample” (thanks Jennifer).  I will never really know how this will turn out until I make a warp and start weaving.

So it has come time to sample again.

First those shades of red and blue and then my handspun alpaca. I have to say it is a lot harder to sample and risk wasting that precious handspun especially when I am not someone who gets terribly excited about the process.

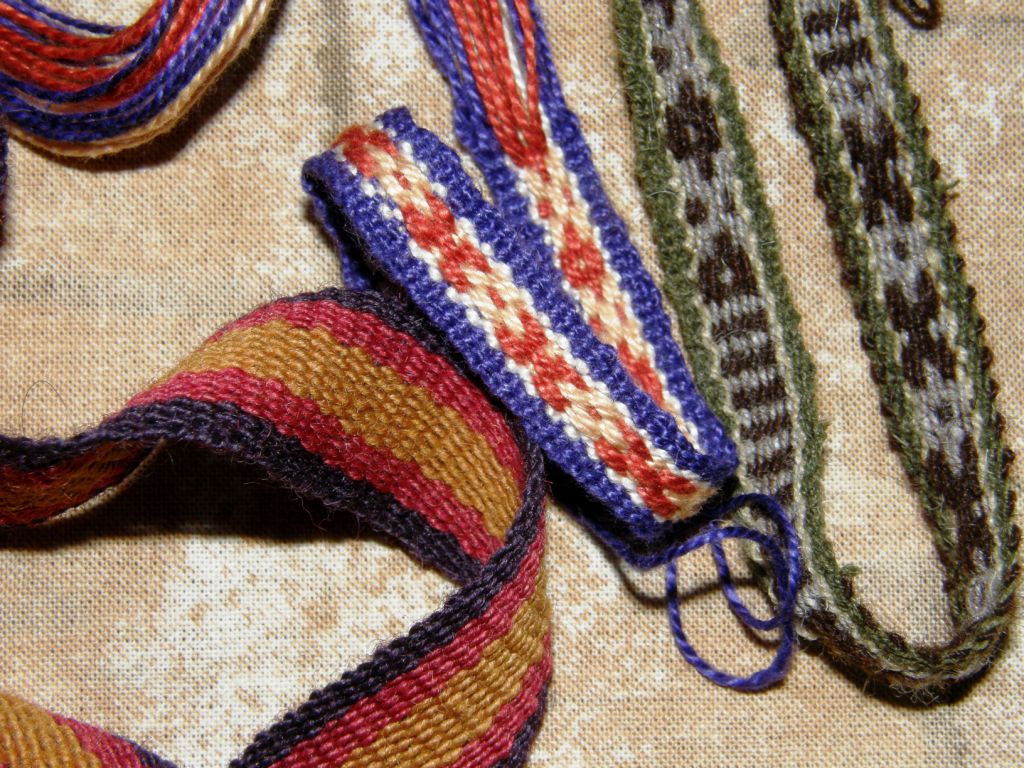
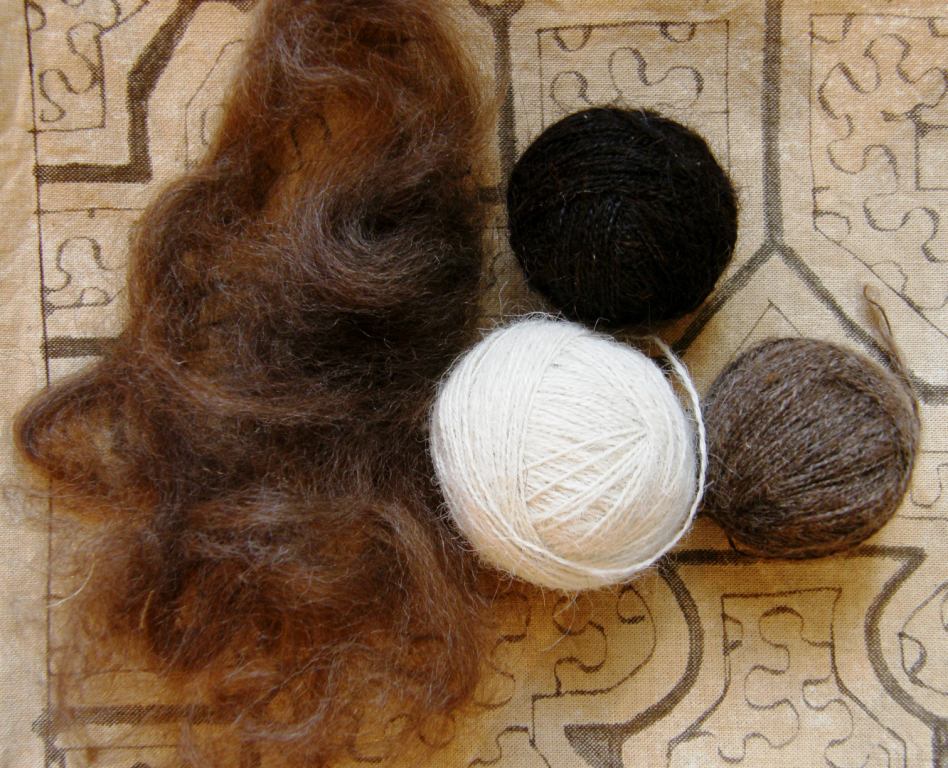
As I said last week I just want to get it done and go weave with it.  So far I have a ball of white, dark brown and black ready to go. There will be a slight delay with the medium brown as I had to turn the house upside down looking for one of the balls of spun single that my cat had made off with. I am lucky to have something to which I can aspire. Some Aymara backstrap weavers from northern Chile brought some of their handspun alpaca with them when they came to attend a weavers’ gathering here in Santa Cruz last March. I was able to weave with and keep some of it. I wove the grey and brown band above with their yarn – a short and simple sample.

Once again I am grateful to the backstrap loom which will enable me to weave the tiniest sample with my own handspun before warping the main project. I have selected my pattern. I even have a product in mind and can’t wait to get started although I still have a couple more colors to spin.

As I said last week, spinning seems to be calling me. Thanks to Jennifer and Naomi the Backstrap Group on Ravelry now has a TDF 2011 team. If you don’t know what TDF is, don’t worry. I didn’t either until last week. I started noticing that avatars on Ravelry were being changed to show special TDF buttons with team names. TDF stands for Tour de Fleece and is a spinning frenzy that runs in conjunction with the Tour de France. The idea, from what I gather, is to set spinning goals for yourself, step outside your comfort zone, share, learn and have fun.

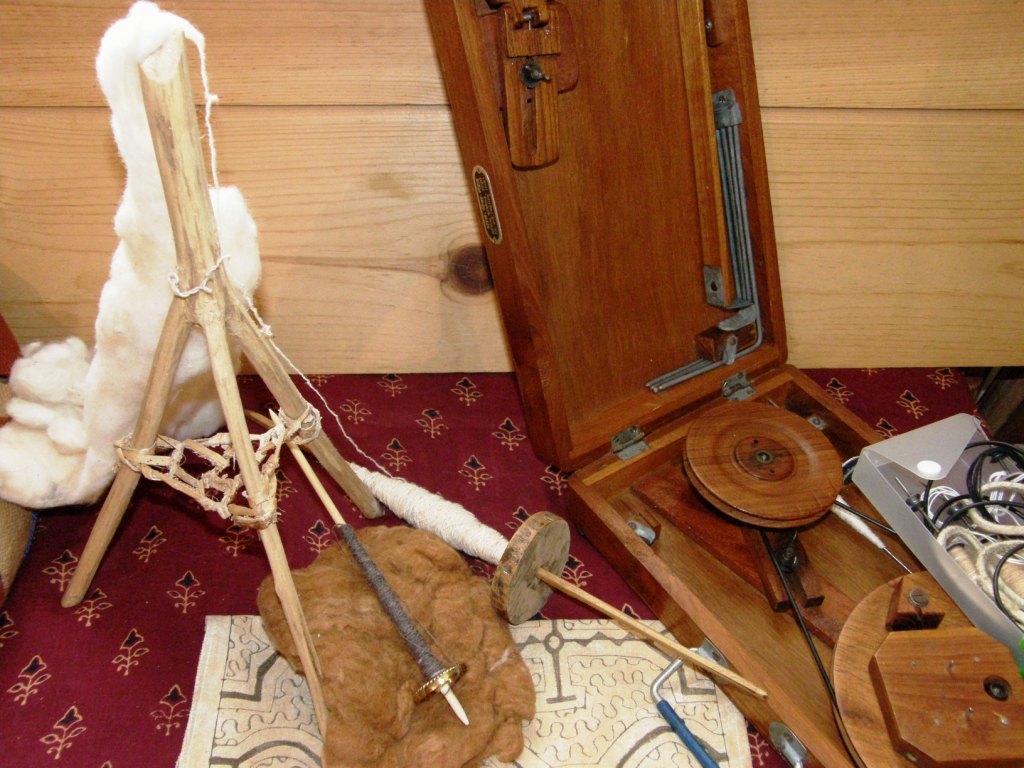
I haven’t set any goals yet but I am thinking that I should do something with cotton. There is a lot of expertise in my group and, as I have the above tools to play with and some nice cotton that I have been given in swaps and which I brought back from Ecuador, I should take advantage of this opportunity to learn.

I learned to spin cotton in coastal Ecuador in 2007 where spinning is done on the larger of the two spindles seen above and using the rueca, or distaff, fashioned from a three-pronged branch.

Getting back into this alone would be a good enough challenge for the TDF as I haven’t done this in ages.

The smaller spindle in the first picture was sent to me as part of the swap package and I am told that it is a homemade tahkli which is a lightweight support spindle. I have never used it nor have I used the Indian charkha which was given to me in the US (although I take it out very often just to admire!) While this one calls to my Indian roots, I think that I should get a good grounding with the other spindles first.

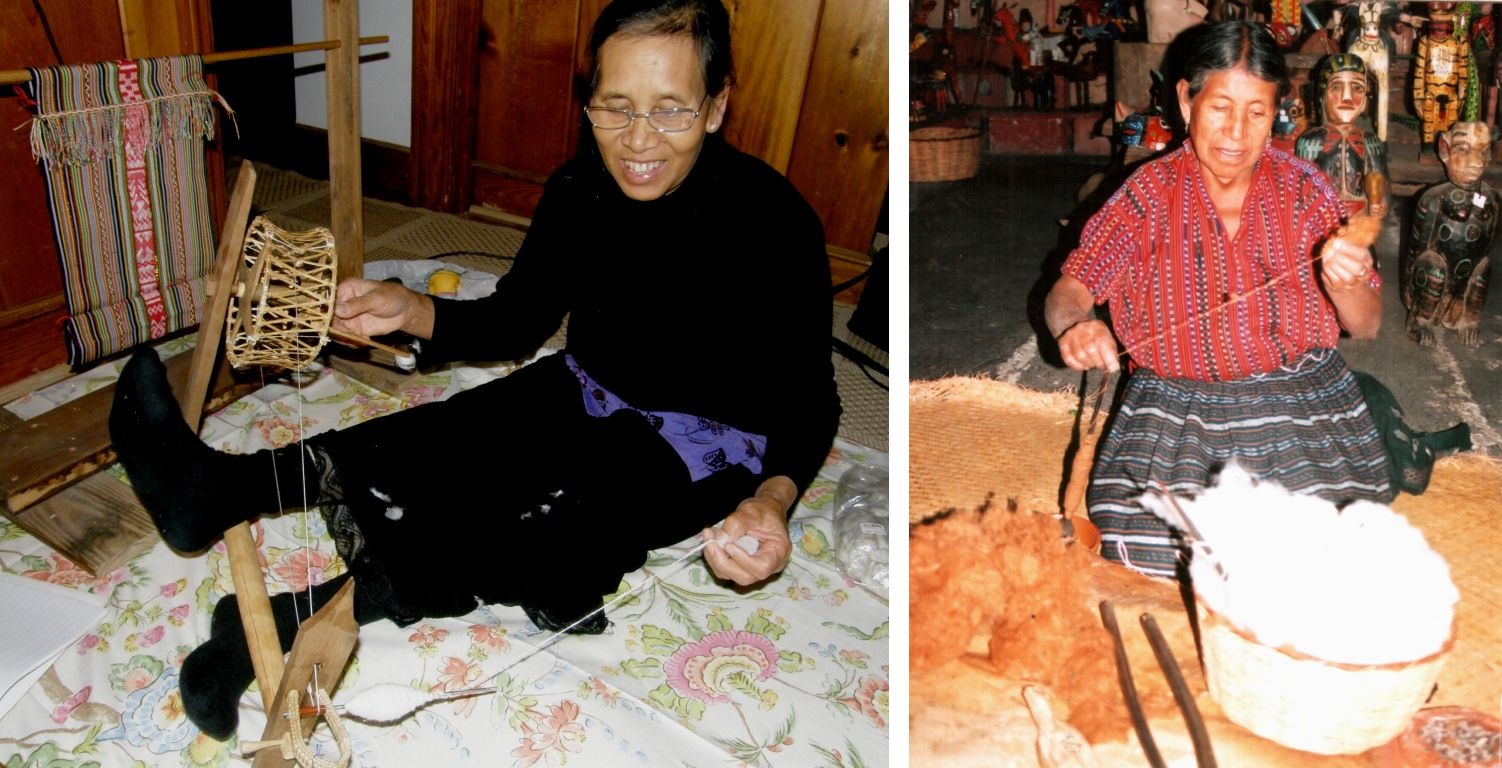
Cotton spinners I have met in my travels…Above left is Montagnard weaver Ju Nie and on the right is a lady spinning natural brown cotton with a support spindle in Guatemala. My Guarani weaving teacher also spins cotton with a support spindle.

But first things first…I will get that alpaca done, a sample made and the project warped!

Here is last week’s project off the loom…

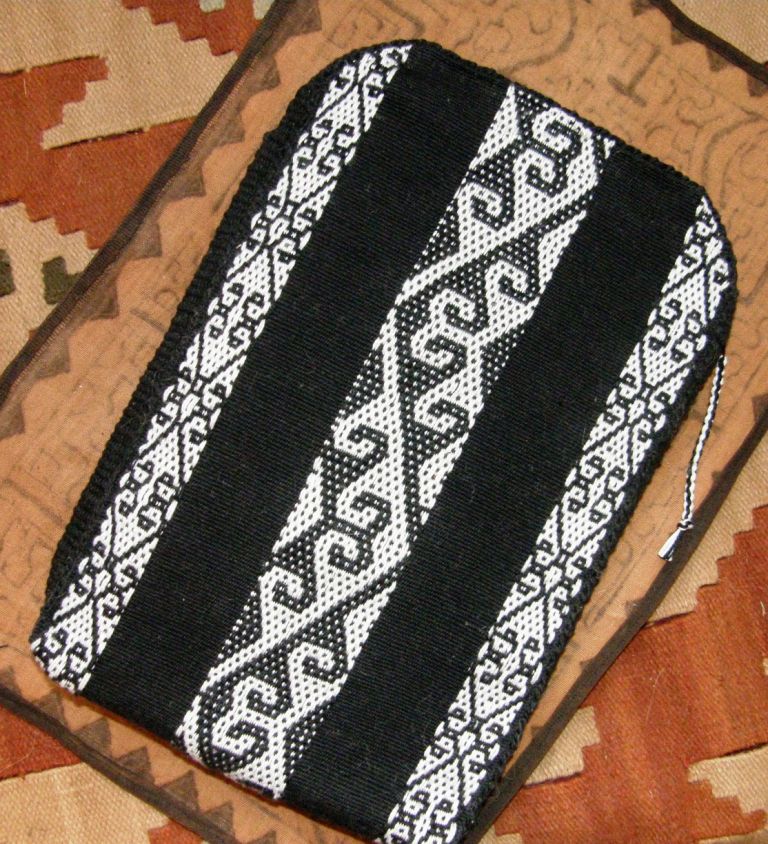
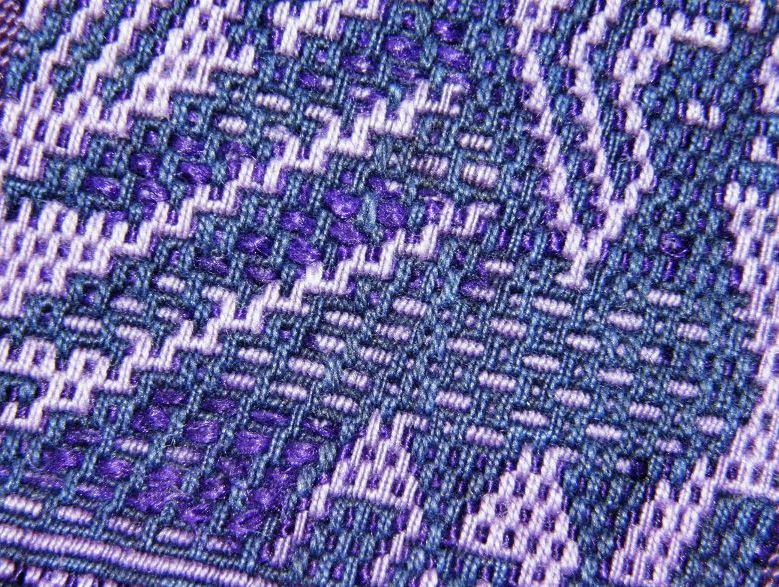
This is a Central Asian design woven in a simple warp float technique where both colors in the warp are floated to create the motif and fill in the negative space. It is not a double faced technique as gaps are left on the reverse of the fabric by the floating warps which expose the weft. Nevertheless the back of the weaving can look quite attractive…

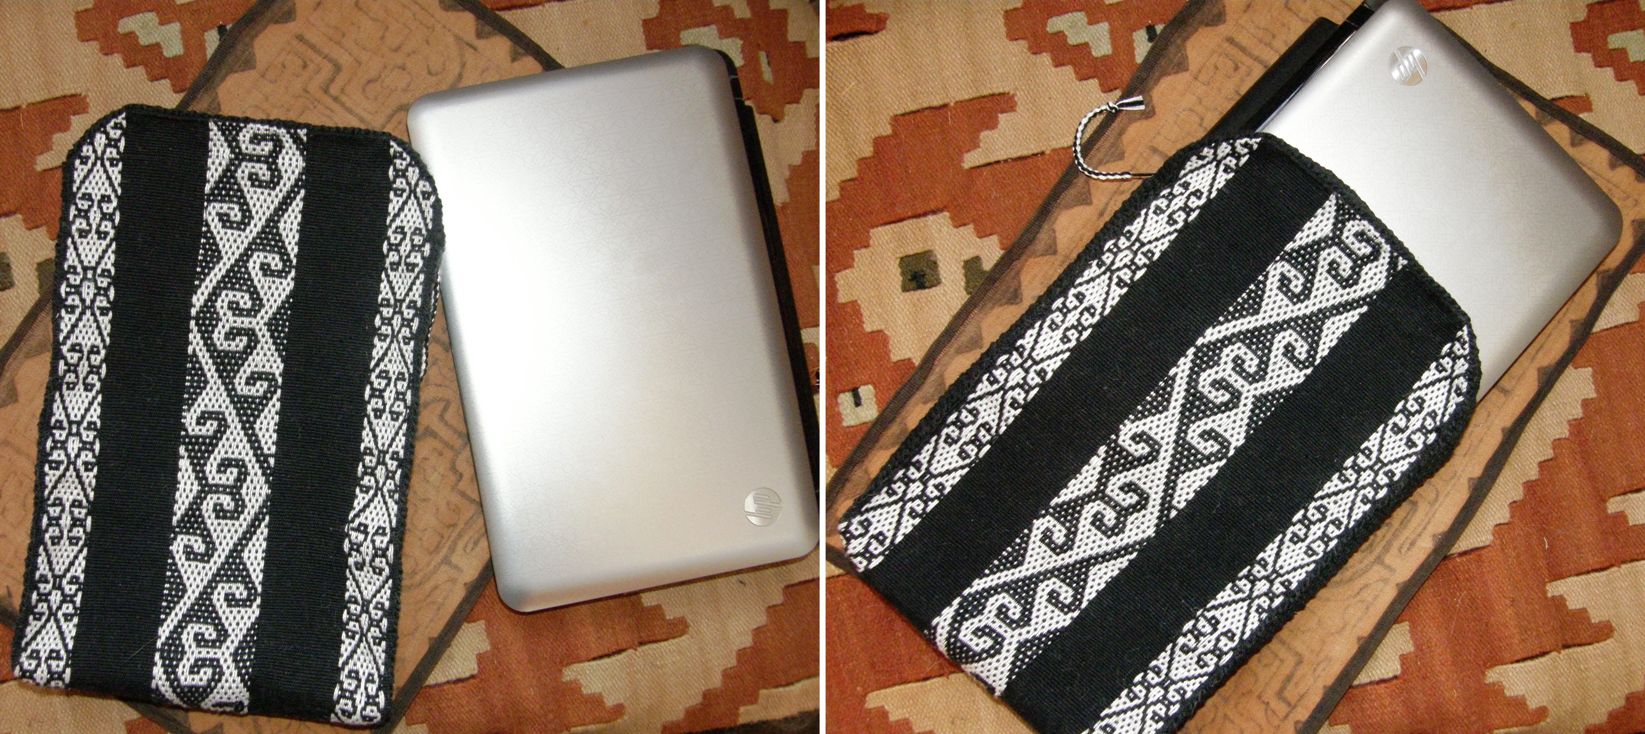
Anything made in black in my home attracts every stray cat hair! I made this into a sleeve for my notebook computer and so you can see the band I wove for the sides positioned and pinned ready for sewing. I rounded the top and added a zipper. You can see the zipper pull below….that is where the zip starts.

This was made from the demo backstrap warp that I took with me to the US on which I showed different techniques for opening the sheds. This case will protect my computer from dust and scratches but what will protect it from the cat hair?!

I am all about simple warp floats at the moment being influenced by two things I saw while I was away…

On the left…a Native American sash that Pam in Massachusetts showed me from her collection where the weaver has allowed the horizontal bars to shape the motif rather than the floats. Quite often we think of those horizontal bars as an annoying distraction from the motif which has been formed from floats and wish that we could somehow cover them up and make them go away. Here the weaver has used them as the design. Below you can see the more typical warp float designs that I have made where the floated motif sits on a background of horizontal bars.

The other piece that I found intriguing is the old Mexican (we assumed) belt that Susan showed me in Eureka. Here both colors in the warp have been floated just like in the Central Asian piece I made. However, we could just make out the remnants of a purple supplementary weft that had been used to fill in all the places where the warps had not been floated and, therefore, horizontal bars had been exposed.

The supplementary weft had almost completely deteriorated in this belt but you can probably better make out some of its remains in the above picture. That made me curious about the possibilities of combining supplementary weft patterning with simple warp floats, maybe not in exactly the same way as the Mexican weaver had, but it could be a way to add an interesting third color accent to a structure that is normally restricted to two warp colors. The best part about supplementary wefts is that you can change the color at will meaning that you could have a base warp of say red and gold and then add a turquoise accent, later a purple…any color you want, when you want. And, if you don’t like the third color accent you can just cut it out without affecting the structure.

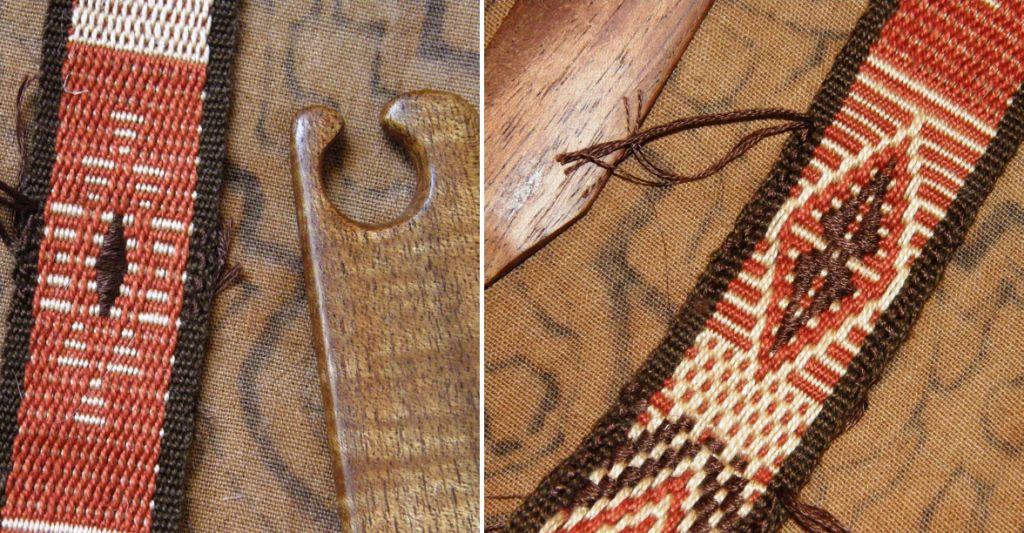
So, I warped up this red and yellow band and played…no charting or planning, just messing around. I used a brown supplementary weft to add in some small accents. I had originally filled in the bottom diamond completely, decided that that was over the top and just cut it out. This was fun!

I tried the design on the red and black Native American belt but I think it might look better with stronger contrasting colors and/or heavier thread. Floating single threads instead of pairs, as I did in the example on the left, was an interesting exercise too. In this 35wpi cotton, it almost gives the appearance of a solid color background.

Sampling done! I want to plan a larger project now and see what else I can do with this.

It is amazing how many places this simple warp float technique turns up…

When I was in Santa Cruz California, Yonat showed me an Indonesian ikat textile in her collection which had a border of simple warp floats. On the right is one of the textiles made by the Burmese backstrap weavers in Massachusetts.

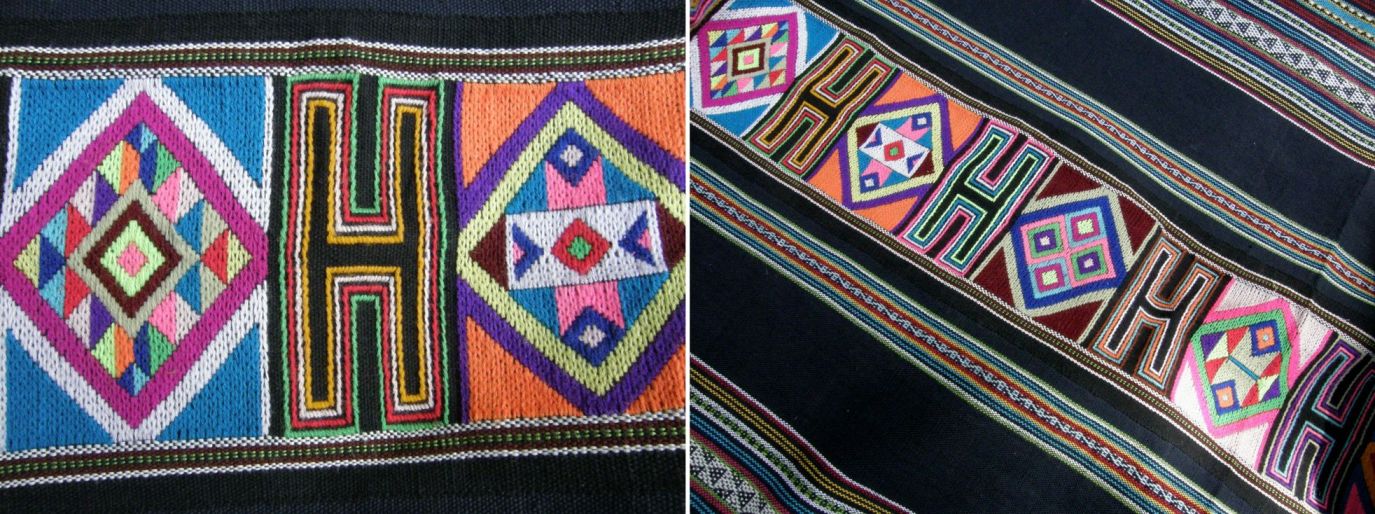
I learned this technique from the cotton saddlebag weavers of coastal Ecuador and have used designs from the coastal region in my own work above left. The Montagnard backstrap weavers with whom I studied in North Carolina float warps to create patterns. They use a slight variation in their warping set up and weaving. In the above piece I used a motif woven with a suplementary weft alongside the warp float patterns. The end has a design in twined wefts.

Here are two pieces woven by people who follow my blog. Eladio in Mexico wove the bird pattern from coastal Ecuador and a hook pattern which are charted here. Jeannine in Belgium designed her own warp float pattern.

Recently, Lydia in Texas sent me a picture of the piece on the left that a friend had bought in Madagascar. Apparently a Danish group has taught the local weavers this technique. The bag on the right is Betty Davenport’s and was collected in the hilltribe area of Thailand.

Amber in the Ravelry Backstrap Weaving Group showed us her finished piece above right on which she has used the motifs of coastal Ecuador. Now she is weaving a band which will be the sides of her pencil pouch.

Tracy finished her band in the warp substitution technique after studying with a local weaver in Doha, Qatar where she lives. Check out her blog to read about her visits to Souq Waqif in Doha.

And Traudi, after having already completed a few backstrap weavings, decided it was time to have her own woven backstrap. She wove this following the instructions in my Backstrap Basics article.

A couple of other things I have been pondering…

Here are my gorgeous bamboo reeds. I finally cut them down off the wall where they have been on display. They are a size 20 and I really want to use one to make some kind of balanced type weave…maybe a colonial overshot pattern after the inspiration I got from my recent visit to the National Museum of the American Coverlet in Pennsylvania and there’s always shadow weave.

Another thing that is percolating…I just finished charting a Shipibo design from a piece that is woven using two-color simple warp floats (the same technique as the Central Asian piece I just finished). I want to use the colors that are in the two pieces of Shipibo fabric above so it will be either a beige and brown combination or I might try that Dylon dye that I got in the US to see if it makes anything resembling the terracotta in the other Shipibo fabric piece.

There is plenty to keep me busy, you see!

Backstrap Weaving – Banding Together in Humboldt County

A soft pretty end to a beautiful day….

I am up in Humboldt County still on my friend Janet’s beautiful farm. Online friend Cookie has just arrived for the backstrap weaving gathering we are having in Janet’s mill  tomorrow.

I first met Cookie in the Backstrap Weaving group on Weavolution and lately she has been active in the group on Ravelry. She posted a great picture some time ago of herself at her backstrap loom which she allowed me to post on this blog and it is great to meet her in person.
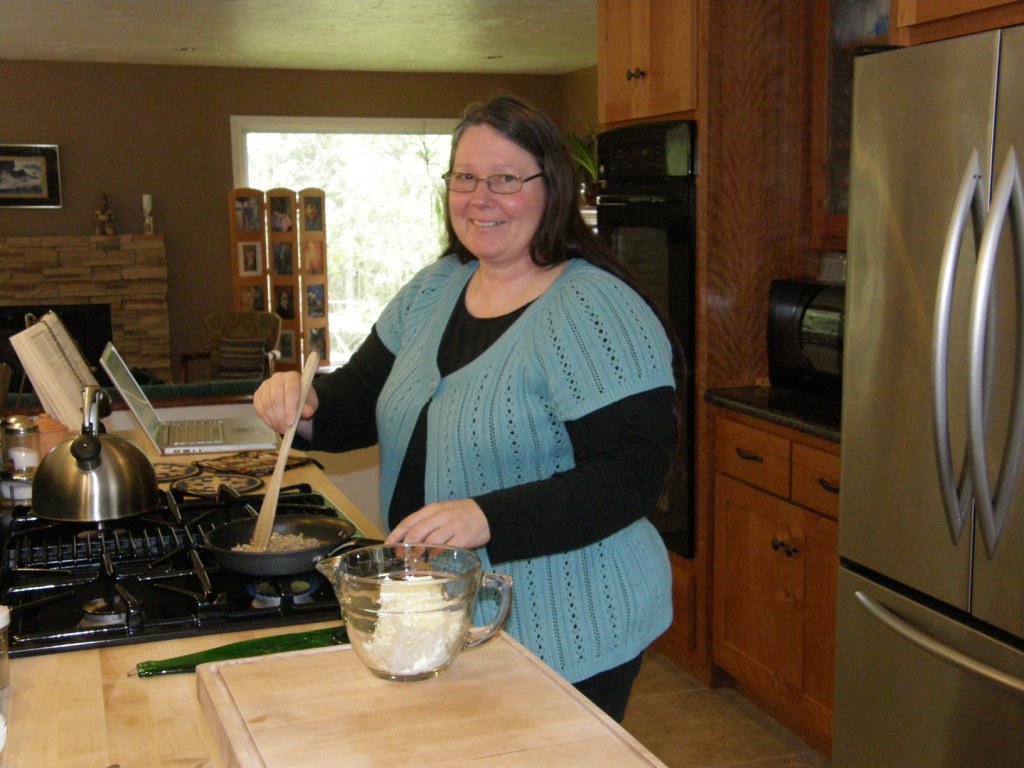
There she is making her backstrap which she has brought along to weave with tomorrow. As I type, Cookie, Janet and I are watching Abby Franquemont’s Respect the Spindle video which can be downloaded from Interweave until Monday for only 10 cents! Cookie had a long drive up from the Bay Area and is feeling tired and cold up here so we will save the rest of the video for tomorrow.

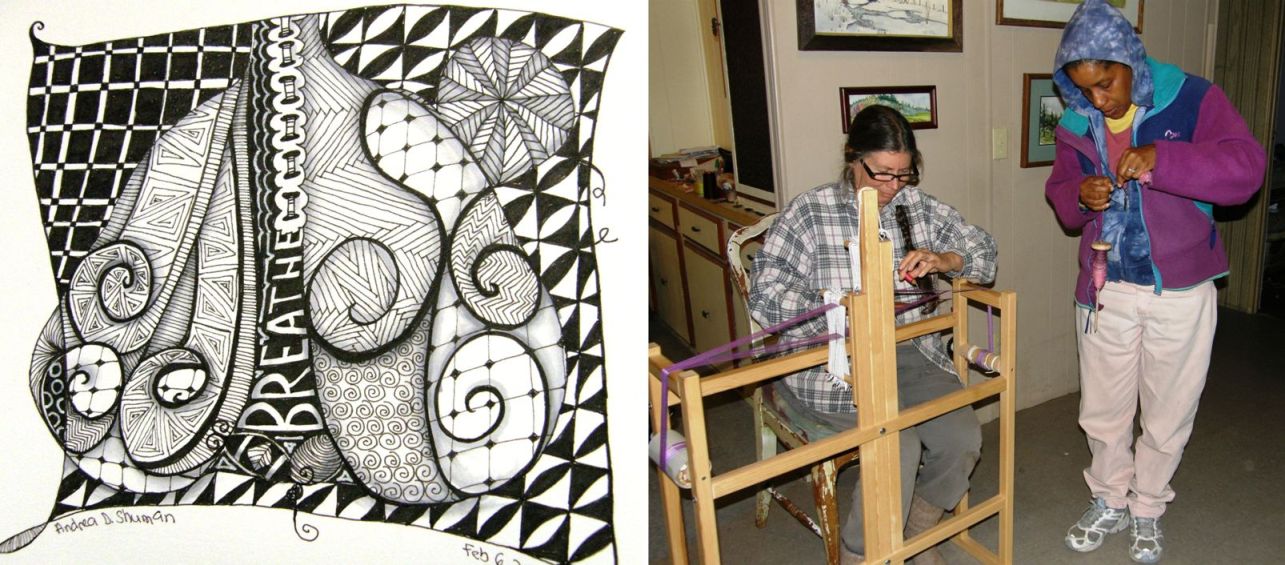
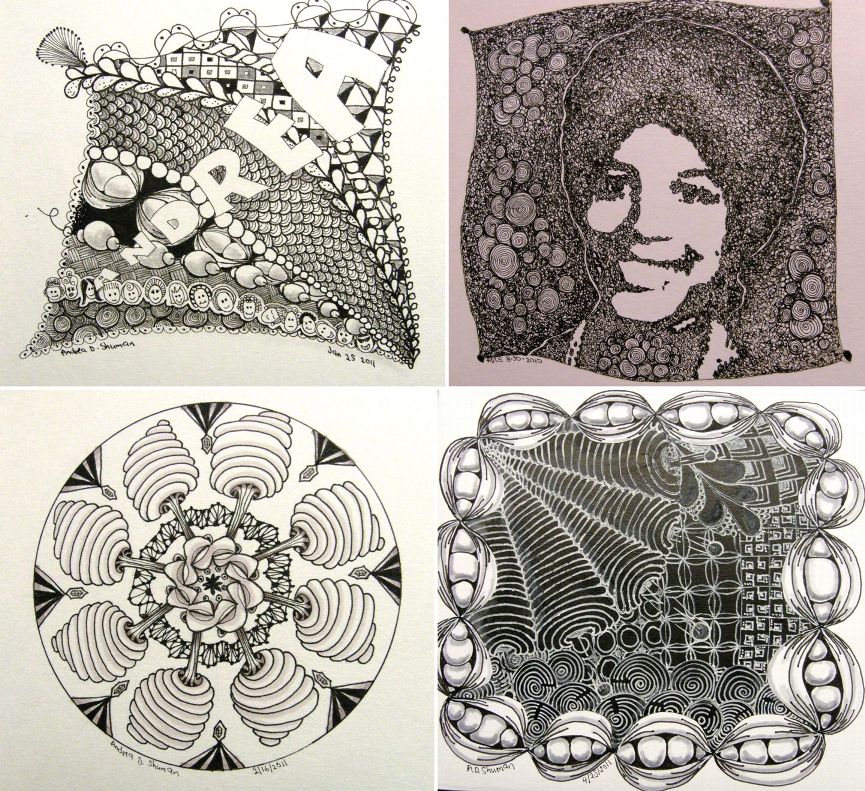
Janet spent the evening weaving a fine silk piece on her Glimakra band loom, Cookie spun silk (looking cold!) and I edited photos for this blog post. Cookie shared her most current passion, a style of drawing called Zentangles. I had never heard of it before and she has a whole book which she bound herself full of these fine black and white ink drawings that she has done….very cool. One is a self-portrait.

So, tomorrow Janet’s neighbors and friends will be over to weave and a decision had to be made…

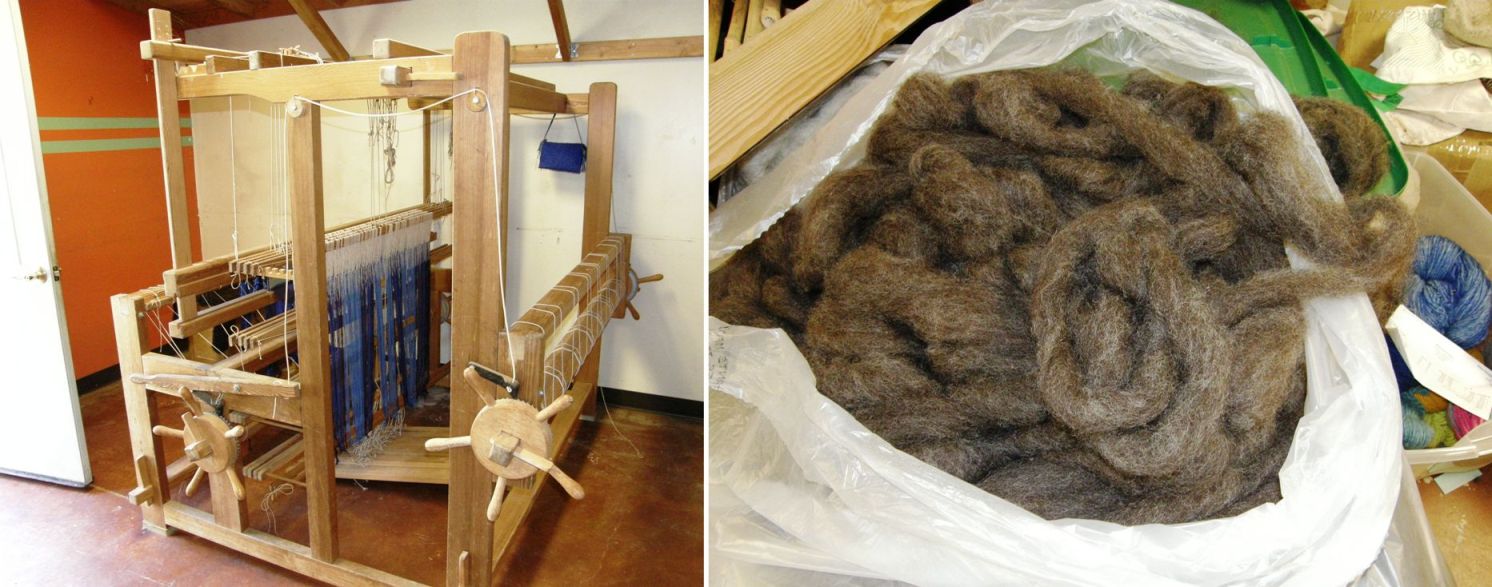
…where to weave? Last week a short wave of warm weather had me out on the porch tied to one of those posts enjoying the view but the temperature is going to drop to 30 degrees Farenheit tonight so I guess we will be indoors where Janet has just as comfy a set-up in her warm mill among all the lovely woolly smells. A long piece of pvc pipe wedged behind uprights on her shelves will be our hitching post. And then there is always this monster…

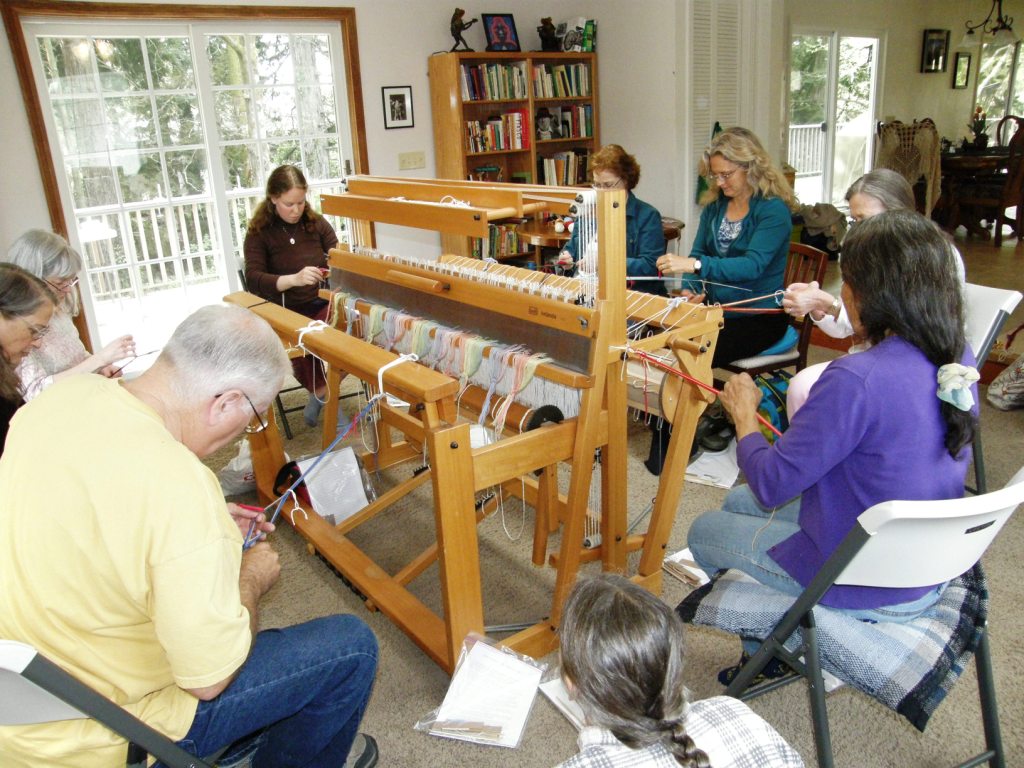
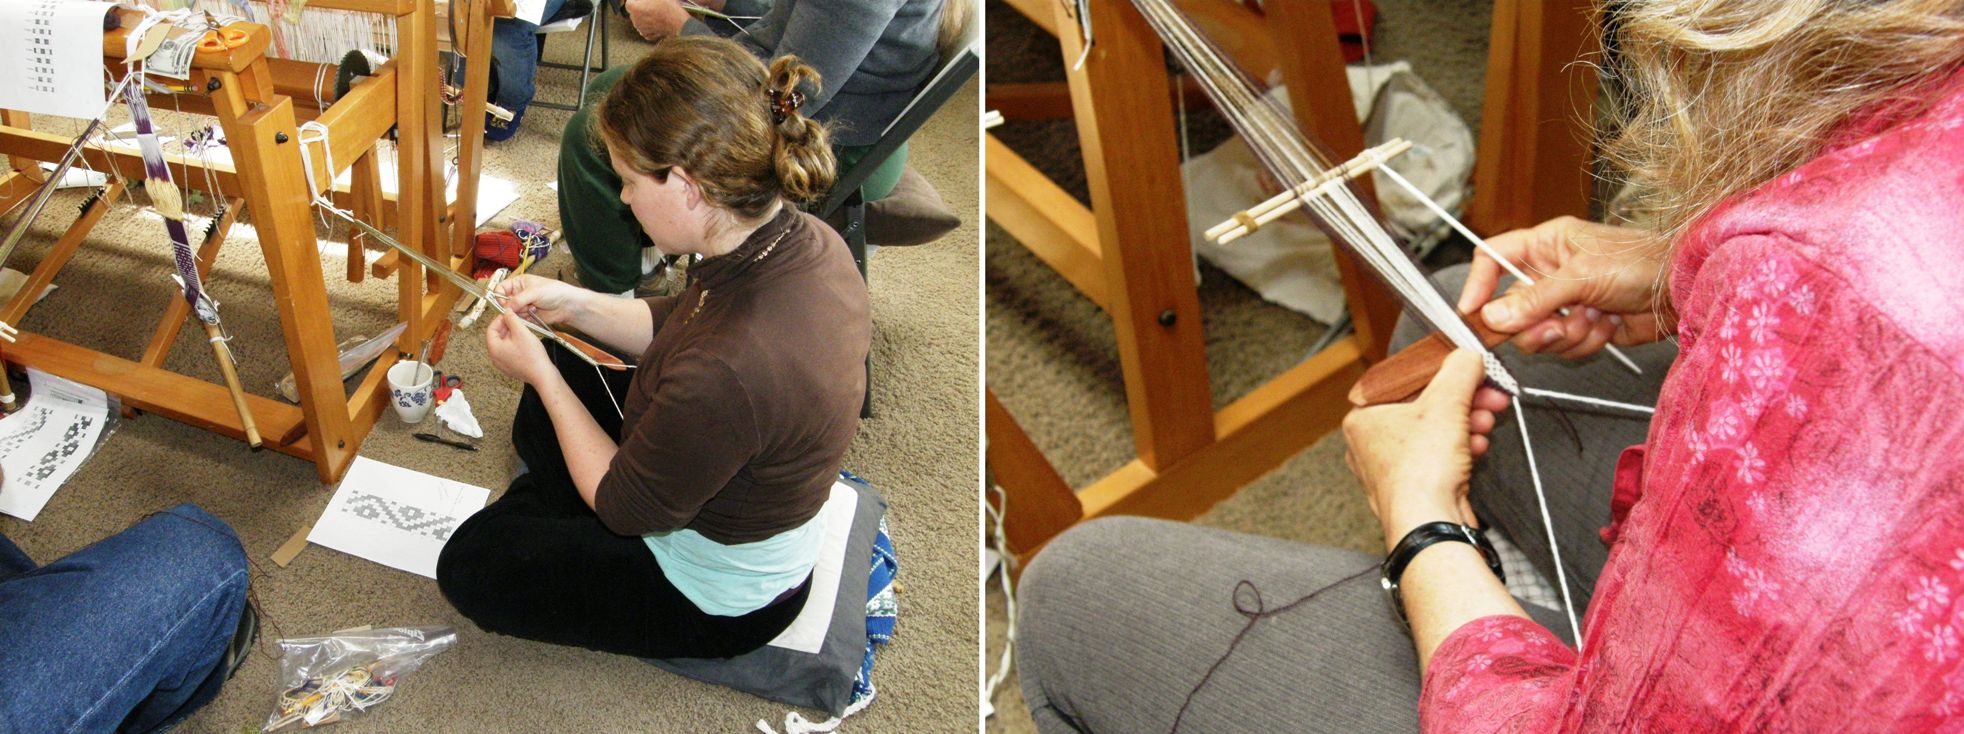
 Last weekend we had eight weavers comfortably hitched to a big floor loom like the one above. We will be warm and toasty in there with the heated floors surrounded by bags and bags of the luscious roving that Janet’s mill produces.

So we pottered about in the mill today setting up for the group finding little hidden treasures to play with here and there…

Janet showed me her charka made by Alden Amos. What a piece of handmade work that is. Apparently he even bends the wood himself to make the wheels. And there is a spool of Janet’s amazingly fine handspun cotton perched on top.

#############################

Flashback to last week….friends gathered at Becky’s for some backstrap weaving.

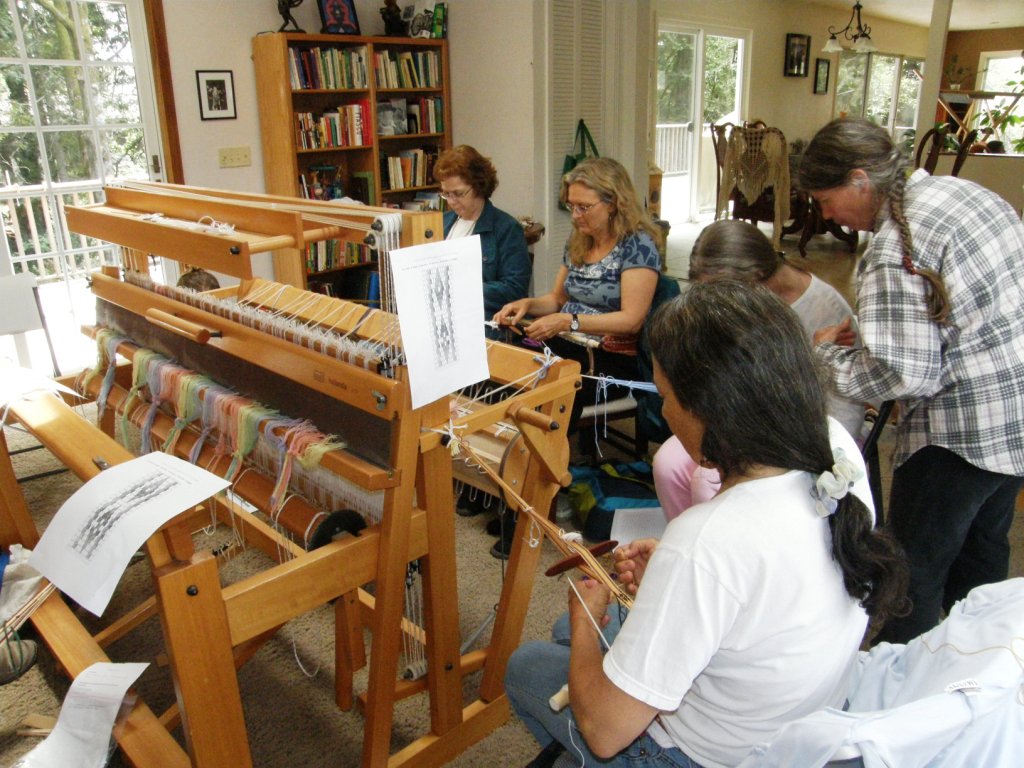
Eight weavers having fun tied to Becky’s floor loom.

Silent concentration .

Getting the hang of it, some people can look up and smile, although Kirby doesn’t look too sure yet, before returning to silent concentration. No room for me to tie and weave.
Smiles at ”hey I can do this!” Now we can weave and smile and chat and relax. Olympia found the floor her ideal spot. Teresa had a cushioned seat while Laurynda felt more comfortable standing.

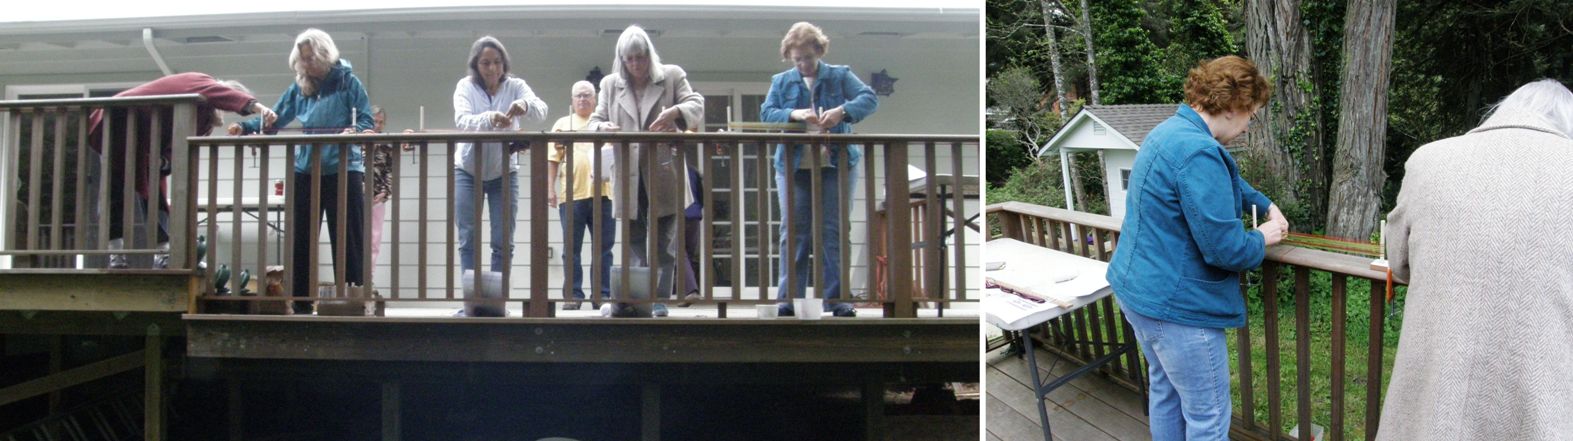
We warped out on the deck. It wasn’t really t-shirt weather although Kirby seemed to think so.

Becky baked muffins each day, prepared lunch, kept us supplied with snacks and drinks and just took great care of all of us. She didn’t weave with us.

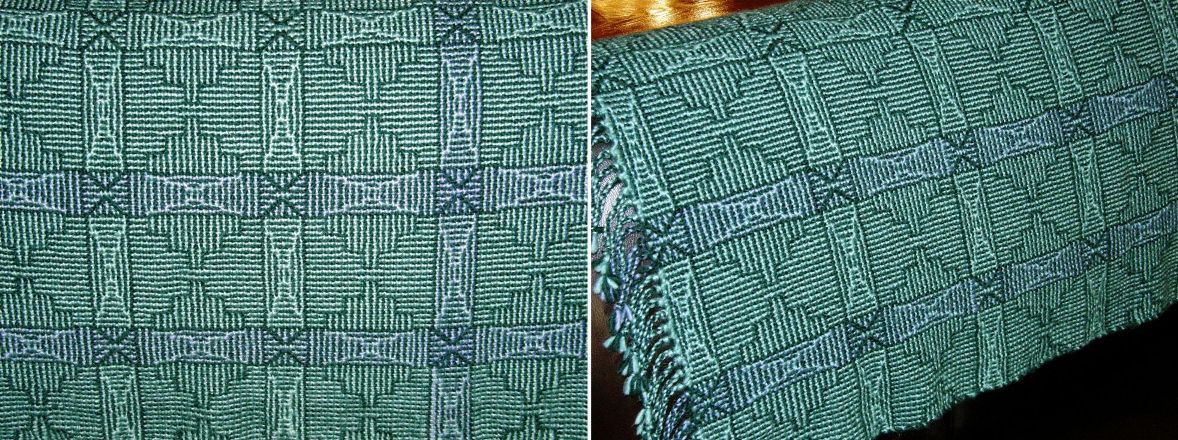
Over dinner on the first night I asked her about her own weaving and she pointed to a shadow weave blanket that was draped over the sofa just visible from the dining table. I told her how much I wanted to weave shadow weave and how I had fallen in love with a particular piece that had been posted on Weavolution some time ago the draft for which I had been trying to obtain. I had stalked the maker to her blog so I could tell her how much I loved her work and had manged to get the book reference for the piece.

Can you guess the end of this story? It turns out that the maker was Becky and the piece on the sofa was the very one I had been admiring online. What are the chances?!  Now I will show it to you and you will see why I love it so much….

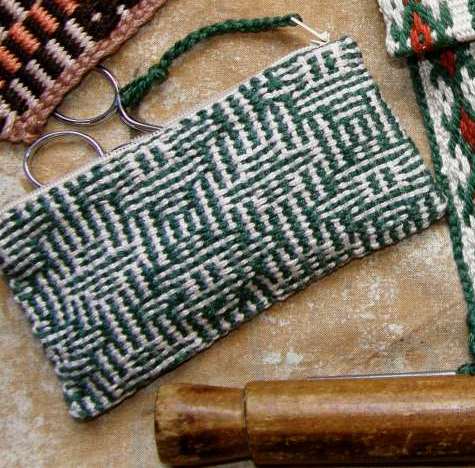
This little scrap at left is my one and only attempt at shadow weave so far…a four-shaft sample which I wove on my backstrap loom with string heddles and which I made into a sewing kit purse.

One of these days I just might attempt Becky’s eight-shaft piece if I ever get my head around the draft. The book she showed me uses a notation with which I am not familiar at all.

But, back to the warp faced weaves we were doing in our group…

We played with simple warp floats. Pictured above are some of my samples. Thanks to Annie for allowing me to use this picture that she took.

We also dabbled in some supplementary weft patterning which you can see below…

And a real treat for me was seeing a belt that Susan brought that I am guessing is from Mexico.

This is something I have never seen before and I am pretty excited about it. The belt is pretty old and worn and is patterned with two-color simple warp floats in much the same way that the Central Asian yurt bands that I studied and reproduced are. This alone was exciting to me as I love to get new designs to use in that technique.

But what was far more interesting was that we could just make out the remnants of what had once been supplementary wefts under the warp floats. The supplementary wefts must have been made of a material that had deteriorated far faster than the rest of the material in the belt.

In the picture above you can see the warp floats in green and white with purple supplementary weft which it seems was intended to cover over the white horizontal bars many of which are now exposed due to the deterioration of the weft.

What a neat idea and what fun that we just so happened to be weaving both techniques in our group.

Above left you can see one motif on the belt. Almost all the supplementary weft has disappeared from the central diamond. Actually I really like the way it looks with the two-color floats on the sides and the exposed horizontal bars in the middle and I would like to weave something just like this. However, it seems that the original intention was to cover up those bars with the purple supplementary weft.

You can see remnants of the purple weft in the larger picture on the right. It is still intact under the green floats…you can just see it peeking through.

You can see my attempt above to weave something similar to that central diamond outlined in white today. I am not sure if I have gotten it right and it needs some work and adjustment but I am looking forward to playing with this more when I get back to Bolivia.

If anyone out there has a belt like this, I would love to see it.

Other cool things that were brought to the gathering…

This beautiful skirt was brought by Teresa. Her son had purchased it in Vietnam and I was happily able to identify it as Bunong after having seen something very similar when I was visiting with Betsy Renfrew and the Montagnard weavers in North Carolina.

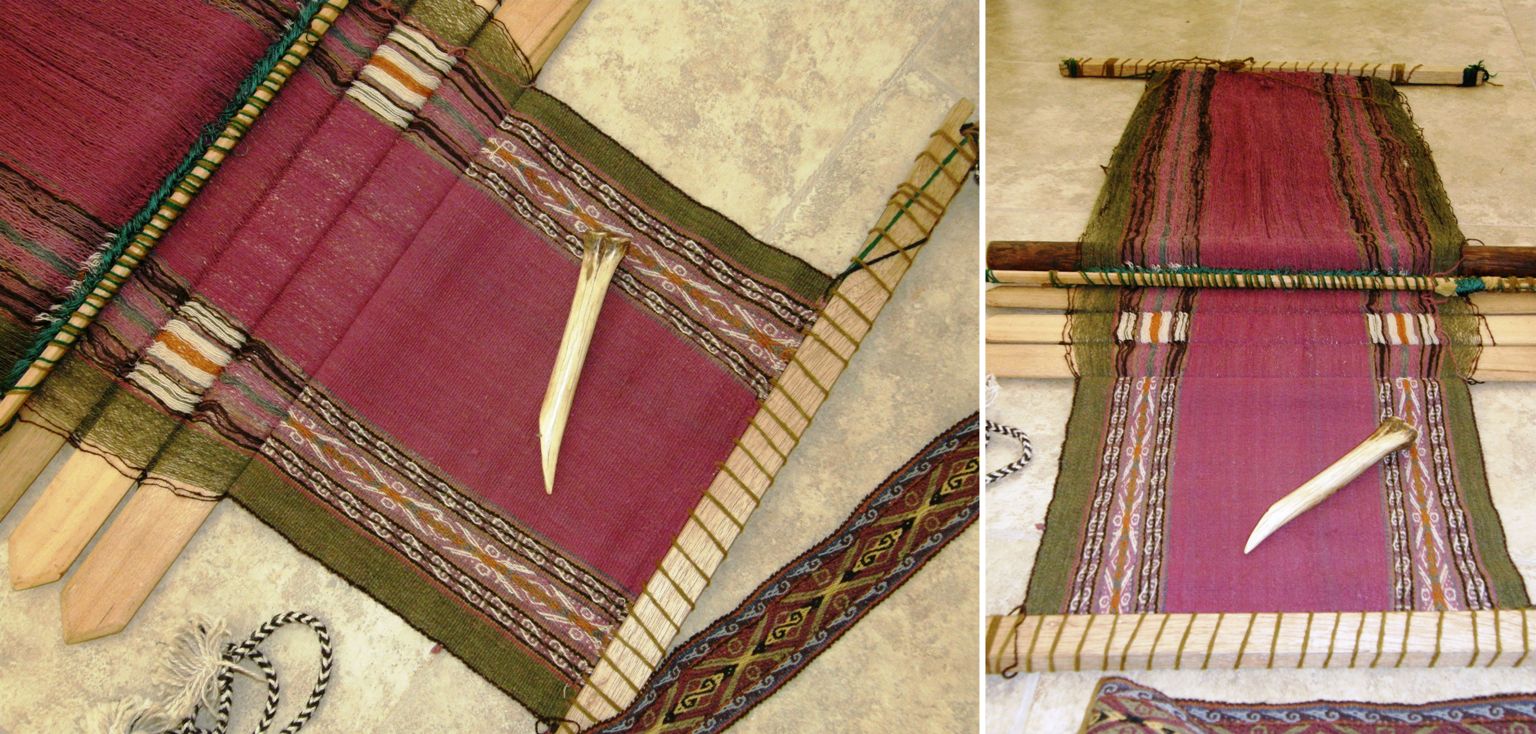
Linda Hartshorn brought this gorgeous piece from Chinchero, Peru still on the loom which she had purchased on a visit there. She also bought the ruki, the llama bone tool used for beating and a backstrap made from a woven band with tubular bands used for ties.

We also got to see this piece on its beautifully simple loom with just a shed rod and string heddles. Janet says that the main fabric material is linen. It is a balanced weave with supplementary weft patterning but no one knew of its origin. It certainly appeared to be quite old. Can anyone out there help identify this?

We played a bit with pebble weave using Janet’s handspun and everyone enjoyed her spinning demonstration.

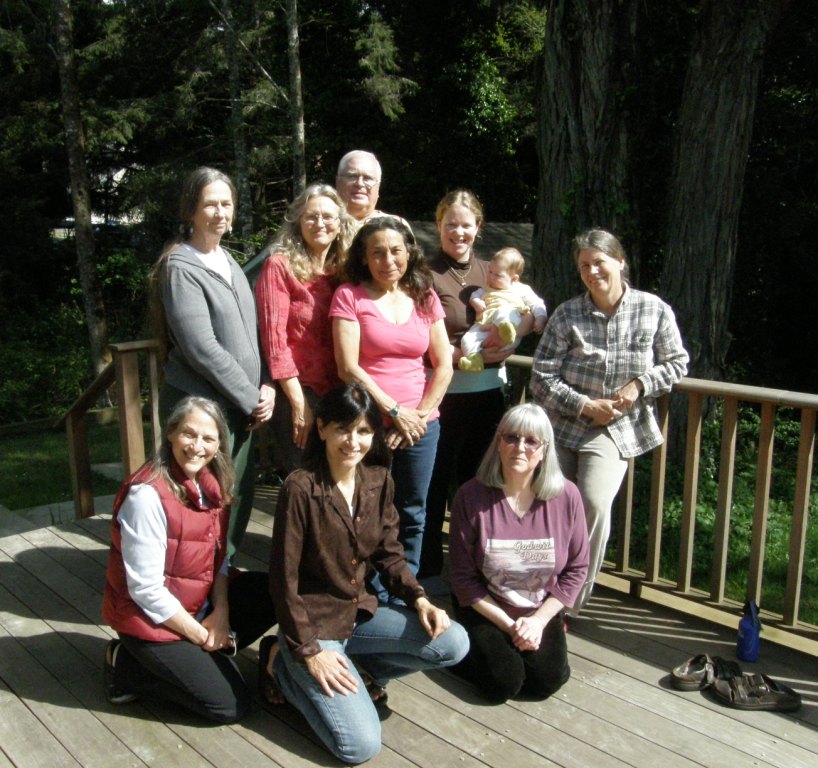
Group photo time just when it was warm enough to go out on the deck again…

########################################

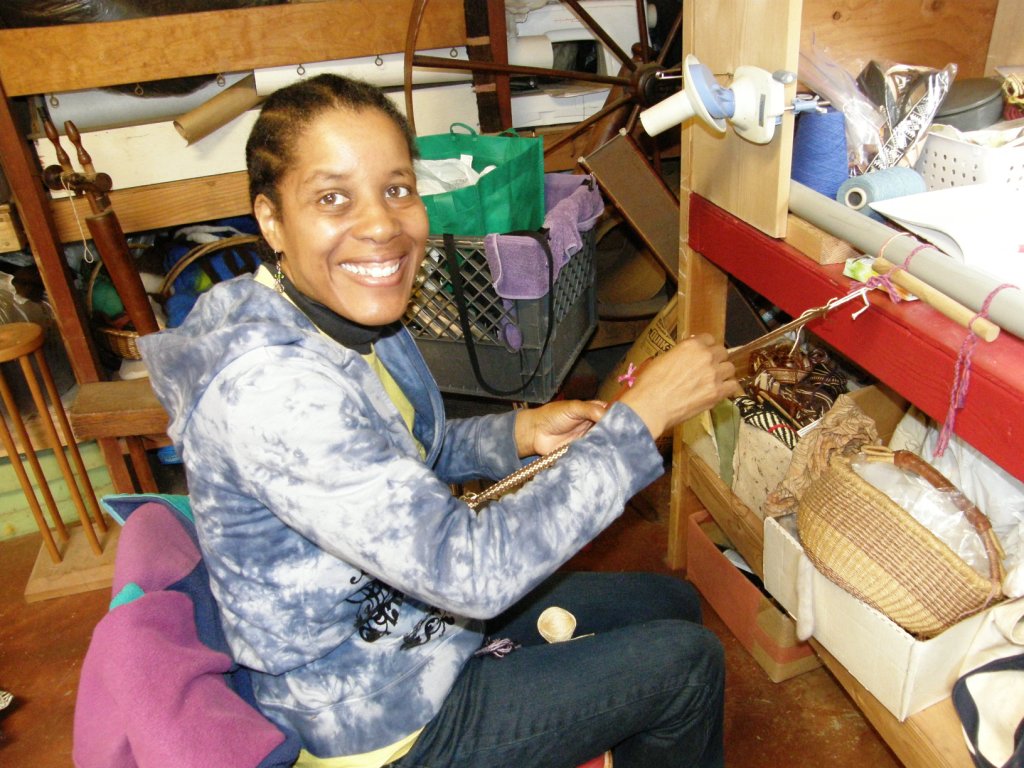
It is already Thursday night and we just had a day weaving in the mill. Here is Cookie happy as can be weaving a backstrap piece.


Cookie and I wove on in the mill long after everyone had left while Janet spun more wool for me to use for backstrap weaving and rescued the warp of friend Carol’s inkle loom which was suffering from a kitten attack. Carol had a really pretty simple warp float pattern on there.

I learned a couple of cool things today from other weavers. Yani, who is not one for details, looked at me as if I were mad when I suggested she do a series of four-strand braids to finish her keyfob.

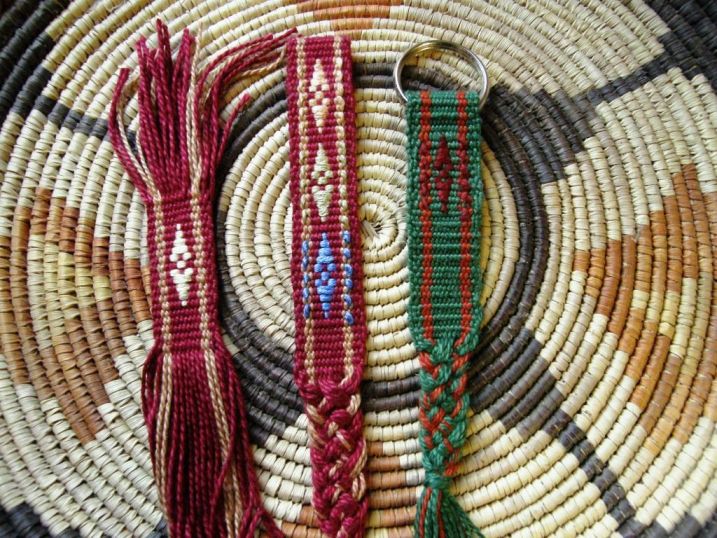
She then proceeded to teach me a five-strand braid which is lovely and did just one chunky one at the end of her fob. I love this braid and will probably teach it to you all here on the blog soon. It is a nice FAST way to finish off a piece.
That’s Yani’s green piece in the center and then I just had to practice it on the end of my red one.

We wove supplementary weft patterns today and one of the decisions to be made is where exactly to have the supplementary weft turn as it weaves back and forth across the cloth. Some weavers turn it at the edge but I don’t like the lumpy edge that that creates. Other weavers turn before reaching the edge and may try to camouflage the turns or use them as decoration. You can read more about the ins and outs of this technique here.

Buffy didn’t care for the look of the supplementary weft turns on the surface of the weaving at all. I showed her ways of trying to camouflage them by hiding them in a stripe down the side of the weaving or turn them into a decorative feature but what she really wanted was for them to go away. So I wove a sample where I turned the supplementary weft on the back side of the band. Such a simple solution but in the end I think I have come to love those visible weft turns on the face of my bands.

So, here are three versions….on the left – no visible weft turns as they are hidden on the back side of the band. In the center –  the weft turns are a decorative feature sitting as little beads of color along the stripes on each edge of the band. On the right – the turns are camouflaged in a stripe which is the same color as the supplementary weft. Which one do you prefer?

We will be banding together tomorrow again…another big day ahead so I shall leave you all here and try to get an early night. Until next week…


Backstrap Weaving – From Santa Cruz to Santa Cruz

Guess where…

I seem to be really lucky when I go to San Francisco and get mist-free morning views of the bridge.

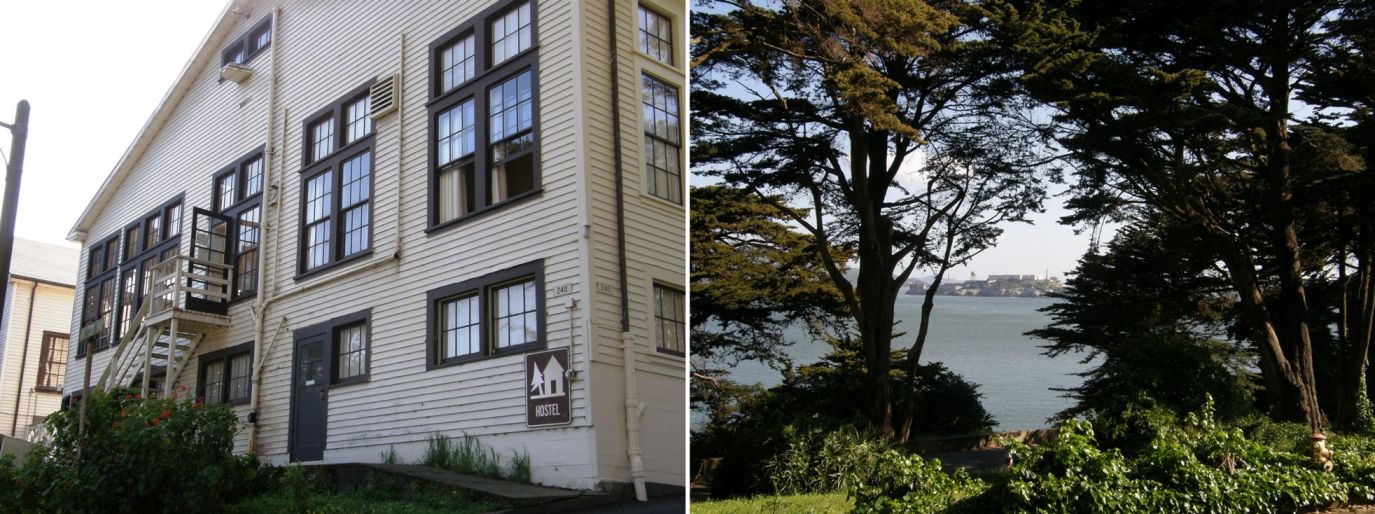
 I spent a night here at the Fort Mason Youth Hostel…what a great place, quite a change from the downtown hostel where I have stayed before. Actually, I stayed at this same hostel way back in 1992 on the first day of a 7-month backpacking and hiking tour of the US. Phew! That takes me back!

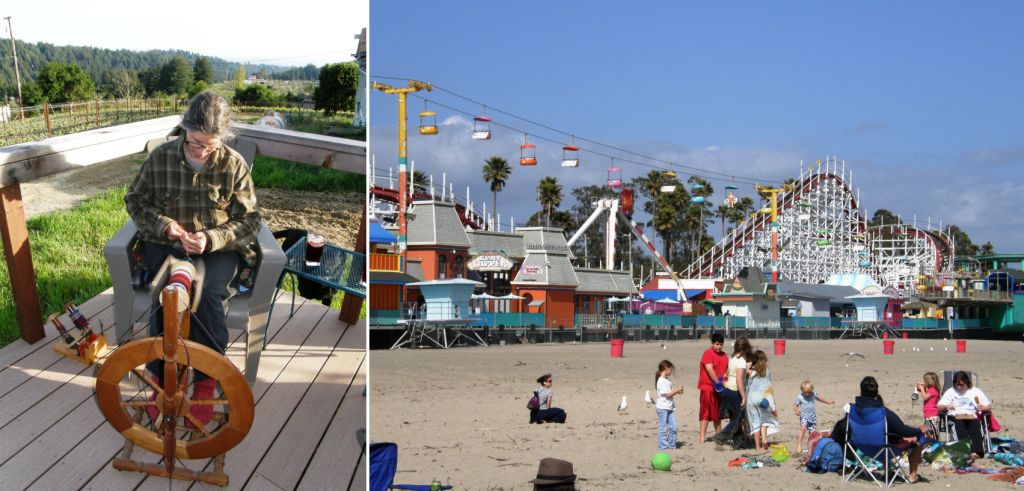
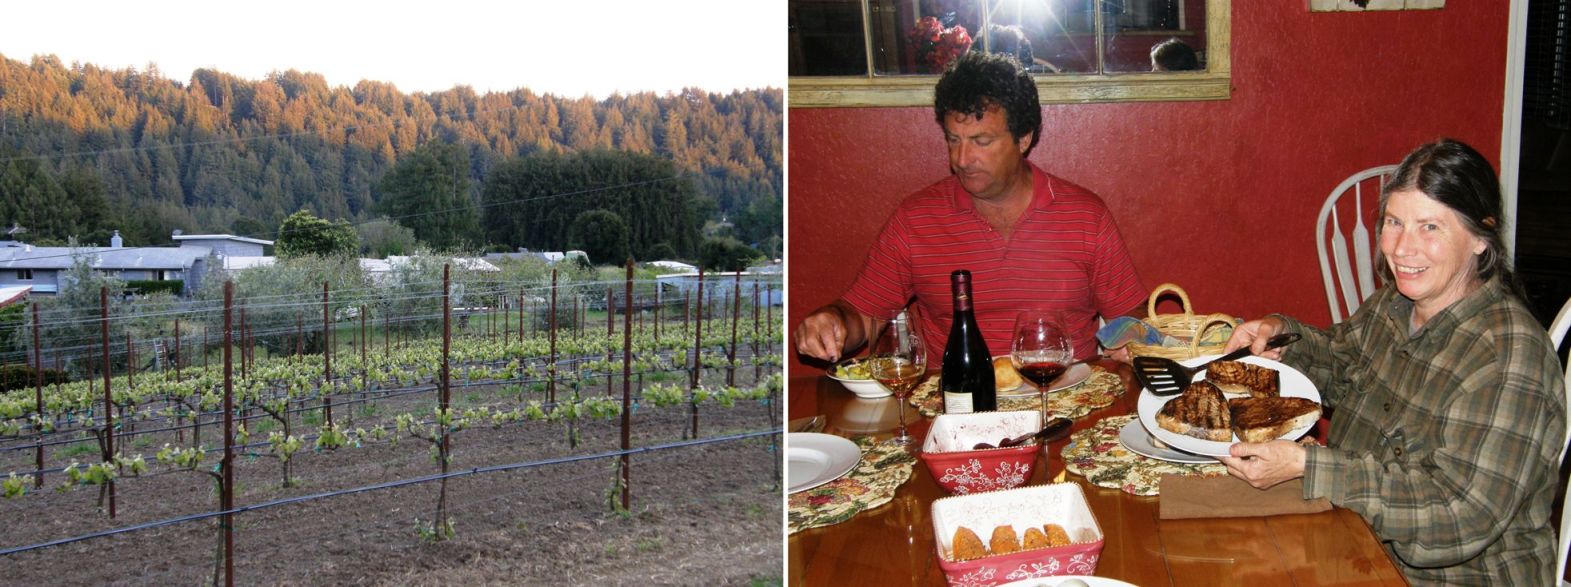
My friend Janet picked me up and we headed down south to Santa Cruz (yep, from Santa Cruz Bolivia to Santa Cruz CA) to stay with Janet’s cousin on the winery that she and her husband own. Lucky us, except that neither Janet nor I are wine drinkers! But we got to enjoy the beautiful landscape.The winery is perched on a hill surrounded by Redwood forest and has sweeping views down to the ocean and across the bay to Monterey which are especially nice when viewed from the hot tub 🙂

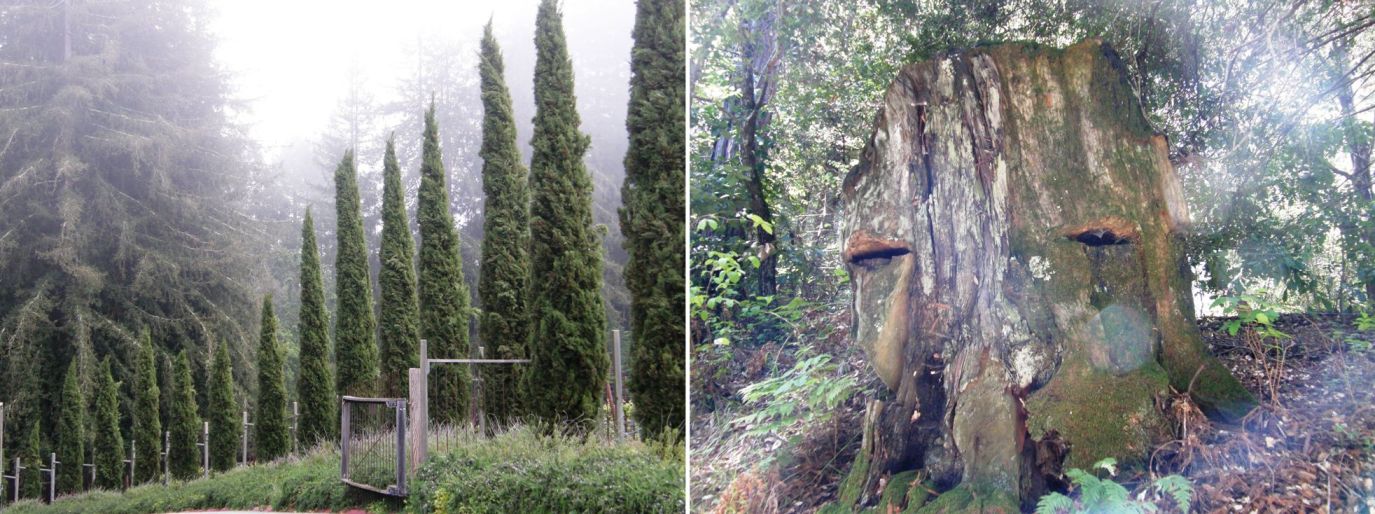
Eerie morning mists with weird faces emerging from the Redwoods.

The mists would rise to reveal Suzie’s pretty flower-laden patio which had a lovely Mediterranean feel. (or at least what I would imagine it to be. It is one of my dreams to be on the Mediterranean, perhaps Malta or some place like that).

Sunny afternoons were spent spinning and lazing on the porch or hanging out  at the beach and Santa Cruz Boardwalk. The Boardwalk has a fantastic old carousel.

The sunsets brought a gentle glow and we sure enjoyed the swordfish steaks.

Forgive me but I just had to include this next picture. I am a cat person and usually don’t care at all for the small yappy dogs but these two guys were just adorable!

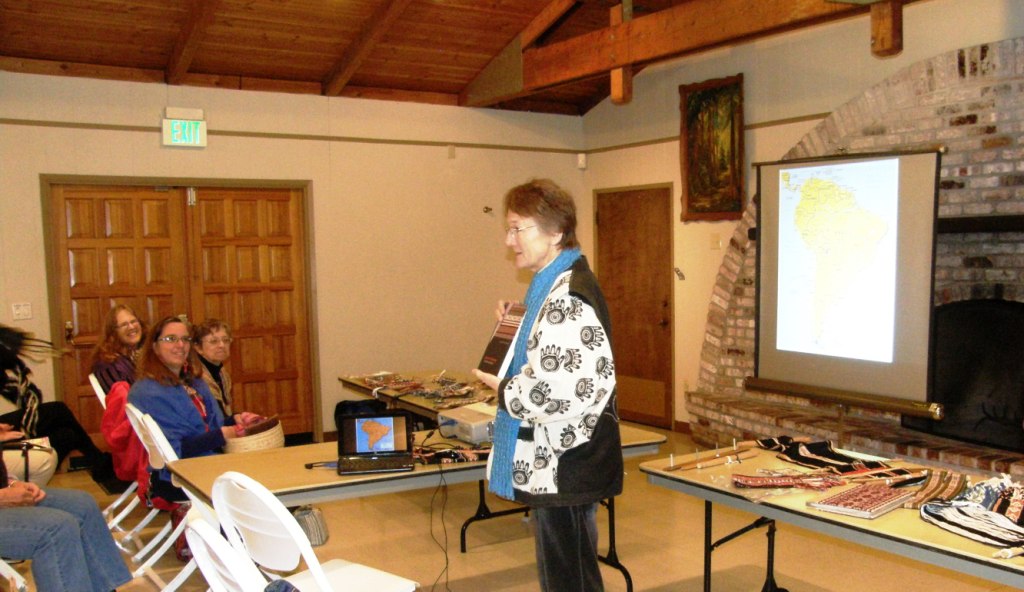
Then it was on to a visit with the Santa Cruz Handweavers Guild for a show-and-tell by members and a slide show by me.

Here, guild president Gudrun is showing her husband’s newly published book called “Quantum Computing” for which he chose to use images of her beautiful card-woven bands on the cover.

My slide presentation took people on a wee tour of the Bolivian high and lowlands, around the continent and then deep into the textiles, and my experiences learning to weave them. At the same time I got the chance to get reacquainted with some people I had met at CNCH last year as well as meet a lot of new folks.

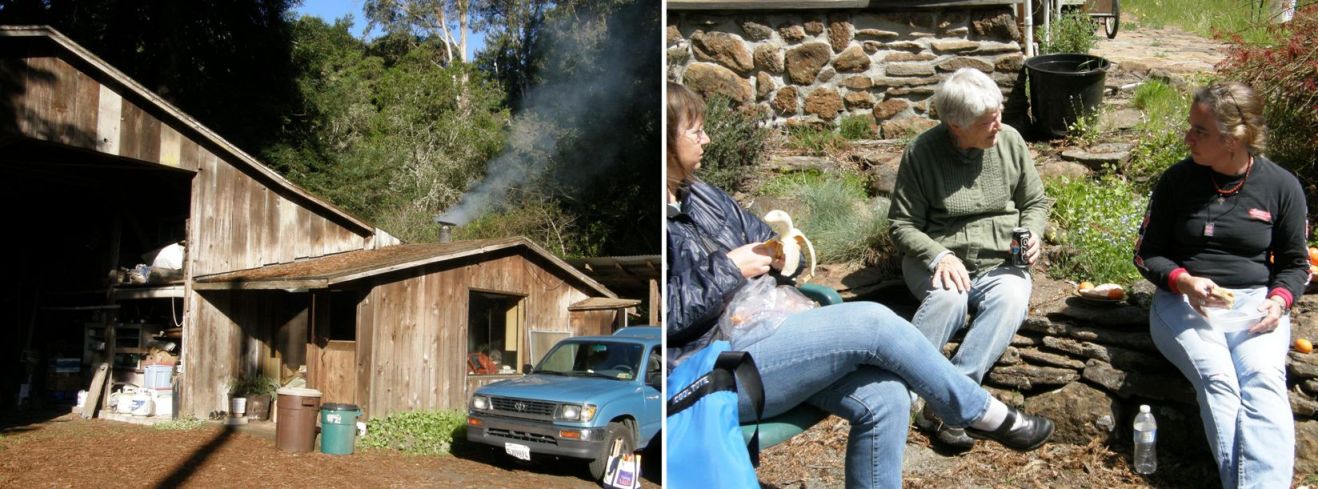
The following three days were spent weaving at Martha’s beautiful cabin in the woods. That little cabin with the smoke curling out of the chimney warmly greeted us each morning. Martha would join us and entertain us with her tales in her sunny garden for our lunch breaks.

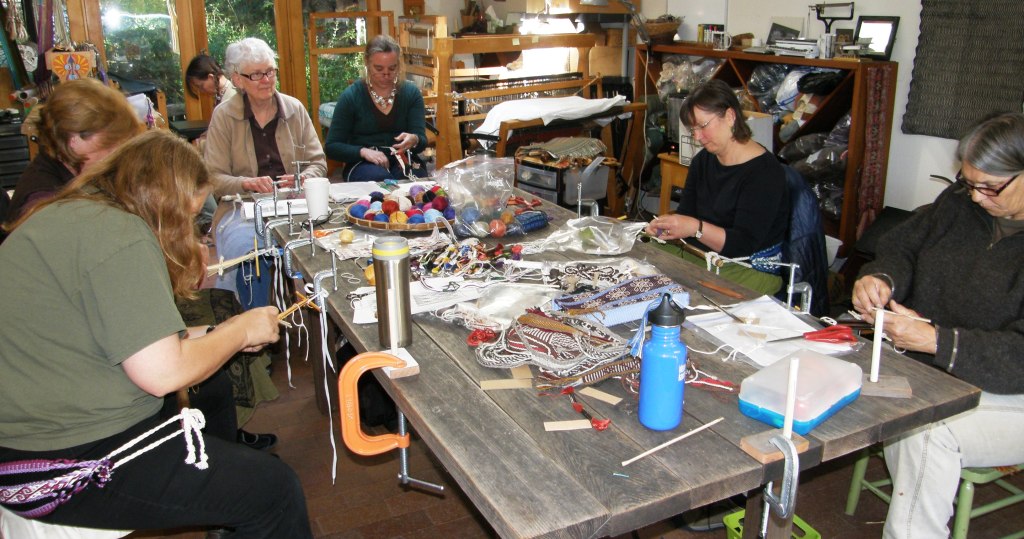
And here’s the gang of backstrap weavers and then with Martha popping in to make a matching bookend with me.

And yes, we did some weaving too. There is everyone “banding together”.

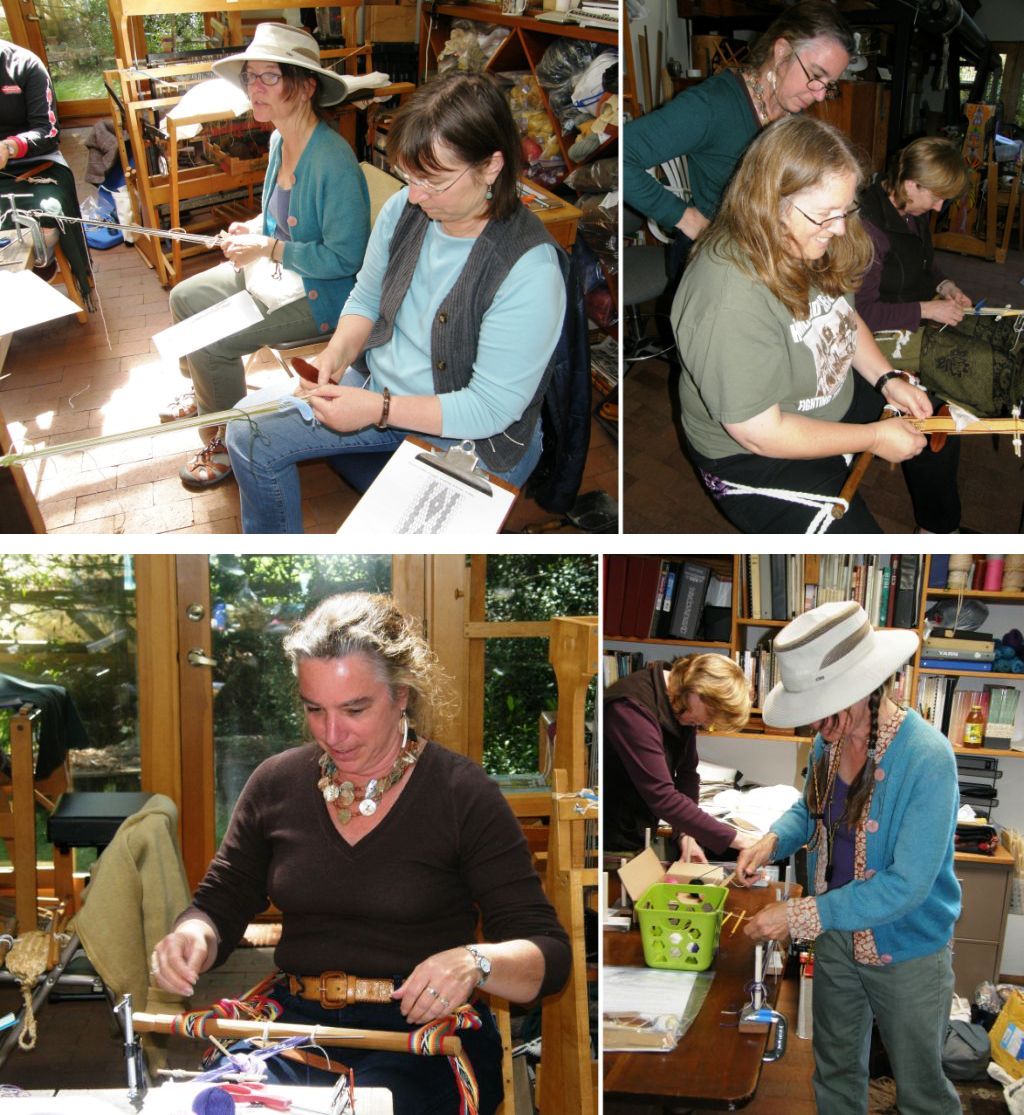
We wove “barefoot“-style and later with loom bars. Annie was happy to get to use a loom that she had bought in Guatemala as well as one of her own woven sashes as a backstrap.  Yonat, above right, dove straight in and warped up for the widest motif. Ingrid, with hat, is practicing four-stake warping. That’s Ingrid Crickmore whom I met at CNCH last year. Ingrid is into all things braided and was using her pieces as loom ties during the workshop. The best news is that she has a blog with tutorials on loop braiding and will soon be adding video.

There’s Yonat on the left and Janet. We got to work with Janet’s handspun on day three when she also gave a combing and spinning demo with special tips for spinning for backstrap weaving and everyone loved her yarn.

Smiles from Dorothy and Annie, some “aha”s and a brow furrowed with concentration.

What was interesting and educational for me was the way people chose their colors and placed their designs…no two were alike. I get to learn too in these situations and I have some new color combinations circling in my mind. A friend had asked me to make him a guitar strap with southwest colors and, thanks to Janet, I now have the perfect combo.

Plain weave bands patterned with warp stripes and supplementary wefts, simple warp floats in cotton and pebble weave in handspun wool.

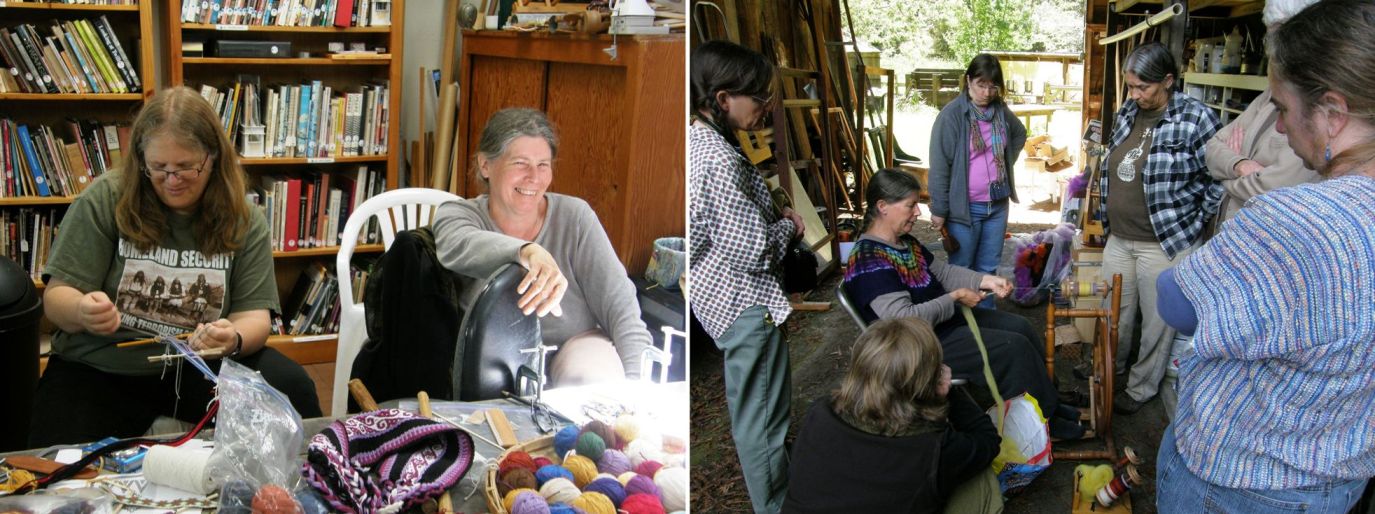
Barbara and Ingrid are at work above showing one of the many cool things about backstrap weaving…you can make short warps quickly and easily for the tiniest projects like a one-of-a-kind key fob or book mark.

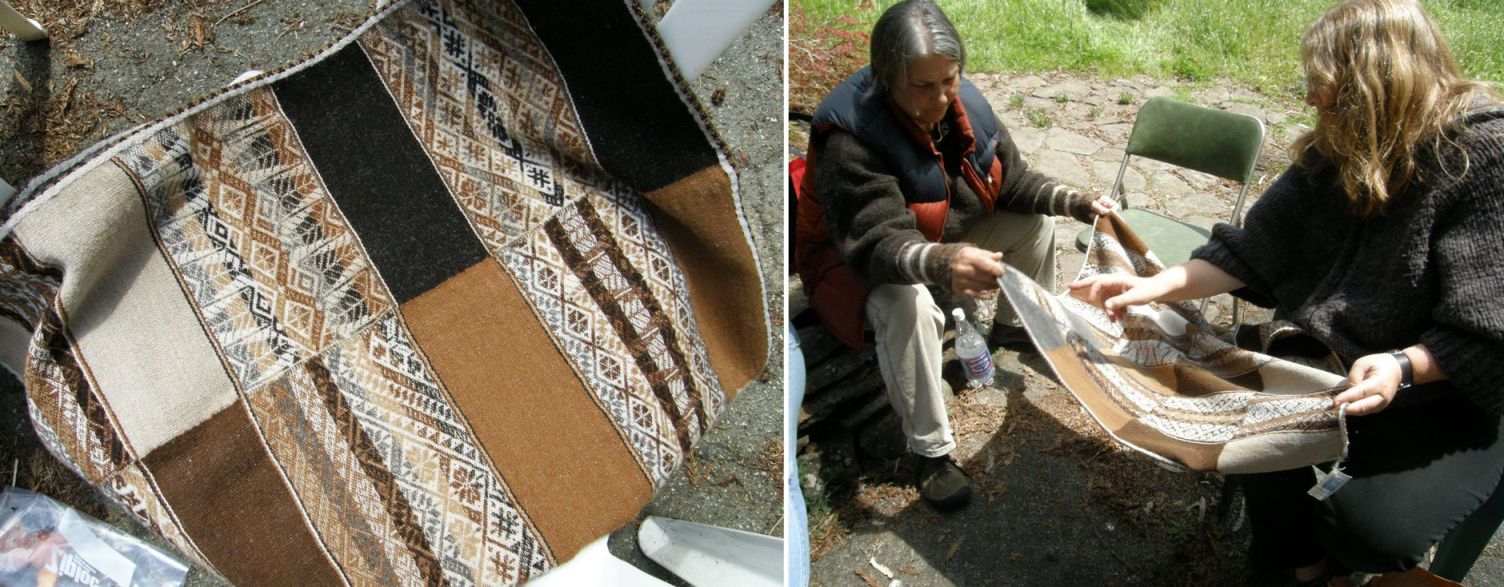
During lunch break there was much to see as Martha would bring out textiles from her South American collection. Here is THE textile which I blogged about last week…

Read more about it here.

But, what I didn’t know was that she was saving the best for the last day….

This is another one of those spectacular discontinuous warp pieces from Pitumarca, Peru. From what I have seen, Pitumarca specializes in supplementary warp patterning on these discontinuous warp, or scaffolded, pieces but this one has been done with three colors in the pattern and it is doubled faced. Wow.

There are four panels, red, blue, green and yellow, each with its triple color supplementary warp pattern.

I should have just saved this for a blog post of its own entitled “Even more Speechless”. It’s hard to take your eyes off it, right?

I told you last week that Martha gave me two tubs full of textiles to take back to the winery and peruse. I will show you bits from those tubs in future blog posts but here is just a taste…

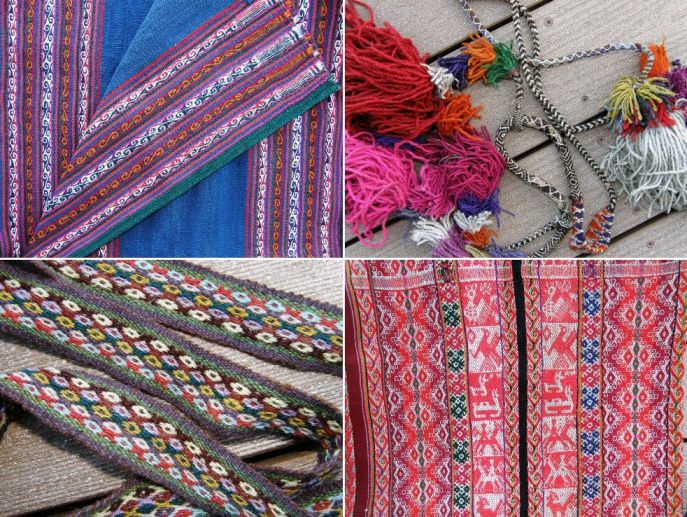
I really like the bag strap with the multiple tanka choros and those braids….!!

But best of all we got to see what Martha herself has been working on…

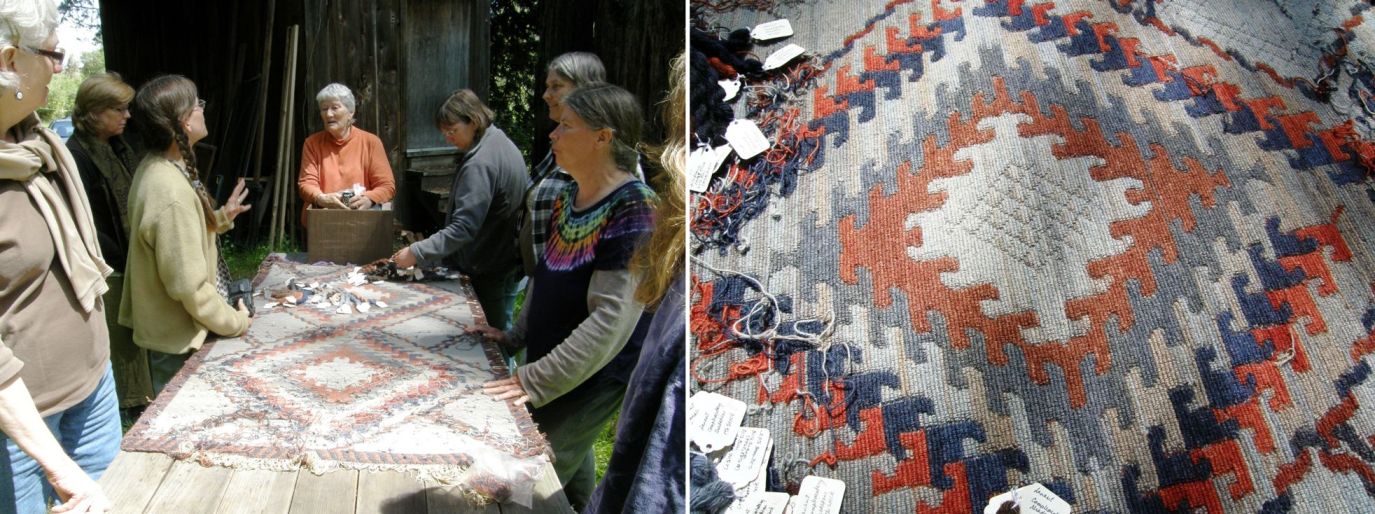
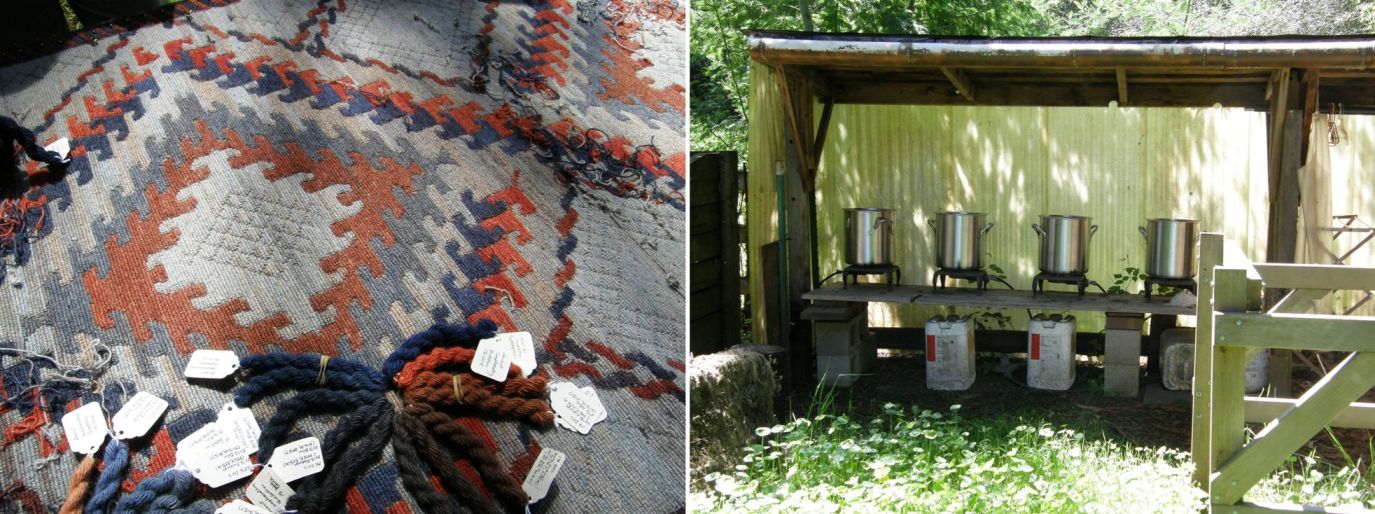
Firstly, the colors! I have been admiring the yurt bands of Central Asia and wishing that I could somehow use those dusty sun-bleached tones of red and blue that evolve after years of having been stretched around the yurt and exposed to the elements. Well, Martha has just gone ahead and dyed her own. The colors are just gorgeous!

With a lot of patience, dedication and know-how she has come up with just the right hues. I was SO envious! The rug above is her latest work. It is a combination of weft twining and wrapping. One of the twined strands wraps around the other to give a raised surface on a flat ground of twining. I think I understood how it works. That’s on the list to play with when I get home.

As for the colors…I’ll keep dreaming. Maybe I will get into that kind of precision dyeing one day.

One of the highlights of this trip was spending more time with Annie MacHale. You may know her as ASpinnerweaver and she is on my blogroll but I think of her as the Queen of Sashes. She is one creative lady with an irresistible bubbly laugh.

Janet and I got to see her sash collection and hear the stories that go with them, rummage through her yarn stash and go from one inkle loom to the next in her living room/studio checking out her works-in-progress…and the books!!

One thing I have been wanting to promote while on this US tour is the lesser known weavings of the lowland areas of South America. We have all become so familiar with the textiles of one  particular region of highland Peru through the hard work of Nilda Callañaupa and the CTTC. I have had the fortune to study with weavers in lowland areas too most notably in Santa Cruz where I live and in coastal Ecuador. The weaving may not be as technically sophisticated as the work being done in the Cusco area but is every bit as note worthy and often sadly neglected.

It seems that the work of the Shipibo people is calling to me from various sources. Just before I left home I found an image of a textile which the photographer had bought in Ecuador but which she believes was made by the Shipibo people of the lowland jungle areas of Peru and this is something I would like to investigate. It is woven with a technique that I have only seen used in South American textiles in images in books of textiles of northern Argentina that are no longer produced.

At the weaving get-together Yonat brought, amongst other things, Shipibo textiles to show that she has in her own personal collection…beautiful embroidered and appliqued pieces (above) with very distinctive designs. I only have some small painted pieces of Shipibo cloth at home. This is what Yonat brought…

And then Martha showed me this…

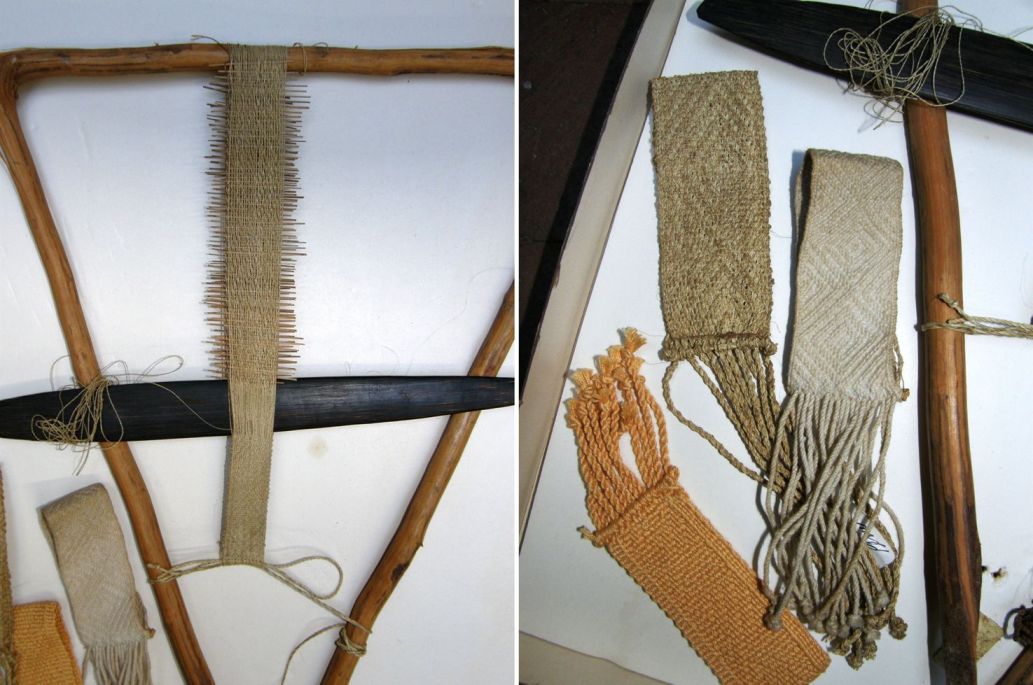
This too is a Shipibo piece and  part of the late Anne Blinks’s collection and something which she had studied. The wonderfully simple branch loom holds a piece of fabric which was probably destined to be a wristlet. The completed woven pieces around it are wristlets, some of which are Anne Blinks’s reproductions. You can see the enormous quantity of fine patterning sticks that have been inserted in the warp to program the design. This was amazing! I love the fact that it is just one color and that the pattern shows as a fine texture. I love the sword/beater too.

See all the fun stuff I got into!

A million thanks to everyone who brought textiles and so willingly shared them with me and the group. There was always a frantic effort on my part to take photos of everything. Peggy also brought some interesting bands that she had bought in Oaxaca.

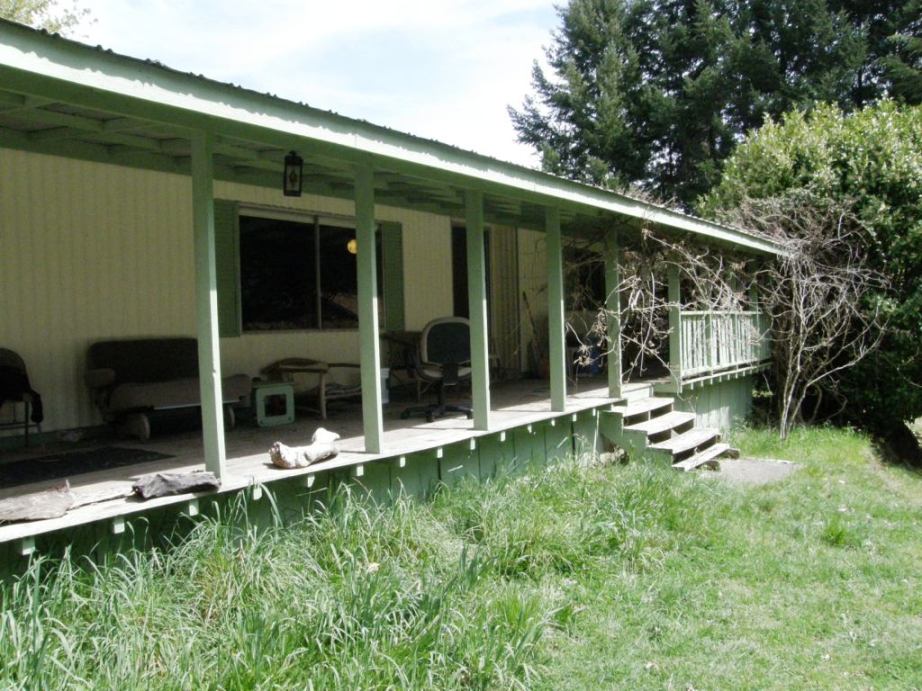
Now I am up on Janet’s farm in Humboldt County and we are planning a weavers’ gathering here. Take a look at that porch…isn’t that the most perfect backstrap weaving site? I put a cushion on the floor and tied up to one of those posts, nicely shaded while I got to wiggle my toes in the sun. For warping I clamped pegs to the edge of the porch and stood down in the garden. Perfect!

Janet’s husband has a family heirloom coverlet. This was especially thrilling to me as I had seen these in the Folk Art Museum in Williamsburg last year behind glass. I read how they were made with both cotton and wool, the white being cotton and the blue wool and could make out the balanced double weave. Now I have had the chance to touch one and drape it across my lap…a whole different experience.

So that is where I am at so far. We are off to Eureka tomorrow to meet some other weavers and do some backstrap weaving and so I have been able to squeeze in this blog post. Before I go I wanted to show you some things that have been going on in the Ravelry Backstrap Weaving Group…


The Spin Along is still going and Jennifer respun some commercial wool and showed us its ‘kinkiness” before it could be stretched out on her backstrap loom and woven into this lovely piece.


Marsha and Carinefile are both doing Double weave. Marsha’s piece on the left is a guitar strap with the musician’s name woven in and Carinefile has made the sampler that goes with the tutorial here.

Jentide and Melisende made Sami bands. These are traditionally woven on backstrap looms using a small rigid heddle but, as you can see, they can be perfectly adapted to inkle looms.

And Bobbie completed a pebble weave bag…


And if you are in an “Eastery” mood from looking at one of Janet’s bunnies, I wrote a post for Easter last year about a colorful Semana Santa, or Holy Week, that I spent in Guatemala in ’08 in three different areas, full of color and beautiful people and textiles.

You can see it here.


Meanwhile, Mike the Mouser is kindly helping me deal with pet withdrawals.


Backstrap Weaving – Variations on a Theme and a New Tutorial

I have been all over the place this week…sewing, braiding, twining and weaving four different patterning techniques. Keeps me on my toes!

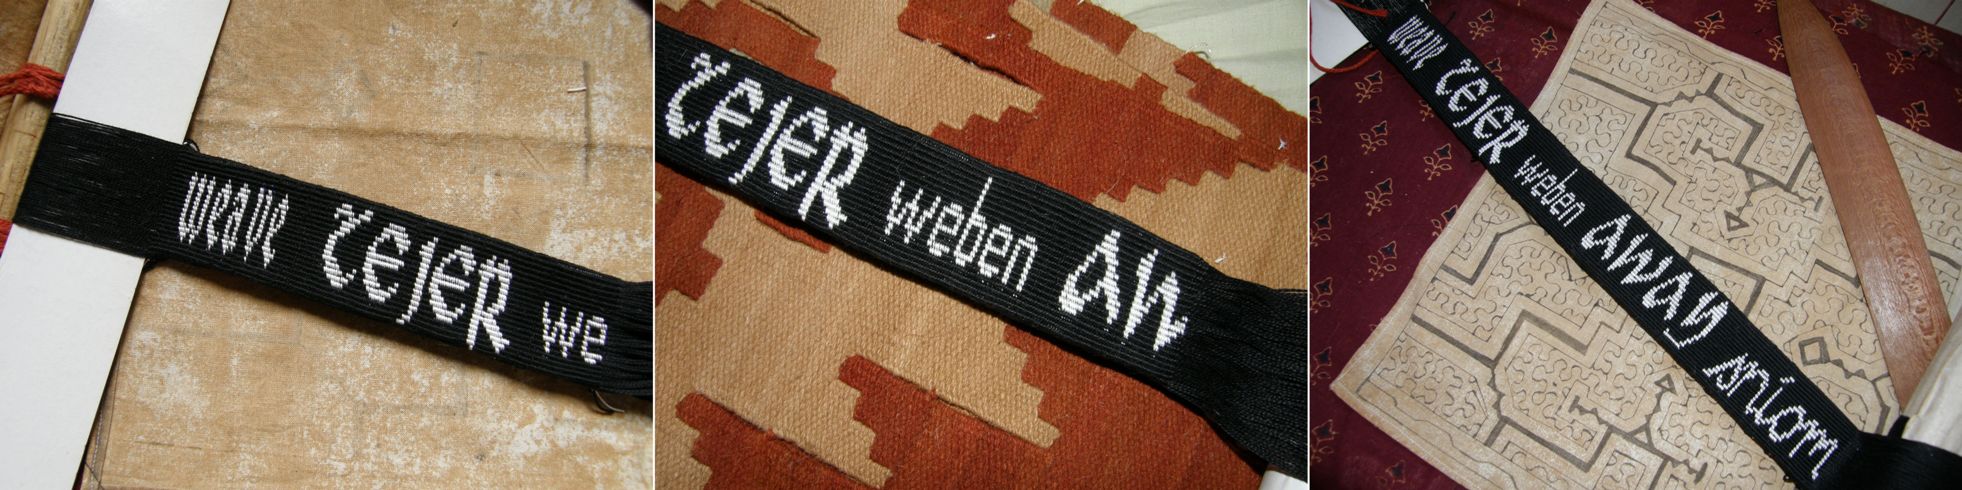
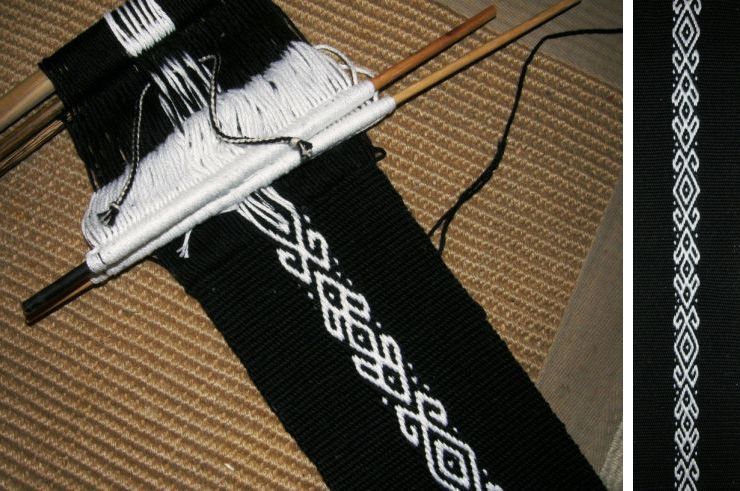
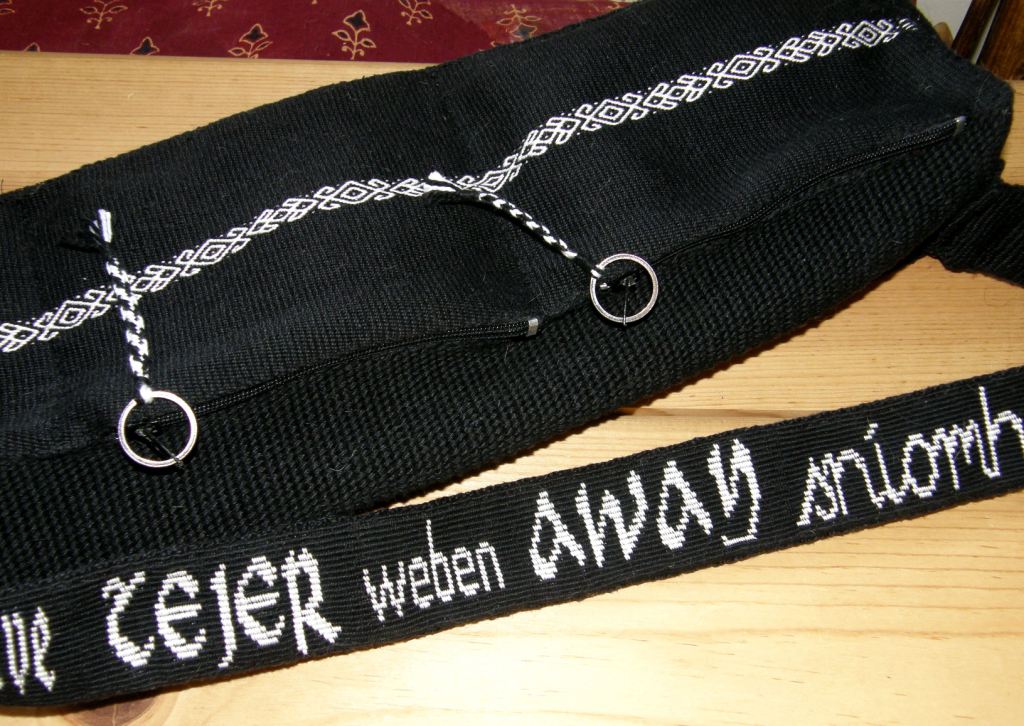
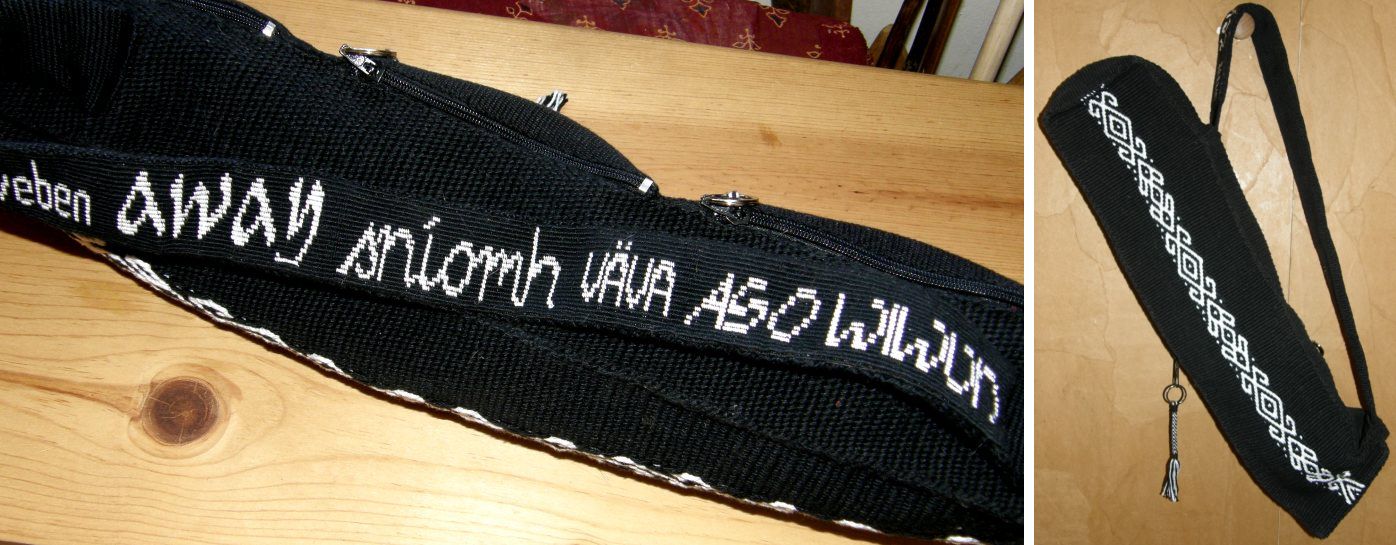
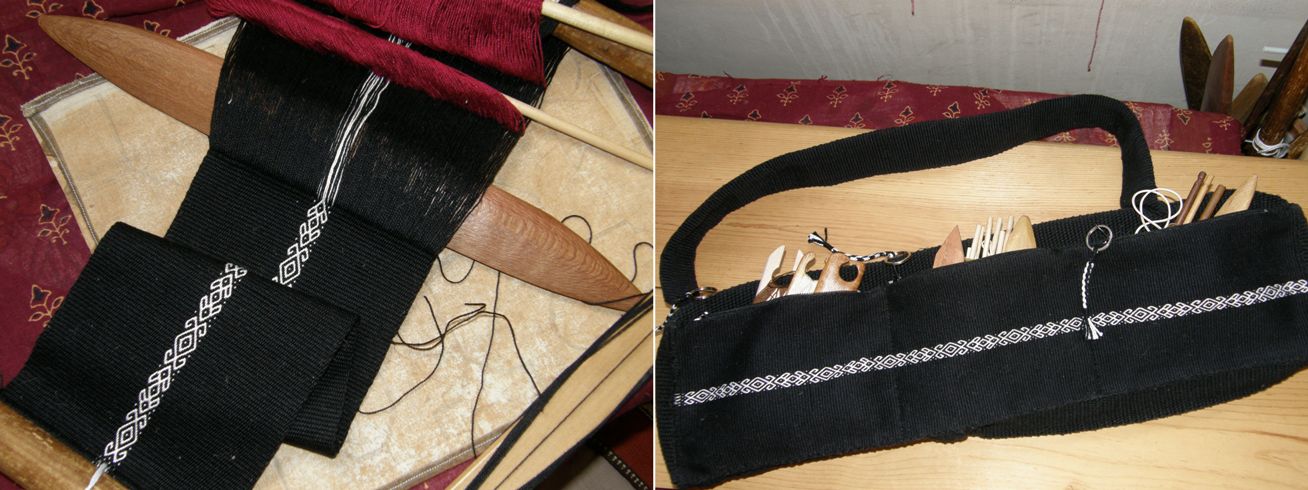
There was a lot of sewing as I finished the loom bag finally! This has been a long project mostly because I chose to twine the strap for the bag and that was slow slow slow. I decided to twine the word “weave” in different languages into the strap and, although I managed to gather a lot of words from different online buddies, I could only use a handful on the strap. I will save the others for another project.

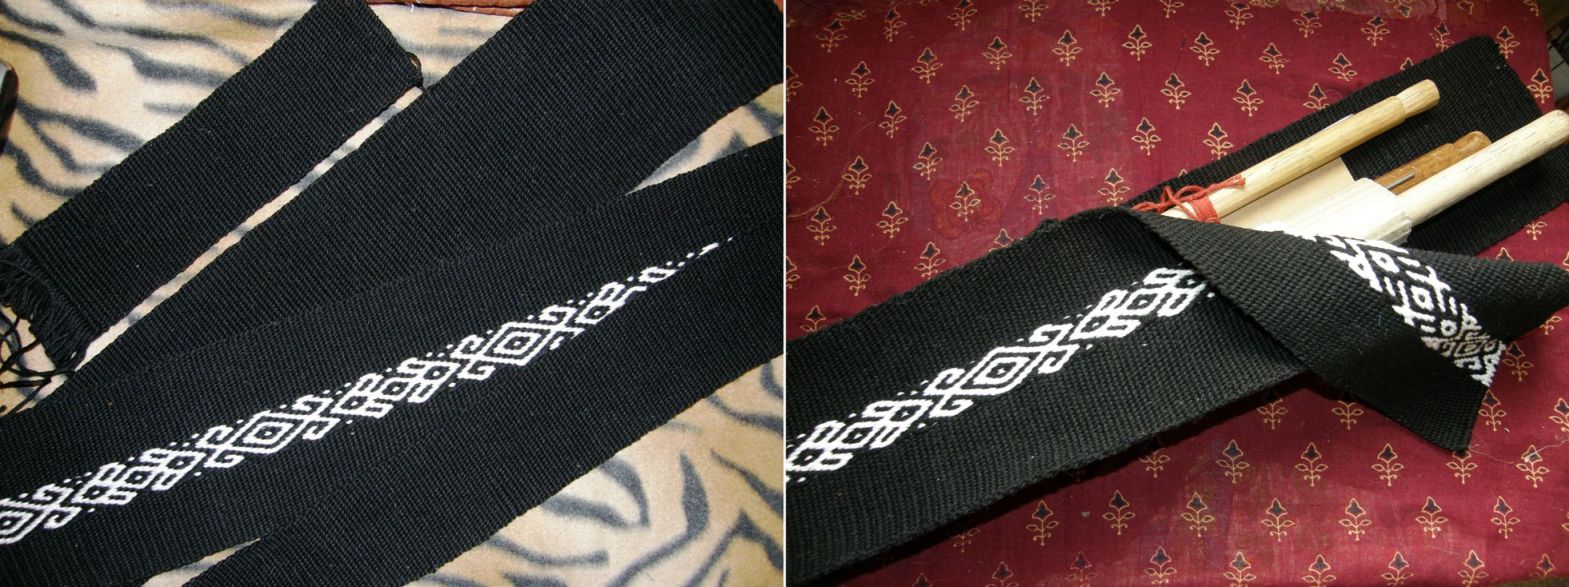
There is some of the twining as it progressed. I used the English, Spanish, German, Quechua, Gaelic, Swedish and Nigerian words. As for putting the bag itself together, I am not much of a seamstress and so just made it up as I went along using a camera tripod bag as the model. First I made the front panel with a pebble weave design.

Then came the sides and the panels between which the zip would sit all woven in plain warp faced weave..

Once the zip was in I added a zip pull made using an Andean sling braiding technique.

Meanwhile I was still slogging away at the twining.

Then I decided it would be more practical to have pockets for all the smaller items like belt shuttles, pick up sticks and small swords and so I wove another thinner panel with the same pebble weave pattern.

The thin panel was sewn to the back of the bag. I have received two donations of large bags of assorted zips from online buddies so it was just a matter of diving into those and finding three small black zips the same size and I was set. I am getting pretty darn good at sewing these in!

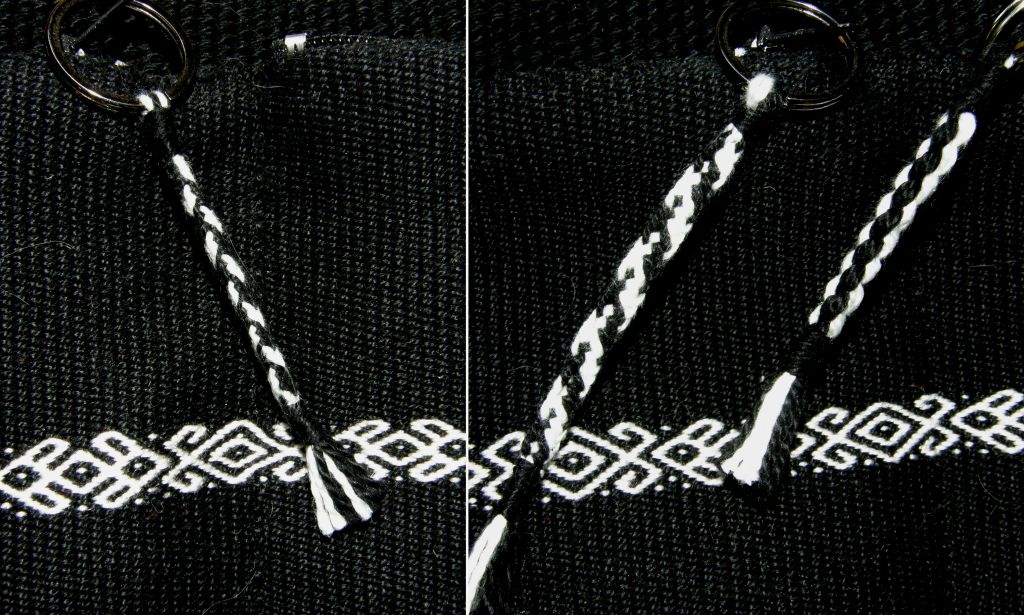
Of course I couldn’t resist adding braided zip pulls. I made a square, flat-ish and round-ish braid for the the three pockets. I must do a tutorial here on that flat braid one of these days. I learned it for making straps for chuspas in Potosi.

Last of all was the strap. the last word to be twined was the Nigerian one which had been provided by a Facebook friend.The problem with twining is all the weft ends that are left hanging at the sides. I had to weave yet another plain weave band to sew to the back of the twined strap under which to hide all those ends. Actually it gives the strap quite a cushioned feel – quite appropriate for something that will be hanging off one’s shoulder.

There’s the last Nigerian word below (two words actually)…

DONE!!

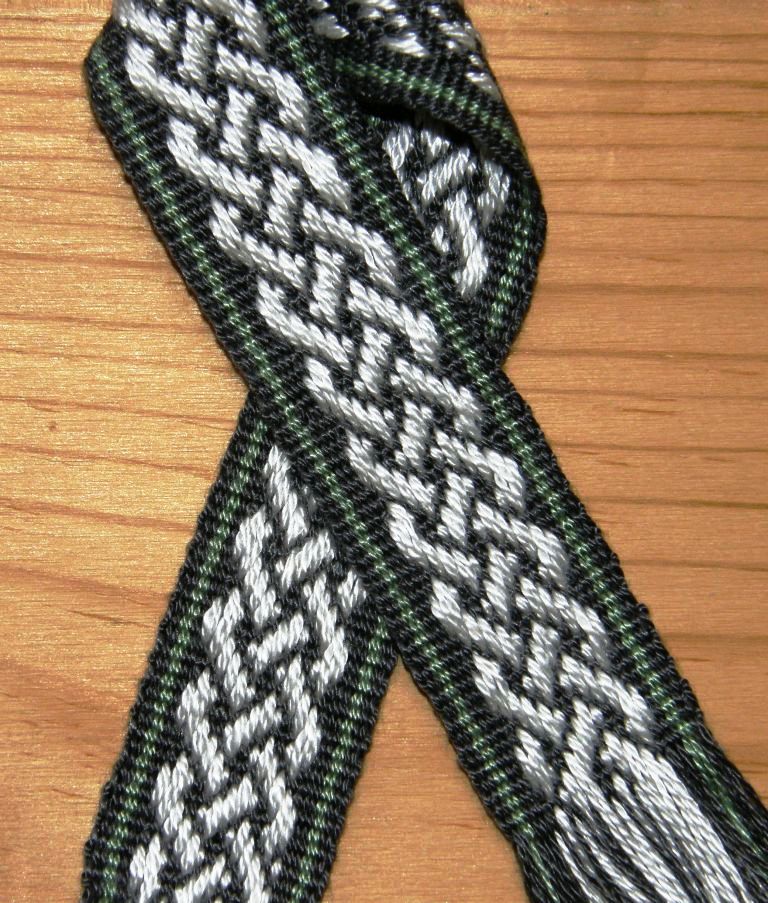
I wove a bit more on the tencel supplementary warp patterned band with its Celtic knot motif…


And I played a bit with a design I got from a Central Asian woven piece.

My friend Lisa photographed this piece at a reenactment event some time ago and sent me the image.

There was not enough detail to see what technique had been employed and I decided that it would look good anyway woven with a supplementary weft. The design is charted here.

Last weekend one of my online buddies sent me this same image saying that she had found it on her desktop and had forgotten from where it had originated and that she thought I might like to weave it in pebble weave. After I reminded her that it was actually from my blog, we both had a laugh and then I thought, “Huh, I wonder how this would look in pebble weave?” And then another “huh”. How would it look in other techniques?

Hence the title of this weeks’s blog post…Variations on a Theme.

Here is how it looked when I originally wove it using a supplementary weft…

I guess I am very lucky to have been able to travel so much here in South America and learn so many different techniques and designs. I have often met weavers here in my travels who are masters at two techniques and have been weaving them all their lives and who are delighted and bubbling with curiosity when I show them motifs woven in the same technique from another region within their own country. Others see a technique in my samples that they don’t know and plead to be taught it. Sometimes I have to push back my desire to learn from them in order to teach them. They are always so happy to have an “edge” over their other weaving companions with this new knowledge.

So, just for the fun of it I celebrated the fact that I have had access to many patterning methods and I adapted the Central Asian motif to three other techniques. There are still several more to try.


From left to right…in the same supplementary weft technique but in finer yarns (35 wpi ground), in double weave, the original supplementary weft (24 wpi ground), pebble weave and supplementary warp. I love them all!

I once taught pebble weave to a weaver in Ecuador. The weavers in his community weave with tapestries and belts patterned with supplementary warps. The pebble weave technique is not known. I left him with drawings of various Bolivian and Peruvian motifs to copy if he wished as I didn’t have woven samples to give him. Eighteen months later I returned to see his band with his attempts to duplicate the drawings but there was also a rooster motif which he had adapted from the typical supplementary warp belts and embroideries of his community.

And Juan definitely wanted to have an edge over the other weavers. He wouldn’t even teach the pebble weave to his brothers!

I shared a room at the tinkuy with a weaver from Cochabamba who was dying to learn the design on one of my pebble weave amulet bags. She already knew pebble weave but not this particular design. As there simply wasn’t time to learn it at the tinkuy I swapped my amulet bag for one of her spindles. I wonder if she has woven it and if her new design is envied by the other weavers in her community.

###############################

The Weave-Along in the backstrap group on Ravelry is coming to its end on March 6th with what we are calling the “big bang”. There seems to be a lot of weaving going on by the handful of weave-alongers and we have even been hearing from a lurker or two. Projects are still being posted…

Tracy made one of her pebble weave bands into a cell phone pouch. She edged it with a single row of cross knit looping or Van Dyke stitch as it is in known in embroidery. (See the video in this post for instructions). Check out Tracy’s latest blog post on the textiles she saw in Syria.

Marsha (PandulaArts) wove these pieces on the left patterned with simple warp floats and then dabbled in a little double weave.

Toby, who is not participating in the weave along, but who is a regular contributor to the backstrap weaving group on Weavolution, has been trying warp substitution technique (on the left) using a Bedouin motif and double weave (on the right). The warp substitution technique is a very good introduction to the basic pick up patterning method which is also used to produce patterns in double weave. It is a good idea to start with this technique before advancing to double weave. As you can see, one of the disadvantages of the warp substitution technique is that it produces long floats on the back of the piece. The length of the floats can be reduced by carefully choosing designs and spacing. Toby’s design on the right is his own invention.

Tanyabe has been making her first steps in pebble weave on the left and Tracy is now weaving a Chinchero design in pebble weave. This design is charted in my book.

Jennifer’s Sami bands are gorgeous!! She has been doing these on her rigid heddle and inkle looms and I believe that she has one going in wool on her backstrap loom too. Once again I remind you that you can access instructions and patterns for these bands on the Yahoo Bands and Braids Group or by buying Sue Foulkes’s book here.

As folks finish off their projects for big bang Sunday, a couple have asked for a tutorial on the tubular bands that are often used here as decorative edgings for finished woven pieces. These are bands that are woven and sewn simultaneously to the edge of a piece of fabric using the weft as the sewing thread. There are several kinds of bands. Some are in plain weave and this is probably the easiest place to start learning about these.

I have put together a tutorial here with photos and a short video. I have also put a video there that I shot at the Tinkuy de Tejedores in Peru of a Bolivian weaver attaching a band to the edge of one of her bags.

These bands can be used to cover the raw edge of a weaving as I did with the edge of the cell phone pouch above. However, I would not attempt to do this until you have practiced the technique many times on the selvedges of your woven fabrics. It is far easier to learn to apply these bands to edges that are not threatening to unravel!

You can see above that a narrow warp is wound and set up with simple string heddles and a shed loop. I use a tapestry needle to carry the weft and sew the band to the fabric.

The purse on the left has been edged on three sides with one of these bands. See the full tutorial here.

#######################################

Greetings come from “bicycle Anna” this week who is now down in the Chilean city where I spent my first five years in South America. Punta Arenas is the southern most city on the South American continent. From the city you can see the island of Tierra del Fuego across the Straits of Magellan.

Anna stopped by to see me at home and have some weaving lessons. She is now in the land of sheep…tens of thousands of them and her new drop spindling skills are being honed. She is carrying llama and alpaca fiber that I gave her along with a Bolivian spindle and I am sure that she will be adding Patagonian wool to her fiber stash.

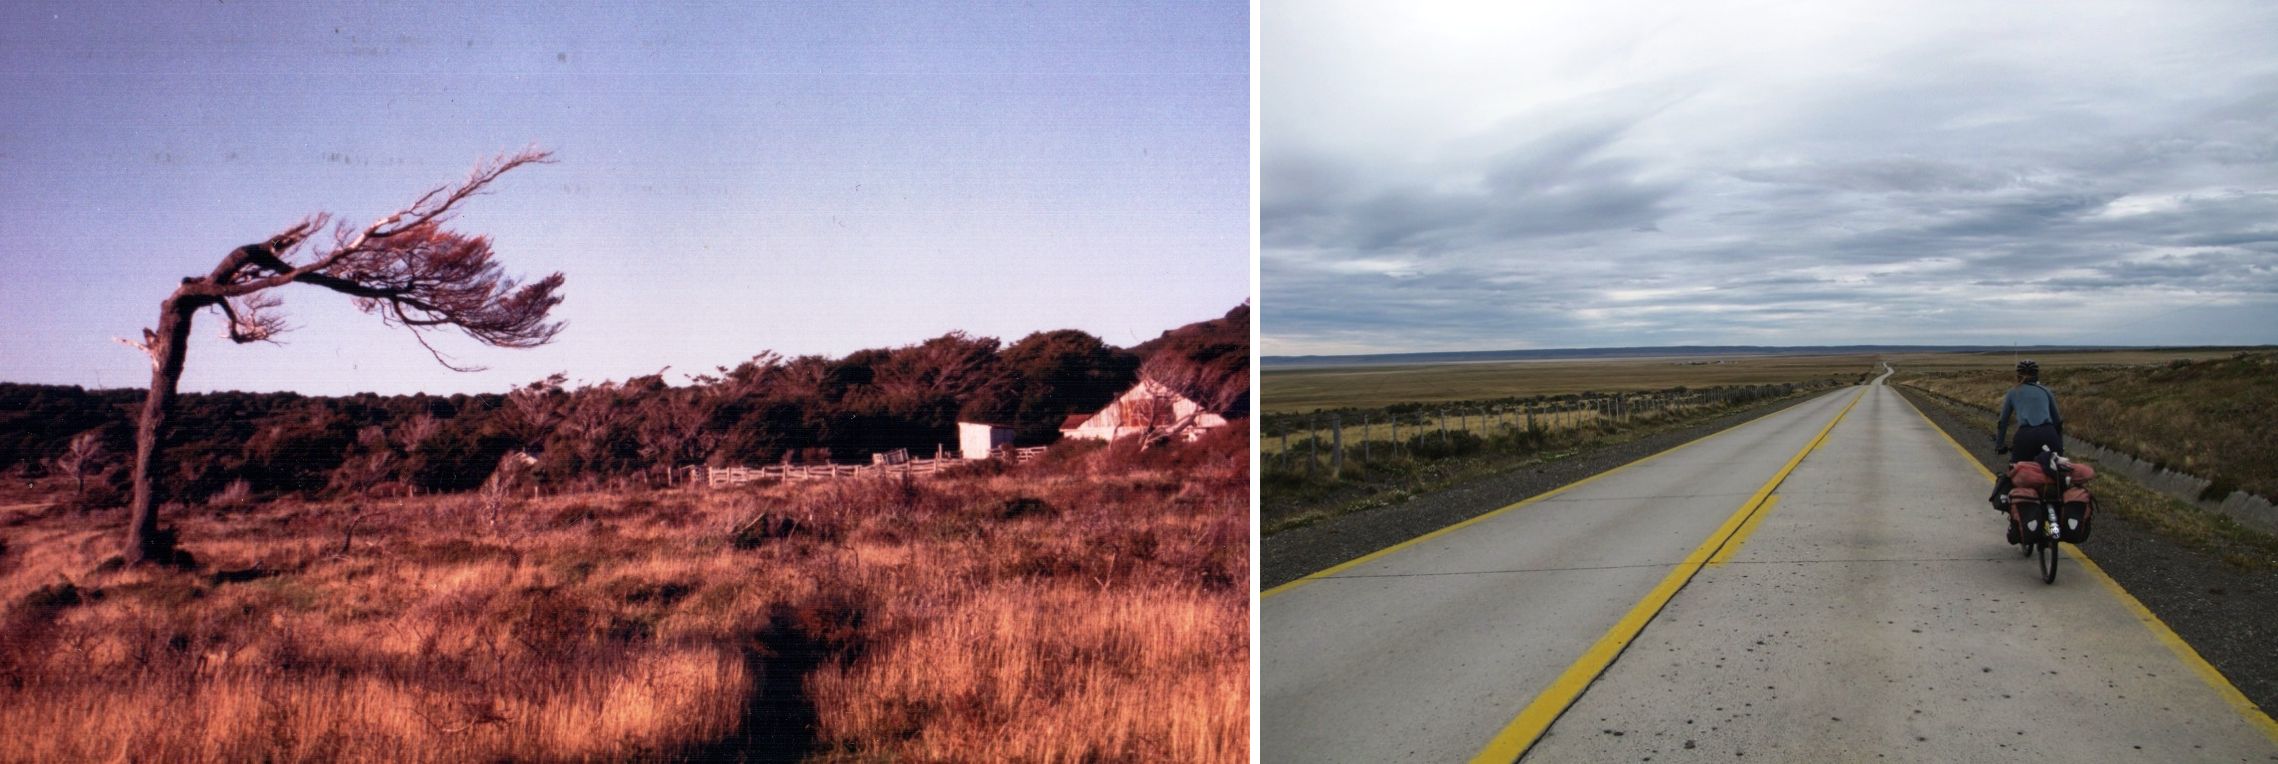
And look how she is getting on with her pebble weave with her loom tied to her bike! It’s summer down there…you wouldn’t think so from the gear she has on. The days are looong and if you get one without wind it can be heavenly.

Anna has been spreading the fiber love by teaching young fellow cyclist Kate to make the six-strand finger loop braid that I learned in Potosi (one of the ones on my new loom bag).

I must warn you now that this is pretty much the end for this post of anything related to weaving or fiber as I indulge in a little nostalgia trip to the place I called home for five years…the wild Chilean Patagonia. Some of these pictures are Anna’s.

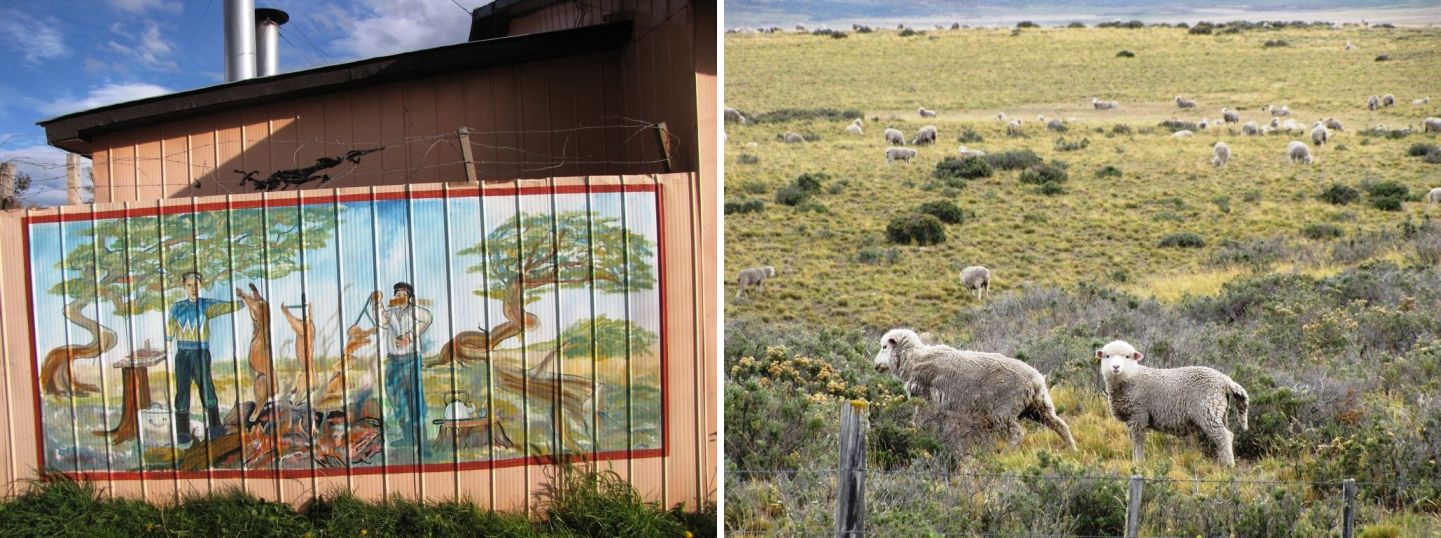
A house at left is painted with a scene depicting the famous southern Chilean lamb barbecue – asado al palo.

The Andes dip down into the sea before reaching this part of the world creating a series of islands, fjords and sounds. The land is scrubby and flat and rather colorless. Trees grow sideways with the constant winds.

Punta Arenas is a city of houses walled with corrugated sheeting. Rather than let it all run to rust residents paint with soft pastel shades, splashes of color in the bleak landscape.

This statue of an Ona indian is in the Plaza de Armas in the city center. The toe shines as visitors rub it to insure their return to Punta Arenas one day. Puerto Natales futher north is located on Ultima Esperanza Sound and is the gateway to the spectacular Torres del Paine National Park.

Craggy mountain peaks, fjords and wildlife in and around Torres del Paine…a rhea or ñandu walks with her chicks.

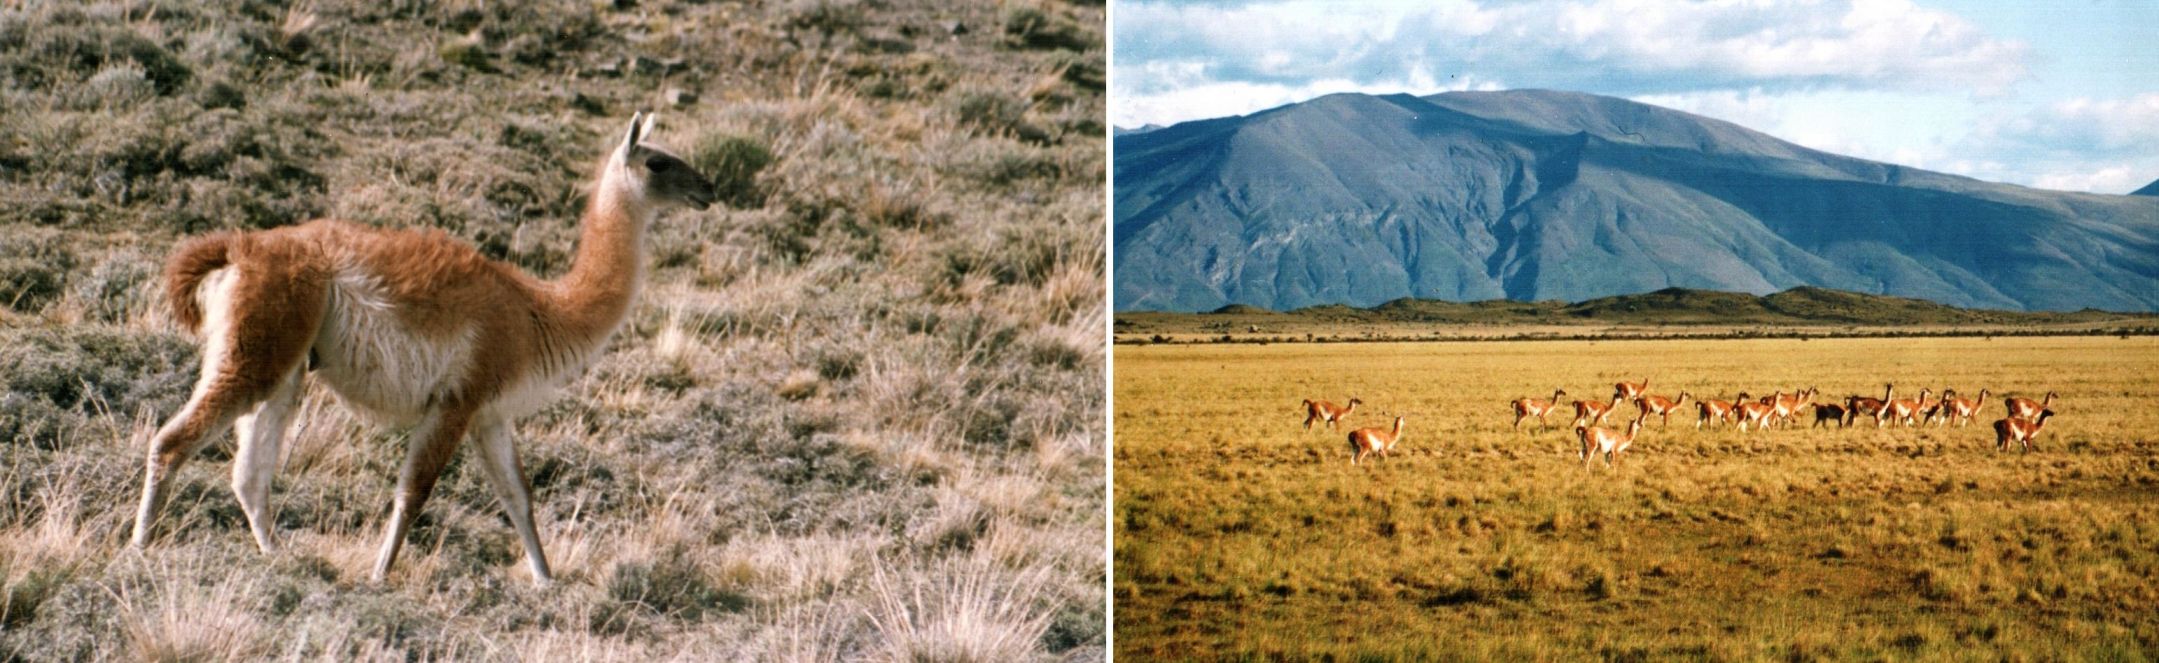
Herds of Guanaco roam  the park.

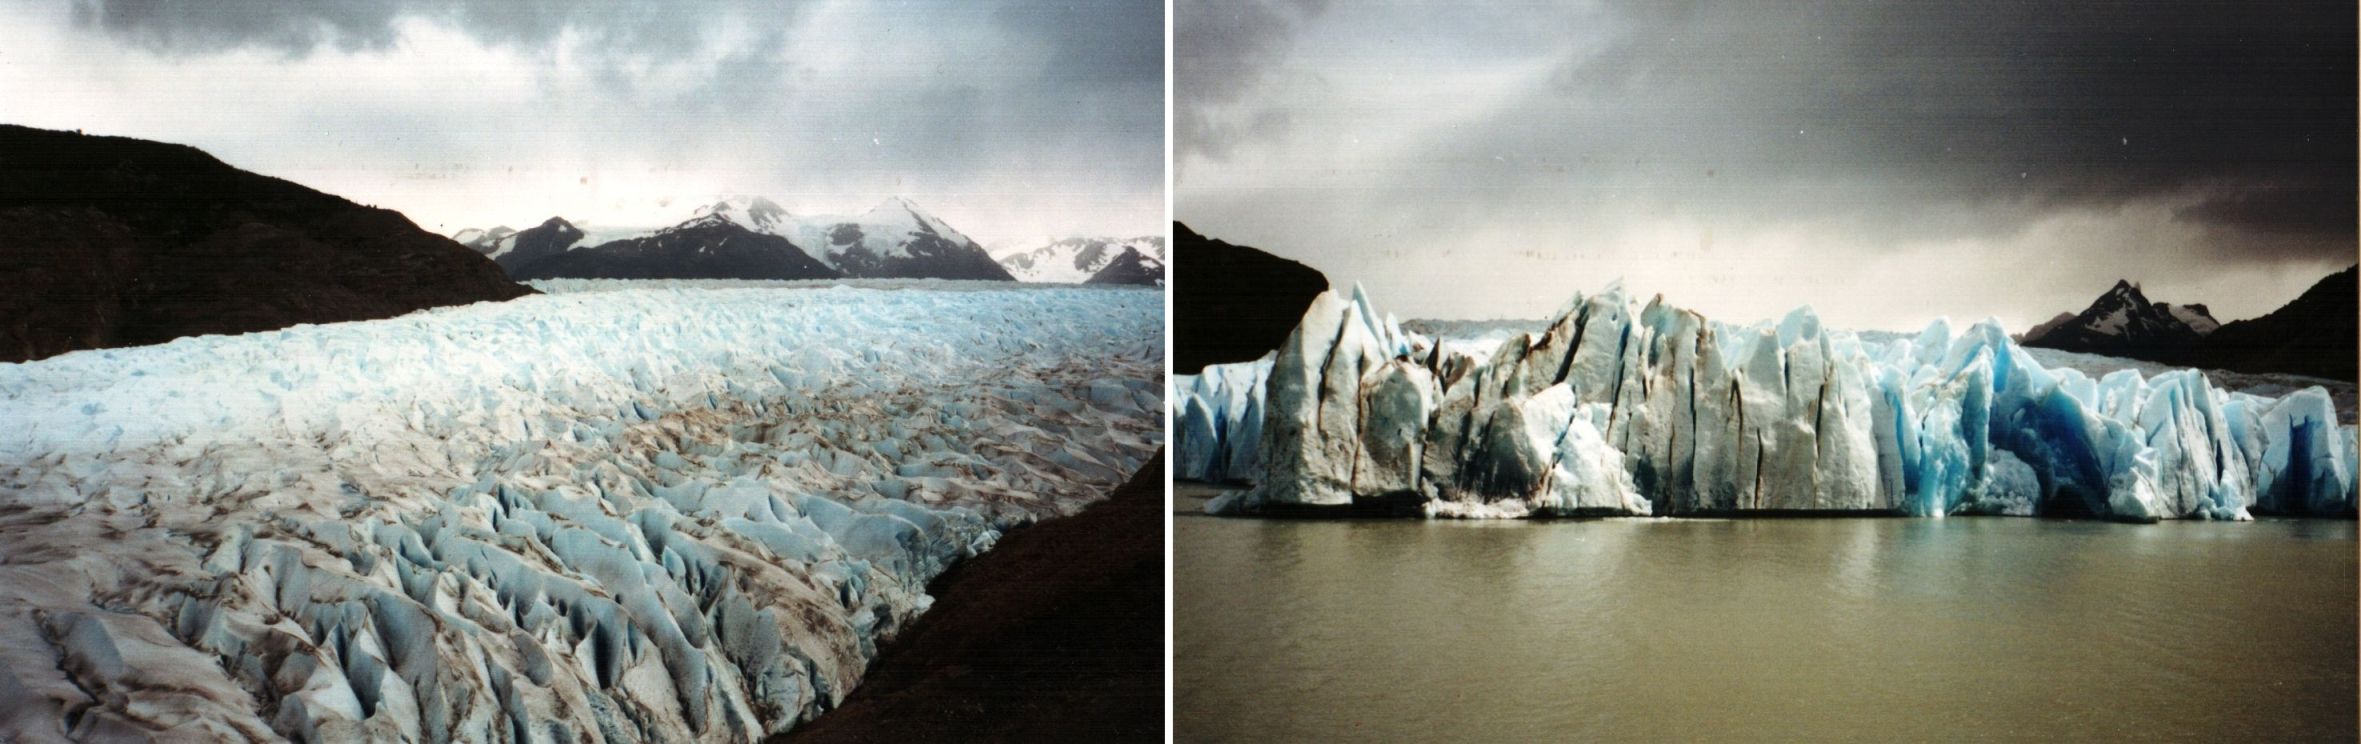
The hiking and scenery are superb but be prepared for a good battering by the wind! I got to go to Antarctica twice when I was there and thus add the seventh continent to my list. After all it is just across the Drake Passage! I will leave you with some shots from there.


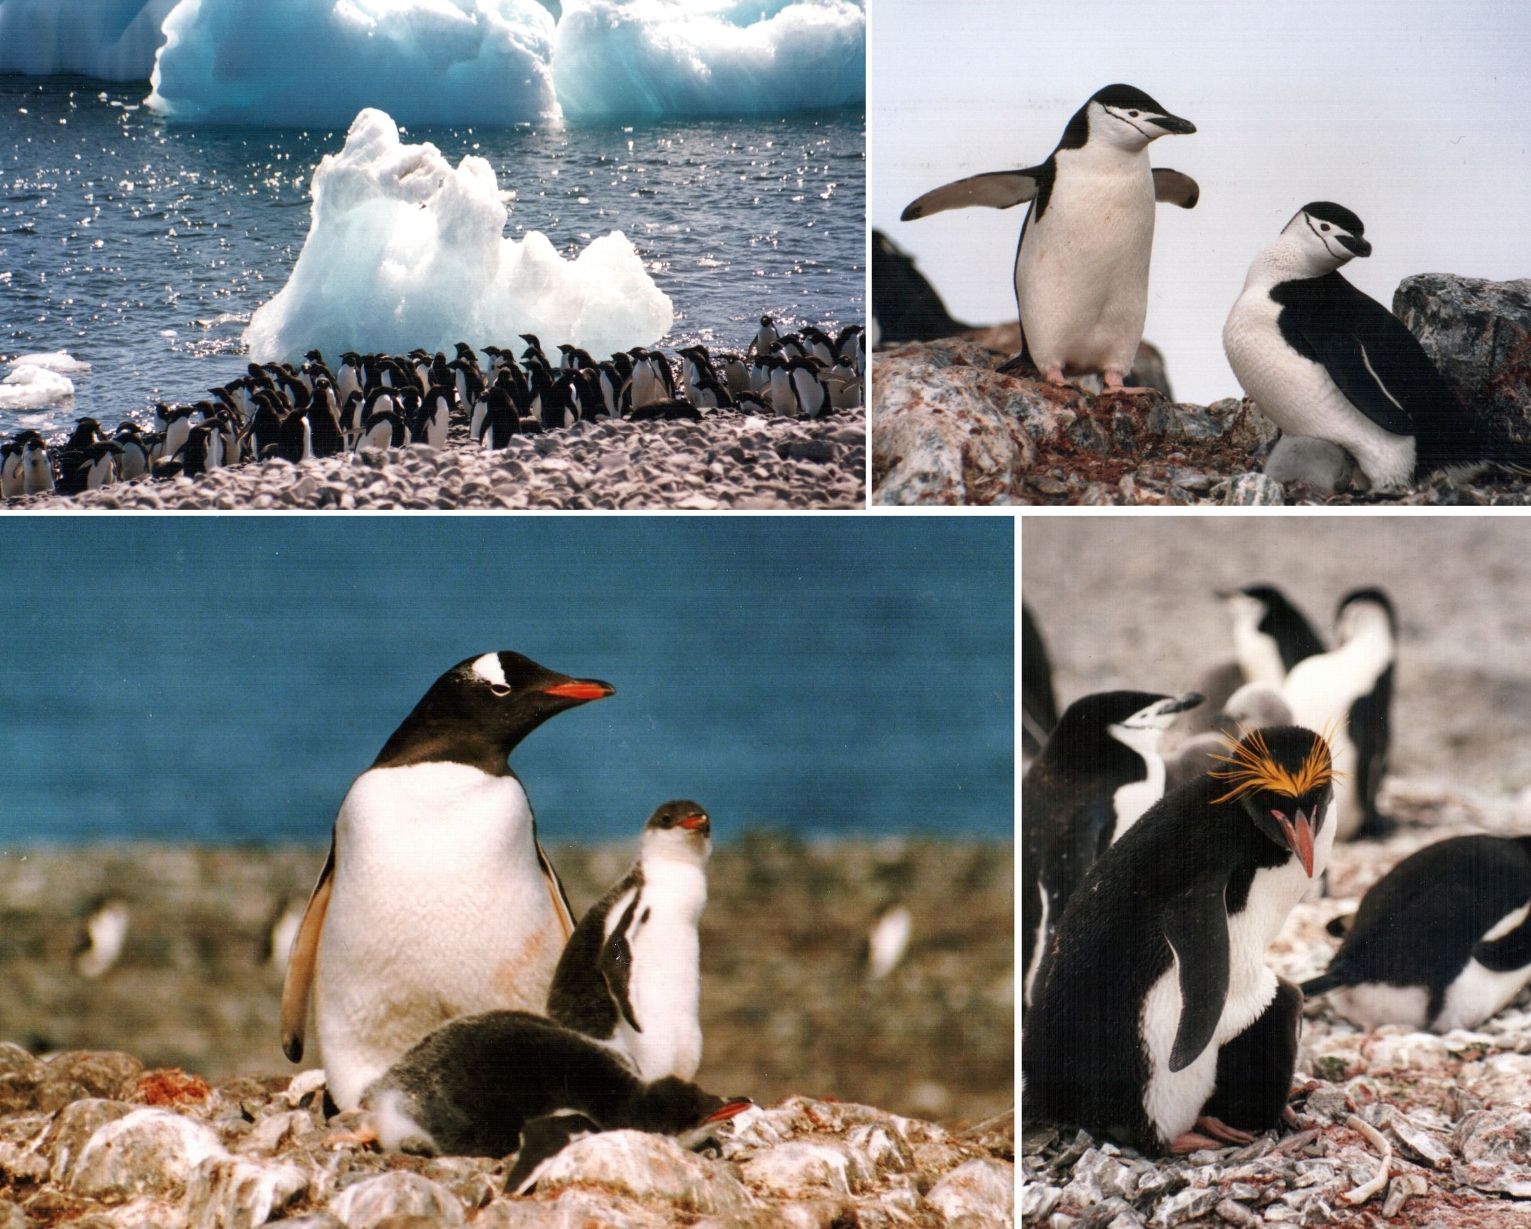
Penguins, albatross and seals. This Albatross is in the Falkland Islands. Lots of whales too which I could never quite catch on film. And yes, I was weaving between all this!

They tell you to not to get within ten feet of the wildlife but if you just sit still on the beach long enough, the penguins all come to you!

Ah well, back to jungly steamy Santa Cruz. It’s time for coca tea and a mango!