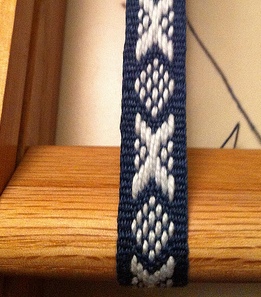
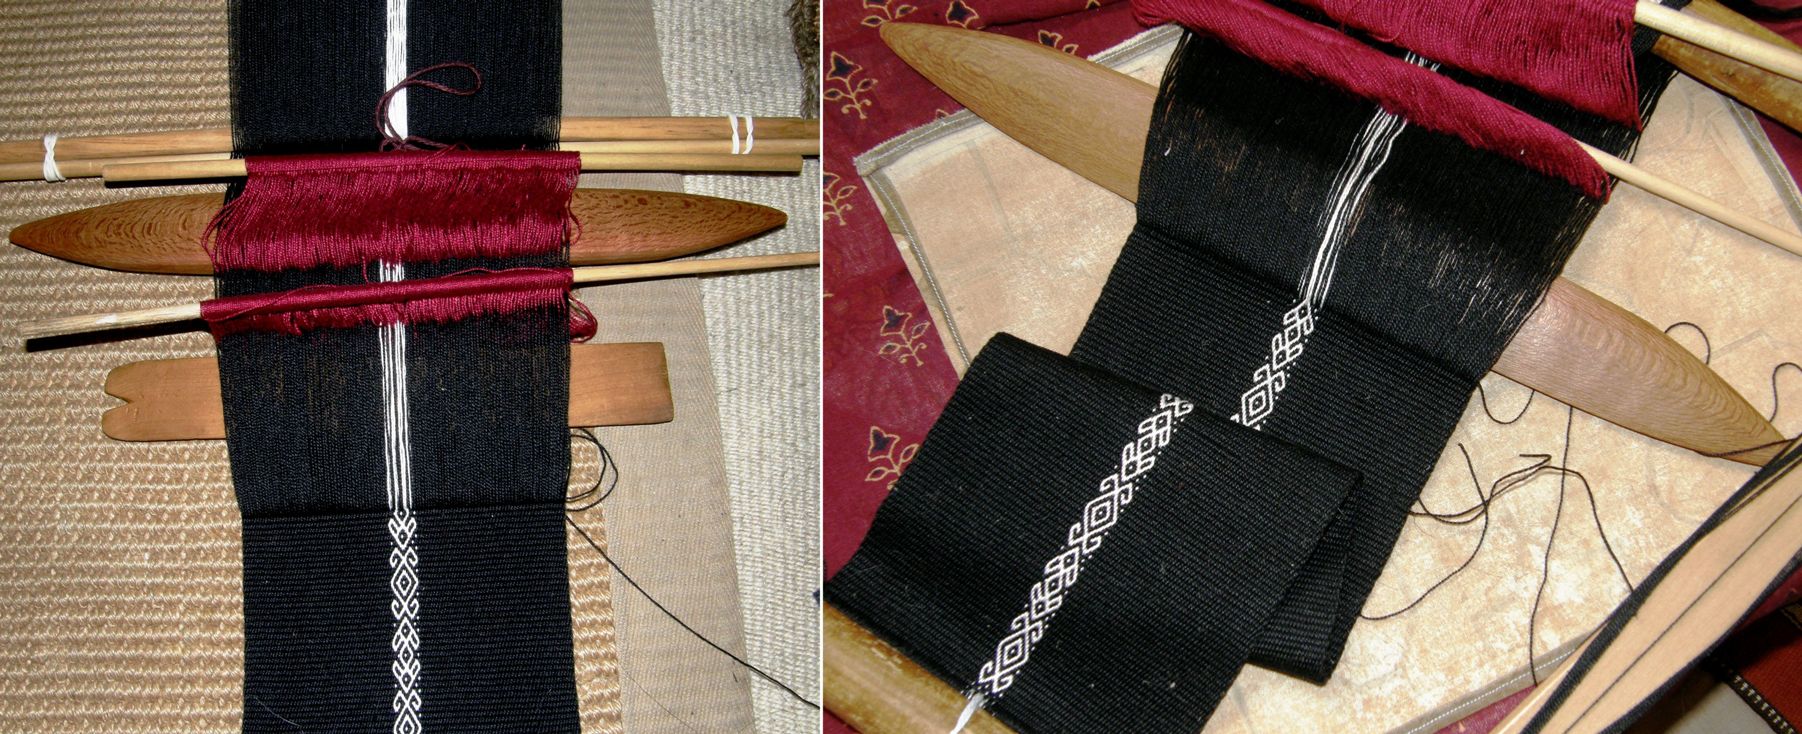
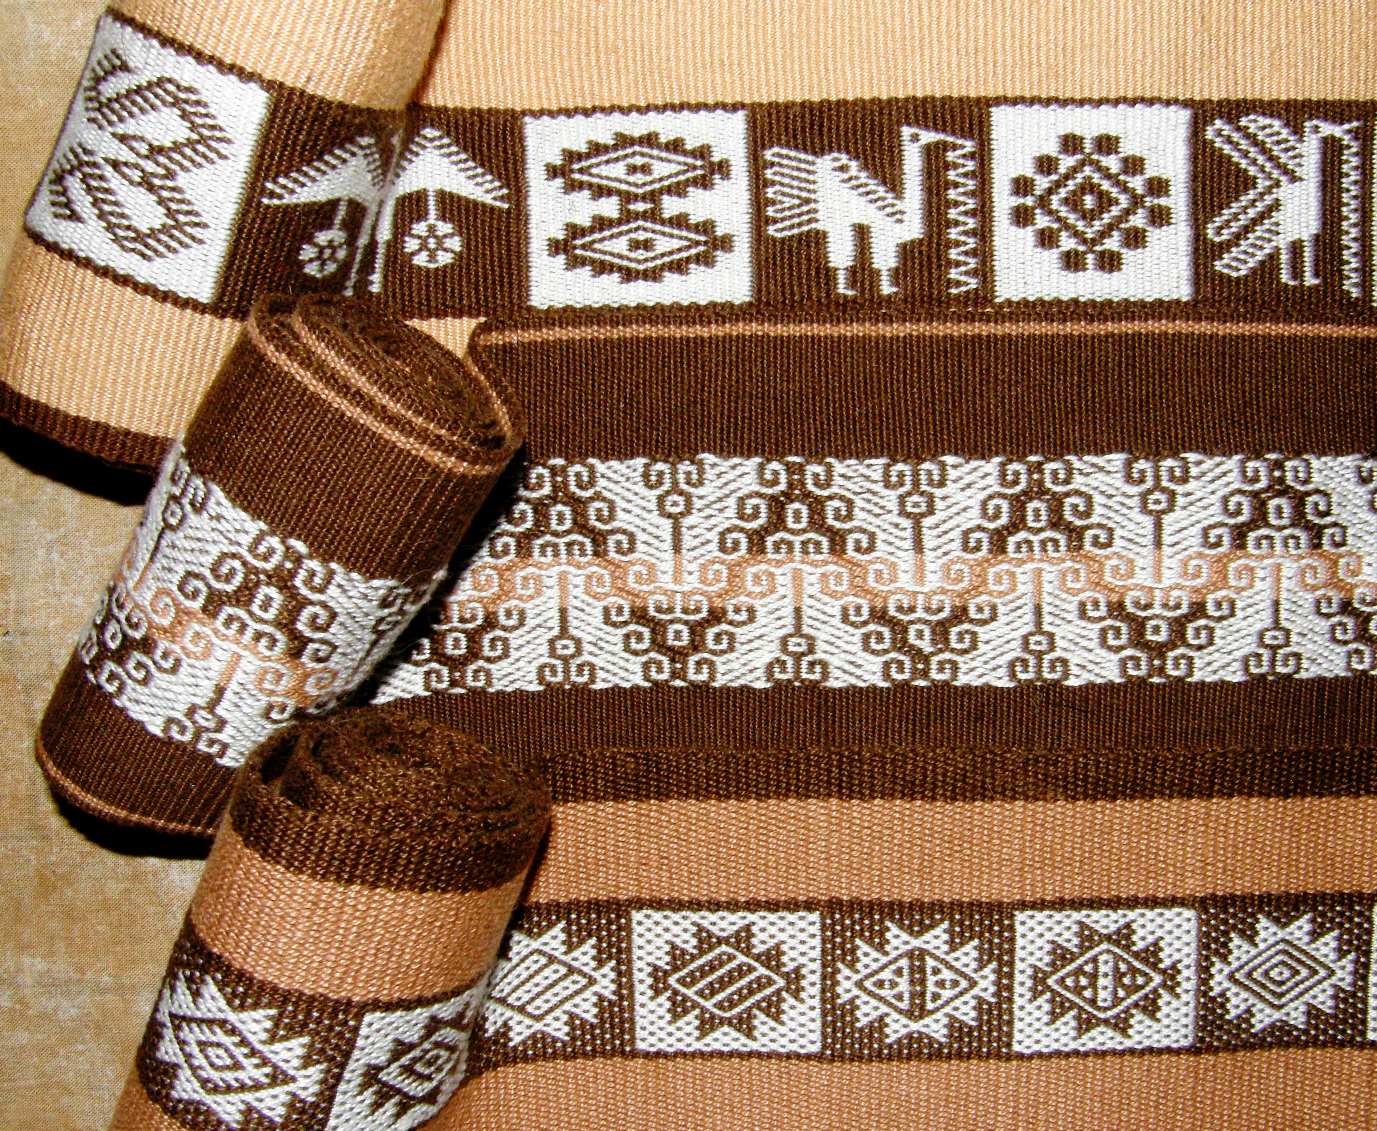
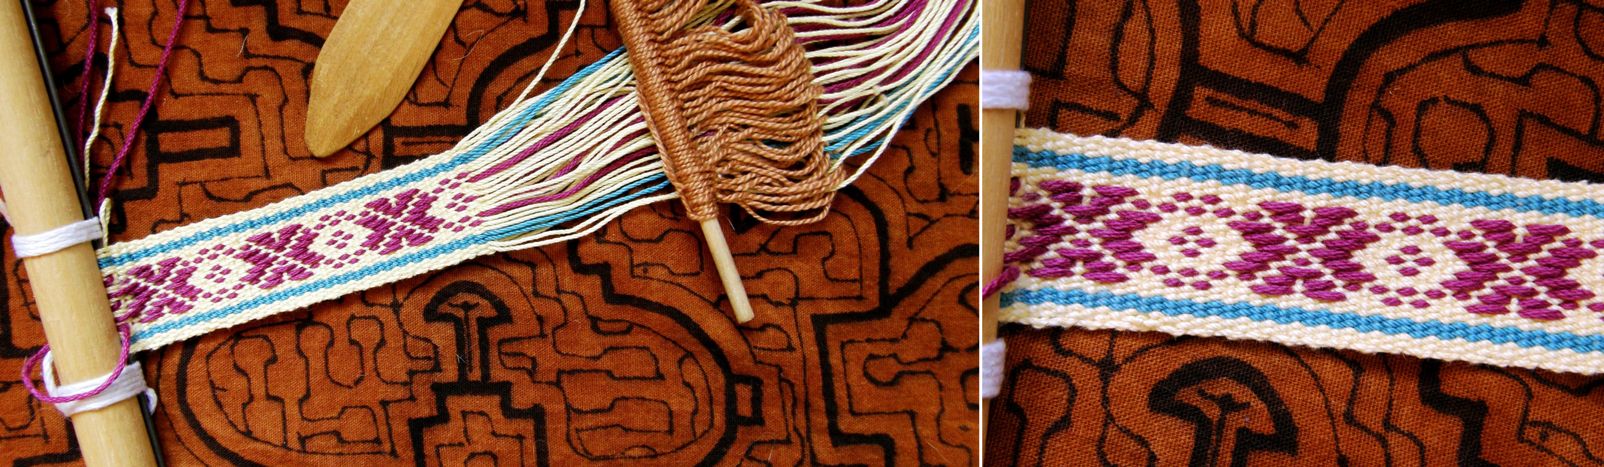
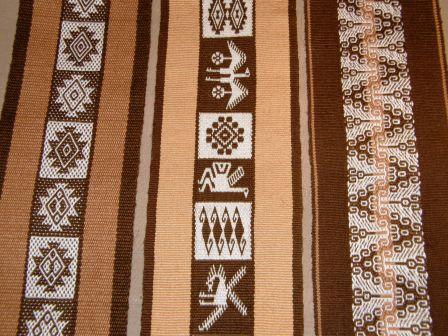
I stopped buying textiles when I travel a long time ago. Firstly, I simply don’t have room to hang or display them and I hate having them stuffed in boxes in my closet.
Secondly, I don’t live in a climate that is friendly to textile preservation…the humidity!…and there is no escaping that now that I have decided I am never using an air conditioner again.
And thirdly, I would rather spend my money on getting places, taking classes and taking a lot of pictures which I can more easily store, enjoy, share and study. I think my digital camera was a far better purchase than any of the textiles I have brought home over the years. Too bad I left it until 2009 to go digital.
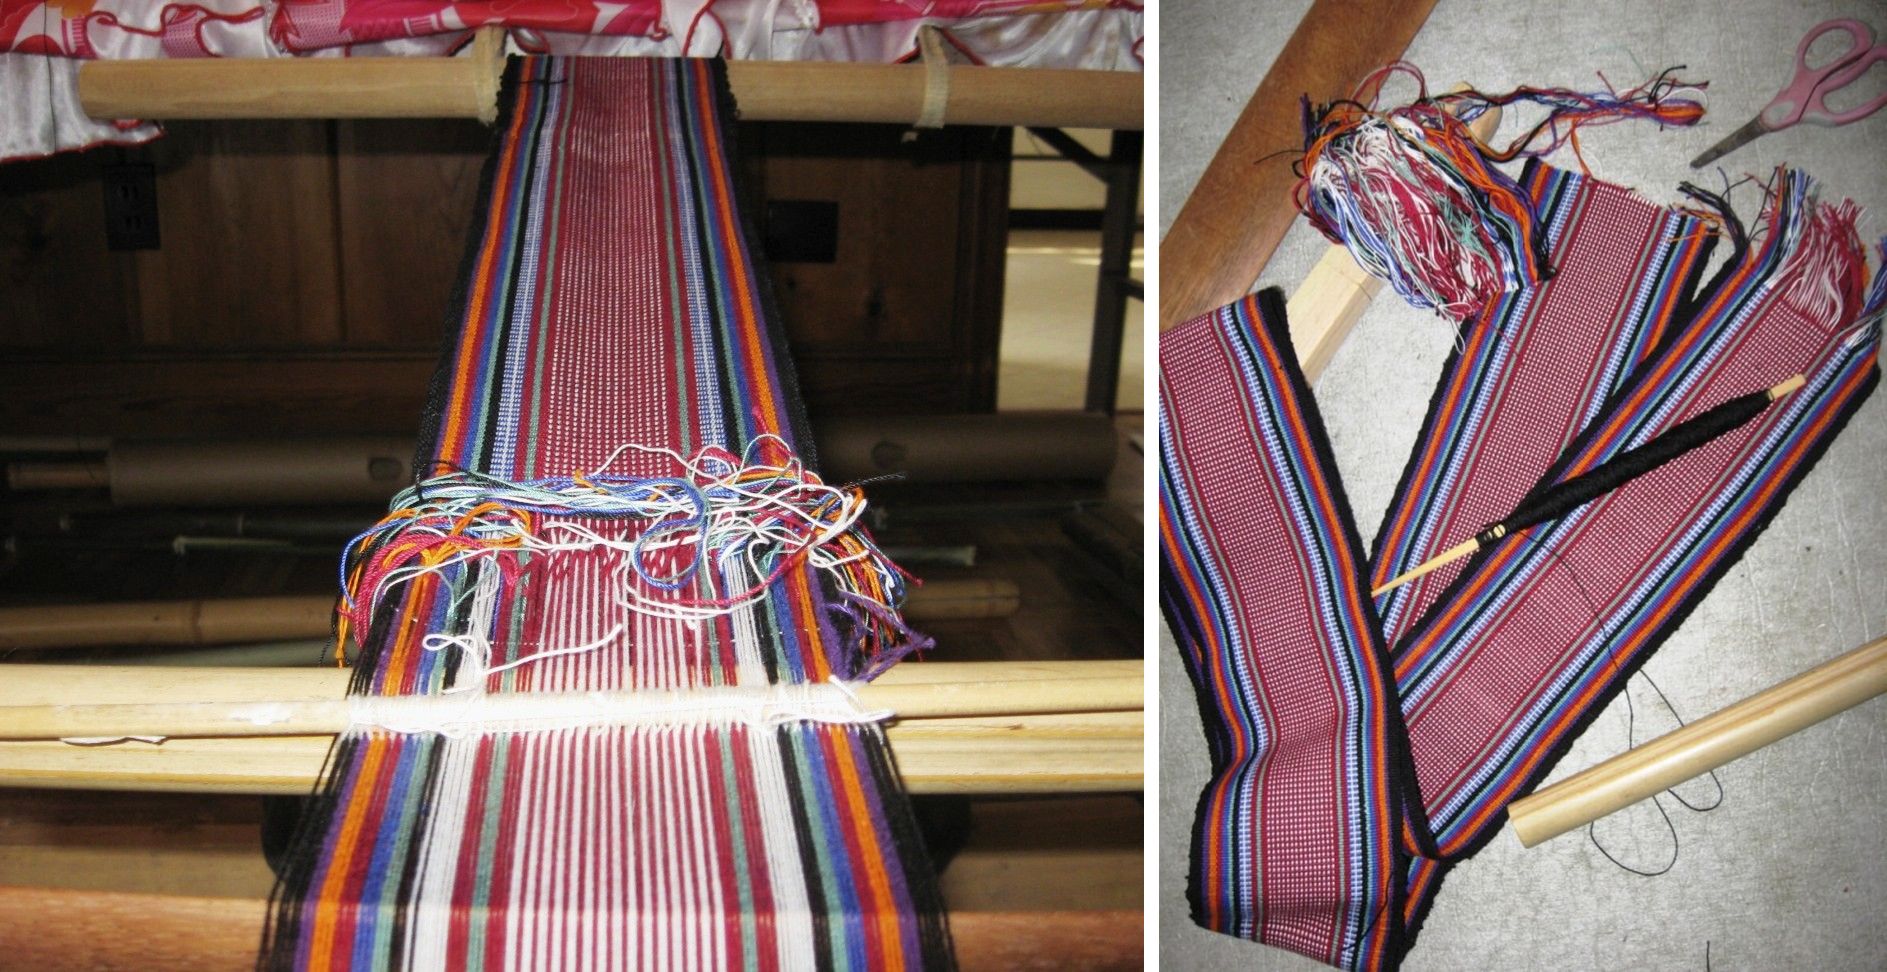
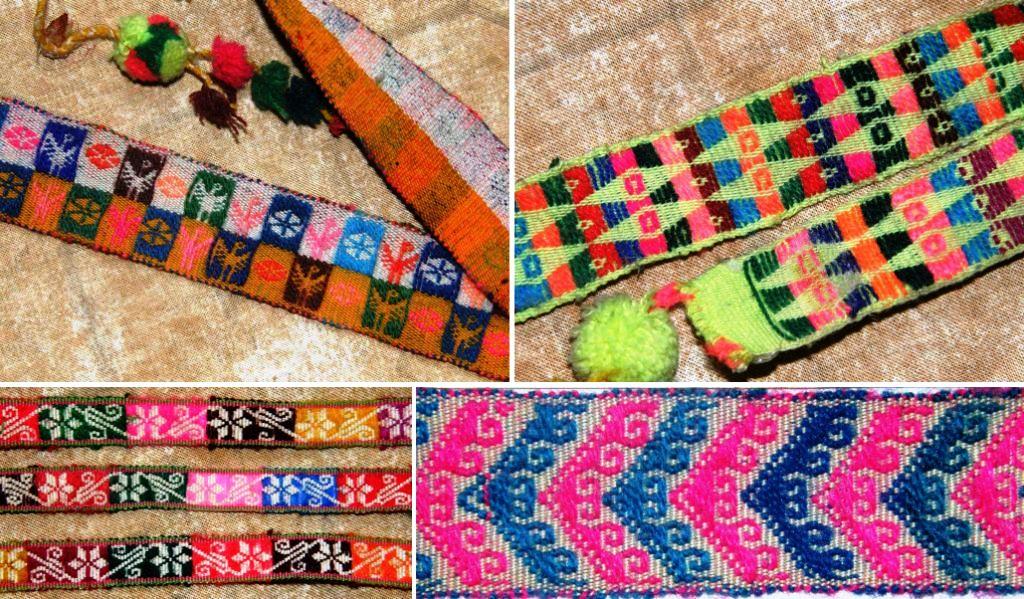
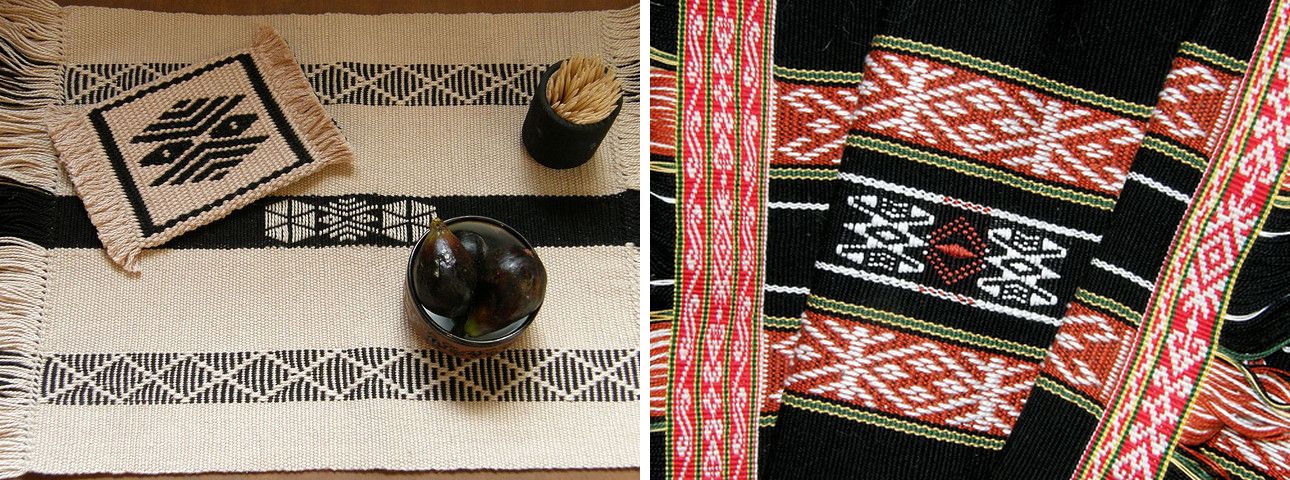
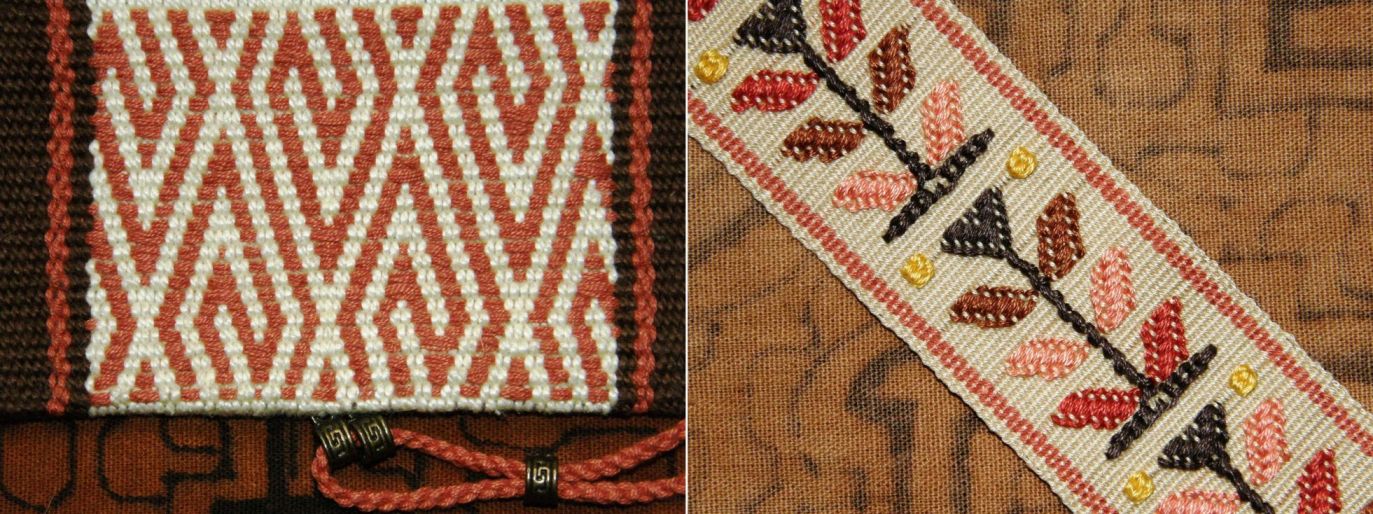
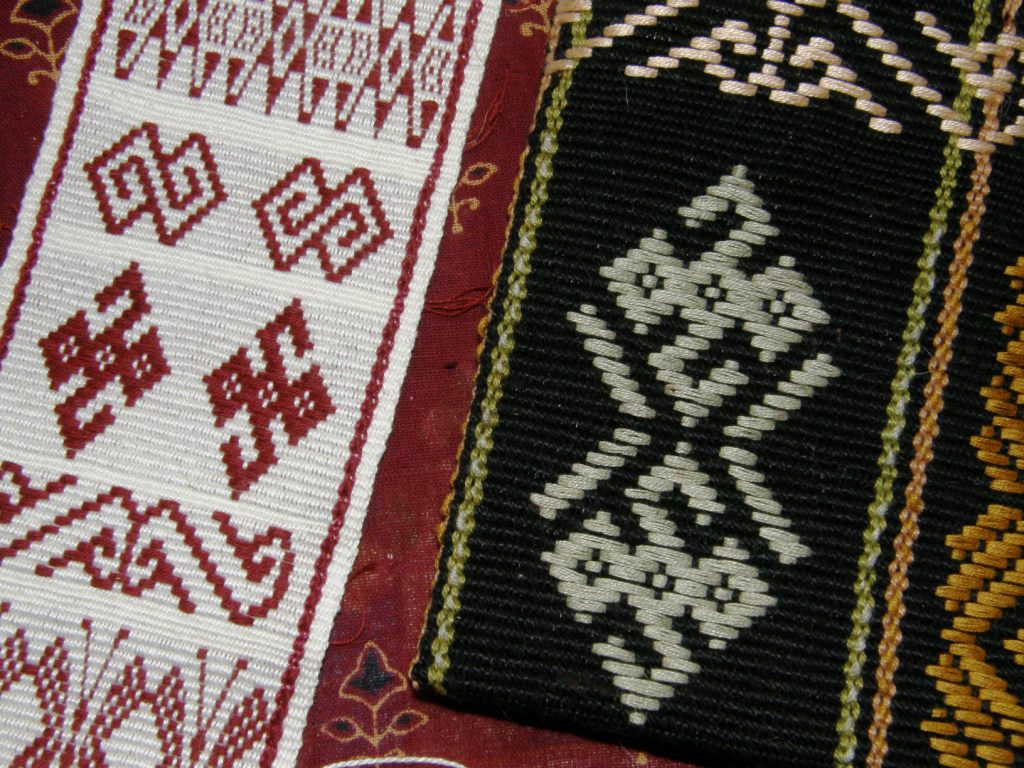
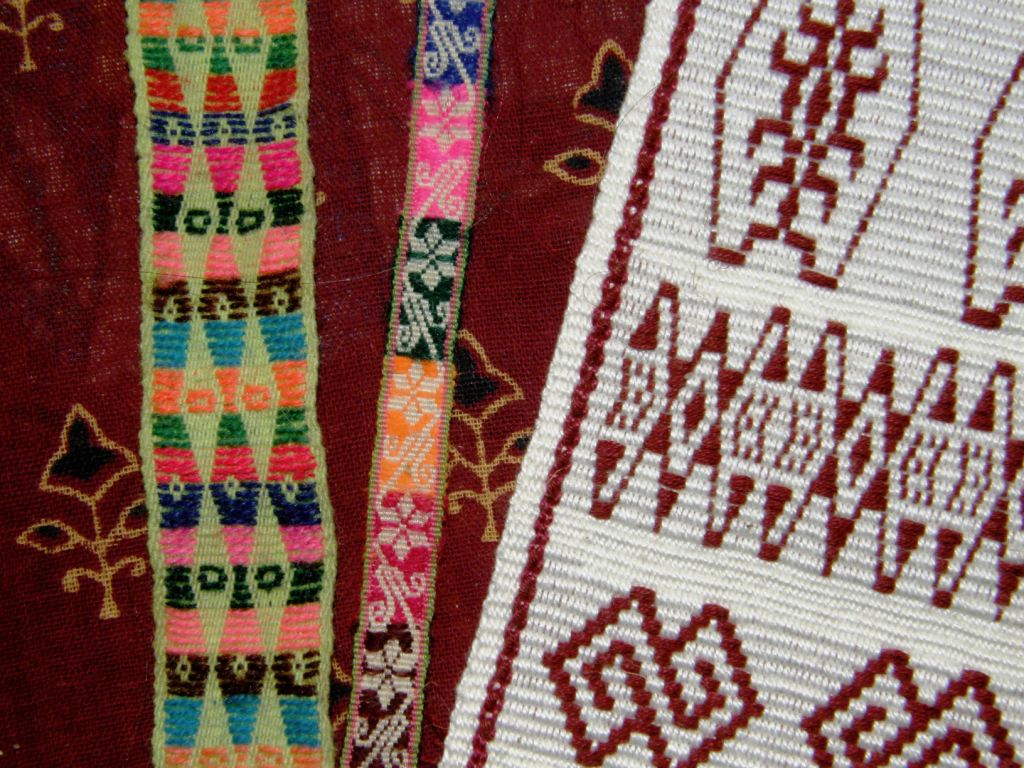
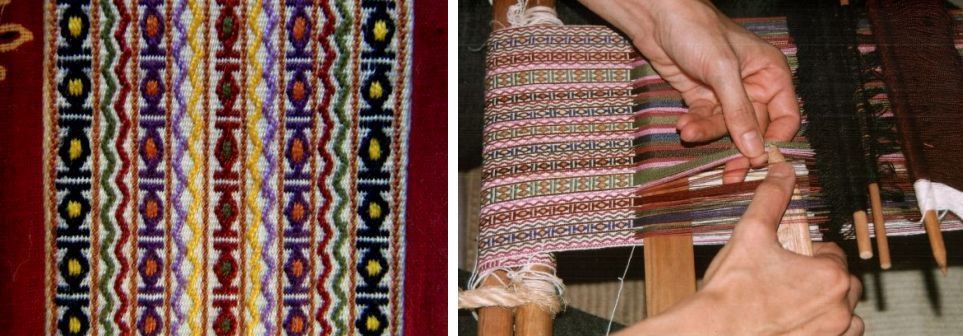
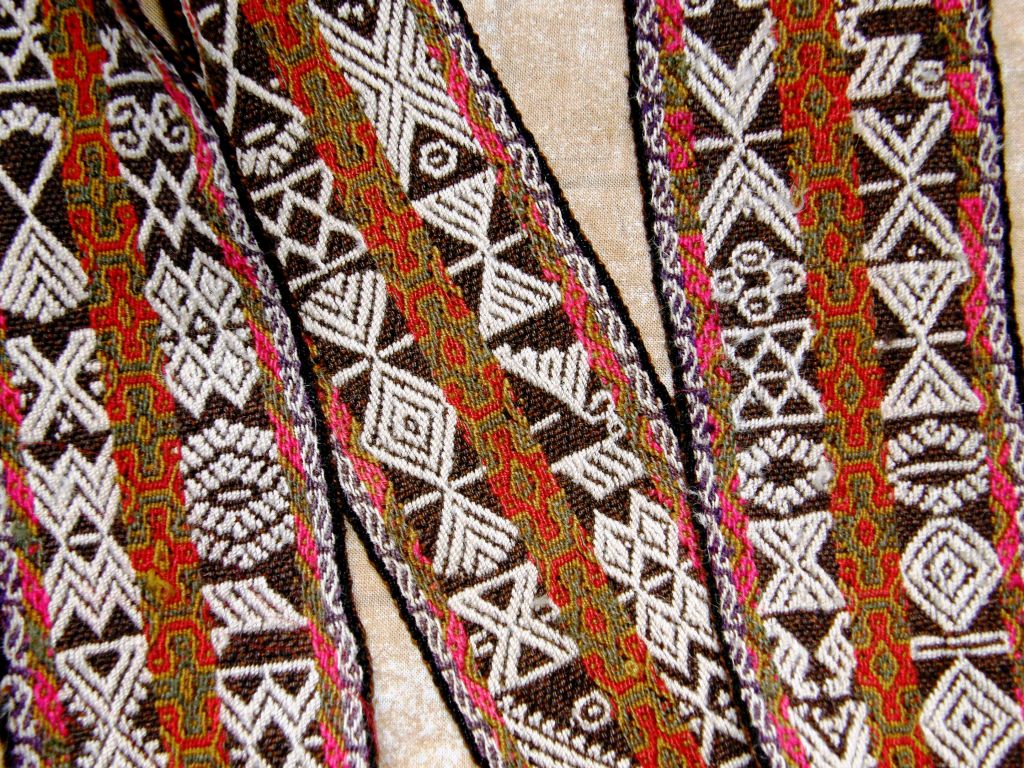
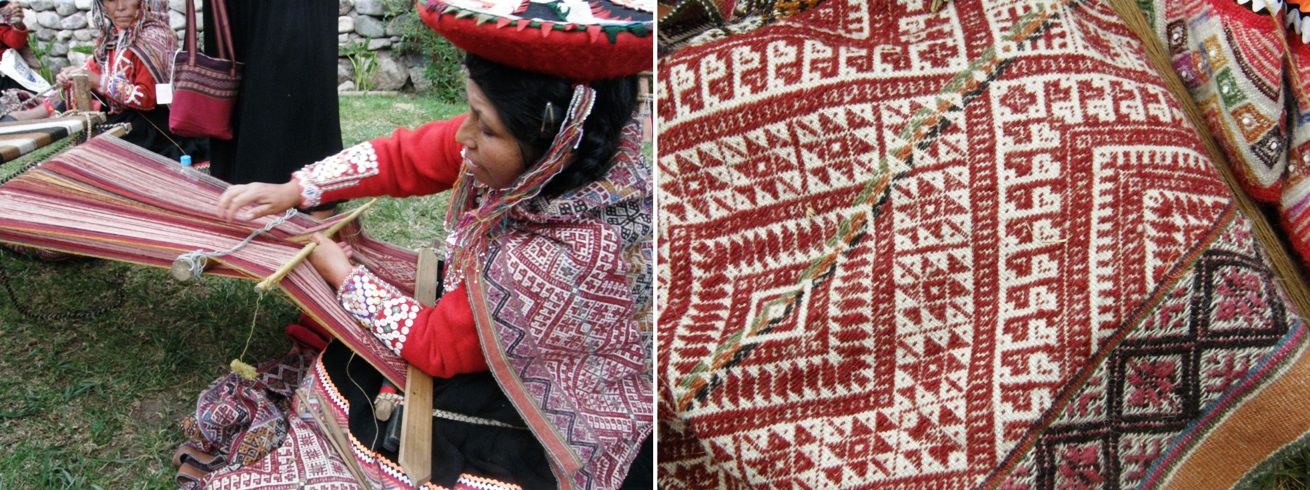
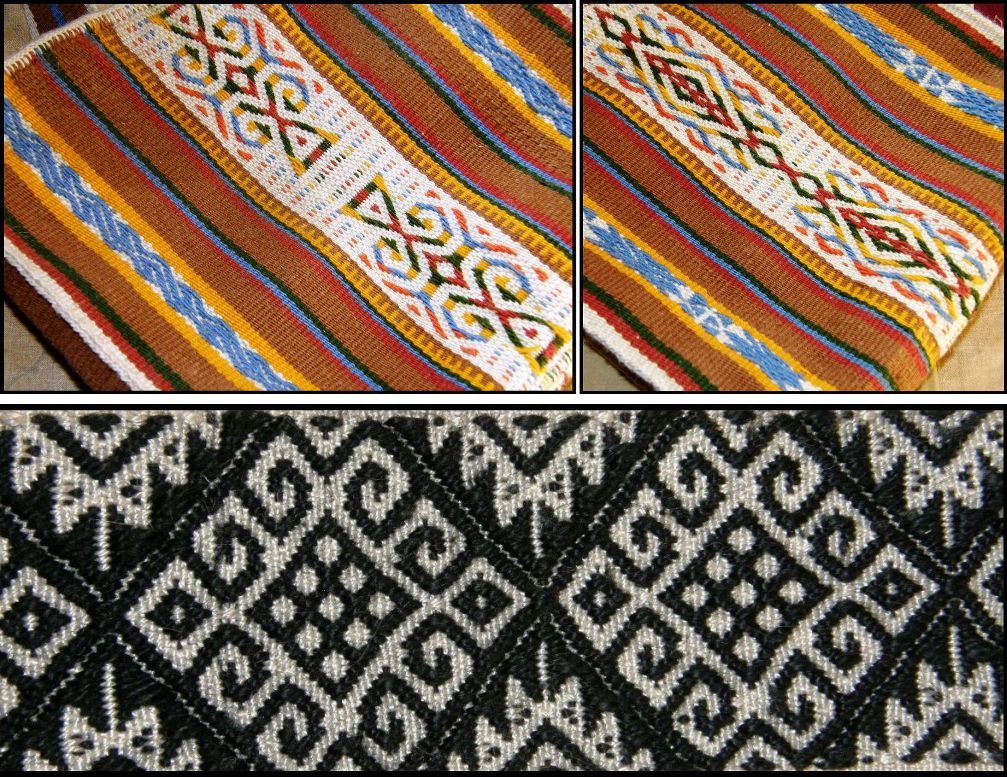
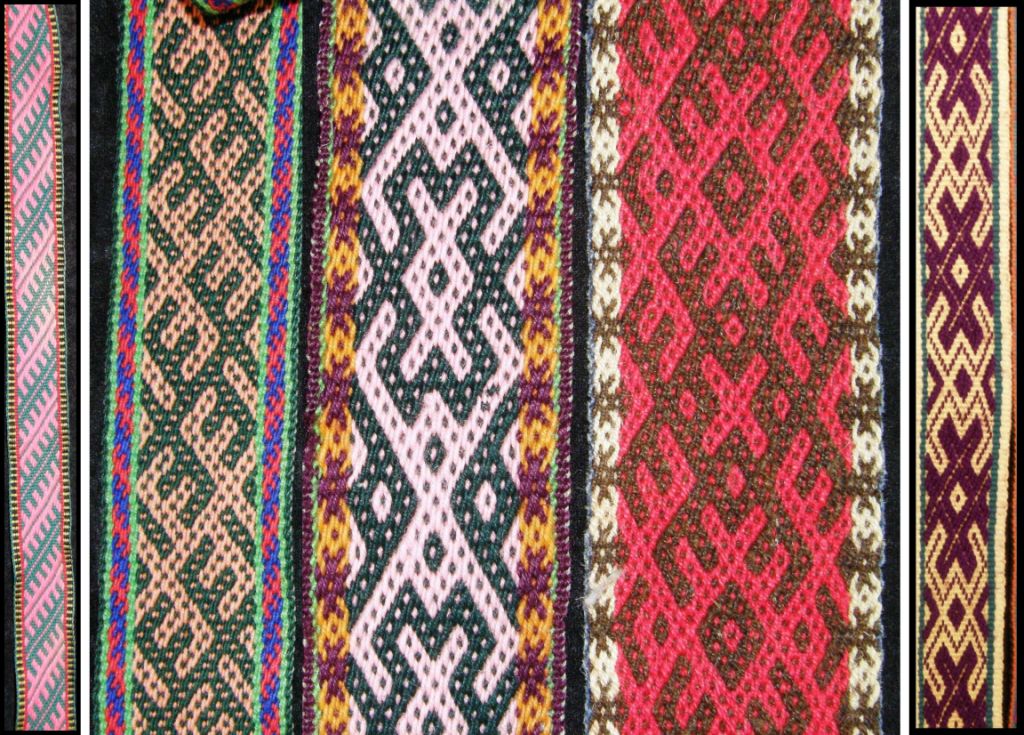
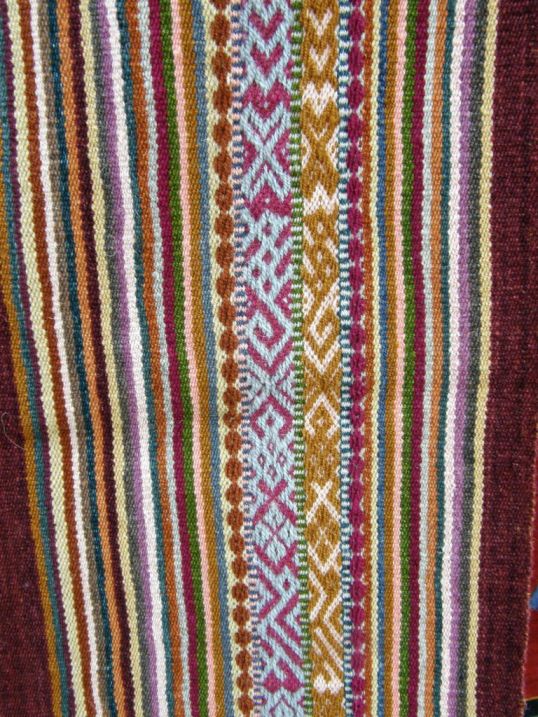
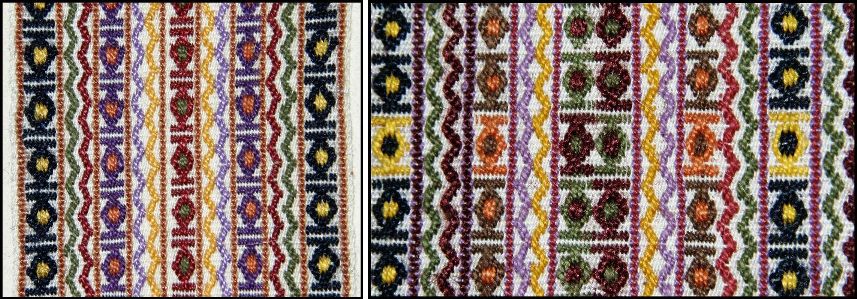
Oh, and one more reason…some of the things I have left out have been chewed by my cat. Above you can see some of the bits and pieces I took out for a profile picture I needed.
This means that I can’t take a case full of gorgeous handwoven textiles of Bolivia and other countries I have visited when I go to the US or elsewhere and want to tell people about the weaving I have seen. Even my own backstrap woven pieces are staying home now after seeing how they emerge in an ugly crumpled state from the bottom of my backpack. There just isn’t a way to carefully pack these things. How do I capture all that weaving in a nut shell without packing and taking half the house with me?
As far as all the amazing indigenous textiles of South America are concerned, I am slowly building a nice digital collection of those and I carry it with me at all times to show on a space-efficient, crumple-proof, cat-resistant disc.
And, if I do take anything at all of mine, it has to have a dual purpose…something that is pretty to look at or which serves as an example of a structure that I am showing, as well as being useful while I am on the road.
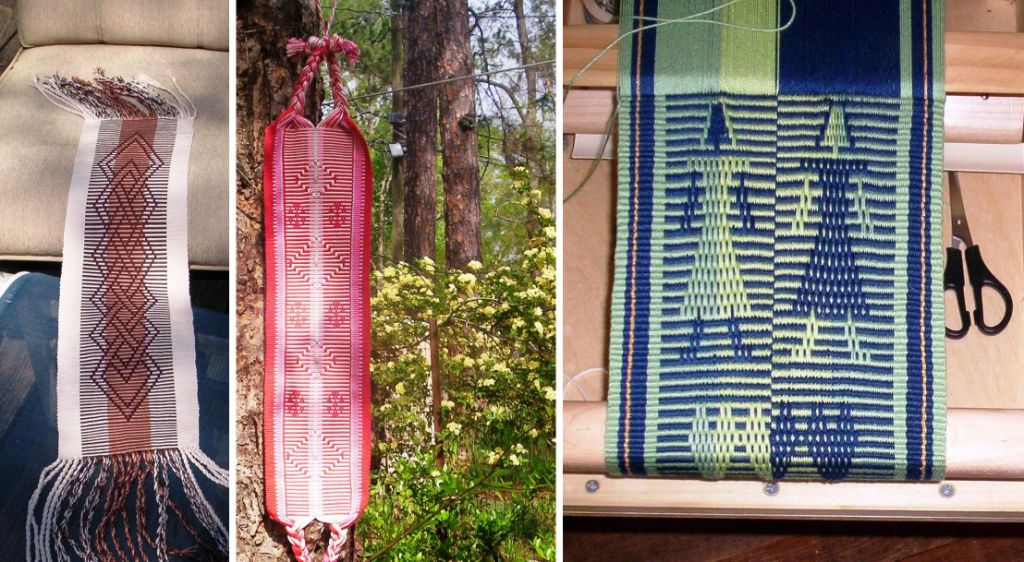
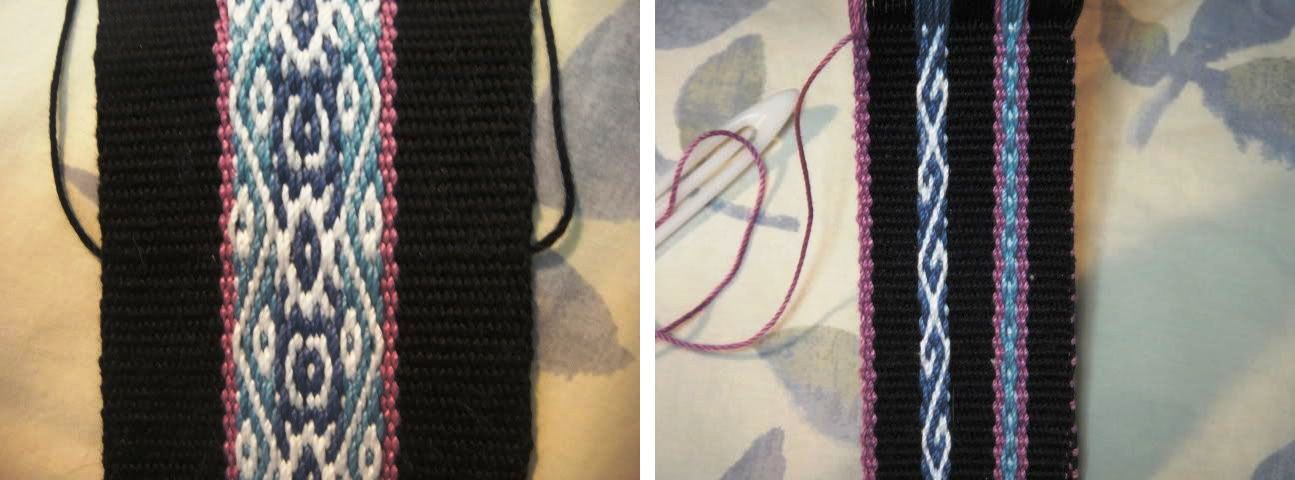
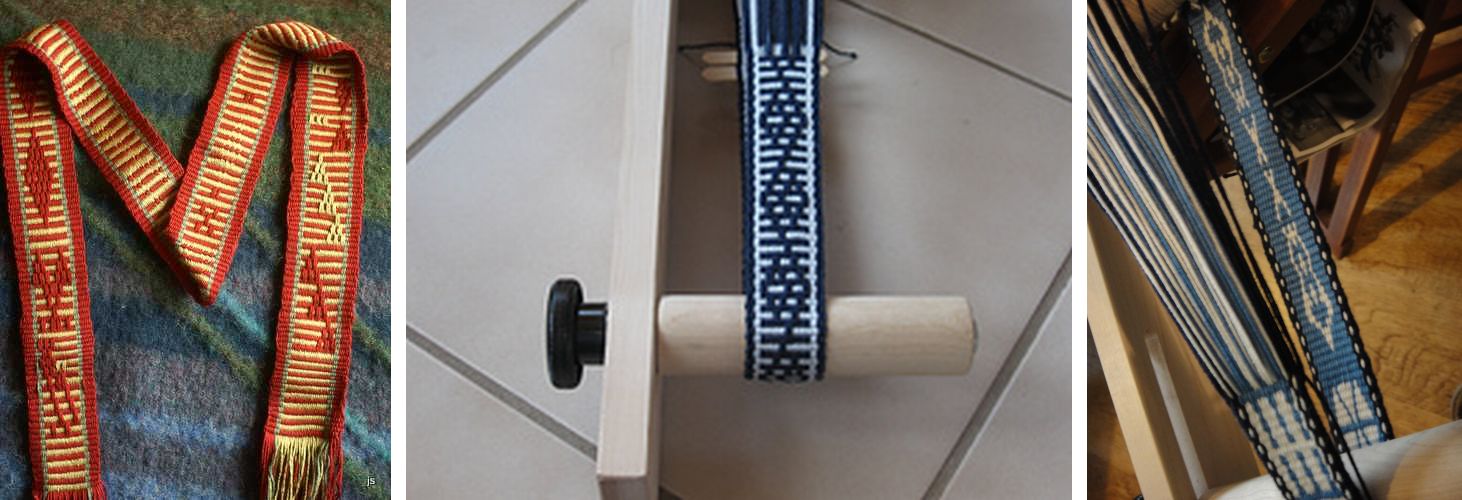
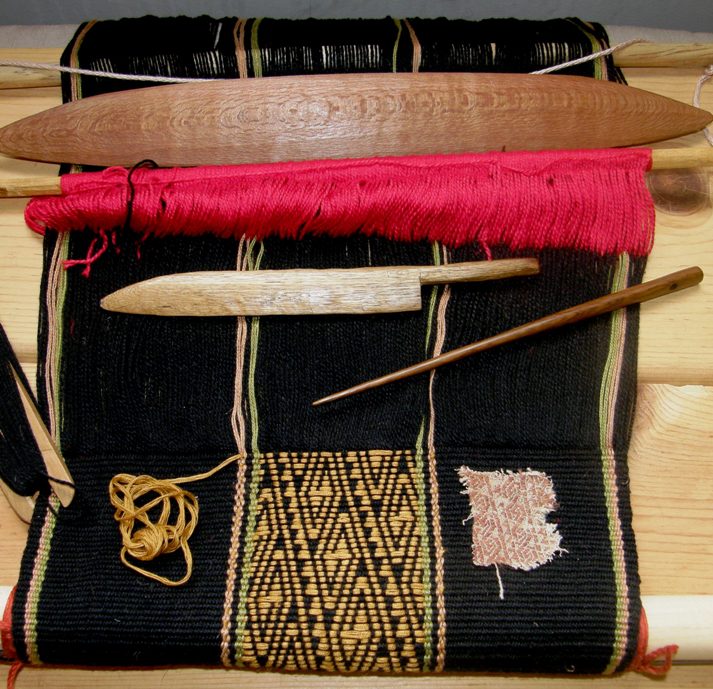
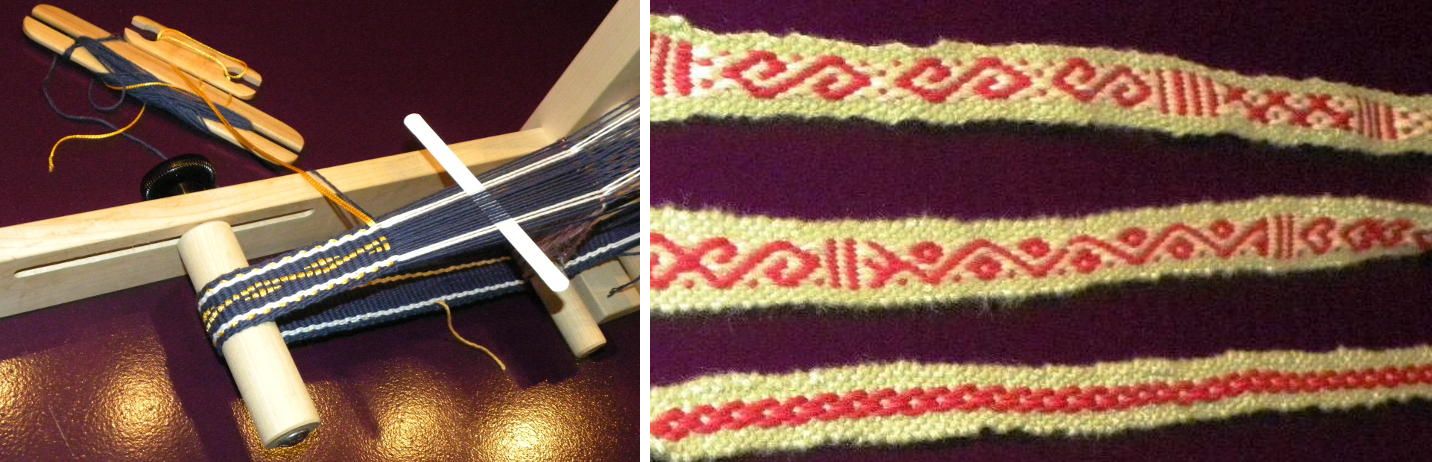
Something like these backstraps… I can’t believe that it was this time last year that I was weaving these in preparation for my spring trip to the US. How time flies! They show some simple and complementary-warp structures as well as being useful to people who want to weave along with me. They are sturdy and roll up nicely for packing.
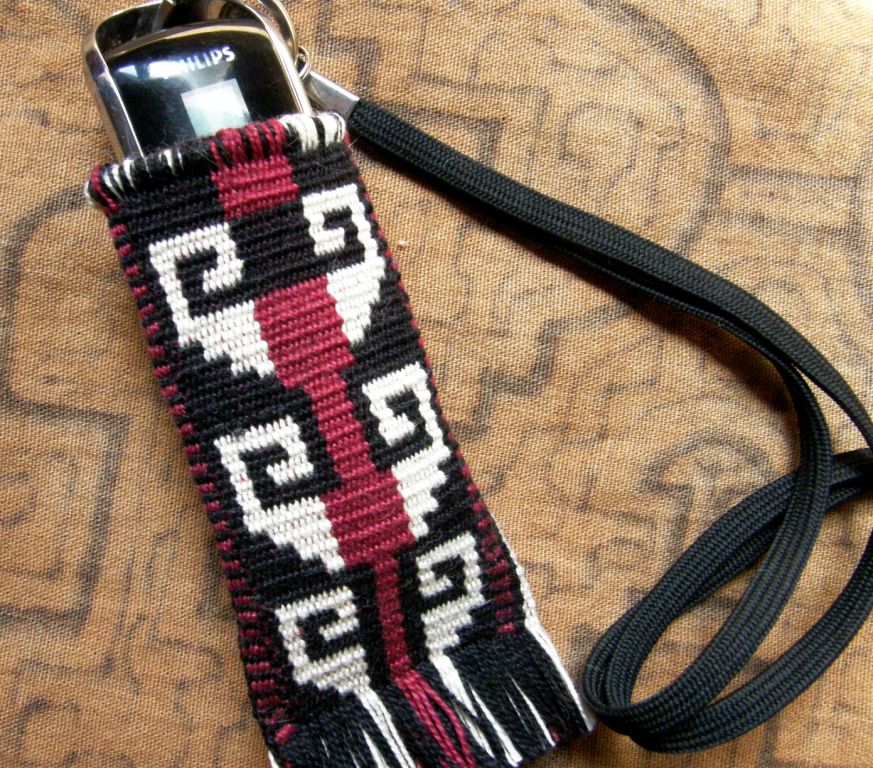
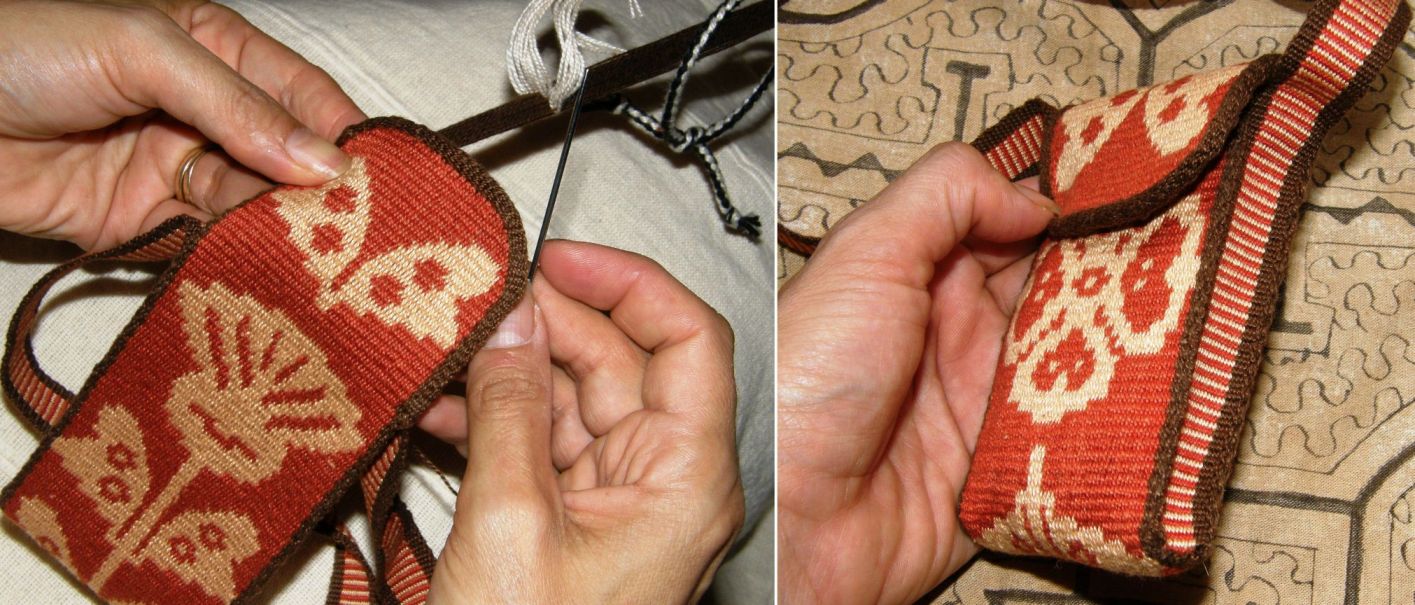
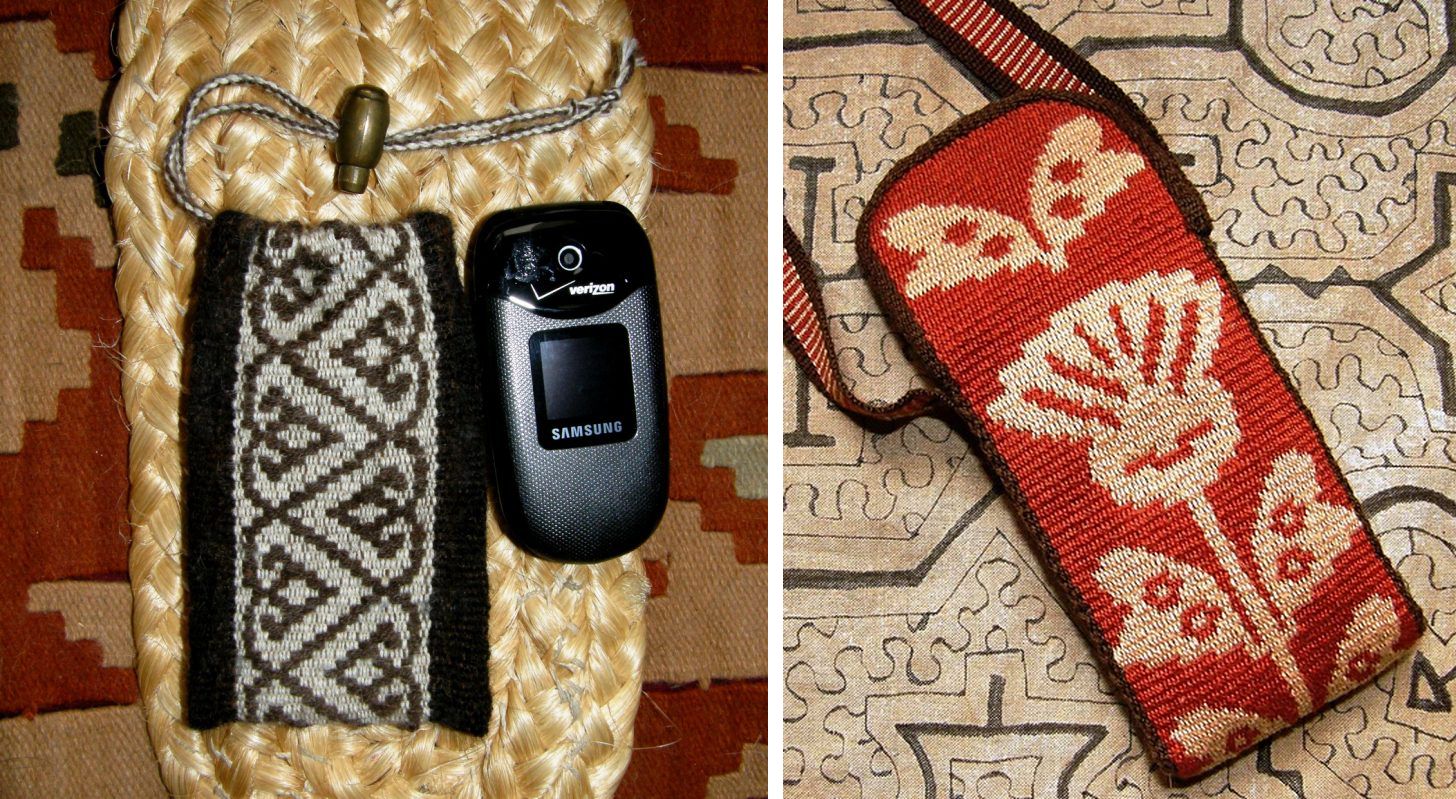
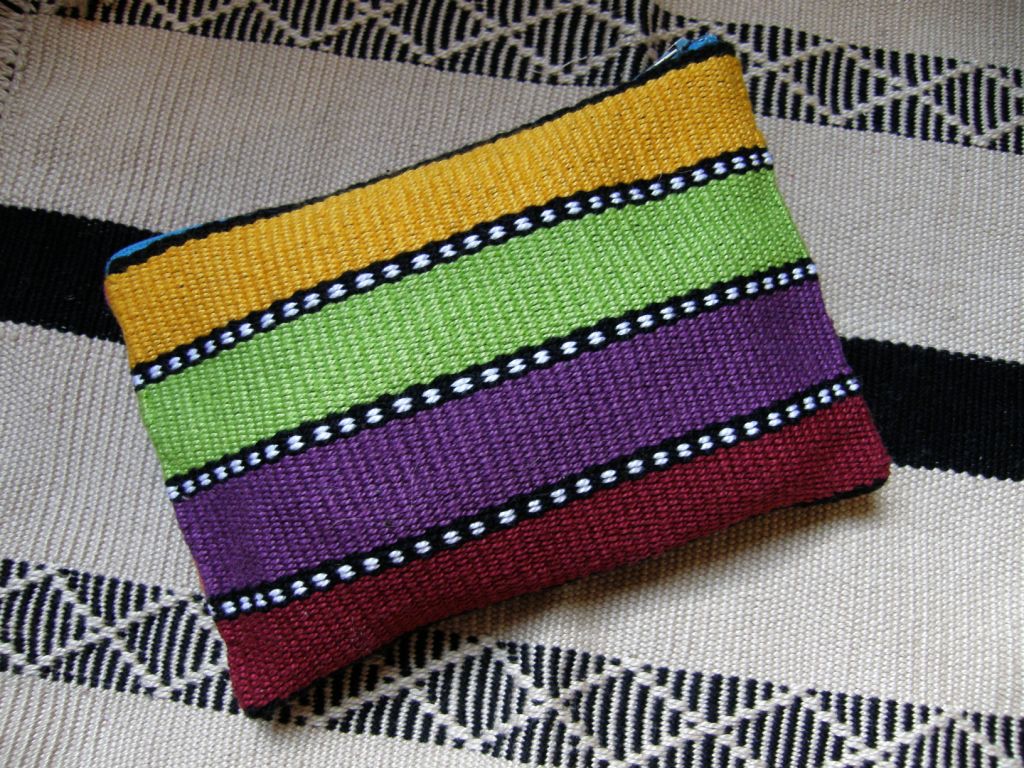
I don’t have a cell phone here in Bolivia but I find I really need to use one in the US for airport pick ups and that sort of thing. And it is just as well as I have quite a few cell phone pouches to choose from. I take one pouch for the phone and one for the charger.
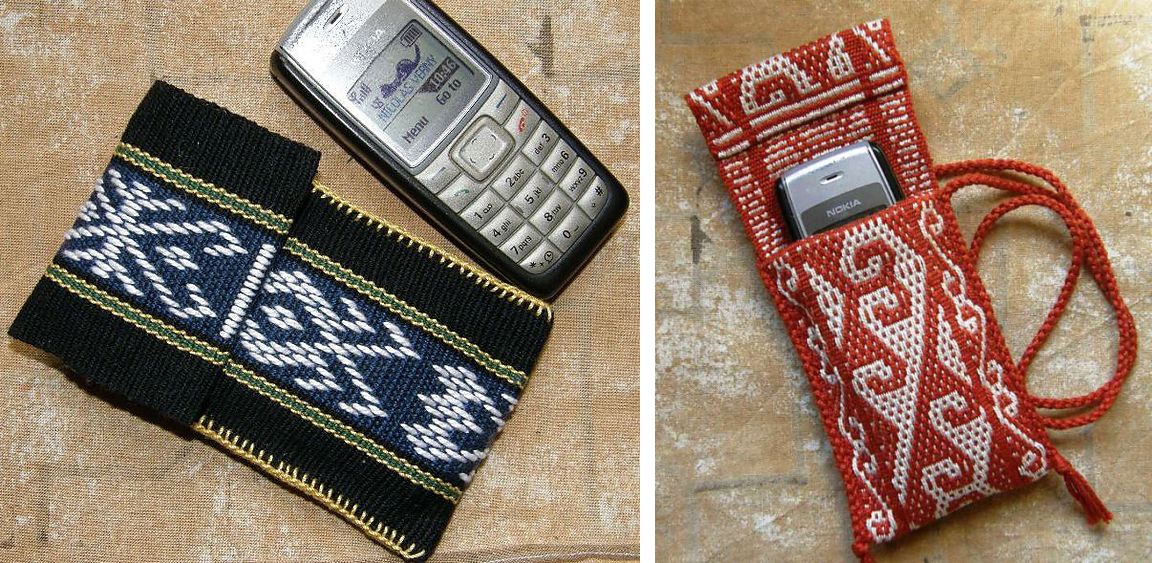
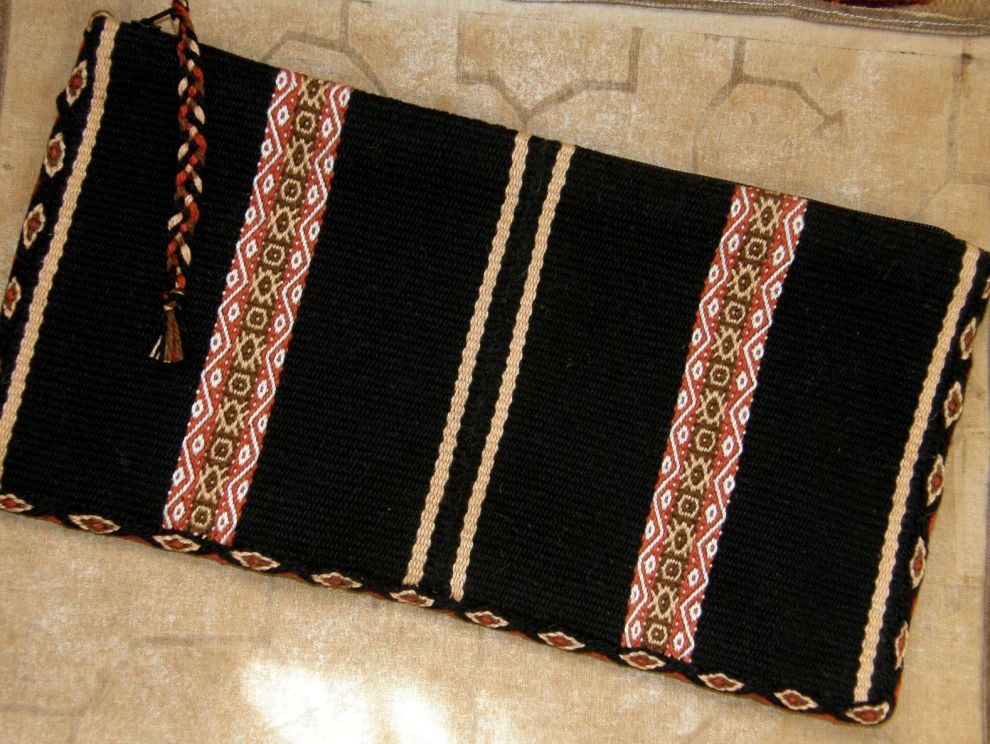
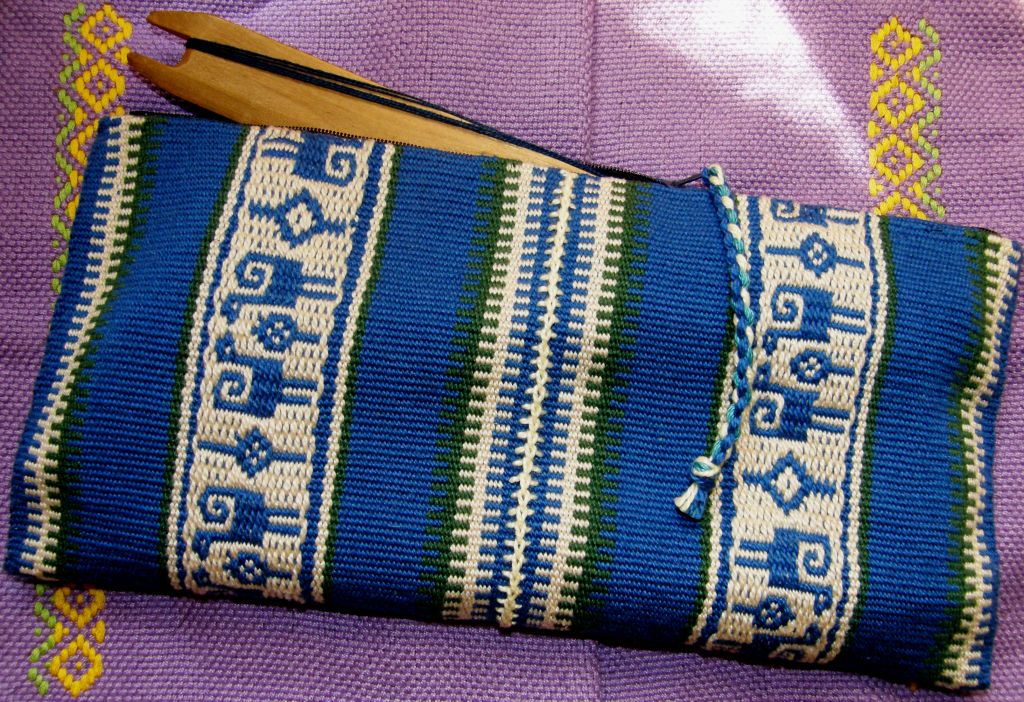
Here are a few of them…
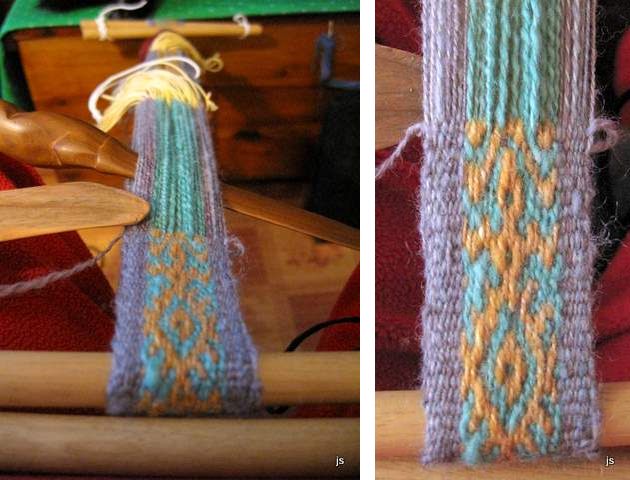
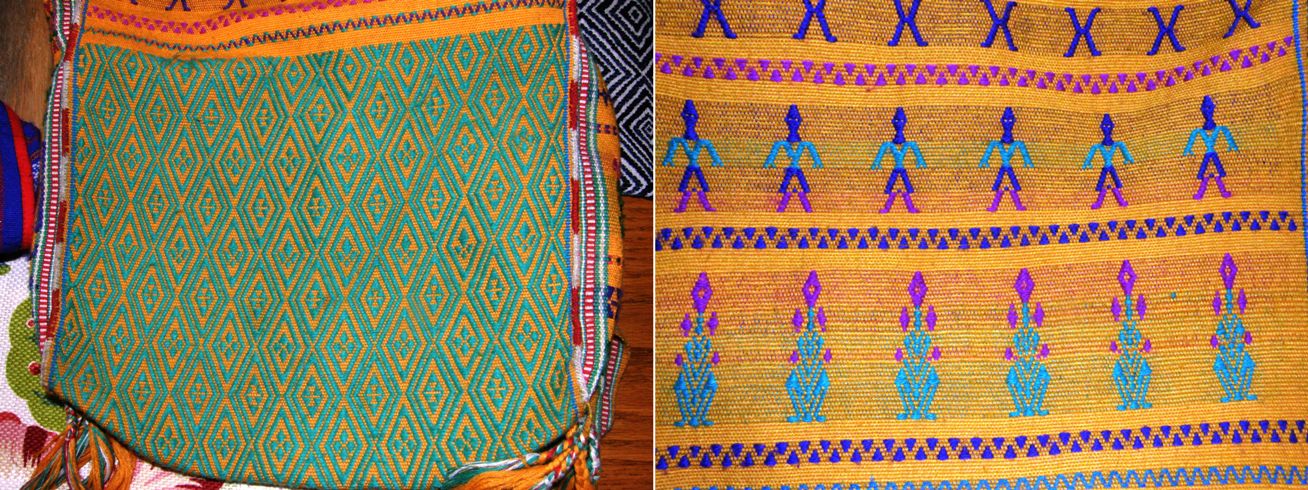
I should choose the ones that show structures that are not part of the backstraps. So, I could use the finnweave examples above or the supplementary weft patterned handspun alpaca one below or….
the one below left with the Van Dyke stitching that the Montagnard weavers use on the edges of their bags or….
…the one above that has a tubular woven band finish on the shaped flap. These little pouches are also handy as business card holders when I travel.
Then the glasses need to be accommodated. Ah, as the years go accumulating, so do the eyewear needs…reading, long distance, over contact lenses etc….What ever happened to the days of traveling light?
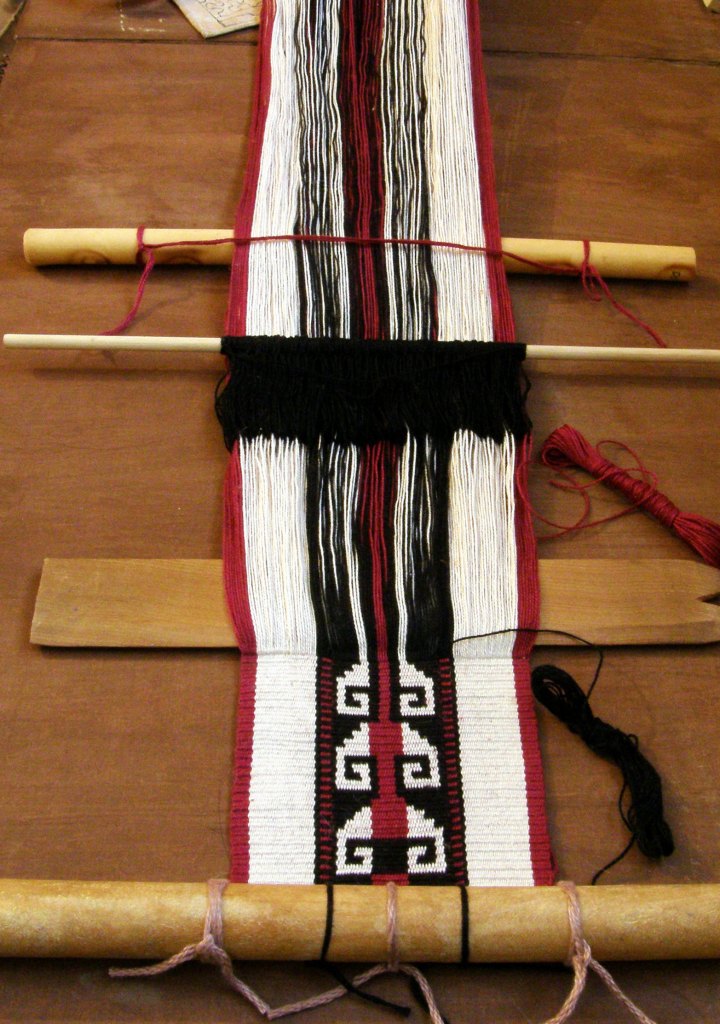
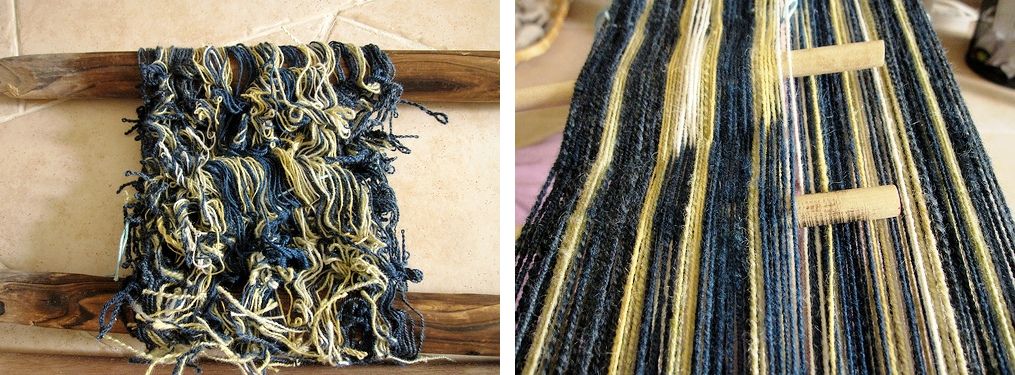
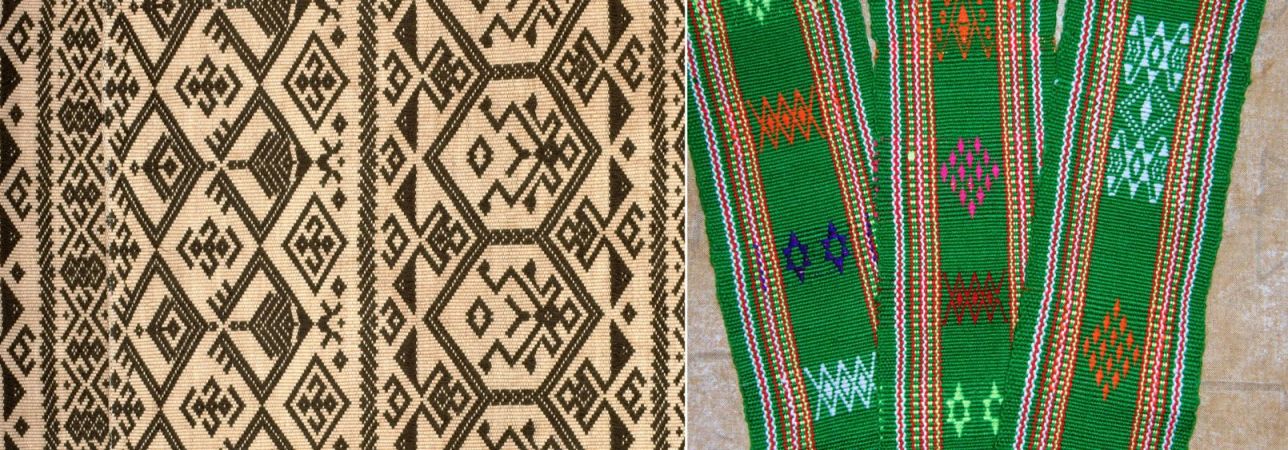
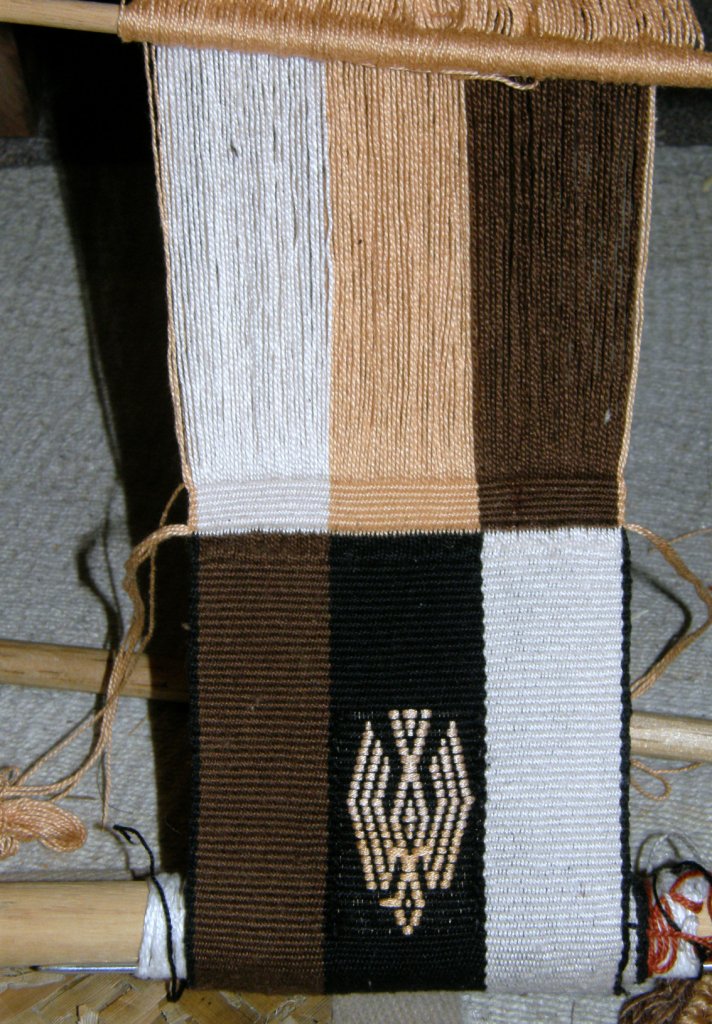
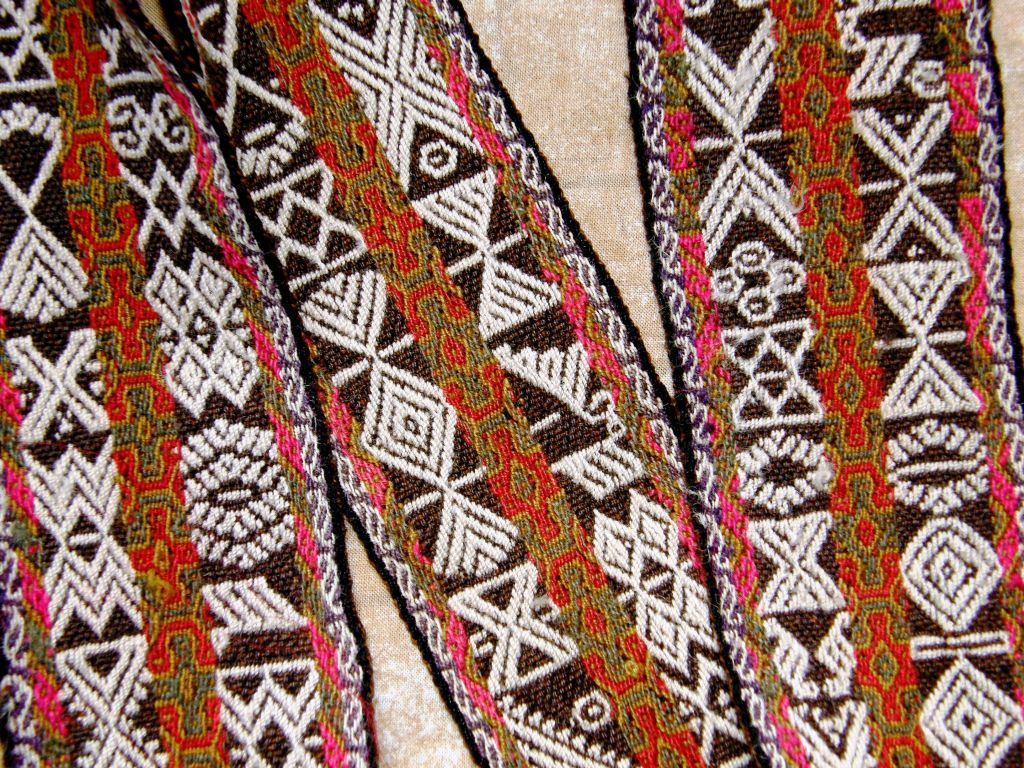
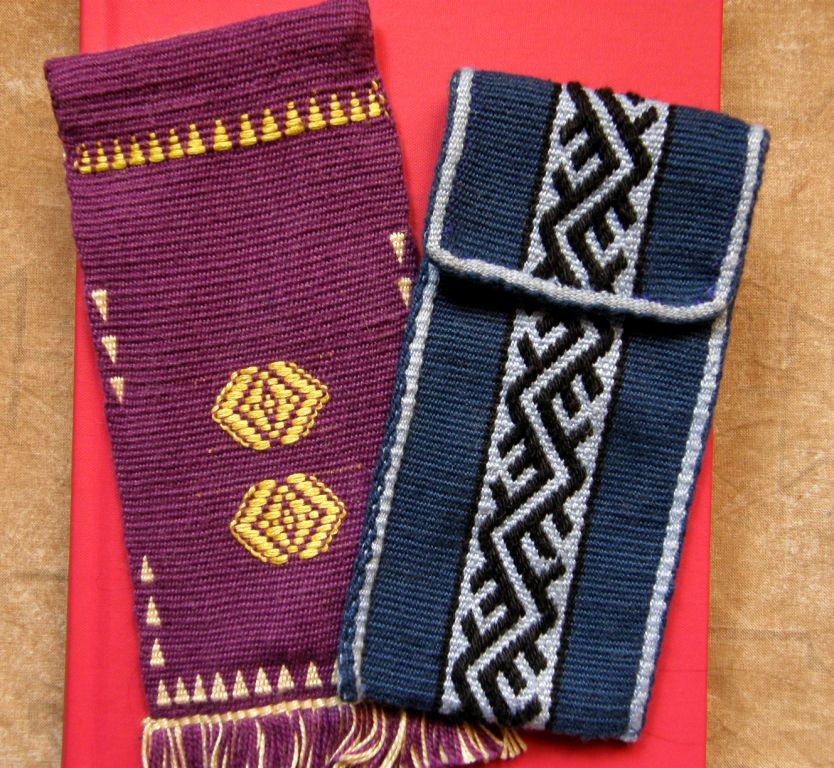
With the wool one above I can show people the theory behind the technique for making the discontinuous warp textiles that has being revived in Pitumarca, Peru.
At left I have a seamless tubular case made in double weave with a little supplementary weft patterning.
The blue case has a supplementary warp patterned strip and has been edged with a pebble weave tubular band.
These are all just samples that got made into things that now have the dual purpose of showing structures and techniques in a nice compact form as well as protecting my glasses while on the move.
If only I would use them here at home too, I might be able to locate my glasses more easily before I end up sitting on them!
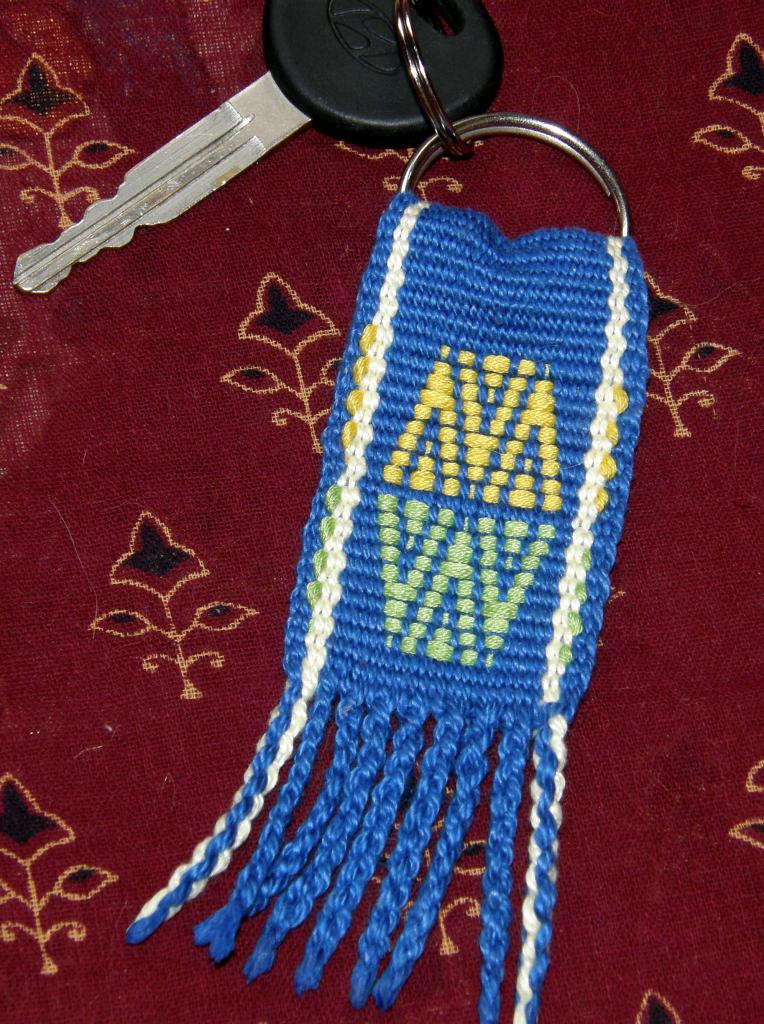
Key fobs are useful for quickly locating all those keys to the TSA approved locks. Yes, I finally got some of those after getting tired of finding my broken locks inside my open luggage with an explanatory note. Would you believe that I don’t have a single woven fob right now? I always end up giving them away. I shall add that to the pre-trip “to-do” list. They are particularly good for showing lots of different structures in a very compact form.
I usually take a couple of projects on the loom so I can demonstrate backstrap weaving. I don’t warp with anything in particular in mind and the purpose is just to show how the loom works. Those projects usually suffer a lot as the loom gets tied up in different places at different angles and under different tension and the projects often are not looking quite their best by the end of the trip.
Fortunately, on the my last two trips the projects survived and I was able to make them into something on my return which are handy items to take on the road….
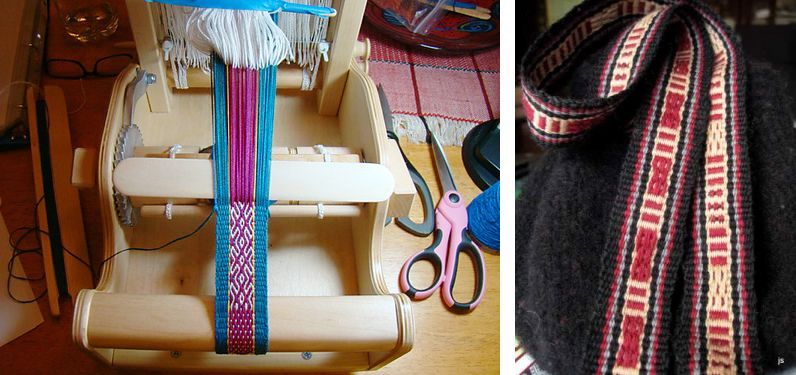
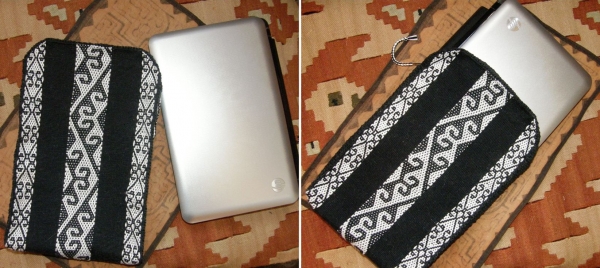
A dust cover for my notebook computer in two-color simple warp floats,
…a good sized pouch for my sewing materials in good ol’ plain weave,
…a nice large size tool bag to show a ñawi awapa band. It goes along with this next one (can’t have enough tool bags!)
…which shows the Van Dyke stitch used for joining pieces of cloth.
Oh, and there are a bunch of other pouches and purses that I use for coins, writing materials and documents, like this handspun alpaca passport pouch…
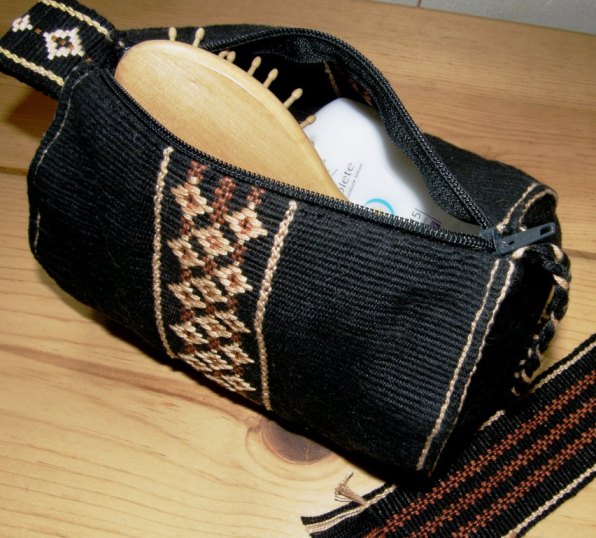
This little sausage pouch makes a great cosmetics bag and it shows how supplementary weft patterns can be used on top of warp patterns rather than just being woven into single-color cloth.
I love being able to take these things with me but, sadly, I have to admit that clear plastic bags are often much better. It is maddening sometimes trying to remember which pouch holds which items!
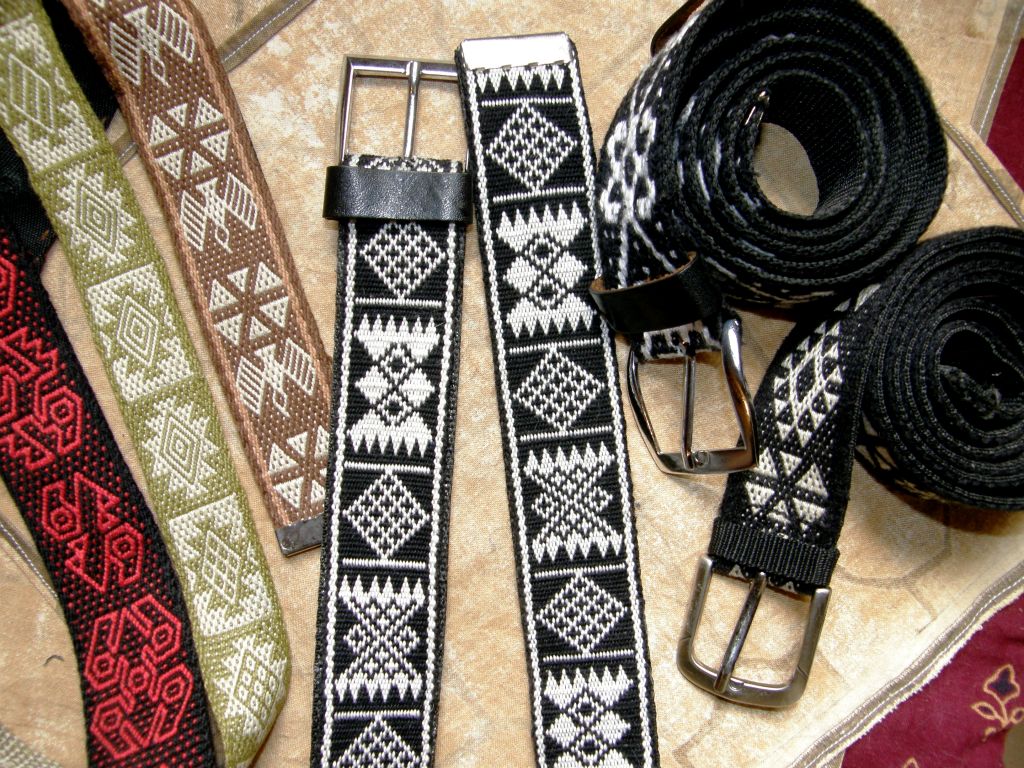
I almost forgot belts! You can’t get more efficient than that…I can wear the woven structure example that I want to show. Belts, however, are an added pain when going through airport security.
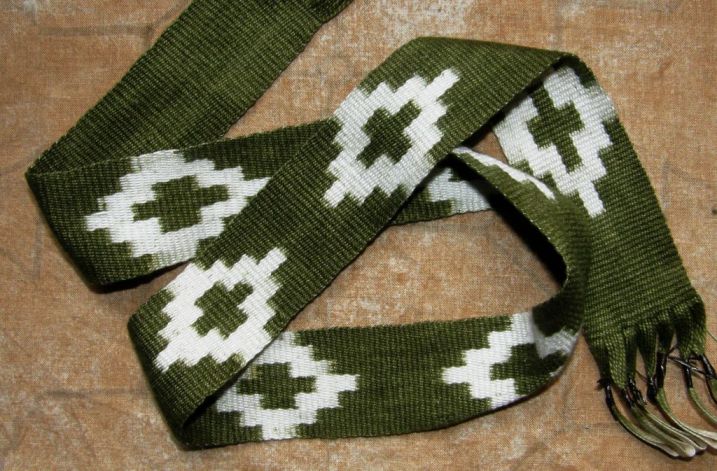
I finished my wee ikat sample and I am thinking of making it into a belt somehow.
It’s a bit on the short and flimsy side but maybe some added leather might work.
That’s all I managed to weave for myself this week. I did find the time to warp up for the next ikat project and on this one I am hoping to dye two colors.
Oh boy, this experiment is bound to give me a very much increased appreciation of and respect for the Guatemalan, Indonesian and Central Asian ikat artisans and the textiles they create with multiple colors.
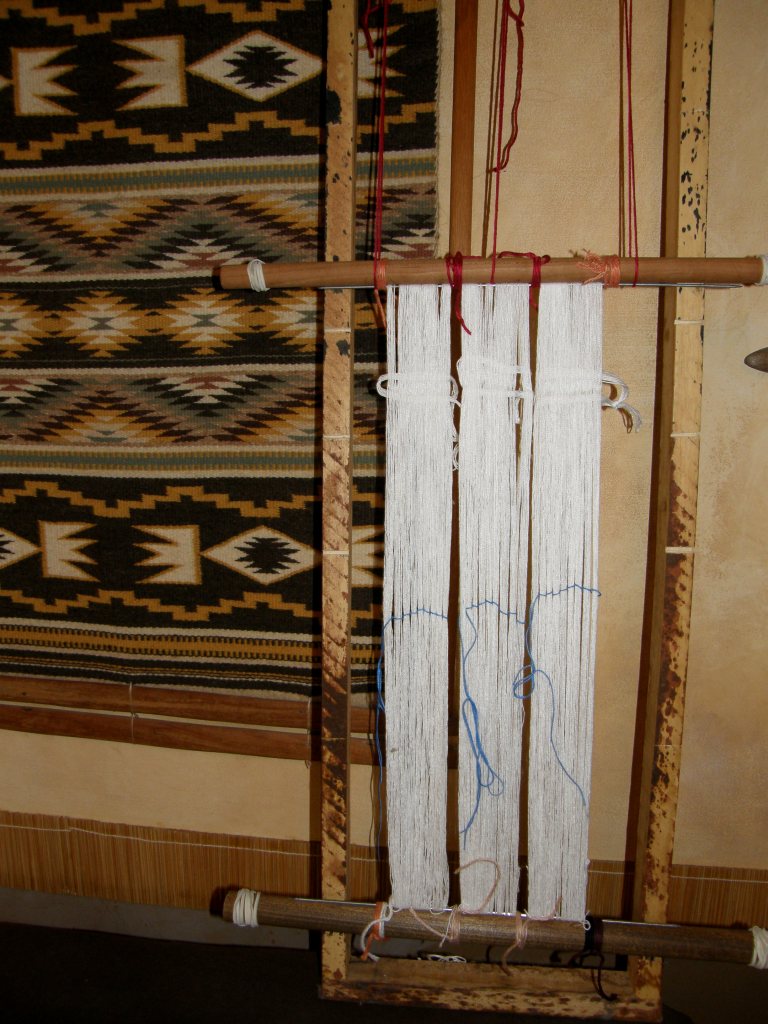
Here’s the warp on a frame ready to be tied. There are three panels but each panel will only have one motif. I am not going to get crazy with this! Let’s just see how this one turns out and I will take it from there.
In the Ravelry group Blomster joined in on our ikat weave-along using her rigid heddle loom. We decided that this WAL would be all about ikat on any kind of loom and I love what she made in a balanced weave. The ikat patterning is very subtle and she is pleased with the way it turned out.
Bobbie has been working on her simple warp float piece which has been inspired by a Guatemalan weaving she saw on the Education and More website. She bought naturally dyed cotton from Education and Morefor this project.
We don’t get a good look at the actual fabric in this shot but I will show you in the weeks to come. I just love looking at that gorgeous warp!!…the colors, the smoothness! I will tell you a little more about the process for this pattern too as Bobbie makes progress. I hope she will keep us supplied with pictures as it comes along. I am hoping to get together with Bobbie and other north-westerners from the Ravelry group when I am up that way next month.
Yonat, who weaves with me when I visit Santa Cruz California, has been practicing double weave..
She is using Bedouin shajarah motifs which are traditionally woven in a warp substitution technique. As that technique produces very long floats on the back of the fabric, weaving it in double weave as Yonat has done will produce a textile with identical faces in reversed colors and no long floats.
I am looking forward to going back to California and the ocean and some cooler temperatures…remember that it is summer down this way.
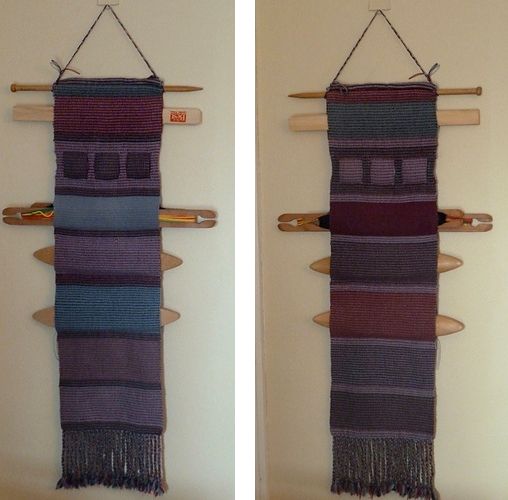
I loved seeing this project that Akknitter posted on Ravelry in the Warped Weavers group…nothing to do with backstrap weaving but I just really like this idea. It is from a project in the Nov/Dec 2008 Handwoven. It is being used for shuttle storage. I can see my loom bars nicely nested within something like that. It is double weave and so has two differently colored faces.
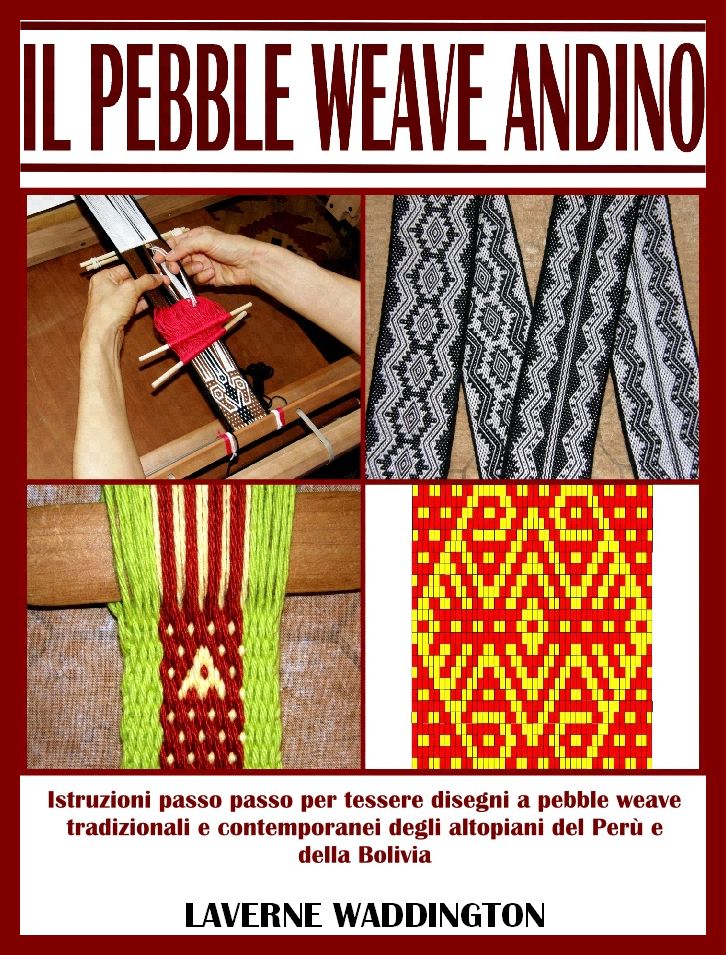
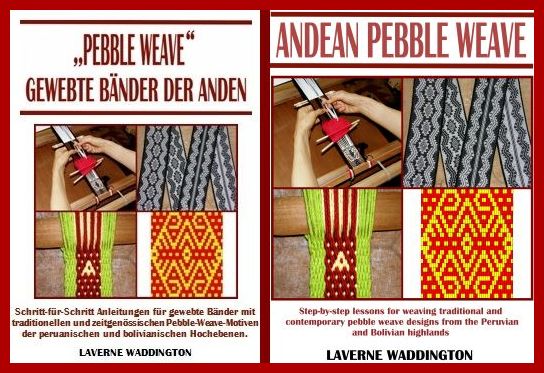
So….let’s see what I can accomplish weaving-wise in my last week of pre-trip madness. I am trying to put together the Italian version of Andean Pebble Weave and get some weaving done for myself. I can’t complain as all is going very well.
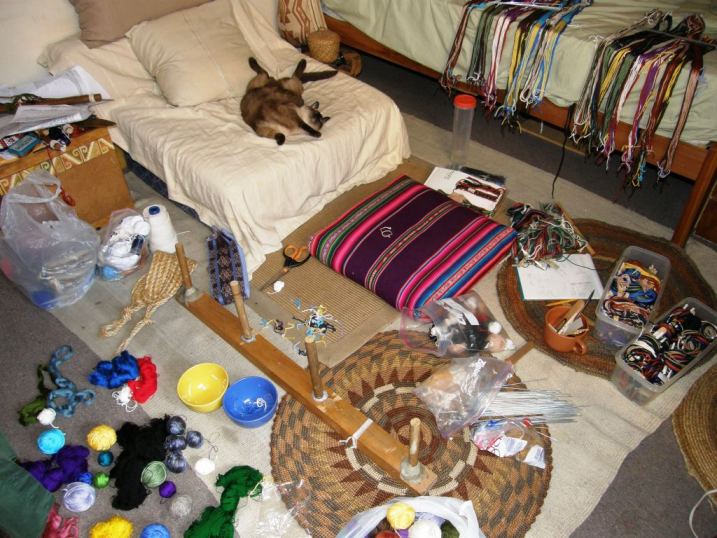
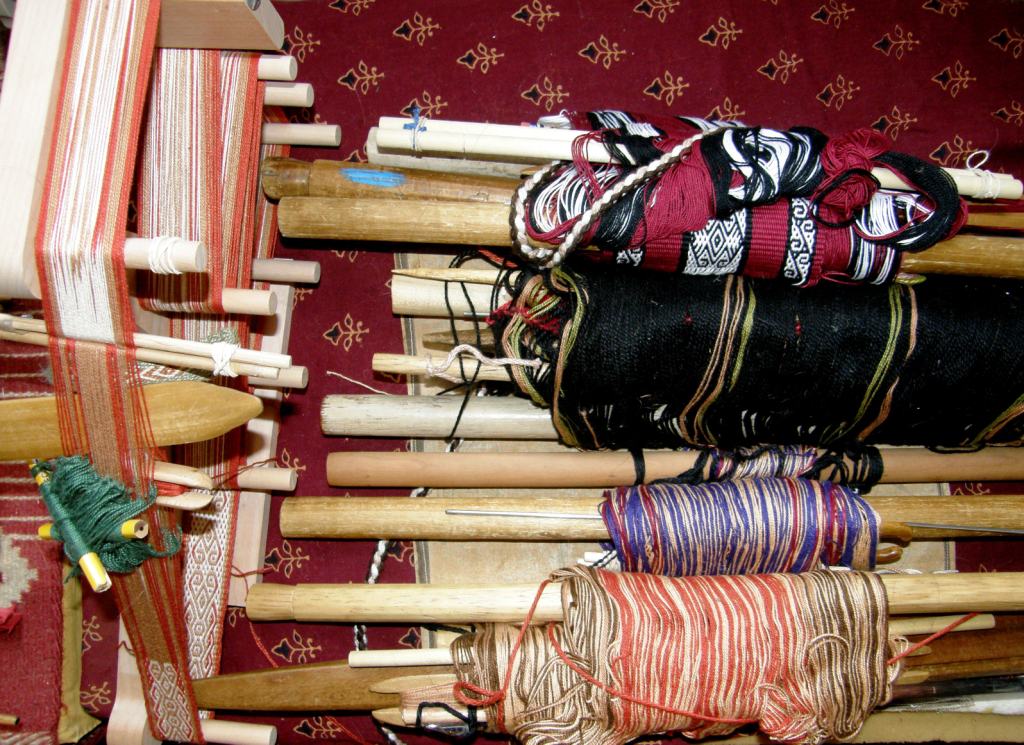
I will leave you with a picture of the organized chaos that is my bedroom these days. You can see that my cat doesn’t think much of it…
Coming soon courtesy of translator Lidia Guffanti…..
I want to once again thank Syne Mitchell of WeaveZine, Julia Grunau of Patternfish and all my new customers who have made this transition to the new home so smooth and successful.
I have had a few things going on the loom this week…mostly bits and pieces that I will take along traveling with me…. gifts and such things.
I wanted to free up all my loom bars and have everything in order before the trip and, in doing so, unearthed one more old project that was lurking in the closet.
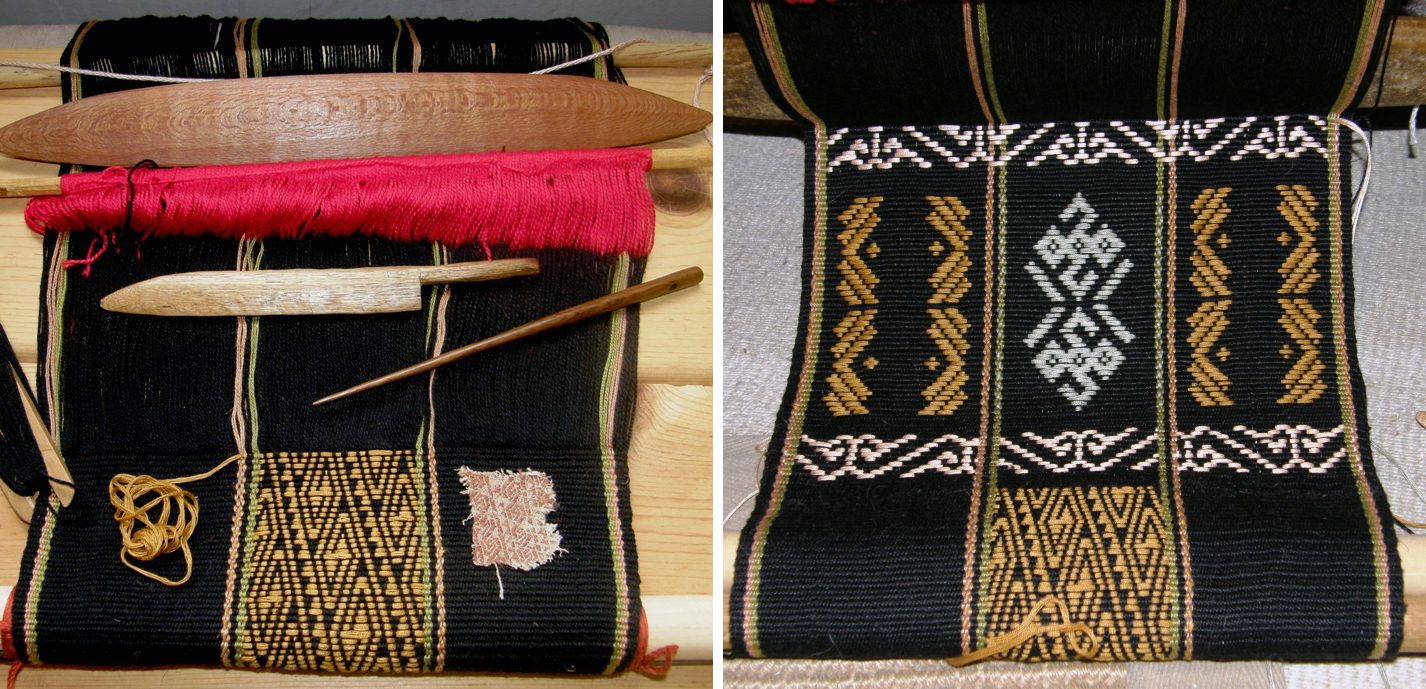
This was to try out a Mapuche double weave motif that is in the Taranto book. I wove it in two-weft double weave so that only the central section with the design is in double weave.
I really couldn’t see myself finishing it and so off it came. As the beige sides are just regular warp-faced plain weave, they folded very neatly and easily along the edge of the double weave section and I was able to just sew a join. Now the MP3 player has a fancy home.
I’ll braid a cord for it. Hmm, might even do one for the player itself. Now I don’t feel so bad about pulling this off the loom.
Then I was prompted to do a little further exploration in supplementary-warp bands, you know that technique that I have never been too excited about. I learned it in two places in Peru and in another in Ecuador but never quite took to it. Well, I have to tell you that I am loving it now!
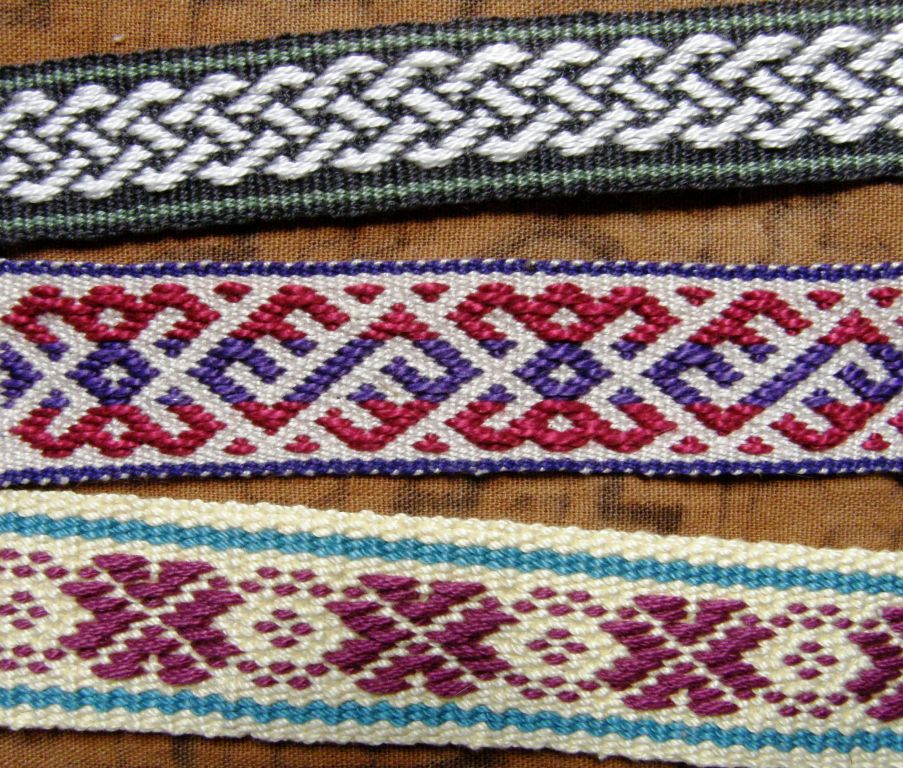
First I tried a Sami pattern (in non-traditional colors and border in 24 wpi crochet cotton) and then dug out my handout from a Robyn Spady class and used her chart for a Celtic design (in tencel) and now I have reproduced a design from one of the Russian Old Believer belts that I photographed last year. There it is in the center.
This was a width sample with some 3/2 weaving thread that I hadn’t used before. The ground warp and weft is 35 wpi crochet cotton. When I do the “real” band, now that I have established the width, I will warp an edge of off-white so the weft won’t be seen as it is above.
As it so often seems to happen, just as I was thinking about the Russian Old Believer bands, I got a comment on my blog from a visitor. Natasha provided some links to a lovely site with gorgeous Russian bands and a three-holed wooden rigid heddle. I understand the way the two-holed version works and Grace Hatton has done a lovely job of explaining that in her article on WeaveZine, but I am not so sure about this three-holed variety.
Anyway, here is Natasha’s comment…(hopefully she will send pictures of the bands she made herself)
Hi Laverne, The design found on the belts from aRussian online storeis very close to what I see on the old believers’ belts. The weaver’s name is Svetlana. She lives and teaches weaving and other crafts in Moscow. You can see some pictures taken at thecraft exhibition last year. I recently purchased a wooden implement (not sure what the proper name is) from Svetlana that is used for belt weaving and wove my first two belts. It is called“berdo” in Russian. The interest in traditional crafts has grown in Russia too in the last ten years, at least as far as I can tell without being there. If you need anything translated from Russian I can help.
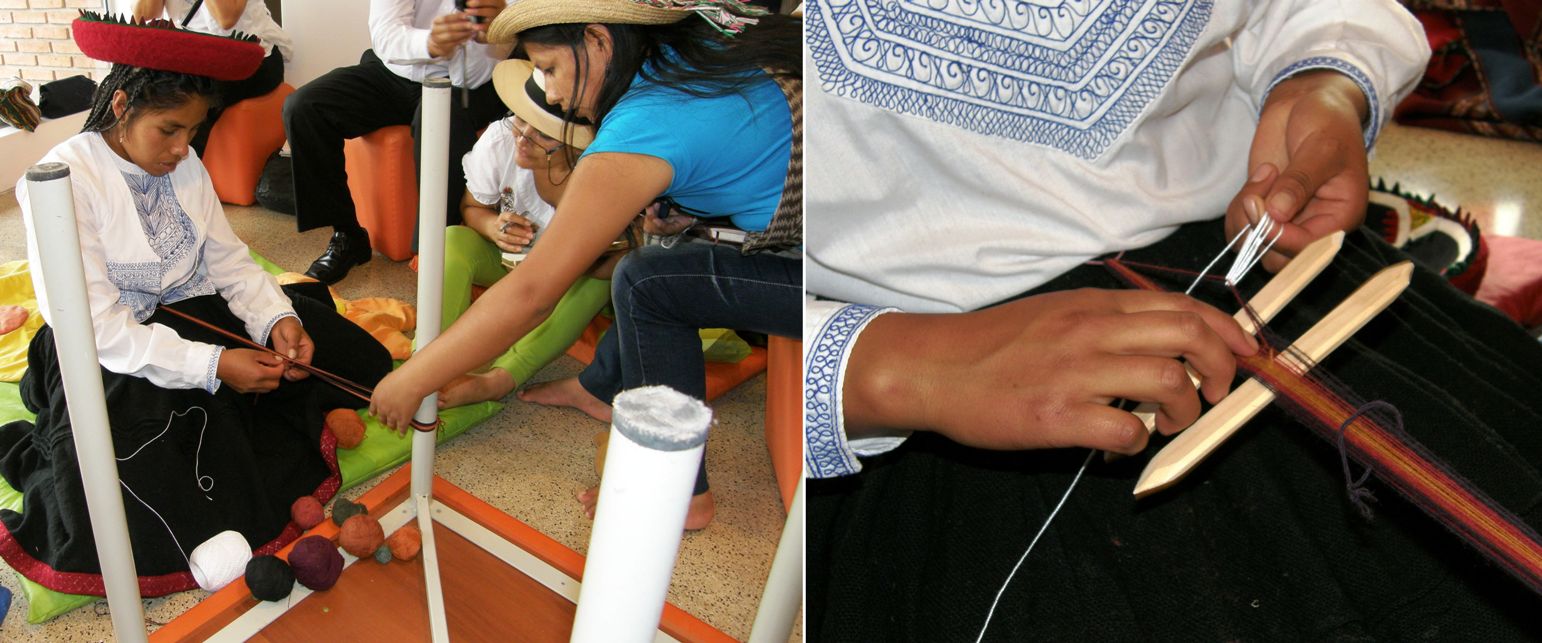
You may remember that I attended a weavers’ conference here in Santa Cruz a couple of weeks ago and dedicated a couple of blog posts to it.
As a participant from the general public, I got to meet and interact with weavers and other fiber artisans from the highlands and lowlands of various South American countries. Through workshops, videos and presentations we not only learned about the fibers and the techniques used to create the woven pieces, but also about the efforts of researchers, artists and academics to document the processes at the source and educate youngsters in the artisan communities themselves and the general public about these cultural treasures many of which are on the verge of disappearing forever.
This made me think of four people I know of who are working or have worked at this very thing and I thought that it would be nice to hear in their own words about their involvement and relationship with the artisans and what they see the future holds.
DORINDA DUTCHER
One such person is Dorinda Dutcher, a North American ex-PeaceCorps worker whom I met online and with whom I shared a room at the Tinkuy de Tejedores last year in Peru.
Dorinda works out in the field and is out of internet contact much of the time and so I was unable to get in touch with her for this blog post. I urge you however, to take a look at her blog and the wonderful programs she has going in the township of Independencia in Cochabamba, Bolivia.
Both Dorinda and Maxima, a local weaver who heads one of the weaving associations, were very much moved and influenced by their experience at the tinkuy. You can read all about it and how Dorinda is educating and involving youth in weaving and helping, very slowly but surely, to improve the lives of women in the community in her own words here.
#############################################
KATHLEEN KLUMPP
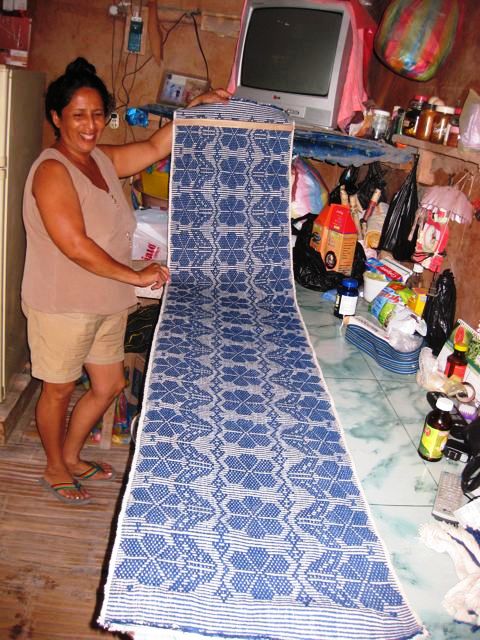
I was lucky to come into contact with Kathleen Klumpp through Ann Rowe who I met at the Textile Museum in 2007. Ann knew that Kathleen was planning a research trip to coastal Ecuador and could probably use an assistant. It was one of those “meant-to-be” things. But Kathleen’s involvement with the family of cotton weavers in Manabí Province, Ecuador goes back much much further than this 2007 trip. I will let her tell you in her own words…(photo captions by me, all photos except one by KK)
Kathleen with one of Luz’s daughters, Trinidad
My first contact with this family of weavers was in 1976 when I sat next to an elderly campesino man on one of those colorful open-sided country buses who was carrying a patterned saddlebag known as an alforja labrada.
I admired his bag, and I soon found myself up at the home of its weaver, Doña Luz Párraga in the settlement of Zapote documenting their methods in writing and in still photography for preparing cotton, spinning it, and weaving it into alforjas and hammocks.
Spinning cotton and weaving on a native vertical loom is a millenarian coastal Ecuadorian artisan tradition that has been transmitted by peasant women from one generation to the next for at least four thousand years. Throughout much of the twentieth century, this craft flourished in the Rocafuerte valley region of central Manabí. In almost every settlement and small village situated between the city of Portoviejo, the capital of the Province and the city of Rocafuerte rural women spent hours hand-spinning cotton fiber and weaving double-pocket bags or saddlebags (alforjas) and hammocks intended for their own use as well as for that of other peasant families in the area. During much of the 20th century, the spinning and weaving of saddlebags and hammocks were part of a female peasant identity and part of their cultural heritage.
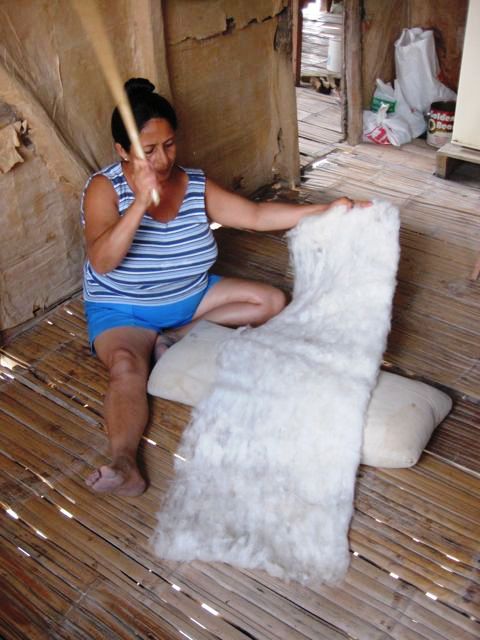
The finished patterned textile ready to be sewn into a saddlebag.Trini beats the cotton as part of its preparation for spinning.
In order to repay Doña Luz and her family for sharing their knowledge and skills with me, I made sure that they had copies of every photograph I took as well as doing some special portrait photography of this family at the request of Doña Luz. Even though the brief article that I wrote about this millenarian fiber art was published in Spanish in an Ecuadorian anthropological journal, nobody, other than non-Ecuadorian textile specialists took an interest as this activity has been invisible to the members of the dominant society for centuries.
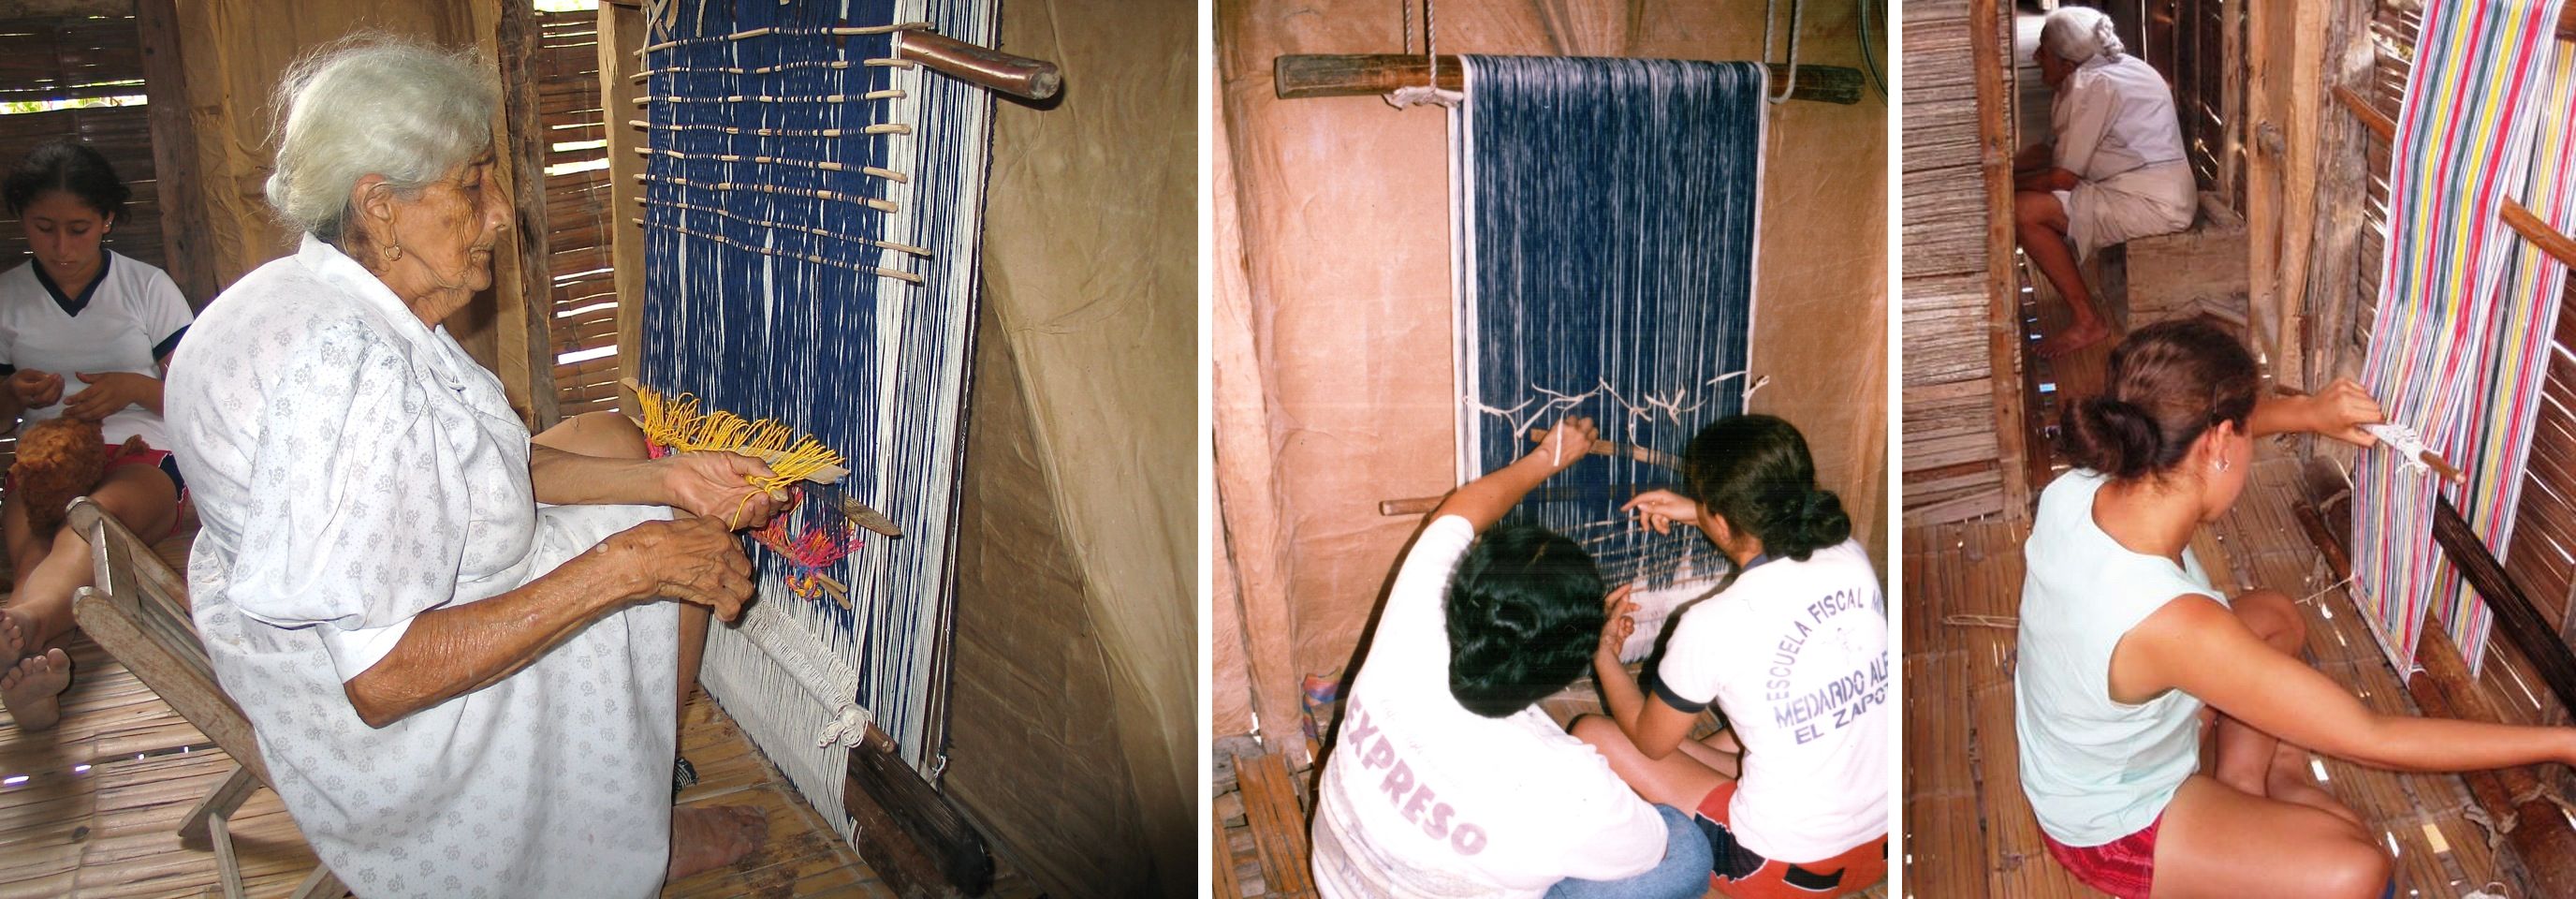
I returned to Zapote in 2006, after a hiatus of 30 years only to find that this fiber art was on the verge of disappearing altogether. In fact, Trinidad and her sister Mariana were the last active weavers in the entire Province. But there was a problem: neither of Doña Luz’s daughters had learned how to pattern the fancy saddlebags, since the campesinos had stopped using them in preference for plastic bags.
In the face of an increasing globalization, the economic and social value of transmitting these skills and knowledge to the next generation has collapsed. Today’s cell phone carrying young ladies want nothing do to with this textile fiber art as it is considered “antiquated” and not suited for “modern times”. They would be embarrassed to be seen spinning or weaving—such is the stigma attached to this former female peasant identity—an identity now tenuously held onto only by their “old fashioned” grandmothers. In 2010, one young lady told Trinidad, as she was trying to recruit her as an apprentice, that she “rather starve” than to earn a living from this artisan activity.
My first priority was to insure the transfer of the full inventory of Doña Luz’s knowledge to her daughter, Trinidad, the one most interested in learning.
Now in 2011, I report on some recent encouraging signs that indicate that it is not yet totally moribund. These stirrings of life are, I believe, the end result of the steps that I initiated in 2006 to keep this craft alive and to insure that the necessary infrastructure would be in place for it to continue.
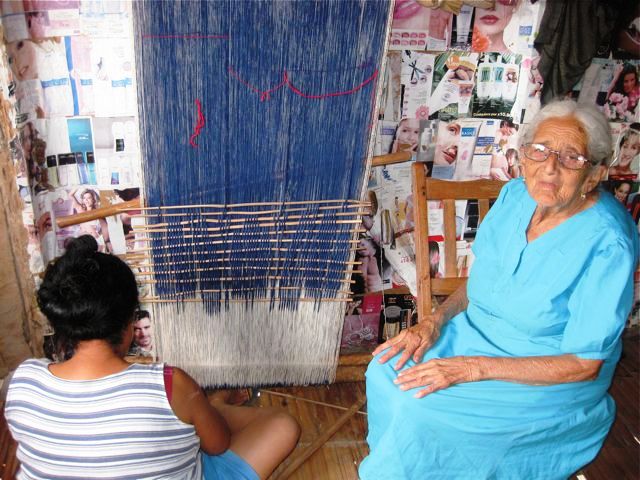
On my (Laverne’s) visit with this family accompanying Kathleen in 2007, Luz’s granddaughter Catalina would help with de-seeding and teasing the cotton (you can see her there in the background of the first picture). Grandmother, mother and aunt Trini would take care of the spinning and weaving process. On that same trip Catalina took only a very short-lived interest in learning to program the pattern warps but you can see her there in 2010 weaving a hammock on her own while 86-year old Luz sits by.
In 2007 when criollo cotton could no longer be purchased anywhere in the region, (cotton used to be a major cash crop of Manabí throughout the major part of the 20th century), I then suggested that they grow their own. Trinidad was able to locate a little old leftover cotton with its seed intact. We both selected the best looking seeds, and she planted them. Since then, she has about 75 viable cotton plants of two varieties of the native South American cotton Gossypium barbadense growing on land that this family owns on the top of the ridge.
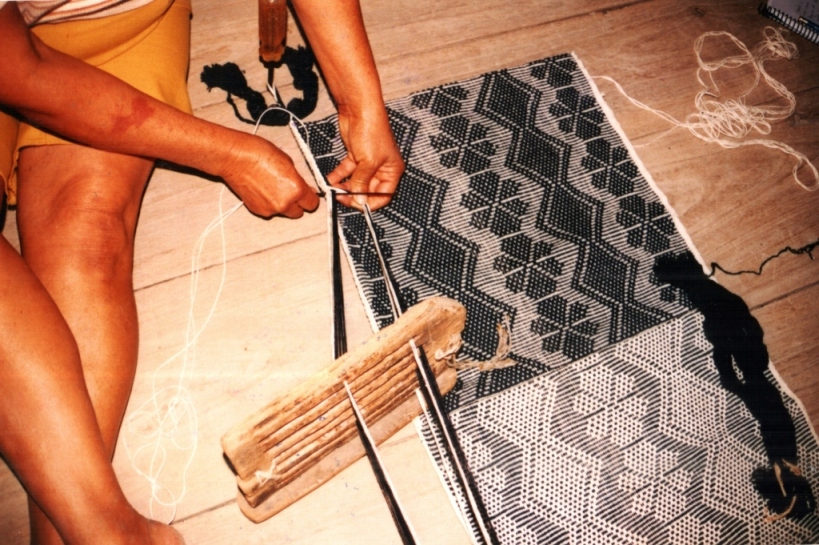
We also have secured more macanas (the heavy swords or battens used to beat down each successive row of weft thread) from some old ladies in the village who no longer weave. These heavy swords are hand-hewed out of a dense hardwood with the wood of the chonta palm being the preferred material. We also found some old, abandoned fence posts of chonta wood near the town of Chone where this palm grows, just in case we have to fashion new macanas in the future for additional looms and weavers to use. You can’t weave without a macana—it is the essential piece of equipment!
I also encouraged Doña Luz’s 10 year old granddaughter, Melina, to learn how to spin. (by bribing her with 10 cents for each arm length of spun fiber!)
But, if despite my efforts, the knowledge of spinning dies out ( as today’s generation of young ladies have no incentive to learn it) I have located an excellent source of natural cotton yarn that takes dyes, both natural and aniline.
A new design being woven with suitable industrial spun cotton that Kathleen discovered in the area.
################################################
BETSY RENFREW and ANDREW YOUNG
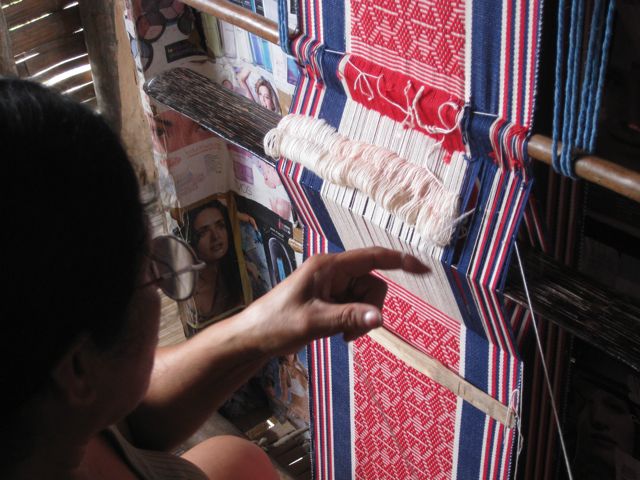
I met Betsy online when I ran into her blog on the Montagnard weavers who are living in North Carolina. We made contact and I organized to go and meet with her and Andrew and the weavers with whom they have been working. On a second occasion, Betsy welcomed me again and I was able to learn the weft twining process called kteh used to finish the ends of blankets and skirts from weavers Ju Nie and Ngach. On this trip I was also able to take part in some of the weaver gatherings that Betsy organizes.
One of my twining classes with Ngach and examples of the beautiful kteh work.
Here is Betsy writing about her project and its goals…
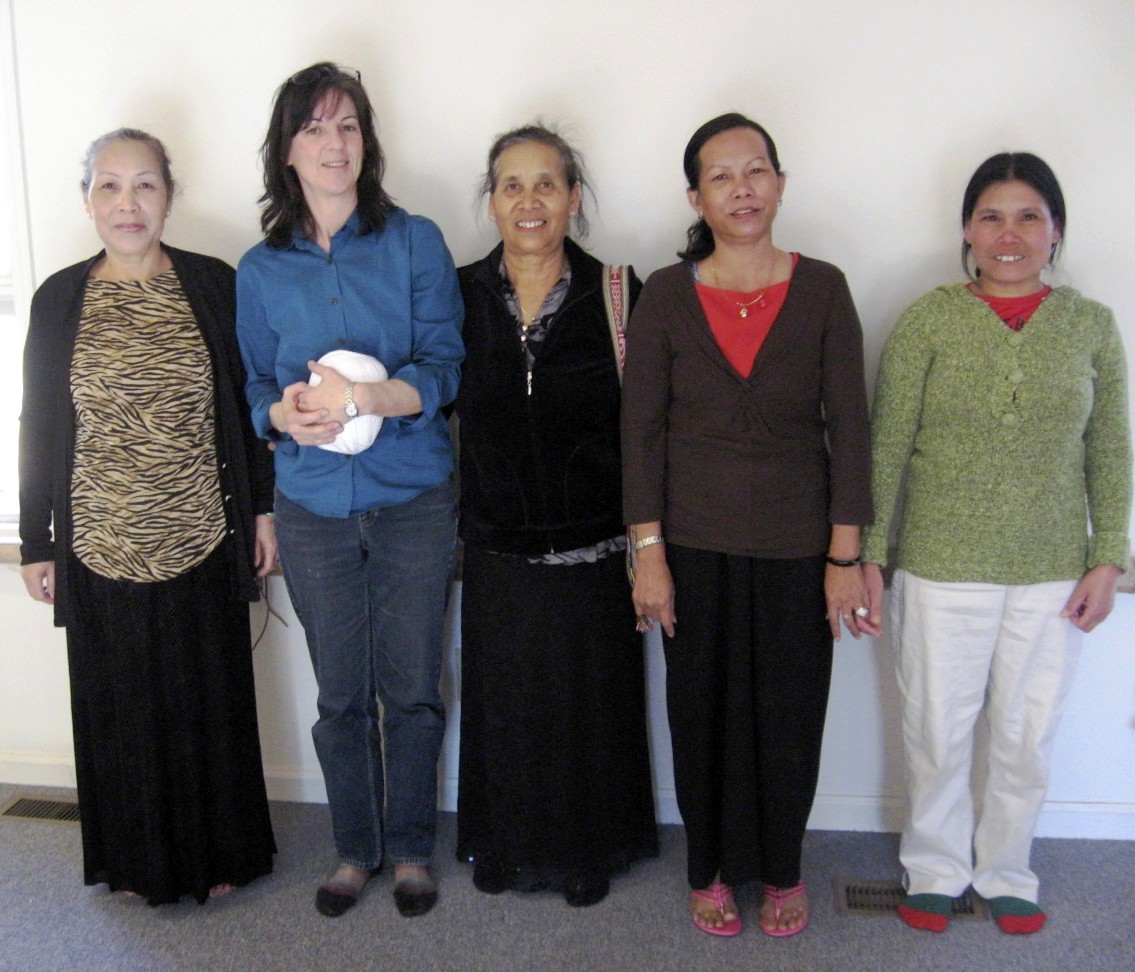
Betsy Renfrew with Montagnard weavers, from left to right H’ Wun Eban and H Ngach Rahlan (Jarai tribe), H-Tep Adrong (Bunong tribe) and Broih Fnu (Banhar tribe)
Since 2008 I have been meeting and interviewing Montagnard weavers in Greensboro, NC, in an effort to document their weaving traditions and understand why so little research had been done on these traditions.
My background is in the Fine Arts and I found this documentation to be an important segue from the world of painting and art history into a more folk/craft oriented project with a digital element. Recently I have received a grant and great encouragement from the Community Folklife Documentation Institute, a program spawned by the North Carolina Arts Council, North Carolina Folklife Institute, and the Center for Documentary Studies at Duke University.
North Carolina is eager to learn more about
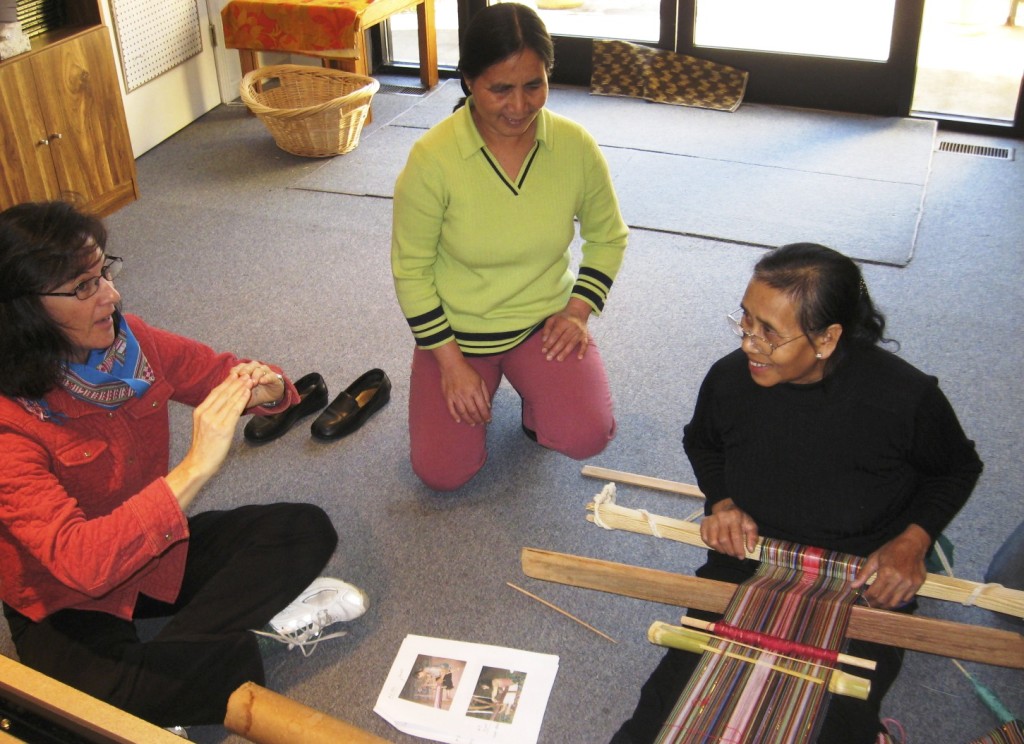
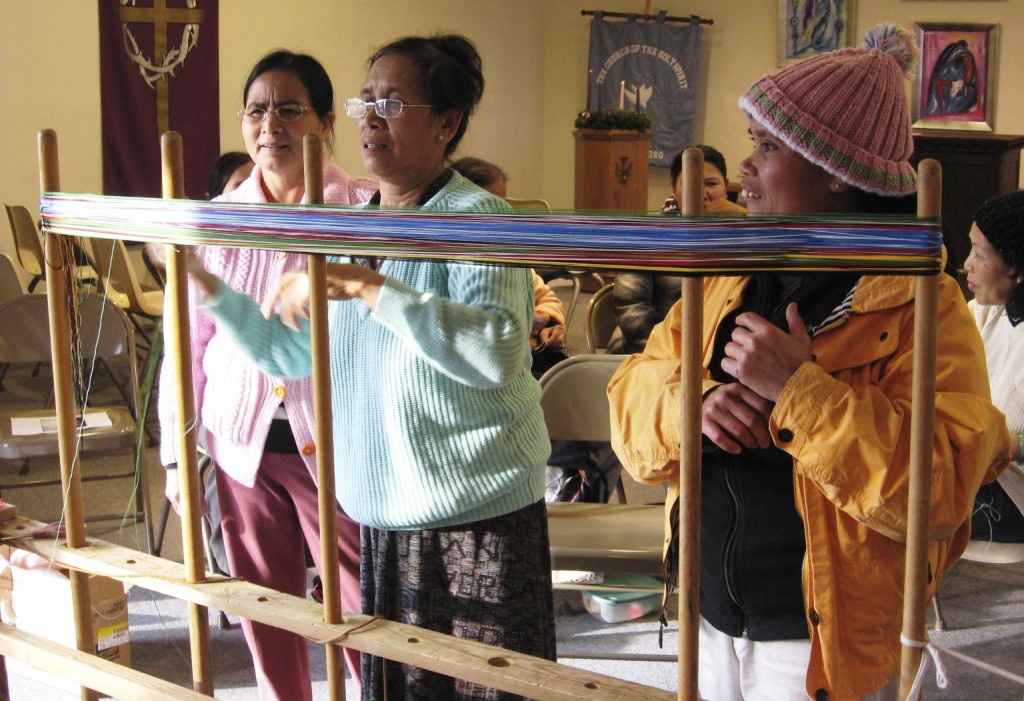
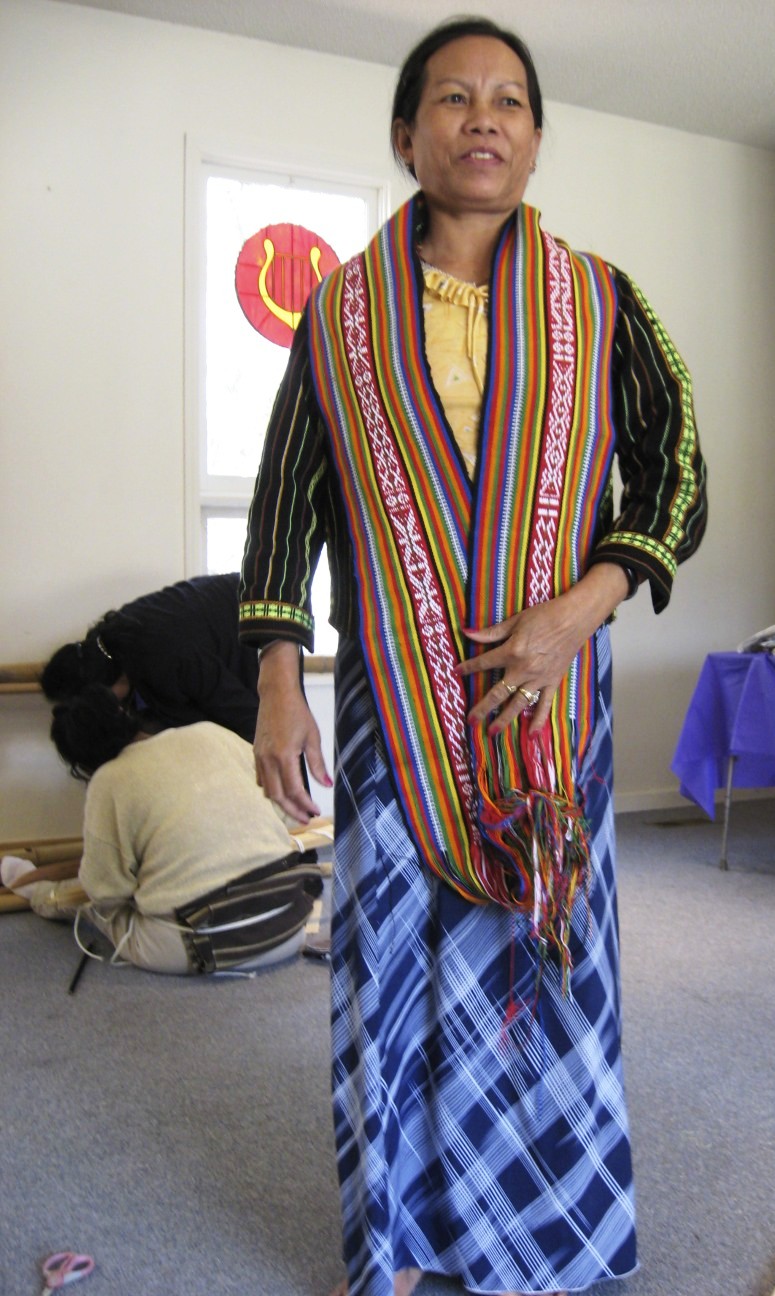
A local church has given space where Betsy can gather the ladies to weave, share skills and socialize. Here she also teaches them the English words for their looms and the weaving process.
Montagnard weaving and I am eager to share this knowledge with others. I have also partnered with a local Montagnard organization, the United Montagnard Christian Church, in receiving a grant from the United Arts Council of Greater Greensboro. With this grant I have organized women (now known as the Backstrap Weavers of Greensboro) that weave to help them learn some basic English to demonstrate their skills at local events, teach weaving to new students and learn how to market and sell what they weave.
We have good following of women coming to our meetings to share weaving knowledge. Most of the women are over the age of 50 and don’t speak English at all or have limited English. Most elderly traditional Montagnard women don’t interact with people outside their kinship group or church circle because they don’t drive, can’t read, or do not have a job. I found a certain level of low self esteem at first (because of the language barrier) but now I see these women not only enjoying themselves during our weaving time but interacting with people from different language groups (refugees from the Central Highlands speak five or six different languages) and other ethnicities. They have also come to trust me and to tell me what they love best of their culture.
Ju and Khin, both of the Jarai tribe, meet at the church to make a new warp.
One of my frustrations within the last year or so is a small turnover in attendees. Some of the women can’t come regularly because they care for grand children, have old injuries from working at textile mills, or poor vision. And there is the continual concern for sustainable income or funding for the project. Many of the women do not understand what a grant is or how it works! Despite these frustrations I have built a bond with what seems to be the last few practicing weavers in Greensboro. I teach them English, they cook me hablang, or cassava leaf soup. They teach me the words for their loom parts and I teach them how to teach others to weave. They are weaving with new supplies and beginning to make smaller purse type products to sell.
Betsy helps Ju an other weavers develop a way to teach their backstrap weaving art to others. This is Betsy’s first completed piece from her weekly classes with Ju.
Bunong weaver Tep showing one of her newly woven pieces.
And the future?
More aggressive fundraising tactics and creating an on-line market/gallery on our local arts websites.
I also will be widening my reach to Nepali speaking Bhutanese refugees, who also use backstrap looms.
I never had the pleasure of meeting Dennis Penley.
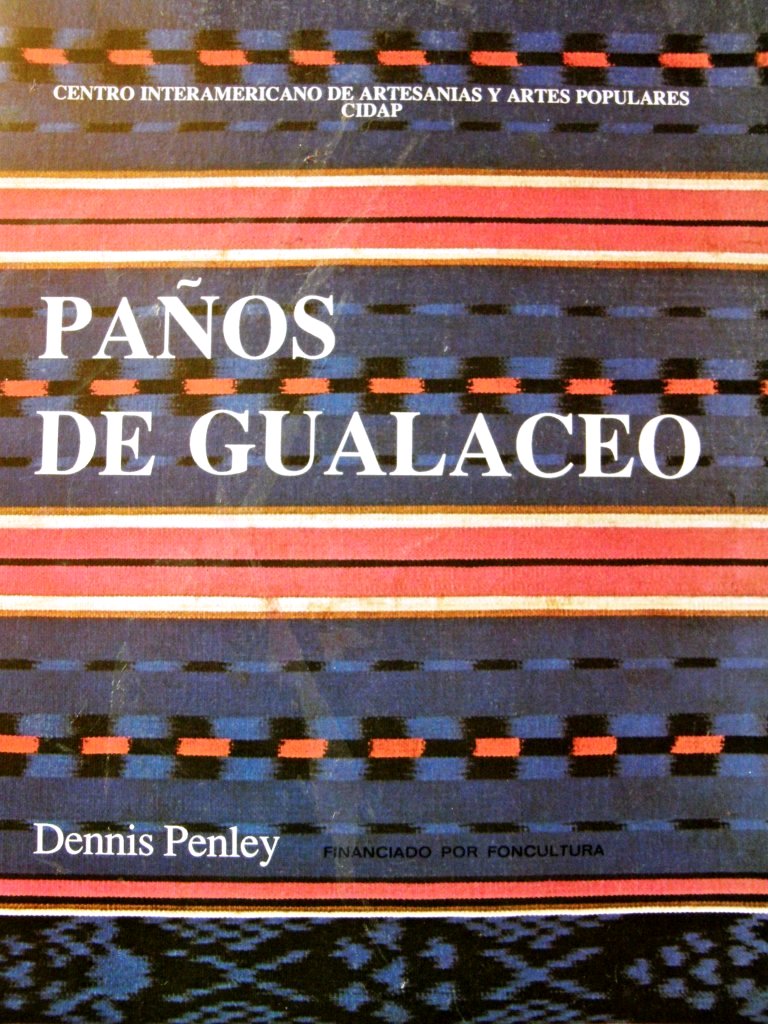
I bought the book he wrote on the ikat shawls or paños of Gualaceo, Ecuador on a visit there in 2005 knowing nothing about its author and the fascinating life he had led.
I have, however, been lucky to have become acquainted with Phil Willett, once again, on line, to whom Dennis Penley was a good friend and weaving mentor.
Mr Penley passed away the year after I bought his book and Phil wrote a short biography to accompany an exhibit of his collected textiles made as a tribute to him.
I won’t caption the photos, all of which (except the first in color) I understand were taken in Ecuador.
Here is the biography that Phil put together…
Dennis Penley, a life time of hand weaving enthusiasm.
From his early beginnings creating elaborate costumes for himself and the Arabian horses his family raised and trained, Dennis was a born textile enthusiast. He taught himself to weave as a teenager and utilized that interest to befriend many people through his life.
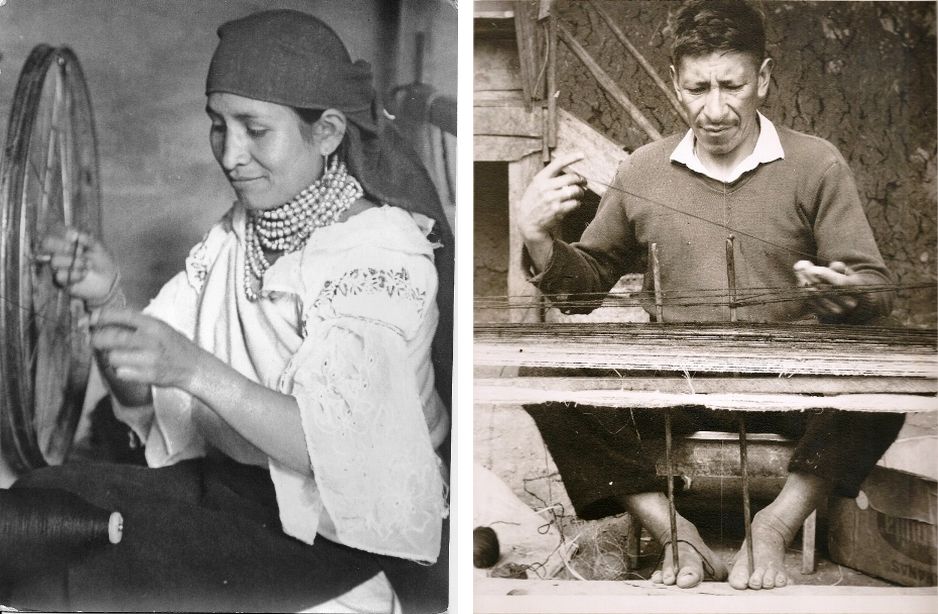
After high school he joined the Peace Corps and worked within the Ministry of Agriculture of Ecuador. Part of his job was researching the indigenous peoples weaving traditions.
Following his Peace Corps service he stayed in Ecuador to research and write a bilingual book on the shawls of Gualaceo.
He lived and worked among the indigenous mountain weavers, with a horse to travel by and a llama to spin wool from while it also carried extra gear.
When he returned to the USA Dennis received an honorary bachelor’s degree from San Francisco State for his work in Ecuador. Dennis not only photo documented the techniques of the weavers, he learned them by hand using a back-strap loom.
With all this weaving knowledge he had hopes, when young, of a lifetime of hand weaving. Based out of California he produced custom hand-woven yardage for designers, blankets and home accents.
All this was accomplished on a Swedish barn loom. His dream would not prove to be financially viable.
Dennis would, through his working career, excel and profit at many other endeavors. He was a master cabinetmaker and historic architecture restorer. He worked for many years for the city of Lexington, his final position as a code enforcement officer.
Dennis’ studies of non-western cultures, philosophy and textiles would be a passion for his entire life. He first became intrigued with ikat weaving in South America. He would later research its use throughout many cultures. After years of studying the textile traditions of Southeast Asia and Indonesia he traveled twice to the region to see the artisans and collect textiles.
The textiles within this collection are a testament to an inquisitive mind that had a tremendous respect not only for the craft but also the people who created them. They are works of art and expressions of cultural identity and diversity.
My goodness, people have been busy in the backstrap and inkle weaving groups at Ravelry this week. Check this out…
Marsha has been making all kinds of wonderful things with simple warp floats. The knot design on the left is charted here.
Bobbie is making a bag with pebble weave designs. Here we see the wide front and back panel and the side.
And some Spin-Along results are coming in…
Popsicletote is weaving with her handspun wool/silk blend. The hairiness is making life a little difficult but she is adapting and getting on with it. Her designs are pebble weave.
Tracy has just warped up her own handspun wool. Here you can see it curled up at rest and then tensioned on the loom bars.
Another ‘waver’ has joined in the warp-faced fun (Waver= user of Gilmore Wave loom). That’s Michele’s pebble weave band on the left with one of my designs from my Andean Pebble Weavee-book. Popsicletote tried sock yarn for making a band and it turned out beautifully!
And here are some projects from a little while back from the online groups that I didn’t get a chance to post…
I LOVE all these different wool warps showing up…hand spun, re spun commercial yarn…all working differently and giving a variety of results. How lucky we are to have all these folks experimenting and creating and sharing with us. I am learning so much!
In the kind of weaving that I like to do on my backstrap loom, that is, warp faced weaving with pick up patterns, the poor old weft thread rarely makes an appearance. When it does, it usually means that something has gone wrong…a warp did not get raised in one of the sheds thus exposing the weft in its place, the warps haven’t been well spaced to completely cover the weft or the selvedges have been poorly woven. I even use weft colors that match the edge of the fabric so that the tiny turns of weft at the edge blend in with the warp color and are, therefore, less visible.
This week I have been playing with a technique that gives one weft at least, the starring role…the supplementary weft. (See the tutorial on this technique here). In some backstrap weaving cultures, everything is about brocade which is created with supplementary wefts, and it is the warp threads that take a back seat.
This all started when I uncovered a project lurking in the closet. I wove this supplementary weft piece as an attempt to reproduce a design on an old textile fragment that I have – the only one which has a design in a supplementary weft. I took this loom to show at CNCH last April so it has been hanging about here untouched for some time. Not feeling inclined to continue with this design as the exercise had served its purpose, I decided to use the rest of the warp to sample other traditional designs which I had been saving in a folder.
Here are some of the textiles that inspired this project…
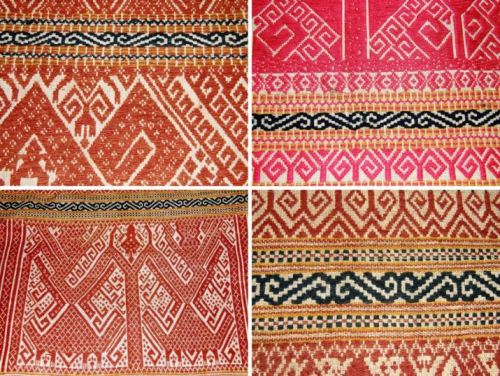
On the left, Chris Buckley had sent me this image of a blanket made by a Li weaver of Hainan Island. Montagnard weaver Ju Nie made this Rhade head band with many small motifs woven with supplementary wefts.
These are some of the many gorgeous Indonesian pieces that I admired at the Dancing Threads stand at Convergence last year.
Ladies wearing hats decorated with weft patterned hat bands can sometimes be seen in the streets here and I have managed to purchase a few of the bands in my travels in the highlands.
I will never forget the beautiful Guatemalan textiles and the weft patterning techniques I learned with my teachers there.
I even uncovered these cotton Indian pillow covers that my aunt had brought back from Chennai. I had had to put them away as my cat was chewing the twisted ends of the weft twined sections. Here supplementary weft patterns have been combined with small sections of weft twining. The little warp float section is interesting too as very thick and thin warps have been combined, the thick black warp pushing aside the white to expose the white weft.
On my last visit with Betsy Renfrew and the Montagnard weavers I got to see these Bunong weft patterned textiles for the first time.
Of course, Karen Elwell’s fabulous Flickr page of Mexican textiles will always inspire me. Someone pointed out to me the other day someHuave pieces with their little suppementary weft figures woven in what appears to be natural white and brown cotton – quite a contrast to the bright and lively colors in most of the pieces above.
So I took a bit of this and that and wove some samples.
The stripes that I had included in the warp kind of got in the way. First I took an Indonesian motif and tried to weave it in behind the stripes and decided I didn’t like that. Then I put it on top of the stripes…nope, I didn’t care for that either. It was time to move on to a new warp. The designs in between are taken from the Li blanket with some changes of my own.
The ground warp is a 24 wpi crochet cotton with two different kinds of thread for the supplementary wefts.
24 wpi ground warp and weft patterned with doubled strands of embroidery floss.
For the textile fragment reproduction I used 6 strands of cotton patterning thread that I bought in Guatemala (center picture). The thread is sold in skeins of single strands. It is easy putting the six threads together and they work well as they lie flat on the surface of the weaving. I used doubled lengths of the embroidery floss (pictured on the right) for the first band of pattern above that. This works well but, as the lengths are ever so slightly twisted, the two pieces tend to separate in the longer floats. If I had no other option, I would pull out each of the individual strands and put them back together again without the twist.
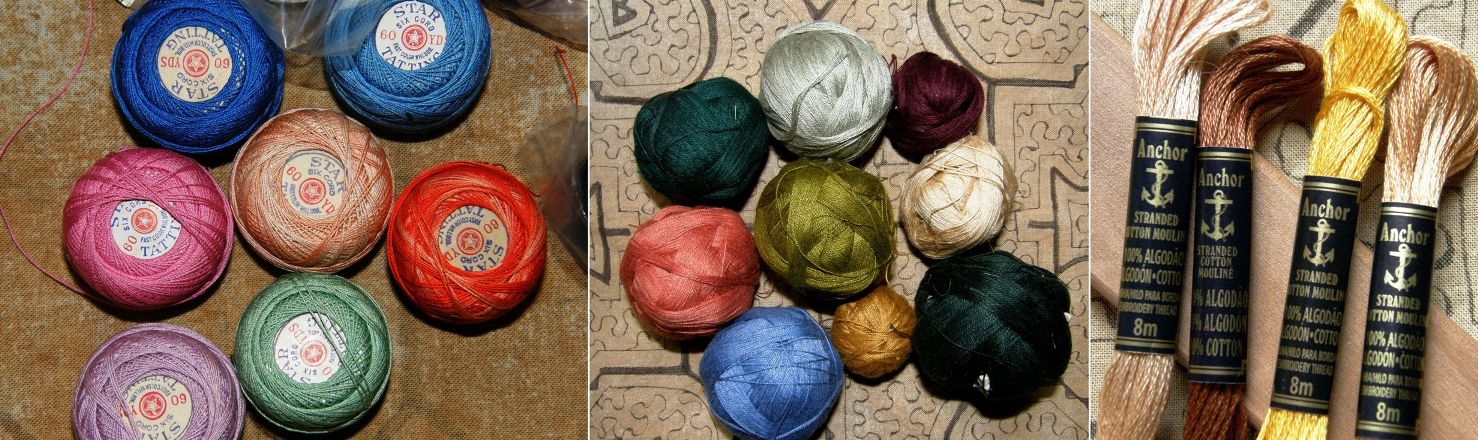
One day my Guatemalan thread will run out and I am thinking that the tatting thread pictured above left might do the trick.
My friend Sharon in the US sent me an enormous bag of tatting thread recently and it is very similar in size to the Guatemalan stuff although stiffer.
The black warp got cut off the loom and will be a sample piece. I gathered up all the designs I wanted to weave and made a new warp, this time with 35 wpi crochet cotton as the ground warp and weft.
I collected Huave butterflies, Indonesian borders, Central Asian supplementary warp motifs which I adapted to supplementary weft, patterns from Montagnard and Li textiles, Guatemalan birds, brocade designs from Lithuanian sashes as well as one of my own inventions. I still have some Mexican and Miao motifs to play with and am looking about for more ideas from other cultures.
One thing that I wasn’t quite so aware of was the different kinds of supplementary weft patterning techniques and the ways in which they are classified. I have always wondered about the precise definitions of brocade, inlay and supplementary weft patterning and if, in fact, all three terms refer to the same thing.
Fortunately I have Marla Mallett to put me straight. In her book Woven Structures A Guide to Oriental Rug and Textile Analysis she says:
Brocading uses extra yarns – supplementary weft yarns – to ornament a ground fabric, with floats on at least one face…….If we want to be fancy, we can call brocading, “extra weft patterning”. But the simple word brocading is adequate.
She then decribes different kinds of brocading: overlay-underlay, underlay, overlay, reciprocal and inlaid, the latter being the kind that I am playing with here. She also notes that in oriental textiles inlaid brocade yarns and knotting often share the same pattern row which makes my head spin with new possibilites!
Another look at my sampler…
With this 35 wpi ground warp I used six strands of the Guatemalan thread. Once I have finished all my planned designs, I will start experimenting with the tatting thread. What I like about this kind of patterning is that your warp is basically a blank canvas on which you are free to change colors and place designs as you please.
Here are a couple of examples of warps that I prepared for warp float patterning to which I decided to add supplementary weft motifs pretty much as an afterthought. On the piece on the right I used one and half strands of embroidery floss. On the piece on the left I used single strands of the ground weft which left gaps and gave the design the same striped effect as the outer columns of warp float designs.
A couple of other brocaded pieces that I wove using the Guatemalan thread on the left and embroidery floss on the right. The piece on the right combines the inlay technique with wrapping to create the long horizontal and fine vertical lines that would not be practical using the inlay method.
Here is a view of the two samplers showing the difference in the weight of the threads I used.
Why didn’t I do any of the Bolivian hat band designs, you ask? Those have been done in super fine thread which allows them to have very long floats in their supplementary weft. You simply would not get away with such long floats in heavier thread as they would be long, cumbersome and unsightly. You can be sure that another warp in sewing thread will be coming soon so that I can indeed do these designs. I am also looking forward to doing designs where the supplementary weft actually fills in the negative rather than the positive spaces.
Here you can compare the size of the hat band thread with my 35 wpi thread. And don’t get me started on the mind boggling fineness and complexity of the brocades from Laos!!
From supplementary wefts to supplementary warps….you may recall from last week’s postthat I wove my first Sami pattern band in a supplementary warp technique. I want to explore and use this technique more as a supplementary warp patterned sash will be part of my big “sash project”. This is actually one of the techniques where you could allow the weft to play a role if you chose to.
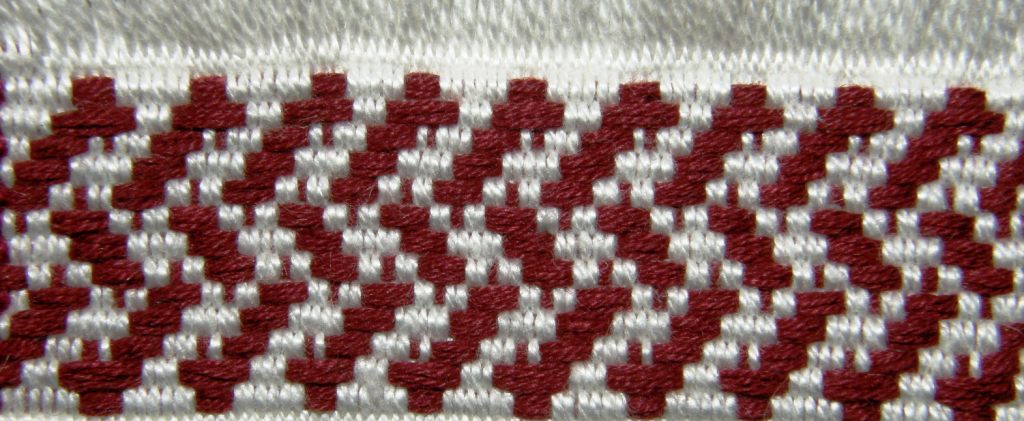
In the examples at left you can see the little orange weft spots showing through as orange weft has been used to match the edges. If yellow weft had been used the background would appear to be a solid color. My weaving teacher liked the decorative effect of the weft spots. The band on the right appears to have a solid background of white as white weft has been used. You can just see the white weft turns on the edge.
For my next supplementary warp experiment I used the handout that we had been given in Robin Spady’s inkle weaving presentation at CNCH last year.
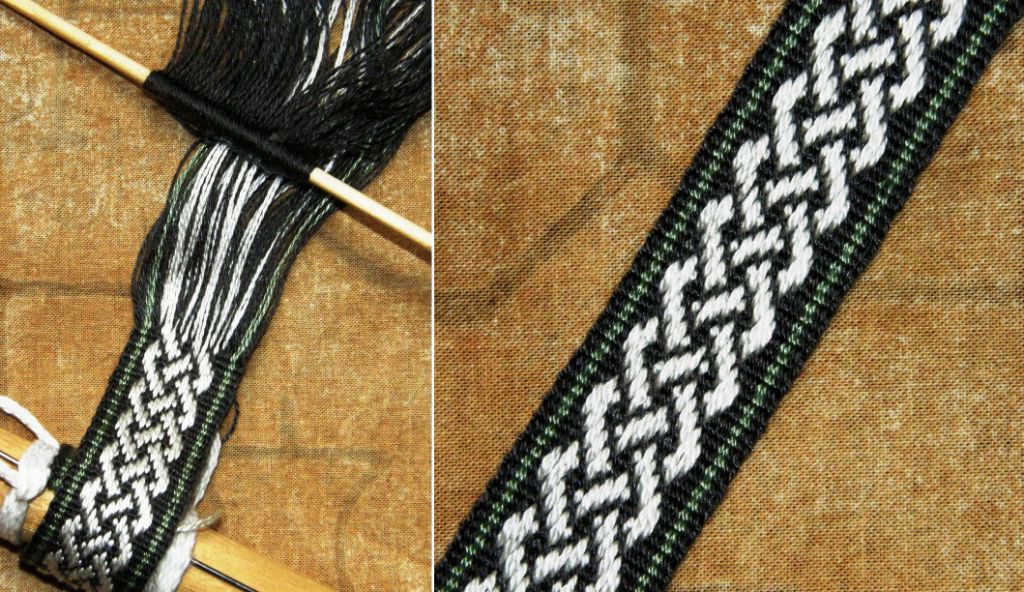
Included is a pattern for a Celtic knot. This experiment served two purposes as I also wanted to try out some tencel that I had received in a swap with a weaving friend in Denmark last year. I really wanted to see how the colors would look together…a light green and a gray-ish purple along with an off-white that I bought at the Mannings. I have never used tencel before and was looking forward to see how it looked and felt when woven. I made this on my backstrap loom.
Just as everyone says, it has a lovely sheen and is very sleak. The weft did want to wiggle out a little and I found I had to put it back in place each time I changed sheds but I love everything about this…the colors, the pattern, the texture and the sheen!
This is a thirteen-pattern-thread design which Robyn calls “my all-time favorite pick-up pattern”.
Karen Madigan gives the pattern for a twelve-thread Celtic knot (which she says is based on a design from Sara Lamb) on her Curious Weaver blog. By the way, I know a lot of people have Sara Lamb’s Woven Treasures book. Sara teaches this supplementary warp technique right there in her book… just in case you missed it.
Take a look at a different version (the pink one) on Annie MacHale’s blog here.
I couldn’t resist tipping this Celtic knot pattern sideways and trying it in a supplementary weft.
I know that I can improve on this if I decrease the spacing and have the edges curling over more. That’s something to work on further this week.
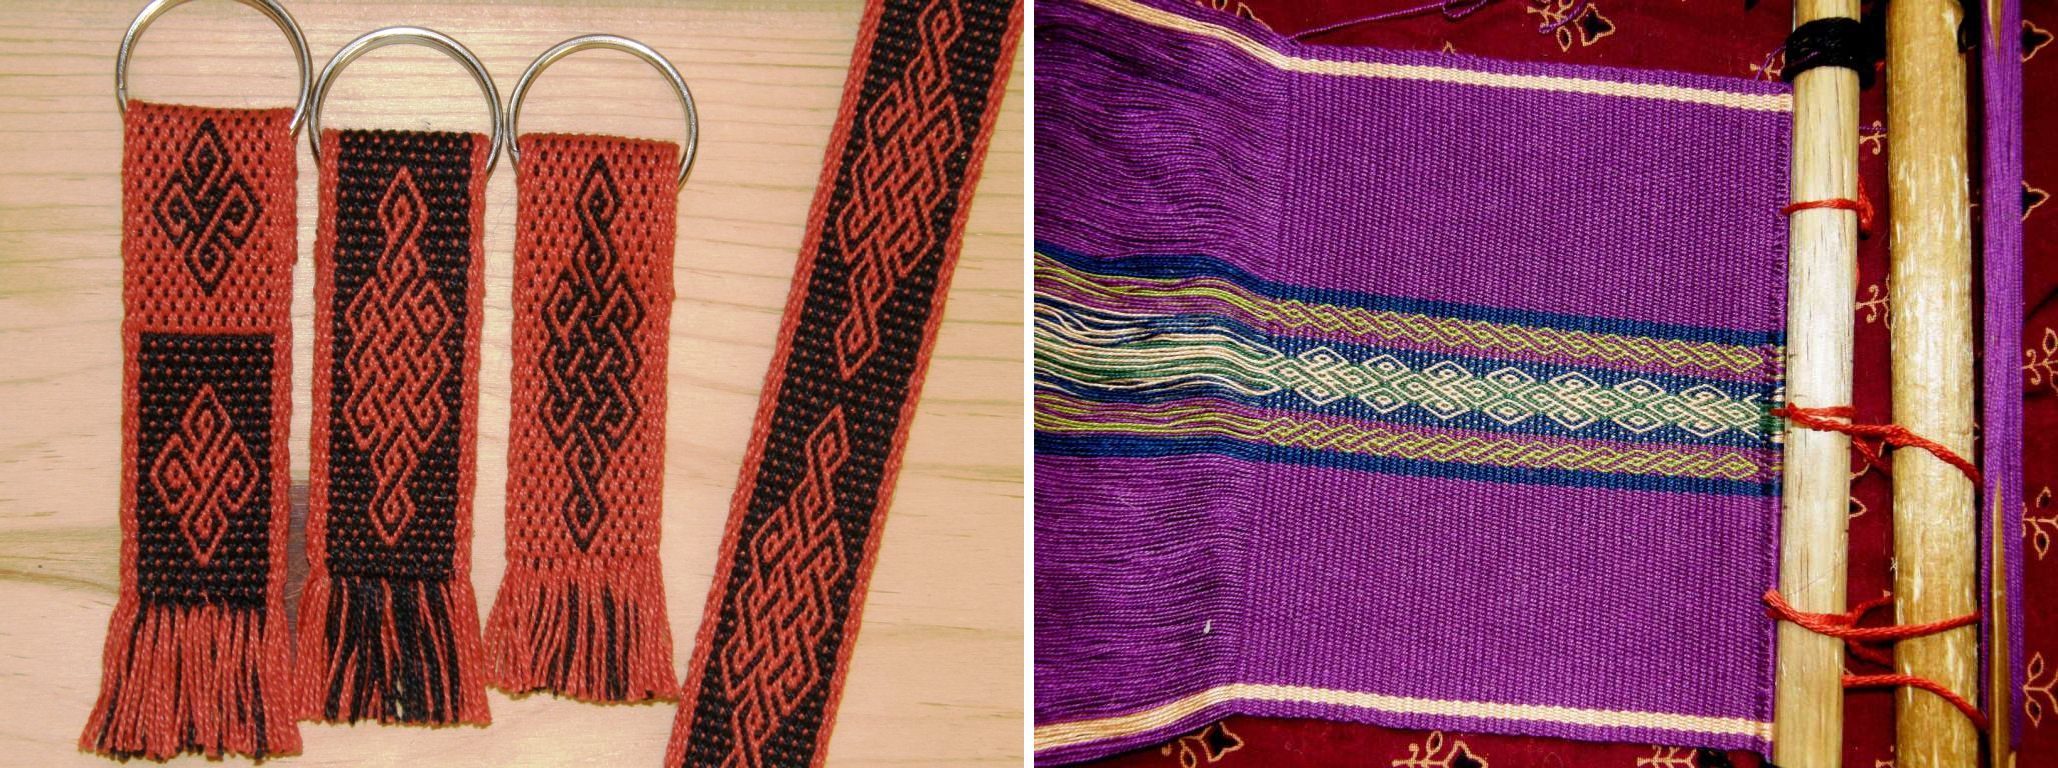
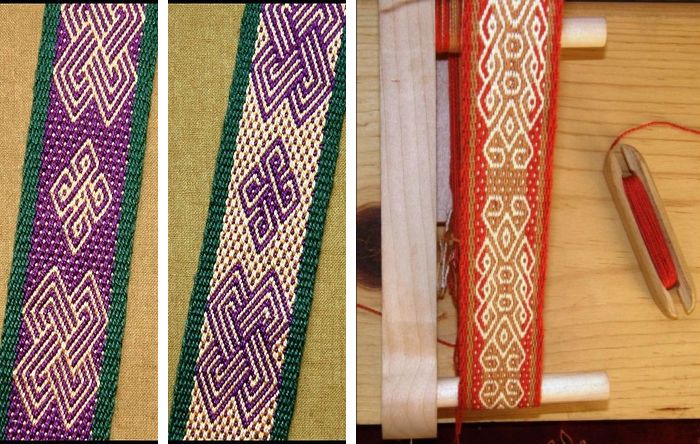
I thought that I would pull out some older pictures of other knotty-like designs I have woven…
The designs above and below were taken mostly from tablet-woven bands and I wove them using the Andean pebble weave technique that I teach in my book.
Jennifer from the Weave Along group made her first Sami band on her inkle loom this week (at left) as well as Tanyabe who says that she actually has a drop or two of Sami blood in her. Hopefully we shall see her pictures soon.
The Weave-Along has become rather quiet. I suspect that folks are working on their “secret” project for the grand finale. I also like to think that the Weave-Along has helped create confident independent weavers who are trouble shooting, experimenting and problem solving on their own….let’s see!
And the loom bag project continues. This loom bag will weigh a ton by the time I have all the bits in place!
This piece of fabric with its pebble weave design will be used to make the three zippered pockets on the back of the bag for holding belt shuttles, elastic bands, scissors, tapestry needles and all that stuff.
Finally, I got a nice note from Kathleen on Ravelry with all this information on other articles in the Weaver’s Journal which are available to download free from the online digital archives at arizona.edu
Kathleen says:
Thanks for the references re the Andean braids in Weaver’s Journal. (Actually, we all have Jennifer to thank for these references).I didn’t know they were all available on line. I have some but was happy to find the others.
There are quite a number of other interesting articles that might also be of interest to you or other members of the backstrap weaving groups.
Issue 4 – A Tubular Edge Braiding from Bolivia by Adele Cahlander and Marjorie Cason.
23 – A Special Andean Tubular Trim woven without Heddles by Adele Cahlander, Ed Franquemont and Barbara Bergman (color!)
24 – A Guatemalan Brocade Border
25 – A Braided Strap from Columbia by Adele Cahlander
28 – Gifts from Ancient Peru by Ulla Nass
35 – A unique Finish from an Amazonian Bracelet by Micheline Thabet
37 – Unraveling the Mystery of a 7 – loop Braid by Adele Cahlander
42 – Embellishment of the Rain Scarf (Hopi) by Suzanne Baizerman
45 – Peruvian Technique for Dimensional Knotting by Monica Bravo
46 – Color and Design in Andean Fabrics by Blenda Femenias
Thank you Kathleen!
The downloading takes too too long for me but considering the topic of this week’s post, I think I must look at issue # 24!
Inspiration arrived from north, south and somewhere in-between this week.
First, my friend Anna who has been bicycling with her boyfriend Alistair from Alaska to Ushuaia sent me some pictures of pre-Columbian fragments in balanced double weave that she spotted on display in a cafe in El Calafate in the very south part of continental Argentina. The pieces were behind glass and not easy to photograph but I have never seen such large figures woven in this technique before.
There are my favorite little birds again along with a human figure and a llama. They are certainly a long way from home down there in the Argentinean Patagonia. Another piece that showed up far from home was this…
This piece is part of an exhibit of tribal arts and textiles in San Francisco which a weaving friend photographed for me. It is a piece of Swedish finnweave…funny that Sweden is not a country that springs to my mind when someone mentions”tribal”! So, this was my visitor from the far northern lands.
Then, between the southern end of Argentina and Sweden in the far north came patterns from Mexico in balanced double weave. I got the copy I ordered of Atwater’s Finnweave and the Mexican Double Weave which has both Mexican and traditional Swedish pattern charts.
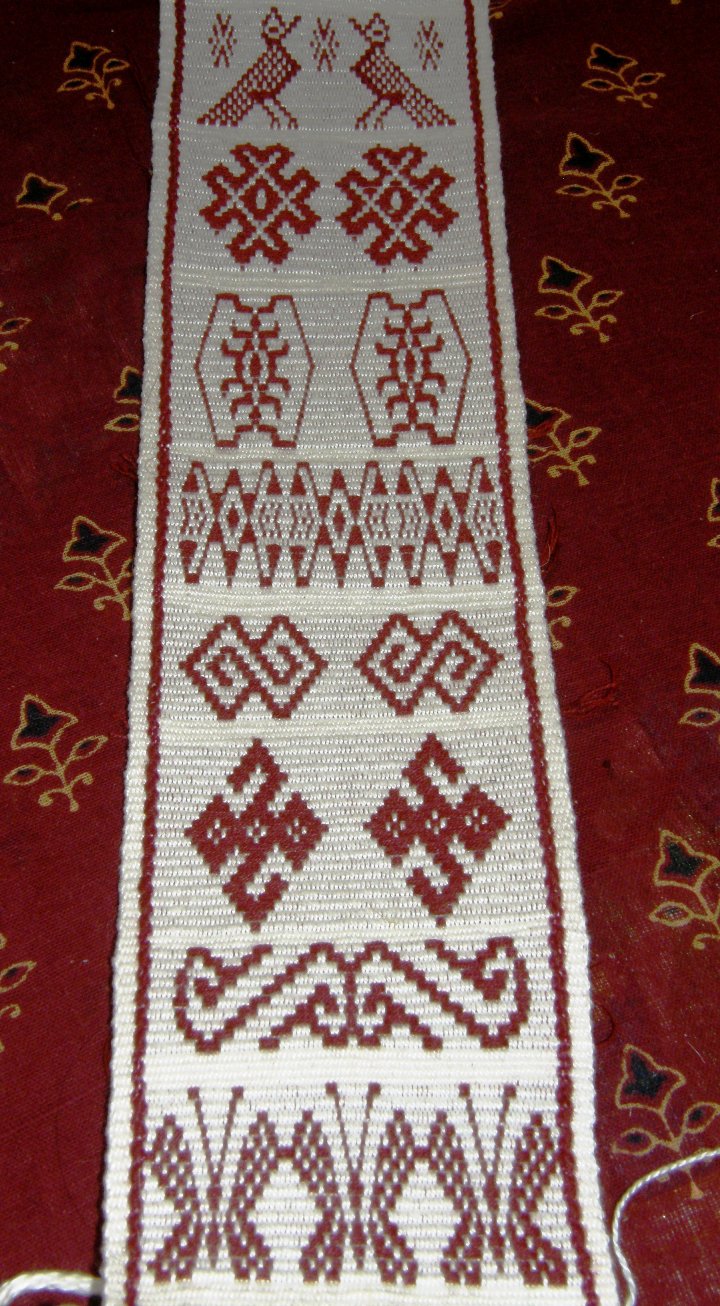
My ultimate goal with all this recent focus on the balanced double weave pick up technique is to add to an ongoing project which involves weaving nine sashes representing the weaving techniques that I have come across here in South America. Three of these nine can be seen above.
Nine, of course, does not even begin to cover it and this may end up being a life long work as I learn more and more patterning methods. I had been hoping to span the continent with the techniques on my collection of sashes but had gotten stuck in eastern lowland Bolivia unable to proceed eastward. I knew nothing about Brazil. However, my involvement in Weavolution enabled me to meet Helena who introduced me to the work of the Huni Kuin people of tropical Brazil and I can now go on to learn more about their work and hopefully one day weave a sash using their techniques too.
So here is where I am at, getting closer and closer to the design I will use on the fourth sash. Yet another sample and more refinements to be made, but I think that I have settled into this technique now and can trust my measurements to be consistent for the final project.
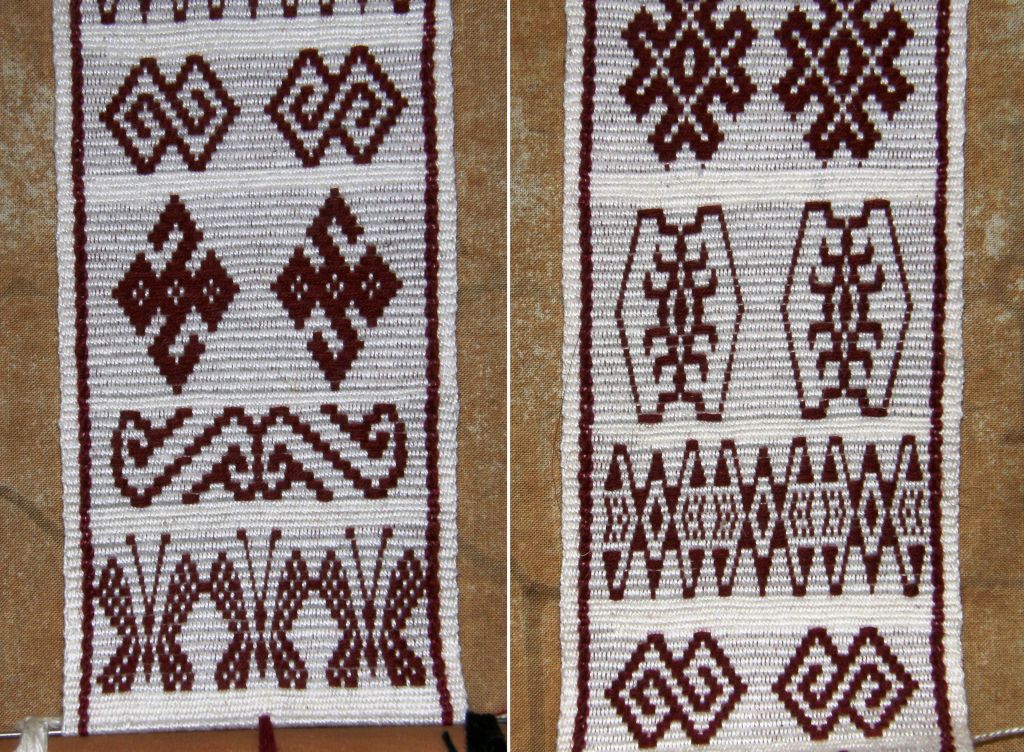
I have two textile fragments on which I am basing this design bought at two different times and in two different countries. The design is exactly the same on both but the density of the fabric is completely different…two different weavers with two different beats.
The person who wove the piece on the right had a much firmer beat and used a closer sett. The beige stripe on the right of her piece is, in fact, warp faced double weave and that little segment is a tube. The piece on the left is much more light and airy. So, which way is “correct”? I guess that being so used to the firmness of warp faced weaving, I am more comfortable with a heavier beat that produces a fabric more like the one on the right and that is how I am choosing to go on my sash project.
So my discontinued sash project has been revived. This project is in some ways a casualty of my entry to the world of online weaving groups and all its distractions but, on the other hand, I have learned so much from the groups which can enhance and enrich it.
Speaking of distractions, I threw all finnweave aside yesterday to take a look at the online workshop on Sami band weaving in the Yahoo bands and braids group. Sue Foulkes has been providing notes throughout February on the techniques of traditional Sami band weaving. Sami bands are woven on a body-tensioned loom using a small rigid heddle to create two sheds. They are warp faced and decorated with pick up patterns using supplementary warp threads.
I decided to try it using string heddles and a shed rod.
It’s fast and fun! Sue recommends using a pattern thread that is twice as thick as the ground weave thread for best results. I think my pink thread is probably about one and a half times as thick as the yellow. The pink is Tahki Cotton Classic and the yellow and blue are Coats Royale #3. I didn’t use the border threading suggested by Sue.
I have to admit that the technique is not new to me although it differs slightly from what I learned in Huancayo (from weavers from Ayacucho) and Cabanaconde in Peru. In the Sami method that Sue teaches, only the pattern warps are picked and dropped. In Peru, both my teachers taught me to also manipulate some of the warps in the ground weave and each of my two teachers had her own version.
I have never been a big fan of this technique but, as it is one that I would like to include in my sash project, I think that it is time I embraced it and found something that I like doing with it. I think that part of the problem is that in the areas where I first learned it, it is often used to weave very irregular figures which result in long floats on the back of the fabric, something which I really dislike.
Above left you can see figures woven with supplementary warp threads on a textile from Ayacucho. The orange and blue bands are those I wove while learning with my teachers in Huancayo and the white and blue one is what I wove with a teacher in Cabanaconde.
I also learned to weave patterns using supplementary warps in Salasaca in Ecuador as this is how their traditional belts are woven.
I bought a lovely belt on my first ever trip to Cusco partly decorated with supplementary warps.
Attending the Tinkuy de Tejedores last November in Chinchero, Peru gave me a chance to see weavers from communities in Cusco using these patterning techniques, like this lady from Accha Alta…
I guess the designs that I have most liked in this technique have been those woven by the Mapuche people of central Chile and Argentina.
Although I have several books about Mapuche weaving and have been able to experiment with some of their designs, I think I have always hoped that I would one day go to Chile to one of the small Mapuche settlements and learn from the weavers themselves. The small purses I made at left are decorated with Mapuche designs.
Above are two examples of things I made using supplementary warp patterning and Mapuche designs…a shoulder bag made in colorful wool and a sample band in cotton.
Recently on Weavolution, Luchita, who lives in Argentina, showed the beautiful Mapuche design band she wove at left using a vertical loom based on the traditional Mapuche ones.
Another reason to get re-acquainted with this technique is to be able to weave some of the beautiful designs used on the belts of the Russian Old Believers.
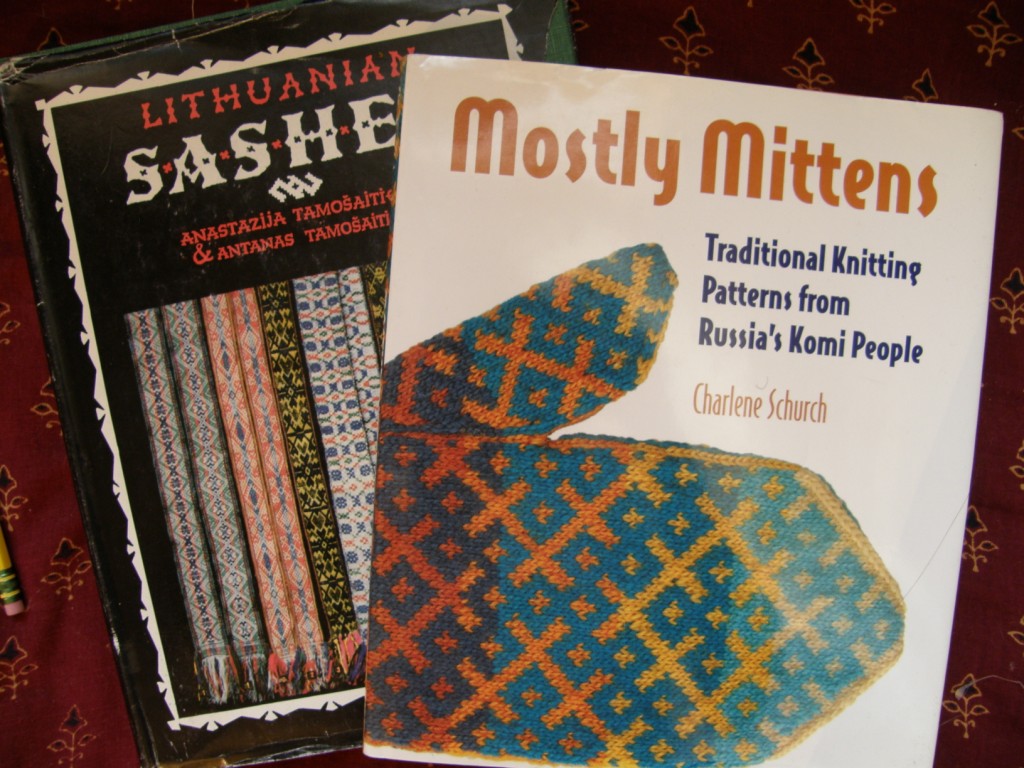
Books like these ones below are full of these wonderful patterns from the northern lands…
I learned of the Komi people after seeing some beautiful knitting projects on Ravelry and learned that they were also weavers. The mitten book gives me access to some of the traditional patterns which would be easy to adapt to weaving. The book on Lithuanian sashes was a much treasured gift from weaver Annie MacHale. (ASpinnerweaver).
So, if this technique and these kinds of patterns appeal to you, take a free class with Sue Foulkes in the Yahoo bands and braids groupor, if you prefer, Sue has a book on Sami Bands available here.
I can’t guarantee that this is exactly the same technique used to produce all the bands and sashes that I have shown here, but learning the structure used to produce Sami bands will give you a good start in supplementary warp patterning.
There were slight regional differences in the technique even within Peru.
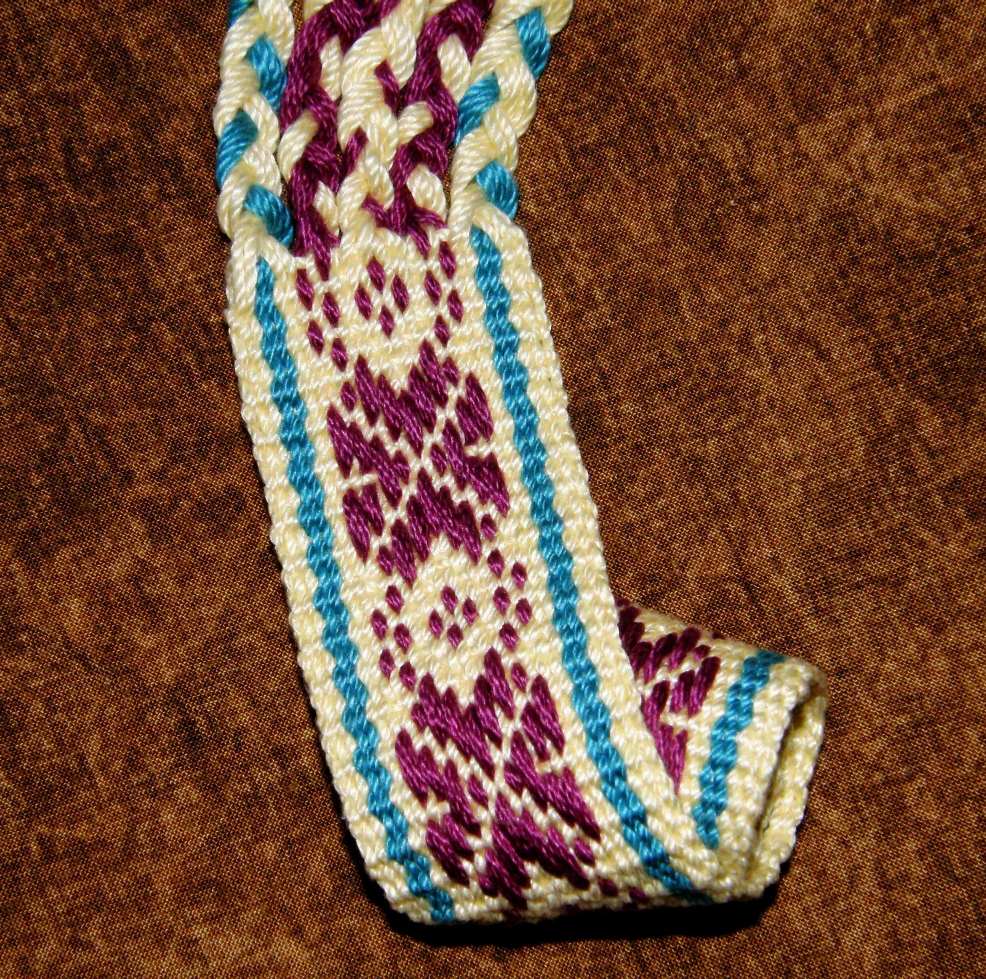
I finished my first band with braids and can use it as a bookmark.
From Scandinavia to the Middle East….Tracy aka himalaya left us in the Weave Along to travel and then returned to her present home in Qatar via Damascus, Syria where she went looking at textiles. She shared some pictures with us knowing of my interest in twining…
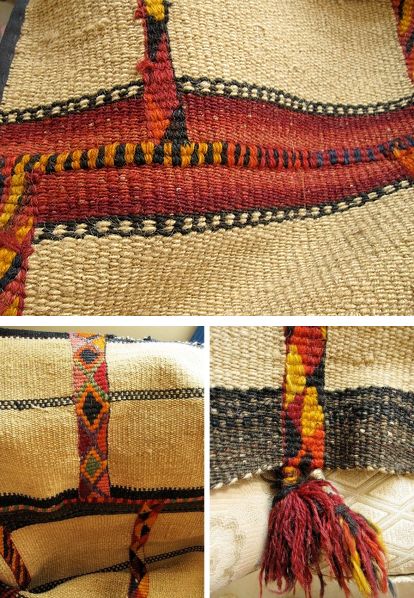
This beautiful piece now adorns her sofa. I am guessing that the colored bands have been twined. I love the tassels they have made with the ends of the twining yarn. I can never figure out what to do with those pesky ends. I also love the big bold stitches that have been used to join the panels. This piece was woven as a tent divider and Tracy told us that, according to Joy Totah Hilden in her book Bedouin Weaving of Saudi Arabia and its Neighbors, these dividers are used to separate the male and female living areas with the most beautiful side being exposed to the men in order to show off the woman’s weaving skills.
No doubt Tracy will post more pictures of these textiles on her blog. Take a look now at the beautiful images of Damascan doors she has posted there.
Jennifer, who is also one of the Weave Along gang, made a nice find when she discovered articles by Adele Cahlander on crossed warp bands and tubular bands (seen at left) in the Weaver’s Journal which are available as free downloads here (page 10) and here(page 38).
What a good thing as the out-of-print book on this topic seems to be very hard to find these days.
Between finnweave and Sami band weaving I got in a bit of twining on the strap that was supposed to finish off my loom bag.
I am half way through the Nigerian words for “weave” and have now decided to add some zippered pockets to the back panel of the bag for storing belt shuttles and such things that would otherwise be left to rattle around in the bottom of the long bag. This plan is turning in my head now as I try to figure the best way to go about it.
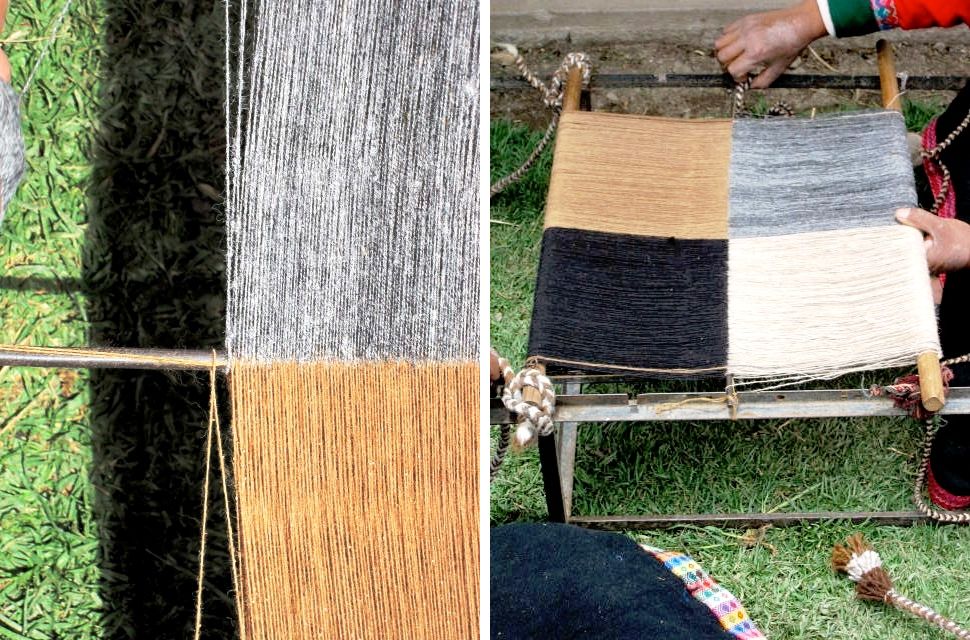
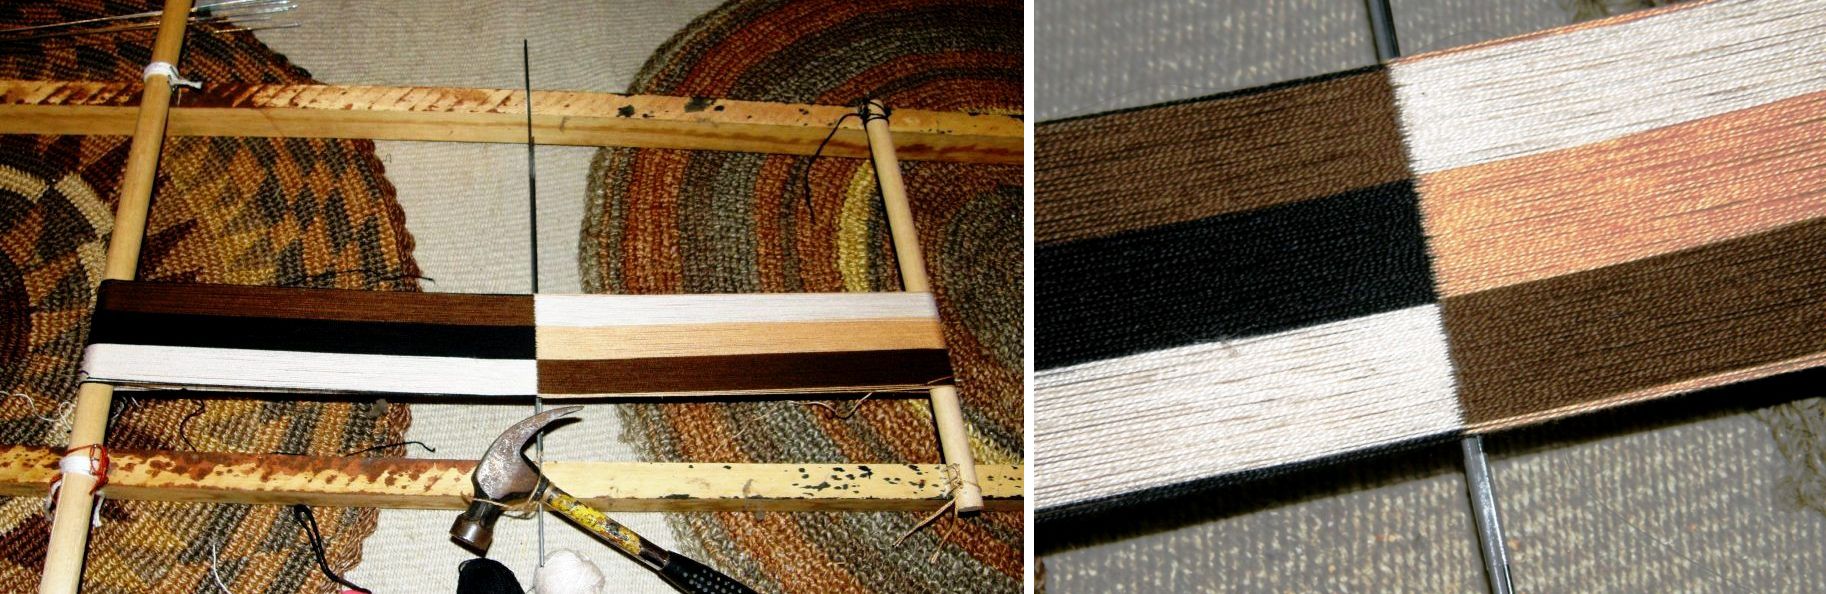
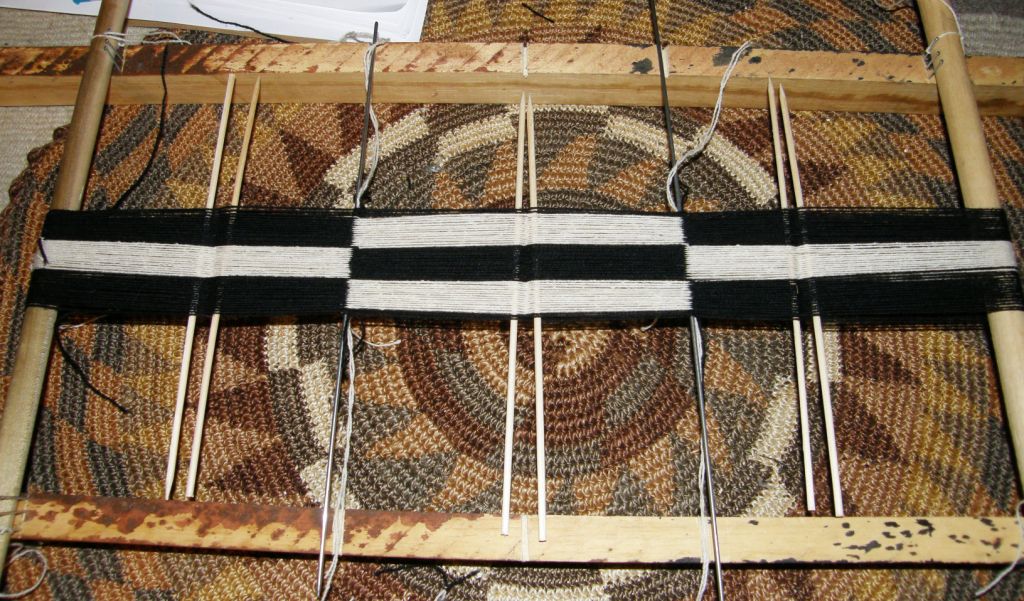
I also decided quite suddenly to dive into another discontinuous warp experiment. You may remember the wonderful discontinuous warp pieces that I got to see being woven at Convergence and at the Tinkuy de Tejedores last year by weavers from Pitumarca, Peru.
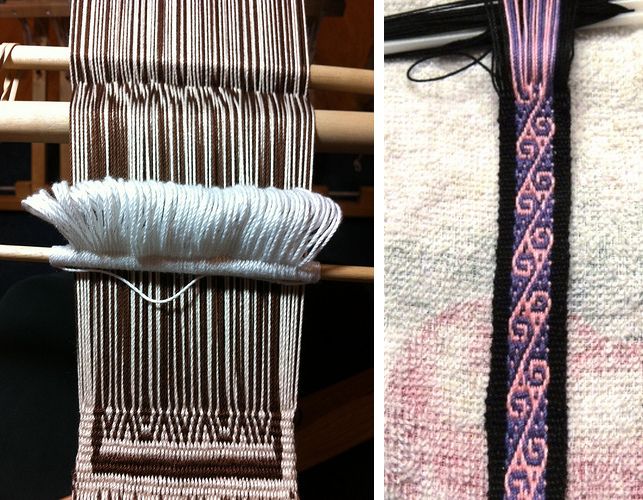
This is how these kinds of pieces are warped. DY Begay has kindly allowed me to use these pictures she took on a visit to the community of Pitumarca.
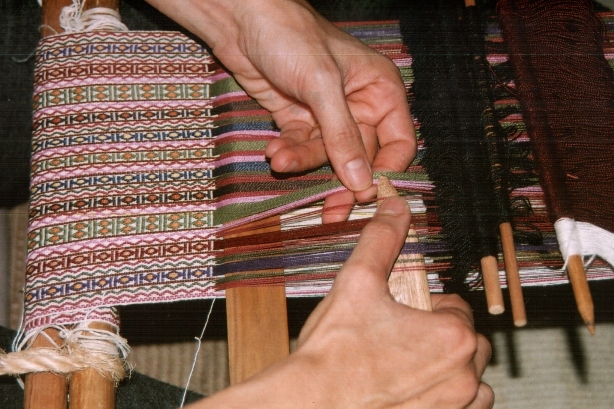
This technique allows you to weave joined panels of different colored fabric, something which is not normally possible in basic warp faced weaving. You can see these master weavers above creating intricate pick up designs within the panels…mind blowing!
My goal was much simpler!!
I just wanted to weave a few joined panels and create an acceptable panel with four selvedges.
In my first attempt I used cotton.
Creating the joined panels was not so hard but finishing the four-selvedged piece proved almost impossible in cotton, Well, I did it but it was a horrid mess. I added a bit of decoration using supplementary weft.
I abandoned the project shortly after reaching the point you see above.
This did not produce a sample that can be made into anything. It just serves as a reminder of what not to do next time!
Attempt number two came this week but this time in wool. My friend Claudia had given me some wool yarn while I was visiting her in the US which I overspun while there to make it suitable for warp faced weaving.
I went with three panels this time, the first and last would have fringe and only the center one would have four selvedges. I planned plain weave with some patterning with a supplementary weft…keeping things as simple as possible. I laid in yarn along with the metal warping rods so that when the rods were removed, the yarn would be there to take their places (something I neglected to do on the first attempt which forced me to get creative!)
Here is the result off the loom. I used eight strands of my handspun llama singles for the supplementary weft which worked really well. I have never seen wool used as a supplementary weft here and it was Phil in the Weave Along group who gave me this idea. He wove a snake design in wool using several tones of natural wool thread as his supplementary weft and it looked great.
The join worked well. The bumpy bit in the panel in the center picture shows the final weft passes that went in to close the four-selvedged piece. An experienced four-selvedge weaver would probably have squeezed in a few more wefts but I was done at that point!
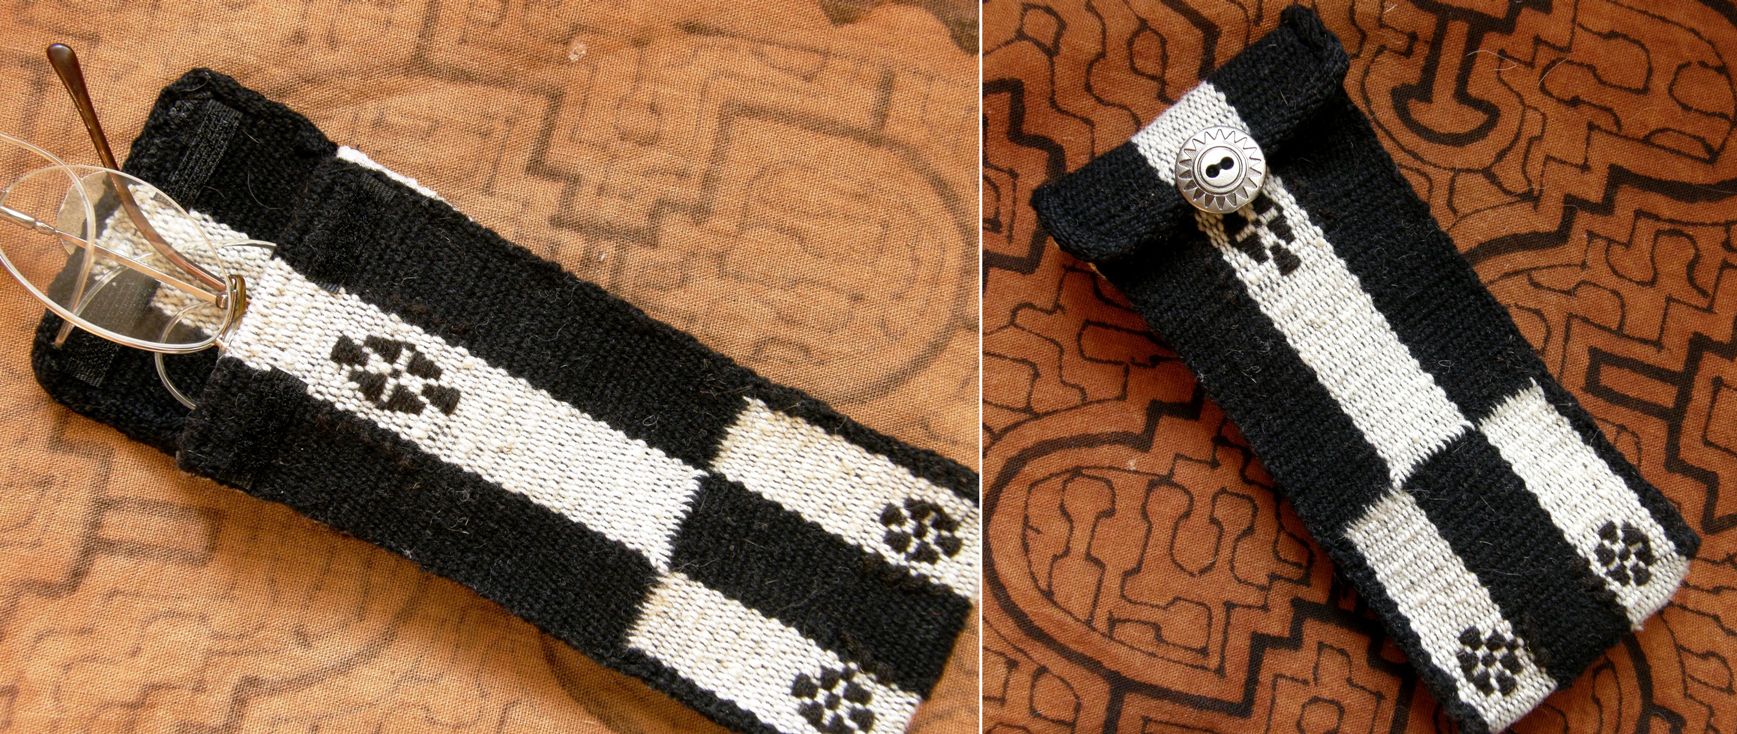
So, I was quite pleased with this second attempt and learned a lot and I even got to make something from the sample. No, not a cell phone pouch….an eyeglass case.
I wove a band with the same wool to make the sides. The bumpy bit mentioned above conveniently positioned itself at the bottom where the piece folds.
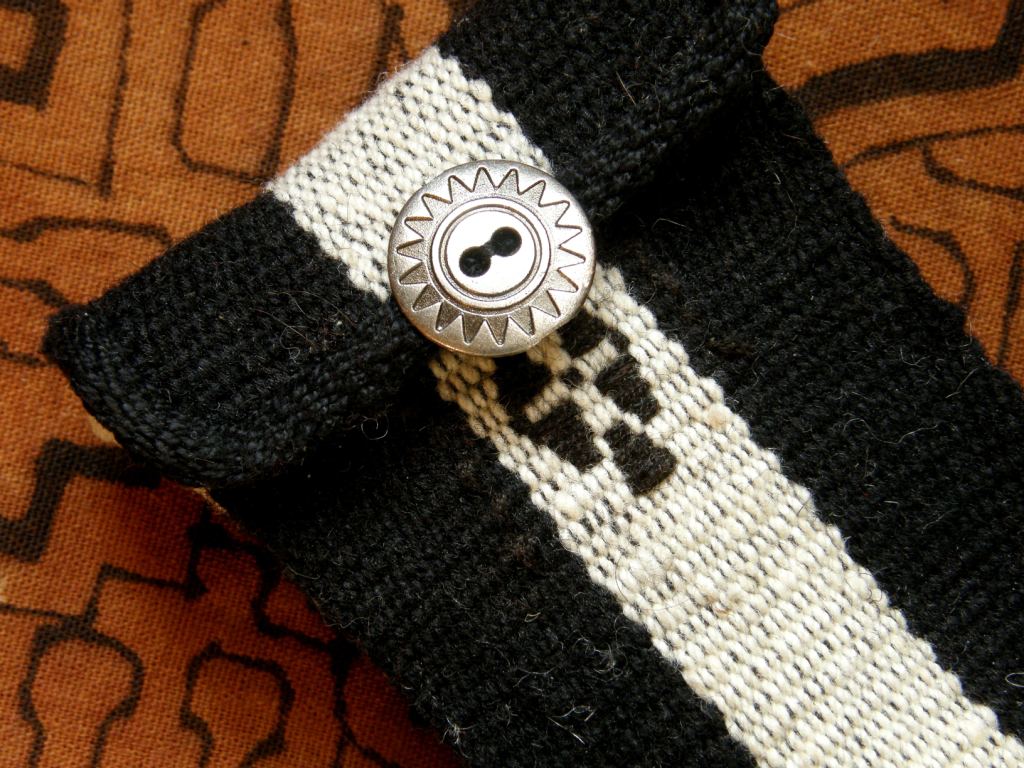
The flap is edged with a woven band which I wove and sewed on using the weft as the sewing thread and this protects one of the raw edges. The other edge is turned and sewn to the inside. The button is just decorative. Two velcro tabs hold the flap in place.
It was a fun project. I don’t know what my next step in the discontinuous warp study will be. I am determined to do this in baby steps. First I need to overspin more wool.
The Weave Along….yes, we are still going! but we have all decided on March 6th as the grand finale so we can end with a bang rather than with a whimper. Weave Alongs usually just kind of come to a sputtering halt. Everyone is planning a ”secret” project to show on the last day and I am hoping that folks will have a little to say about their progress and what they learned as well as offer tips and tricks about the equipment and the weaving techniques for others to come along and benefit from later.
Jennifer is weaving her first mug rugs in double weave while Bobbie had her “aha!” moment with pebble weave and wove one of the more difficult designs.
Linda is taking her first steps insimple warp floatsafter having practiced bands with horizontal bars and popsicletote is working her way through the first pebble weave lessons.
Sandrine runs the Tricofolk forum in French and has visited and commented on my blog before. I hope she doesn’t mind seeing her work here. She has been doing pebble weave on her inkle loom and has finished quite a few samples there on the right. On the loom at left she is doing a supplementary weft pattern using one of the pattern charts here.
I just found out that Linda Hendrickson’s new book How to Make Ply-Split Baskets is available. I got to see the book and some of Linda’s baskets at Convergence. The book has superbly clear and beautiful step-by-step photos and the baskets are gorgeous. Go to Linda’s sitewhere you can see pictures of all twelve baskets and read about them and order the book. Check out her card woven calligraphy while you are there.
I hope to do a tutorial very soon on attaching bands to edges using the weave-and-sew method and I will leave you with some pictures of this. I use a warp with string heddles and a shed loop as I was taught here. Look at how my teachers in Ecuador sew bands to the edges of their cotton saddlebags using a nifty homemade rigid heddle that slides sideways to create the sheds. There is no one right way!
Well, I had my suspicions but now it is definitely confirmed. I am all about process rather than product. It gets harder and harder coming up with that “excuse” to weave. My usual excuse is “I need such-and-such so I had better weave one” – a thin disguise I am afraid. The truth is I just like to weave. I like the whole process- charting, calculating, warping, heddle making, picking up the warps, watching the patterns slowly appear and take shape, beating and pushing each weft into place. At the end of it I am pleased if, after having taken photos of the piece, I can give the product to a good friend.
After all, just how many shoulder bags, purses, table runners and wall hangings do I need? As it is, there is hardly a patch of uncovered wall space in my tiny apartment. Mind you, I could do with a rug or two…hmm…
This is what came off the loom this week. My excuse…I found a new color in the mercerized cotton I use and there was one more Celtic knot I wanted to try from Kurt Laitenberger’s site. His site shows tablet-woven bands in a technique called Hochdorf.
I just can’t resist trying out a new color combination, reproducing a beautiful ethnic design that I have seen on the net, or attempting new structures. Now the explorations have extended to finding other looms on which the South American pick-up techniques can be comfortably woven – not for myself as I am very happy weaving on my backstrap loom – but for others who may not feel like being strapped into a loom. So I am developing a project stash as you can see above. There is also a pick up piece on my rigid heddle loom which wouldn’t fit into this picture.
One thing I wanted to do this past week was weave one of the pebble-like designs from the Russian Old Believer belts in the heavy duty sewing thread that I got in the US. Well, shock and horrror, that thread turned out to be polyester. Silly me not to have looked more closely. I was wooed by the beautiful colors and made a warp anyway but it felt awful. I guess it’s back to the doubled regular cotton sewing thread.
Russian Old Believer belts woven in supplementary warp and complementary warp techniques.
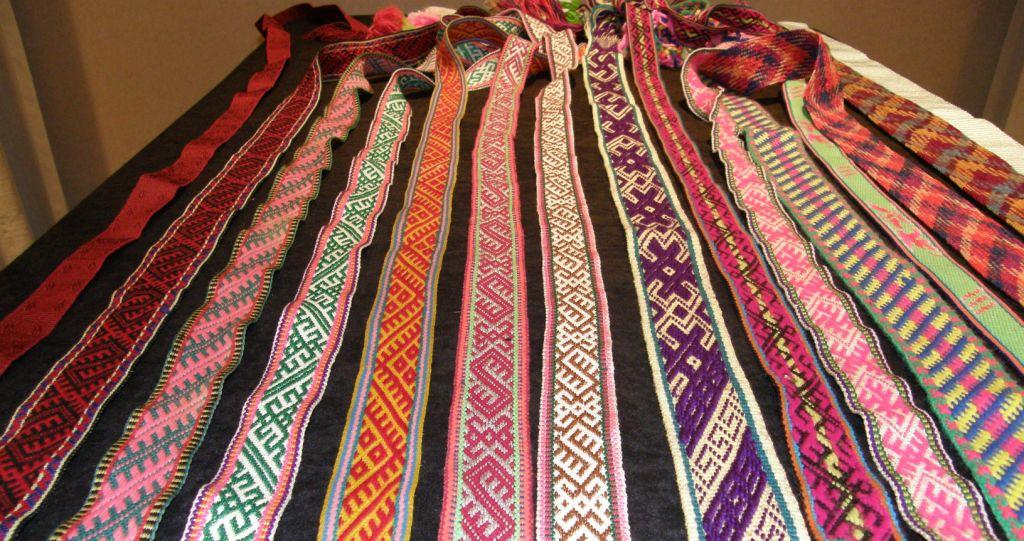
So that project got put on hold and I decided instead to chart all the designs from the pebble-like belts in Kathe Todd-Hooker’s collection so that I would have them ready once I got all the thread colors that I needed. I started looking at all the belts including the supplementary warp ones and there is not a single repeated color combination amongst the lot. However, it was interesting to see the repetition of certain motifs on bands woven in different techniques. As you can see above on the left the diagonal “comb” design woven with a supplementary warp is also woven as a border in the bands with the pebble-like structure. The “star’ border design also appears in the two pebble examples on the right as well as in the supplementary warp example on the far right.
And now I come to the “prejudice” part of the title of this post. I have to confess that I have never really liked weaving with supplementary warps. I am not a big fan of longish warp floats but I have decided that I really must get over this as I would like to weave some of the beautiful patterns on the bands below.
The Russian Old Believer bands in the central part of this picture have all been decorated with supplementary warps.
Annie McHale (aspinnerweaver) gave me an amazing book on Lithuanan sashes when I met her at CNCH which is packed with similar patterns. They are stunning and are just calling out to me to be woven!
I first learned this supplementary warp technique with my pebble weave teacher, Margarita in Huancayo in 1996. I guess I never really cared that much for the little motifs we wove and didn’t explore the technique much further. Pebble weave, on the other hand was a very different story!
At left is the first piece I wove when I returned to Chile from Huancayo. I combined pebble weave with the supplementary warp patterning in the one piece. I was new to all of this and way over ambitious and got my warping all back to front and mixed up and so what you see here is what I wanted as the upper face of the pebble weave and the reverse of the supplementary warp patterns – those little green creatures on the left and right borders.
Below are the bands that I wove with Margarita and you can see what the upper face is supposed to look like. They have been glued into my journal where I have documented the technique.
You can see that like any beginner I was very selvedge-challenged! We used orange weft which was exposed on the surface of the weaving adding an extra decorative feature. We could have created a smoother-looking single color background by using a yellow weft instead.
The following year I went to the Colca Canyon region of Peru and spent some time with a weaver in Cabanaconde. Together we wove the blue and white band on the right.
The motifs used in this area were quite different to those in Huancayo and the technique too had some slight differences.
As we used white weft, the background to the blue figures appears smoother.
Estela, in Cabanaconde used a very fine ground weave warp thread and a thicker supplementary warp thread. In Huancayo, both the ground and supplementary warp threads were the same. The fineness of the ground weave and the tightness of the weave made Estela’s band more atractive to me than those from Huancayo. I still wasn’t crazy about the technique, however, and although I carefully documented the differences in the weavings done in both areas, I was not motivated to incorporate supplementary warp patterning into my own work.
At the Maryland Sheep and Wool Festival I happened upon the old familiar supplementary warp motifs in this weaving from Ayacucho. I had been to Ayacucho in 1996 before arriving in Huancayo. Back then, only one year after the capture of the leader of the “Sendero Luminoso” group, it was a beautiful but very sad place.
Shortly after this trip and returning to my home in southern Chile, I visited a sheep “estancia” in the southern Argentinean town of Rio Gallegos. The owner showed me a belt that the Mapuche wife of one of his farm hands had woven and given him many years ago. It was yellow and decorated with motifs in many bright colors and I still remember how he snorted in disblief when I asked permission to chart it as I wanted to reproduce it. I couldn’t believe that I was there at the bottom of the continent seeing this very same technique. I am sorry I never got around to sending a photo of the reproduction to that doubting farm owner.
I chose a white ground weave and multi color pattern using the same yarns for both ground and supplementary warps as had been done in the Mapuche belt. It is a four-selvedge piece with the edges decorated with cross knit looping. This bag hangs off the side of my bed and holds whichever books I happen to be reading at the moment.
Since then I have found many gorgeous Mapuche designs in books which have been woven using this supplementary warp technique. I have an ongoing project which involves making a set of sashes to represent all the weave structures I have learned here in Latin America. I have gotten as far as making a yarn test for the sash I would like to weave using a Mapuche design and this technique. I much prefer using fine thread for the ground weave and a heavier and fluffier yarn for the supplementary warp.
LEFT: My sample band for a sash in this technique. RIGHT: Another yarn test using sewing thread as the ground warp. The pencil is one of the small IKEA ones.
AlthoughI learned this technique almost fourteen years ago, I really haven’t done much with it. Such has been my “prejudice”. I almost considered it “inferior”, being much more fond of complementary warp structures. However, quite recently I wove these little purses…
Here both the ground and patterning warp are the same weight and I am still not crazy about the longish floats. I think small and fine is the way to go for me.
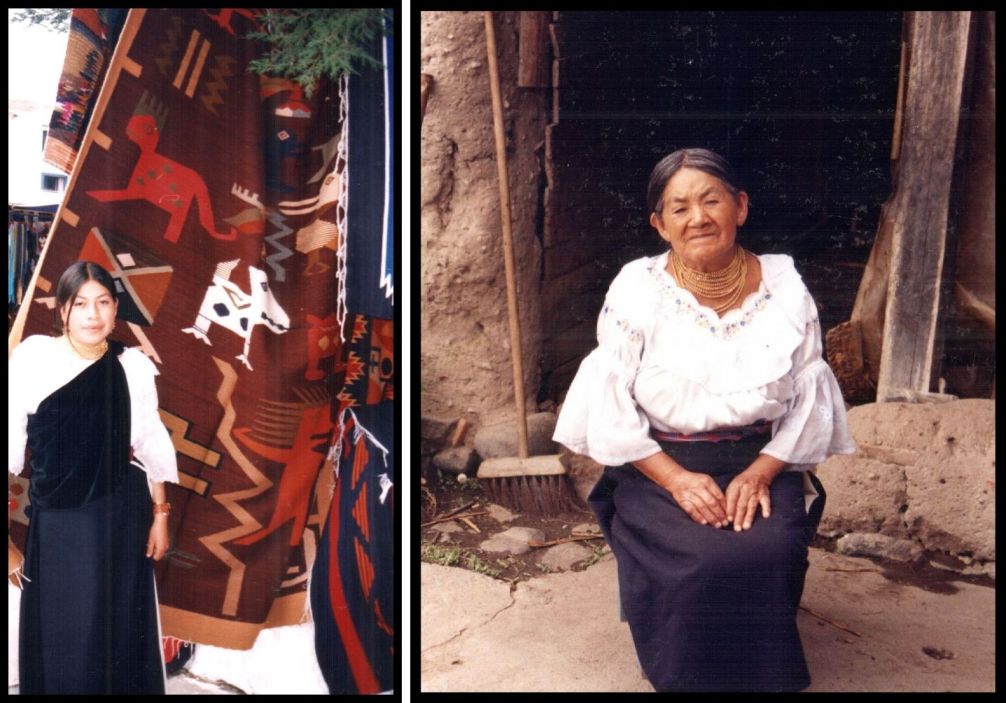
Two women in Otavalo wearing the traditional “anaku”
I have certainly seen a lot of patterning done with supplementary warps in my travels. Ecuador is full of this technique. There it is used to make the “chumbis”, or belts, used by the women to secure their long skirts.
I particularly love the long wrap skirt called “anaku” used by the women in Otavalo. These are said to be the skirts that most closely resemble those used by Inca women with their long split sides.
In Otavalo two anakus are worn. A white one with the split on one side is worn under a darker colored one with the split on the other side. A pleat is made in the waist to fit the wearer and both are held in place with two chumbis – the “mama” and the “guagua”(pronounced wa-wa), the mom and baby. Some weavers I visited in the village of San Roque explained to me that the outer belt is the guagua chumbi and is the one which bears the supplementary warp patterns.
The guagua chumbi is woven on a backstrap loom with acrylic yarns and is extremely firm and stiff. The white ground weave warp threads are finer than the red patterning ones.
I believe that these are both guagua chumbis. Each measures around three meters. I have noticed a trend towards wearing the double woven belts from Potosi, Bolivia in Otavalo. These belts are narrower and only wrap once around the waist. I wonder if they are as effective for holding up the two anakus. Look at the car motif on the red belt.
Below are some of the motifs from the blue chumbi. Any large white areas need to be filled with spots or squiggles of design to avoid having very long warp floats on the back of the belt. This is one of the things that feeds my prejudice againt this technique. I love these motifs but sometimes the weavings are a little too “busy” for my liking having all their spaces filled in.
Similar figures appear on the belts from Salasaca.
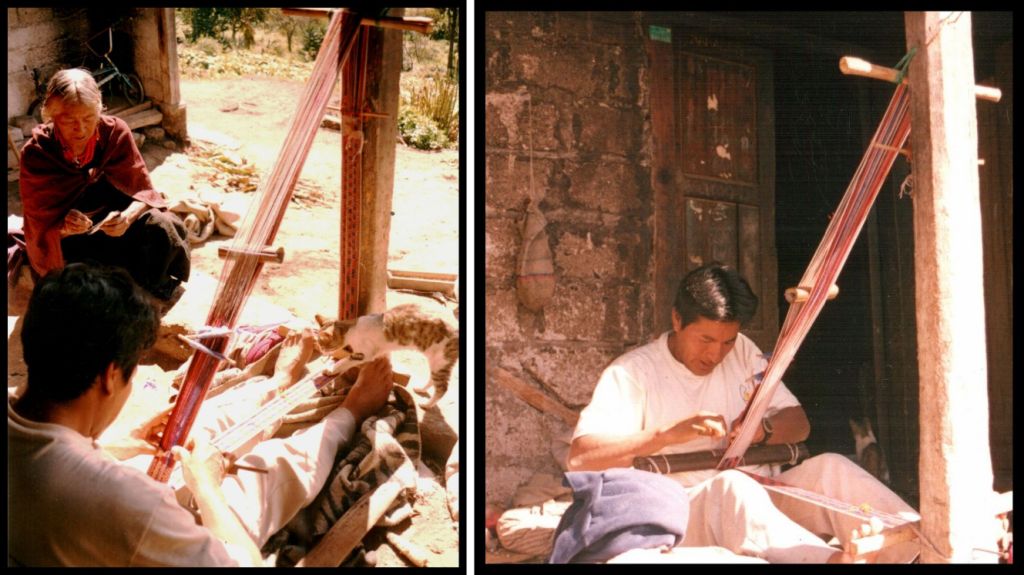
When I went to Salasaca, I did not learn to make the belts with these little human and animal figures. My teacher, Felipe taught me to weave the geometric designs that they call “kingus” and “frutillas”.
Felipe at work on his long continuous warp on his porch while his mother-in-law sits by. As usual there is a cat that wants to get into the act.
There are no over-long warp floats when weaving the tiny repeated motifs like those on the left. The example on the right, however, has long floats on the back as the colors in the motifs have been alternated. These are the pieces I wove when I got back home to consolidate what I had learned and enable me to take step-by-step photos of the process.
Above left you can see one shed of ground weave warps – white with colored stripes which separate the columns of motifs. On the right, I have picked up all the supplementary warps required to make the design and am about to add them to the ground weave shed.
At left I am picking up the pattern warps with the tiny Salasaca sword. The beater I used when I was learning with Felipe was an enormous heavy version of this sword which slammed the wefts into place. Needless to say, the resulting belt was firm and very stiff and my knuckles blue and bruised!
Warping for these belts was a little complicated and required six stakes.
We set up some stakes in the yard so Felipe could show me how to warp. Quite often two colors were being wound at once in different directions and it was quite confusing. I added stakes to one of my standard warping boards at home and managed to warp successfully for my practice bands. In Huancayo too, two colors were wound at the same time – full bouts of ground warp alternated with half bouts of the supplementary warp.
So, I am taking another look at this negelected technique. I learned it, I documented it and practiced it a little but I think it is time I gave it a bit more attention and learned to love it. Who could help but love it? Look above at the gorgeous belt I bought in Cusco. The brown sections are patterned with white supplementary warps.
I am going to weave a few of the Old Believer belt patterns to start and get a feel for those designs. The first part of the process will be the charting.
#################################################
You may remember the blue shuttle bag that I wove recently and which I was going to edge with a tubular band. In the end I decided that less was more and left it unadorned. I also thought it would be a good idea to practice that band first considering I hadn’t woven it for over ten years. Out came the chunky yarn and I chose colors that would photograph well – not the nicest color combination you have ever seen I am sure. This band is what I consider the “poor cousin” of the complex ones woven in Peru and was taught to me in Potosi here in Bolivia. Now I am confident about the process and need to find the “excuse” or product on which to use it!
#######################################
THE MARGARITA BRAID
Here are the instructions for weaving the Margarita braid as taught to me by my sling braiding teacher, Zacarias in Yanque, Peru. If you have watched the video I made on the Palma braid here (embedded in the post), you will be familiar with what I mean by “near side”, “far side”, “uppers” and “lowers”. You will have seen how the braid is held in the fist, how a warp is passed from one side and paired with a warp from the other side and anchored and how the entire braid is rotated once a part of the sequence is completed.
So all I need to tell you now is the number of strands, their color arrangement and the parts of the sequence.
Remember that lowers always pass over to pair with uppers.
Part one: (Always starting from the left and moving right)
Black near side to red far side.
Black far side to red near side.
Red near side to black far side.
Red far side to black near side.
Black near side to red far side.
Black far side to red near side.
Rotate ninety degrees clockwise.
Part two: Start at black far side.
Part three: Start at red near side.
Part four: Start at red far side.
If you continue like this, you will be making “V”s on two opposing “sides” of the braid and inverted “V” s on the other two sides.
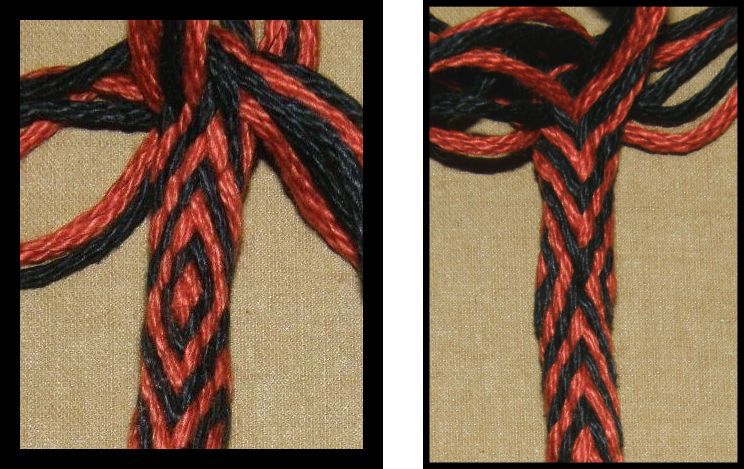
If you reverse the parts of the sequence, the “V“s will invert to first form a diamond. The inverted “V”s will flip to form an“X”. In the photo at left you can see the diamond on the left and the “X” on the right.
To create a black diamond with a red center, stop when you finish part two of the sequence. Instead of proceeding to part three, do part four. Now the sequence will reverse. You will proceed with parts three, then two, then one.
Play around with it and have fun!
The version I learned in Peru allowed color changes. We used twelve strands of a third color, for example white, that were hidden as the core of the braid. The white strands would slowly be brought into action two at a time replacing the reds until eventually the reds formed the core and the blacks and whites were active. I will show you this another time! 🙂
###################################
Phew! This has gotten really long but I really have to show you what people have been weaving this week.
We are still weaving along at Weavolution following my e-monograph on Andean Pebble Weave and other folks are following the tutorials in the Backstrap Weaving Group.
Lydia finished her pebble weave piece on her four-shaft loom and has made a wall hanging with it. Karren wove some bookmarks for a guild exchange using the simple warp float technique. The colors in both pieces remind me of the American southwest.
Jennifer has begun to create her own motifs in Andean pebble weave on the left and Jeanne is gradually weaving wider bands with more complex motifs.
Lydia’s first experiment on her four shaft loom was made into keyfobs. Carolyn has designed a bee to weave in Andean pebble weave.
And Lisa has taken her loom to the beach to continue participating in the weave along. This next photo falls into the category of…
COOL PLACES TO BACKSTRAP WEAVE!
I will leave you all here with a couple of beautiful drawings by Guaman Poma de Ayala. I told you a bit about him in this past postand wanted to include these pictures of the Inca woman’s skirt as we have been looking at the elegant Otavalan anakus here.
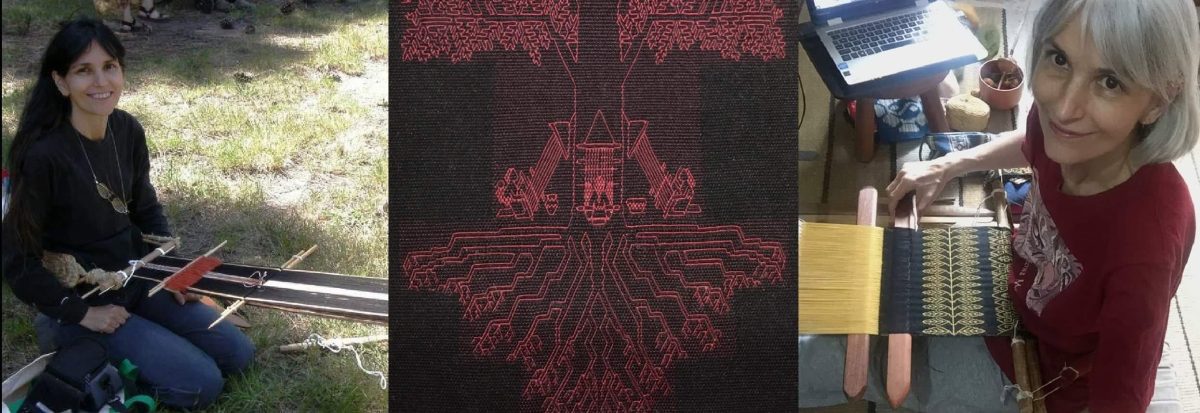
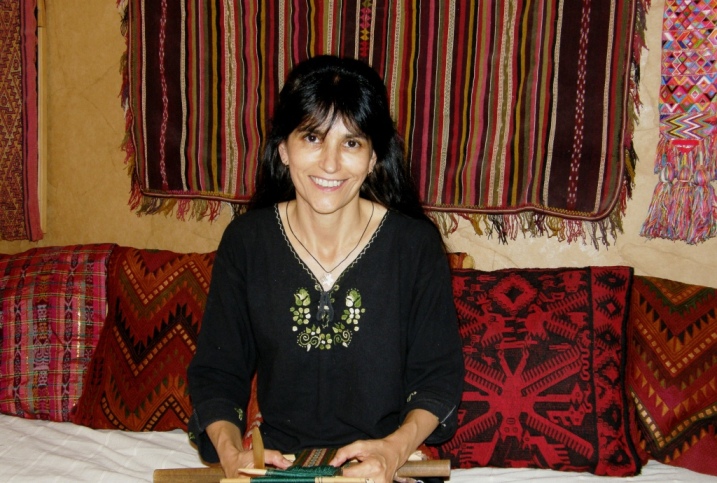 I stopped buying textiles when I travel a long time ago. Firstly, I simply don’t have room to hang or display them and I hate having them stuffed in boxes in my closet.
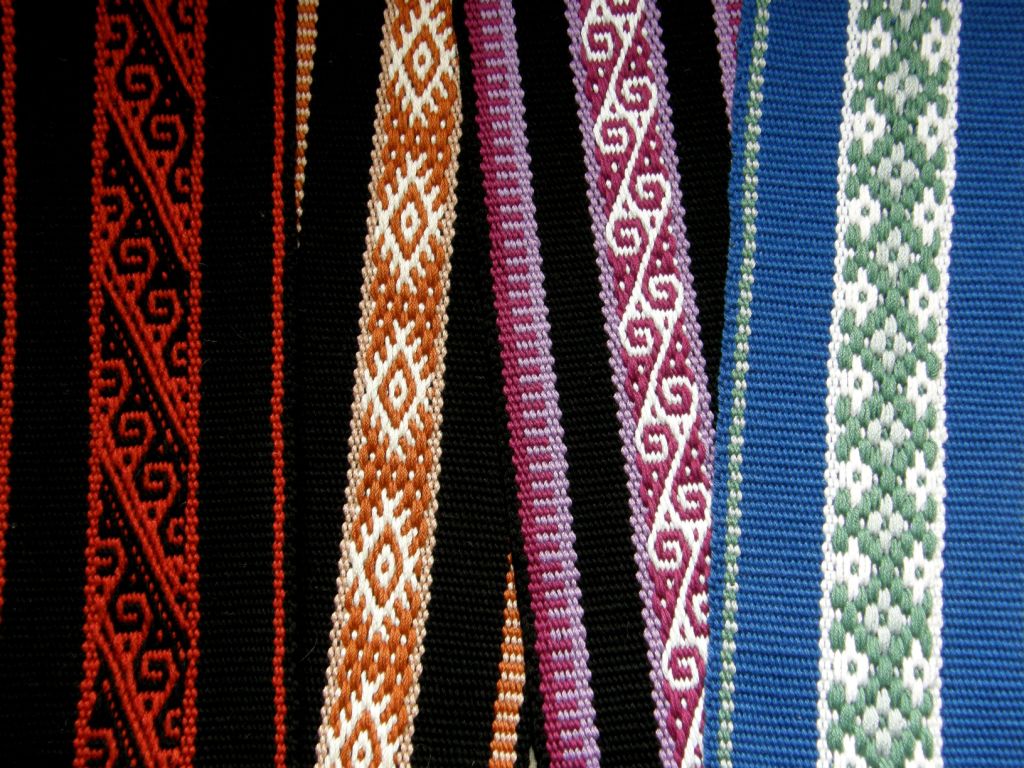



 With the wool one above I can show people the theory behind the technique for making the discontinuous warp textiles that has being revived in Pitumarca, Peru.


 I finished my wee ikat sample and I am thinking of making it into a belt somehow.