What do I like about sharing my weaving? One of the best things for me is how much I manage to learn myself from my interaction with my weaving friends. And, there are many other things about it that I love, both tangible and intangible. Let me try to list at least some of the things that make this such a wonderful experience…..
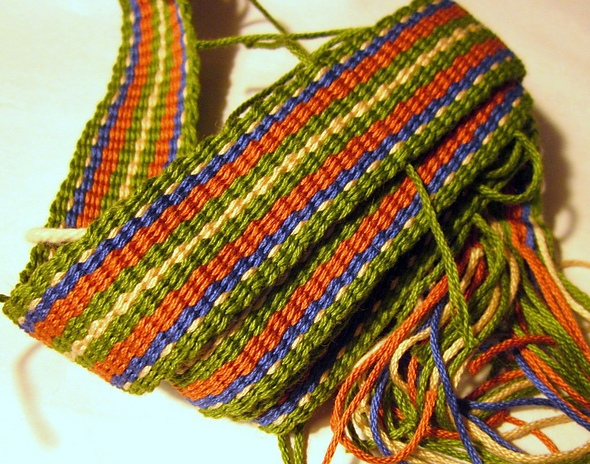
1.Receiving a picture like this via email shortly after weaving with a group:
 Karen, who wove Andean Pebble Weave with me, sent this picture to show me what she has been up to since then. She completed the bands that we started together and wove more bands as she continues to work her way through my book. Not that many people rush home and weave and get to this point so quickly but it is just the simple fact that she wanted to show me what she has been doing and keep in touch that makes me really happy.
2.Getting a picture from an onlooker who captures the interest and delight on people’s faces while I am busy showing samples and talking:
 This picture of (from left to right) Karen, Nan, Laura and Stephanie was taken by Franco. I miss some of these little moments while I have my eyes on the textiles.
3.Getting to spend “fiberholic” evenings with my friends, while chatting and cluttering up the place with WEAVING STUFF:
 My friend, Vonnie, sits back at home with a very interested onlooker to weave a little on the band that we started itogether.
Vonnie showed me how she makes her tablet weaving a “weave anywhere any time” craft. As always, I am happiest on the floor.
 I have a stretchy hair band around my neck to which the band is attached (this is just in case you are not wearing a belt to which you can attach) and the other end is hooked to my shoe lace. It was very comfortable!
4.Reconnecting with people I met on previous visits who have now become dear friends:
 That’s Annie and Barbara tackling a skein of hemp (next to Ginna). I am here to just hang out for a few days with them. We will probably see that beautiful rusty red hemp woven into one of Annie’s gorgeous one-of-a-kind inkle woven guitar straps soon.
5.Meeting lots of fun and enthusiastic people who are interested in something about which I am passionate – backstrap weaving and South American textiles – and helping them to perhaps realize a dream or simply enjoy spending some time trying something completely different:
 Stephanie, Betsy and Vonnie have just made their first set of string heddles and are putting their newly acquired skills to work on a narrow band.
6.Having the opportunity to spend time with long-time online friends who have been so helpful, supportive and fun for years. If you are part of any fiber-related online weaving group, you are bound to know Franco Rios!:
 7.Putting faces to my more recent online acquaintances:
 Laura is a fairly new member of the Ravelry Backstrap Weaving Group and we look forward to seeing more of her. She and her mother, Nan, came to weave together with me.
8.Exchanging ideas and learning new skills:
 Vonnie knows tatting and now…., so do I! The picture above is, of course, of Vonnie’s fine work. However, I am rather proud of the way mine is coming along in both fine cotton and wool.
 Vonnie gave me a shuttle to take away and showed me how pospsicle sticks can do the trick nicely as well. When practicing with the heavier wool yarn, it is very easy to use the yarn straight off the ball rather than place it on any kind of shuttle. However, you can’t help enjoying looking elegant holding the wee shuttle daintily between thumb and forefinger.
 Vonnie taught me to make cord using a lucet (the wooden instruments seen on the left) and I taught her to make a braid using a piece of cardboard and the fill-the-gap technique, something I learned thanks to the ladies of the Braid Society that I met while in the UK. Here is a close-up of my cord and Vonnie’s braid:
 And, there are also surprising connections to other Ravelry group members. Vonnie showed me the sweetest homemade rigid heddle that group member Janet had made for her using a sushi mat. It is touching to see how many firm behind-the-scenes friendships form between members of the Ravelry groups.
 And that is the pretty lucet that Vonnie gave me!
9.Coming to weave on a second morning and finding that people had woven at home on their own:
 Laura, Caroline, Vonnie and Betsy admire bands on the morning of our second day together that had grown in length overnight. Some of the patterns the ladies wove were of their own invention without the use of charts. Seeing that skill develop makes me exceedingly happy!
 10.Meeting someone new who shows me what she has managed to learn at home, either by using the free tutorials on this blog, or by following my books:
 That’s Caroline with a pebble weave band she has been weaving at home.
11.The trust and support that develops among the weavers as they work together. Folks applaud and encourage each other and, with this support, are able to accept little mistakes and mishaps with good humor:
 Team warping: that’s Janet on the left with Caroline in the center warping under the watchful eye of her warping partner, Stephanie. This is where I get a chance to stand right back and enjoy watching how people work and solve problems together.
12.Seeing a first-time-ever weaver being nurtured by the rest of the group, taking to it and having fun and seeing the movements used by everyone…experienced weavers and beginners alike… to open the sheds and operate the loom become increasingly automatic and relaxed:
 There’s new weaver Karen working at opening the sheds. She soon learned that a sweater on her lap made a great tool tray.
 Here’s “Team Backstrap” enjoying the sun. We had some spectacular spring weather for us. Many thanks to Betsy and Franco for inviting everyone. Franco kept us entertained with various bird-spottings. We were working right by a large open door and could enjoy the outdoors without being out in the harsh sunlight.
13.Understanding a little more about people’s different learning styles.
14.All the cool stuff I get to do and see and the cool people I get to hang out with. Like…
 …a) roaming around the redwoods….
 …b) admiring and exploring local sites such as the only building left of the mission in Santa Cruz established in 1791. That building would look very much at home in downtown Santa Cruz, Bolivia with its white adobe walls, wooden pillars and red tile roof. Many buildings where I live resemble this one although most are in a state of advanced decay with tropical greenery threatening to take them over….
 …c) seeing other kinds of weaving and sometimes meeting their makers. I had the wonderful luck of being able to examine a tapestry in progress by Zapotec weaver Sergio Martinez. He weaves and shows his work in Old Folsom just down the road from Vonnie’s place. Unfortunately, Sergio had just left for the day when we arrived but I wrote to him to ask permission to show his weaving here and we have been corresponding. The piece in progress is an image from the Aztec codices. Sergio’s woven themes, as far as I could see, are very different to those used by Zenon and Jaime Hipolito whom I visited earlier in this trip. It was very interesting to see how widely the work of Zapotec weaving artists can vary.

 …d) learning about other textile arts such as the art of stitched shibori at a workshop give by Rachelle Weiss at the Santa Cruz Handweavers Guild. Dyeing expert Kris Nardello assisted. It is a technique that historically was largely practiced in Japan and is a way to decorate cloth using dye-resist techniques.
The workshop was very well attended. Rachelle’s instruction and inspiring samples created a lot of excitement and chatter which made it a really fun morning. Participants learned three kinds of stitching techniques, some of which also involved folds, for creating wood grain, undulating lines and circular patterns. Everyone will return in June to complete their projects by pulling the stitiches to ruffle and pucker the cloth and then placing the pieces of fabric in the dye bath. I will have to take my kit home and play with it there….
It was fun to go on from there and find shibori-like fabric (at least to me eye!) used for a dress in one of the trendy clothing stores along the main street of downtown Santa Cruz (pictured above).
A couple of days later, I visited with Barbara and she showed me a gorgeous piece of shibori cloth that she had created and sewn into a garment.
 She had used techniques that we had not seen with Rachelle. Rather than creating areas of resist and then dyeing the fabric, she applied bleach. You can see how leaves were placed on the black fabric and then bleach was sprayed around creating the reddish background. Pieces were clamped to the cloth to create the bar-like patterns which I think look like sticks of bamboo.
The fabric has been used to create a jacket with simple twisted yarn ties for closures. That was in Barbara’s pre-braiding days. Now she will be able to replace those simple ties with some kind of fabulous braided tie using her takadai or marudai skills. Here are some of her examples created on the marudai and takadai…
 My day spent at Barbara’s was her regular twining get-together with Yonat. Both Yonat and Barbara weave with me on every visit and it was nice to see what they had learned when Ravenstail twining expert Cheryl Samuel visited the area. You know how much I love twining! A Google search tells me that Ravenstail is a type of twining and surface braiding that was used by native Americans along the Pacific Northwest coast to create dance aprons, blankets and robes.
Barbara had obviously been very much absorbed with this since last fall as she has already made these three adorable pouches…
 I learned a few tricks while Yonat and Barbara worked for making the ending of the twining neater. The basic technique of twisting the “wefts” and changing colors is the same as the technique I use to create the twined patterns that I use on my backstrap weavings. However, there are many specialised moves involved with creating the patterns that you see above with their outlines and embellishments.
 Yonat and Barbara are each working on a project to make traditional leggings. This is Yonat’s piece. The working frame alone is a thing of beauty. Barbara’s husband made hers and Peggy’s husband made a few for various members of the group.
 Look at the inlay work created by Peggy’s husband! What you are seeing there is the lid of a tool box that he cleverly incorporated into the basic framework. The frame comes apart easily so that Yonat can pick up her work and take it home at the end of her study day with Barbara.
And, while the ladies were twining, I got to weave on a discontinuous-warp project that was part of a workshop given to members of the Santa Cruz guild by Nilda Callañaupa way back in 1997! This particular piece was not touched after the workshop and its owner has since passed away. Yonat has been keeping it and is now passing on to another of our backstrap group members, Dorothy. On its way to Dorothy, it fell into my lap and I just had to weave on it! I will be spending this weekend with Dorothy and we will get to play with this together.
 I hadn’t taken a backstrap to Barbara’s place and so just used a piece of cord. It was pretty comfortable, believe it or not! The wool yarn was quite friendly and I got quite a bit woven before lunch. What was unusual for me to see was that this had been warped to include complementary-warp pick-up patterning. All the discontinuous-warp pieces that I have had the luck to examine so far have been either plain warp-faced weaving or patterned with supplementary warps.
 The horizontal bars that you see above tell us that the piece was warped for complementary-warp pick-up. Yonat, who also took the workshop back in 1997 remembers having woven a double-faced hooked “s” pattern on her piece. Barbara was also in that workshop and neither of them have worked on their pieces since. I am happy to report that they now feel those unfinished pieces calling to them and, hopefully, they will get motivated to get back to work on them with confidence sixteen years after the original workshop. (By the way, the piece is posed on top of Yonat’s latest clasped weft project in which she used the technique to create a beautiful landscape.)
 It was interesting to see how the two colored warp threads in the pattern area were carried while warping. You can see that they were wound together as one thread. They were then separated into two sheds when the heddles were installed.
So….on one short visit with a couple of my now, very dear weaving friends I learned about SO much!…shibori techniques, ravenstail techniques and a bit more about warping for discontinuous-warp projects.
 …e) getting ideas from weaving friends and the fun stuff they have lying around.
I saw a bunch of very long wool tablet-woven bands overflowing from a basket in Annie’s living room. Annie acquired these after a deceased guild member’s belonging were given away at a meeting. Each band is ten feet long. Who knows what the weaver’s intention was for these but I am seeing some kind of interlaced project along the lines of the fabulous weaving bench cover I showed here some weeks ago.
The colors are so rich and appealing. What if these were laid out vertically and interlaced with sandy colored bands running horizontally….oh, yes!
Let me show you what Jennifer Williams, aka inkledpink, made by interlacng some inkle-woven bands…

So, what do I love about sharing backstrap weaving with people? What’s NOT to love?!

 You know how much I love to dress up little bags and pouches. I am cutting up the bands just as the weavers themselves are doing in Independencia to make cell phone pouches and other such things to sell. So, I have been weaving and sewing tubular bands, braiding and embellishing away and having fun.
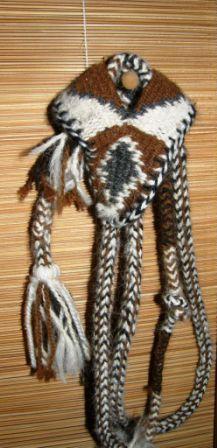 Here is one partly dressed-up pouch with a brown and red tubular band, braids and tassels. These projects give me the perfect opportunity to put into practice the many little finishing techniques that my weaving teachers and sling braiding instructor have shown me over the years.

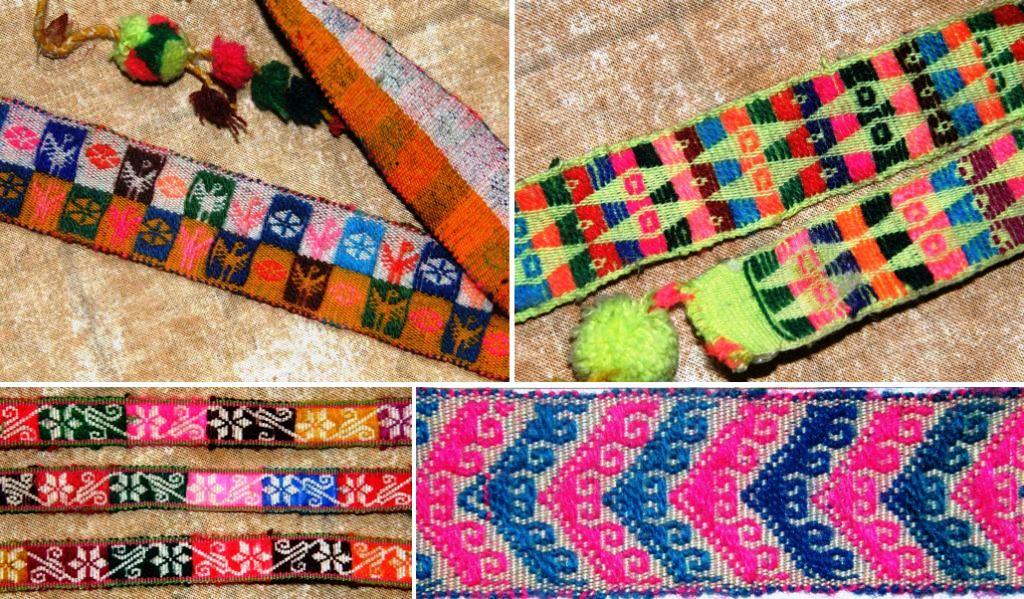 What I like about some of the Bolivian hatbands that I have seen is that the supplementary weft is used to fill the negative spaces.
 For my sample piece I have had to modify the pattern to eliminate some of the long floats as my Guatemalan cotton, as fine as it is, is nowhere near as fine as the Bolivian thread.
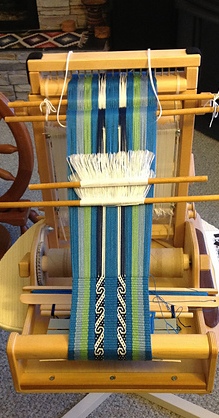 Betsy is making guitar straps on her backstrap loom with her own handspun. Janet is her spinning teacher and Betsy works hard at her spinning every day, so you can imagine that her handspun is really lovely and works beautifully for backstrap weaving.
 Jennifer demonstrated how using a coil rod eliminated the annoying corrugated look in her cotton warp and gave a new life to this abandoned project. She then used the warp to create a really interesting solid-color warp-float pattern using a pattern stick and heddles to raise the warps for the floats.
 Well, it’s back to sampling on the cotton warp, embellishing the wool pouches and playing some more on the inklette project for the article. My internet is running again and all is “fine”.
 Thanks to everyone who wrote with suggestions about the embroidery stitch on the pillow cover from Peru. I think that it would make a nice cover stitch for joins and hope to experiment with it soon.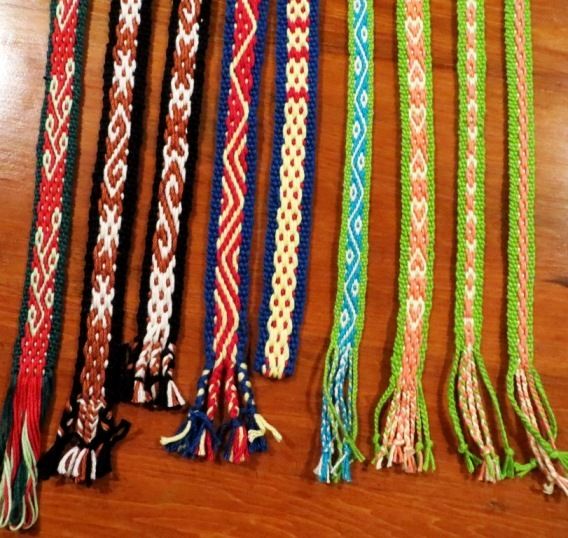


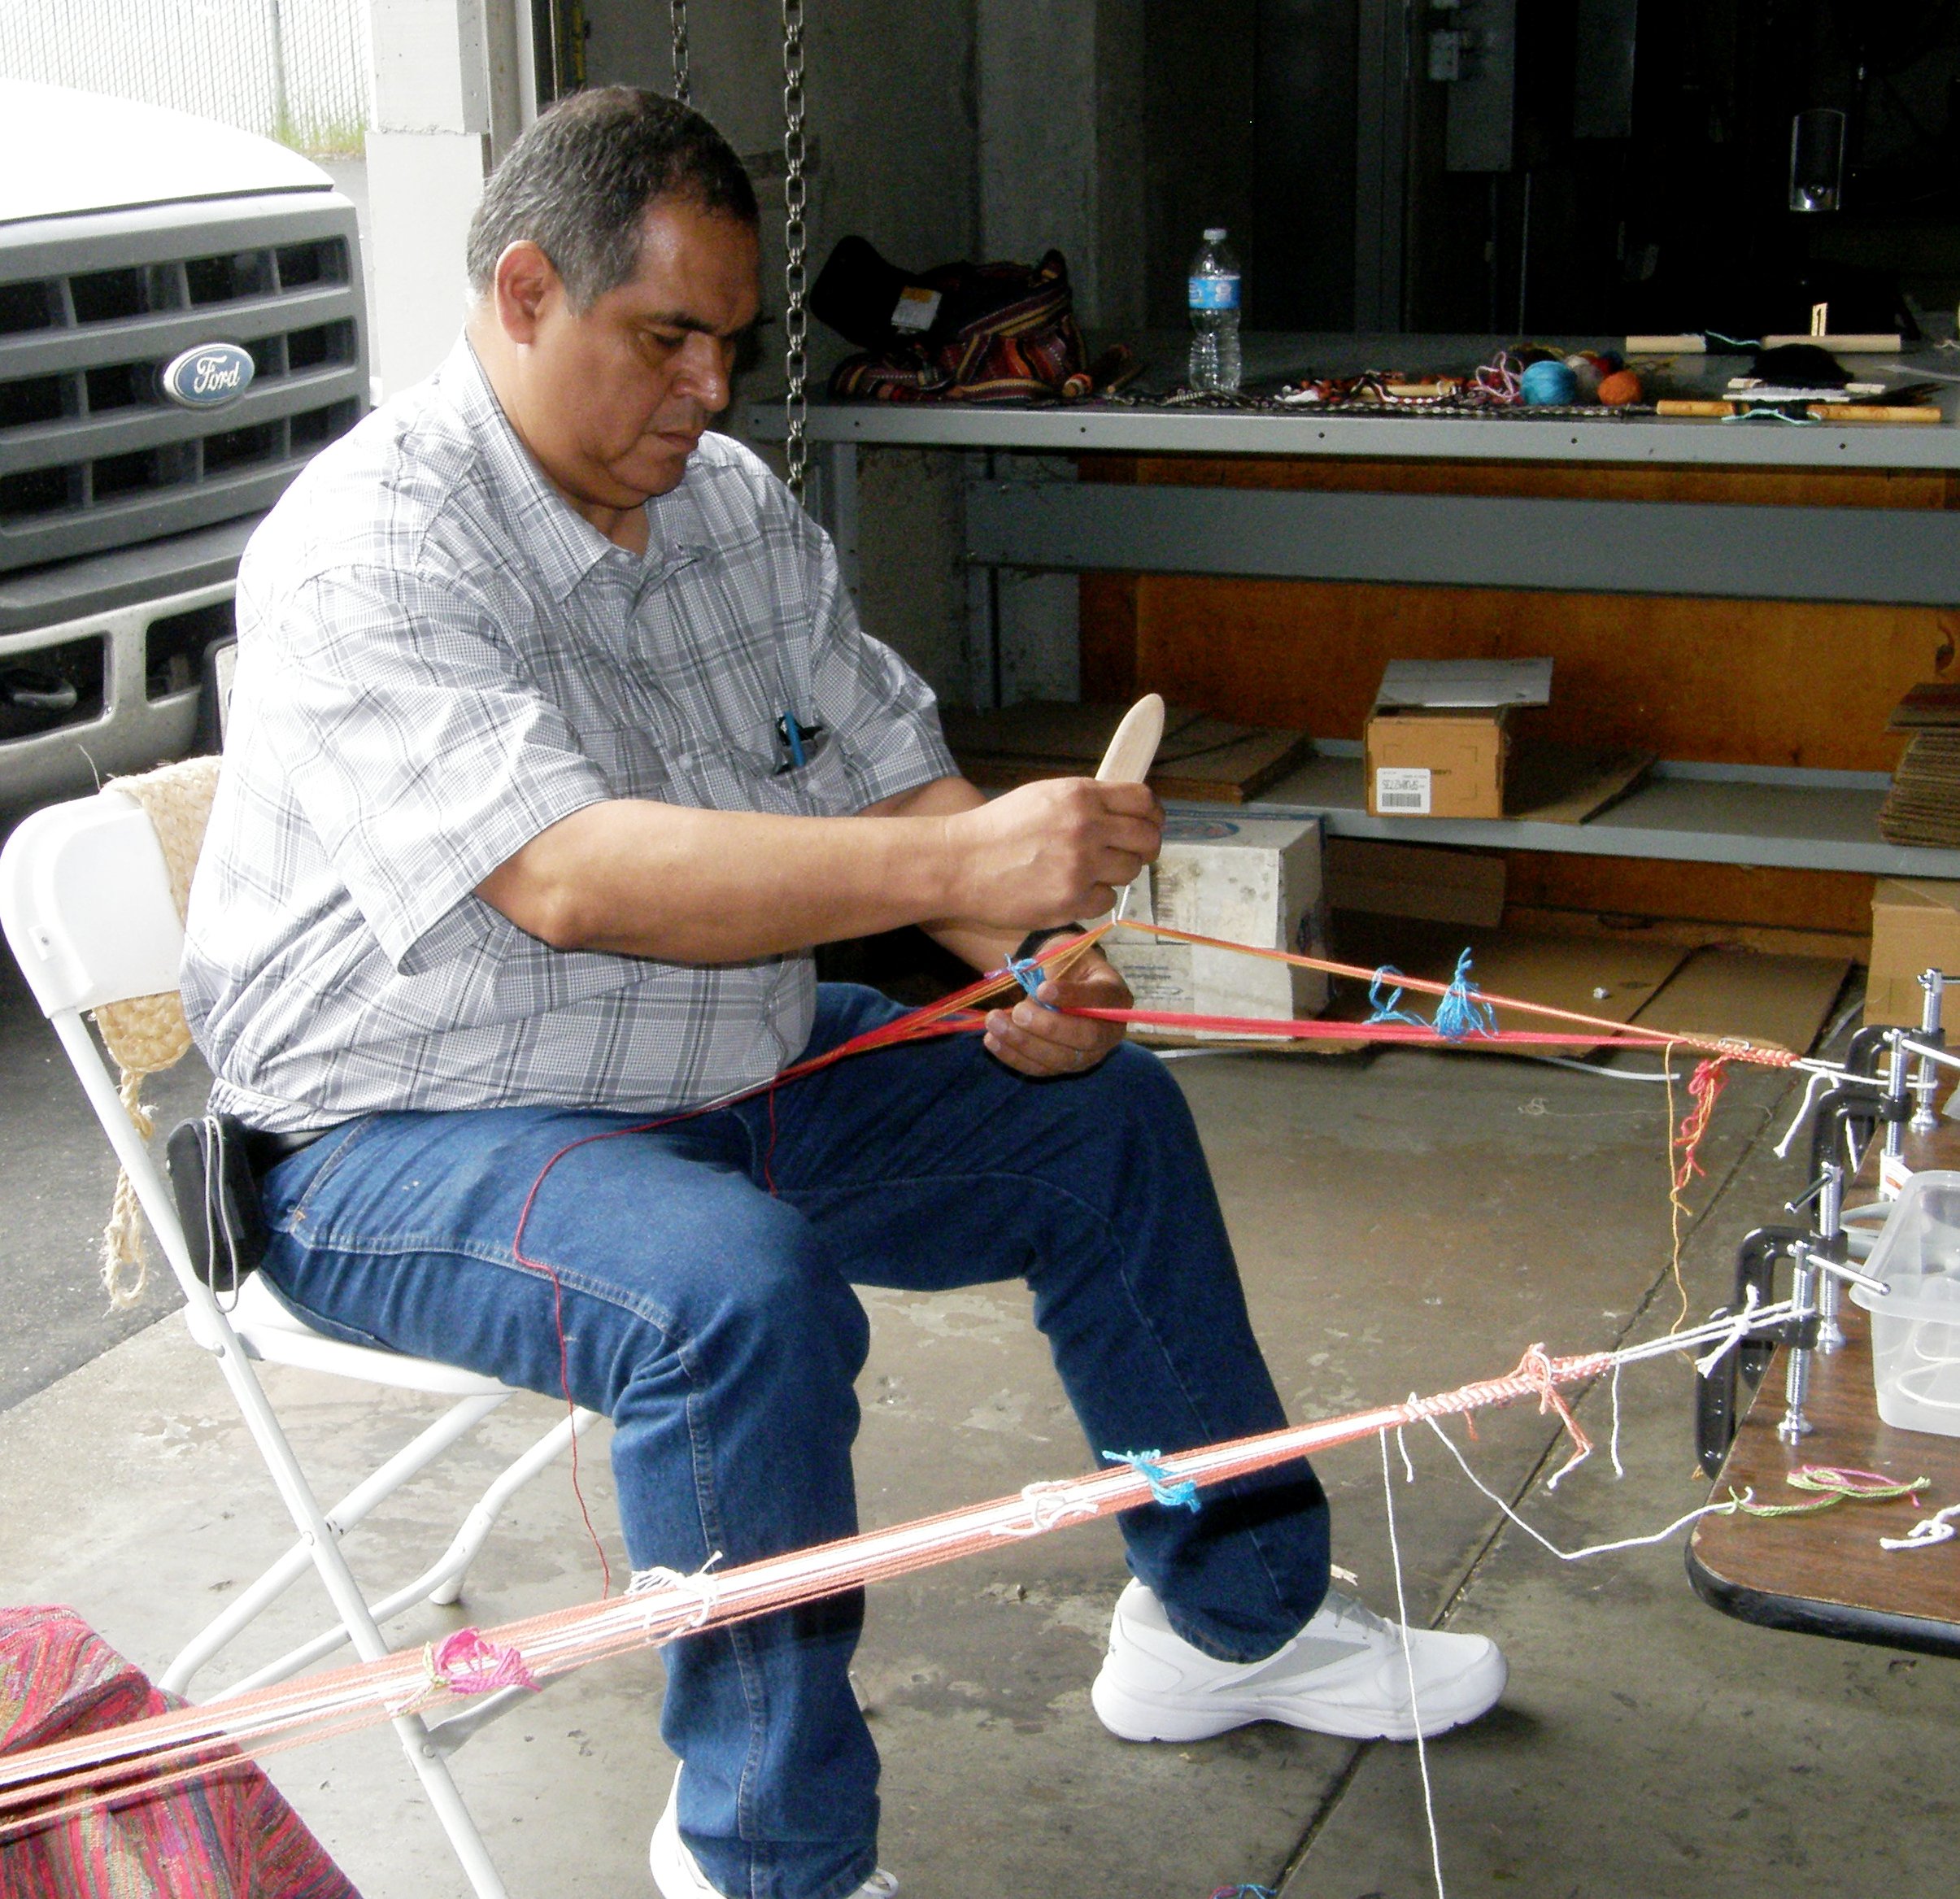


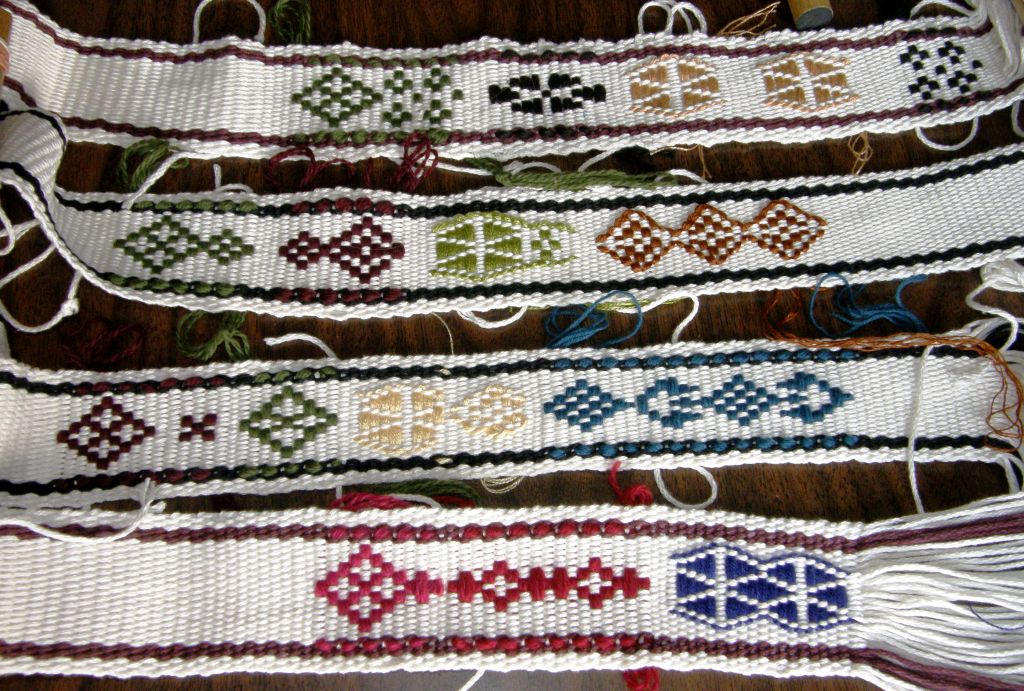


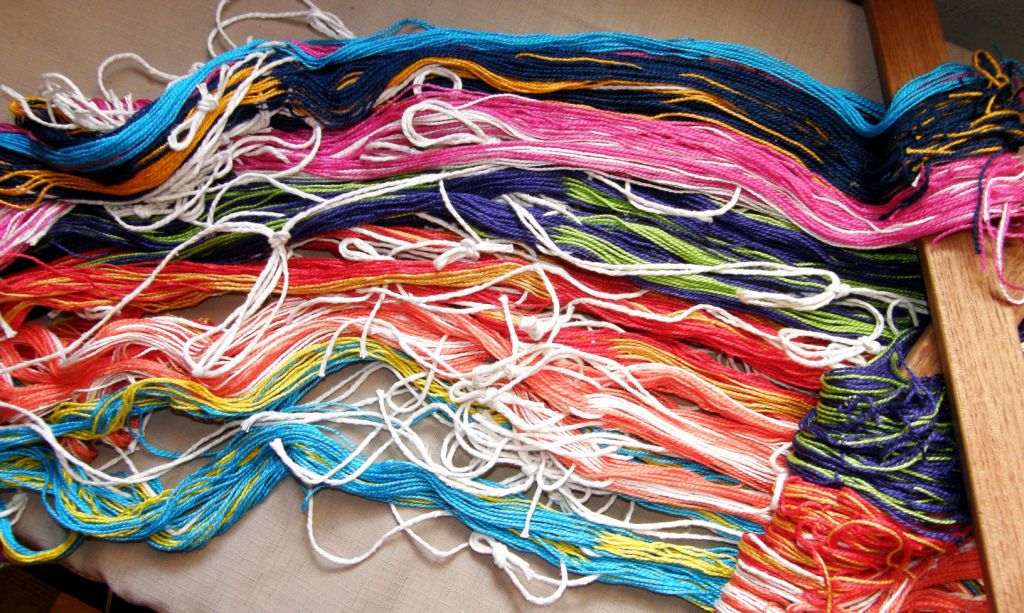
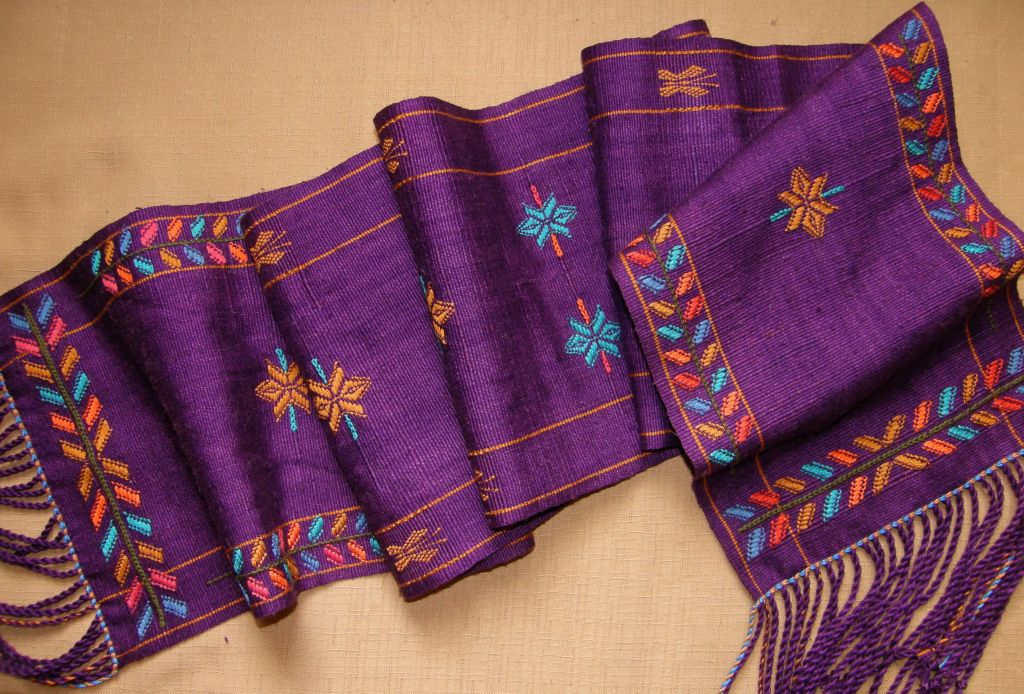
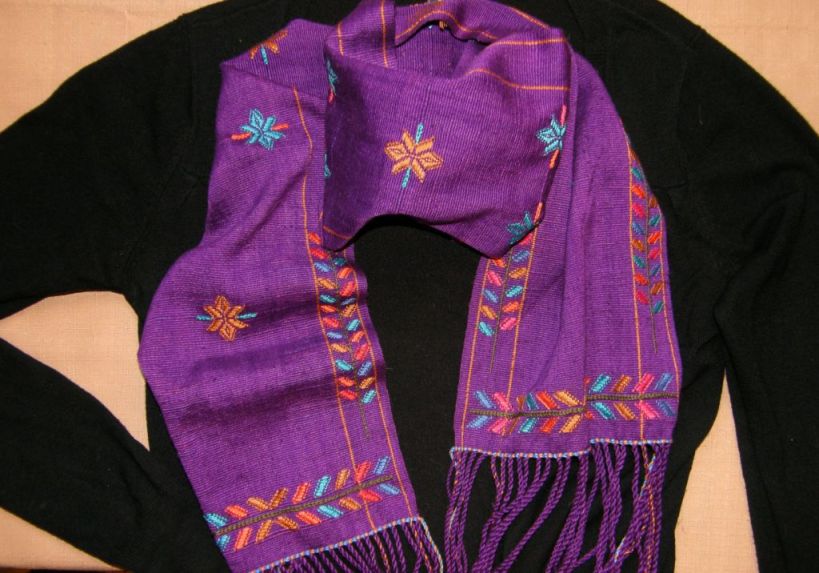




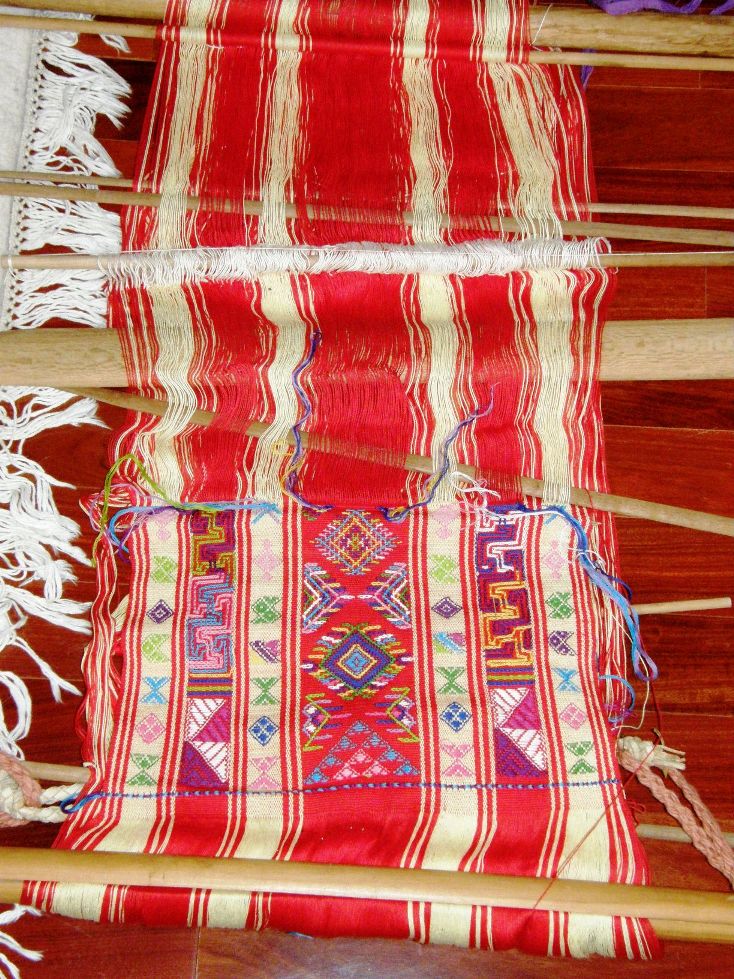


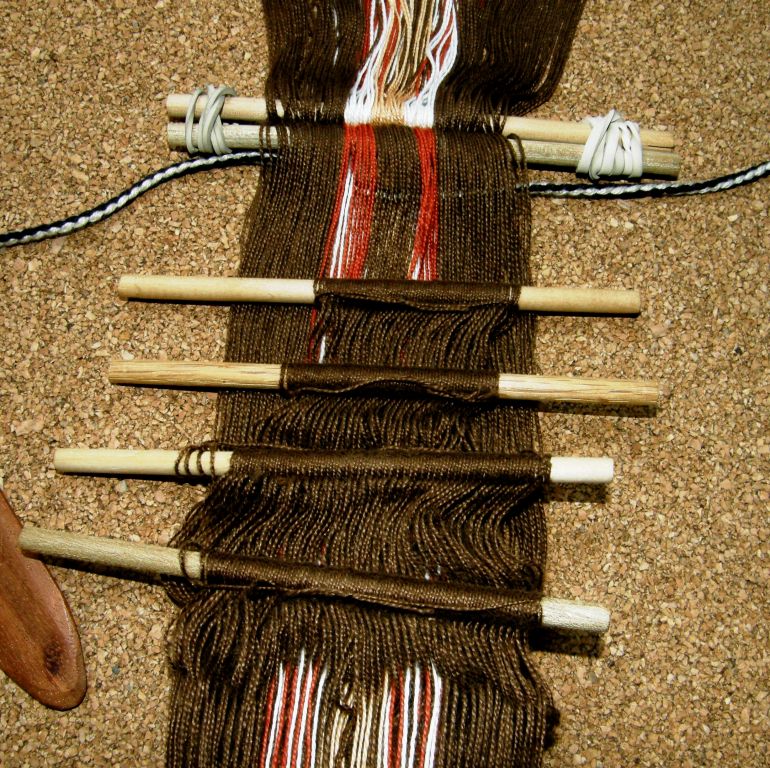


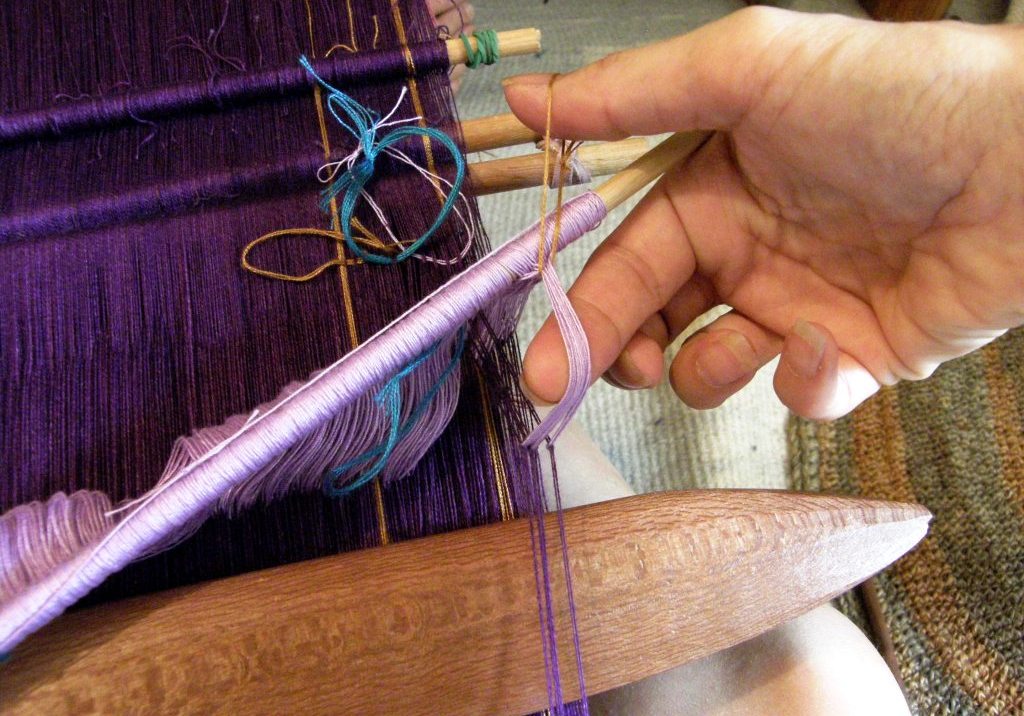

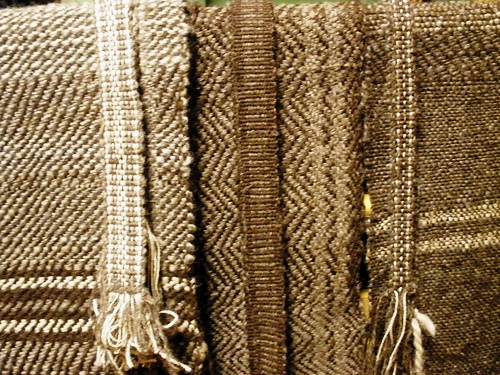


 Now, back to the current project. What about that coil rod…what has it been doing for me? I roll it along the warp as my weaving progresses and the fabric gets rolled around the loom bars. It is definitely a handy width guide. Beyond the coil rod the warp tends to spread and fan out as it stretches away toward the far loom bar.