MORE MYSTERIOUS STICKS!
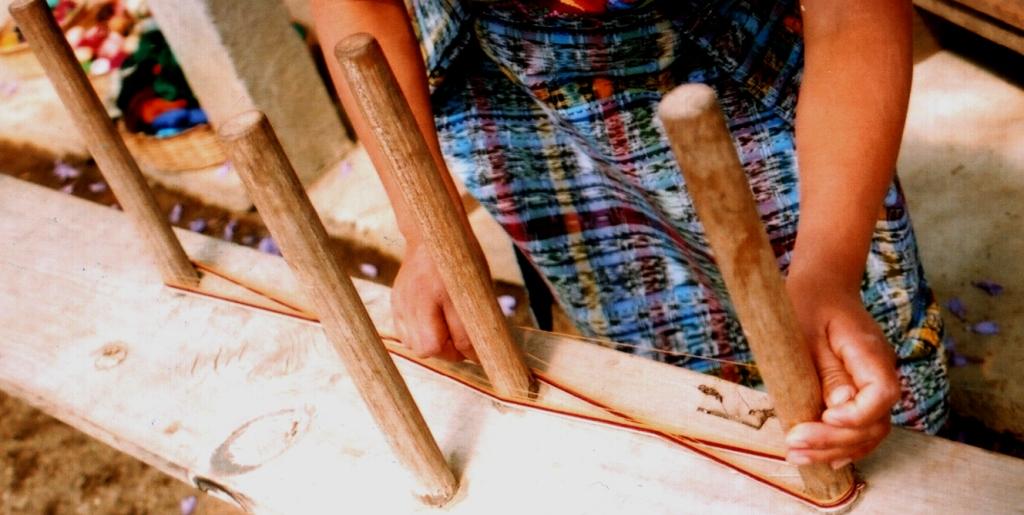
I set up my loom yesterday to weave a narrow band – just 28 ends. Once I had made my simple heddles, tied them in a bunch and added the shed loop I realized that my entire loom consisted of just two simple sticks – the two loom bars and that’s all – one attached to a bed and the other to me. My weft was tied in a butterfly – no sticks there. The only other stick involved was a wooden beater to prop open my sheds and beat in the weft. How much simpler can it get?
I filmed the entire process from warping stakes to ready-to-weave if you would like to take a look. (Donna, I made this especially for you!)
So, again I ask you, how much simpler can it get?
Actually it can get simpler! I was in Tarabuco recently and watched a weaver sitting on the ground deftly wind a warp around her hand and foot. She tied one end of the warp around her foot, passed a length of yarn through the end loops at the other end and secured it to her waist. Then she made simple heddles around her hand, added a shed loop and started to weave. Briiliant! All in a matter of minutes.

You are probably thinking: okay, a simple loom for a simple weave– but even very complex weaves can be done on a very basic set-up.


You may recognize Felicia above with her sleepy cat from the video in this previous post. She has a shed rod, a heddle stick and some bars between which to stretch her warp. She has just inserted a couple of thin sticks to help with the pick-up but look at the photo at left and see the complex designs that she creates on this simple set up.
Now what about those looms that you see in pictures on the internet and in those Youtube videos? Some of them are loaded up with sticks – all those mysterious sticks – what in the world do they do? Hopefully I can solve the mystery behind at least some of them here. I have to admit that there are Asian looms that I have seen online with a multitude of patterning sticks and that I still haven’t figured out how some of those sticks work.
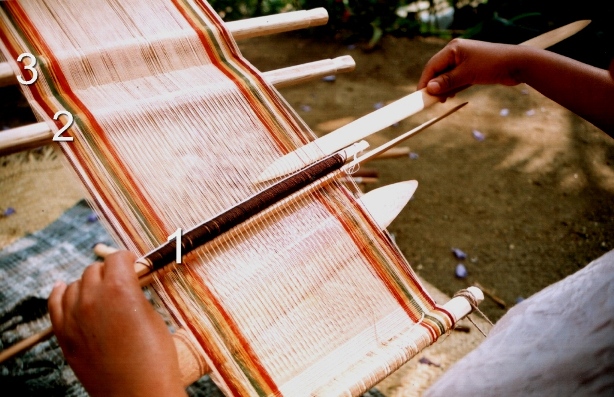
But at least I can let you know a bit about the sticks I have seen here in my travels in Central and South America and what they do. In the picture at right, number 1 is the heddle stick and number 2 is the shed rod. We are familiar with these. But what about number 3? This is an extra stick to hold a second cross. A lot of weavers wind a second cross as they warp. I don’t. I find that the fewer twists and turns I make on the warping board, the easier it is to wind a warp with good even tension. I only use a second cross on narrow warps to stabilize my shed rod which tends to slip from side to side and be a thorough nuisance. Making a second cross and putting a stick within will lock the shed rod into position. It is very easy to create a second cross once your warp is already on the loom. Here are the steps…


Some looms have a mind boggling amount of sticks but the reason can be very simple!!


In Ecuador I saw the use of an extra stick which I have not noticed anywhere else. This is especially useful for wide warps or particularly fine yarns but I saw it being used on warps of all widths and yarn sizes in Ecuador. It is an extra shed rod. I know from my own experience that the shed-rod shed on a wide piece with fine yarns is really difficult to open. It was a very slow and tedious process on my Abba Yohanni piece, for example. The extra shed rod in Ecuador holds every second warp that passes over the main shed rod. This means that half the number of warps can be raised using the extra stick. Then it is very easy to use the main shed rod to raise the rest of the warps.
This is one of Miguel Andrango’s looms. He is a very well known weaver from Agato, a small town near Otavalo. You can watch a video of his work here. Fifty-seven seconds into the video you will get a very nice close up of the two shed rods. You will also see the typical white woven alpargatas he is wearing. I spent some time with an alpargata weaver and hope to blog about that some time. Miguel Andrango is not a large man and, although the piece above is not particularly wide, he weaves some of the widest backstrap woven pieces I have ever seen!

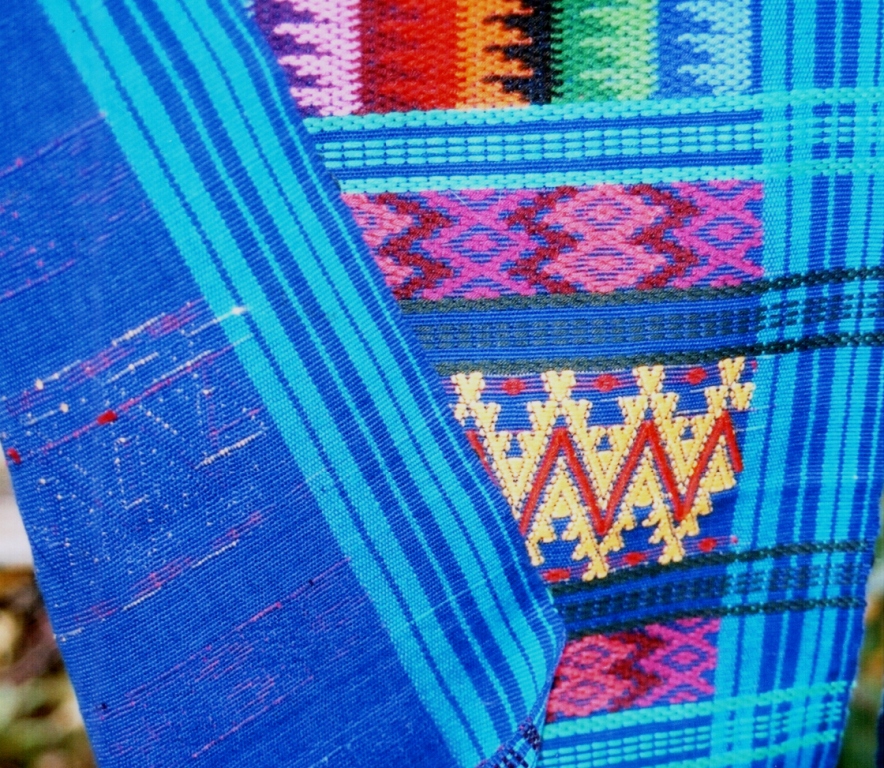
Now we come to the patterning sticks that are used by weavers in Guatemala to create designs using supplementary wefts. The supplementary wefts are either laid in to form block patterns or wrapped around warps to form little figures.
It is not my intention here to teach you how to insert and use these sticks. So, don’t worry if you don’t quite get it. No doubt, I will be doing a tutorial on this in a future post. I just want to take a little bit of the mystery out of it so that when you are looking at weavers and looms in books and on the net you may have a better understanding of what all those sticks do. For now, read on and just enjoy the beautiful textiles!!
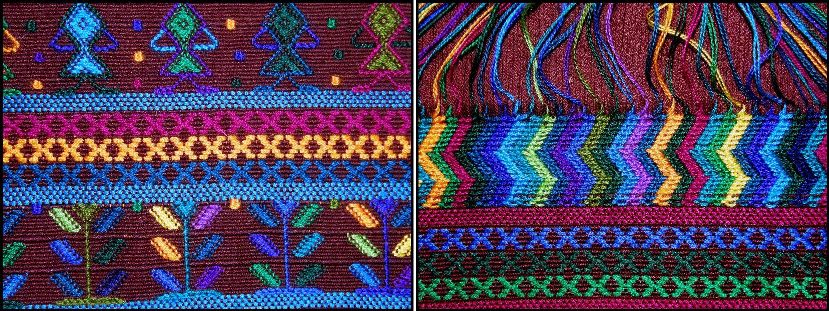

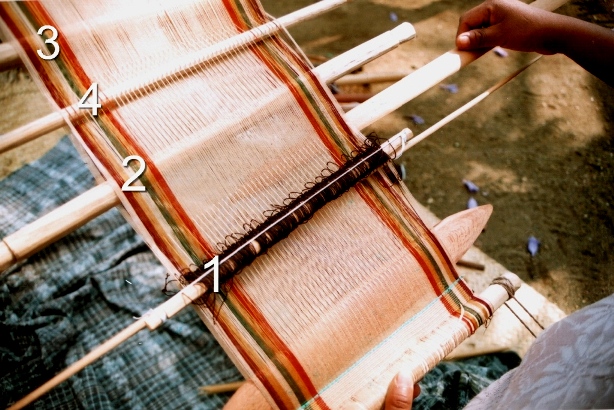
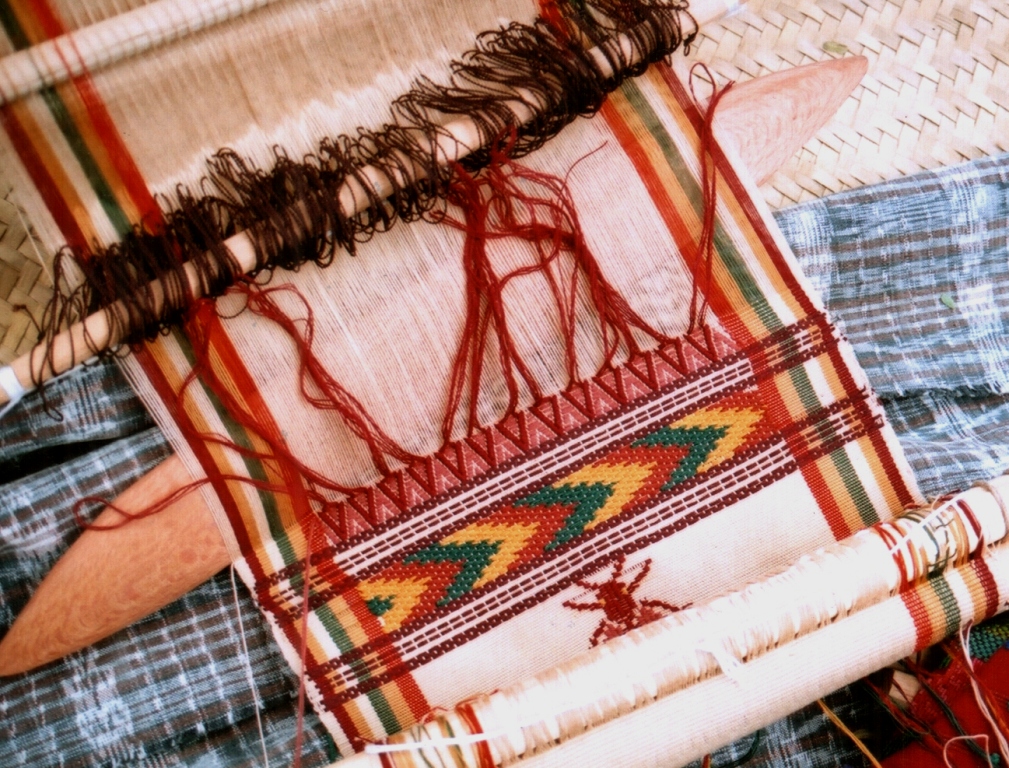
These patterns are created by adding two extra sticks to the loom – the patterning sticks. In Santa Catarina Barahona, the weavers open the shed-rod shed and pick up every fifth warp. They store these warps on a stick – the patterning stick that sits up behind the shed rod.
The heddle shed is then opened and, once again every fifth warp is picked up but in such a way that each picked up warp sits between two that were picked up on the first patterning stick. The warps are stored on another patterning stick which sits behind the shed rod but, this time, under the warp.
Here is how the loom looks with both patterning sticks installed.


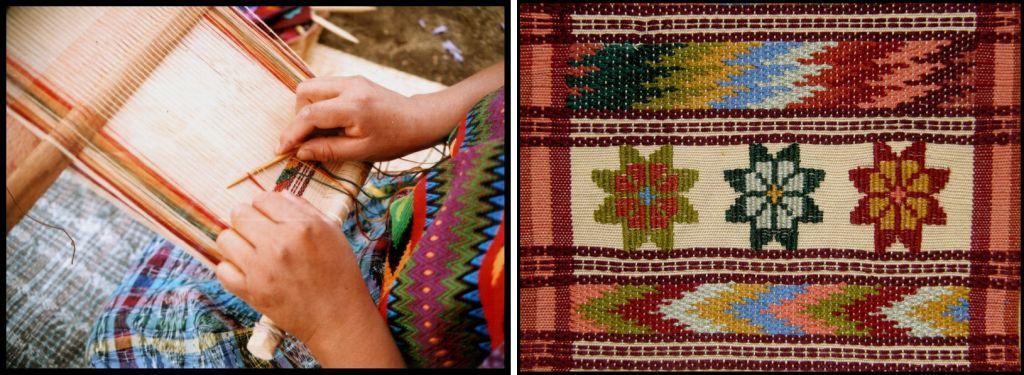
Sometimes a second pair of patterning sticks is inserted when the weaver wants to change the design. These are only temporary and will have to be removed when she wants to return to the original design.
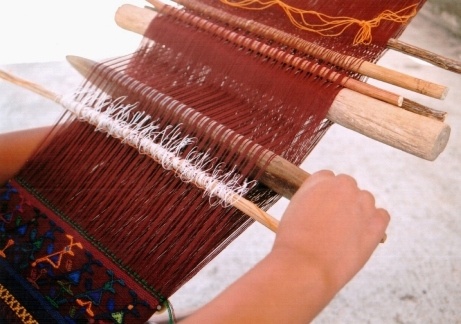
Take a look at the photo below…can you name all the sticks?!
################################################################################
BRAIDS AND FINISHES

Now to return to the simplicity with which I started this post…………some braiding and edging techniques with few or no tools required.
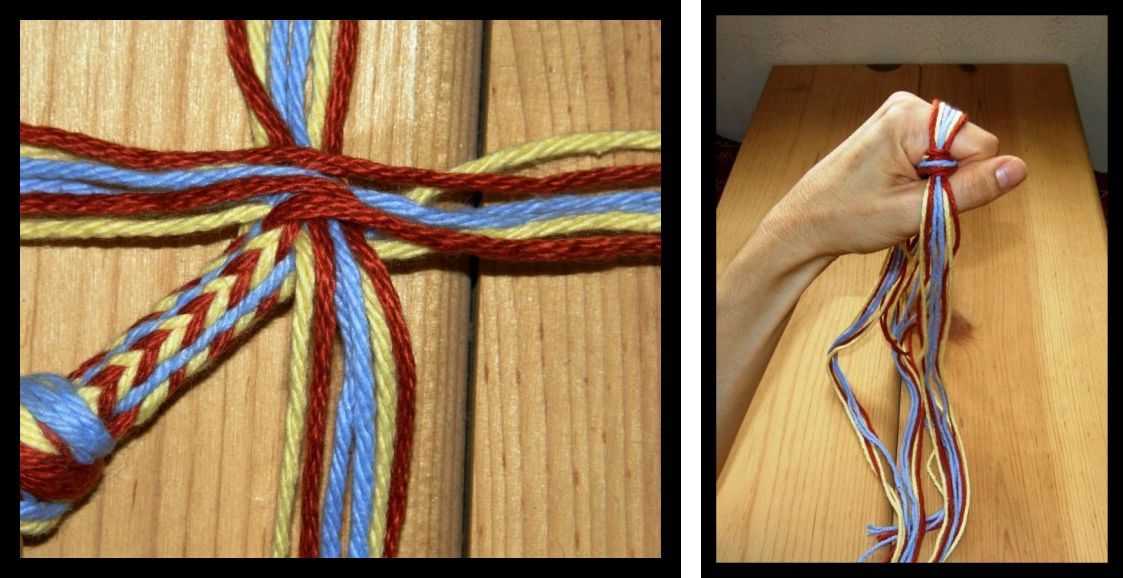
After having done the tutorial on cross knit looping last week, I remembered another interesting edging that I learned with my sling braiding teacher in Yanque, Peru. We used it to edge the cradle section of an Andean sling braid.
I made one sling with him and he taught me to make three different braids. Men in Peru braid their slings holding all the braid strands in their hands – no other equipment is required – and can quite happily stroll along the road while braiding. Two of the braids I learned had twenty-four strands and the other twelve. I was told that the main use of the slings these days is to hurl stones in order to keep control of animals straying from the herd.

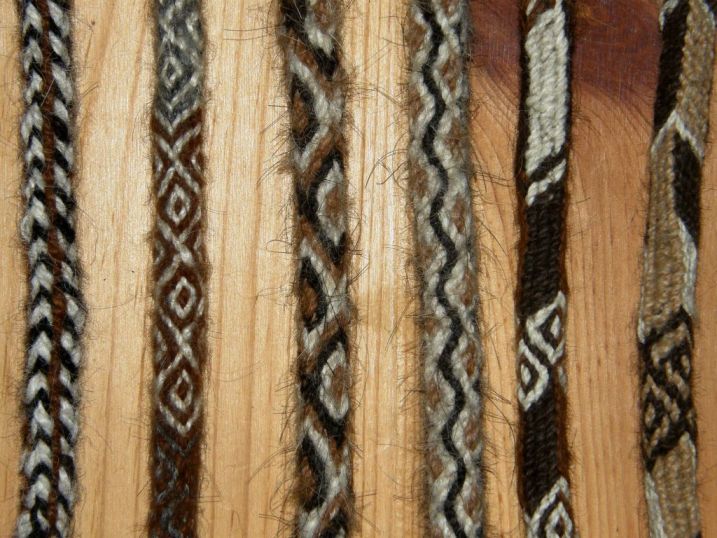
When making an Andean sling, first, one half the braid is made. The strands of llama fiber are measured from the tip of the nose to the toes and then doubled. The first section usually includes the finger loop. More strands are added to weave the cradle in tapestry technique and then work the braid for the other half.
The cradle is woven on a backstrap set-up tying the braid to the waist while the strands which serve as warp are tied to a fixed point. Then the second half is worked in two braids – first a thick one and then a thin one to finish.
Decorative tassels and edgings are the last things to be put in place. Some of the tassels can be quite flamboyant. My teacher didn’t care at all for the more extravagant decorations!
I love these slings as there are several skills involved. Without even realizing it, this was my very first taste of backstrap weaving and with this one teacher I learned so much. He taught me the Palma and Margarita braid styles and a thin version of the Palma which didn’t seem to have a name, a little tapestry weaving by backstrap as well as tassel making and decorative edging.
Zacarias was a marvelous teacher with a lot of patience. He would get me started on my work and leave me while he harvested the barley crop – plans were afoot to make some alcohol – moved the animals from one field to another and generally took care of things on his property.

################################################################################
WHAT HAVE YOU GUYS BEEN UP TO?
I know that backstrap weaving isn’t for everyone and I am so glad that people are 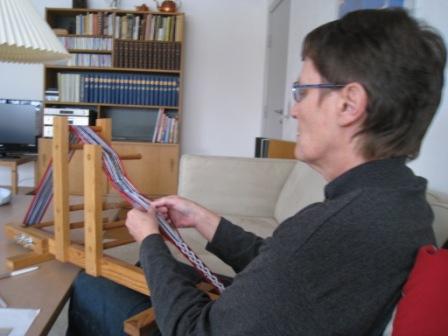 still able to make use of the instructions here and at Weavolution and use the techniques and designs on other looms. Ellen Turner, in Denmark, has woven a double weave band on her inkle loom using my tutorial at Weavolution.

She made a celtic design inspired by something she saw on the internet.
I also ran into Jessica’s blog where she has been experimenting with double weave on an inkle loom too. Check it out.
 Kristina in Germany wove a double weave band on her inkle loom using her own handspun llama fiber. She commented that it put a lot of stress on her inkle loom so that is one important thing to take into consideration.
So if you have been enjoying the designs and have found the tutorials interesting and tempting but are still hesitating about getting strapped in, remember that you can adapt these techniques to other looms. I have set up warps on my rigid heddle loom and woven bands with string heddles rather than with the rigid heddle.
I have to tell you, though, that for me the backstrap loom wins hands down for the ease with which I can adjust tension with the slightest of body movements.
 And, finally, I mentioned above the paintings of Carmen Pettersen. Check if your library has a copy of “Maya of Guatemala-Life and Dress”. Her paintings of Guatemalan people in traditional dress are stunning.