Backstrap Weaving – Prototypes, Samples and Keepers


It’s been a week of bits and pieces…trying out new patterns, practicing new techniques, making width samples and prototypes and then putting everything together into something I can keep and use.

Cochabamba and my teacher Maxima seem far away now as I sit here in shorts with the temperature and humidity rising. Only two nights ago I had the down sleeping bag on the bed. It makes me yearn for the “eternal spring” weather of the Cochabamba valleys but, then again, today I walked outside to the street and bought big glorious golden dripping slices of pineapple, saw tiny green mangoes up high in the trees and realized that the markets will soon be brimming with the tangy achachairú. I read recently that this fruit is now being grown in tropical areas of Australia with its name changed to the more manageable achacha.

This week I tried out a supplementary warp design that was on a bag at the PAZA stand in Cochabamba. This piece had not been woven by Maxima who seems to specialize in pebble weave. I hadn’t even noticed the pattern when I was there. It was, as usual, a bit of a case of information overload…a very intense three days of weaving, sights, colors and sounds.

It is fun for me now to slowly review the videos I had taken of Maxima weaving and listen to the birdsong and the melodies made famous by the Cochabamba band Kjarkas playing in the background…details that were obscured by my concentration on all that Maxima was teaching me. For that reason I did not see the lovely supplementary warp design until I came home and went through my photos.
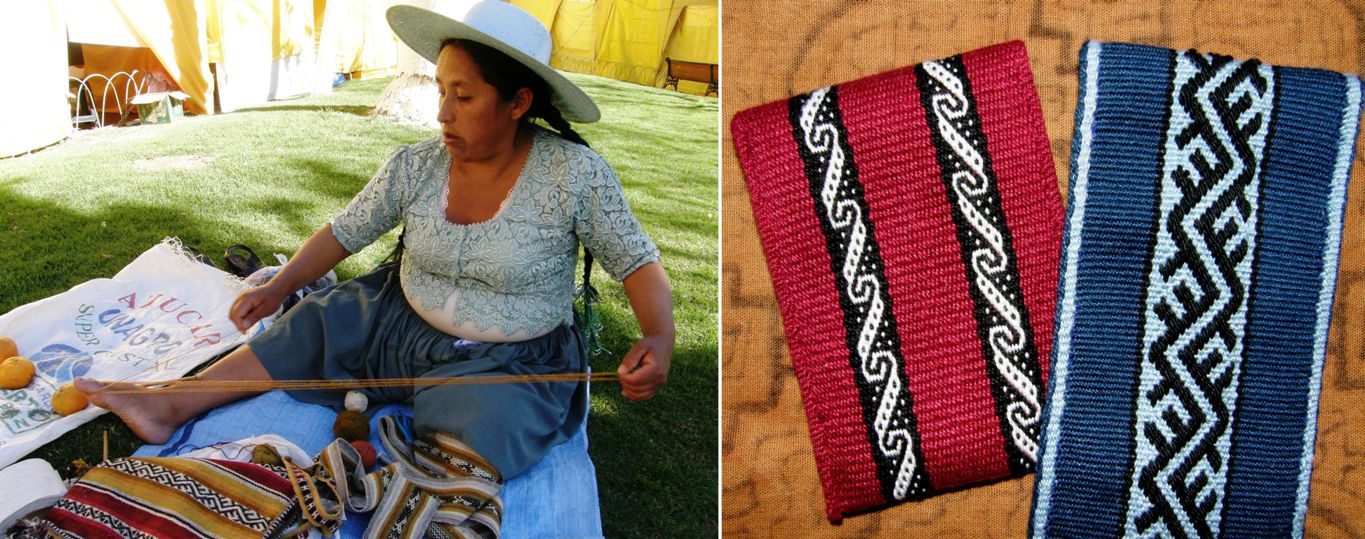
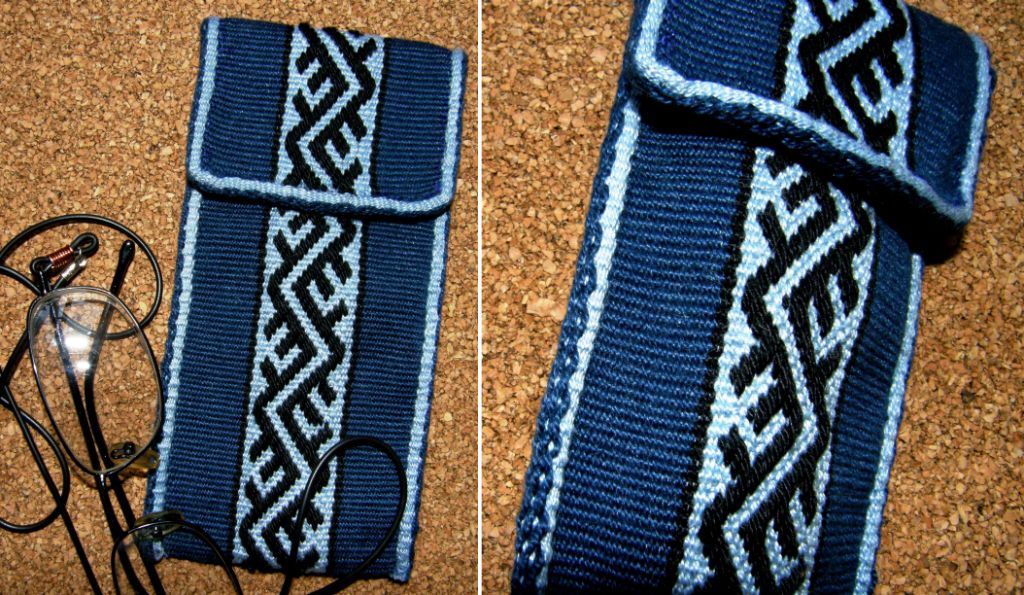
You can just see the design on the bag on the ground in the picture above left. Supplementary warp is not one of my favorite techniques and I guess that is why I had not paid much attention to it but I was quite struck by the pattern when I got home and had time to examine my pictures. If I had run across this design on the internet I would never have thought that it was Andean.
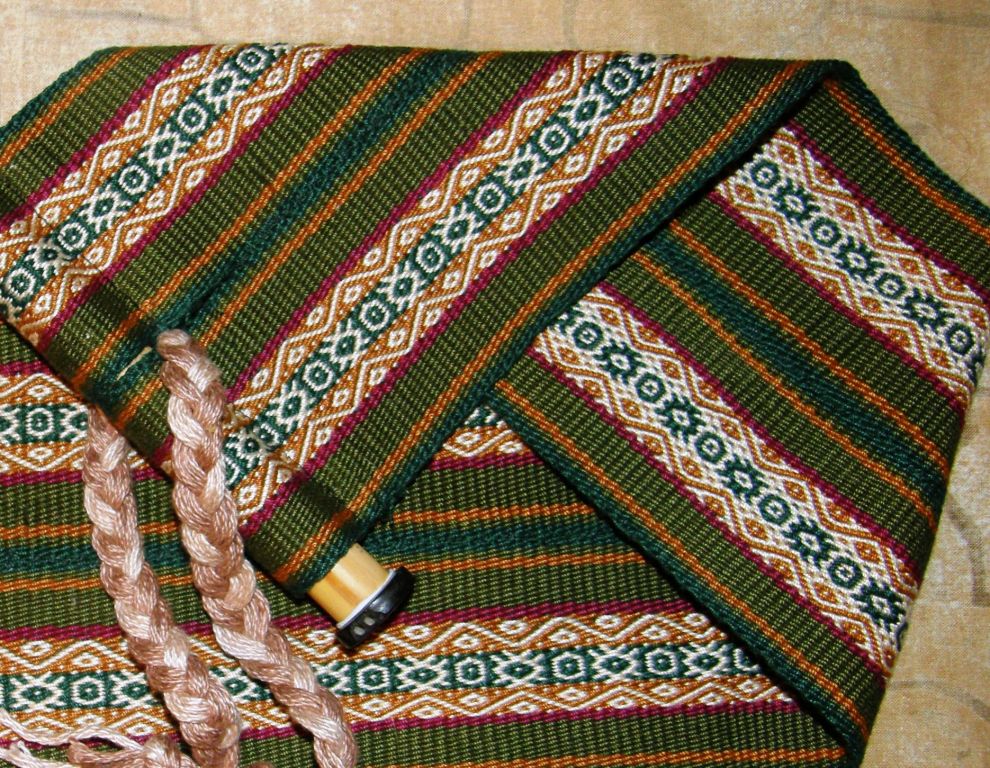
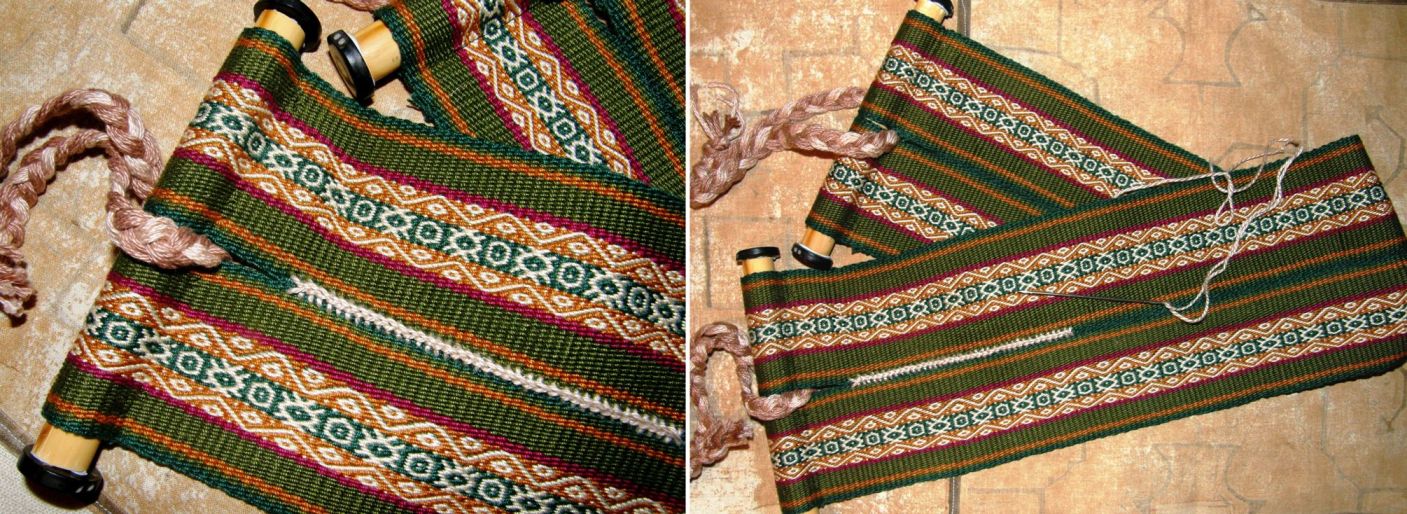
I wove it into a small piece which I sewed into an eye glass case and then used it as an opportunity to practice a tubular band in pebble weave. Not wanting to complicate things too much, I just did plain pebble weave (that is, a pebbled background with no motif) for this band setting up the warp as I was taught in Peru and thus avoiding having to do any pick-up.

Maxima’s way of doing pebble weave would have her picking up threads even for a plain pebble band. The advantage of her method is that it can be worked more easily using just finger tension rather than having the band attached to the body by way of a backstrap. No doubt I will discover other advantages as I delve further into her method.

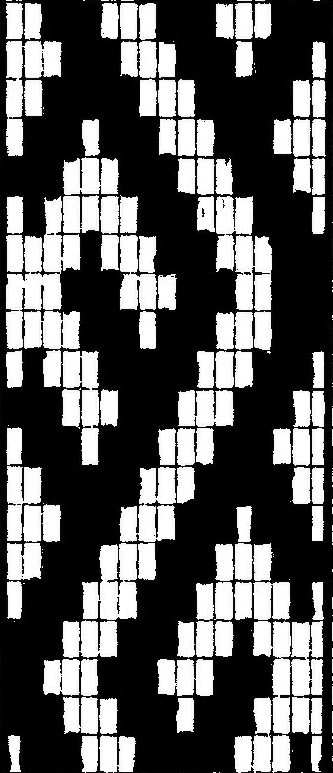
Here is the chart for the supplementary warp design if you would like to try it yourself. I have no idea if there is a standard way for charting these supplementary warp designs but this way works for me. I have also started a new page here where I will put charts for designs in this technique.

I have not done a tutorial on this pick-up method as there are plenty of good resources out there already. I believe that most inkle weaving books include it and Sue Foulkes recently did an online workshop in the Yahoo braids_and_bands group on Sami band weaving which uses the same technique.

If you would prefer to have a “real live” teacher with whom you can interact, Daryl Lancaster will be teaching an online class on this pick-up method for inkle loom weavers on Weavolution. Check out the details here.
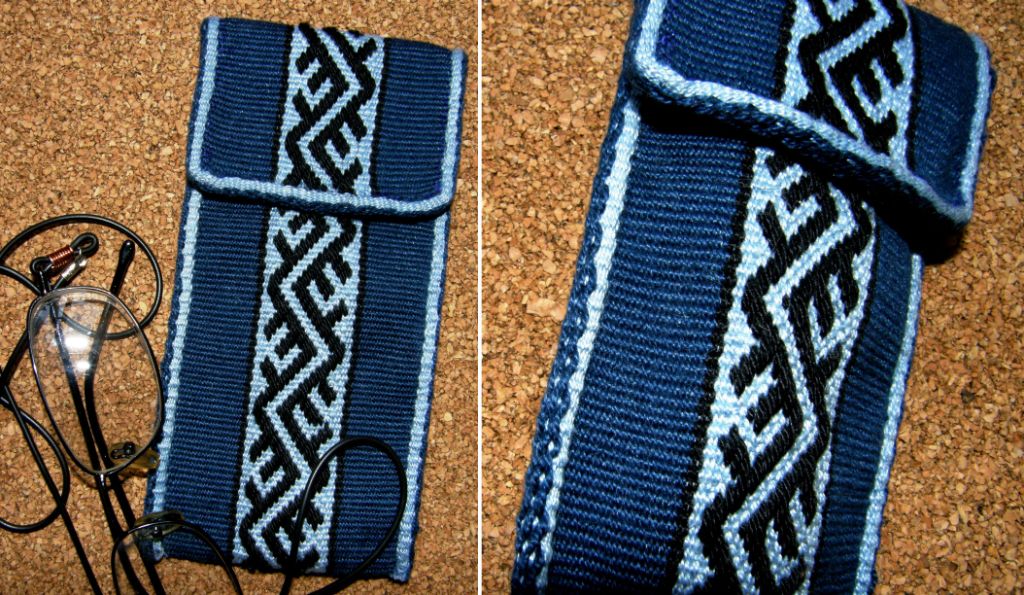

You can just see the pebbles on the tubular band in the picture above.

So,  this particular sample found a use. I would like to weave this design again having the pattern extend right to the edge of the dark blue section. I think that would look even nicer.

This meant that two of my three pairs of glasses were nicely accommodated in woven pouches. I had made an eye glass case from a discontinuous warp experiment many months ago. I figured that I may as well make the third one which would give me a chance to try out another experiment.

I wanted to make a pouch taking advantage of the fact that weaving a warp-faced double weave piece that doesn’t have motifs woven into it will create a tube. This meant that I could weave the front and back of the pouch simultaneously as two layers of cloth joined at the edges…..”instant pouch”!
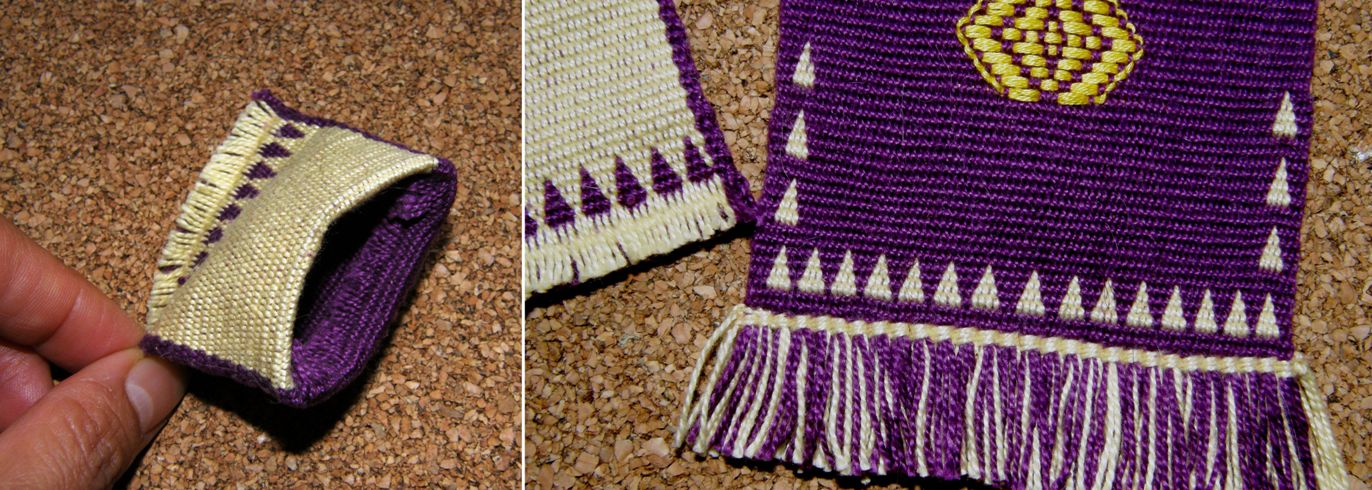
It’s no big deal really! All this meant is that I would be saving a bit of seam sewing but I thought it would be fun to see what I could do with this. The tube, of course, is beautifully seamless! You can see, above left, a little sample I made a few weeks ago with some left over warp. There is no motif in that piece and so what I have created is two layers of cloth joined at the edges…a tube.

I sealed the bottom of the tube by weaving a pattern of triangles. Weaving motifs is what bonds the two layers in warp-faced double weave.

Although there was no need to do so, I decided to try to weave the triangles up the sides as well but soon discovered that the difference in take-up between the patterned and plain areas was considerable and that I would not be able to continue with that.

So I threw in a couple of supplementary weft figures woven in one of the ways I was taught in Guatemala with the turns of the weft outlining the motif. Then I just managed to get away with squeezing in three more triangles to balance things out. I was really just making it all up as I went…not like me at all!
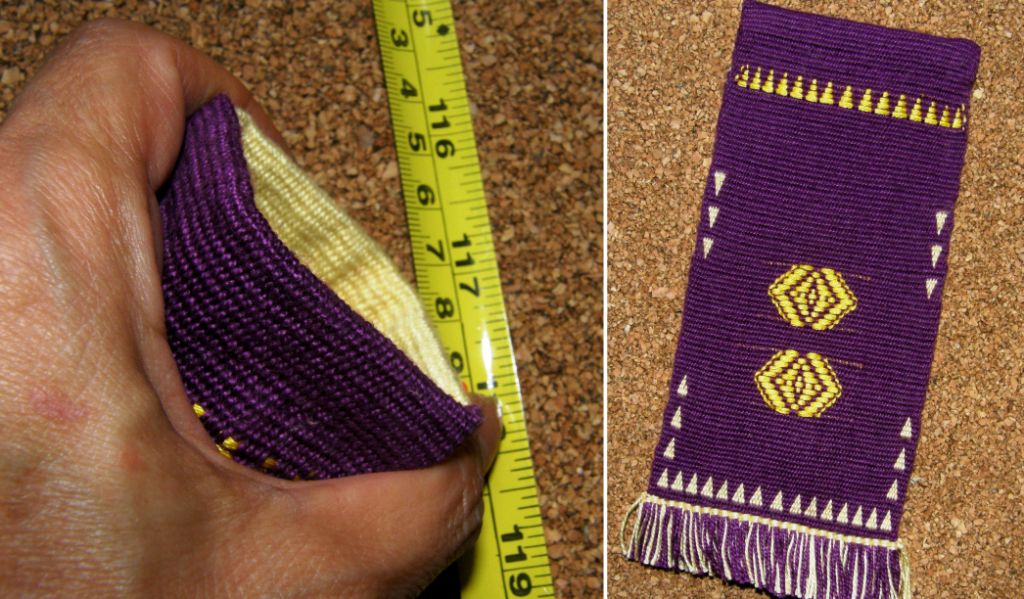
I created another row of triangles at the top with a supplementary weft (next time I will put the weft turns on the inside of the tube so they won’t be seen). I couldn’t weave them in double weave as they would have sealed up my tube. Finally, I twined along the bottom to secure the weft and then I cut a fringe.

Probably the most fun part was creating the “flex” closure and I have my online weaving buddy Bobbie to thank for that.

When I met her in Portland last year, she showed me a bag made by a friend in which a closure had been created using pieces of an old tape measure. You probably know this kind of closure….you squeeze the sides of the bag and the top pops open. I am trying to show that in the picture above left.

My boyfriend patiently dismantled our tape measure, cut off a length from the inside end, wound the tape back up and put the case back together. No harm done. We didn’t need all ten feet!

I cut two pieces of the tape a little shorter than the width of my pouch. I then cut them down to about two thirds of their original width and rounded the ends. I turned down the top edges of the pouch and sewed them with the lengths of tape within and yes, it works! Above you can see a picture of a commercially available and far more sophisticated version and one of our Ravelry group members provided this link to various sources of these “flex frames”.
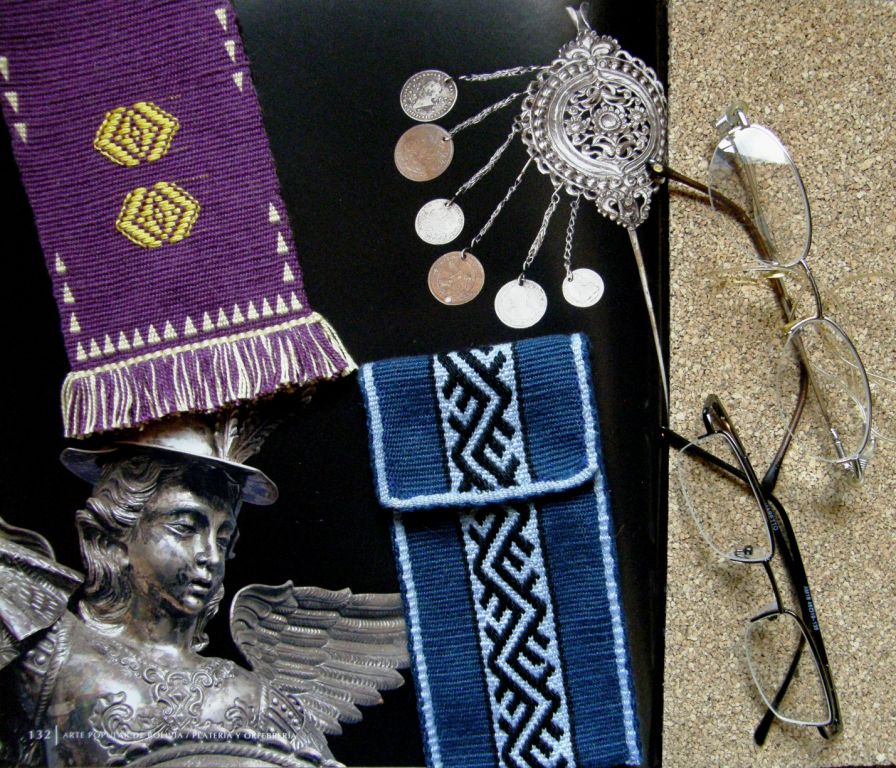
That was another experiment that can be used. Nevertheless I think I will make another taking into account lessons learned and with much more planning in the design.

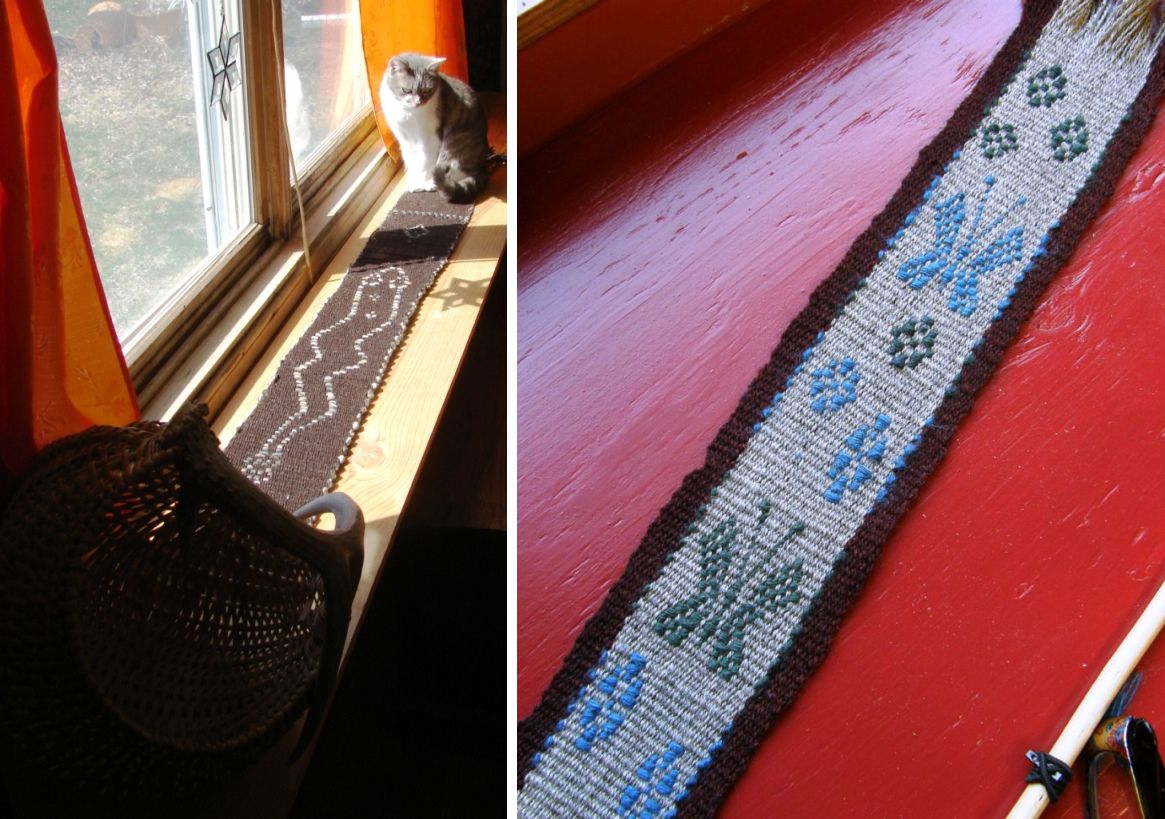
I resisted starting on that straight away as I had another idea bouncing around and so, this is a prototype for a new set of mug rugs that I would like to make…seen here dappled with sunlight…
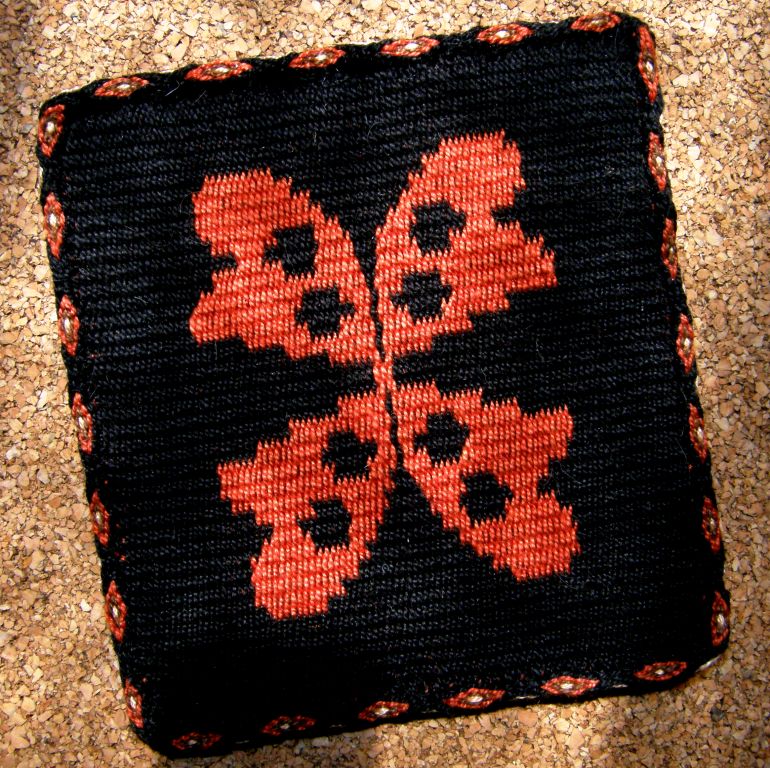
Actually the prototype turned out pretty well and so it may be a keeper.

I edged my little 4 x 4 1/2″ piece with a tubular ñawi awapa. I am thinking of mounting the mug rugs on cork as the reverse color combination on the back doesn’t really work alongside the other colors in the tubular edging.

The cork will also serve to hide the raw end of the tubular band.

It was so nice being able to sit beside Maxima in Cochabamba last week and weave tubular bands. I had already learned how to weave and sew them but mostly through various brief observations of indigenous weavers over the years as well as through a large group class I took at the Tinkuy last year.

It was wonderful being able to have this one-on-one experience and watch how Maxima held her work, placed her sewing needle and tensioned the warp, smoothly coordinating all the moves. I was so absorbed that the sewing part was the one part of my instruction that I completely neglected to video or photograph! (although you can see a Bolivian and Peruvian weaver doing so in my videos here).
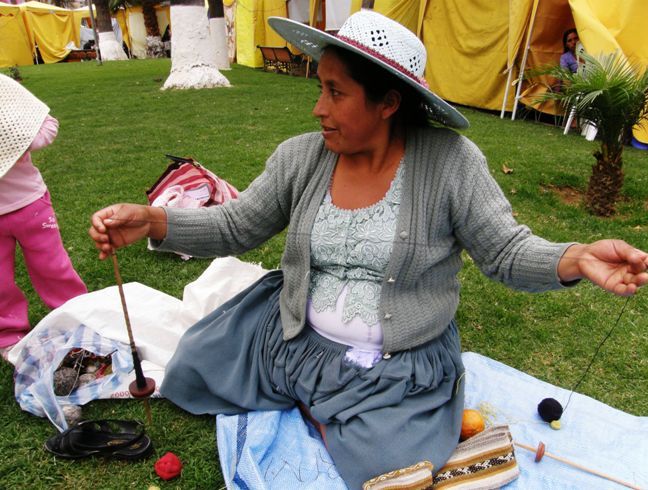
However, I did take video of many other things and have put some bits and pieces together for this post.

This first clip shows Maxima using her spindle to put extra twist into some plied yarn so that we would be able to weave with it.

I had been complaining during the Tour de Fleece of an aching thumb which developed from the way I was turning my spindle for plying. I really need to practice the Andean way of setting the spindle in motion for plying or respinning commercial yarn.

Maxima tied for first place with a Peruvian lady in the speed spinning contest which was held one night during the Tinkuy de Tejedores in Urubamba, Peru last year. The two ladies spun over six meters in two minutes.

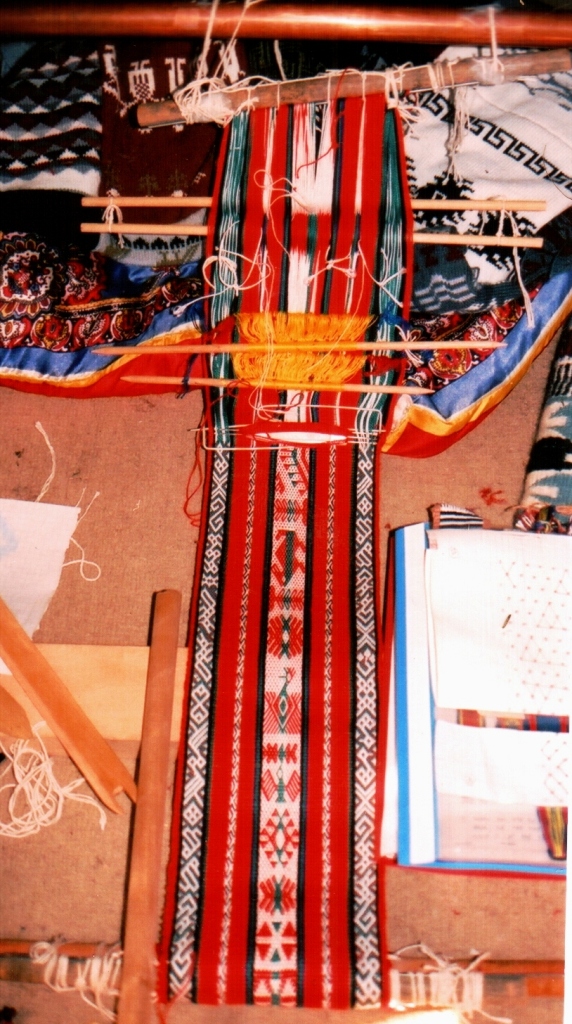
The various segments in the next video show the stages of setting up a warp for weaving. Maxima winds a warp using her finger and big toe as warping stakes. You can see her winding two colors together with which she will pick her designs and then the final single edge warps. After tucking the end of the warp into her waist band she rearranges the warp cross separating the two colors into different sheds. Then she makes her heddles.

This final piece of video shows how Maxima opens her sheds and then forms a picking cross from which she selects the colored warps for her pattern. Not a stick in sight!!

If you would like to hear more of the music that can be faintly heard in the background of some of the video segments, check out this powerful live version of Wayayay by Kjarkas.

Before we leave Cochabamba, I would like to pass on Dorinda’s thanks to all those who visited the PAZA blog last week some of whom helped out with donations. Postscript: I see that Dorinda has just posted a thank you note on the PAZA site.

#########################################

The Ravelry Backstrap Group Weave-Along starts next week. We have a good bunch of people all ready to go. I am especially happy to see an old online weaving buddy Franco joining in.

Sharon aka Fiberaholic1 wove a bunch of 8-rev patterns from my Andean Pebble Weave book and did a beautiful job but this is a pre weave-along project as there will be no pick-up patterning in this latest weave-along. We are going to play with stripes and color.
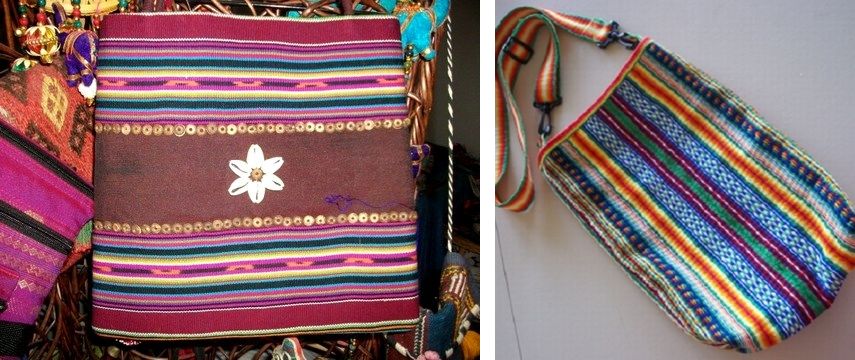
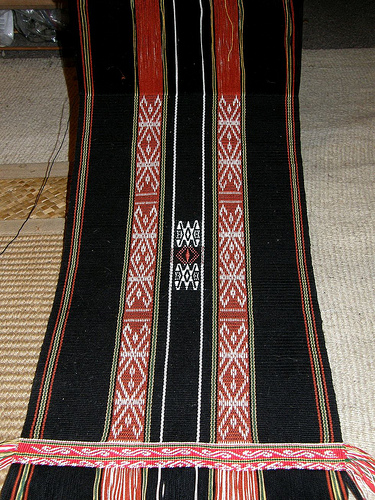
And here are some more pieces to inspire our Weave-Alongers….my online weaving friend Caroline, in Australia, sent me this picture of a striped and ikat patterned textile from East Timor and JaQueline Keller on Weavolution allowed me to show her cheery bag made by sewing several plain-weave inkle bands, made with yarns of various weights, onto canvas. Such wonderful things can be made with plain warp-faced weaving!

And to finish I was just given this link from a Ravelry member to a book by Mirja Wark of The Netherlands about the weaving of a special belt called the si’ira  by the Wayuu people of Colombia and Venezuela. Colombia seems to be making its way bit by bit into my life…a little contact, a little information from here and there. I wonder where all this may lead?!
Backstrap Weaving – Spinning Up Some Woolly Winter Warmth

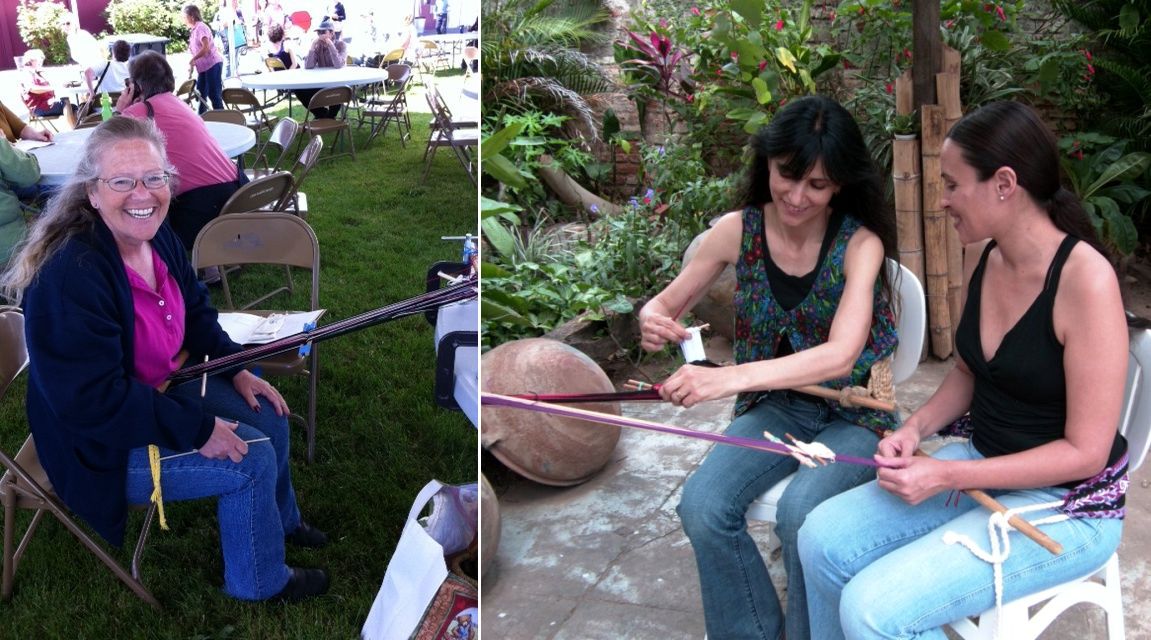
It seems that I must have gone too far taunting the weather gods last week when I posted a picture of my friend Lalenya and I weaving in our summer gear in her beautiful flower-laden patio.

BAM! It got cold. Well, cold at least for here in banana land which means temperatures in the high 50s and low 60s. It’s sounds like a joke, I know, but we suffer here when the temperature drops that low in homes that are designed to stay cool rather than warm…cold ceramic floors, no hot water in the kitchen and electric shower heads that give tepid water at best unless you are willing to turn the pressure down to a dribble. And it is not only the people who are feeling it…thousands of fish turned up dead in the local Pirai River and Lalenya woke up to find her dog in a cramped up ball and had to take him to the vet.
Well, at least it has put me in a woolly frame of mind for the Tour de Fleece spinning challenge on Ravelry and it is fun reading posts from other wintry southern hemisphere folks in South Africa, New Zealand, Australia and other South American countries who have been participating. And it is nice seeing the summery pictures from the northern hemisphere too.

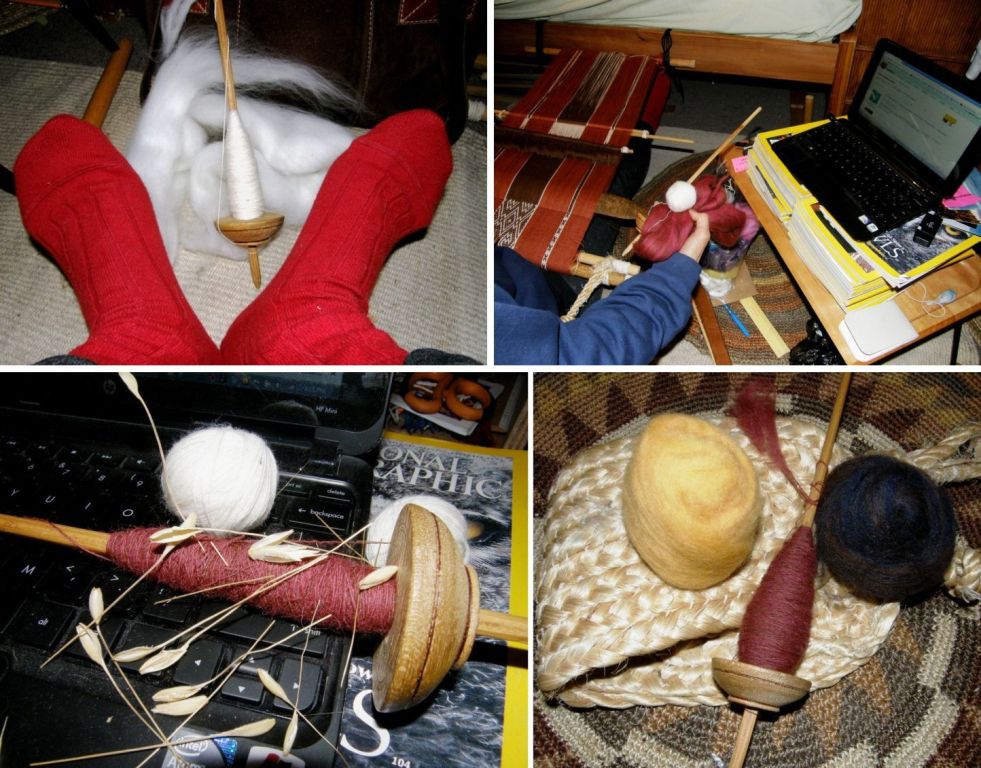
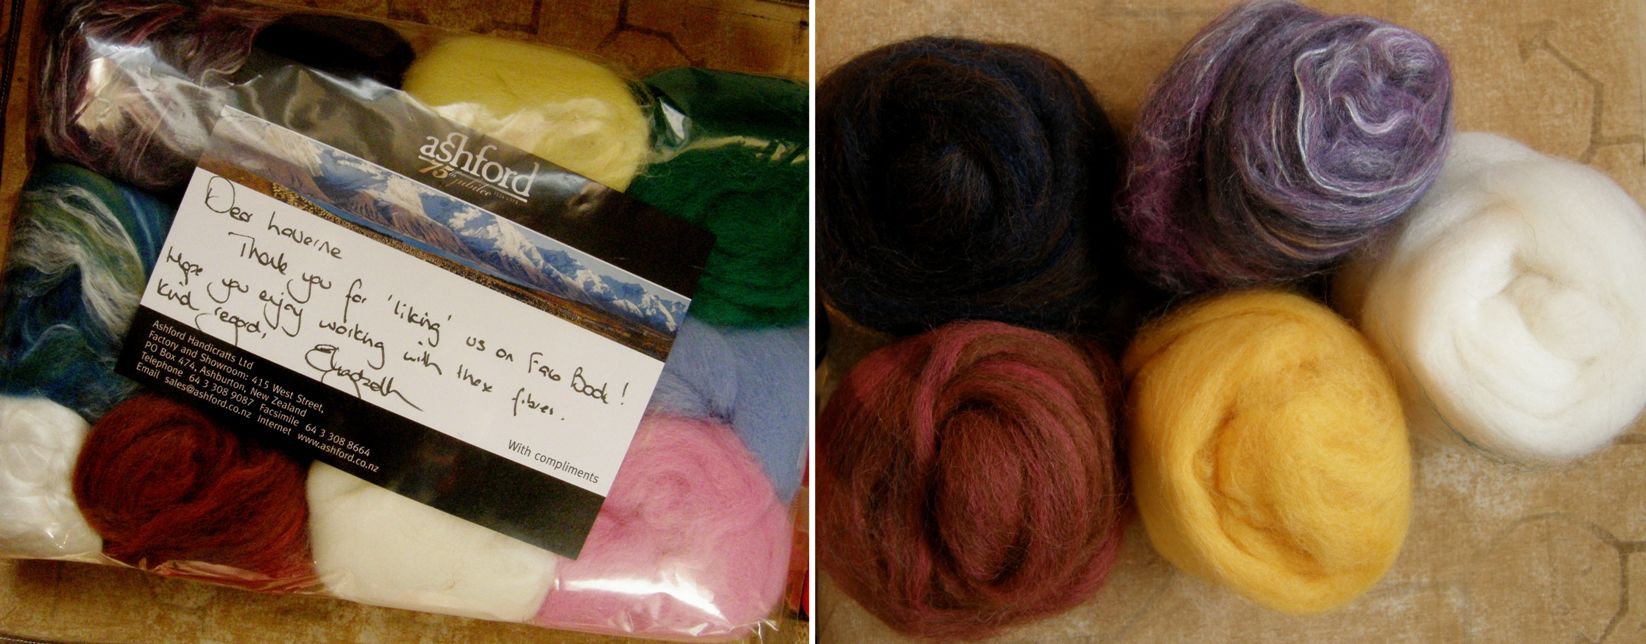
My Tour de Fleece challenge is spinning up the colors I like in this package of roving that I won from Ashford.

I got my socks on and spindle out and joined in what can only be described as a spinning frenzy. Everyday spinners post pictures of their progress. Some days have had over a thousand posts and while reading through and admiring the creativity of some of the shots, I have come to the conclusion that I am not a true spinner at heart. Again, I tell you that I don’t have a “refined palate” for spinning. All those pictures start looking the same to me after a while yet I do enjoy soaking up everyone else’s excitement and have looked at my own thread-laden spindle with a slightly more critical eye after reading a discussion on the beauty of the shape of a cop.

But the truth is…all I want to do is get this stuff spun and onto my loom!

Above you can see my progress so far…nothing compared to the majority of folks out there. On day one it was all rather novel , the cold, the wearing of socks, the spinning – that white roving was smooth as silk and so easy to spin.

On day two I really wanted to be weaving and so set myself up at the loom so I could follow online discussions and put in a turn or two on the spindle without even having to take off my backstrap.

In keeping with the Tour de France bicycling metaphor, my bike took a bumpy cross-country detour off the smooth race route with some crashes into bushes and rolls in the grass on the third day…that was a kind of rough and stubborn piece of roving. On day four I took my feet off the pedals and just coasted along… didn’t see much progress I am afraid but I was finally able to show off a fat cop on day five (very pleased with this new addition to my meager spinning vocabulary “cop”).

While others spoke eloquently of the breed of sheep and exquisite blend of fine fibers they were spinning, all I could say was that the white stuff was nice and the red was a bit tricky. (Again I can relate this to those of refined palate and taste who can make elaborate descriptions of wine while I simply know it as red or white).

I am pretty happy with the fact that I am spinning wool and can now add this to my fiber spinning experience which so far comprises llama….

and, more recently alpaca…

Although I have been spinning cotton in the way I was taught in coastal Ecuador, I need a lot more practice with that before I feel I will be able to weave with it.

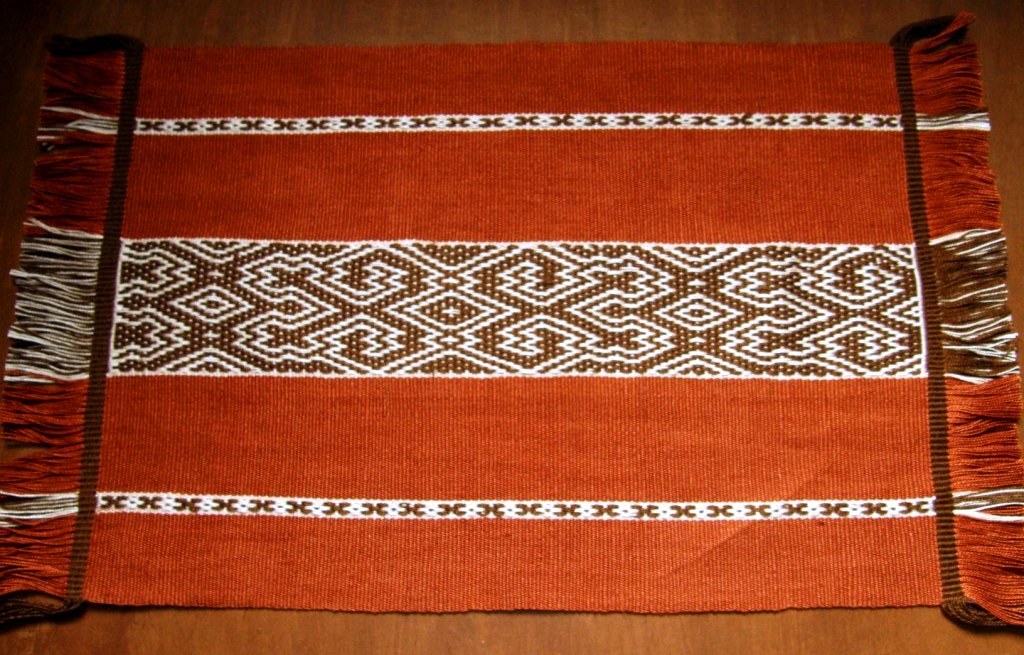
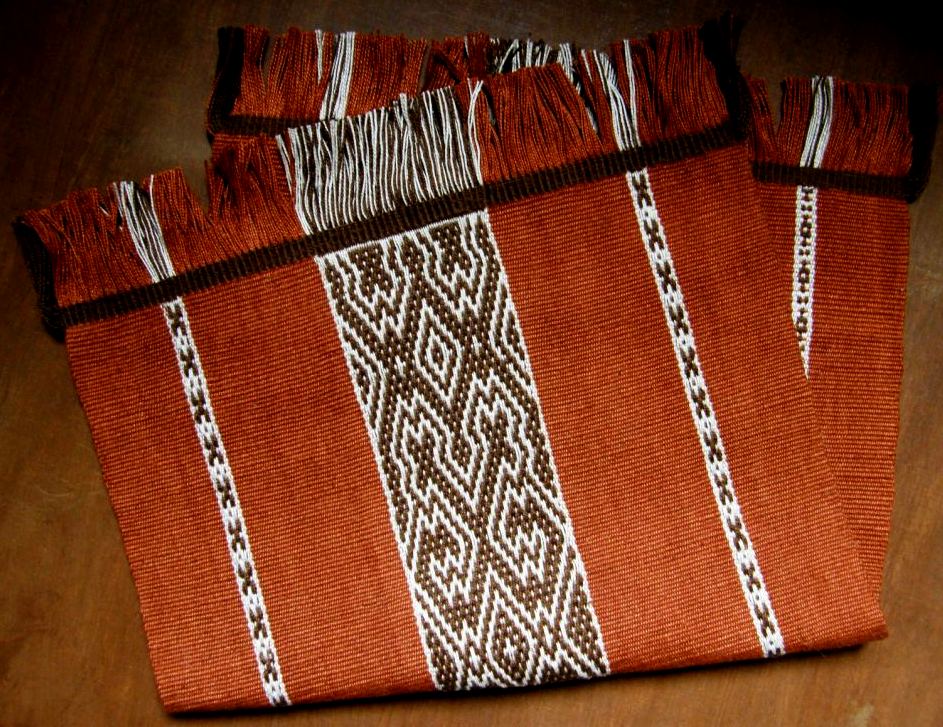
In the midst of the spinning madness I was, of course, weaving and I have finished the first of what will be four placemats. This is not the first time I have made table ware and I have a few table runners and place mats, hotpads and mug rugs stashed away as gifts. I often forget I even have them.

I pulled out this one to remind myself of how to do hem stitching which is a finishing technique that I love and learned thanks to my friend Franco Rios who told me about this video. While rustling around in my gift basket, I discovered a bunch of bag projects that I had never completely finished as they are missing tabs, straps or buttons…out of sight out of mind. Some of them are now looking rather square-ish to me and I think I will try to cut and round off the flaps in the way my Guarani teacher showed me.

But, back to the new finished project, the place mat. The design is one that I saw on a woven bag made by the Shipibo people of tropical lowland Peru. I am hoping to make four placemats, each one being in a different color scheme and having a design from a different culture.

You can see that in the end I didn’t hem stitch the edges. I had originally wanted to twine the edges with a design based on the main motif much the same as I had done with this Montagnard piece…


That was the plan but when I finished the weaving I decided that I wanted to keep it simple and so twined in just plain brown instead.

I used the same yarn as I had for the warp and weft in the weaving and twined around groups of six warps.

In the past I have twined around four and the twined sections have ended up wider than the woven piece. A group of six warps seems to be the right size.

This was a nice way to protect the edges although a lot more time consuming than hem stitching. I am always happy for a chance to keep up the twining skills.

The design on the next place mat in the set will be based on a Mexican belt and these are the colors that I have chosen…

I hope to include a few small spots of supplementary weft patterning among the warp floats as I did in the small band experiment at left.

I really enjoyed this place mat project. It has been a while since I last wove a wide-ish piece and that terracotta color was such a pleasure to weave with. This is the first one I have made with #10 crochet cotton.

This was a new design for me and it is always exciting to see the pattern appearing. The designs I have planned for the next three are all new too.

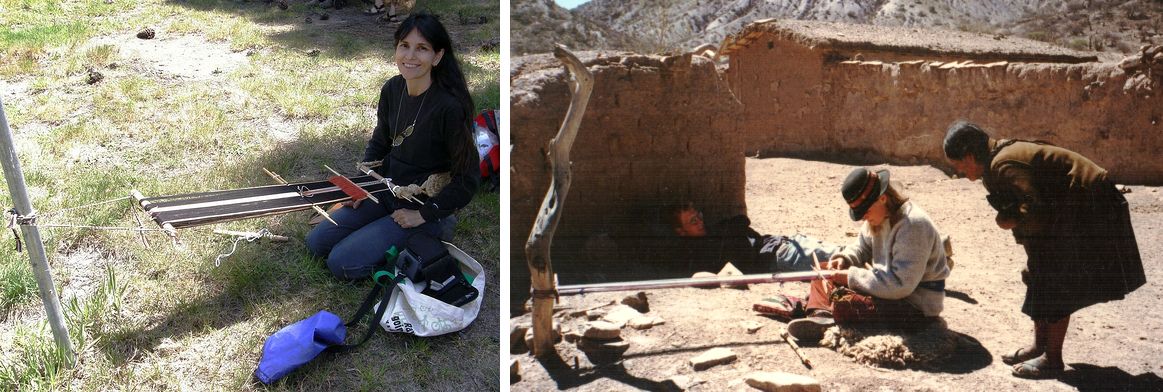
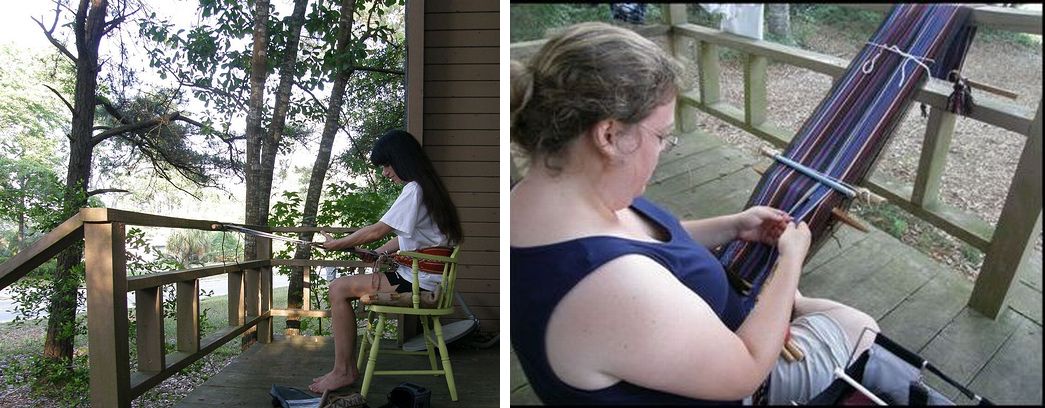
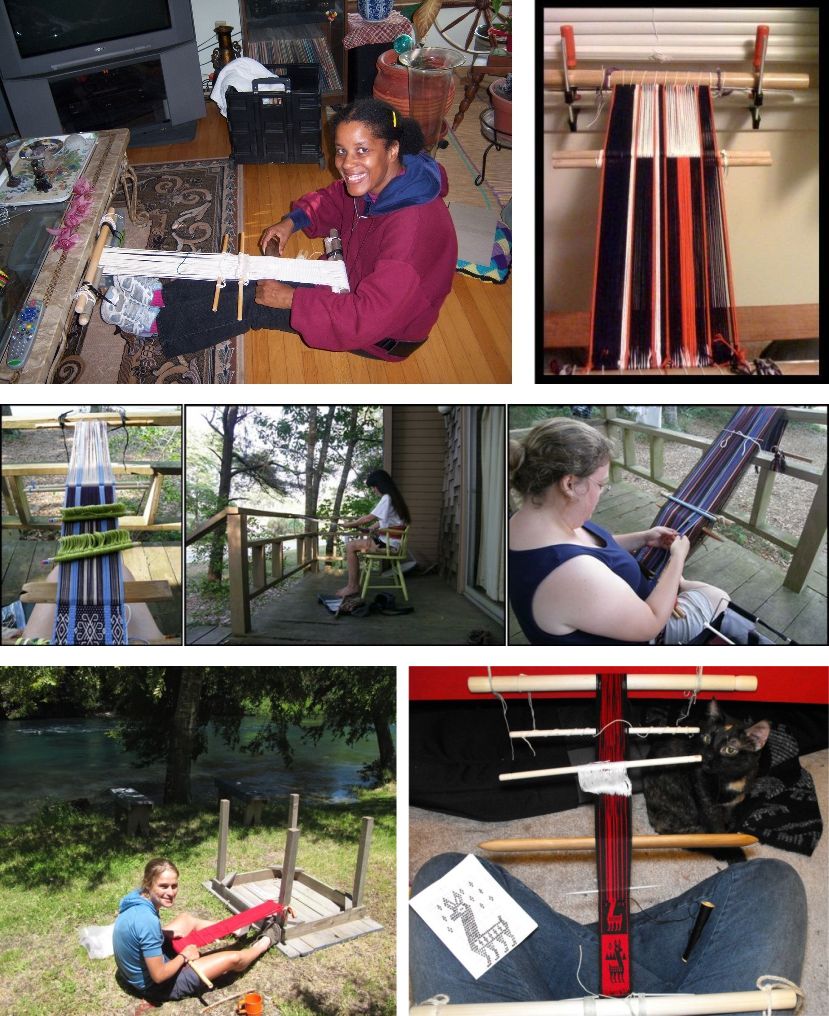
Well, I hope all you northern hemisphere folks are having a lovely summer. I thought I would post a collection of pictures of backstrappers enjoying the outdoors and I hope you will feel inspired to gather up your sticks and go outside.

Sometimes you are lucky to come upon a random post or tree trunk in an unexpected place to which you can attach your warp. That’s my friend Ulla on the right with whom I traveled in Potosi.
There weren’t any trees on the Uyuni salt lake so Carolin used her bike. Janet has no need for such things…as a truly independent backstrapper, she uses her feet!
Anna by a Chilean lake and me at the beach…Okay, so I didn’t find anything to tie up to in the sand. I inkled instead.
Bobbie has been camping at Sand Dune State Park and found something in the sand to tie onto. Sometimes you just have to get creative. Carolin’s  warp is tied to a small table against which she is pushing with her feet.

 It’s always nice when there is a deck rail to hitch to. Here at Lisa’s beach house we could listen to the birds and smell the ocean.

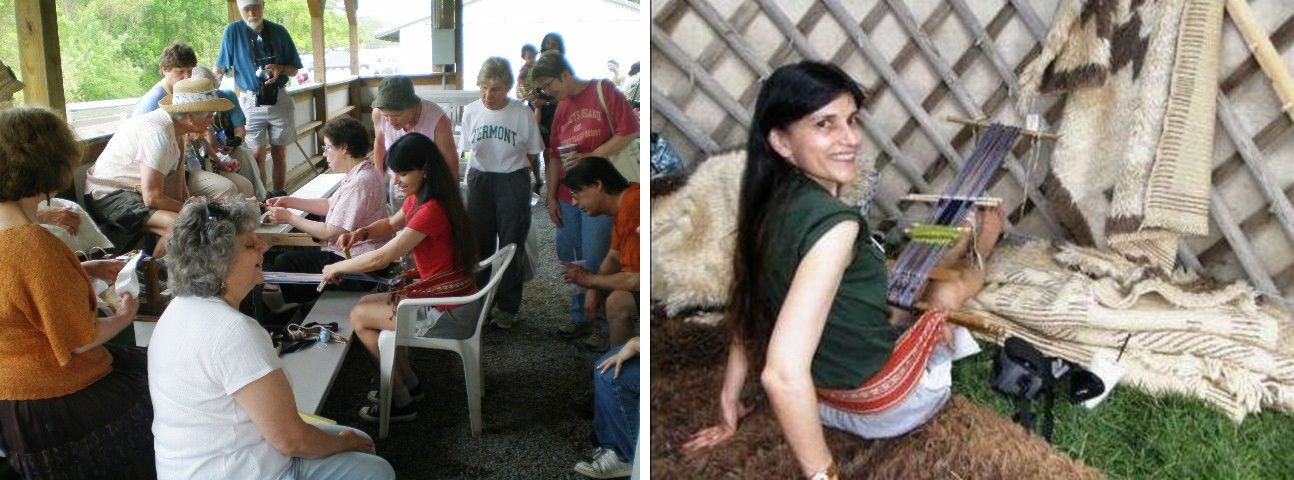
Semi-outdoors. Weaving in the bunny barn and in the yurt at Maryland Sheep and Wool Festival. The yurt had a hole on its top through which I could look up and see the sky.

I am risking upsetting the weather gods again but if you had a patio or a view like this how could you not weave outdoors! If you have an outdoor weaving shot, please send it to me. Meanwhile those of us south of the equator will huddle indoors.

Happy weaving to all where ever you are. 🙂

Backstrap Weaving – Great Lengths for Good Results


The more you weave on a backstrap loom, the more you come to realize the importance of good warping. I so wish I had photographed the great lengths I had gone to to warp for the four-color pebble weave piece above. It was a mad never-to-be-repeated combination of knitting machine tension rods planted in bottles, planks, toes and stakes! It was the time when I lived in southern Chile with little experience or materials on hand. All I knew was that good even tension was essential to a successful project and I was determined to achieve that. Well it worked and I was pleased with the results.

There are so many parts and tools for the backstrap loom that can be made from bits and pieces that one already has lying around the house. And even a warping set up can be easily constructed…just whack a few stakes into the ground in the backyard….and in one’s enthusiasm to get a warp onto the loom and start weaving one may be tempted to ignore the fact that the stakes leaned inward ever so slightly while the warp was being wound.

You learn after that first wonky warp that it is worth going to great lengths to make a suitable warping board if you want to have good results. I consider this the most important part of your backstrap weaving kit.

You can see at left my first warping attempt in Chile after returning from my first backstrap weaving lessons in Peru. Look at that crooked end! I had been warping successfully for Navajo weaving until then and tried to adapt that system to four-stake warping for pebble weave….didn’t work!

Even though that was fifteen years ago, I haven’t come up with any terribly sophisticated ways to warp. Sophistication isn’t necessary. I just make sure that my stakes are well grounded and cannot move or lean in.

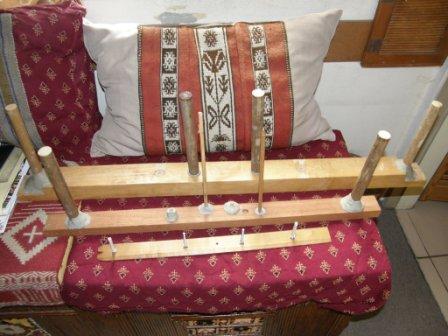
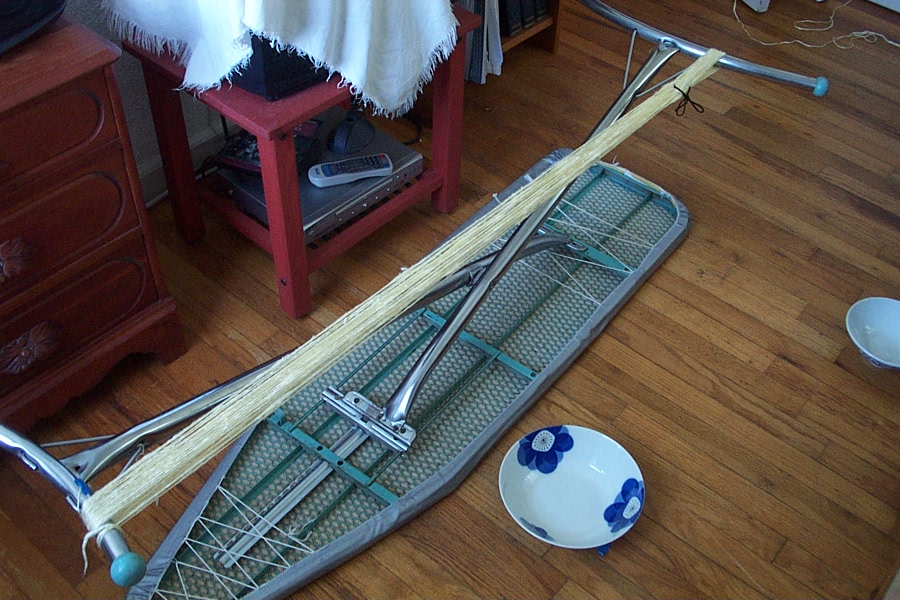
This family of simple warping boards has served me well over the years. Even when I need a longer warp for a belt or guitar strap I manage to combine the boards somehow to fit the bill. I made the middle board to accommodate the multiple sticks that are needed to warp for the supplementary warp technique that I studied in Salasaca Ecuador. The mini board in the foreround is the one that goes traveling with me. The ”stakes” are long screws which are bolted to the wood and can be removed for travel. I also use it at home for keyfobs and bookmarks.

It seemed that all my needs were met with these three simple boards. However, recently I have been weaving with my handspun alpaca yarn. All you spinners out there will understand my desire to not waste a single inch of this stuff!

Last week I showed you the passport pouch I made with my first lot of handspun. I warped it on the middle warping board and it was tough cutting the project off and “wasting” all that handspun. Normally I warp longer than the project requires…there is always that “just in case” factor and so what if a little cotton gets thrown away? But not my precious handspun!

So, I kept all the cut off alpaca yarn thinking I would use it as supplementary weft and that is just what I did this week. I had just enough handspun left to make a cell phone pouch. The dilemma was that I did not have a warping board that would allow me to warp just the right amount for this project. There wasn’t enough yarn to get the right width on the larger warping boards and the mini was too small for a cell phone pouch.

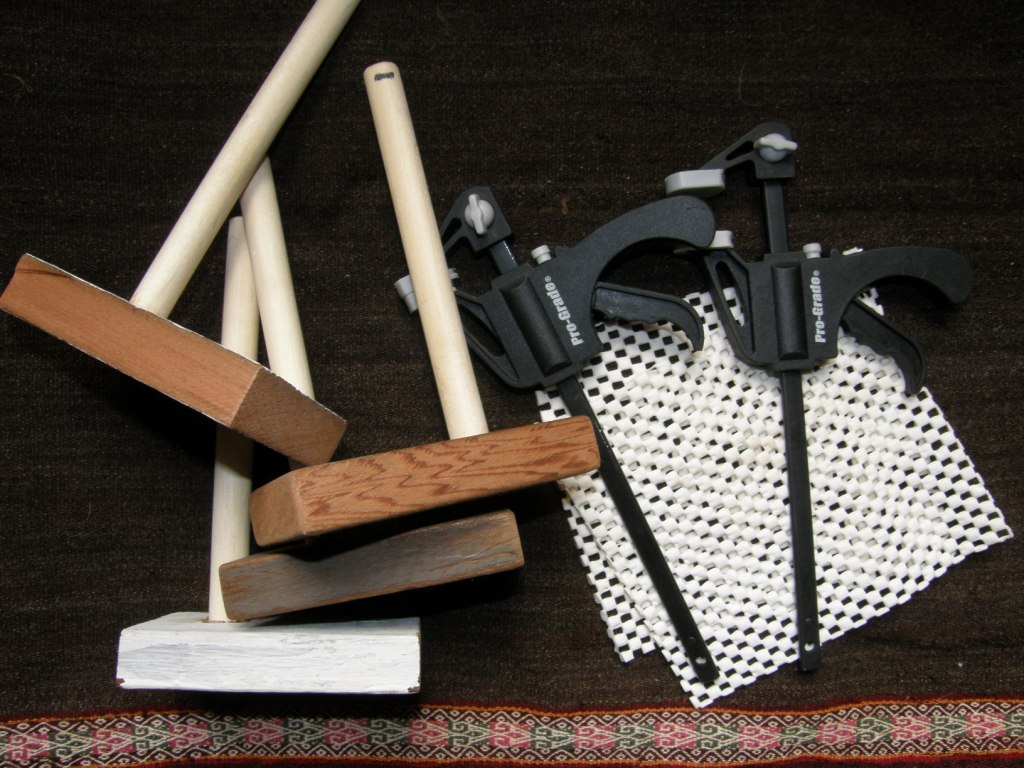
And then I remembered the nifty single warping pegs that my friend Janet and her husband Larry made for me. These can be clamped to a table to warp any length. My problem is that there isn’t a free table here to do that but I managed to use the tray table on which my computer sits and that was the perfect length.

This worked like a dream. I must warn you that clamps can slip while you are warping, quite often imperceptibly, and it won’t be until your warp is on the loom that you notice that one side is hanging slack while the other side is taut. I solved this problem by using that rubbery draw liner stuff that you see pictured above on both the top and bottom surfaces of the table…no slipping…beautiful warp.

I have a lot more about warping and the different ways my indigenous weaving teachers warp in this previous post and also here.

As I told you last week, I put only the slightest amount of overtwist in this yarn so you can see here that the warp can lie quite flat and not go curling up on itself. It is hairy, though, and I did have to work to clear my sheds. I had to put glue on the knots at the color changes after having the knots in this sleek fiber work their way undone multiple times and drive me nuts!

So, this was to be a cellphone pouch with supplementary weft patterning. I would never have thought of doing a piece in wool or fiber with this technique had it not been for Phil in our backstrap weaving Weave-Along on Ravelry who wove a band with his handspun which he decorated with a snake motif using his handspun as the supplementary weft. Then when I was staying with my friend Janet, who is an awesome spinner, I was further inspired when she wove a band with her handspun with silk supplementary wefts.

So, many thanks to Phil and Janet for giving me this idea.

And here is the finished cell phone pouch…

All the other pouches I have made have had flap closures. I decided on something different for this one and added a drawstring instead – an alpaca drawstring, of course!

The design is actually Indonesian. It was a scroll that repeated itself across the width of a piece that I saw at Convergence last year. I stacked the scroll and inverted it to make this new design.

The turns of the supplementary wefts are on the face of the weaving but are quite well camouflaged in the darker warp color. I dabbed glue on the supplementary weft ends as they exited on the back side of the piece. Again, the yarn is so sleek, I didn’t feel secure just cutting and leaving short ends as I would if I were working in cotton.

I am very happy with the way this turned out!

And that was the end of my alpaca yarn…now back to the spindle to make some more and just in time for the Tour de Fleece that starts this weekend.

I have quite a collection of cell phone pouch projects now influenced by Vietnamese hilltribe weavings, Central Asian yurt bands, Guarani designs and Indonesian textiles. Half of them have been given away. Hmmm…as I type I am getting ideas for a couple more!

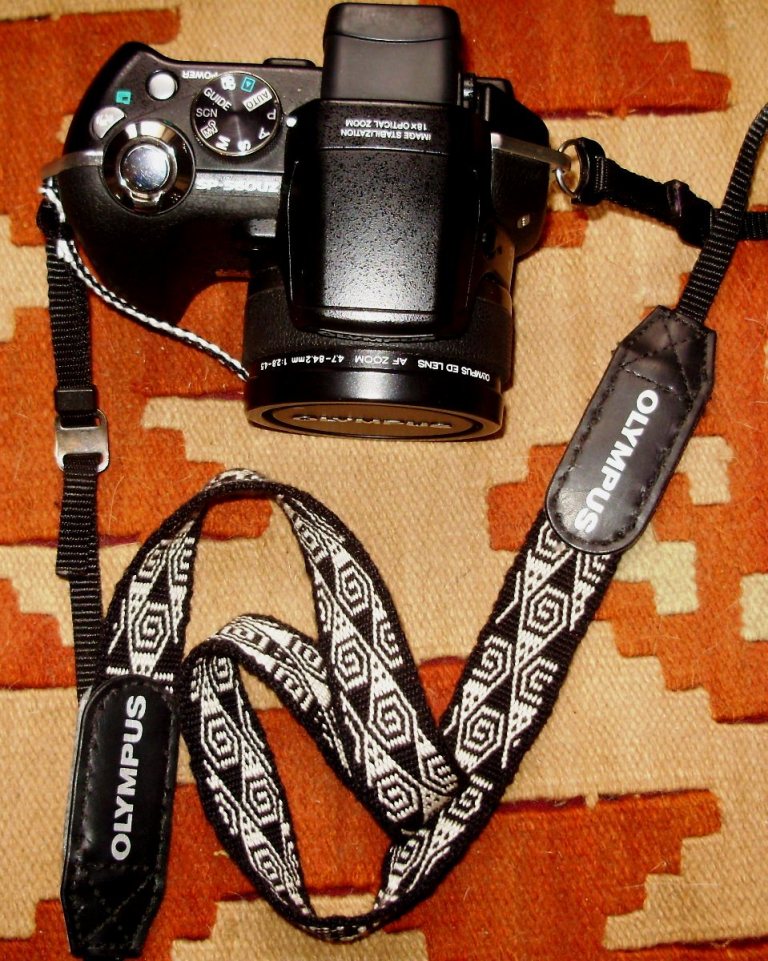
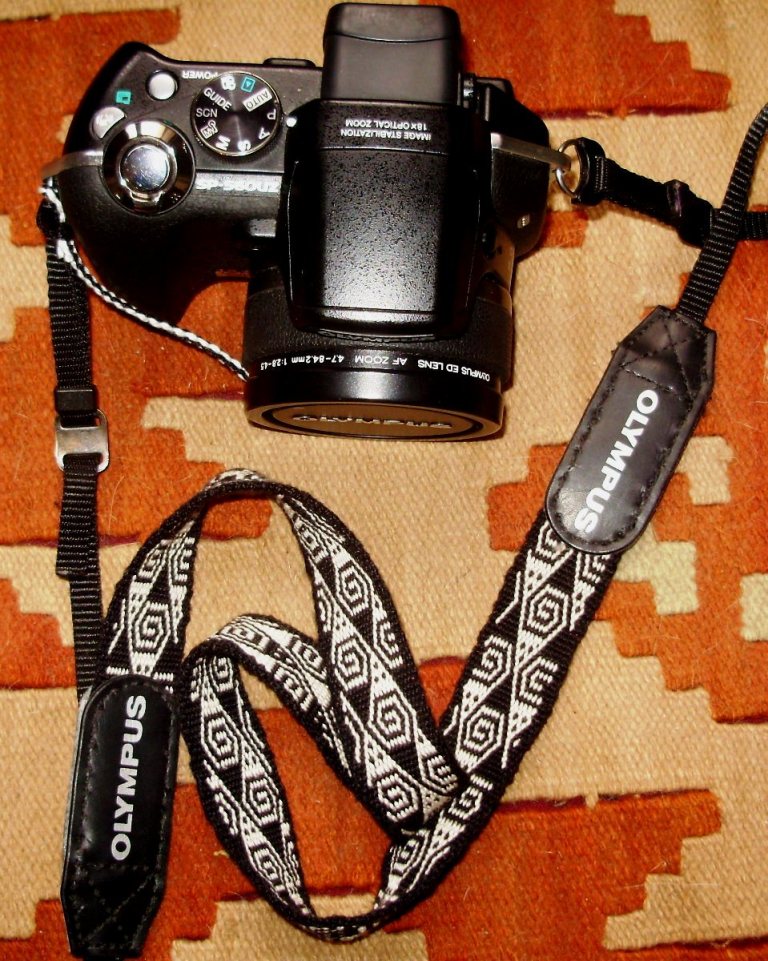
Last weekend I completely ignored my to-do list and launched myself into a new project. What brought this on? Some friends sent me pictures from my recent visit to the US and I realized that in almost every picture of me I was clutching my camera. I decided that my camera needs a bit of dressing up…well, to tell the truth, I probably do too but that ain’t gonna happen!

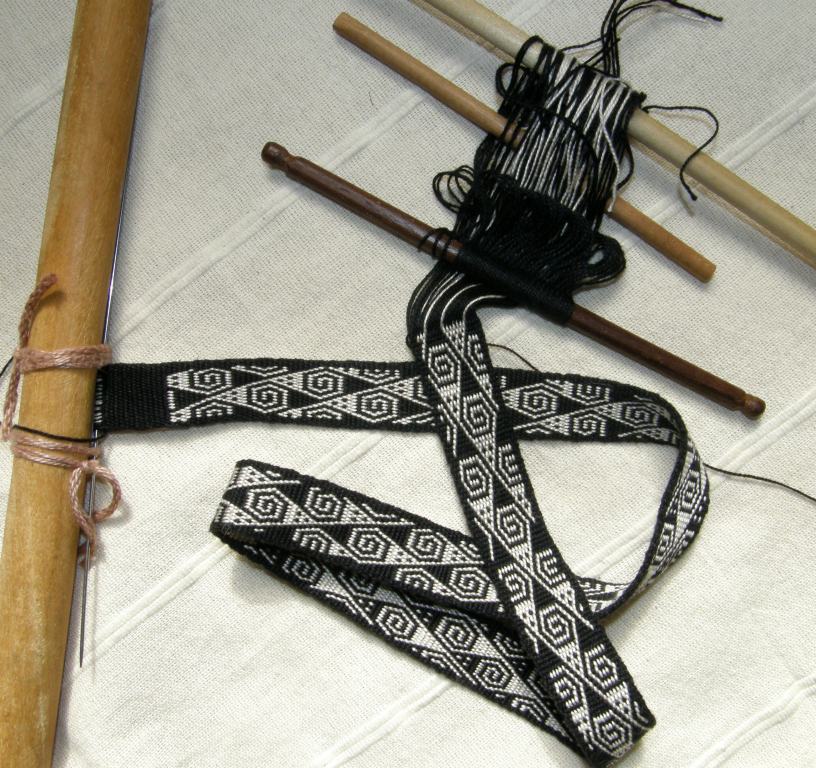
So, I wove a strap and braided a tie for the lense cap.

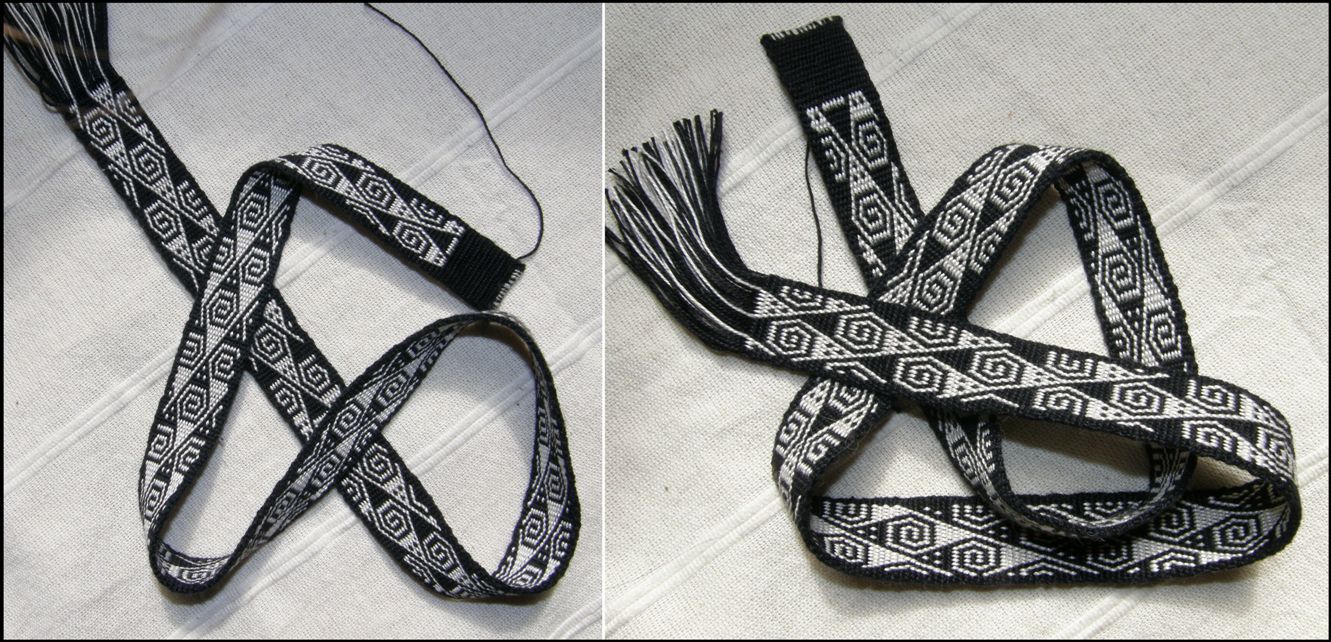
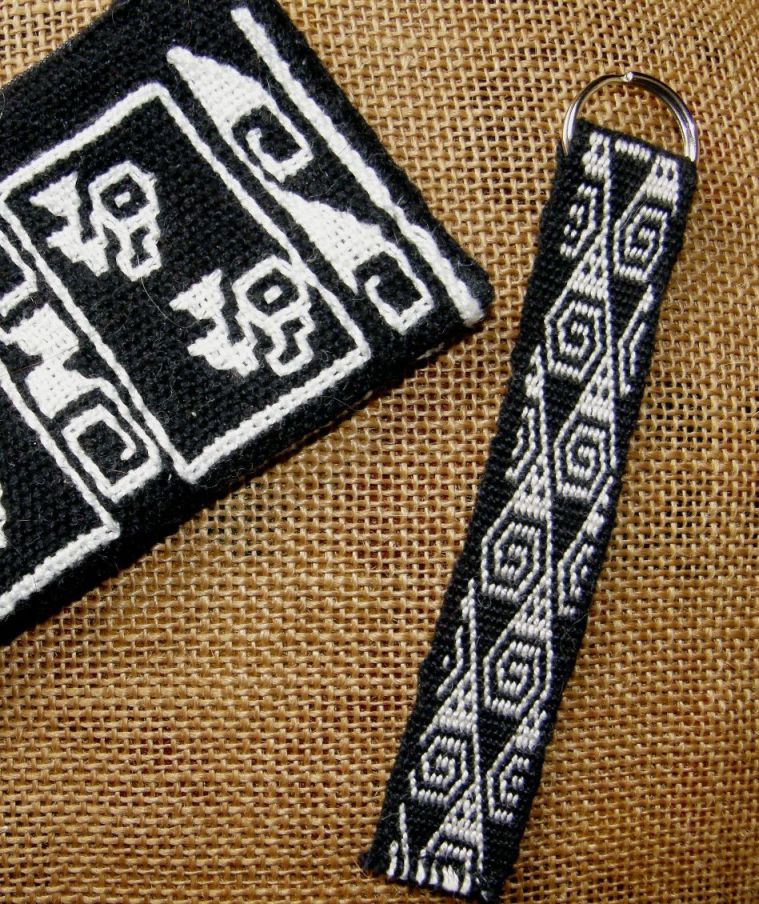
 I wove this in one-weft double weave and you can see that it is based on the float pattern that I used on the passport pouch I wove last week. I think that this design would also make a good project for warp substitution. Those of you  who have dabbled in warp substitution will know that one of the technique’s drawbacks is that you end up with long floats on the back but, if you are weaving an item where the back of the piece won’t be seen (unlike my camera strap project), the floats won’t matter.

Here is my dressed up camera…


I wove more length than I needed for this strap and so made a keyfob from the left overs and you can see above that not much warp was wasted.

Actually I could have woven more but I had had enough of these swirls by that time!

I have added this double weave pattern chart to this page. Take my advice and extend the chart if you plan on weaving it.

The design did not repeat at all for the entire length of the band and it is easy to go on weaving and forget when to start weaving the design as it enters from the right edge. You need to weave a fair bit before the design starts sinking in.

I just hand stitched across the bottom to seal the end.

Let’s go back now to the original topic to show you a couple of nifty warping ideas from some of my online weaving buddies.

Sometimes you have to get creative according to your budget, your lifestyle or living situation…lack of space and considerations like that. Above left is Marsha’s new warping set up using long screws and drilled holes and segments that can be joined together to accommodate a variety of warp lengths. It all comes apart for travel. Marsha is a terrific DIY-er and is also making lovely beaters and pick up sticks so, you know where to go if you would like to have some made.

And now you will see what I mean about going to great lengths…

Tracy and her husband lugged a bed frame onto the roof of their home in Qatar. That looks like a great sturdy set up and adding extra stakes to that for four-stake warping should be easy. The two extra stakes don’t need to be firmly grounded. In fact, I have seen a picture of a weaver warping seated on the ground with the two extra stakes lodged between his toes.

This set up was spotted today, by Dyggvi (from the Ravelry group) on this blog (it wasn’t wound for backstrap weaving)…Not sure about this being a good option as the legs look curved.

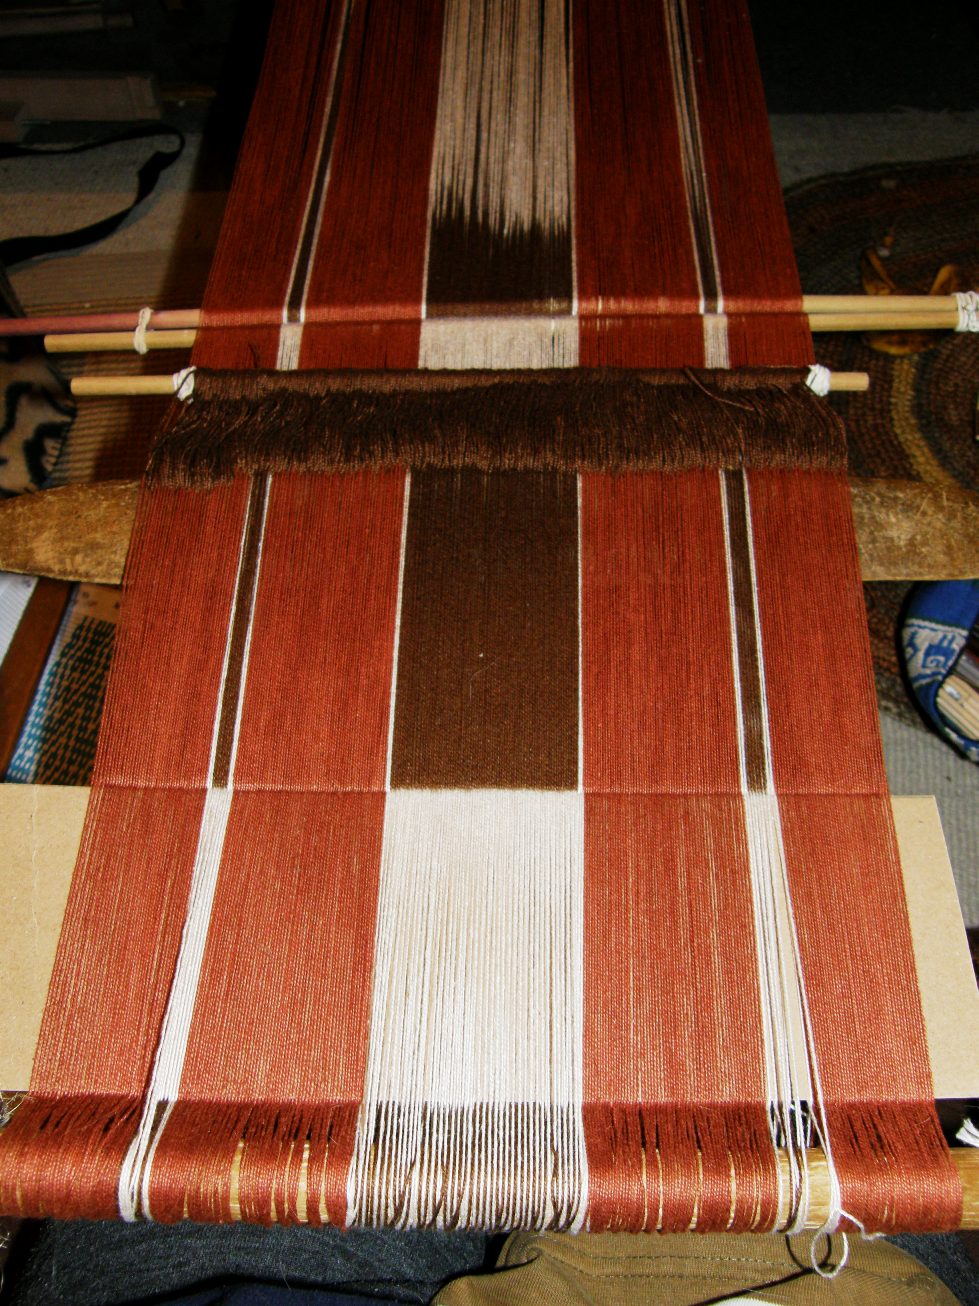
I warped up the widest piece I have done for a long time yesterday. It was warped in two sections and transferred to the loom bars. This will hopefully be the first of a set of four placemats all using the two-color warp float technique. Each one will be in a different color with a motif from a different culture.


I am leaving a pretty big fringe as I plan to twine a design on each end and will dye some of my Cebelia #20 thread brown for that (doesn’t seem to come in brown, does anyone know if that is a fact?)

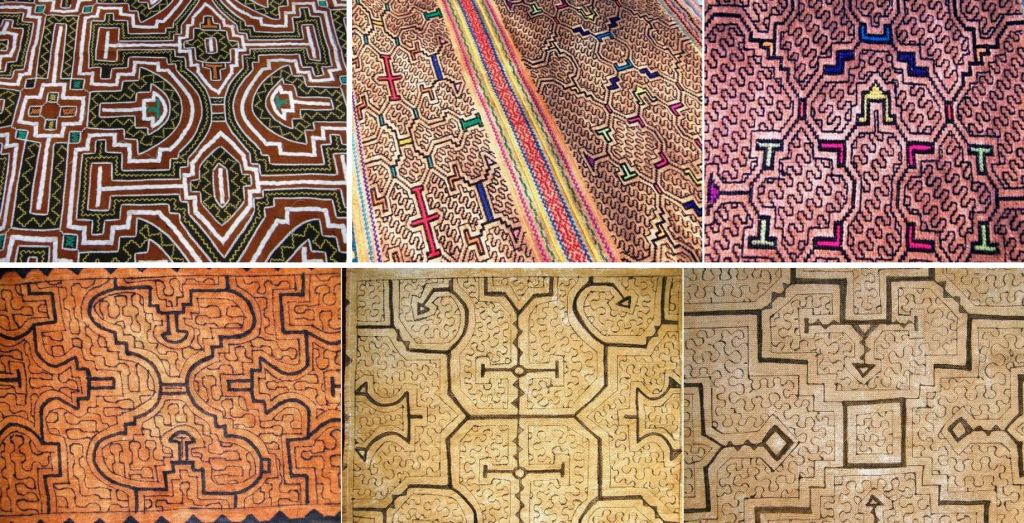
I am using that gorgeous terracotta brown color that I dyed last week which I wanted to have resemble the color of the Shipibo cloth pictured below left. The design is from what I am pretty sure is a Shipibo bag woven using the same technique. I have not seen many Shipibo textiles and have not traveled to the area of Peru where these people live but I have bought a few small pieces of their painted cloth and was shown some of their embroidered work by Yonat who has some of their textiles in her collection.

I would love to go and learn more about the Shipibo people and their work with textiles as these days I feel quite drawn to the weavings of the people of the lowland areas of this great continent which is very often neglected.

I would like to share a link with you which was sent to me by Yonat after the inclusion of some braids and Andean and Tibetan slings in my post last week. I definitely want to try some of those braids.

Also, Dyggvi, one of the group members on Ravelry, shared a couple of interesting links to images of backstrap weavers in Taiwan and their very unusual loom set up. The first picture in this link is of an Atayal weaver but there are backstrap weavers from other countries on that page too.

Tracy has written a blog post about the al’ouerjan weaving that is practiced by Bedouin weavers. It is a warp substutition technique and her post shows lots of lovely variations of the design.

I will leave you here with some outdoor backstrap weaving shots from both sides of the equator….

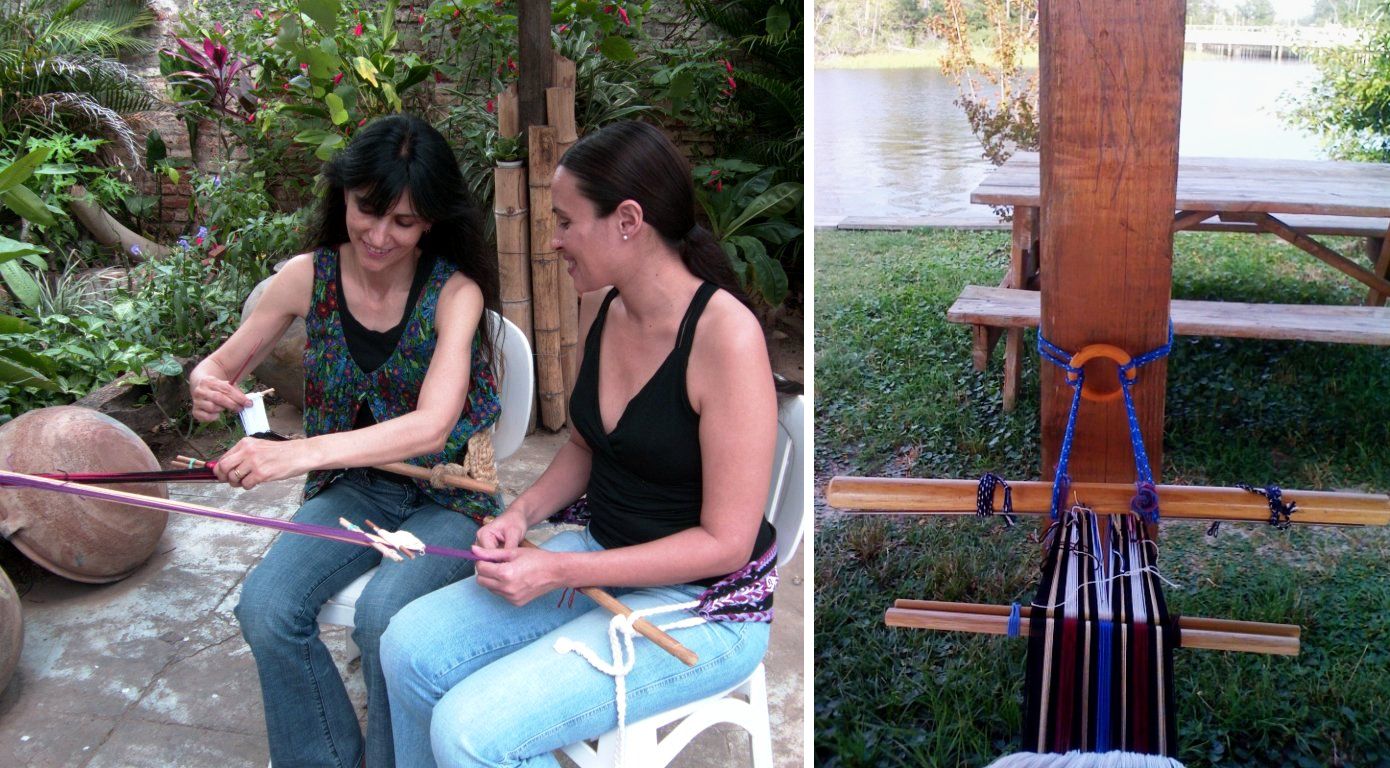
That’s Bobbie at the Black Sheep Gathering in Eugene Oregon last weekend. She met up with Jennifer and Janet, a couple of other Ravelry backstrap weavers and they were able to spend some time together weaving. That’s the early Oregon summer, still a little cool in the shade. Here in Santa Cruz Bolivia we are in the depths of winter as you can see on the right! I spent an afternoon weaving in the patio at my friend Lalenya’s house. There are only about ten cold days in winter here and that wasn’t one of them!

Thanks to everyone who visited my Andean Pebble Weave Facebook page. I am constantly posting photos and bits and pieces there. I hope you will continue to drop by and hit the “like” button.

Backstrap Weaving – Three Tips, Twining and a Tutorial


Central Asia, Mexico, Vietnam and the Middle East were new weaving territories for me this year.

I am not one for making New Year resolutions but I got caught up in the moment last year at this time and went public with three weaving resolutions in one of the online weaving groups. I am happy to say that I did not even come close to fulfilling them. I say “happy” because my weaving path for the year took me off on several tangents and led me to interesting and unexpected places.

I am not going to make new resolutions. I do have  two or three things mapped out for the coming year and I will happily allow the gaps in between to be filled with whatever comes my way. I have to say that a lot of those gaps are being filled by you guys, my blog readers, who email me with video links, images and ideas from all corners of the world.

What was on the loom this week?…firstly, I will show you what was on the weaving –

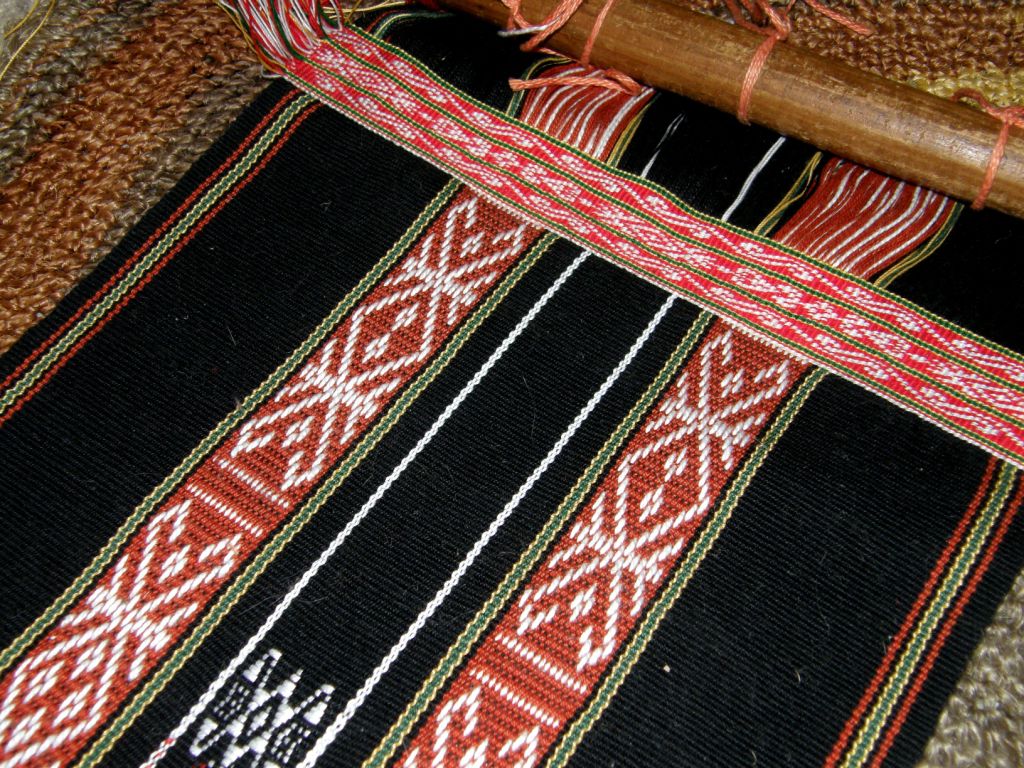
My cat loves to leave all her little beige colored hairs on my black weavings. You can see the twining at the bottom of this piece where I have finished the second part of the design.

Above you can see the three parts finished. I was still debating at this stage what to do with this piece. You may remember my mentioning table runner and then center piece. Who am I kidding?

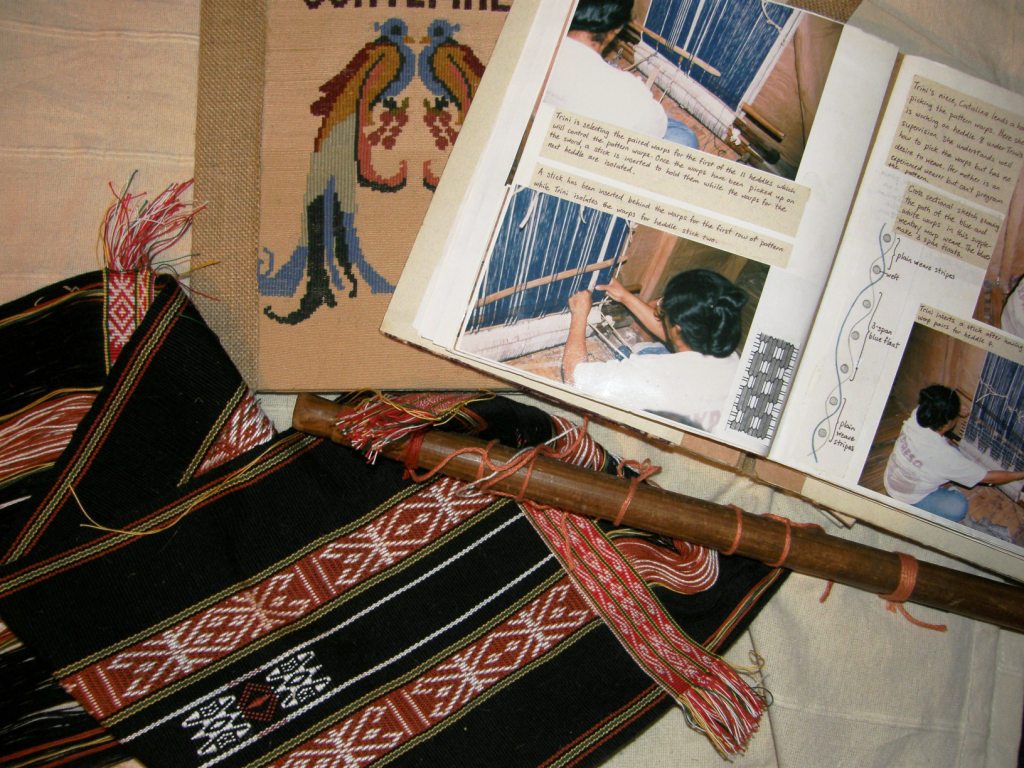
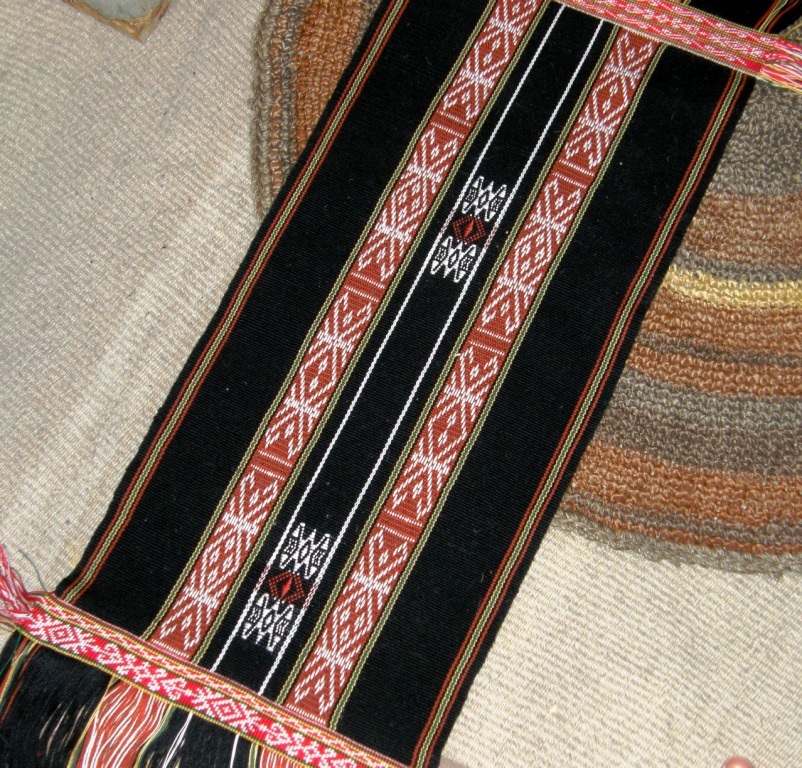
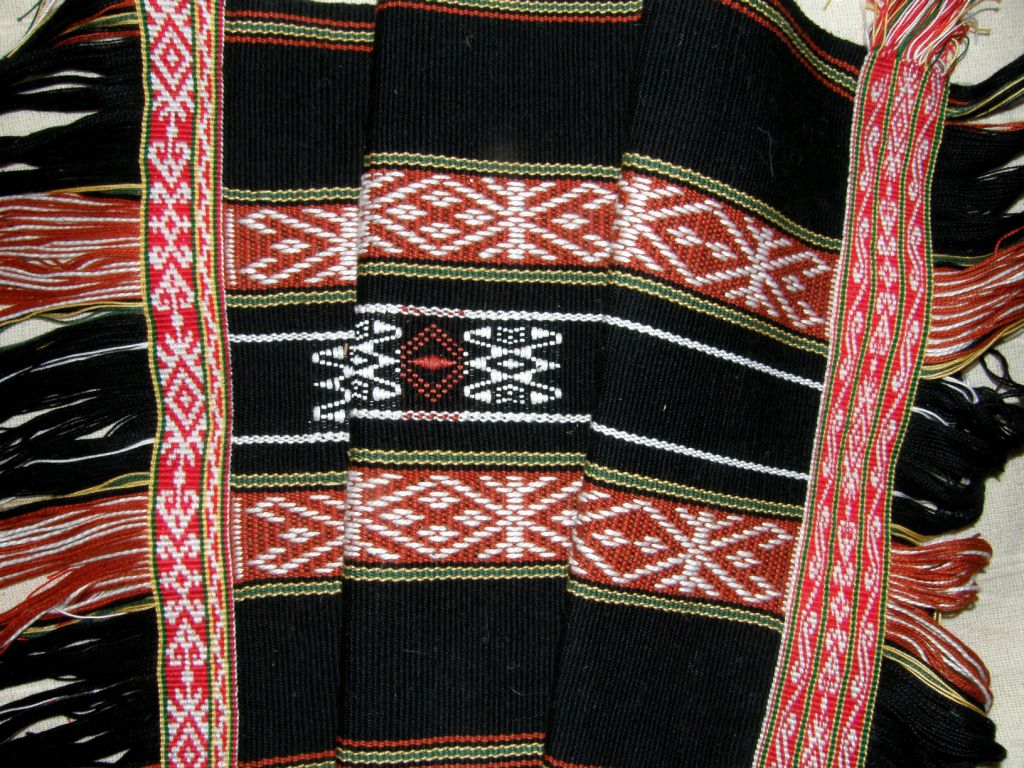
This was never about the product. I just wanted to weave something to put the various Montagnard weaving techniques into practice. So I finally decided that the piece would be cut in two and used as the cover for the journal in which I will document the processes. I have over twenty supplementary weft motifs to chart from photos I took when I visited the Montagnard weavers as well as their warp float designs and twined motifs which I will put in the journal along with step-by-step photos.

Above left are a couple of my finished journals from other weaving trips. One has a woven cover which I made to practice the double faced supplementary weft patterning that I was taught in Guatemala and the one on the right documents all I learned in coastal Ecuador.

But first I had to twine the other end of the piece. I needed to weave some more in order to have enough fabric for the book cover and then I twined the edge using one of the same patterns from the other end but doubling it, that is, I twined two rows for every row of pattern. What a difference that made!

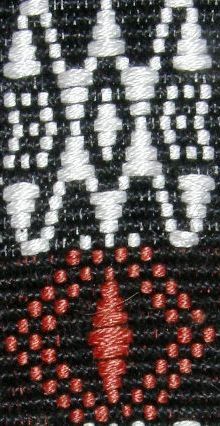
You can see that the design on the center strip of twining on the first end is the same as that on the second end.  A closer look…

I have the pages, now I just have to get the cardboard for the journal’s cover. I stitch and bind everything together myself. Then I have to get the scissors out, take a deep breath and cut the weaving in half  – yikes.


An interesting thing about the supplementary pattern on this piece…usually I don’t recommend having weft floats of less than two warp spans as they barely show up on the fabric but I had to have floats that only spanned one warp on this piece in order to faithfully reproduce the Montagnard motif and, to my surprise, the design shows up very well. My base warp and weft are number 10 crochet cotton and I used one and a half strands of embroidery cotton as the supplementary weft. The white thread for the warp floats is number 3 crochet cotton and the twining was done with number 20.

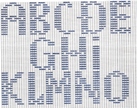
Staying on the topic of Montagnard pick up weaving, I have put together a tutorial on the woven letters that some of the Montagnard weavers are using to weave biblical phrases on their woven bag straps. I really like the shape of these letters and it is quite a simple pick up technique. The drawback is that there are some longish floats on the back of the piece which doesn’t bother me too much as bands with letters are essentially single faced anyway with the letters being reversed  and unreadable on the back. The technique does not produce an entirely warp faced fabric.

You can see the tutorial here.

One weft double weave can also be used to weave letters which don’t have long floats on the back. The one weft double weave tutorial is here and the chart with some basic stick letters is here.

These letters, which were woven by Guarani weaver Angela, are the ones that I really want to learn…

These are woven with the same technique that I used to weave this copy of Angela’s cell phone pouch design…

I would like to have Angela weave a complete alphabet for me to use. I really like the solid “blocky” nature of these letters.

Other beautiful, fluid and non-blocky letters can be found in Linda Hendrickson’s book Please Weave a Message with charts designed by Linda as well as adapted by her from the work of Michael Cook for card weaving. I have just set up warps to make my first attempt at twining Linda’s lettering. Her charts don’t work for the double weave pick up that I like to do on my backstrap loom but should work perfectly for twining. Hopefully next week I will have some progress to show and I will try to make something useful from the sample!

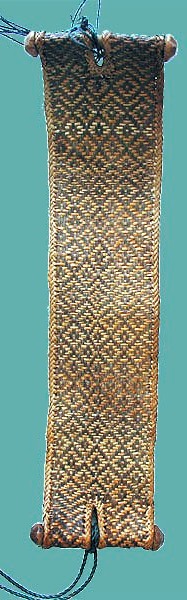
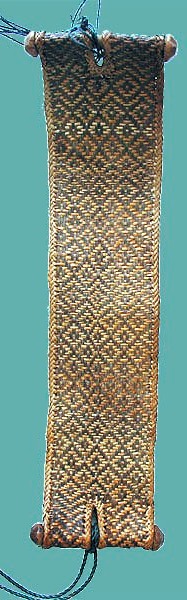
You may remember in last week’s post I showed you pictures of Li weavers from Hainan Island and their looms. I have since found someone else who owns one of these looms who also has the backstrap. I don’t remember seeing one at Pam Najdowski’s stand. Susan Stem of Tribal Trappings has this photo of a Li weaver’s backstrap…

The one on the extreme left is the Li backstrap, made from fiber, which is believed to be from the weavers who speak the Meifu dialect according to collector Pamela Cross. The one on the right is probably from a completely different part of the world. This was gifted to Tracy who lives in Qatar and who unfortunately does not know anything about its origin. I love them both and wish that the weavers here in Bolivia had such interesting ones! Most weavers I have met here have had no interest whatsoever in constructing any kind of special backstrap and have been quite content to use any old piece of sacking that is lying around.

I find backstraps almost as interesting as the textiles that are being made on the looms. I really like the way the two backstraps above have been constructed with the pieces of wood on the sides. So, I dug around and found a weaving that has been sitting neglected at the bottom of the basket. Another one of those things that I wove for my interest in the process rather than for any real interest in the finished product…


It started off as an experiment on my friend Lisa’s four-shaft loom. I wanted to weave a long Andean pebble weave piece after having made only tiny sample bands in order to put the draft together for my Andean Pebble Weave book.  It came home with me to Santa Cruz and went onto my backstrap loom to be finished…

When it was done, it was too wide to be a guitar strap and too long for anything else that I could think of. So, it got shelved to be later made into a loom bag of some sort…again, I was kidding myself.

Now here it is resurrected as….my new backstrap…

It isn’t quite finished yet. I have just joined the two pieces together with rough tiny stitches and am now using the cross knit looping or Van Dyke stitch to make a stronger and more decorative join. You can see a video on the Van Dyke stitch in this blog post. I used bamboo sections on the ends of the strap stolen from a cheap set of panpipes and the dark ends on the bamboo are pieces of tagua nut that I bought in Ecuador which are only held on with Blutack until I can get some strong glue.

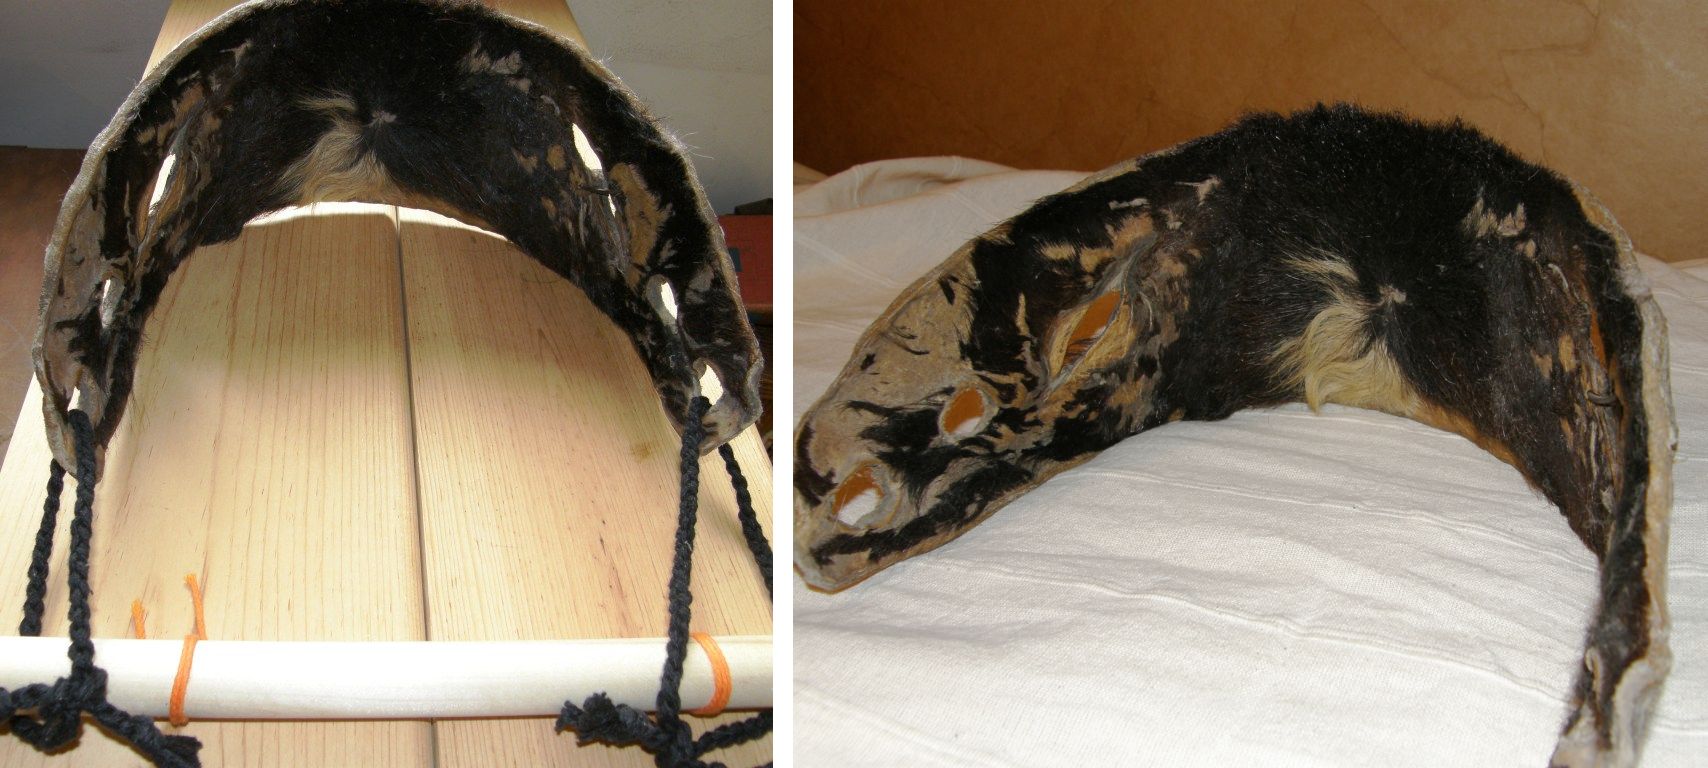
I have collected nice backstraps from a few other countries – a fiber one from Peru, a leather one from Guatemala and a very unusual hide one from Ecuador but nothing interesting from Bolivia.

A nice sturdy hide backstrap from Otavalo, Ecuador. The hairs tend to tickle while you are weaving.

I found the image at left on this site about backstrap weaving in Timor.

Timor is so close to my former home in Australia. I am seriously thinking about making a trip there the next time I go back to Sydney.

In the picture it looks like the weaver is making two pieces at once side by side as Montagnard weaver Ju Nie often does.

I love the backstrap. Ju uses a large pad which I think is stuffed with some kind of fiber. She just passes a rope behind it to hold it to her back which she then loops around her loom bars. It is very comfortable. You can just make it out in this picture…

Some blog readers, Weavolution and Ravelry members have made backstraps this last week…

Claudia from Weavolution finished her backstrap (on the left) and found a good place to tie up her loom in the process…to the bottom of the sofa (but with her back to the tv!). Anna who you may remember is cycling down to Tierra del Fuego wove her own backstrap while on the road. She has been weaving pebble weave and double weave until now and told me how lovely it was to cruise along with plain weave for a change. Anna does not, of course, have a regular tie up spot for her loom and I always look forward to seeing where she is weaving. You may remember seeing her warp tied to her bicycle on the Uyuni salt lake in a previous post.

Jennifer has her backstrap on the loom right now and I caught this image of Melisende’s “ceinture” on a French forum called Tricofolk. I didn’t ask her permission to post this here and hope she doesn’t mind!

Bonjour et bienvenue aux tisserands de la France!

I know that at least Jennifer is getting ready for a backstrap Weave Along that was proposed in the Backstrap weaving Group on Ravelry some weeks ago. We all agreed that post holidays would be the best time to start and we should be underway in January. The exact date is yet to be announced.

This will be a chance for beginners to make their own bands and backstraps with lots of support and advice on the forum. Those who have already woven their first pieces on a backstrap loom can try their hand at a project or two. I will be putting several proposals and ideas in the forum based on the tutorials here on this blog. A few weavers have asked about forming a group to work through my Andean Pebble Weave book too. So, all levels are welcome to join in.

As the WAL (weave along) approaches, I have three tips for you as you prepare…

1. Think about how you are going to wind your warp…

An evenly tensioned warp is essential. The warp will not be cut, threaded and retensioned once it comes off the warping stakes so you need to get it as evenly tensioned as possible while you are winding it. Beware of using stakes that are loose and may lean in as you are warping. The photo above right is from Franco’s blog. I am sure that Franco made sure that those stools were heavy enough to not move during the warping process. You can read more about warping and see videos here.

2. Find a strong and secure place to tie up the far end of your loom. It is always better in my humble opinion to lash your entire loom bar to something rather than have it swinging in space. Experiment with the angle of your warp and find what is most comfortable for you.

Read more about this here.

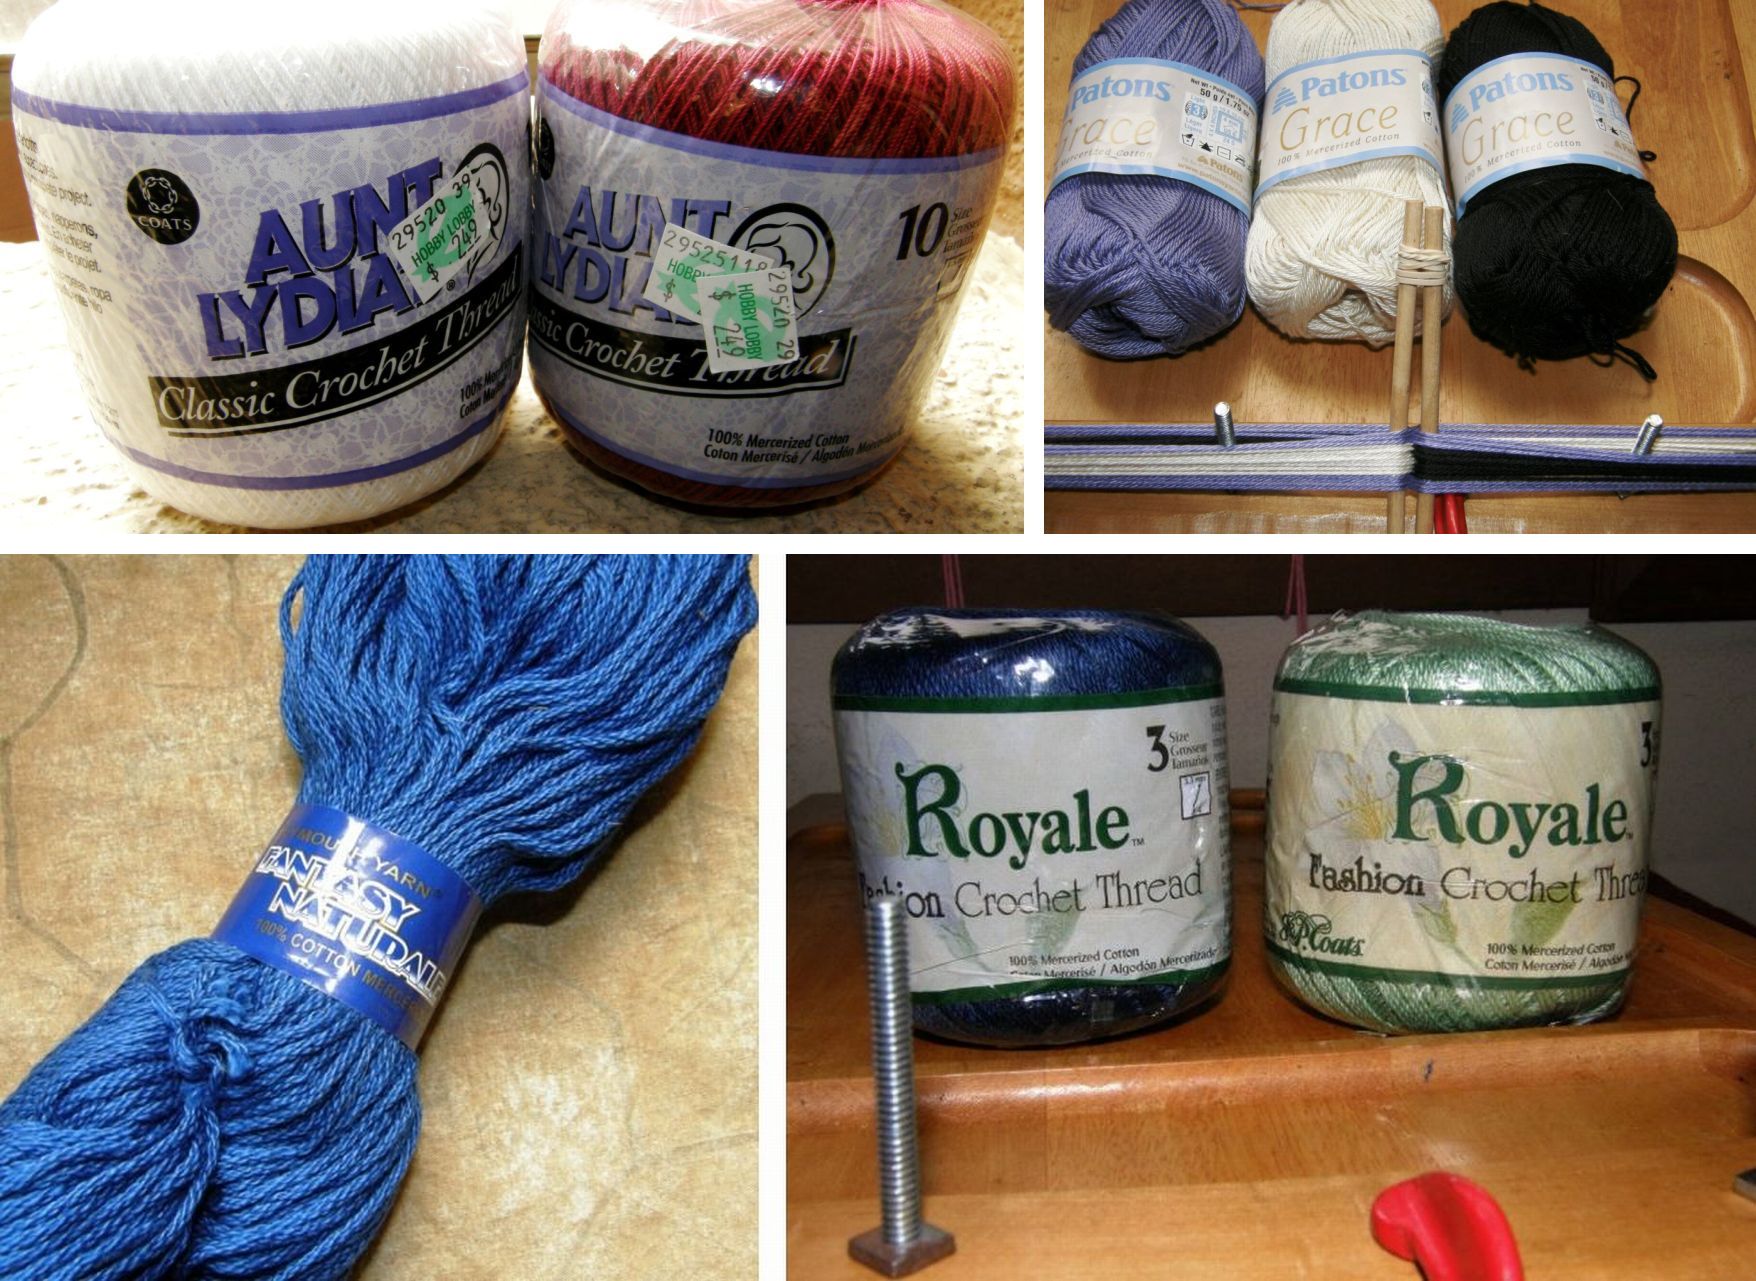
3. Choose your yarn carefully. Don’t use wool for a first project. Try to find a mercerized crochet cotton. Size 3 crochet cotton is good for beginner practice bands. Heavier cotton is better if you want to make a backstrap. Don’t use the cottons that are sold for dishcloth projects.

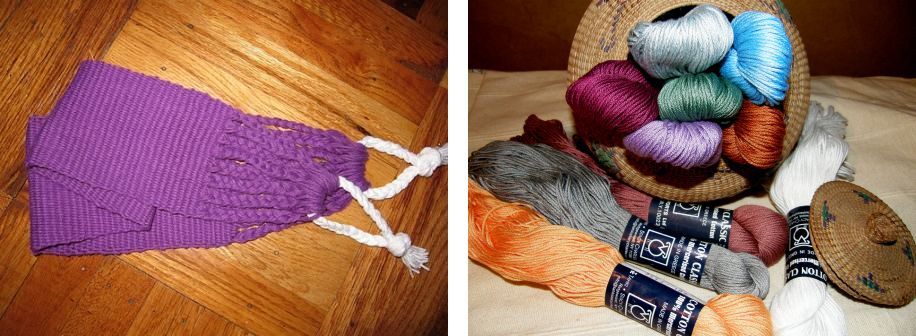
Tahki Cotton Classic is a good choice for making a backstrap. Cathyz made the purple strap above with this thread. WEBS recently had a sale on Tahki Cotton Classic and I got a grab bag of ten skeins.

Other brands that are readily available at Michael’s, Hobby Lobby and such places that I have tried and recommend are pictured below…The Fantasy Natural is a good weight for backstraps. I got that at The Mannings.

Read more about yarns including some information on using wool here.

My new backstrap was made with this thread pictured below…love this stuff!

Read more about suitable cotton thread and wool here.

Don’t forget the lettering tutorial.

Many thanks to all those who visited and left me Christmas greetings last week.

A very happy new year to everyone!

Backstrap Weaving – In pursuit of all things pebbly

A wee milestone to mark today: One year since the publication of my very first weaving article – BACKSTRAP BASICS in WeaveZine. I am hoping that this is the kind of article that will never look “dated”! Backstrap weaving is, afterall, an ancient practice and the project I presented in the article, a backstrap, is not exactly a fashion accessory! I hope that people will continue to find it useful for many years to come.

A million thanks to all those who have used the article and shared pictures of their woven backtraps with me. Some have been content with that one backstrap weaving experience while others have gone on to learn more and have created lovely pick up bands. I have made new online friends through that article and even gotten to travel and meet them. It really is a personal milestone worth marking.

This all comes on the very day that Syne Mitchell, editor of WeaveZine, has announced the details of her exciting new steps onward in the world of publishing.

I have had a couple more articles out since then in the WARP newsletter and Shuttle, Spindle and Dyepot and am working on some things at the moment as deadlines approach which means that this week’s post is a bit shorter than usual. My fingers have been a little bit busier at the keyboard than at the loom these last days but, of course, there was time for weaving (I would go mad if there wasn’t!)

Last weekend I decided to launch into another pebble weave project. You may remember that I showed you some images in a previous post of belts woven by the Tarahumara orRaramuri (he who walks well) people of Mexico…

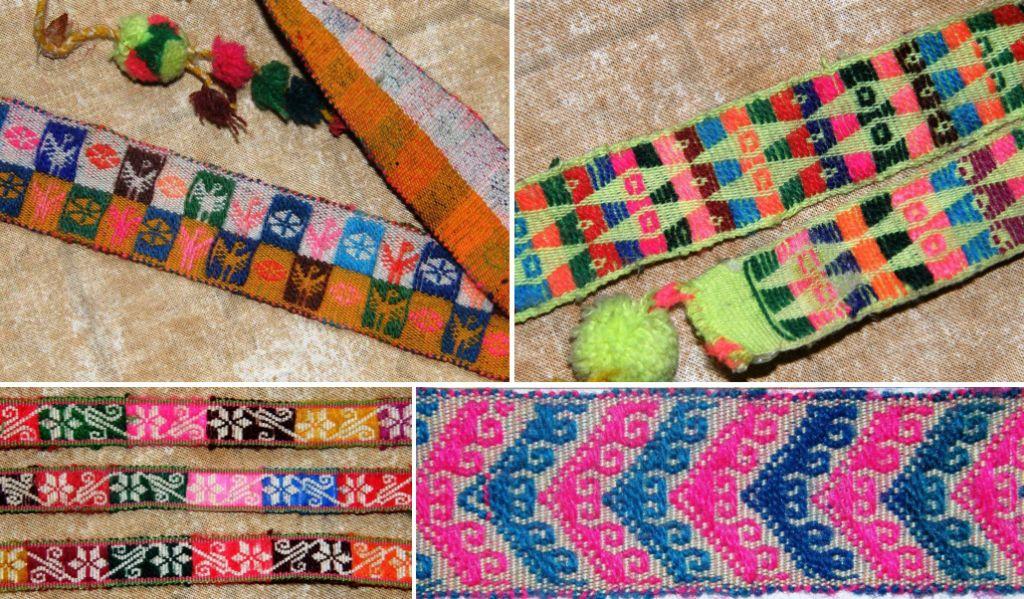
The belt above in the lower right corner belongs to my friend Annie MacHale. She was wearing it one day at Convergence. The others belong to anthropologist Martha Graham. This was another of those chance meetings. She was at Convergence too and stopped by the Weavolution stand where I was displaying my backstrap woven pieces including some of my pebble weave work. She returned the following day with some of her Tarahumara belts to show me and allowed me to photograph them.

The zig zag design with its adjacent triangles reminded me very much of designs in the weavings of the Guarani people here in lowland Bolivia where I live (pictured at left). The Guarani design is said to represent patterns on snake skins. There are motifs on both the Guarani and Tarahumara pieces that resemble stars. According to an article in National Geographic (November 2008 ) “Each star in the night sky is a Tarahumara Indian whose souls – men have three and women have four, as they are the producers of new life – have all, finally, been extinguished.”

I am, of course, only guessing that the motifs on the Tarahumara weavings are, in fact, meant to be stars. I haven’t been able to turn up much information online about the weavings but am in the process of purchasing an article from the Journal of Anthropological Research. The National Geographic article has a picture of men in ritual costume where you can just catch a glimpse of the woven belts under brightly colored cloth that they also wrap about their waists. I also found images of a women weaving on horizontal wooden frames which they hold on their laps while resting the other end on a rock. There does not appear to be any kind of tensioning device on the loom.

I found an image of a woven  belt that I particularly liked which had been collected in the 1890s and set about charting it. When you  see the design you will understand that after about an hour of this I was not only seeing squares when I shut my eyes from the charting paper but also swirling spirals!

These belts, from what I have seen, are generally 2 – 3 1/2 meters in length but I warped up on one of my shorter warping boards to sample.

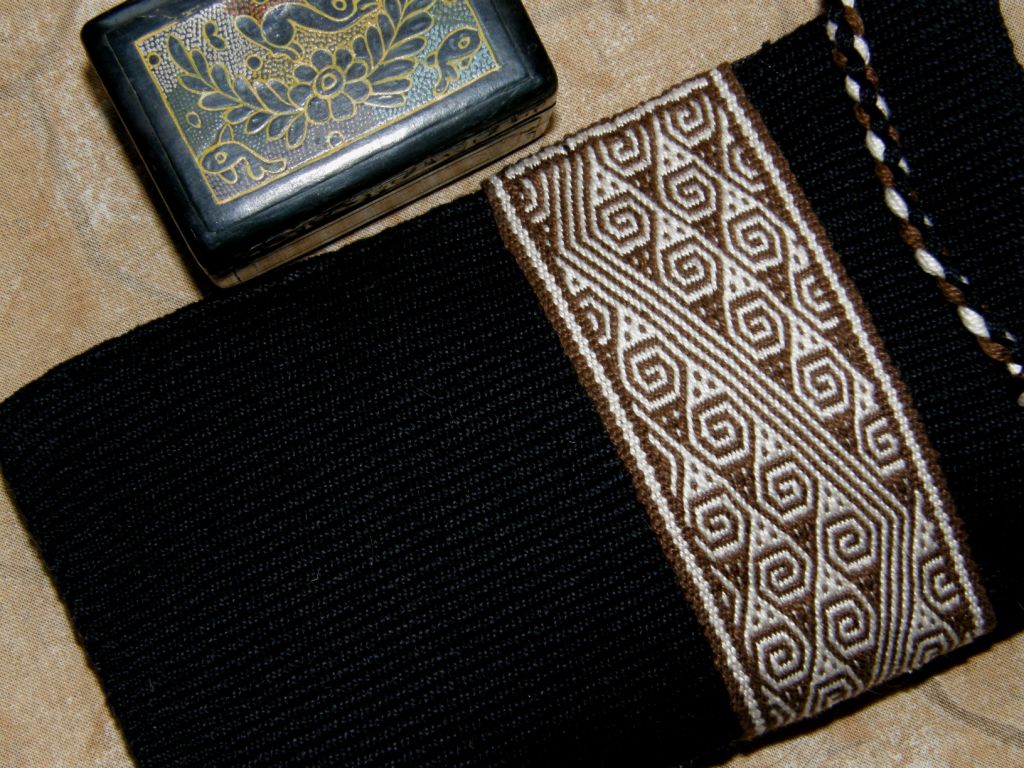
Normally, I would weave something like this as a sample and, if I liked it, would then plan a project in which I could incorporate it. Not in this case! Weaving this was hard work!! The spirals went this way and that and I found it impossible to leave the chart and just weave. Just as I got accustomed to weaving spirals in one direction, they would change course so it was a very slow process and I decided that this effort must be put to some use. Fortunately I had a piece of black woven fabric that had been left over from another warp and the band looked pretty good on top of that.

And here is the end result…(as if you hadn’t already guessed! just love sewing in those zippers!)

Having the band separate from the body of the bag allowed me to play around a bit with the placement of the pattern and I decided that it looked nicest off to one side.  I have found other Tarahumara bands with unusual designs so I will get down to charting those so that I can incorporate the designs in  larger projects.

Here’s the long band which started out on Lisa’s four-shaft floor loom and then came home with me to go onto the backstrap loom to be finished. I was hoping to make this into a guitar strap for a friend in Utah. However, it seems that  the standard strap hardware does not come any wider than two inches so I have kind of dropped that idea. Roger didn’t know that he was about to get a guitar strap and he doesn’t read my blog so sshhh! we won’t tell him. Now I am thinking “loom bag”.

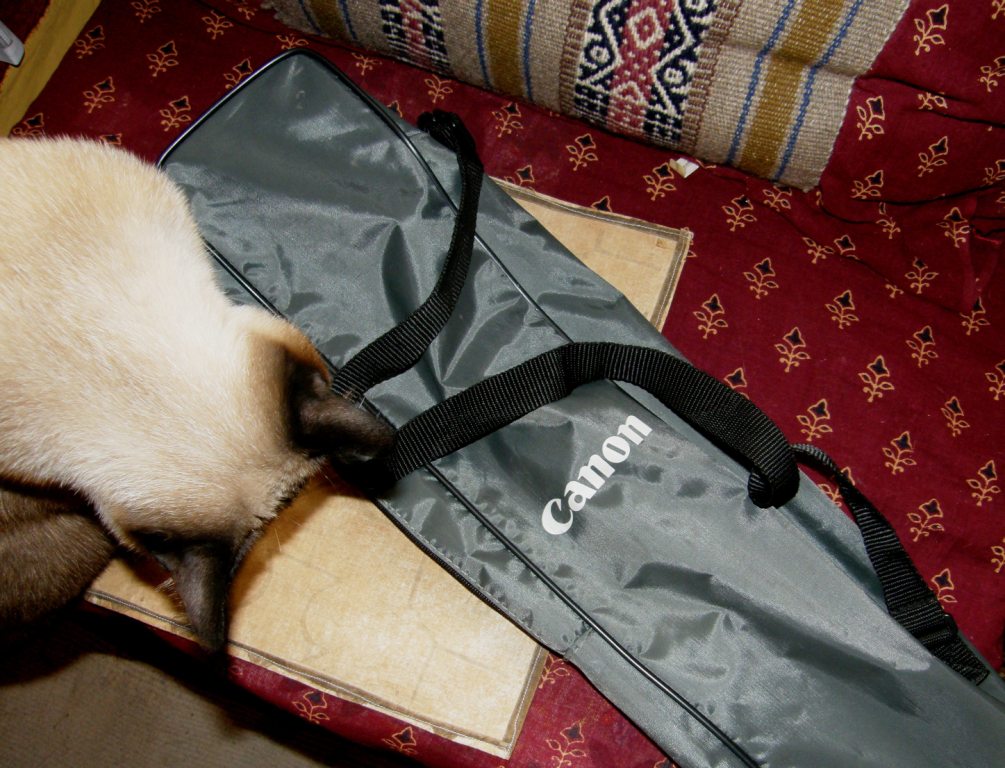
This is my current nifty loom bag, my tripod case. It is perfect with a zippered top and shoulder strap. It is just the right length for a loom and some tool bags and my backstrap. My portable warping board fits in there too but, maybe after all these years, I really need a woven loom bag and I have this one as a model. So I need to weave some plain fabric onto which I will sew my green band or maybe the band could be the sides. I just can’t seem to figure what color fabric would look good with that band.

Ah, so many new projects to get into and I continue to gather up information slowly but surely on past investigations like the woven belts used by the Russian Old Believers. Bits and pieces of information fall into my hands often sparked off by a random comment in a conversation with someone. I love how these things happen!

Here is something  that popped into my inbox the other day…

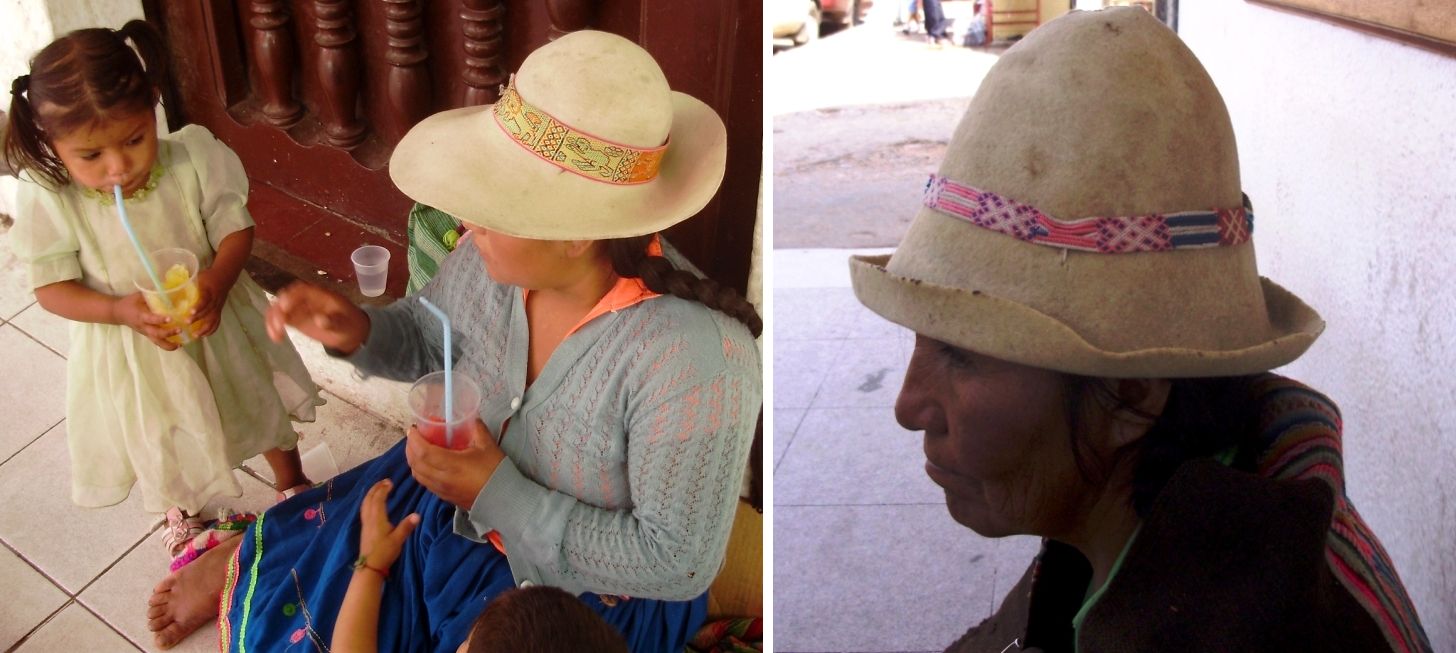
A friend of mine who was out and about snapped a couple of pictures of  ladies in their typical highland felt hats with some interesting hatbands.

You can see that the one at left definitely has a pebbly surface but I strongly suspect that these are factory produced bands. I would so love to talk to this lady and find out more about her hat band. If it is, in fact, factory made I am wondering if there is a growing trend to buying bands now rather than hand weaving them. I had always found the hatbands to be one of the most individual of woven pieces with widths and designs varying greatly.

The other band above has a series of single  woven motifs each separated by braids which is kind of interesting. I can’t get a close enough look to see what kind of weaving it is but it is certainly not the supplementary weft work which is usually used to decorate hat bands here.

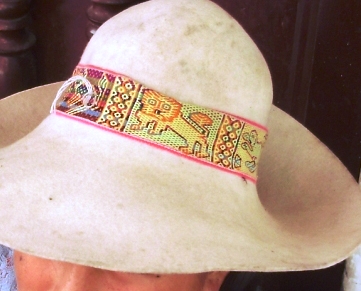
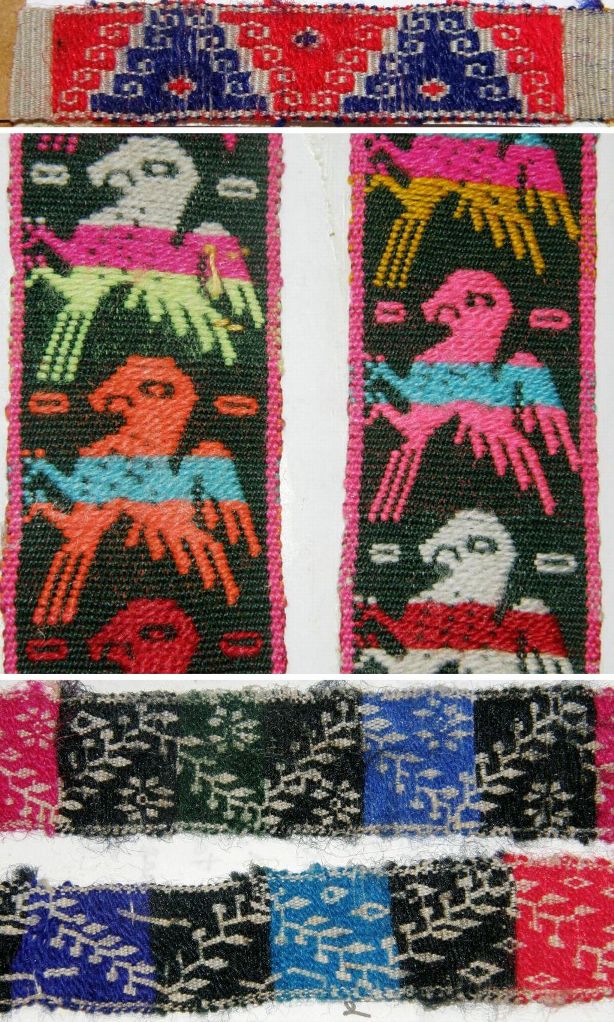
These are the more typical hatbands woven with very fine ground warp thread and decorated with supplementary wefts

More hatbands with their colorful supplementary wefts above. You can see in the top example that the weaver used different weight threads. The red is heavier than the blue and gives better coverage. They key to success in this technique is to find the right weight ratio between your ground warp and main weft and the supplementary weft. Many of these designs are created using very long floats which could be a problem on an item that was destined to be handled a lot. The floats would catch on things. On a hatband this is not such a problem.

You can see that sometimes the supplementary weft creates the motif and other times it is used to fill in the negative space.

A tutorial on this technique (pictured above) can be seen on my blog here.

Here are some pictures from online companions who have been following my tutorials…

Heidai from Norway wove this band in one-weft double weave for the school bell with the school’s name included. She used  four-strand braids to finish it.

Amineko72 in France is  weaving a band from my Andean Pebble Weave book using her inkle loom. If you would like to try this on your inkle loom too, I recommend heading to the Inkle Loom Weavers group on Ravelry where there are a few people working on this together at the moment. Look for the Andean Pebble Weave thread. There is also a larger group working together on another thread called Pick-up using various books to make nice pick-up bands on their inkle looms. They have a very nice helpful community going there.

I just spotted Evelyn Oldroyd’s post on her blog showing one of the large pebble weave designs in my book on her inkle loom. She has made a very interesting warp with a comb design on the edges of the pebble pattern and the colors are gorgeous! I wish I could have posted the picture here but I haven’t gotten her permission yet as I just spied the post. Check it out on her blog.

And now… back to my pebbly pursuits!