Backstrap Weaving – What’s on the Other Side?

I have been looking at and thinking about what is on the “other side” of woven cloth and about the different attitudes of weavers from different cultures to what can be seen on the “wrong side” of the fabric. Some weaving structures are completely reversible as is the case of most complementary warp structures.

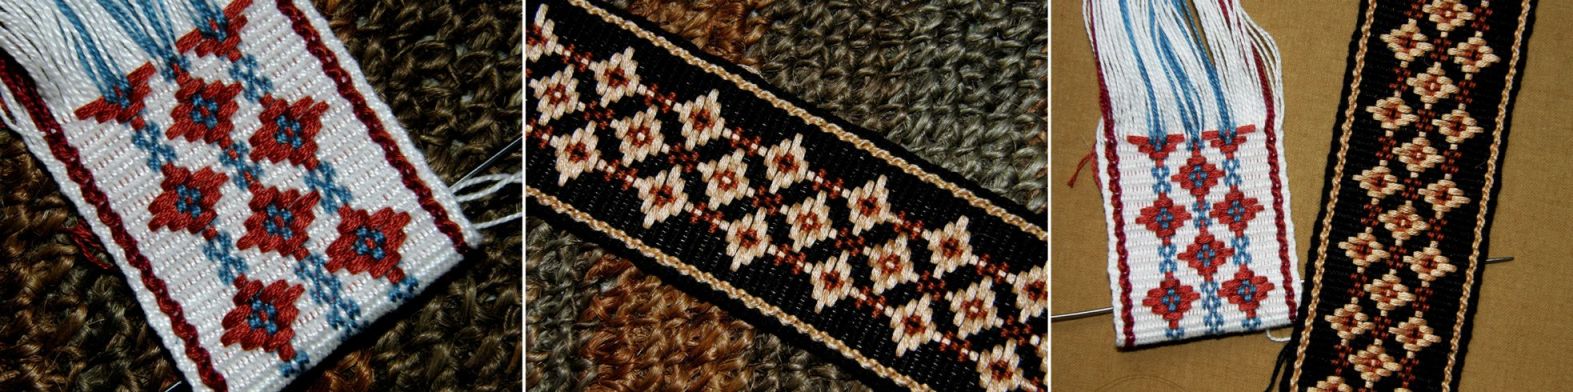
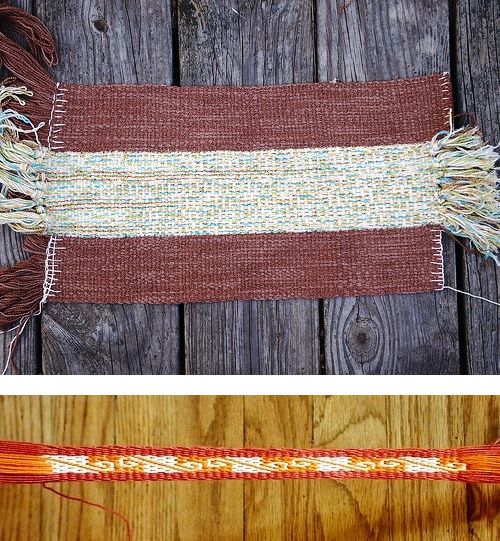
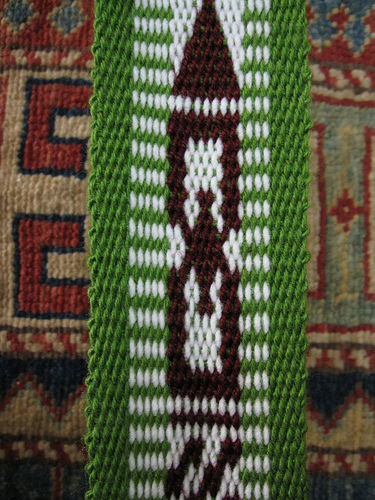
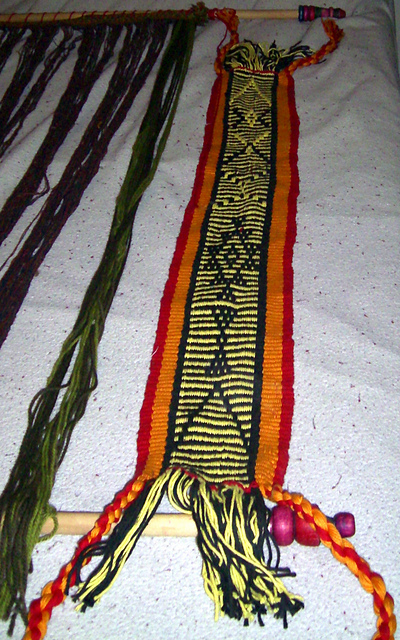
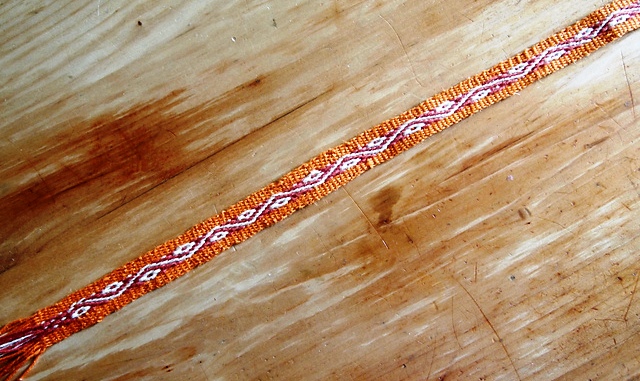
You can see both sides of my pebble weave piece at left and can probably appreciate that sometimes it is difficult to decide which side to make the “right” one as I had to in the case of this guitar strap when putting on the length adjustment buckle. As this is being sent to friend, I have actually left the decision up to her and only pinned the fabric in place around the buckle.
I always start with what I expect to be the right side facing me as I weave and find that sometimes I completely change my mind abut which side I like best once the piece is off the loom.

The wrong side of the weaving can also reveal just the information that is needed to be able to quickly identify the weaving structure.

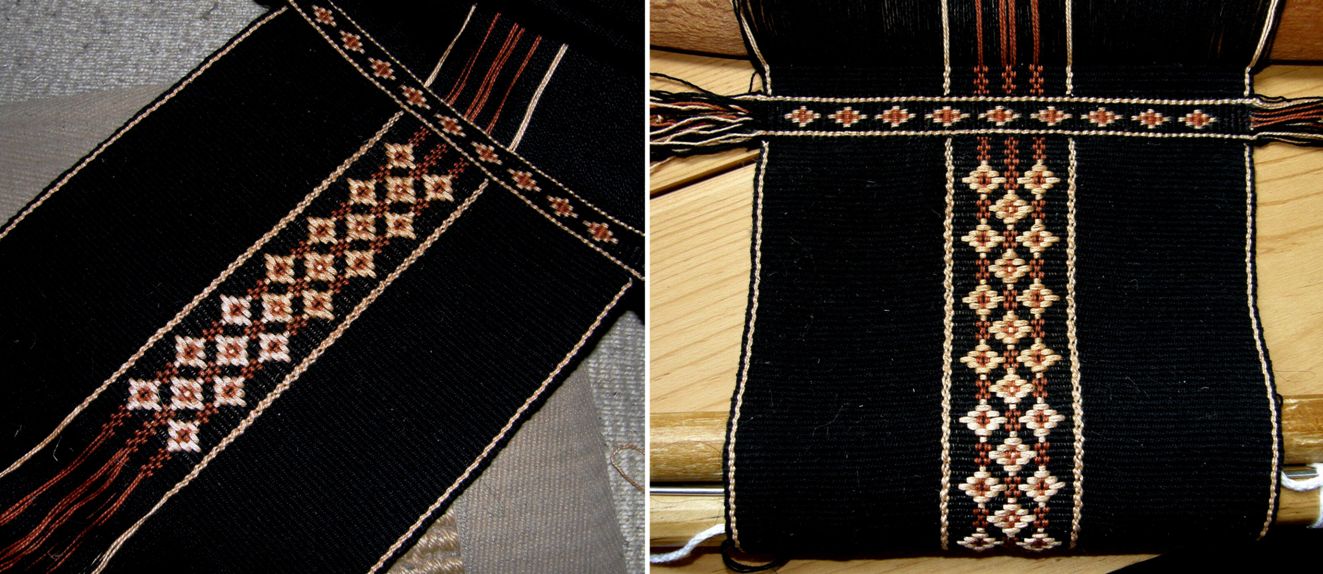
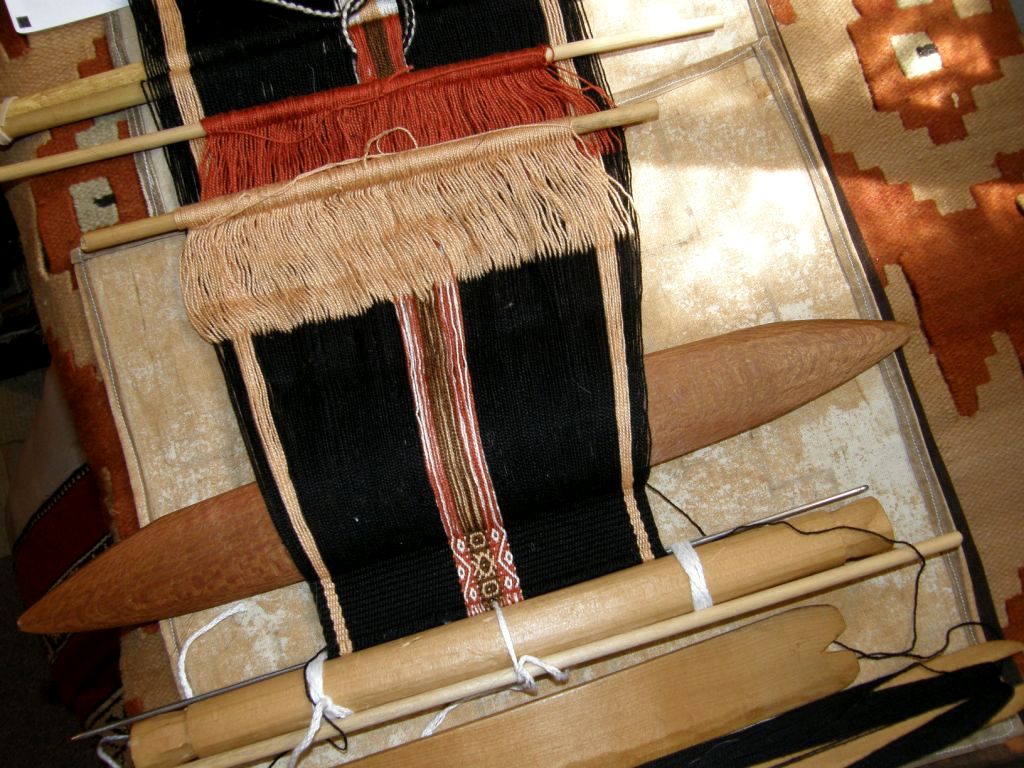
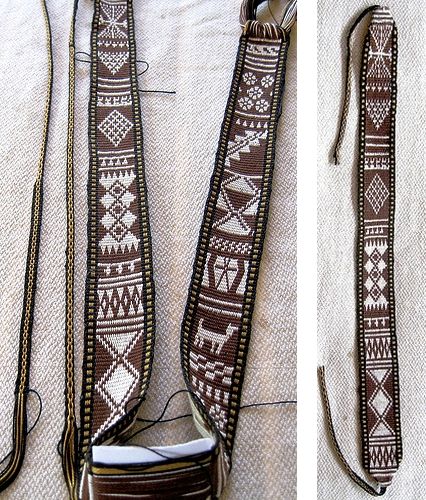
For a while I was scratching my head over pictures of the yurt band that my friend Lisa had bought thinking it was pebble weave until she eventually sent me a picture of what was obviously its wrong side and I was then able to see that it had been woven using what I call simple warp floats.

At that time I didn’t much care for techniques that didn’t produce two “good” sides but who could resist trying to weave these gorgeous yurt band patterns?

Then it was a matter of getting the charting paper out, searching the net for more images of these bands and getting down to weave.

I must admit that lately I have gone a little crazy about this technique as I find more and more examples of its use in places like southern Iran, Mexico and tropical lowland Peru.
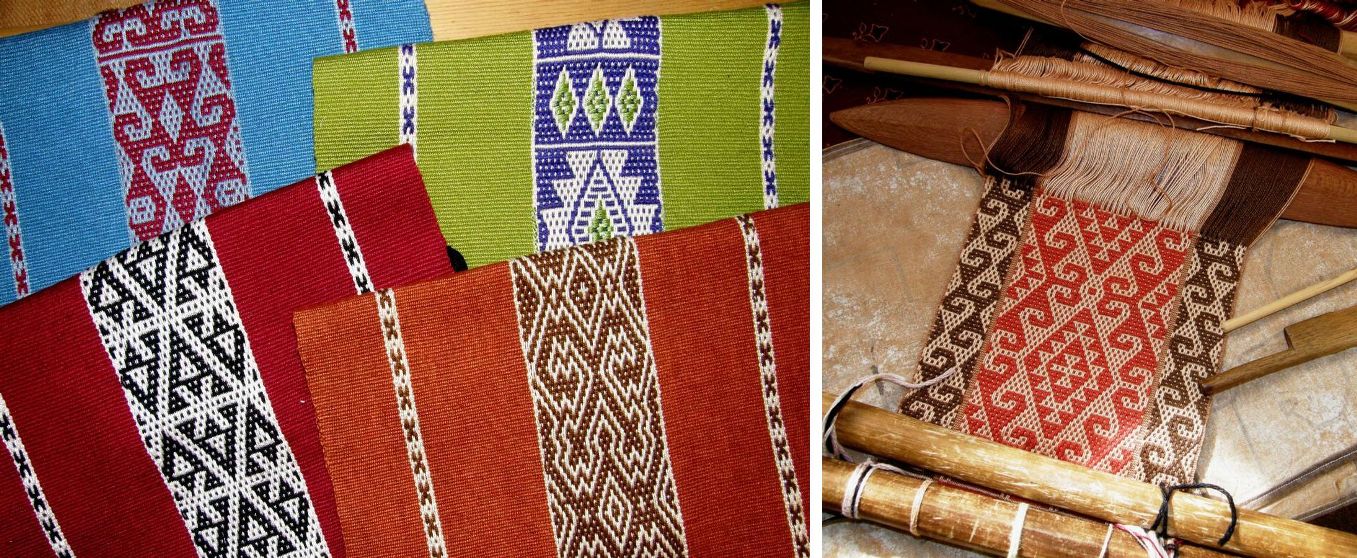
This weaving structure produces a definite right side. However, even though the wrong side with its exposed wefts looks nothing like the upper face, it can still be quite appealing depending on the color weft that you choose to use.
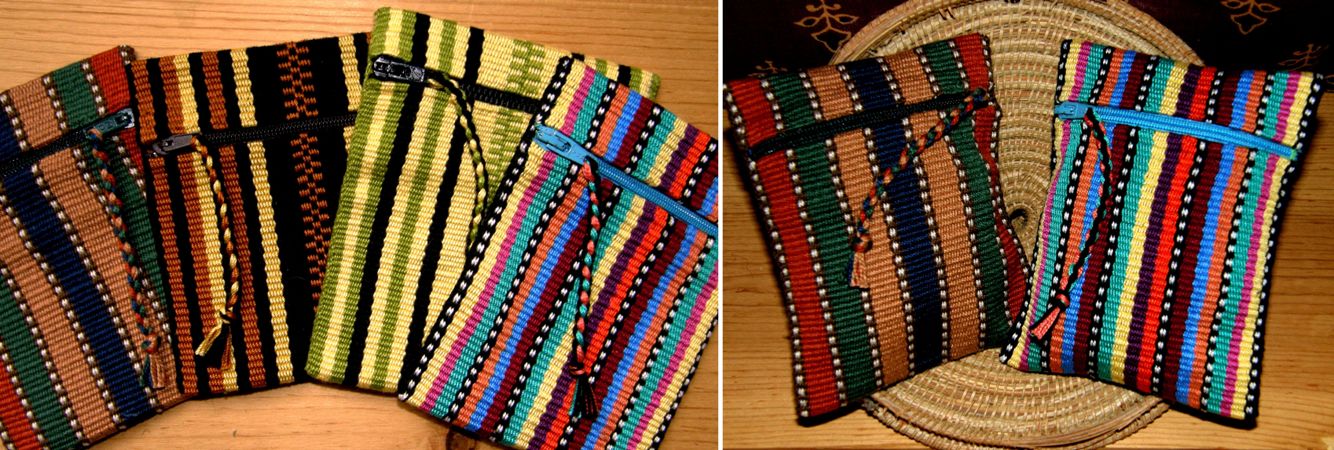
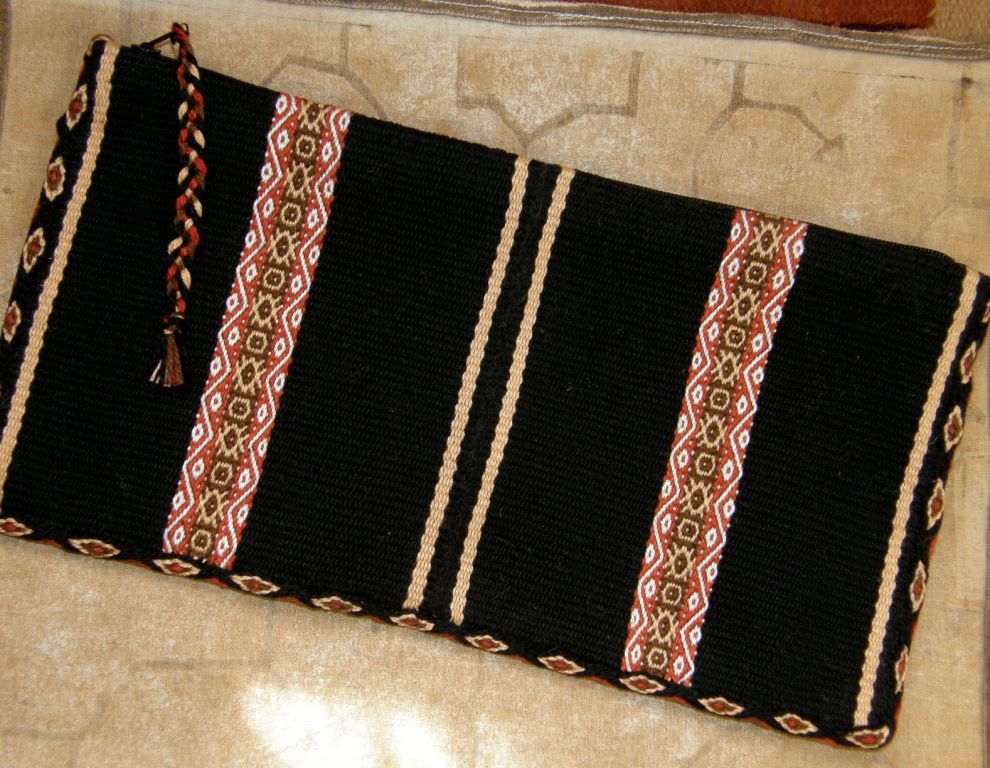
In the case of the yurt bands, only one side of the band is visible anyway when it is wrapped around a yurt. The piece I wove above right was made into a zippered purse and so no one needs to know what the inside of the purse looks like.

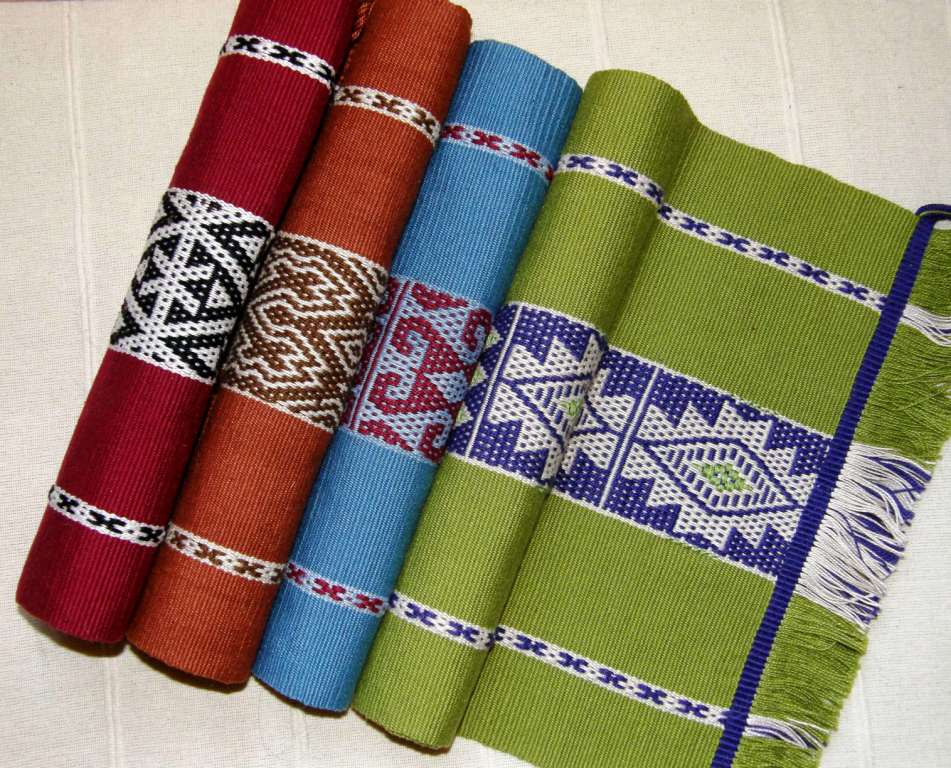
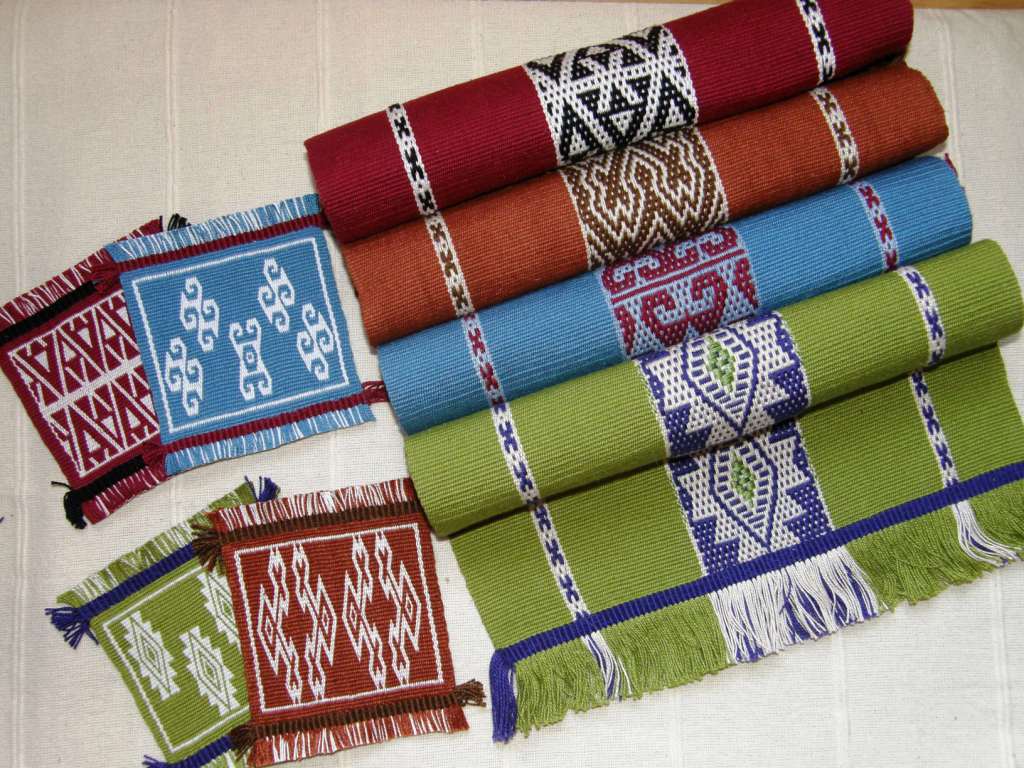
I am guessing that the day will come when there is a nasty spill on one of the place mats pictured above left and that I will be wishing that I could just flip it over and have the same design on the other side…oh well.

I might mention here that I just received my copy of The Journal for Weavers. Spinners and Dyers from the UK which has a beautiful article on  Kyrgyz textiles by Stephanie Bunn which includes yurt bands made in this kermé technique. She quotes a Kyrgzy person who says “Kyrgyz weavers are all mathematicians”. Bunn  then goes on to say “I found that trying to make the rhythmic pattern of kermé was the kind of experience that made me want to weep, although time improved matters.” You can read that article here.

I am infinitely grateful that I was taught the base of this technique by my wonderfully patient weaving teachers in coastal Ecuador and so taking the next step to  kermé was relatively easy.
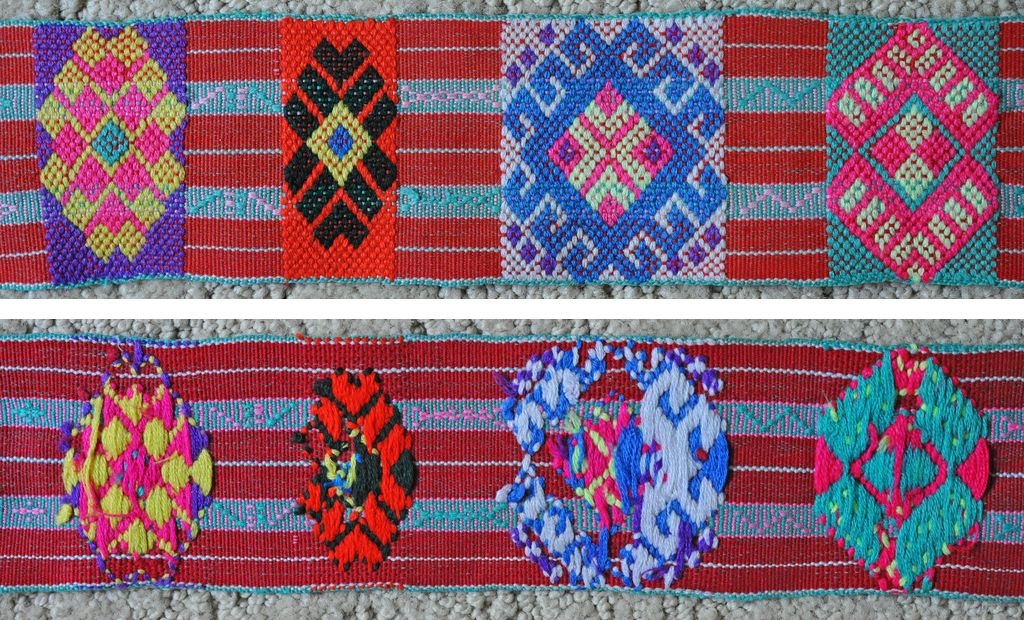
The two pieces if weaving below have been woven in another technique with the same basic warp manipulations but their “back” sides are vastly different…

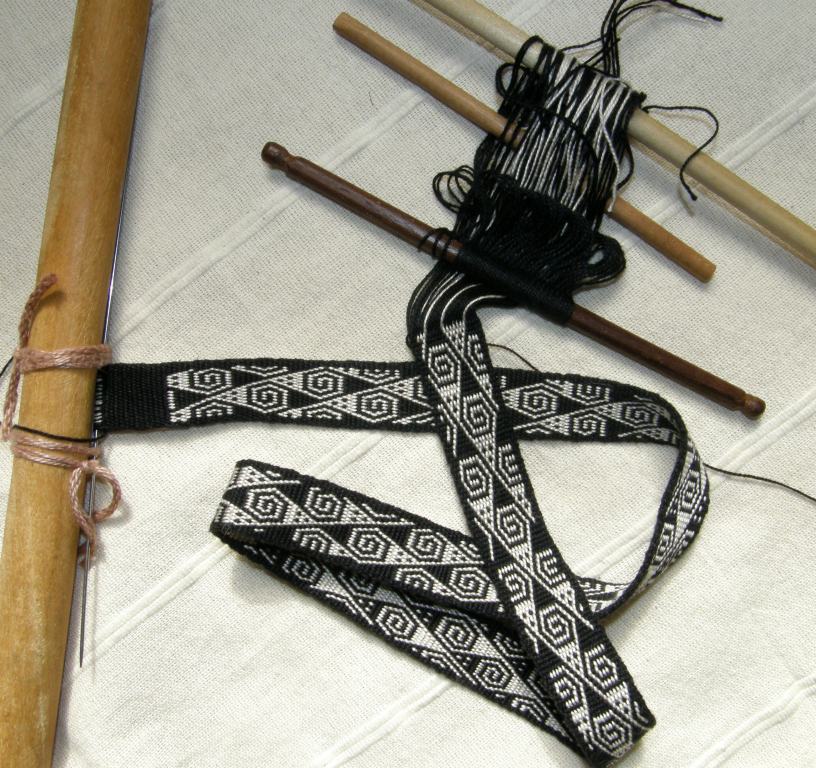
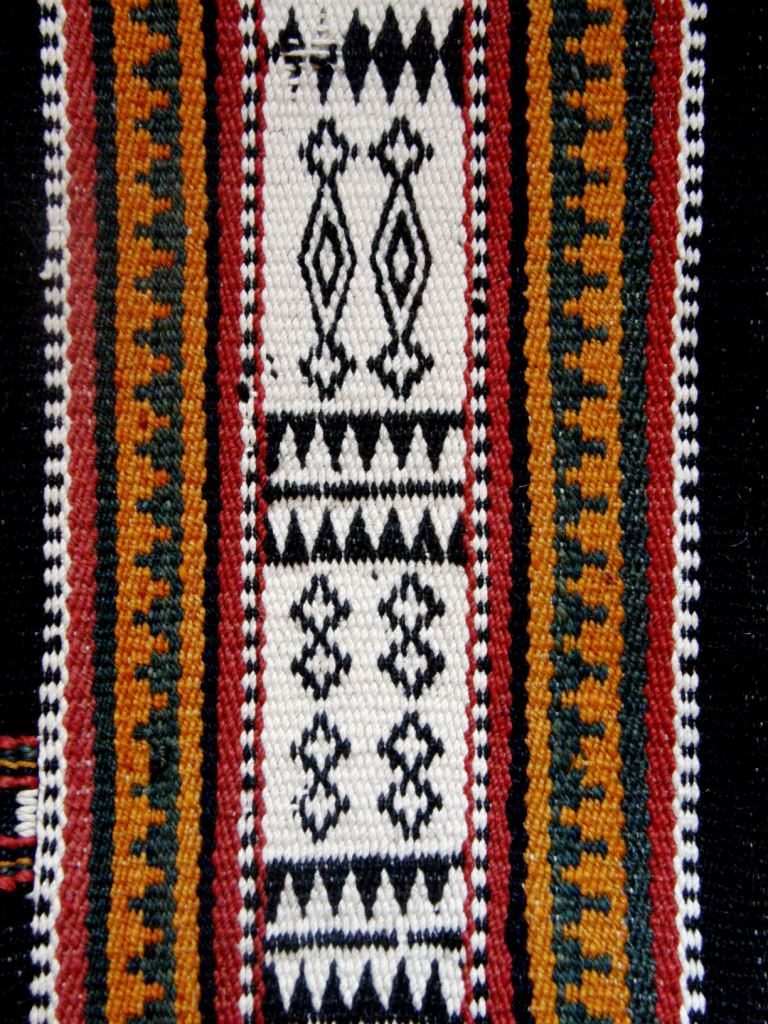
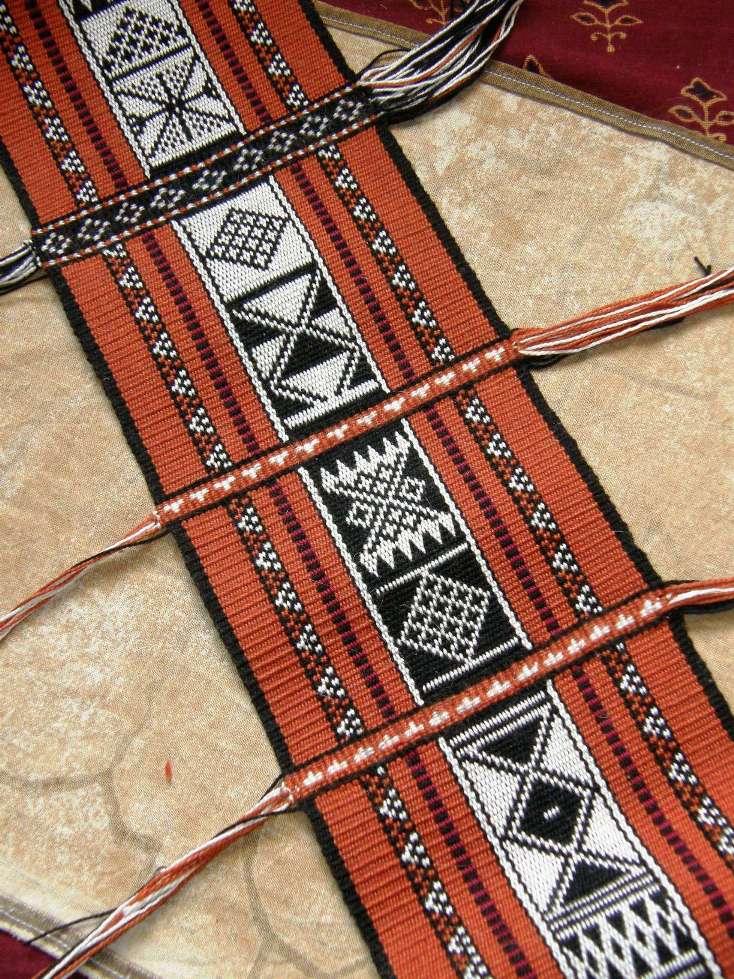
The motif above right is a smaller version of one of the Bedouin motifs on the belt above left.

The belt has been woven in warp-faced double weave and so the motifs are exactly the same on both faces with their colors reversed.

Unfortunately both sides will never be appreciated as only one face is ever seen! I wove this in double weave as this technique produces something sturdy enough to be used as a belt.

The camera strap I wove at left makes better use of this technique and I didn’t have to decide which face to make the “right” one.

Now look at the back of the piece above right which I show below…
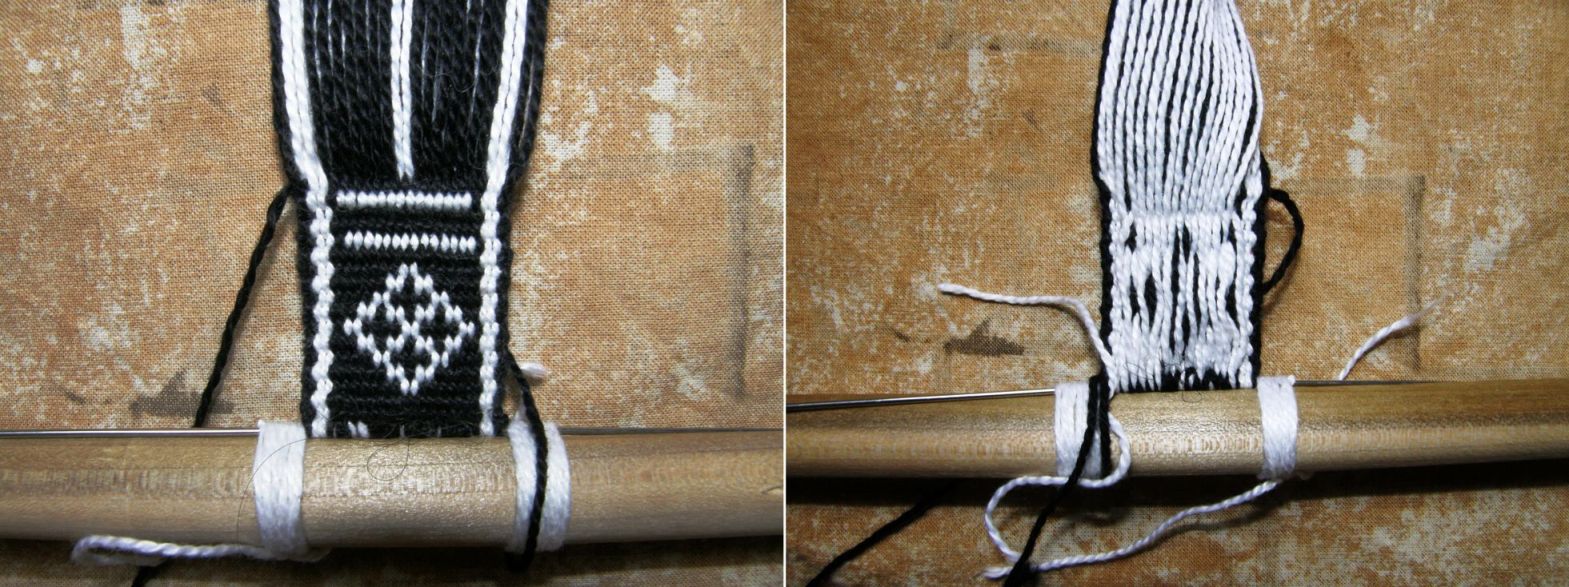
This piece has been woven using the simple warp substitution technique which produces as you can see long floats. Most people do not have a good reaction to these long floats. I have to admit that I am not a big fan of them but it depends on your intended use for the piece. If this band were mounted on webbing, for example, it would make a good strap for a camera or a belt and it is a very simple weaving technique.

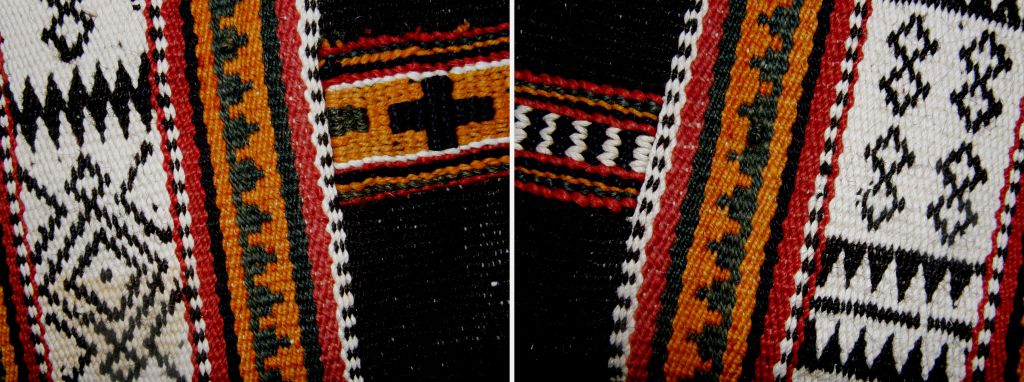
And this is where people in different cultures see things in different ways. While we may wrinkle our noses at the excessively long floats, the Bedouin people use this technique to weave motifs into very large pieces of fabric that are used as tent dividers. Both sides of the fabric are seen (although I have read that they are hung so that the  “right” side faces the men’s living area). They are not pieces of fabric that are being continually handled and so I guess that the long floats are not impractical.

You can see the very long warp floats on the back of the Bedouin piece that Tracy in Qatar sent me. Some of the warps have even broken through age or use….hard to say which. What I do love about these particular long floats is that I get to really handle and examine the Bedouin handspun wool.

And then what about all the different kinds of supplementary weft techniques? I have only just scratched the very surface in this having learned the inlay technique on warp-faced fabrics which produces a single face of pattern and a double faced technique from Guatemala .
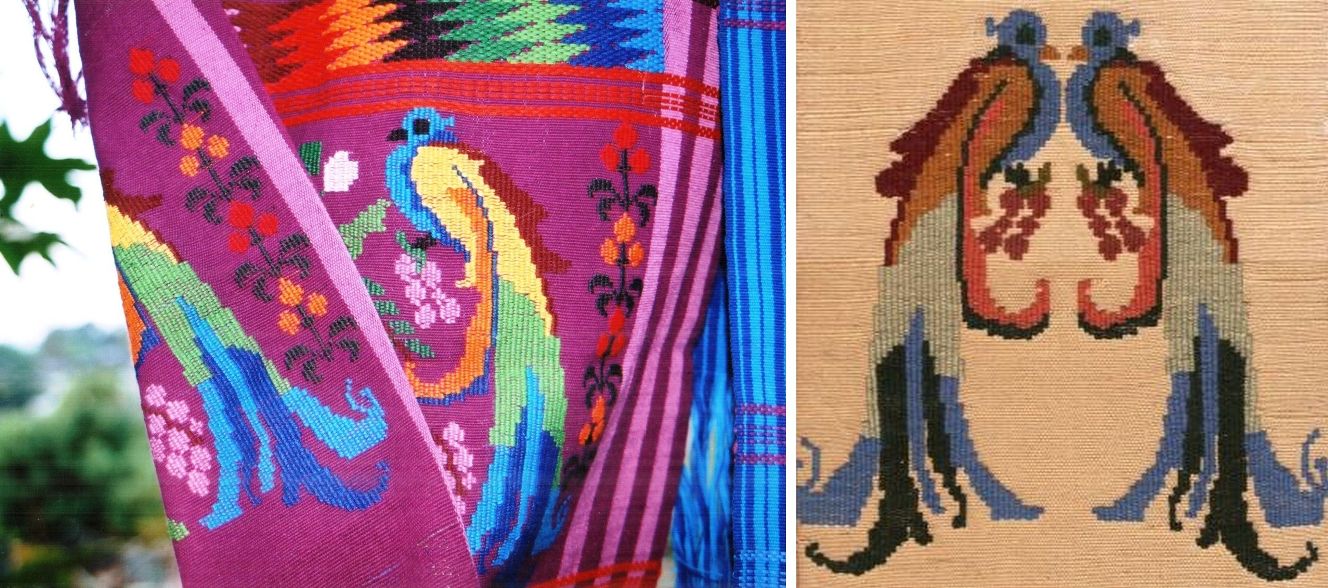
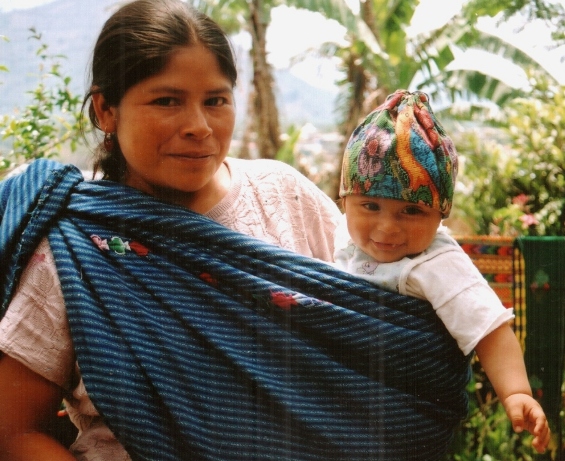
The double-faced technique can be seen above left on a Guatemalan weaving. This particular technique, as far as I know, is unique to San Antonio Aguas Calientes. My reproduction on the right was glued down onto the cover of my notebook in which I documented the technique so the other equally pretty face cannot be seen!

Even the weavers in Guatemala don’t get to show off the other face as they use this technique largely on their huipiles (blouses) alongside single-faced techniques.

Small babies’ caps are also made with fabric woven using only this double-faced method.
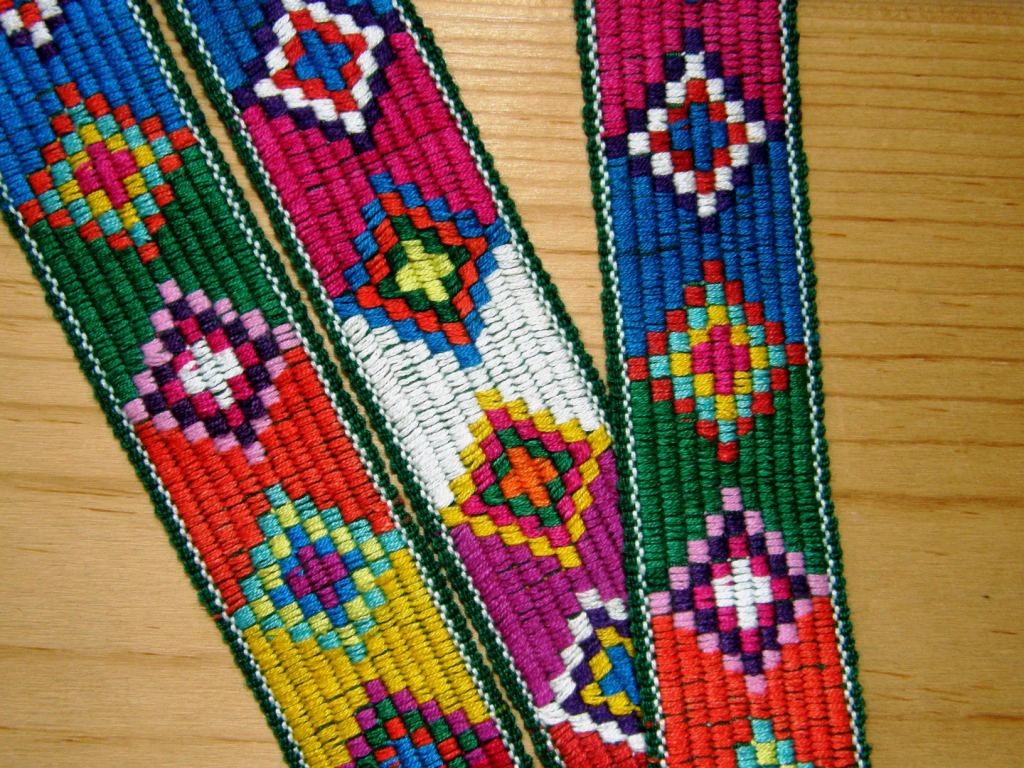
This hair sash from Jacaltenango was woven with a supplementary weft technique that produces two equally beautiful faces.

Sometimes the back of a piece patterned with supplementary wefts is left with small weft tails hanging…
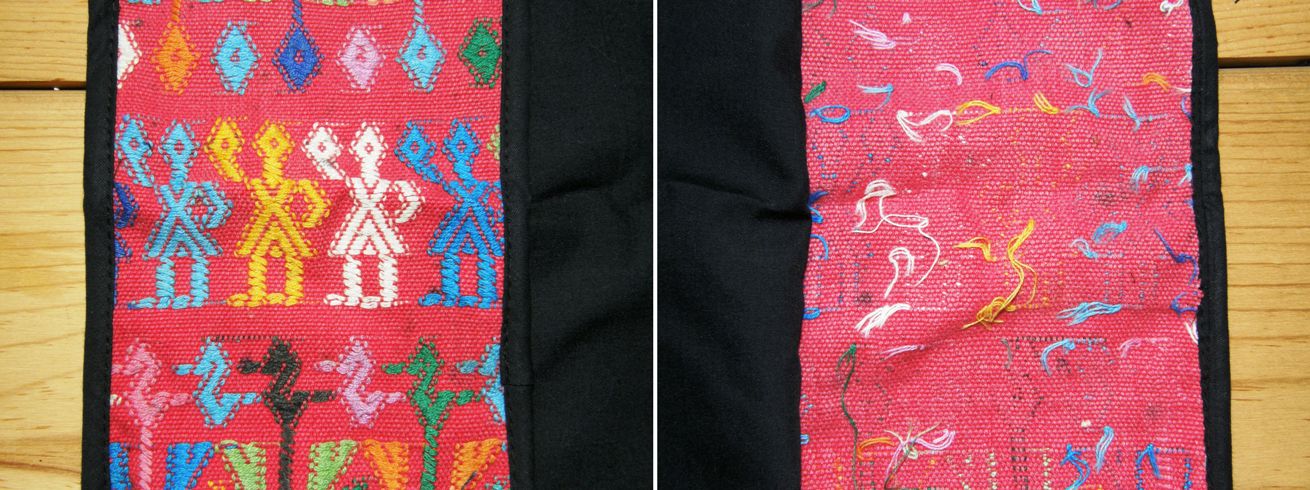
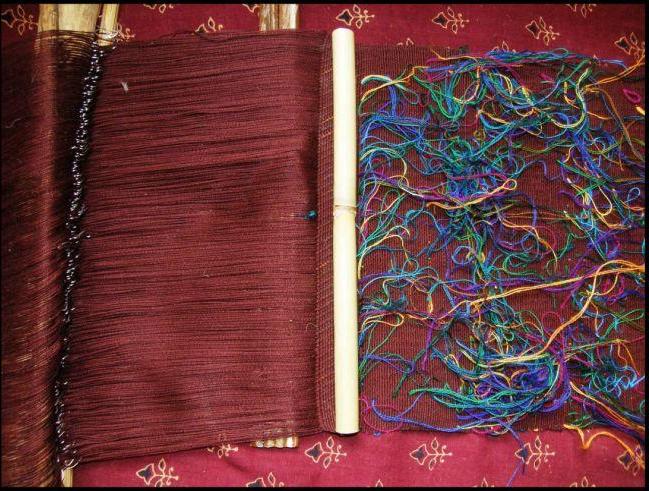
They can be a merry mess while the piece is in progress…
Or they can be cut right off and hidden entirely within the sheds so one would never know by looking at the back of the cloth that the other side was a riot of supplementary weft pattern. Look at the plain red back and colorful front of this hair sash from Aguacatan…

Look how much pattern weft material is used in those tassels!

When the weft patterning is particularly profuse the resulting weft tails on the back can be quite a sight! This is an old piece of huipil from, I was told, Chichcastenango. Many years of laundering have created quite a tangle of weft ends on the back. This is all quite acceptable to the Guatemalan weavers.

I was very much taken with the following Guatemalan belt that Teyacapan has on her Flickr page and asked her to photograph the back so I could see how the pattern had been worked.
I love the blocks of pattern that the weaver has used! As I was saying in last week’s post, the supplementary weft pattern does not have to be worked on a blank canvas. It looks like this weaver has worked her weft pattern on tiny strips of fine warp float designs.
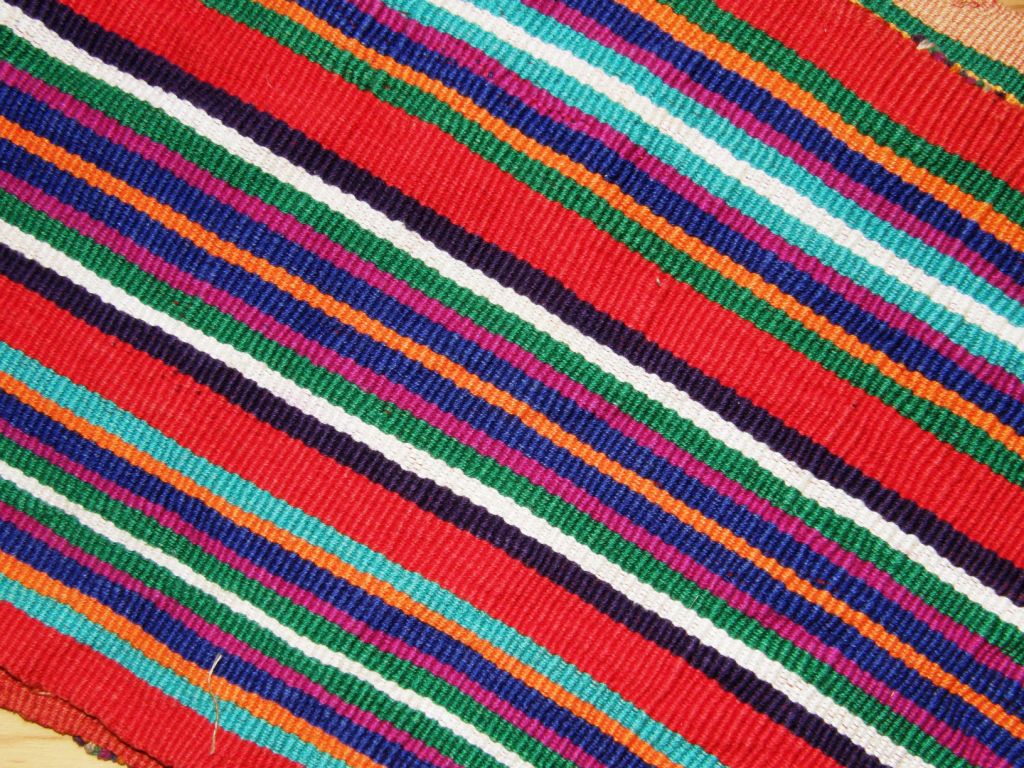
How is this for a canvas for supplementary weft patterns?
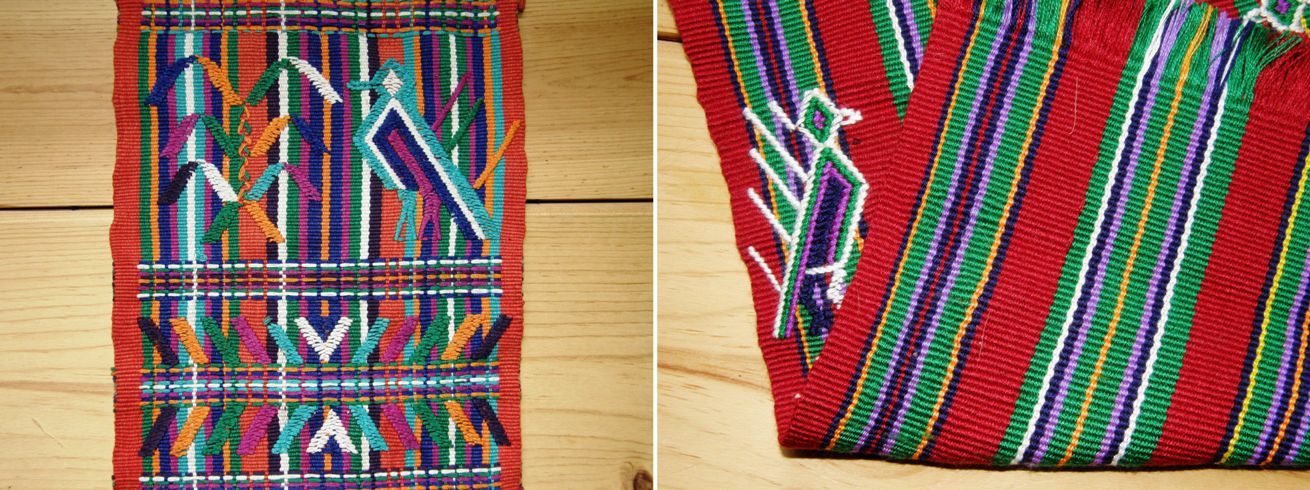
These pieces are from the areas of Nebaj and Cajul in Guatemala and again show how one face of the fabric can be completely different to the other. You can choose to show your bright stripes one day (free of any weft ends) or birds flitting about the corn plants another.

Some weavers actually work doing their supplementary weft patterns with the wrong side of the fabric facing up.
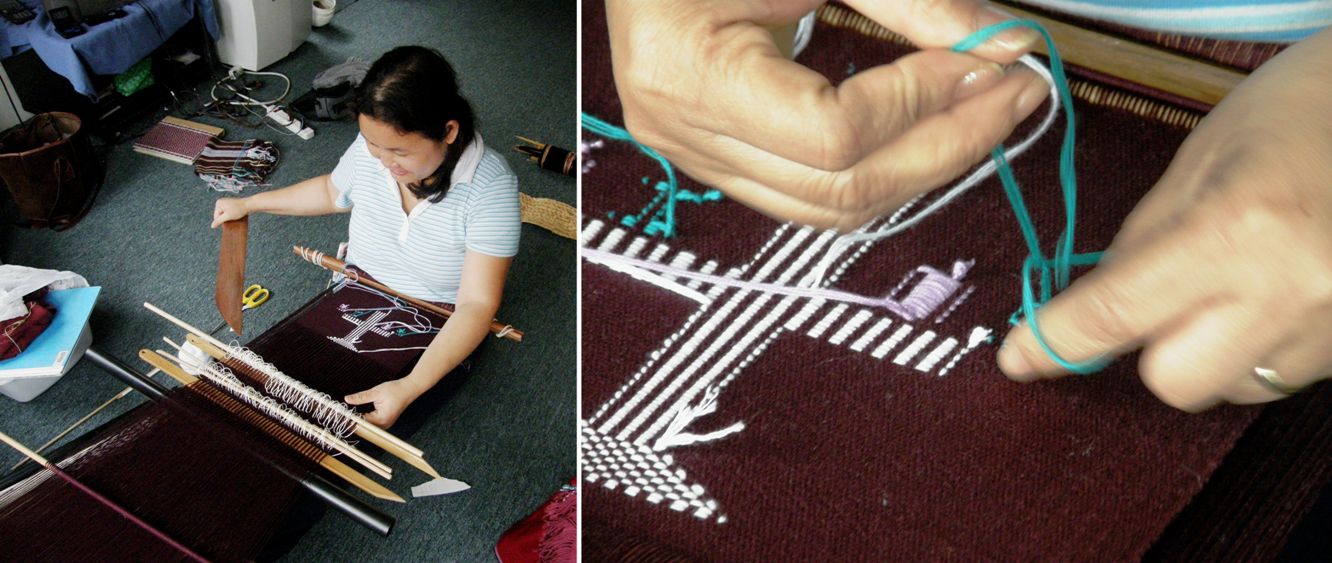
I got to visit Burmese weaver Dar Ku on my last visit to the US. She was happy to demonstrate for me while giggling and saying “It’s easy, it’s easy”. Her beat is surprisingly light and she does indeed make it look easy. Of course we all know not to fall into that trap! What fun to turn the piece over and see the right side with its neat patterns.
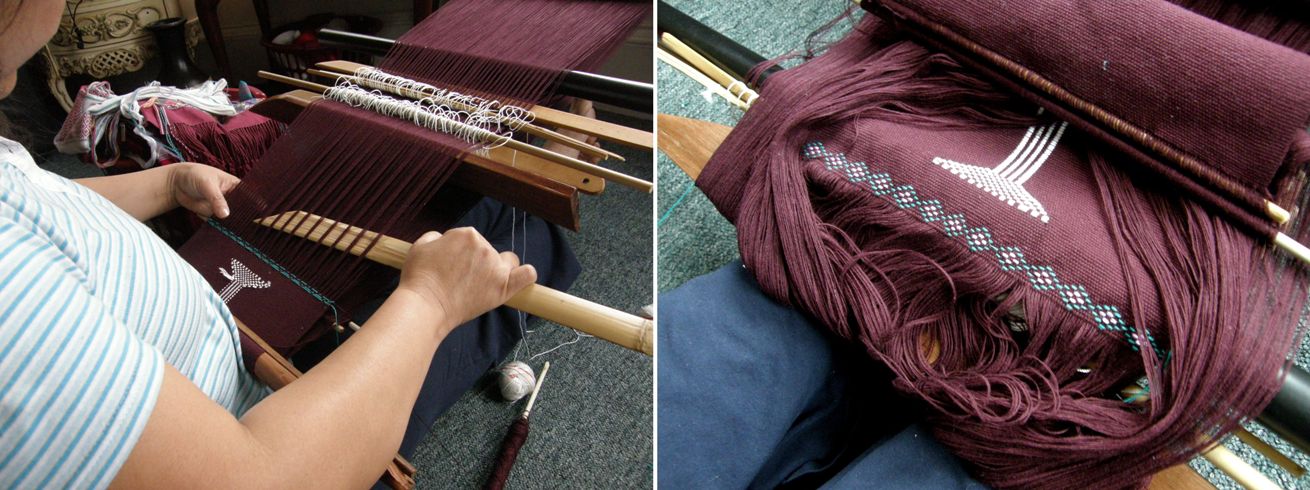
Franco shared a video of Lahu weavers from Thailand weaving supplementary weft patterns into tremendously long warp-faced pieces. The weaver is using a single-faced technique laying the supplementary wefts from edge to edge within the pattern sheds controlled by heddles and pattern sticks.

Here is another nice video of supplementary weft patterning from Acatenango Guatemala…one of the many videos that Red Corn Tours posts to its Facebook page every week. I watched this happily while asking myself “What’s on the other side?” and then the videographer, good chap, filmed from under the loom and I got to see the other side. What happy colors!

This is what has caught my attention most recently. I fished this out from the hundreds of photos I took on my US trip last spring when I got to photograph some gorgeous textiles from Bhutan in the collection of Betty Davenport.

I wove some motifs from one of the pieces into one of my more recent projects and now I have my eye on doing something like these zippered purses which Betty made from her samples using patterning techniques from Bhutan.

The supplementary weft pattern has been worked on a twill (on the left) and balanced plain weave (on the right) ground. Aren’t these pieces striking? There has been some talk of twills in our Ravelry backstrap weaving group which is what turned my mind to this project…that and my recent dabbling in supplementary weft patterns on interesting ‘canvases”. What’s on the other side? I don’t know…I didn’t think to look!
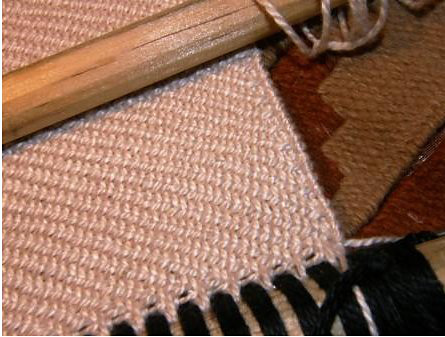
I wove a small twill sample a long time ago on my backstrap loom.

I don’t know a whole lot about non-warp-faced weaves (but I am slowly learning!) and so I just looked at a picture of a twill  in my copy of Irene Emery’s Primary Structure of Fabrics and set up my loom with three sets of string heddles and a shed rod holding the warps in the four sheds. I am not sure if I got the sett right…it was all guess work.

Not having any kind of reed to use at that time, I spaced the warps by lashing between them on the loom bar. It worked well for this small sample using #3 crochet cotton for both warp and weft. I had just read a discussion on Weavolution about the use of floating selvedges and so decided to try one of those too. And, as usual, I used the tiny sample  as a business card pouch. I learned a lot!

Another one of these non-warp-faced weaves that I find quite easy to handle on the backstrap loom without the use of a reed is finnweave. It behaves well enough for me. I have had the benefit now of seeing ”in person” the Huichol bags woven in this technique in the collections of two of my friends in the US so I know what I need to be striving for.

This is 10″ wide and is one of the storage bags I planned to make this month. Having used up pretty much all my black thread on some unexpected distractions, I chose blue and yellow for this project instead of the planned black and white. The designs are taken from Huichol and Otomi bags and belts. The flower design is actually taken from traditional Scandinavian finnweave pieces. The Otomi use a motif  that is so very similar but I prefer the Scandinavian version.

I am using three sets of string heddles and a shed rod to hold the fourth shed. And what’s on the other side, you ask? This technique I am doing is not truly reversible. You could get away with showing certain motifs on both sides. They wouldn’t be mirror images but they would look okay. However, the patterns I have chosen are not really amongst those.

Now here is the other project about which I am CHOCHA!! (chocha is used here in Bolivia and Argentina to mean “exceedingly pleased”!). I guess a lot of the pleasure comes from the fact that I am not skilled with a sewing needle, don’t own a machine and have never sewn anything from my handwovens larger than cell phone pouches and eye glass cases and a couple of very box-like shoulder bags.

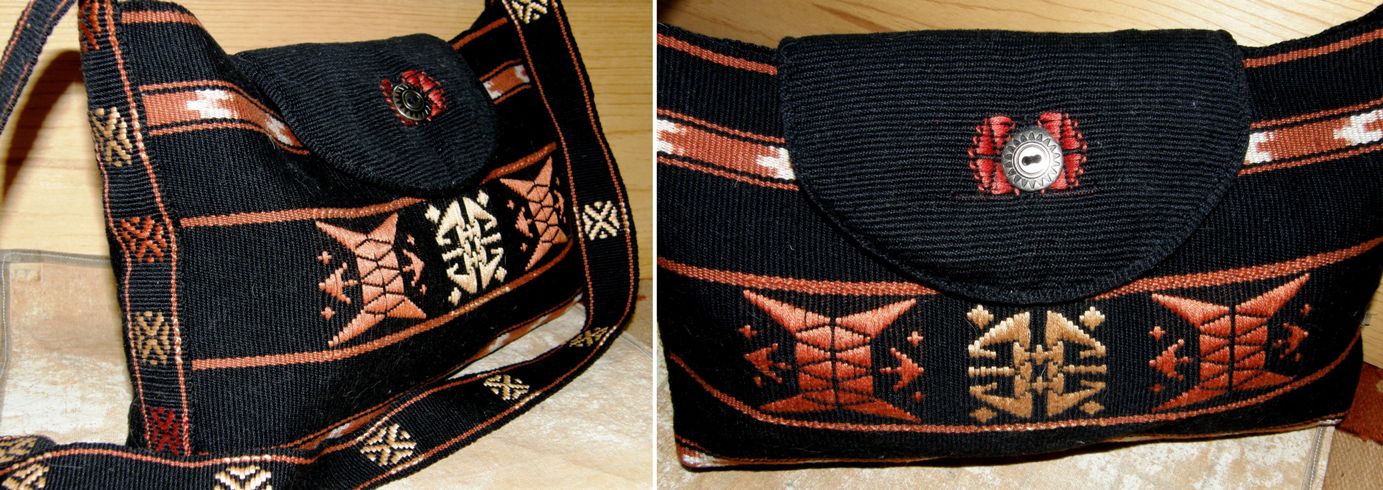
I just love how this all started as an experiment in ikat design with no intention whatsover to end up with a bag. I was bored with weaving the plain black piece of fabric with its two ikat strips and so added some supplementary weft patterns…motifs from a weaving from Bhutan in Betty Davenport’s collection. Then I decided I wanted to do something with it and the bag idea developed. I wove a strap and then another piece of plain black fabric for the back and finally a small piece of plain black for the flap.

How wonderful is the backstrap loom for enabling me to weave up the small pieces to put this bag together with very little waste.

Jentide from the Ravelry Backstrap Weaving Group showed us how she made a flat bottom for her tote bag and so I used that sewing technique and Amber had created a button hole in one of her bags so I did the same by separating the warp in the middle and weaving with two wefts. I wove a small supplementary weft motif on either side of the button hole.

I cut and shaped the flap edging it with a tubular band to cover the raw edge. The bag is still missing a zip. Zips are nice for the way they can hide raw edges.
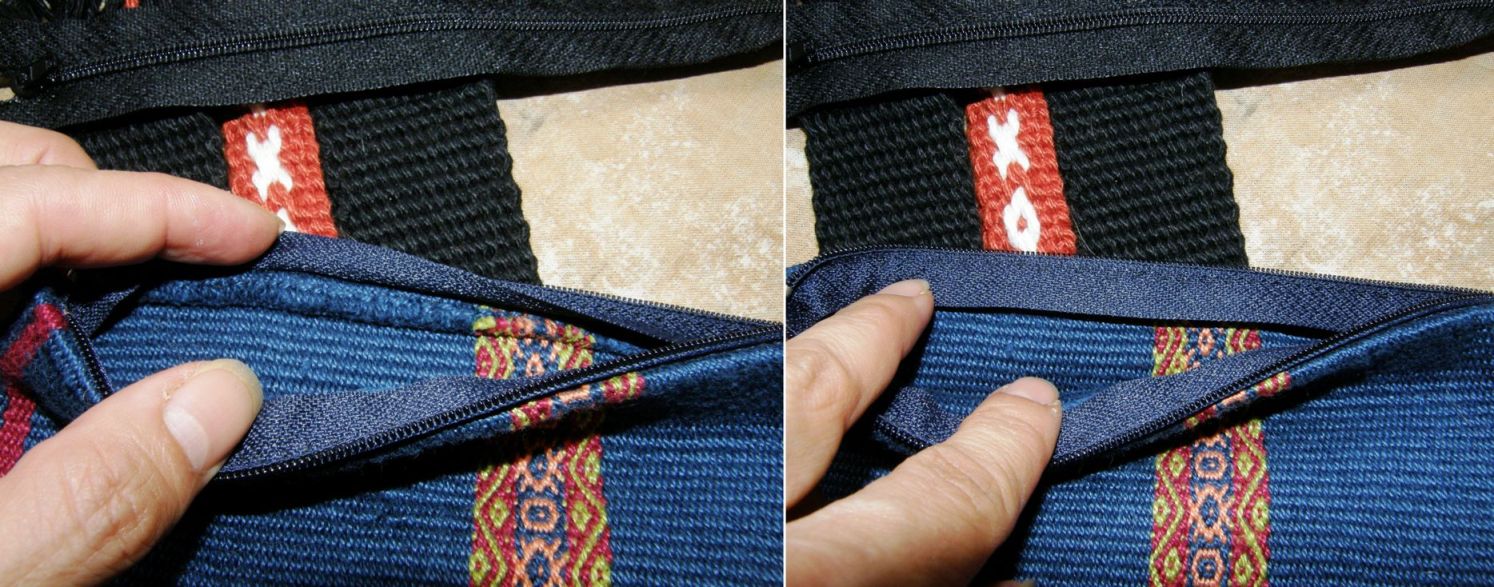
However, I turned the fabric sideways to sew this latest bag and so have two nice clean selvedges at the top.

And if you haven’t seen enough black yet, here is the other thing that I am still working on…

Here is the supplementary weft pattern on its “spotty” canvas that I wrote about in detail last week. I added some weft twining in the middle and am still working on the weft twining at either end. I have no immediate plans for this piece but am bound to come up with something to further test and hopefully extend my meager sewing skills.

Now I am planning a tote bag in bright Guatemalan style stripes….enough black, right?!

Some progress from the third week of our backstrap plain-weave Weave-Along…

Marsha has chosen fall colors to make a piece which she says reminds her of Halloween, Thanksgiving and candy corn. Amber is making a tote bag by sewing two of her backstrap woven panels together. It is gorgeously simple and beautifully woven.
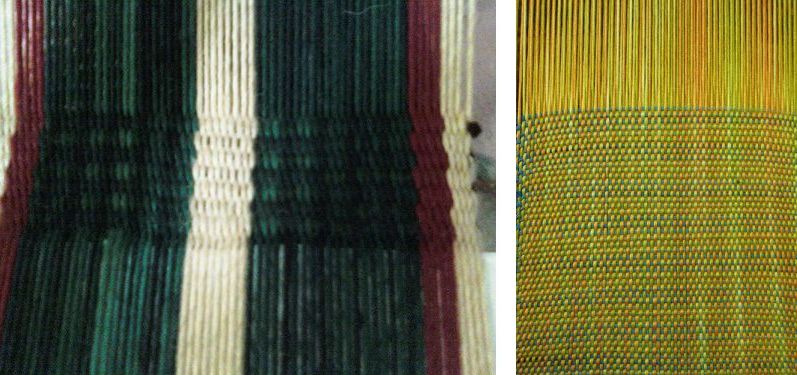
Misskineta, our newest active member, has started her first ever warp-faced piece while Tracy, fresh back from her summer vacation has jumped straight back into the loom with a lovely balanced piece which I believe is already off the loom. Janet is making progress on the panels for her indigo-dyed shawl. Her picture collages tell the story…
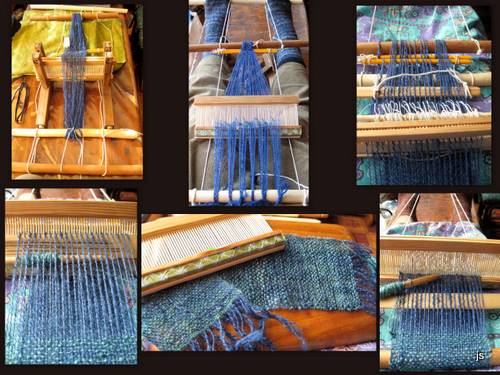
I dug out all my textile photos from my spring trip to get the shots of Dar Ku and Betty’s purses to post here and now have a whole lot more images and ideas swirling! Let’s see what materializes….
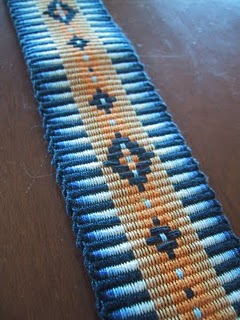
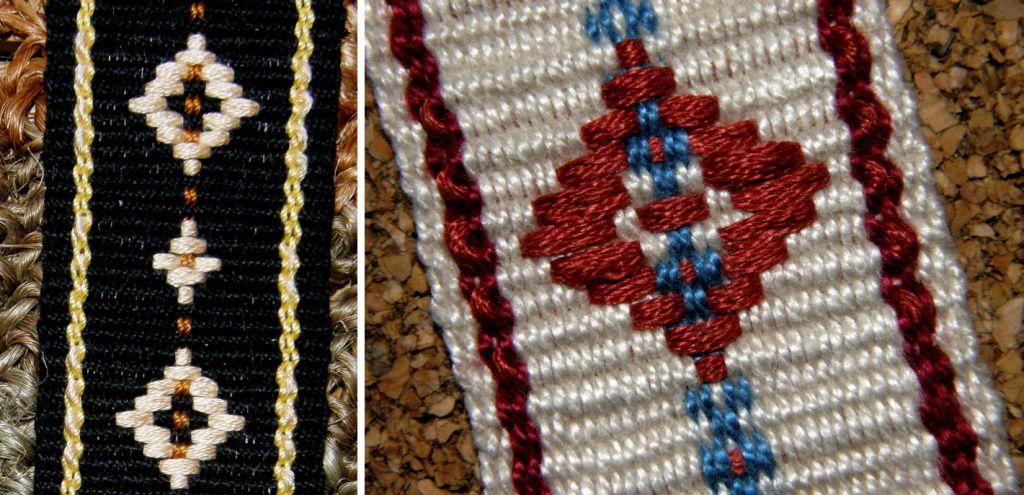
Backstrap Weaving – Delightful Distractions

If all had gone to plan, I would have had one and a half storage bags done by now as part of my three-bag goal for the month of September. My black bag with the supplementary weft motifs from Bhutan should have been sewn and ready to stuff and hang and my Huichol design bag in finnweave should have been at least half woven.

However, some delightful distractions came my way and had me wandering off in other directions. That Worldwide Weaving Web that I am always talking about came a-knockin’ and the Band Weavers’ Grape Vine came a-tappin’.

At left you can see a band woven by JacQueline Teller on her inkle loom. You may remember that I recently posted a picture of a bag she had made by sewing several plain-weave inkle bands to canvas which we were using in our Weave-Along group for inspiration.

Annie MacHale (ASpinnerWeaver), queen of sashes, drew my attention to the band at left on JacQueline’s blog and, apart from the gorgeous multiple tones of blue and peach that she has used, I was fascinated by the fact that she had used spots in her warp to enhance her supplementary weft pattern.

Whenever I have started a supplementary weft patterned piece I have always created a blank canvas of single color weave on which to place my patterns. It never occurred to me that the canvas doesn’t necessarily need to be blank and that colors that have been incorporated into the warp can be used to supplement the inlaid weft patterns. JacQueline has used the light blue warp spots as part of her design and I love how she used the dark blue supplementary weft to create alternating color spots between the main motifs.

So, I wanted to play with this and, again, I just have to point out what a wonderful thing the backstrap loom is for making tiny samples.

The experiment grew from one column of warp dots to three and I found that when I made samples in black, a Sharpie was very handy for making adjustments to the pattern, blacking out unwanted exposed weft to get different effects.

The three columns of warp spots grew to three columns of three and after some applications of Sharpie to the black one, I decided on the design I liked for a bigger project.

So, this is what is on the loom at the moment…(speckled with fluff and stuff)….see what you started JacQueline? This is the black thread that I had just bought for my Huichol design bag!

I have just finished adding a band of weft twining and I will twine that same design along the beginning edge when I have finished weaving.

I think I will do a single large supplementary weft motif in the very center followed by another band of twining and then repeat the beginning. What is it going to be? I have no idea but it has been fun getting back into the weft twining. This is the first time I have done three colors together in one row of twining in #10 cotton. What to do with all those weft ends?…I will try to bunch them into a nice tassel as the Bedouin weavers do. You can read about how I learned the twining technique and watch a video of my teacher Ngach at work in this blog post.

Before the distractions completely took over my weaving week, I did manage to sew up my weave-along projects into little zippered purses.

And I wove the back panel of my black Bhutan/ikat bag before my new ball of black thread got swallowed up by the distraction. And that was when I got side tracked yet again by jentide’s weave-along project which you can see at left.

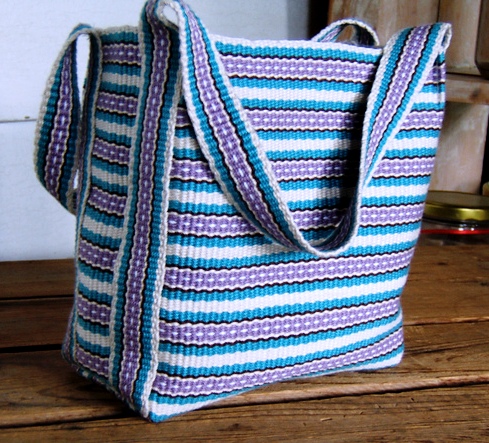
She made the fabric for this fabulous mini tote bag on her backstrap loom with the strap made on her inkle loom.

I love her stripe design but, apart from that, I am completely in awe of people who can sew. Of course I had to pester her with a bunch of questions about the construction of this bag and she pointed me to this wonderful web page where you can learn how to create a flat bottom for a bag.

This has had me pulling out the Reader’s Digest sewing book, that I had just about forgotten I owned, determined  to learn once and for all some basic sewing skills (without the aid of a sewing machine, that is)and pinning and folding and pulling my poor Bhutan bag into all shapes.

Here is its latest pinned form…

Meanwhile I am looking out for other suitable materials to use as supplementary weft. I have some gorgeous hand painted 10/2 tencel that my friend Lisa gave me that works beautifully and one skein goes a long way. Wool works well too as it fluffs out on the surface to give good coverage without “fattening” the shed in which it is laid.

And then I remembered the fine loosely plied and fluffy skeins of acrylic that I had bought in Guatemala.

What I would really like to do is make super fine supplementary weft pieces using sewing thread as the ground warp and weft just like the ladies do here in Bolivia to make their hat bands. Their supplementary wefts are acrylic and much the same as the Guatemalan thread that I have.

The fineness of the weave means that they can get away with having quite long weft floats.

I love how the wefts are often used to fill in the negative spaces and outline the motif in the ground weave rather than forming the motif itself.

The floats are particularly long when they do that and I have not been able to reproduce these ”negative space” designs  yet as my patterning material has been too heavy and would have resulted in long and cumbersome floats. I have not yet reproduced any of the pretty Bolivian hat band designs.

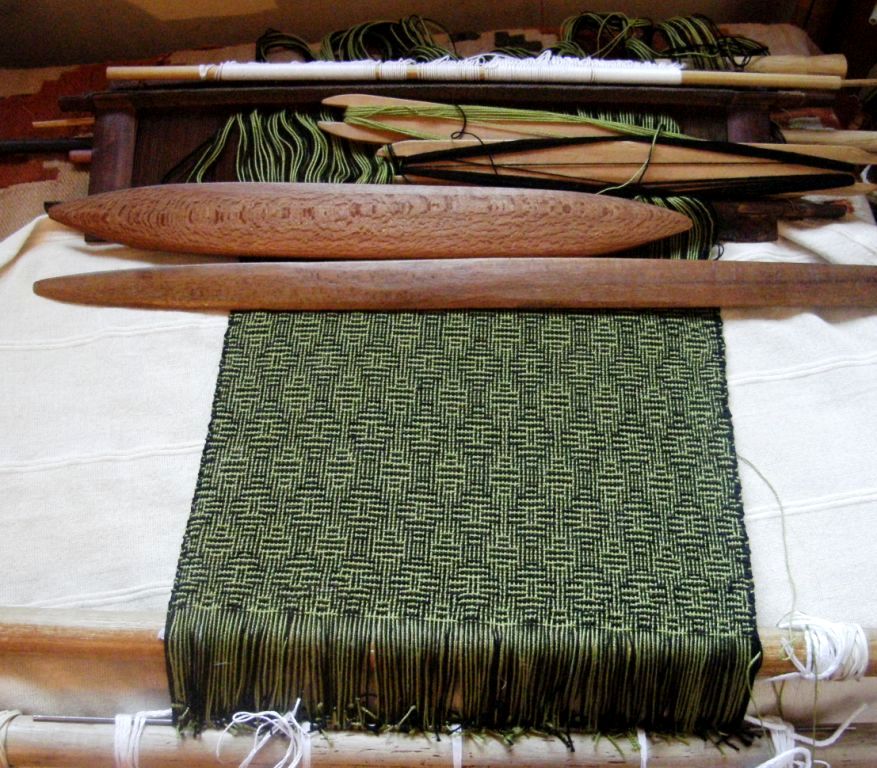
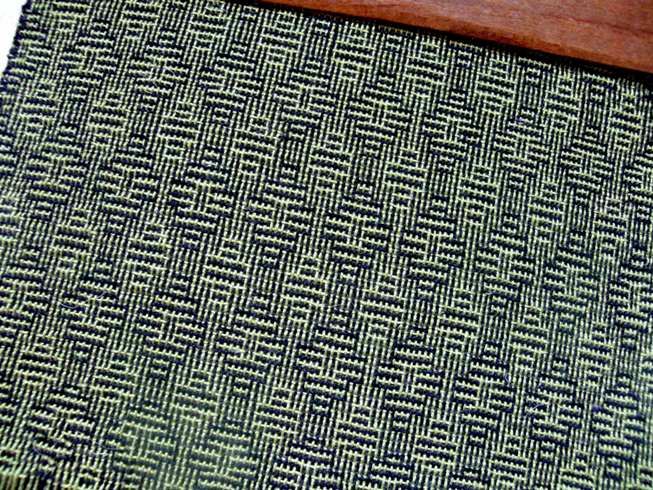
One more thing I did this week was to experiment with the traditional Bedouin al’ouerjan patterns using non- traditional colors. The most common color combination I have seen is black, red and white.

Can you tell that black, terracotta and yellow is my current favorite color combination?

This warp substitution technique produces long floats on the back of the fabric which are not so bad in #10 cotton.

It is interesting to look at the many different variations of this design to see which one produces the shortest floats.

###########################################

I will finish with this week’s Weave-Along round-up…

Peg is weaving on a backstrap loom for the first time ever and using Plymouth Yarn Fantasy Naturale mercerized cotton which I think is just perfect for first projects. See how quickly she has tamed that warped and how much she learned about laying in the weft and controlling the edges in such a short space. That yarn is so pretty. I have never woven anything with these multi-color type yarns. On the right, Janet has warped colorful stripes inspired by a piece of Guatemalan fabric that she has.

Dyggvi turned her narrow striped band into a neat zippered pouch and gave us the link to the instructions. Sylvie in France posted a picture of the making of her continuous string heddles on a gorgeous bright striped warp.

Jennifer’s homespun piece is under construction and Karri, who just completed her third ever backstrap woven piece is casting her critical eye over everything she produces and learning lots of lessons. We think her third project looks wonderful.

Both Amber and Marsha continue to turn out consistently straight, smooth, beautiful and useful pieces. Amber’s piece is one of two that will be sewn together to make a seat cushion. Marsha has hung her piece on a section of twisted vine. She has plans to modify it for its ultimate use. We’ll see about that next week.


Jennifer has taken the leap from homespun wool in natural colors to wild cotton stripes while Yonat, outside the weave-along, has been experimenting with those eye bending alternating warp float patterns.

Phew, quite a job winding all those colors! Many of us have come to know the “fun” of adding in all those strips of colors on the warping board and the special challenge all that cutting and tying makes for creating even tension. “Perfect” tension is something we all strive for and I think that we all come up with clever ways to somehow compensate for uneven tension once the warp is on the loom long before we are able to create that perfectly tensioned warp on the warping board. Unfortunately uneven tension will show up immediately in warp-faced plain weave in the form of ridging and cotton is particularly unforgiving.

All we can do is make sure that our warping stakes are firm and sturdy and then just practice, practice, practice. Some days are good warping days and some not!

Ridging will turn up unexpectedly and most annoyingly in a piece I am working on and I have found that a worn out hole and a leaning stake on my mini warping board has been the culprit on quite a few occasions. Cranking up the edge warps too tightly caused the particular ridging problem in the piece pictured at left.

Fortunately the ridging shows up in plain weave and not in float patterning which is what I mostly do.  On the other hand, I know people who actually like the effect of the ridging. It’s a pesky and temperamental phenomena! I tried to weave a band specially for this blog post to show the ridging that results from crammed warps. The darn thing refused to ridge!

I suppose we could always do as my Montagnard weaving teacher, Ju Nie, does…

Many Montagnard pieces are woven with a multitude of fine stripes. Ju Nie joins the colors on the warping stakes with slip knots and then, once the warp is on the loom, she unties each and very knot, adjusts the tension and reties. It is not tedious for her. This is the way she was taught to do it and her large pieces woven in that “unforgiving” cotton are perfect!

Oh, and one more distraction to speak of before I go…one of my online friends just came back from Mexico where she bought a Huichol woven bag and is going to send me pictures. So, I am thinking it is just as well I didn’t get my bag project underway as her pictures are bound to have me changing my design plans. Thank goodness for those delightful distractions!

Backstrap Weaving – Sett and Match

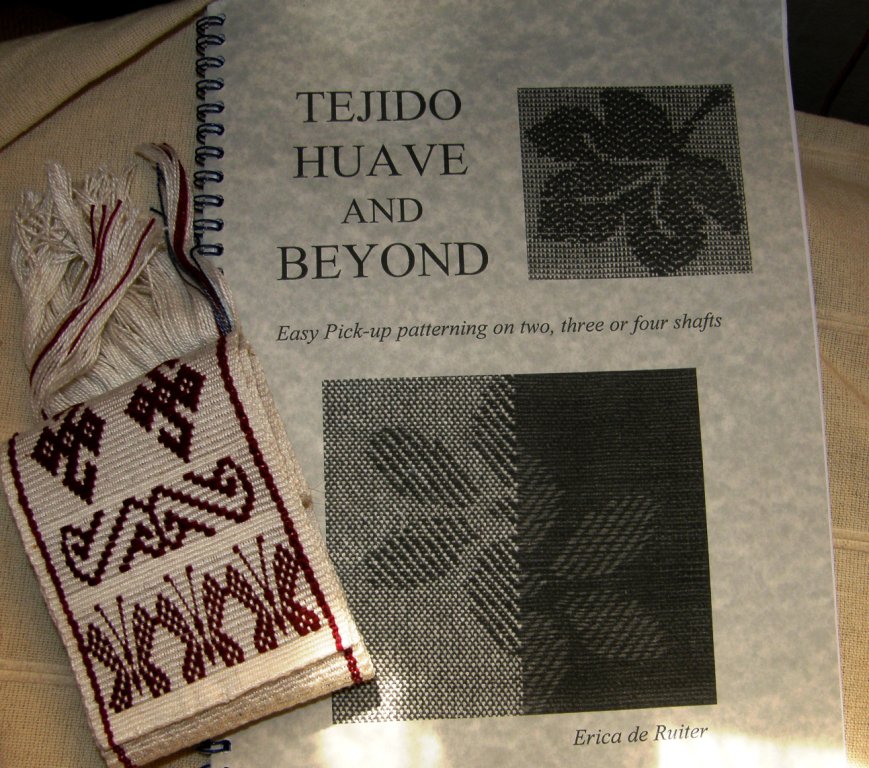
In the mail this week…a book on “Tejido Huave” by Erica de Ruiter which is described as “Easy pick-up patterning on two, three or four shafts”.

I had quite recently seen images online of Mexican Huave textiles decorated with supplementary wefts and used a butterfly motif from one of them on a warp-faced sampler of inlaid brocade patterns.

I am interested in seeing the variations that Erica de Ruiter has developed using the Huave textiles as her inspiration.

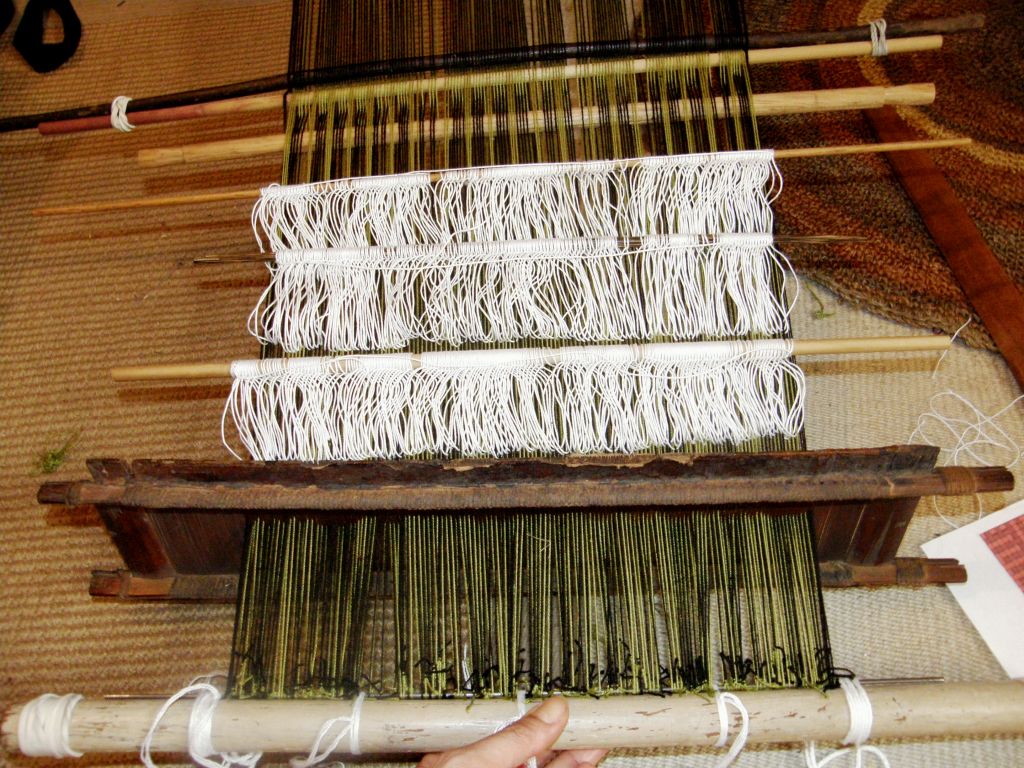
It will be fun to play with more than three sheds on my backstrap loom and, to get into the swing of things, I set up my loom for a four-shed weave this week using three sets of string heddles, a shed rod and my lovely bamboo reed.

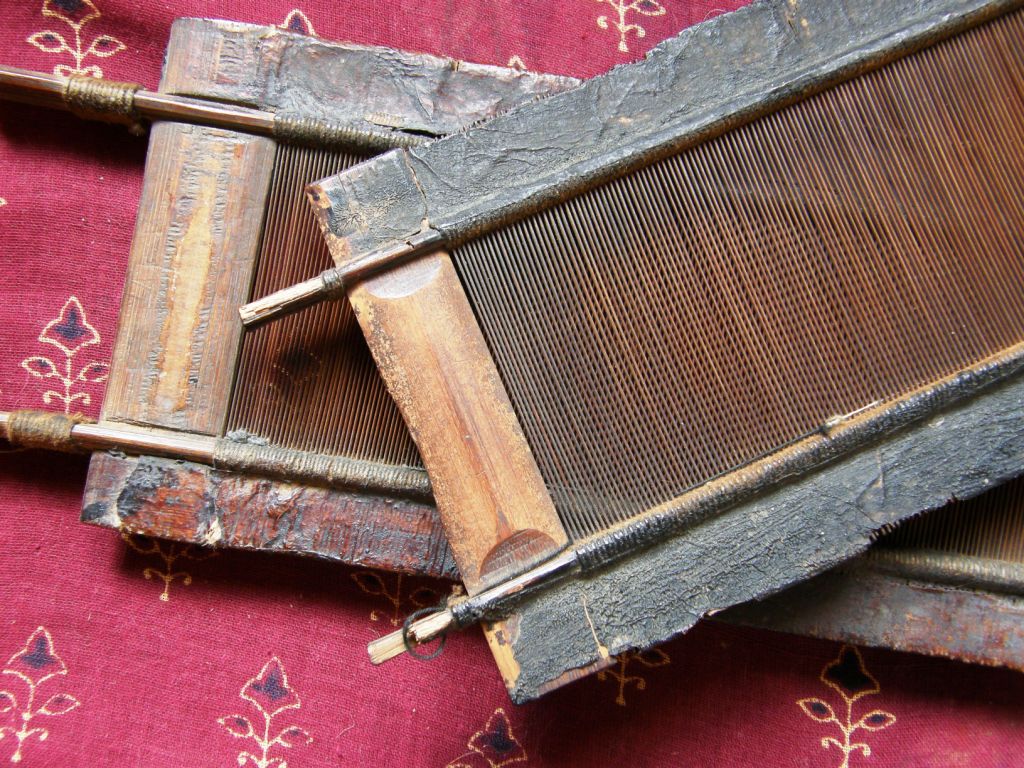
Finally this bamboo reed gets to do some real weaving with its new owner. I got two reeds like this at a stand selling textiles and weaving implements of Chinese minority groups at Convergence last year. My mind wanders off thinking about who may have been the previous owner/s of these reeds, what kinds of warp thread passed through their slots, what kind of weft they beat into place and the fabric they were used to produce.

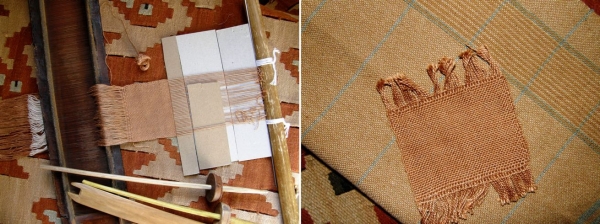
I made a tiny sample a few weeks ago to see how suitable my thread was for the spacing of the slots and since then have been dithering over what kind of weaving I want to do. This reed is 23 dpi and I am using my #10 crochet cotton. I guess I am working backwards as one usually chooses their yarn, figures the sett for the desired technique and then uses the appropriate reed. I, on the other hand, have the reed and am figuring the rest out with that as my starting point.

You can see my tiny sample above. I wove just enough to be satisfied that my #10 crochet cotton works well in this reed. I was thrilled with how it looked after weft finishing.

I went ahead with a four-shaft, four-treadle shadow weave using a draft I found online. I made string heddles for the threads on the shafts for each of the treadles…three sets of continuous string heddles with threads for the fourth treadle held on a shed rod. So the threads for shafts 2 and 4 (treadle 1) went all together in one heddle and so on.

Of course the whole business is a lot more stable with this width. When I wove the tiny sample it was very awkward handling the wide reed on the narrow warp. The reed sits up  nicely on this wider piece and it is really quite a comfortable set-up.

I mis-counted in the sequence at the start before things really got underway. Now I am really enjoying this!

I don’t care for the edges and have yet to find a good way to turn the two wefts. I warped two ends of double- stranded black thinking that that might make a good edge…well, not so much!

This has been all about the process so I had no thoughts at all in the planning stage about what this piece might end up being. I only wound a one-yard warp and now I am thinking that I might use it as lining for a bag.

It is odd for me having to wait to wet-finish this piece to see what it will really look like. In the kind of warp-faced weaving that I do, what you see on the loom is what you get. I am really impatient to get this off the loom, wash it and see the final product but, at the same time I am really enjoying weaving it…just raising heddles and passing wefts…such a change not doing any pick-up!

Two very different projects on the loom this week. One was all about matching designs and the other about yarn and sett for shadow weave…sett and match!

The other weaving I did this week did involve pick-up. I made a set of mug rugs in double weave to match the patterns on the four place mats I recently finished.

The patterns on the place mats were woven with simple warp floats and I tried to include elements of the various motifs in the matching double weave mug rugs.


I used weft twining on the edges of the mug rugs to match the finish of the place mats which also allowed me to incorporate the third color as each place mat had been woven in three colors.

The “Worldwide Weaving Web” has brought all these wonderful patterns into my home which I have seen mostly in images online.  A wonderful book on Tejido Huave has come my way as a result of internet wanderings and a box of goodies arrived just today from an online weaving friend.

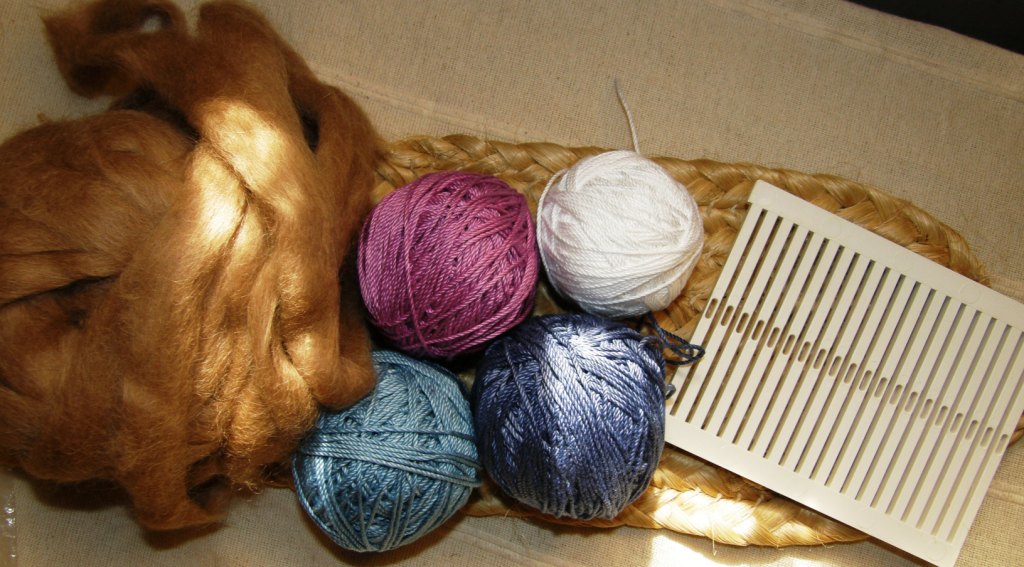
During the Tour de Fleece on Ravelry our Backstrap Weaving Group organized a fiber gift exchange and here is what I got from Bobbie…some suri alpaca fiber to spin…so soft!! and four balls of cotton for my backstrap weaving. The colors were dyed by Bobbie herself. After having met Bobbie online I actually did get to meet her in person when I was in Portland last May.

The rigid heddle segment was not in this box from Bobbie but came to me from another online friend who I haven’t had the chance to meet yet in person…Sharon in Florida.

I have taken this heddle out in preparation for the Weave-Along that we are planning for the Backstrap Group starting at the beginning of September. (Read more about this in last week’s post.) It is a plain-weave Weave-Along in warp-faced or balanced-weave and some participants are going to use these bought plastic rigid heddle segments while others are making their own from sushi mats, popsicle sticks and plastic folders. Others are planning ikat designs, colorful stripes and horizontal bars for their warp-faced pieces.

Home made reed and rigid heddle by Dyggvi and Janet.

We have found some good sources online for the heddle segments for those who would like to do narrow weavings. Some people are going to use the heddles that came with their rigid heddle looms. Janet is planning a 24″ wide shawl.

The segments can be found here and here (this link was provided by Traudi) and Joanne from Glimakra gave us information about all the heddles that they have available including some beautiful traditional-style wooden ones for band weaving with handles.

And if these gifts aren’t enough from the “Worldwide Weaving Web”, a real live person arrived from the other side of the world…all the way from Doha, Qatar! Fellow Ravelry member Berta aka mountainbird is traveling across South America on her vacation away from the temperatures in the high forties (Celcius) that are typical in her part of the world at this time of year. She is Canadian but has been living in Qatar teaching English for eleven years.

Berta is friends with Tracy who is a Backstrap Weaving Group member and who has been learning to weave Bedouin-style textiles in Qatar and sharing her findings with us in the group. She sent me this wonderful piece of Bedouin weaving with Berta…

This fabric is part of a tent divider which has been cut up to make a bag. The black and white pattern has been woven using warp substitution technique as has the grey and orange “molar” design. You can also see small segments of weft twining which is what brought me to study these textiles in the first place.

I had learned weft twining with the Montagnard (Vietnamese hilltribe) weavers in North Carolina and google searches on the subject led me to fantastic images of Bedouin weaving which I was able to reproduce being already familiar with the warp substitution and twining techniques.

And now many months down the track I am holding a genuine piece of this weaving, a beautiful gift from Tracy all the way from Qatar…what a thrill. I was aware that the yarn used in the traditional pieces is quite heavy but didn’t appreciate how thick it actually is until now. I can now imagine just how terribly heavy a full tent divider must be in this yarn.

There is something so very wonderful about the coarseness and chunkiness of this piece not to mention the gorgeous wool aroma…definitely constructed to withstand some harsh elements

My reproduction piece below in the #10 cotton just doesn’t seem right at all!!


I had a fun couple of days with Berta who, in true Ravelry style, arrived with yarn and knitting in hand with a couple of pairs of socks already finished.

She is overlanding from Lima to Buenos Aires…many many bus hours in which to knit!

We spent August 6th together and invited an Australian girl from Berta’s hostel (home of Simon the toucan) to join us so we had an Argentinean, two Australians and a Canadian celebrating Bolivian Independence Day in a Brazilian restaurant!

Now she is on her way to Iguazu Falls on the border of Brazil and Argentina.

#########################################

To finish this week, I have put together some pictures and video for what will be the start of a new page on intermediate-level techniques and I wanted to start with a short explanation of what is meant by “complementary warp pick-up”. You will probably run into this term when you read about warp-faced backstrap weaving. Andean pebble weave is just one of the techniques that falls into this category.

The idea here is not to teach you a specific weaving technique but simply to show you how the weavers pick up the warps to form their patterns when weaving a complementary warp method. Irene Emery defines complementary weaves as those where “two sets of elements play equivalent and reciprocal parts on opposite faces of the fabric,”….

This creates a double-faced fabric. The design on one face of the fabric is mirrored on the other face with its colors reversed as in the pebble weave example below.

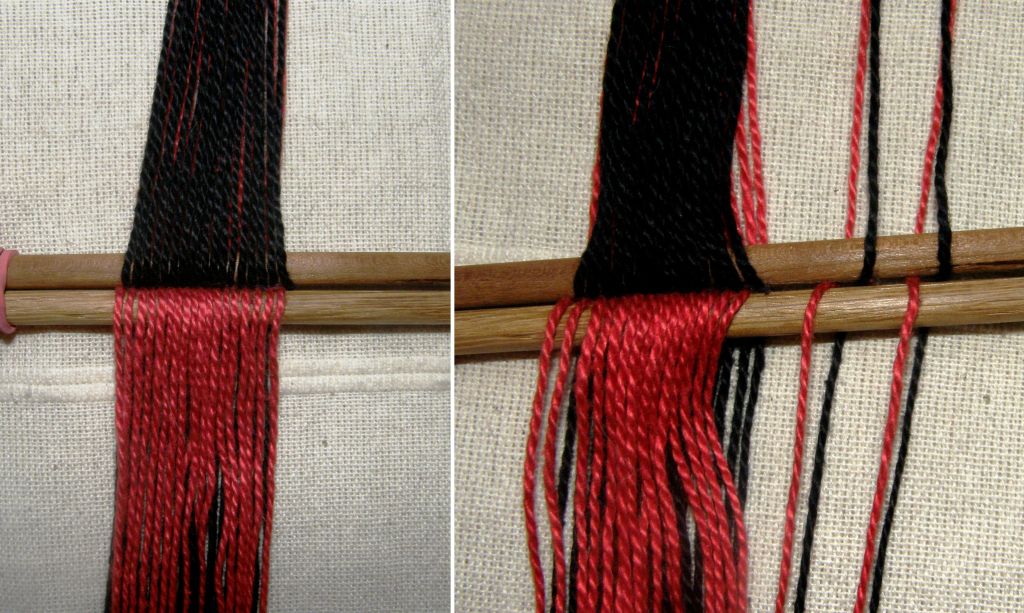
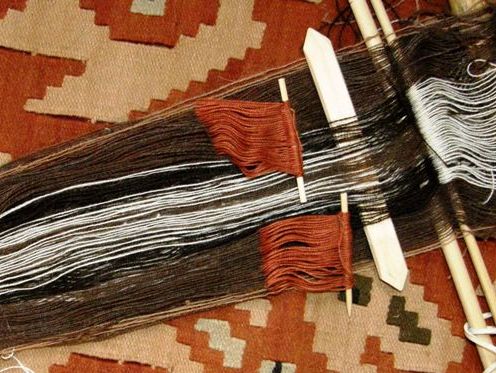
When weaving a complementary warp technique, the warps are generally arranged in two sheds with the colors separated as seen above. The warps in one color will go into string heddles and the other color will be controlled by a shed rod. In the example above, each black warp has a red partner. One black warp together with its red partner is called a complementary pair. In the example, the black warp sits on the right of its red partner. I have separated two complementary pairs from the rest of the warps so you can see how they lie.

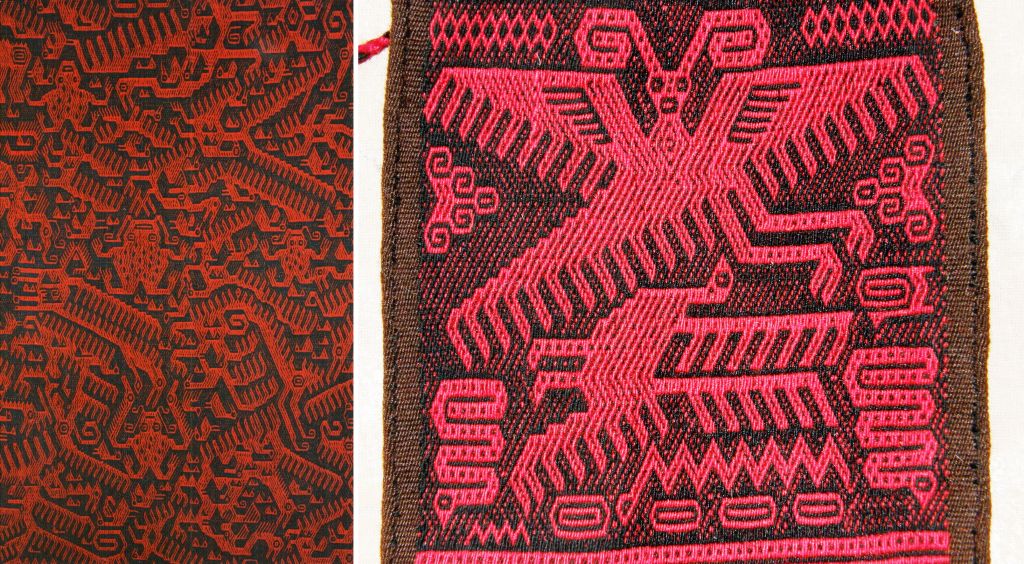
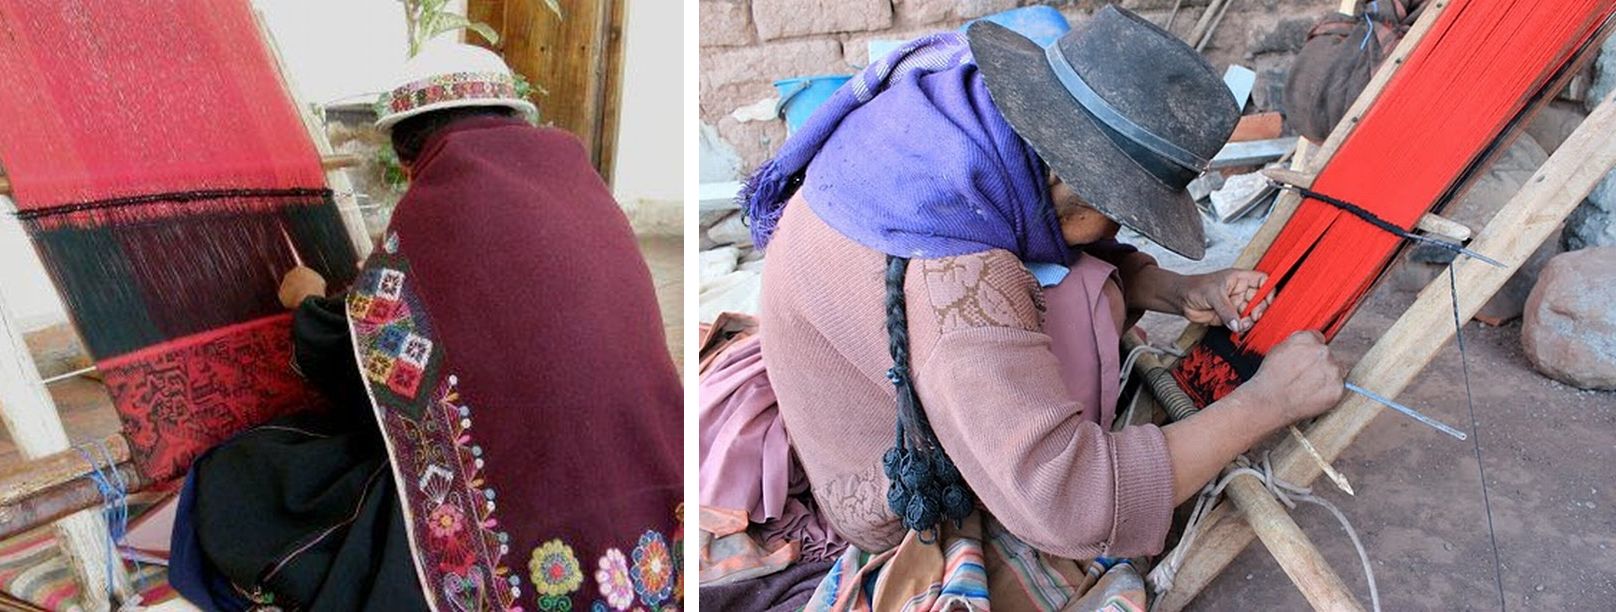
Weavings like these Jalq’a textiles above from Potolo, Bolivia have been woven in a complementary warp technique using red and black threads on a warp that would have looked like my examples above. You can see that the faces of the textiles show red figures on a black background. The back of the textile will show the same figures except that they will be black on a red background.

The pick-up is done with the aid of the cross. The cross keeps the warps in strict order so that the weaver knows which warps are complementary pairs. If the weaver wants black to show on the upper face of her weaving she will pick up the black and drop its red partner. The dropped red will show on the back of the textile.

The way weavers choose to form the cross and carry out the pick-up varies greatly from region to region. There is no one correct way to do it.

Above you can see two weavers from Potolo with their red and black weavings. The first weaver has created a ”picking cross” down at the weaving line. She has a stick under all the red warps and has opened up the shed with all the black warps. From this cross she will select the warps she needs for her pattern. When she picks a red she will drop its black partner and vice versa. Like this, she will create a shed of red and black warps through which she will pass the weft.

The weaver on the right is doing likewise except that she has inserted a stick under the black warps and has opened the shed with the reds. From this “picking cross” she will select the warps for her design.

Both weavers are using sticks to pick up the warps.

This weaver from Tinkipaya, Bolivia uses her hands to pick and drop the warps for her design. Her weaving has bands of many colors. She has a permanent cross in her warp. You can probably just make it out in the picture. Two cords are holding her cross rather than sticks. She is working her way across the warp picking the color from one side of the cross which she wants to have showing on the front of the weaving and dropping the complementary partner in the other color which will show on the back of the weaving.

This is the way I was taught to do pebble weave in one region of Peru….picking from a permanent cross with my hands. The pick-up method varies from region to region.

Here is a video that I made showing the theory of complementary warp pick-up. This is how I pick one pattern shed of red and black warps through which I will pass the weft to form my design.

Here are several video clips of Bolivian weavers from Potolo,  Isoso, Tarabuco and Tinkipaya doing complementary warp pick-up. See the hundreds of threads they are working with and see how fast they go! The first weaver you will recognize from Potolo, followed by a Guaraní weaver from Isoso, a lady from Tarabuco and one from Tinkipaya.

The second weaver in this video is my Guaraní weaving teacher here in Santa Cruz. The Guaraní weavers have their own very special way of doing the pick-up and are the only ones I have seen who don’t pick from a cross when doing complementary warp pick-up. Angela has her two colors, brown and white, separated into two sets of string heddles and simply pulls on the appropriate heddle when she needs a color. Somehow she manages to keep her complementary pairs in order and doesn’t mix up or cross the threads!

Well, I hope that these videos and explanations have been interesting for you. Those who have my Andean Pebble Weave book may like to see the theory of the pick-up I am describing therein with step-by-step pictures, in action here in my video. Note that none of the weavers in these videos are doing pebble weave. Pebble weave is just one of several techniques that fall into this complementary warp category.

I am off to the highlands tomorrow for some weaving lessons and will be meeting up with my Tinkuy roomies Dorinda and Maxima and seeing a bit of the Virgen de Urkupiña festival. I’ll be back next week with some new weaving knowledge and hopefully lots of pictures to share.

Backstrap Weaving – Colors from Camelids and Cotton

This week’s blog post is brought to you by these fine fellows…

and their beautiful fiber but also by…

my friend Janet in northern California who gave me a ton of alpaca fiber last year, Celinda, an Aymara weaver who swapped some of her handspun alpaca yarn with me for one of my woven keyfobs and the weavers of Peru who got me started in spinning on drop spindles back on my first visit to Peru in 1996. I also have to thank Gladys Miller in Colorado who encouraged me to spin while she taught me about Navajo weaving in 1995.

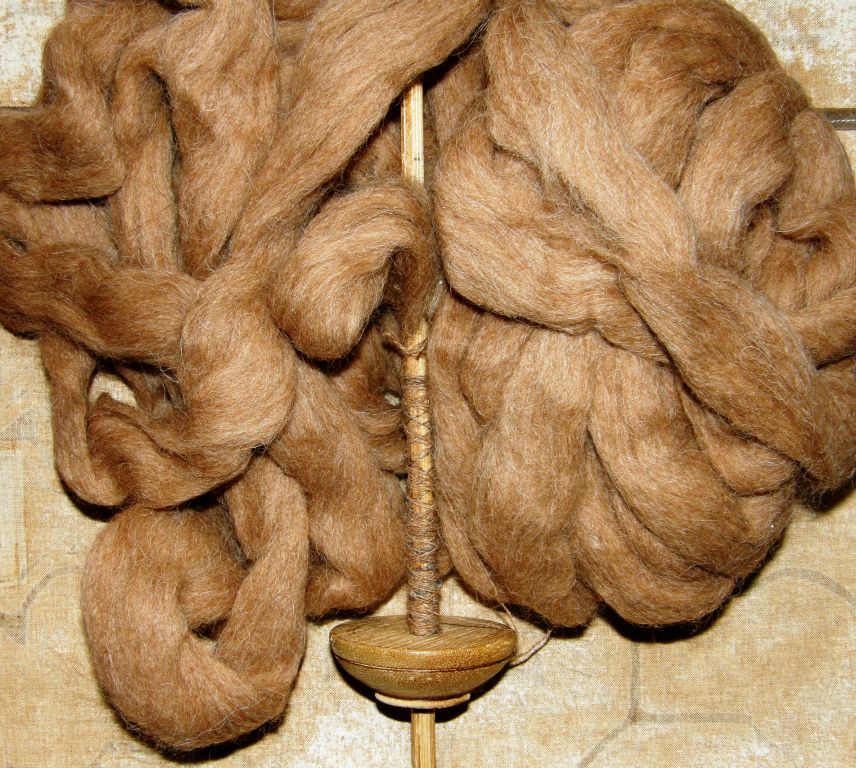
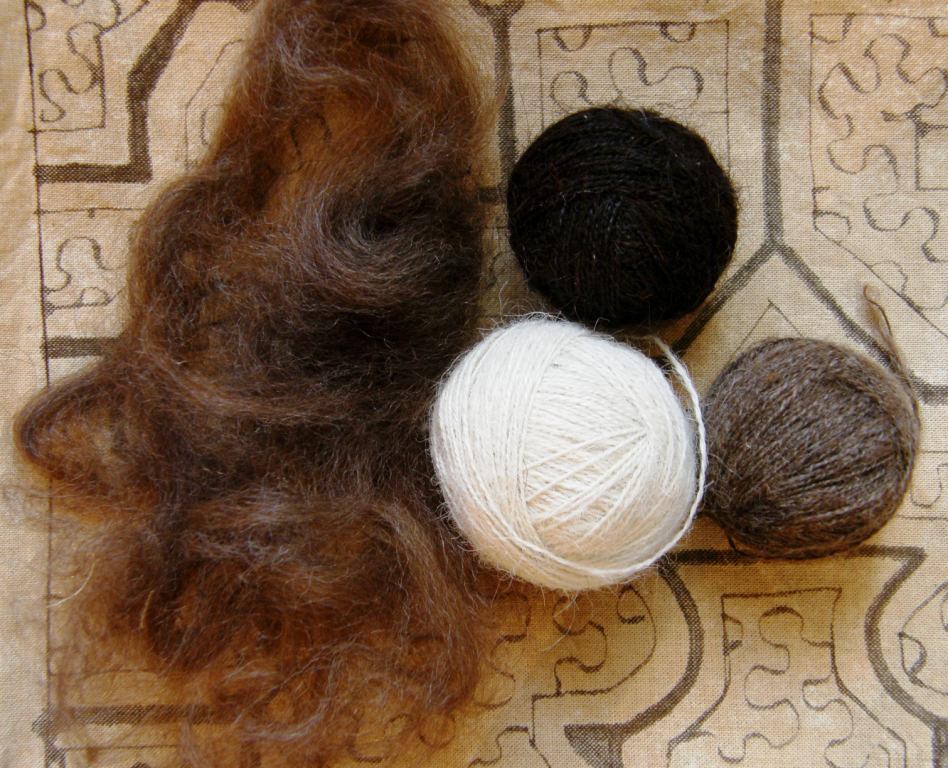
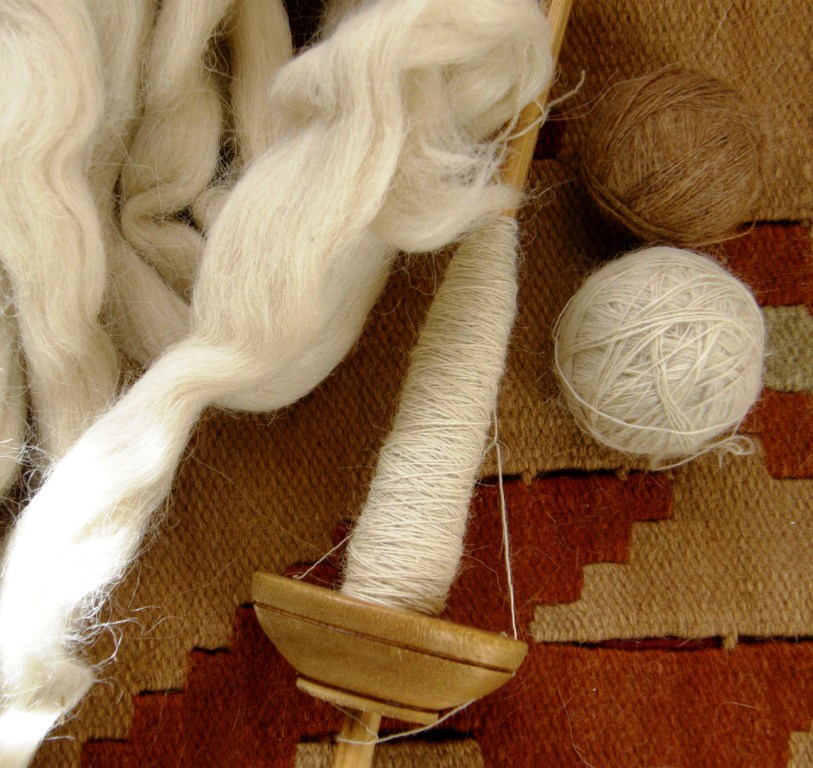
Now I am thoroughly spoiled with this gorgeous alpaca fiber that Janet gave me. A lot of it was already beautifully prepared by Janet herself in her mill. For the stuff that hadn’t been prepared, all I had to do was tease the tips open using my hand carders.

Until now, all I had spun was wool that was readily available from the farms where I lived in Patagonia and llama fiber that I bought from  little villages outside of Uyuni, Bolivia many years ago…bags and bags of it which I have cleaned and carded, spun and even dyed to weave with as the years have gone by. I thought it was pretty good but now that I have had the experience with the alpaca fiber I look at the poor old llama stuff with a very critical eye…dry, coarse and filthy!

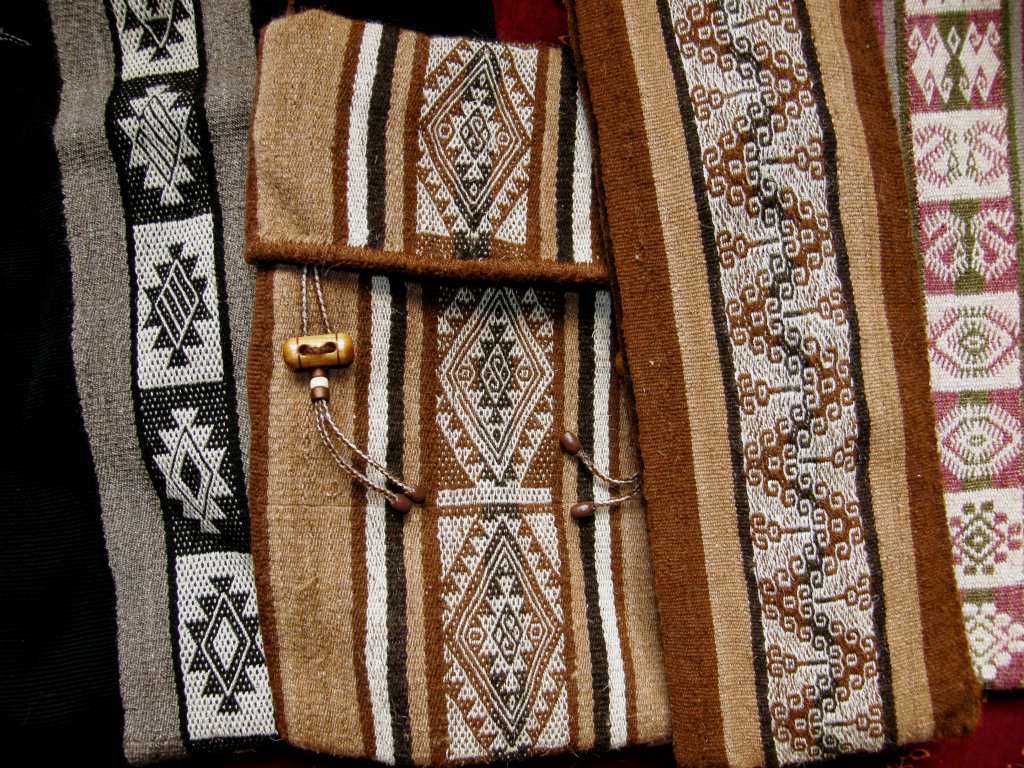
Nevertheless I did manage to weave some nice things with it…

And I also like to weave llamas although these guys were woven in cotton…

I still have tons of llama fiber left so I don’t want to get too spoiled!

So, I have spent some time lately spinning the alpaca mostly because we have been having a Spin-Along in the Backstrap Weaving Group on Ravelry with a lot of discussion about just how much over twist one needs to put into the yarn to make it suitable for warp-faced weaving on the backstrap loom. And this is where Celinda, the Aymara weaver from northern Chile came in. The yarn that she gave me was quite hairy and not heavily overspun. I wove with it and it was soft and luscious. That is how I wanted my yarn to be, not like the hard severely twisted llama thread I had been making.

And then it was down to the all-important sampling. Would it be too hairy to work with? Would it be a lot of really hard work clearing the sheds? Would it shred and would I have broken warps because the yarn couldn’t stand up to the abrasion of warp-faced weaving?

Thankfully, I didn’t get a “yes” response to any of the above questions. Of course, the sheds were more difficult to clear than those in a mercerized cotton warp but they were manageable. You can see the warp at rest above and the yarn is not curling up on itself. One thing I regret is my decision to use white weft as it did show through the brown a bit. I didn’t mind it showing at the edges as I knew that I was going to cover those with a tubular band. I used an alpaca weft that was balanced.

None of the warps broke but, then again, my warp was only 24″ long. The only problem I had was with some of the knots at the color changes which slipped undone as the yarn was so silky.

This is the alpaca warp for the tubular band and there it is being woven and sewn to the edge of the piece.

Now my passport gets to travel in first-class luxury even if I don’t. I made this sample piece into a passport pouch which is a vast improvement on the plastic wallet I have been using until now. It feels lovely!

Cutting the piece off the loom was the hardest part! There was still enough warp there to weave a little something. This was my precious handspun and I didn’t want to waste a bit but then I got the idea of using the leftover bits as supplementary wefts in another project and, with that in mind, I cut away.

Now with the Tour de Fleece approaching do I keep spinning the alpaca, go back to the nasty llama or take up the cotton?  Decisions…

Actually, I am thinking of spinning some heavier yarn from the llama fiber to use, as it often is up in the mountains, to make slings. Well, I probably won’t make a whole sling, although I have made one before with a teacher in Yanque, Peru using llama fiber. It would be nice to have yarn suitable for making the braids rather than the whole sling. This will be challenging as I have been aiming for fine thread all along and now I am not sure if I can spin thick.

When I was in southern California, Martha shared her collection of South American textiles with me which included a number of beautiful Andean slings…

They have been made with such a variety of gorgeous braids and with the beautiful natural colors of the llama…

Ben Turner in Australia showed me two Tibetan style slings that he has constructed. While the cradles of the Andean slings that I have seen have been woven weft-faced, Ben tells me that Tibetan slings usually have twined, braided or felted cradles. The cradles of his two examples here have been twined.

I must ask him what yarn he uses for these.

And now on to cotton, the material most available to us “lowlanders” in Bolivia…

Another piece of sampling I did this week was using the bamboo reed on my backstrap loom. This was extremely clumsy especially with such a narrow piece but I will eventually come up with some kind of system for this. I am tenacious with these kinds of things and I am determined to make this work. I so rarely weave plain balanced cloth and I get ridiculously excited about it! I have a cotton shadow weave project in mind and later I would like to use some 10/2 tencel that I received in a swap to weave something.

This is all I have used the tencel for so far…a supplementary warp band, but I am hoping that there is enough contrast in the green and grey for shadow weave (I don’t have all that much of the ivory).

This experiment is with the cotton that I usually weave my warped-faced pieces with, more or less equivalent in size to the #10 crochet cotton that is available in the US. Above right you can see it wet finished and lying on top of a beautiful cotton dish towel that Betty Davenport wove. That towel is my inspiration and I can tell you right now that it won’t be going anywhere near a dish!

Betty wove this towel using cotton from Sally Fox Vreseis Ltd line of 10/2 in camel, coyote and green…all natural cotton colors! I had not heard of Sally Fox until Betty told me about her and her experiments with developing colored cottons (which reminds me that I did a spindle swap with a lady in the US who sent me natural green and caramel cotton sliver…must get down to spinning that).

Betty has a collection of small skeins of cotton in an incredible range of natural colors…all kinds of browns, greens and even a mauve from Peru. Some of the skeins come from Sally Fox’s experimental supply when she first started developing her standard colors. There are reddish-browns from Guatemala and dark browns from Peru as well as colors from some of the US southern states.

So, a four-shaft shadow weave with my nifty reed in place will be an up-and-coming project.

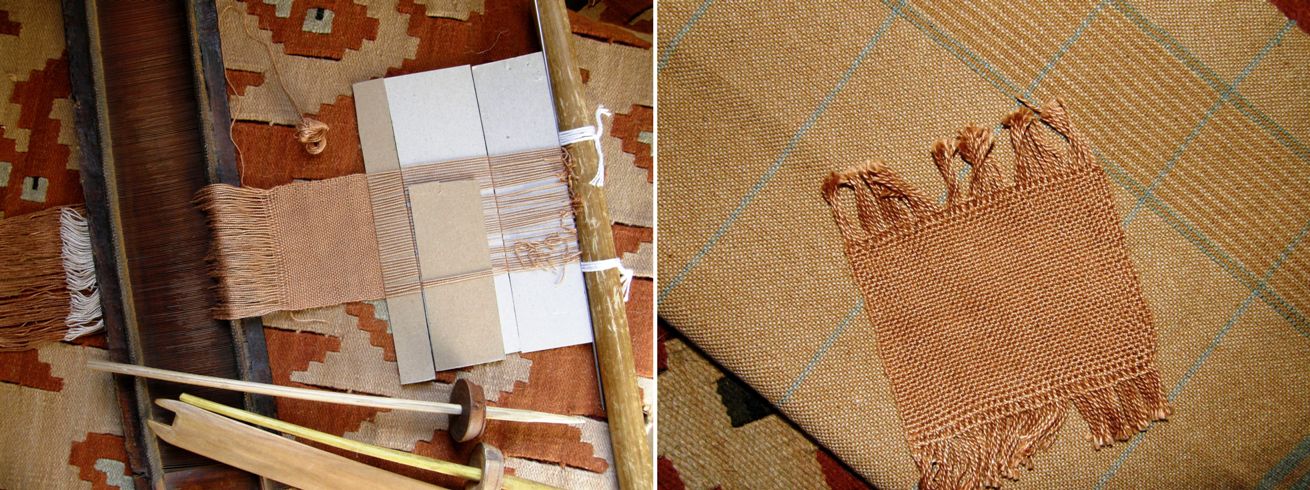
Well, until someone comes up with a natural terracotta-colored cotton, I have no choice but to dye some. So, this week I dyed some of my crochet cotton with the Dylon Terracotta Brown dye. The color is perfect! It is exactly what I was wanting for my Shipibo piece so that will be on the loom this weekend too.

That is the color below on the string heddles…yummy!

The Ravelry gang continues to weave and spin…

Naomi has tacked three plain warp-faced pieces together for cutting and sewing into a zippered bag. She is also weaving a pebble weave strap for another bag project.

Amber finished her pencil pouch. She wove the fabric for this using the simple warp float technique. Jennifer is piecing together a bag patterned with pebble weave motifs.

Tracy wove a sample band for the traditional Bedouin al’ouerjan technique which is simple and stunning. I have added some information about this to the warp substitution tutorial page which will be more meaningful to those of you who have already followed the initial instructions on that page. Helena in Brazil kindly provided a link to a pdf by Joy Totah Hilden, author of the book on Bedouin weaving pictured in Tracy’s picture, in which the draft for the al’ouerjan structure is provided on the last page.

After Jennifer and Tracy’s beautiful weavings I have no more fear of putting red and blue together! They have given me the courage to get that red and blue Central Asian piece I have been planning underway soon.

####################################################

And finally, I have a wee favor to ask of you all…I just started a page on Facebook for my Andean Pebble Weave book and would love it if you would take a moment to go there and hit the “like” button. Things like this could really help me in my future publishing endeavors.

I have a few exciting things on the drawing board. 😉

#####################################################

Backstrap Weaving – Spinning and Swimming in Floats

I am a “cheap spindler” in much the same way as I am a cheap drunk…it doesn’t take much to make me happy! And don’t waste the good wine on me. I do not have a refined palate. So, it is little wonder that I am content to use my humble Cusco drop spindle when I get the urge to spin. I don’t have a refined palate for spinning tools.

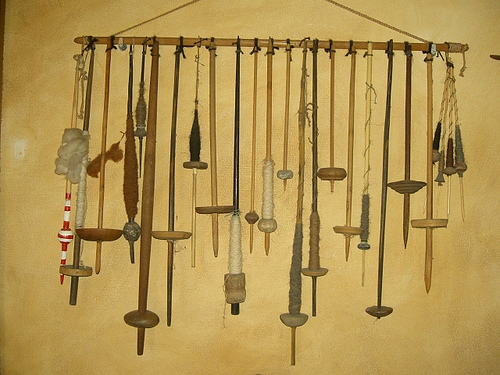
Right now I am spinning some alpaca that my friend Janet gave me so that I can weave with it on my backstrap loom. The Cusco spindle was the second one I ever got, the first being from San Pedro de Atacama in northern Chile. The Cusco one, being more robust, became my constant travel companion. It was practical. Although I have collected many more spindles on my weaving safaris since then, this Cusco one is the one I always use while the others hang on the wall as souvenirs of places I have been and people I have met.

I really enjoy reading the online group forums about spinners and their spindles. The participants’ love and enthusiasm for their tools is wonderful….I totally get it but I just don’t share it. Some of the spindles they show are beautiful pieces of craftsmanship. I just want to get the job done.

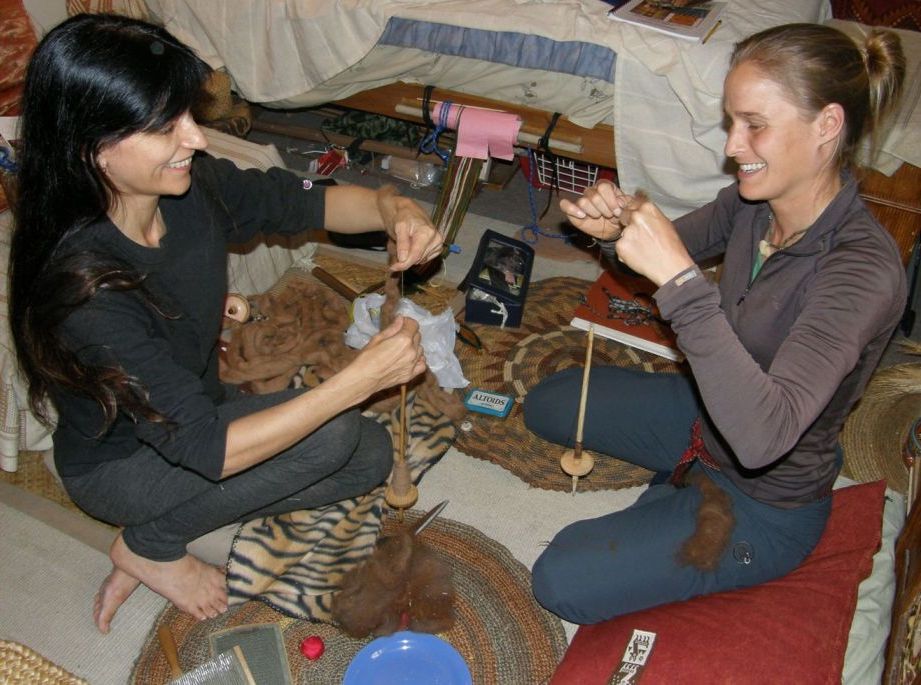
Below you can see the Cusco job in action while my friend Anna takes her first steps spinning on a Bolivian spindle.

It seems that when it comes to spinning I am totally product oriented which is kind of strange as it is quite the opposite when I weave.  I just want to get this stuff done so I can go weave with it. In weaving I am all about enjoying the process.

However, spinning does give me a lot of time to think which is good as I have arrived home from my US trip with a lot of ideas rattling around in my head. I would like them to kindly stop rattling about and settle down into some kind of order. Fortunately I had three warps on looms ready to go when I got home and so could slip back into the loom and weave without having to make many decisions.

This is one of the warps that I had taken away with me….Clea cotton (equivalent to #10 crochet cotton…35wpi).

I warped a narrow pebble weave band into a field of black plain weave. A simple pebble weave pattern meant that I did not have to spend too much time on the pick-up and could rapidly show people the entire process.

I probably only wove a couple of inches while I was away…at a May Day festival, at a Saori Studio and with other weaving friends and so this was the first thing I sat down to weave when I got home.

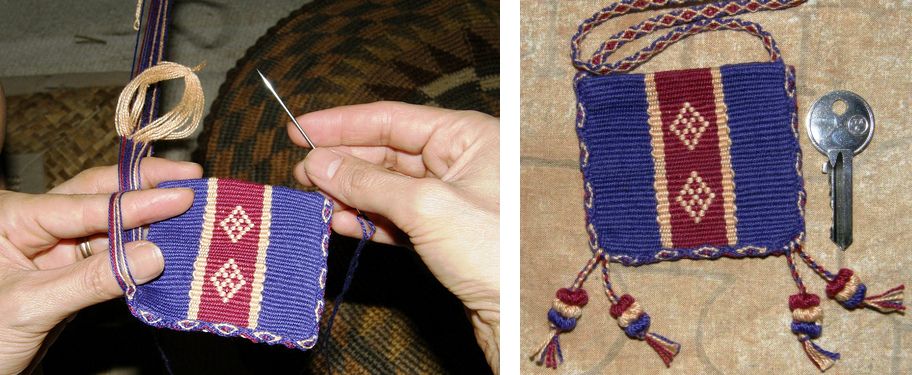
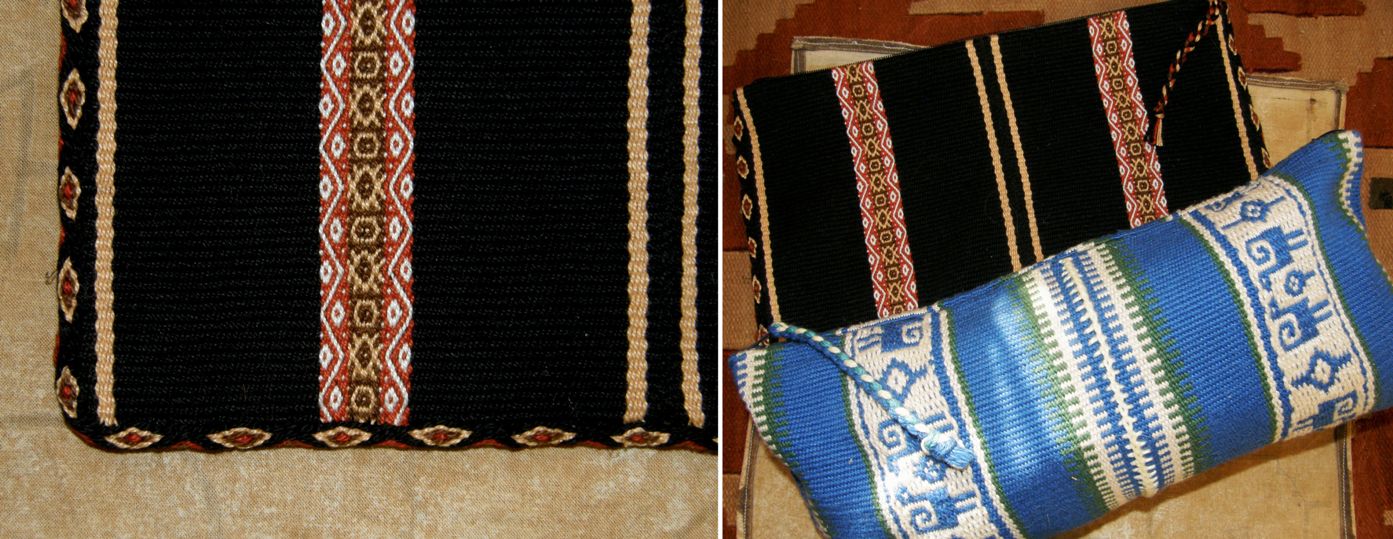
Once the piece was off the loom, I cut it in half and joined the two pieces side by side, added a zip and edged it with a tubular band. The tubular band is in Anne cotton (equivalent to #3 crochet cotton…24wpi).

The tubular band is the ñawi awapa that I learned when I went to the Tinkuy de Tejedores in Cusco last year. Unfortunatley I neglected to have pictures taken while I was weaving and sewing it but I have pictures of one in the making that I made some time ago on a wee amulet bag.

The one I am making in the photo was made following Adele Cahlander’s instructions where she uses string heddles and a shed loop. The way that I learned in Cusco is very different. A forked stick holds the cross and all pick-up is done based on that. The resulting bands using both methods appear to be identical although I have to say that the way I learned in Cusco is far easier. There is, of course, no one right way.

These tubular bands are gorgeous. I have used one here to make the edge prettier. I have been told that the Peruvian weavers apply them to the edges of weavings as they help stop the edges and corners from curling which they tend to do on pieces woven from overtwisted yarn.

So, this is an extra long tool bag and one that I need as the only other one I have in this length (the blue one pictured below) is completely stuffed with things. It holds many tools for  and is the bag I took traveling with me.

A tutorial on weaving and applying a plain tubular band to the edges of fabrics can be seen here.

As usual, I made a braid for the zipper pull.

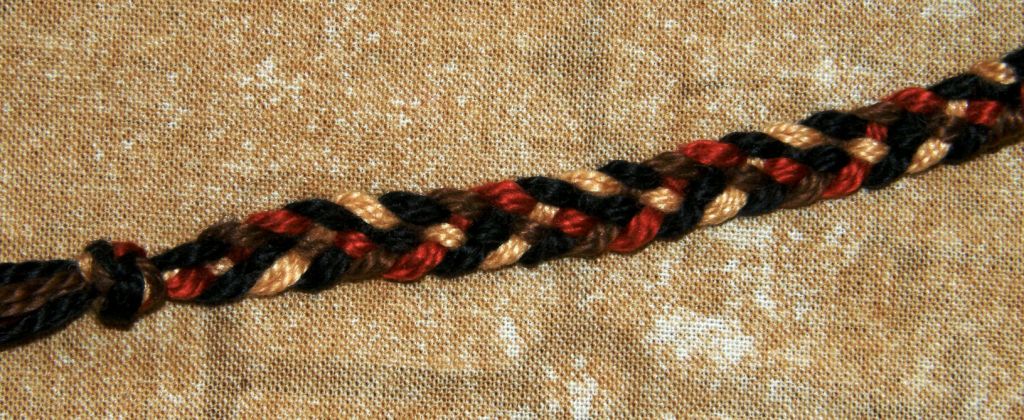
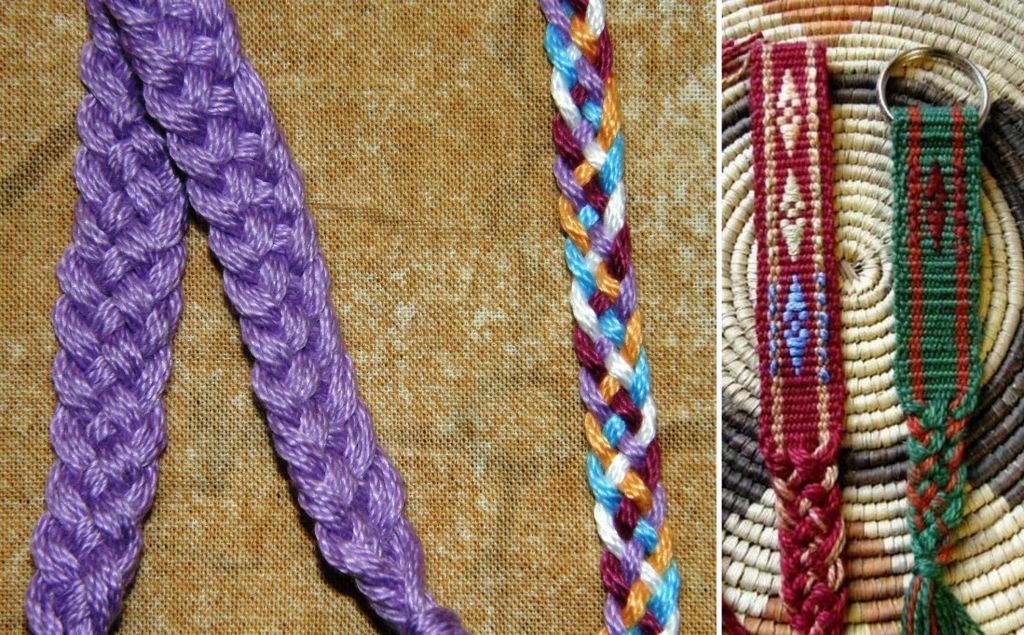
This is a five-strand braid which Yani, who was weaving with me in the US, taught me.

You may know that I often like to finish pieces with lots of tiny four-strand braids.

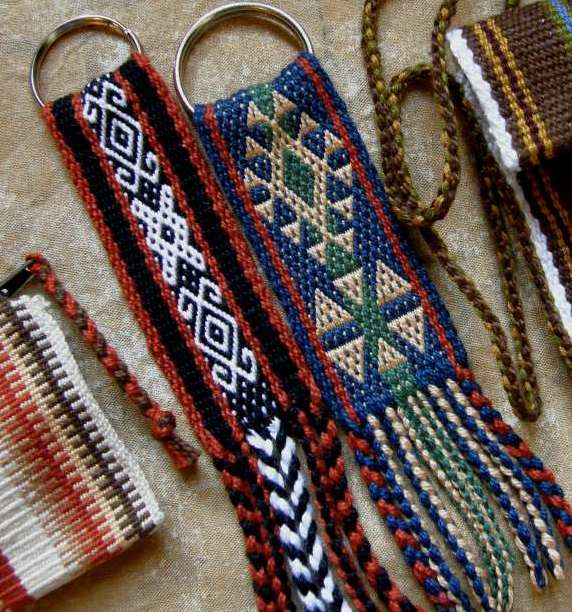
Well, Yani has no patience for those kinds of details and looked at me like I had gone mad when I suggested she finish her key fob with five or six four-strand braids.

She gathered up all the warp ends and worked one large five-strand braid and it looked brilliant!

This is a really easy flat braid which I think looks great the more warp ends you use.

I have not yet played with it much to see how different arrangements and numbers of colors affect its appearance.

When Yani gathered up all her warp ends she did not even try to separate them by color and the braid still looks great.

Yani’s key fob is on the right. On the left is a braid I made with heavy cotton all in one color and then one in finer cotton in five colors. I have put together a little tutorial on this braid here.

Speaking of braids, I got to spend some time with finger-loop braiding expert Ingrid Crickmore when I was in Santa Cruz, California on this trip. I had met her at the Education Booth at CNCH where she was teaching braiding and I was playing with m by backstrap loom. Ingrid has been hard at work lately putting together her blog and she now has tutorials there so please go and check it out.

Now, back to spinning. It seems to be calling me!

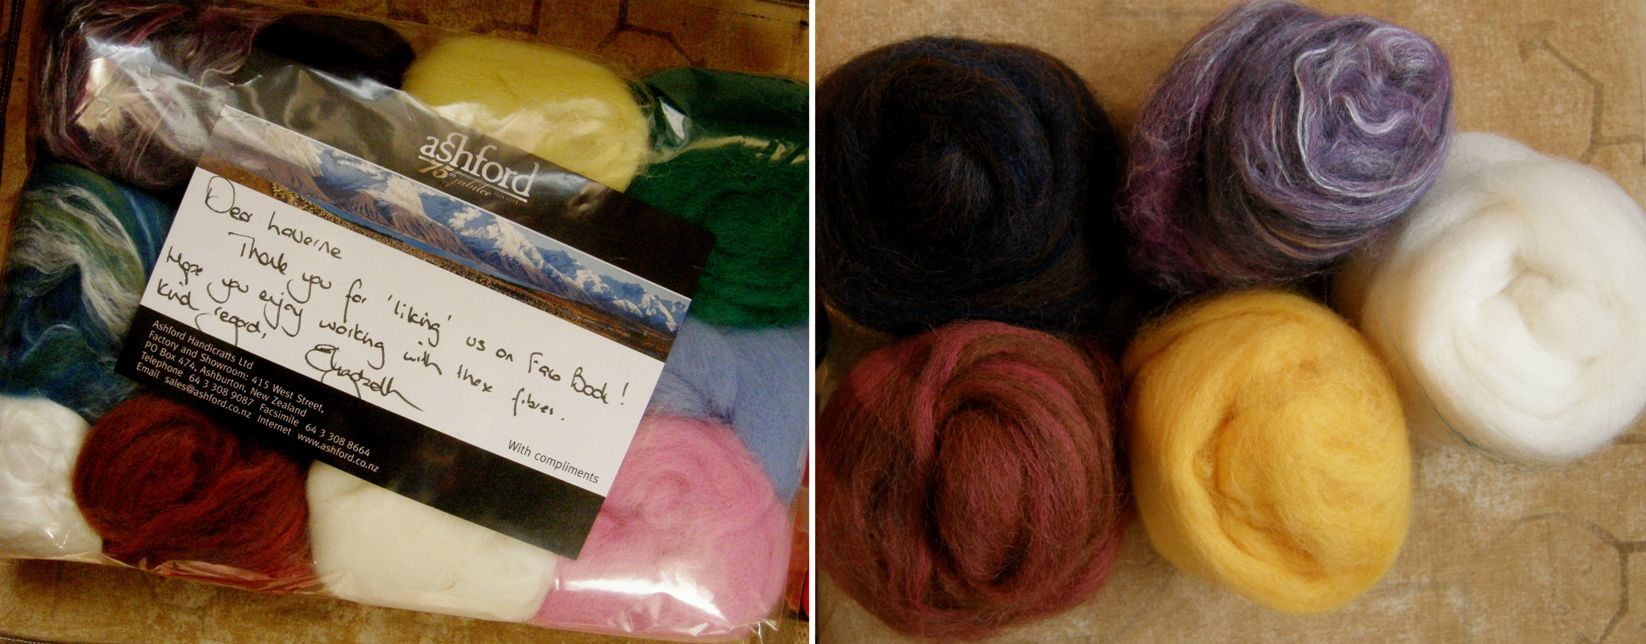
I arrived home to find this package at the post office. I had won a prize from Ashford for being one of the first to “like” their page on Facebook. I had been expecting yarn but I found a bag of roving instead which I shall set to and spin. There is nothing like this to be had here in Bolivia so this is quite a treat and I will enjoy weaving something with this on my backstrap loom.

So, I got one of my pre warped projects done and there are two to go. I had taken another warp on the road to show people the different ways to open the heddle shed when weaving wide projects with fine yarns. I have learned so many different ways, none of which can be considered the one right way. Some I find more efficient than others while others are better suited to particular yarns or warp widths. Again, I wove very little on this warp and actually unwove everything when I got home. I had made a simple two-color horizontal bar warp with no plan in mind at all.

When I got home I quickly decided on a pattern in simple alternating color warp floats as I have come home with a lot of ideas about using these simple warp floats and want to get warmed up with this technique before launching into the new ideas and experiments. I am swimming in warp float ideas!

So, this is what I have going on right now. These are designs from Central Asian yurt bands that I am weaving with Clea cotton which is very similar to the #10 crochet cottons that can be bought in the US.

What am I going to do with this? I have no clue! Something will come to me when it is off the loom. I have been wanting to make a case for my notebook and this just might do.

I would really like to use traditional colors for these pieces….those washed-out reds and blues that I see on the yurt bands are what I would really like to use, the colors that Martha Stanley has so cleverly managed to reproduce without having to wait for her yarn to be sun bleached and dusty!

Then I remembered that I have this in the closet… something I got in a swap for a Bolivian spindle a long time ago. Okay, it’s cotton and yurt bands are NOT made of cotton but aren’t the colors gorgeous?! Spin, spin, spin.

The other thing that is pending…

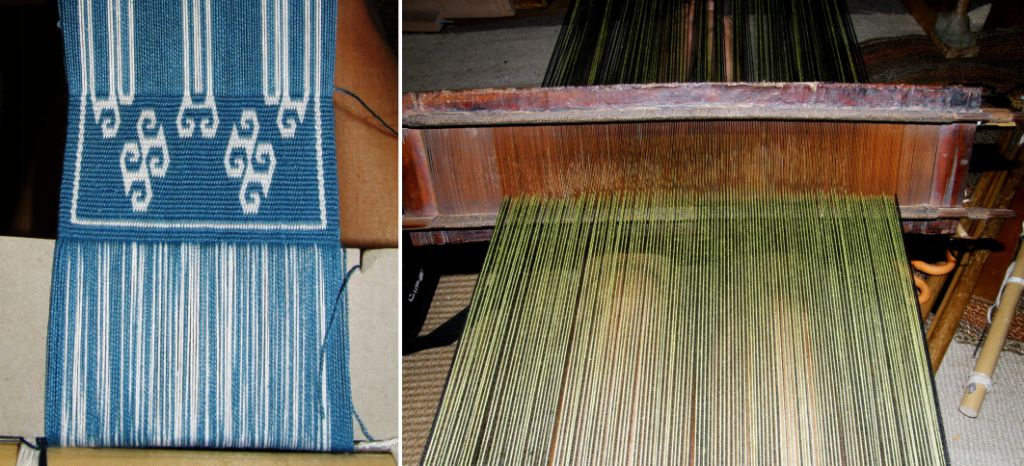
A warp for another backstrap…it looks terribly wide right now but the blue and white pattern area will shrink down once I start doing the pick up. This yarn is doubled Tahki Cotton Classic and the project will give me practice on a technique that I have neglected for some time.

Ingrid gave me a tip for a source of Anne and Clea cotton yarn. This is the Brazilian cotton that I buy here in Bolivia. It is not as shiny or tightly spun as the crochet thread that I have seen in the US. It is all I can get here and I guess I am lucky as it is good stuff.

#######################################

Some other handy information that has come my way, this time through the Backstrap Weaving Group on Ravelry….

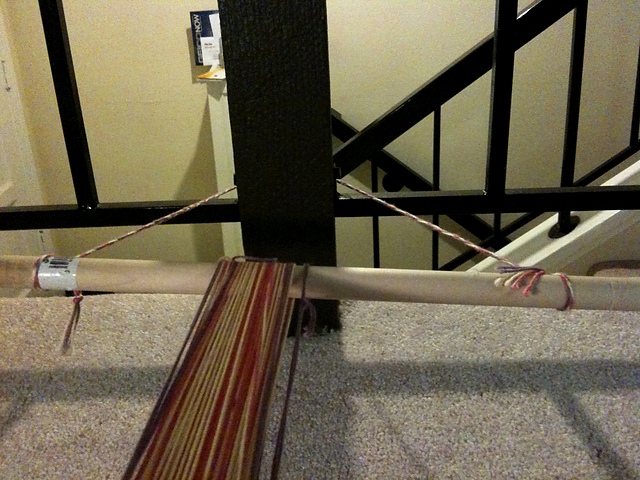
Barry Brown provided us with information on how to tie a loom bar to a vertical post and not have it slide down. It is a real problem sometimes finding a place to attach a loom bar in the home. I know because I spent time in a lot of people’s homes on my trip and sometimes we had quite a time finding hitching places. So, here is another option. This topic came up as Pancha had hitched to her stair rail and was having problems…

Number one problem…she really wanted her warp to be angled more steeply upward.

Number two…the warp kept sliding from left to right on her loom bar and messing up her tension.

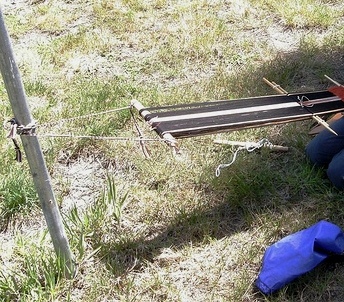
As usual many people came along and offered suggestions. That “floating loom bar” tie-up really only works well on wider warps like the one at left. You can see that that loom is much better balanced.

If you are going to use that method, you should try and cut notches into the ends of the loom bars into which the cords which attach the loom to the fixed object can sit. This will stop them from sliding in toward the middle of the bar.

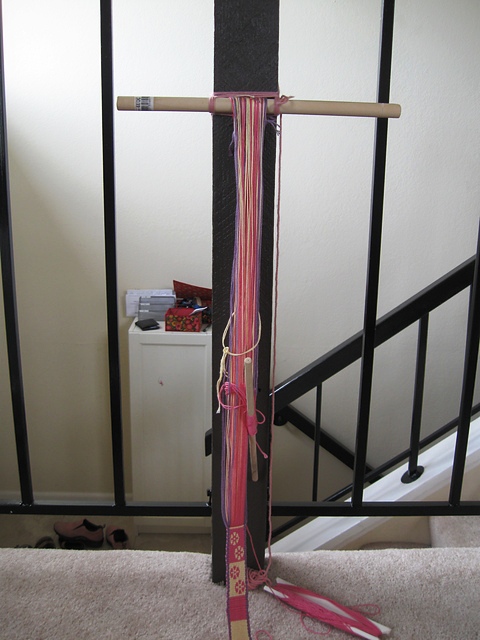
I like having my whole loom bar lashed to something so it can’t move at all but in some homes this just isn’t possible, Even using “C” clamps on a table or counter is not an option for some people. Fortunately Barry has provided Pancha and all of us another option. So here is Pancha’s loom now…

Barry provided this link to a Girl Guides page which gives instructions on how to lash securely to a vertical post. I have added all this information to the FAQ page.

What about in the car? I taught my friend Claudia to make the ñawi awapa tubular band and here she is making one in the back seat of the car.

Her warp is attached to the head rest of the front passenger seat and the other end is tied to her seat belt. I managed to catch this shot on Claudia’s phone. We were on our way to the Reagan National Airport as I was heading home on Sunday of the Memorial Day weekend and so we were competing for space on the highway with all the Rolling Thunder guys. You just see one going by.

And if all else fails finding a tie up spot you could always try this…

This picture of a Li weaver was taken by Pam Nadjowski at the International Folk Festival in Santa Fe. I did try this way once as a last resort but I think it works better with circular warps set up at just the right length rather than ones in a single plane. Mine was just a tad too long and I really wasn’t getting good tension.

I will leave you this week with a finished project from Traudi in the Ravelry group. She used this tutorial on the warp substitution technique and the Bedouin design pattern charts as well as some of her own motifs to weave a hair band (made on an inkle loom). She is using this technique as her stepping stone to one-weft double weave.

Himalaya (Tracy) has also been experimenting with this technique. She has the wonderful opportunity of seeing the Bedouin weavers at work on their ground looms as she lives in Qatar.

And it’s nice to see the simple warp float technique being used by Dyggvi to make a first-ever backstrap project….a backstrap.

The other threads you see in the picture belong to her warp weighted loom. Yes, we have another warp weighted loom weaver in the fold along with my friend Lisa.

Gannet has just joined us with her first pebble weave band in my favorite tone of orange…

Time to go get “drunk” on spinning and floats.  Back to the spindle, back to the loom, back to sorting all those ideas!