Backstrap Weaving – Two Faces to Every Story

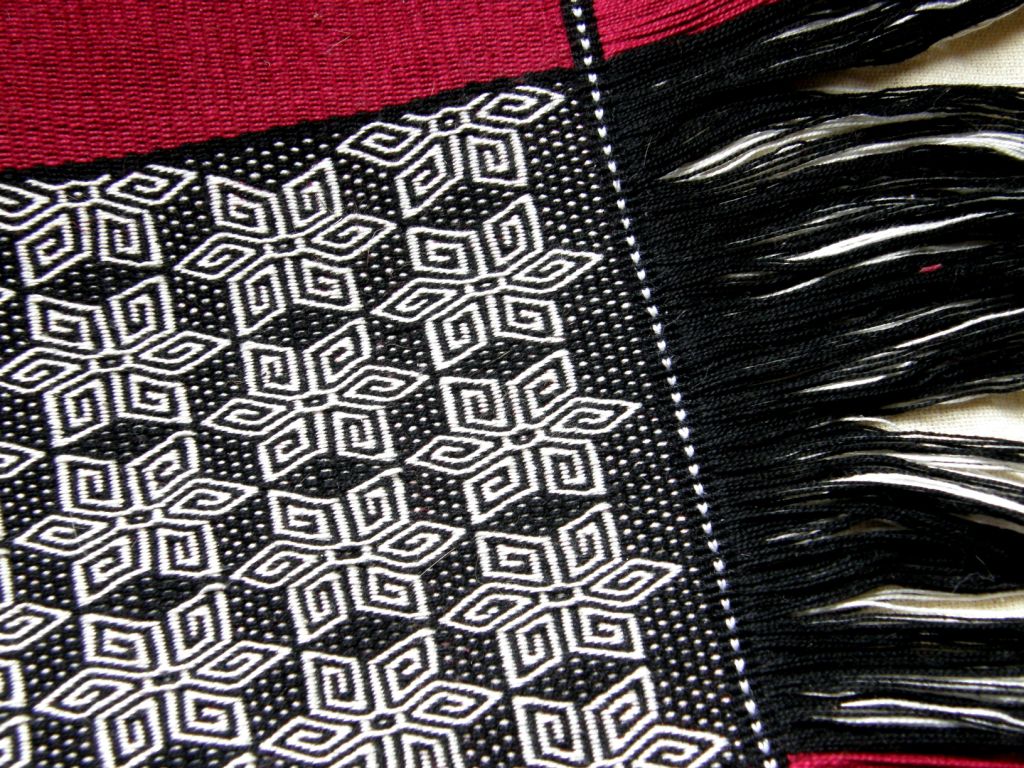
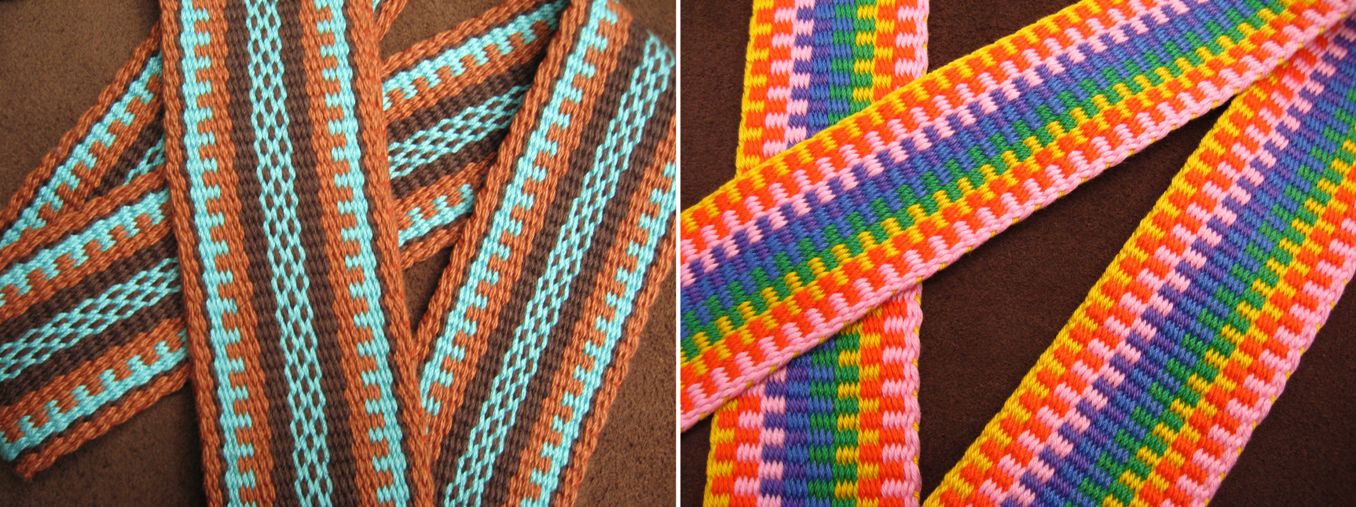
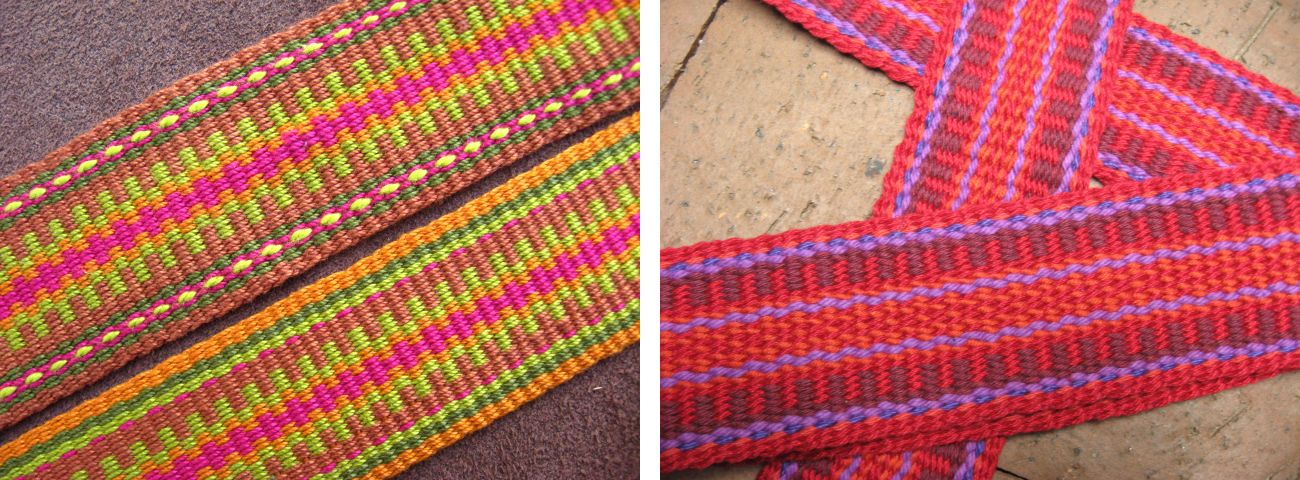
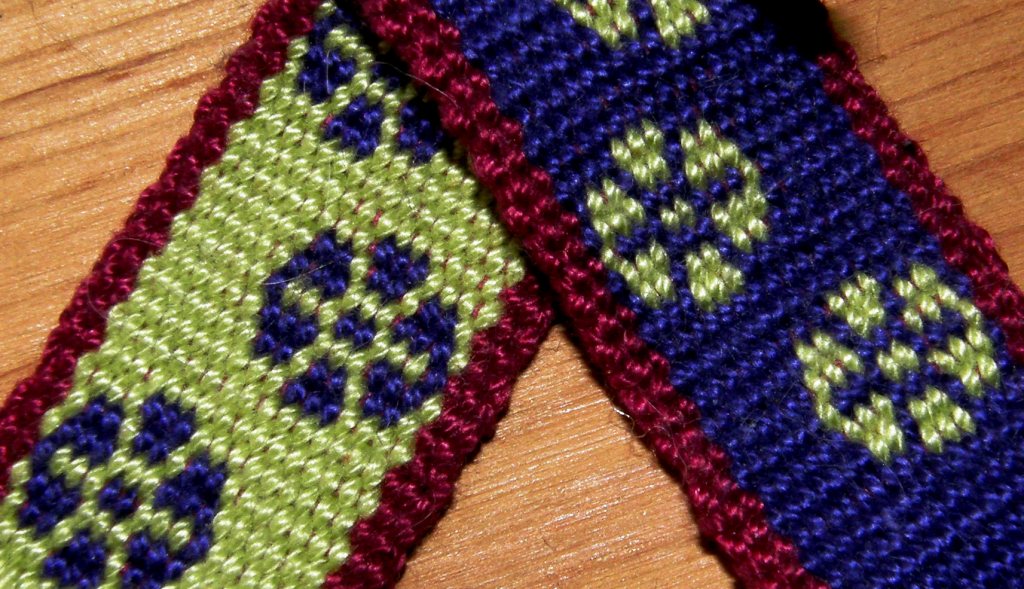
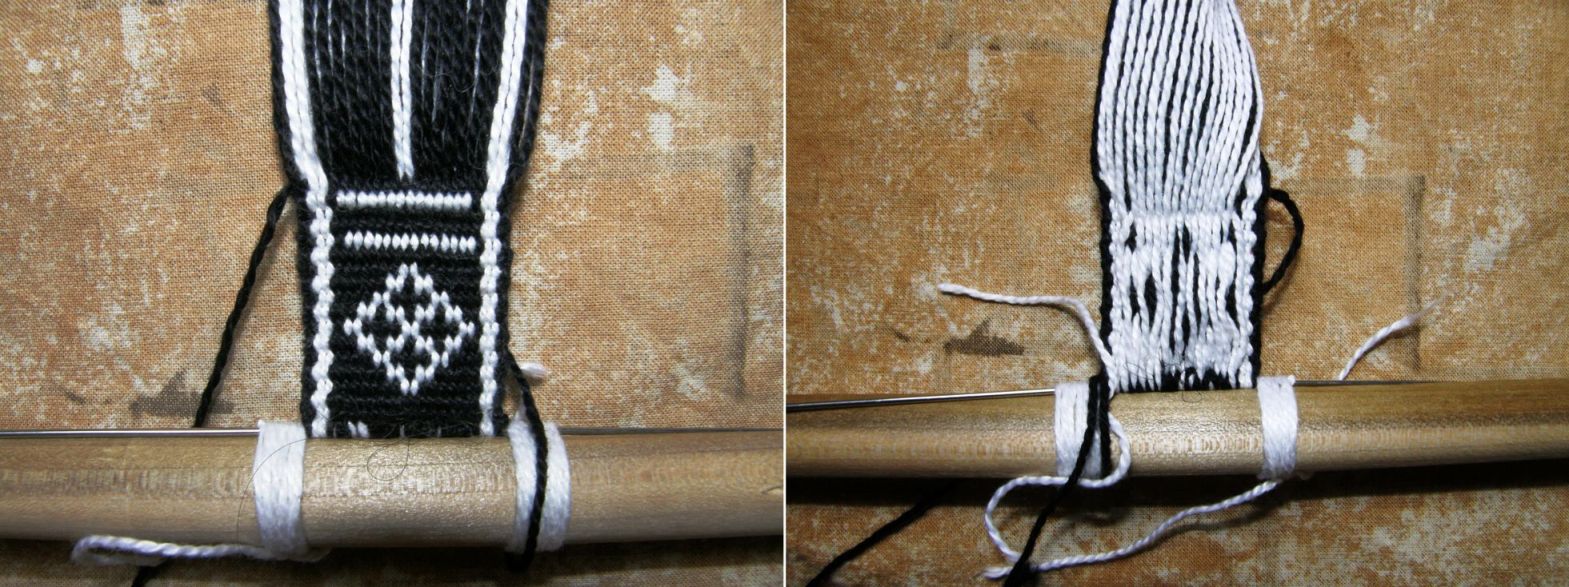
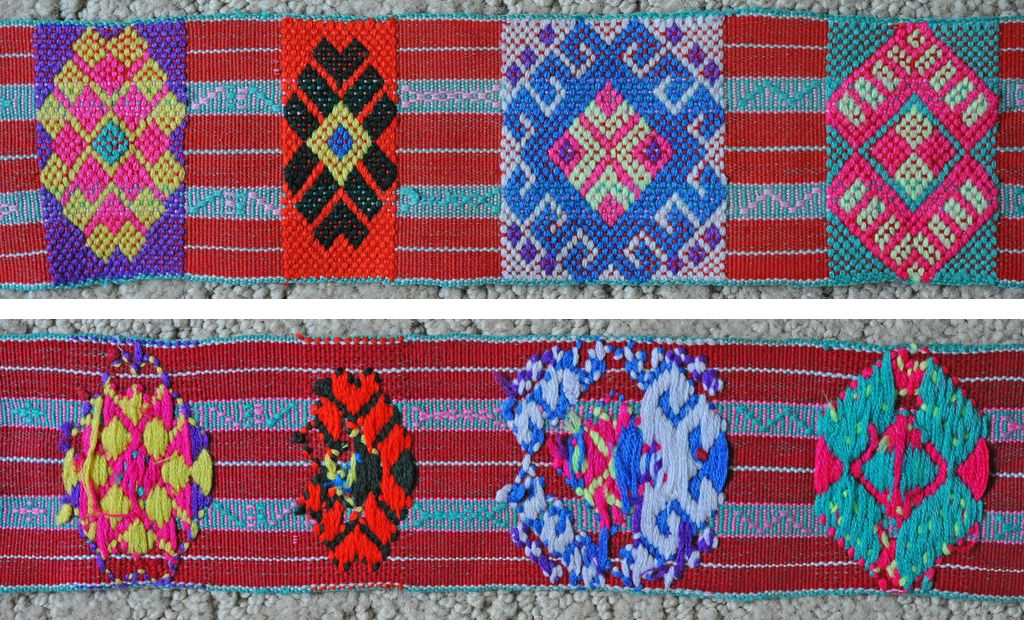
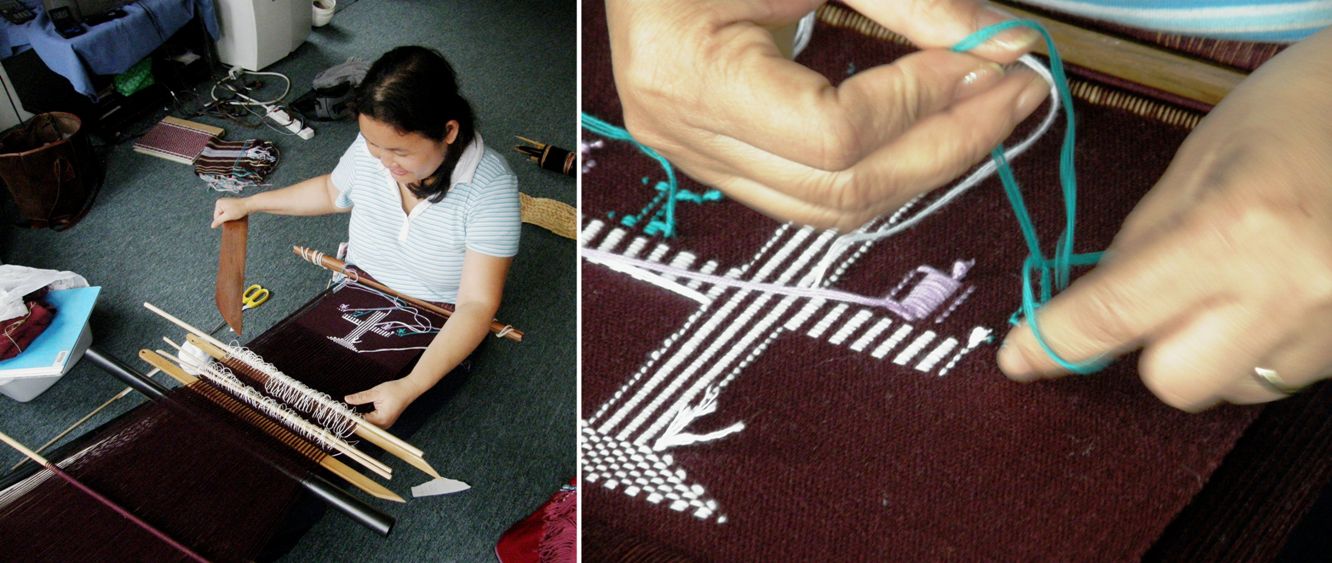
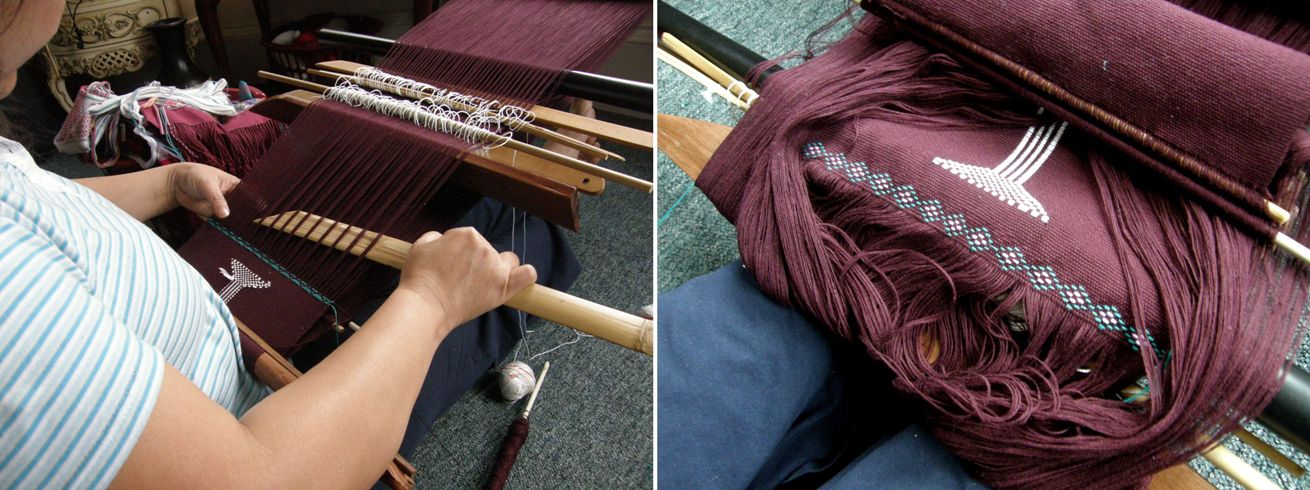
One of the most exciting things for me about finishing a pebble weave piece is looking at the other side. Sure, I do take a peek at it when I first start the piece but I try not to do so again until I have the finished fabric off the loom. Nine times out of ten, I am astonished that I like the other side better but I think that just comes from having gotten so used to seeing the “right” side.

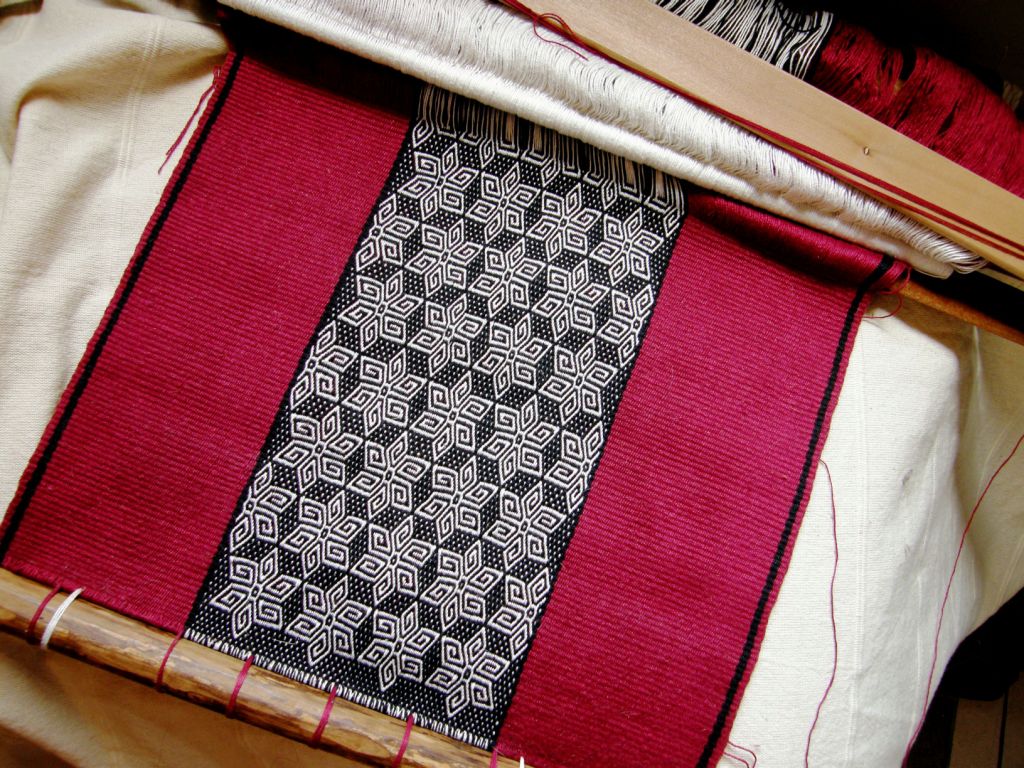
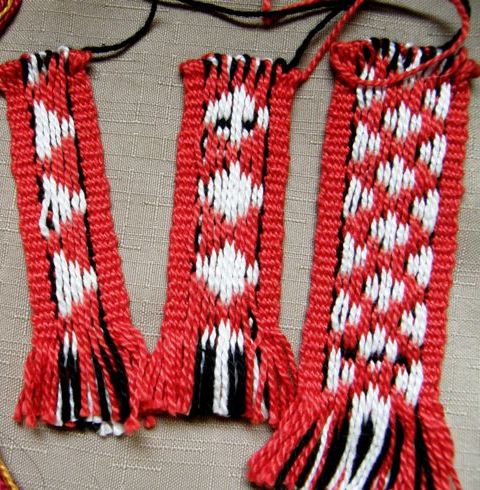
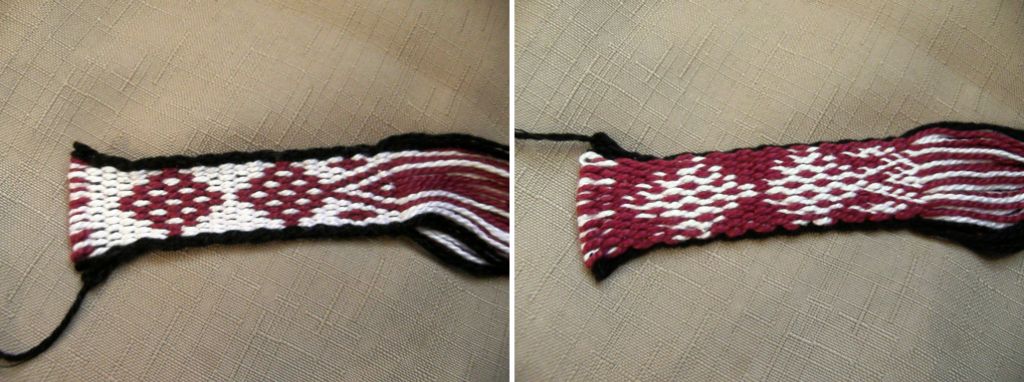
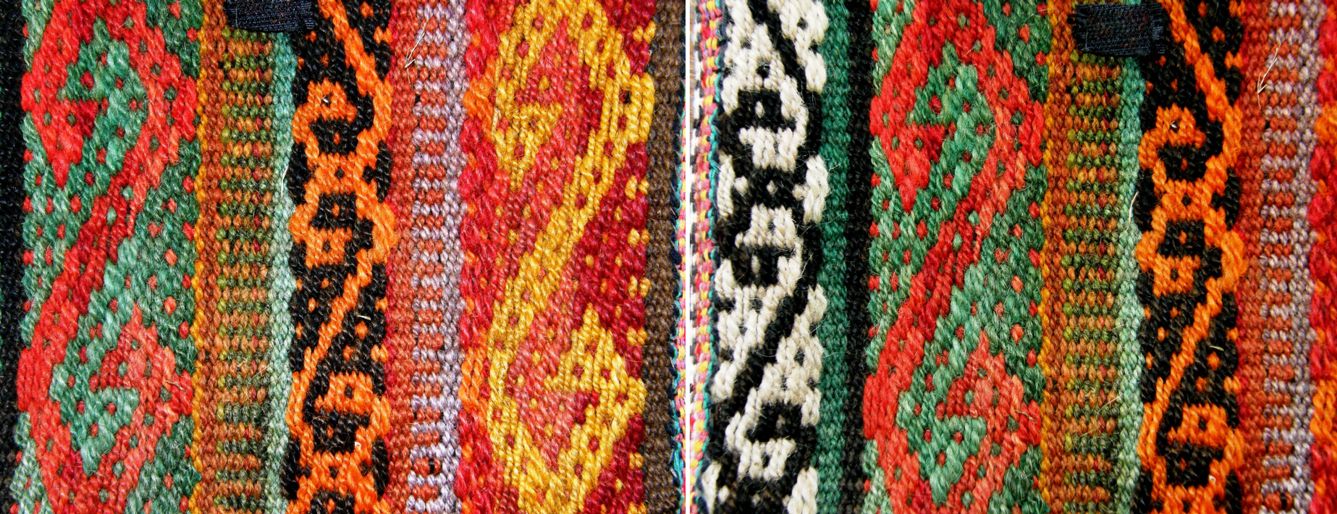
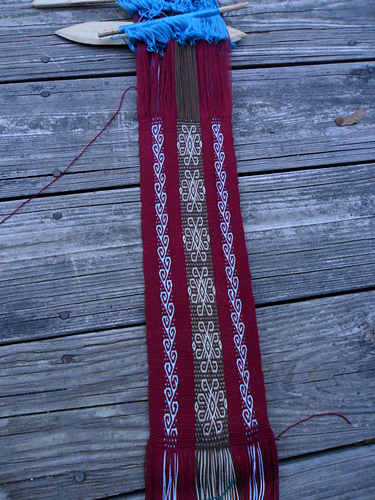
So here is the Starry Night piece off the loom so you can see both faces…

Which side do you like better?

I decided to finish it with some very simple twining rather than twine a motif as originally planned as I felt it would look too cluttered.

I am still deciding on whether to edge it with tubular bands and I am not sure what to do with the fringe.

I do like the look of a full fringe and, as it will be a wall hanging, it shouldn’t cause problems but then, I like braids too.

Maybe I should let it sit for a while and see what it says to me!
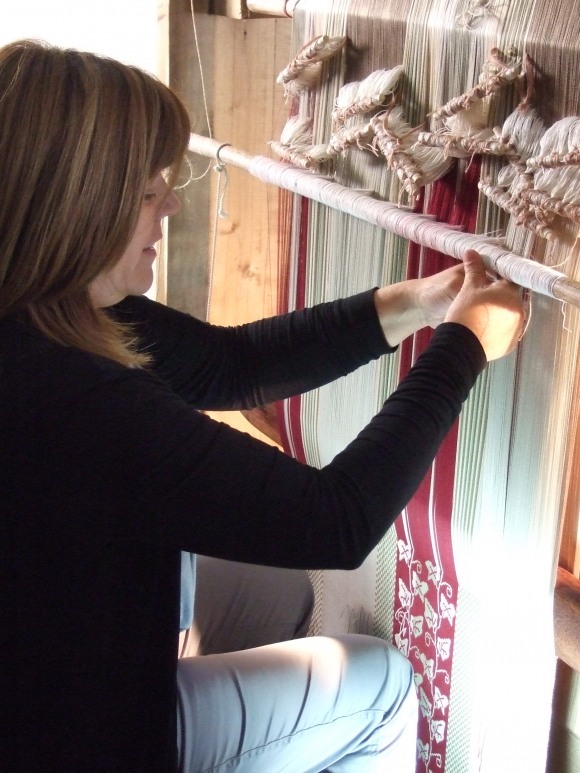
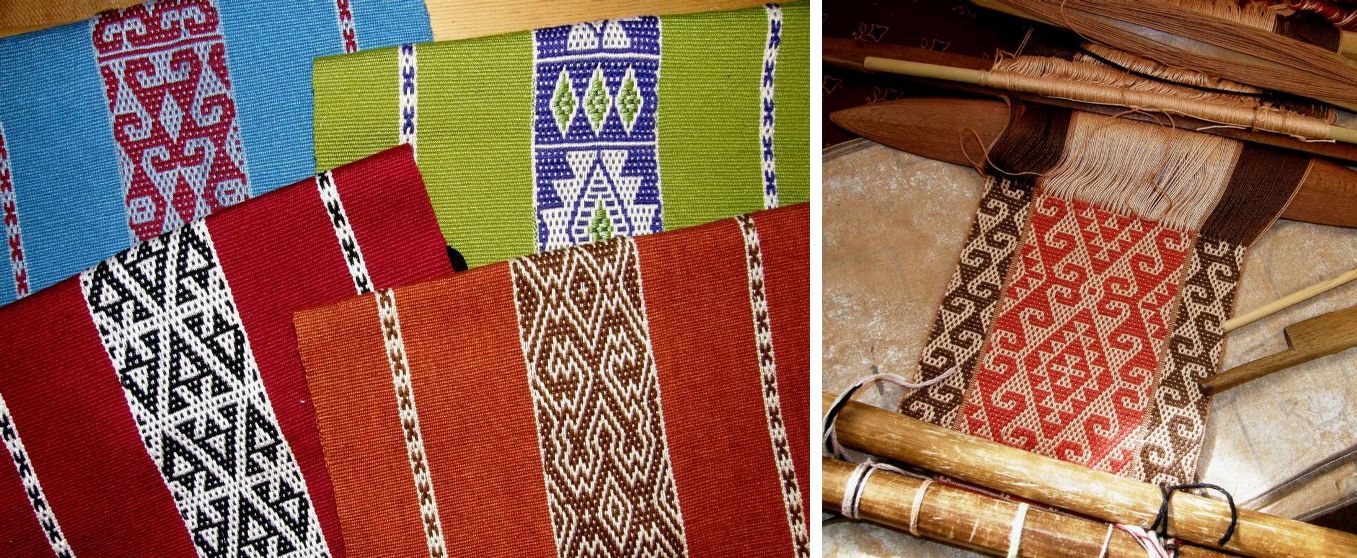
I have spent most of the time after taking this off the loom charting and sampling motifs for the next chamanto-inspired piece.

I have been looking at examples online and trying to figure out scale in my charting.

As I have mentioned in other blog posts, chamantos are ponchos woven in one particular region of Chile which have come to be part of the national costume of the huaso, the Chilean cowboy.

One description I read online says that it a “summary” of indigenous and Spanish textile influences. I also discovered when researching these some time ago that they are also worn occasionally by Texan cowboys. Take a look here. 😉

That was at an APEC conference in 2004. Imagine all those participants each with their uniquely patterned poncho. How I would love to see each and every one up close. I have seen a few of the motifs repeated from one chamanto to the next. There are certain flower and leaf designs that turn up quite a lot but each weaver creates her own unique piece in her choice of colors and layout.
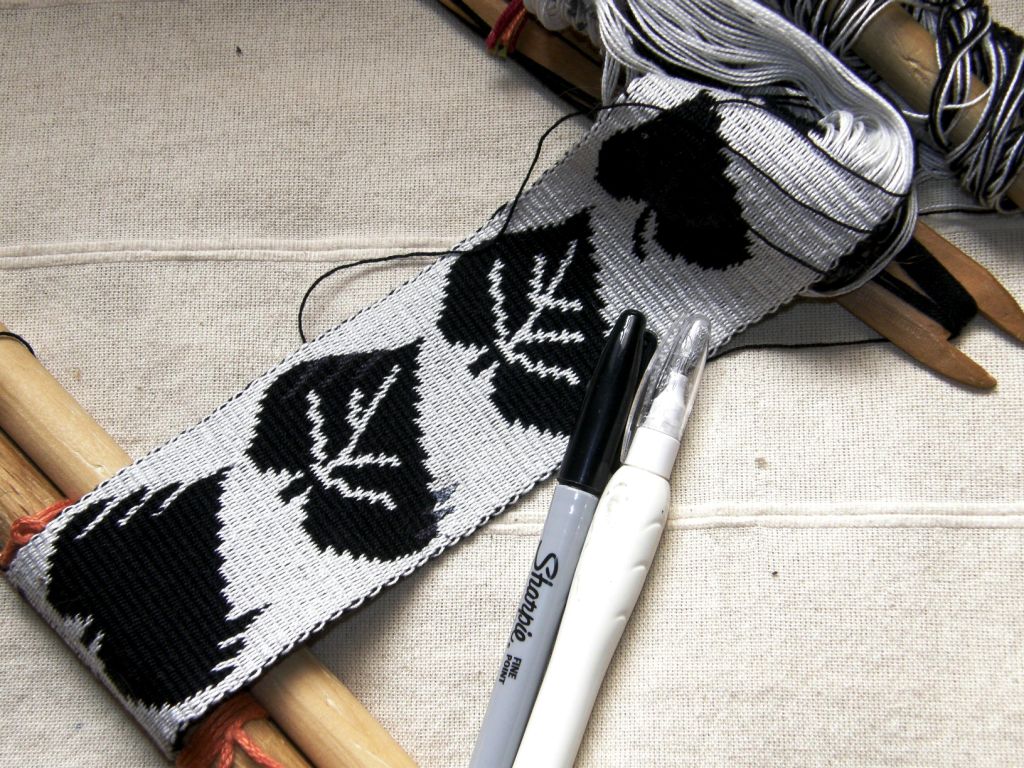
I hope to use my adaptation of one of the grape leaf patterns in my next wall hanging and so I have been charting and weaving, correcting, charting and weaving and using two of my handy sampling tools…my black Sharpie and white correction pen.

With these I can make adjustments on the cloth before changing my chart and trying again.

I know that the Chilean weavers use much finer thread than I do as I am not able to get as much detail  as they do in motifs of the same size.

I also know about the thread they use as I got to see one of the ponchos, which was woven without pick-up patterns, at the exhibit of Chilean crafts in Washington DC recently.

The striped warp-faced ponchos are called mantas.
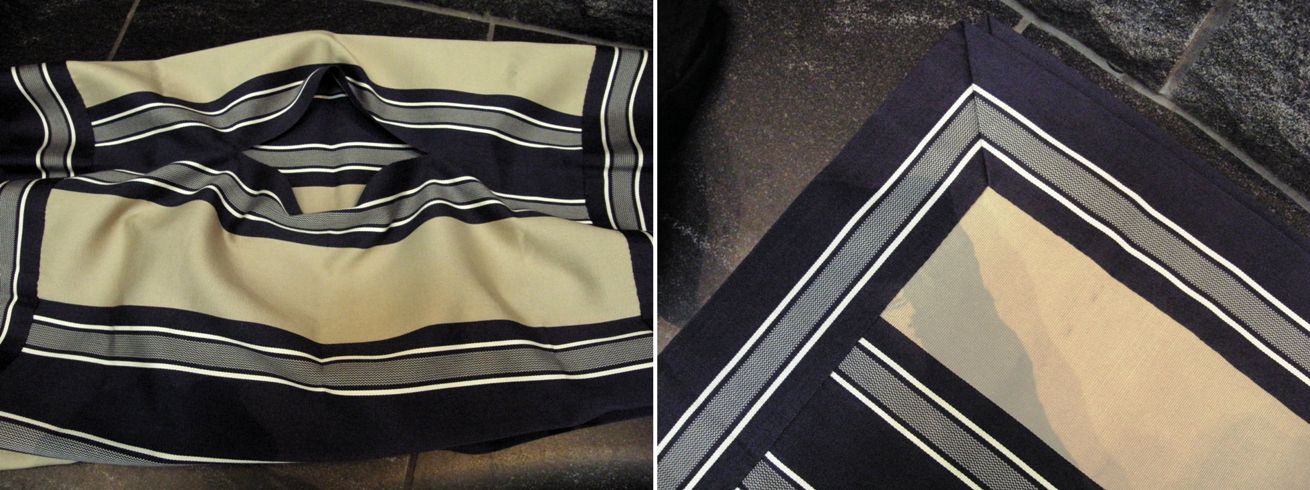
So, that is my next project. I have made my calculations…my goodness, what a job that was. My head just wasn’t functioning well the day I got the calculator out and I made a fine mess of it but fortunately caught all the blunders before I got the warp off the stakes.

Prepare for another onslaught of red, white and black…
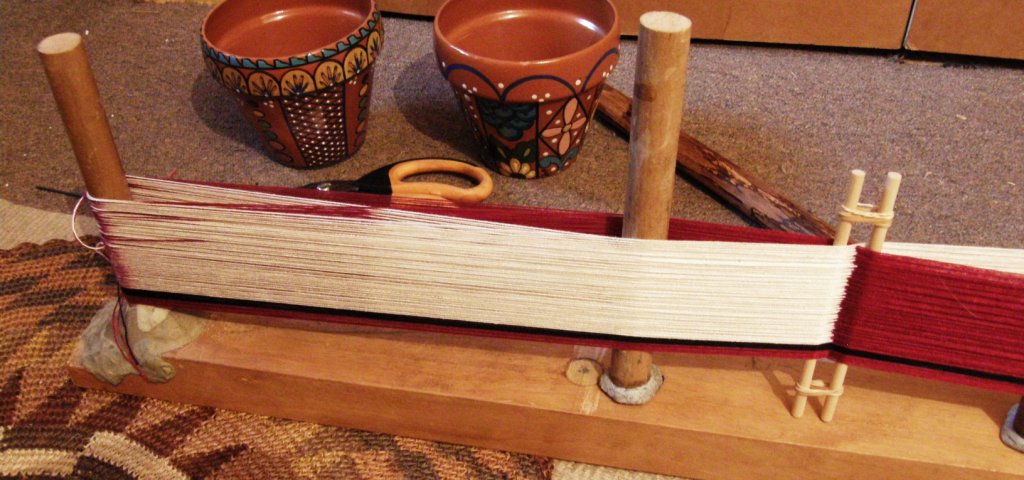
I warped my piece in three sections. Here is the first one completed and about to be taken off the warping stakes.

Above you can see the first section placed on the loom bar and wire that I use in place of a header cord. And then you can see the three sections on the floor on the loom. What I do next is transfer the cross on all three sections to one long pair of cross sticks and lash the wire to a loom bar.
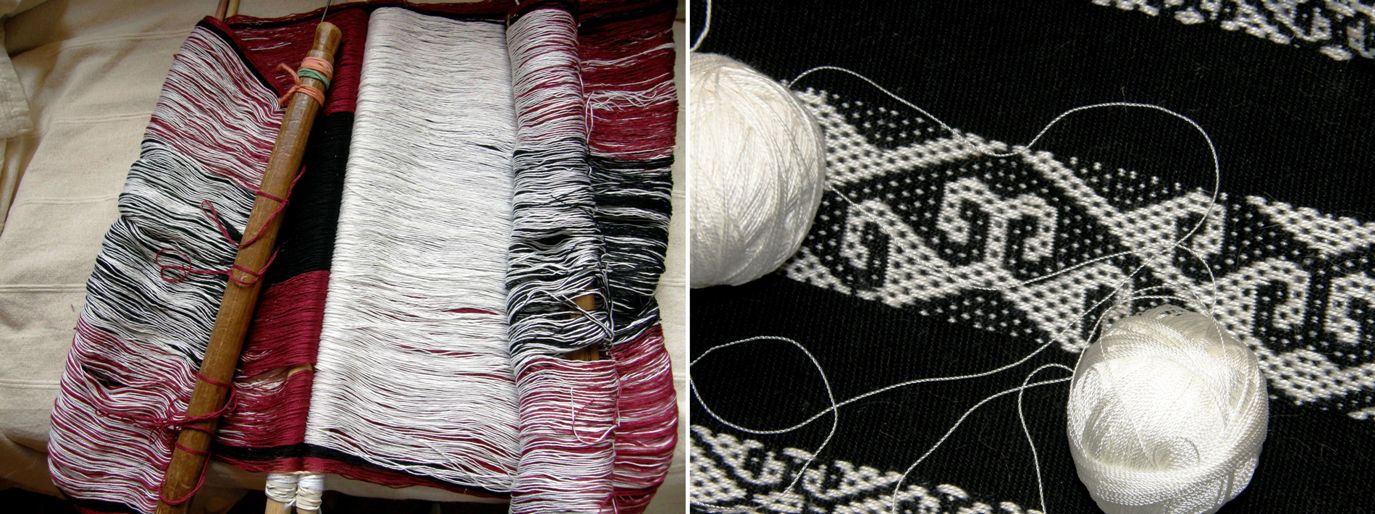
And now I am ready for heddle making. While tidying up the other day I came across this ball of very fine nylon that weaver Deb McClintock gave me a long time ago when I met her at the MD Sheep and Wool Festival. From what I remember, she brought this from Laos and gave it to me as I was interested at the time in having a bamboo reed made and this is the thread that the reed makers in Laos use to space the bamboo slivers.

Well, I didn’t get the reed made as I managed to buy two beauties and so I am thinking of trying this as heddle string. You might already know that I hate nylon for heddle string although all my Guatemalan weaving teachers use it happily. It’s just that I haven’t tried any as fine as this and would like to see how it goes. I hope it works as there are a heck of a lot of heddles to make!

So, there I was planning and planning, but, you know what?…a bit of spontaneity is good too! And that is what hit us thanks to Tracy in the Ravelry Backstrap Weaving Group last weekend following my blog post with the tutorial for warping the traditional Bedouin al’ouerjan patterns.

Tracy suggested a warp-along for the weekend and a few people jumped in with enthusiasm while others watched-along and cheered. Some people chose to use the seven-square warp above right for which I gave instructions in the tutorial while others warped wide pieces with several strips of al’ouerjan patterns in different widths.

Some used their handspun wool, Tracy used handspun wool that she bought in the Souk in Doha, while others used crochet or perle cotton. We had both traditional and non-traditional color combinations, Some didn’t quite get it straight away but soldiered on and were able to declare success by the end of the weekend. It was fun.

Janet used her handspun. I love the way the grey looks against the red and white. Renate Petra chose the three-square warp and wove what I call the triangle design. She admits that the design would show better if she had chosen colors with higher contrast but the design is there and she has done a great job.

Above left is Tracy’s piece made from handspun wool she bought in the market and on the right is another piece she warped using perle cotton that she happened upon. What a contrast! Tracy has difficulty tracking down suitable yarn in Doha and so is constantly coming up with these surprise finds.

Jennifer really went to town warping up three projects, the first with three strips of al’ouerjan pattern, and partly weaving two of the warps.

I think Traudi was the last to jump in but she finished her band and even did some weft twining along the ends.

And then Tracy added some twining to the mix….
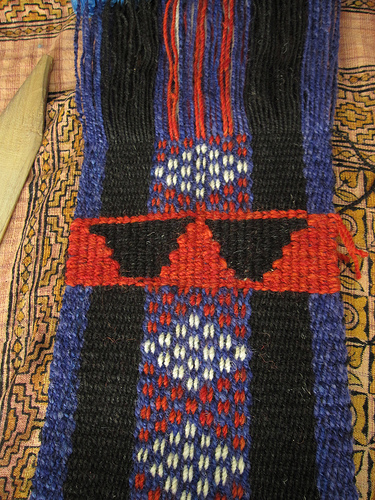
Maybe some day we will be making things like these….

Look at the beautiful al’ouerjan patterns in this chair seat fabric.
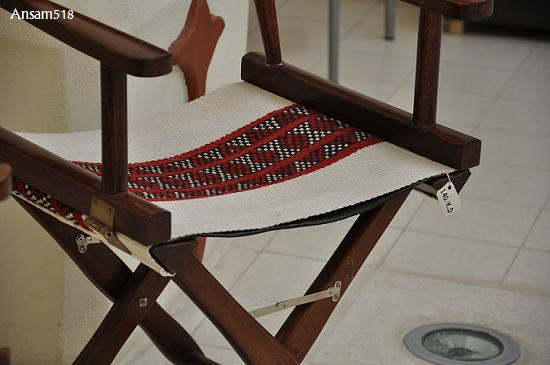
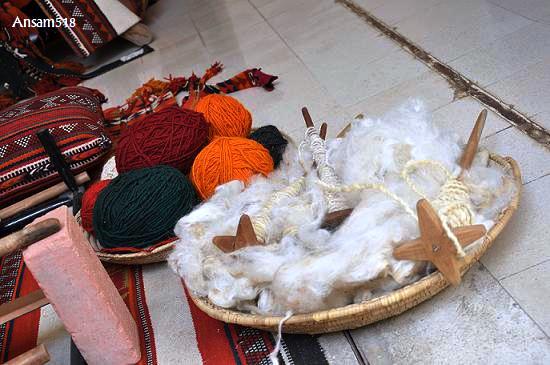
Ansam518 has allowed me to show these pictures from her blog post about a visit to an Open House event at the Beit Al Sadu, home of the Al Sadu Weaving Cooperative Society in Kuwait. Their Honorary President says that “We aim to promote and to celebrate Kuwait’s cultural and textile heritage. To tell the story of the land. To speak the languages of the arts … of the soul … ”

It was Alaa from the Ravelry group, who has been to visit this place, who gave us the link to another blogger’s repost of this report which led me to Ansam518’s original post which is packed with pictures. She shows us images from the gorgeous building itself which houses the cooperative to the displays of textiles, dye sources, books and crafts. Take a look at the stunning meeting room. I think I need to toss out all my furniture and put cushions on the floor (well, I pretty much live down on the floor as it is anyway!)

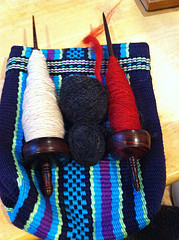
It looks like there will be more black, red and white on the horizon. Jennifer has just showed us her loaded spindles with yarn waiting to be warped for her next project (once she gets her three warp-along pieces done, I suppose).

You may remember my showing you how one of the features of the warp substitution technique, by which the al’ouerjan patterns are created, is the creation of long warp floats  on the back of the textile.

We may find them bothersome but obviously the Bedouin people don’t.

You may also remember that Tracy showed us an Omani textile, which was made for sale in a textile cooperative, on which the weaver had used a clever way to secure the floats.

Having seen all this, Phil from the Ravelry group posted a picture of a textile that was collected on a trip to Indonesia. This textile forms part of the greater collection of his and the late Dennis Penley’s now owned by C.Philip Willett.
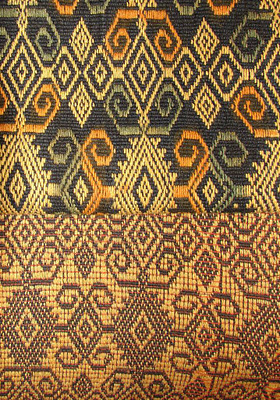
You can see the front and back of a warp-faced textile patterned with supplementary warp floats. Now, I would have been there forever scratching my head trying to figure out how they managed those color changes if I had only seen the front of the textile. At first, I thought I was looking at supplementary weft floats as the image had been posted side on which didn’t make the color changes difficult to understand.

There are two faces to every story, right?

And then Janet took a look at both front and back, figured out that the picture should be turned around, and that we were looking at warp floats which were all woven in off-white and then colored orange and blue after the weaving was completed. The long floats on the back are secured by a red weft in much the same way, I would imagine, as the Omani weavers in the cooperative are securing the floats on their pieces. Of course Phil already knew all this and was teasing us by not telling!

Dyeing the warps after the weaving? This had never occurred to me. At first I was rather disillusioned by what I perceived as “cheating”. But, then again, all sorts of embellishment can be added to a piece of fabric once it is off the loom…embroidery, stamping, beadwork, painting, resist dye patterns to name just a few so why is this any different?

#########################################

To finish, here are a few odds and ends…pictures from the groups and my other online weaving acquaintances, interesting links etc…

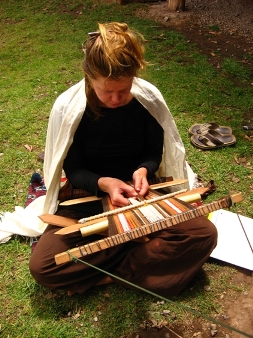
Tracy and Pam shared pictures of their backstrap weaving set ups.

It is always helpful to show these kinds of pictures to give people ideas of what they can do in their homes.

Tracy gets down on the floor while Pam sits up on her sofa. She sits cross-legged (jealous!).

Tracy made some adjustments by adding an extension to her far loom bar as she said that she was tired of banging her head on the table as she neared the end of her warp.

Pam was fed up with the card table always toppling over and so has wood pieces wedged between it and the sofa.

And here is super flexible Karla weaving in Chinchero where she was working as a volunteer for the CTTC.

She looks perfectly at home there, doesn’t she?

Some finished projects…

Another super guitar strap by Annie MacHale. Pam made a bunch of keyfobs from a pebble weave band she wove using four-shafts on her table loom. I like the hardware. Those tabs just clamp onto the ends and the rings are added…one little bit less sewing to do and less band used up in what would normally be fed through the ring and sewn down.

Ben has not only been braiding but has been making entire Peruvian-style slings. Here is one of his latest ones….

It looks to me like the Margarita braid but don’t take my word on it…there are so many variations to these braids and I would hate to give you the wrong information. I will have to ask Ben about that.

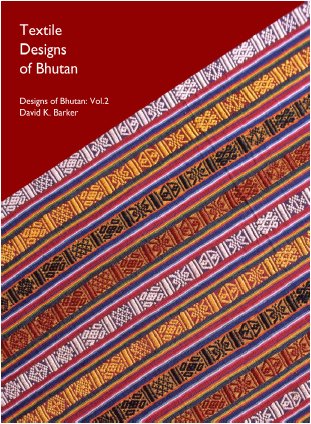
Some great links!….

This one comes to you via Kaz Madigan who writes the curiousweaver blog.

This link is for a free download of David K Barker’s 2nd Volume of Textile Designs of Bhutan. I have the first volume which I don’t think exists as a download but which can still be purchased as a hard copy.

The file is 73MB and even I with my erratic internet connection was able to get it quite quickly and with no interruptions…lucky!

And on the subject of Bhutan, this is a link to a blog which I recently found and which I think is sure to  develop into an incredible textile resource. I have been trying to contact the author, Wendy Garrity, but I guess that she is out of internet contact and can only get online now and then to add to and update her information. I would love to talk with her and know more about her life.
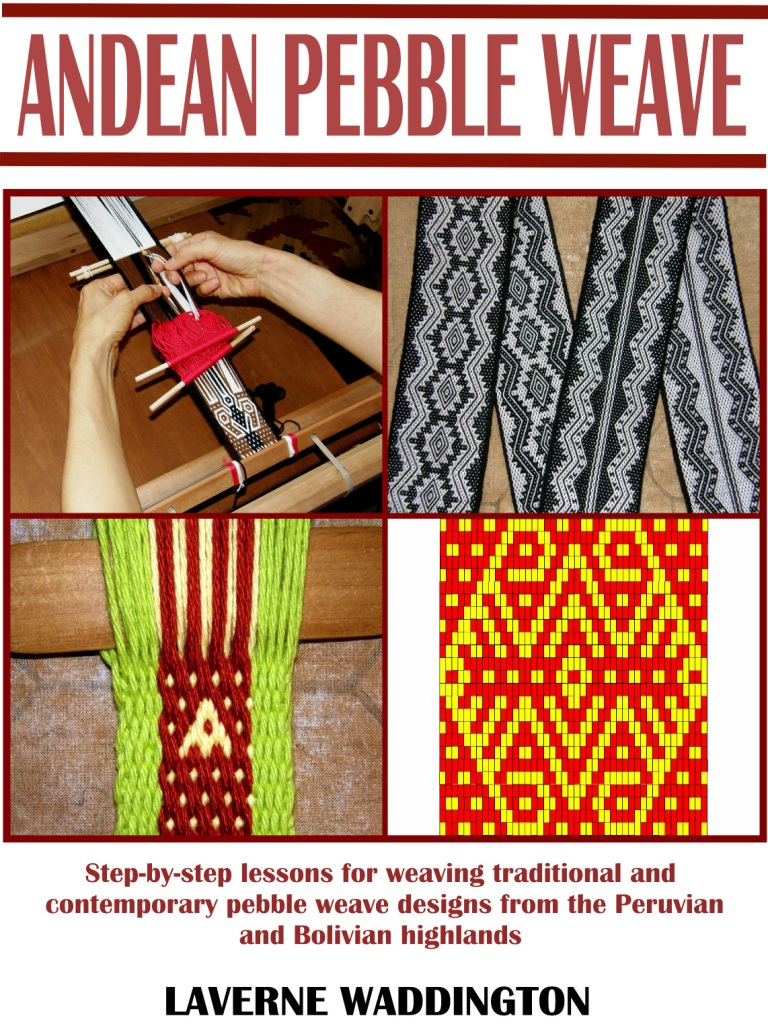
And finally, a little information about my book, Andean Pebble Weave.

The download is available as usual from Patternfish.com with the version in German here.


And then there is the follow up book that I am working on!

So, I will leave you now with all the very best wishes for the holidays with this Mexican weaving showing a nativity scene (courtesy of Karen Elwell aka Teyacapan.) It is blue indigo-dyed cotton with silk figures and is from the coastal Mixtec community of Pinotepa de Don Luis, Oaxaca

Backstrap Weaving – “Al Sadu” and Warping a Bedouin Pattern

I would like to share something that Alaa wrote in the Ravelry Backstrap Weaving Group this evening quoting from the book published in Kuwait  Al Sadu: The Techniques of Bedouin Weaving.

“The word Al Sadu in Ibn son of Mandhurs’ Lissan* Al Arab* The Tongue Language of the Arabone of the earliest known encyclopedia dictionaries of the 13 C denotes the extension of the hand towards an object, as when camels move forward with their forelegs. The word Sadu equally implies the movement of the head as in the way camels and horses move their heads thrust forward. Earlier, Al Jawhari (d. 398 Hijri) in his book Al Sahah also means the long and gentle stride of the camels. Al Sadu is the term used for warping and means what is extended.

In its widest linguistic meaning Al Sadu means: to extend or to stretch and spread, and, as used by Bedouin of Kuwait it means the process of wool weaving, the actual woven objects as well as the loom itself. Thus, it is an old Arabic term that evokes images and meanings derived from the desert environment and the Bedouin traditions.”

Extending, stretching and spreading…fitting words to have in mind when one thinks about the process of warping or even to apply to this idea of the Worldwide Weaving Web that I often refer to…which allows designs and textile techniques from people thousands of miles away in a dry sandy desert to enter the home of someone in humid jungly lowland Bolivia.

I read so many comments in the online weaving groups about the “joys and traumas” of warping. I don’t think I will ever think of it in quite the same way after that lovely description of the meaning of Al Sadu….that graceful extension of head and limb and thread….beautiful!

Some people love warping and see it as relaxing, some detest it, while others fear it.  And then there’s the old “back-to-front” versus “front-to-back” debate…that’s floor loom talk…I have little idea of what all that means but I do know that there usually isn’t just one right way to do things.

I love learning about the way warps are created for the simple looms I see in use here in South America and around the world, whether they be for backstrap weaving, or for the horizontal, vertical loom or leaning loom.

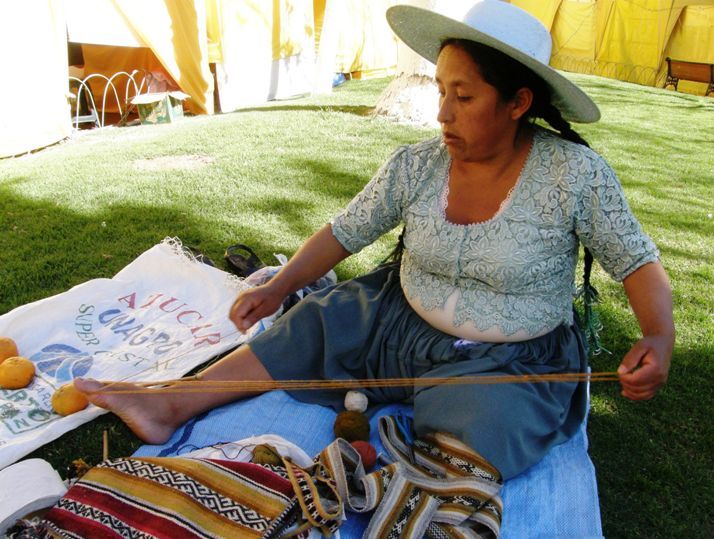
Sometimes all it takes is a toe and a forefinger…two points around which the threads can turn and measure out the length of the warp with a simple cross between.

For certain woven structures a startling amount of stakes are required so that the weaver can carefully place all the threads in their correct positions before the warp is transferred to the loom. Of course it also depends on whether the weaver is creating a circular, dovetailed, discontinuous or single-plane warp.

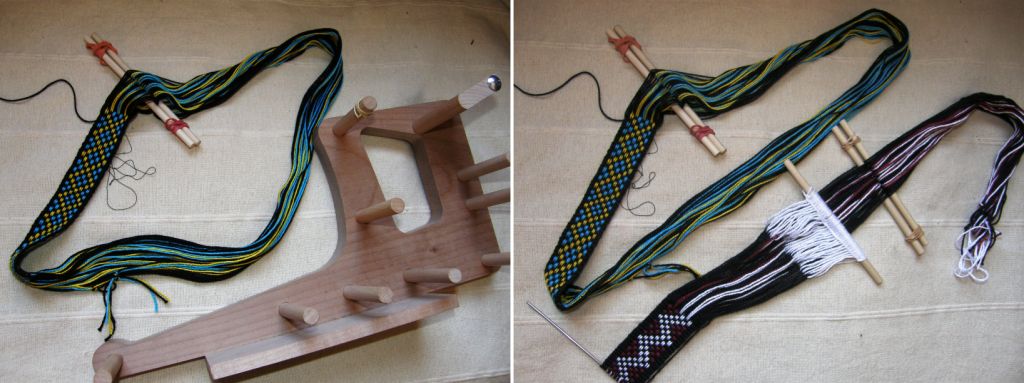
For those not familiar with circular warps, think of the inkle loom. You can see above left the very short sample warp I wound on my inklette and removed for this picture. When the band on the inkle loom has been woven, it is cut and opened up to its full length. Above right you see the same circular warp next to a warp that was created in a single plane for my backstrap loom. The finished inkle band will open out to be longer than the other one. Both kinds of warp are commonly used for backstrap weaving. A circular warp provides a practical way for long pieces to be woven on a backstrap or other loom without needing a large space in which to work.

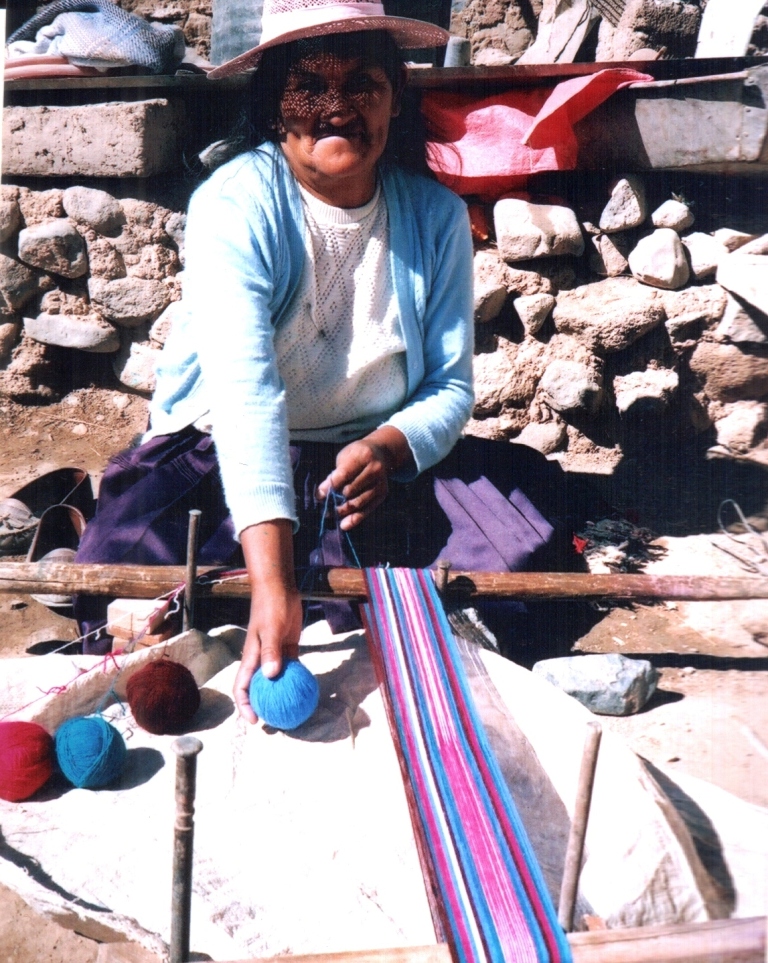
Warping for a large single-plane warp-faced piece may require two very long stakes between which the weaver walks carrying the thread. The weaver who was creating this warp in Chinchero was working alone. I have been told that often two weavers will sit, one at at each stake, and roll the ball of yarn to each other.

A belt with a complementary-warp pattern might need four stakes for its warp with the weaver sitting and carrying the threads at full stretch…

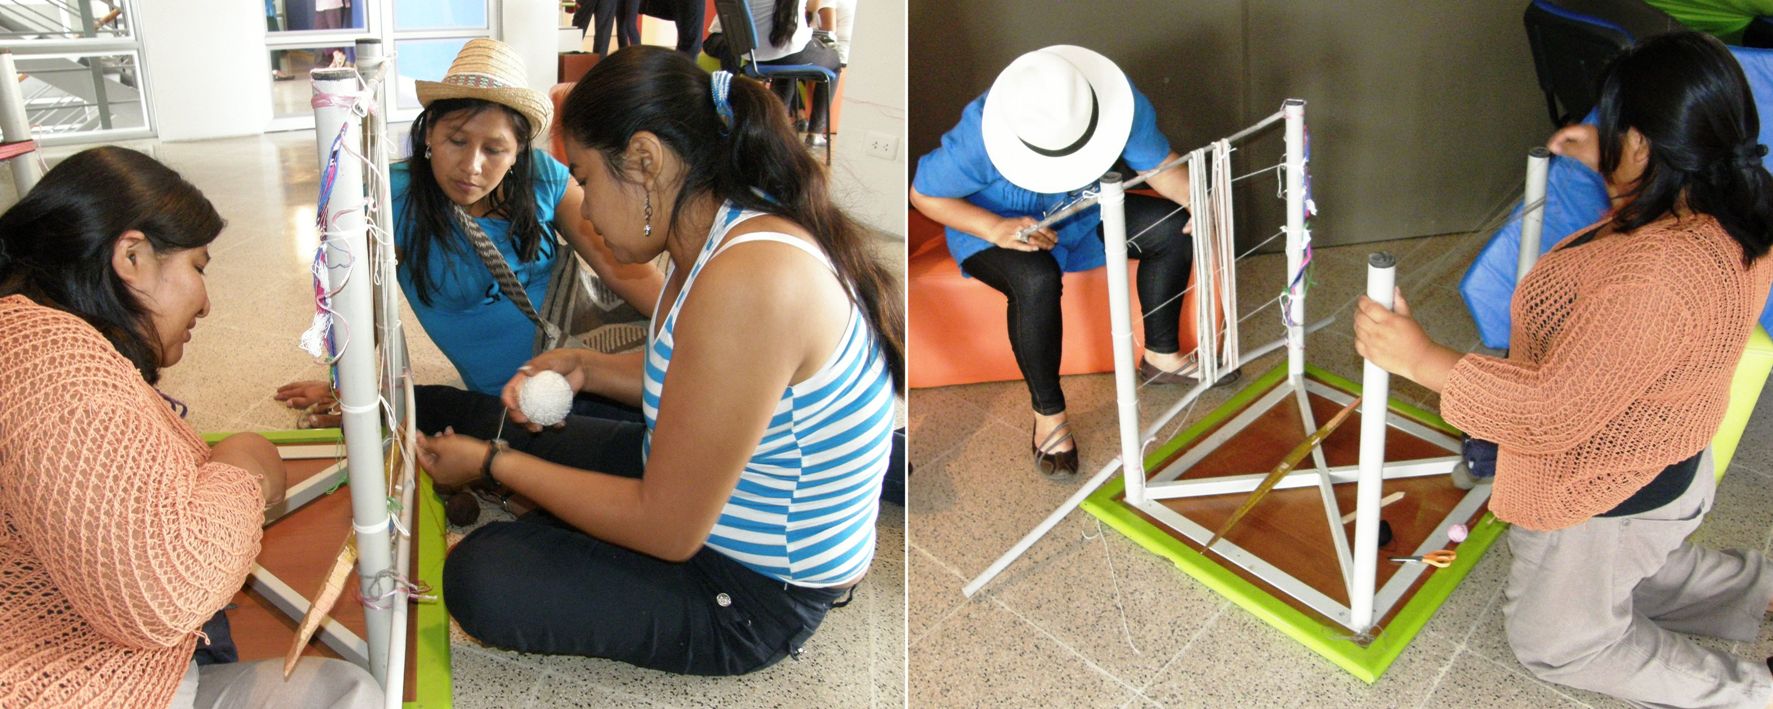
Some weavers, like my Montagnard teachers in the US, have a permanent warping set-up that stands on its own which they can pick up and transport from place to place. Below, Ju Nie is teaching other Montagnard ladies to make a circular warp in a community center. (picture by Andrew Young)

Her process will create the circular warp that you can see here…

The warp end nearest the weaver must be clamped or stabilized, as you can see, so that it won’t slide around the loom bar as the weaver beats.

I love the improvised warping set-ups…

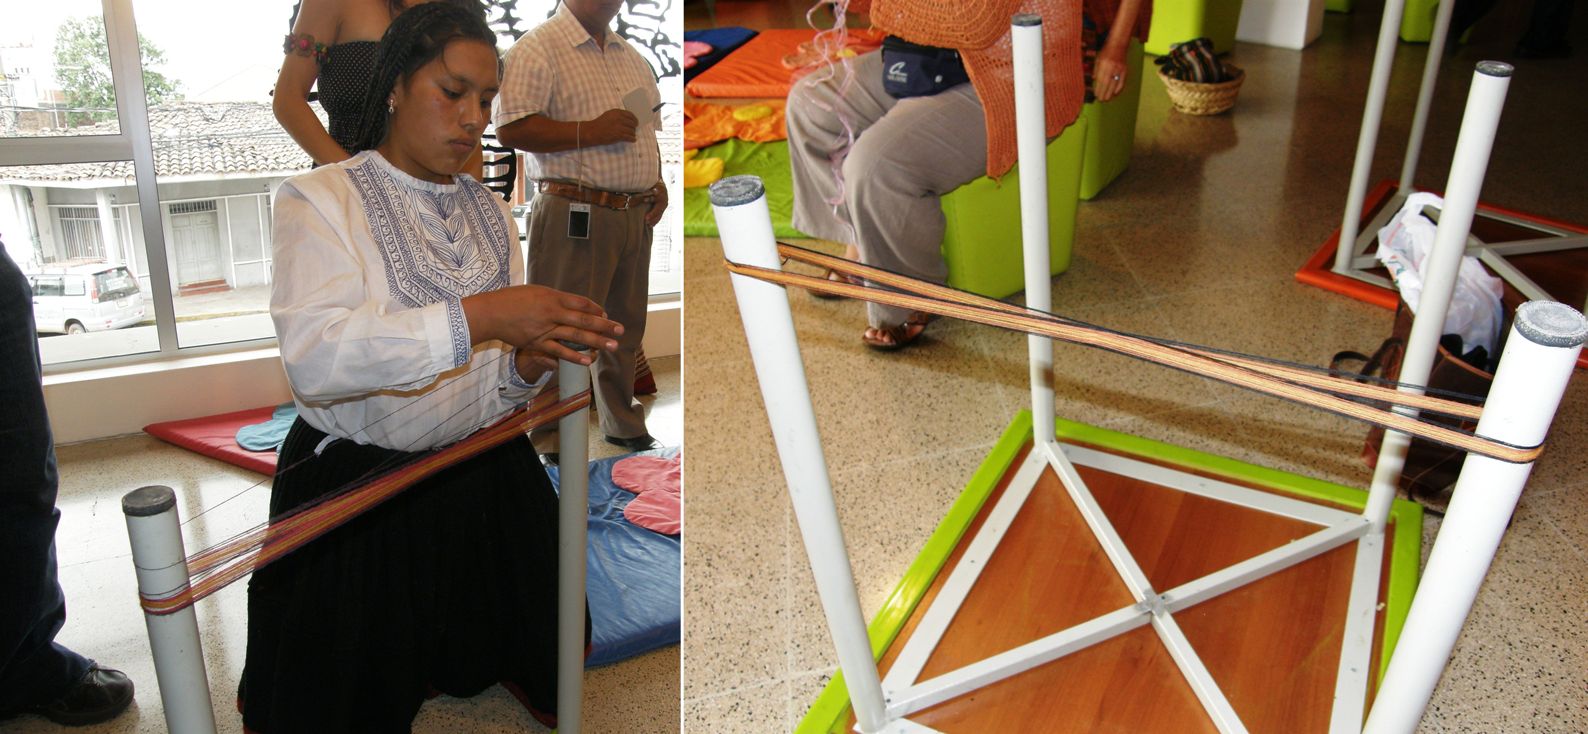
Indoors at a gathering of weavers in Santa Cruz, Bolivia, Chinchero weavers used table legs around which to warp practice bands.

The same table was even used by a Guarani weaver to demonstrate the dovetailed warp that she uses on her vertical loom. The dovetail warp occupies one end of the table while an Aymara weaver from Chile winds her single-plane warp on the other.

Often warping can involve more than one person. Above, Hilda and I in Potosi Bolivia, are warping the horizontal loom for warp-faced double weave embedded in plain weave. She is about to roll the ball of yarn to me so that I can turn it around the loom bar before rolling it back to her.

Mapuche weaver Marta and I warped together at the recent exhibit in DC which meant I couldn’t get a video of the process but warping with her rather than filming was much more fun!

Beth from Beer Sheva in Israel gave us a link to a wonderful set of videos on Bedouin weavers in Lakiya village in Israel. One of the videos shows how it takes three people and a lot of walking to warp their long horizontal looms for the making of warp-faced carpets.

You may remember the next video that I posted some time ago of the poncho weaver from Paraguay warping her tremendously long single-plane backstrap warp, carrying the thread up and down on her own for three hours.

I love watching that weaver at work!

Which all brings me to the warping tutorial I promised this week for the Bedouin al’ouerjan patterns which are woven with the warp substitution technique.

Tracy in Qatar and Helena in Brazil have been playing with these patterns as well as a couple of other members in the Ravelry backstrap group. You can see Tracy and Helena’s work above. We have all fallen in love with these patterns.

We had fun playing with one of the many versions of this pattern when I wove with friends in California. We combined the technique with weft twining.

And look at Tracy’s latest project!!

You will find the tutorial on warping the al’ouerjan patterns here. The weaving technique (warp substitution), which you will need to learn first, is detailed in a tutorial here. A tip for securing the warp floats that are typically created on the backs of pieces woven in this technique is within this blog post.

And, thanks to Alaa in Jordan and several other people who pointed out to me the Interweave newsletter this week that included a link to a  video on Bedouin weaving on the UNESCO site which is definitely worth watching. UNESCO were kind enough to give me the embed code but WordPress doesn’t like it! So, here’s the linkI just love how the loom is perched over mounds of desert sand. Nothing could be further removed from this moist jungly place in which I live.

Earlier I mentioned a link that Beth in Israel provided which leads to a page with several videos on the Bedouin weavers of the Lakiya Negev Weaving Project.

The one on finishing techniques is very nice. And here’s the link to the page with all eight videos.

I have a feeling we will be seeing many more projects inspired by Bedouin textiles in the Ravelry Backstrap Weaving group…a lot of black, red and white which also happens to be the color scheme of my latest pebble weave project. It is coming along…

Here it is all rolled up and reaching the end. It will be a wall hanging so it doesn’t need to be any specific length but I would like to weave as much as I can on it. I will change those thick cross sticks for thin ones and replace the end loom bar with piano wire and then lash that to the loom bar. That will give me more working space. I am still thinking about twining a design into the end.

In the meantime I am itching to warp up the next wide piece in these same colors…another wall hanging inspired by the Chilean chamantos.

And more things come into my inbox to inspire future pieces in this color scheme…

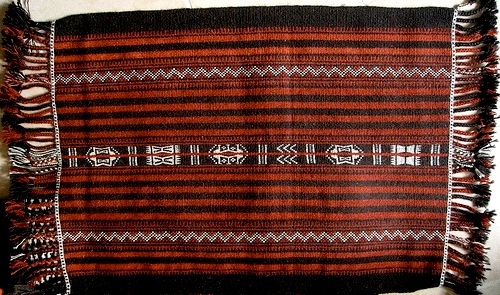
Roman K sent me this image of this beautiful man’s wool sash that he owns which is from western Podilia which Wikipedia tells me is in south-western Ukraine.

This sash has been woven in the simple two-color warp float technique but we are not sure as yet what kind of loom was used. Roman is a great resource for information on traditional folk clothing and embroidery. My online friend Sharon first sent me a link to his post on Central Asian embroideries and, while looking around his extensive website, it occurred to me that he may know something about the origin of the complementary warp weaving technique on some of the Russian Old Believer belts that I have been studying.

He has sent me pictures of other gorgeous sashes and belts which I will save for another post.

I know that my weaving friend Annie will be eyeing that sash. She is building a nice collection of sashes from around the world which I got to admire when I stayed with her this last fall. On top of that she weaves guitar straps and sashes of her own design on her inkle looms…emphasis on the plural…I think she has about seven inkle looms and is forever creating new and unique patterns.

It really seemed to me that her creative process was completely natural and effortless. There was no charting and not a calculator in sight. She just seems to pick up this color and that, move her skeins and balls of yarn around and then come up with something fabulous.

I think it is a wonderful opportunity to add a splash of color to the end of this blog post by showing you some of the guitar straps that Annie, aka AspinnerWeaver, creates and sells in her Etsy store.

These are done in plain weave with all the patterning created in the warping, letting the colors do the talking.

She has taken the supplementary warp technique and really run far with it working it into her own unique patterns.

Color!! She has made minimal but very effective use of the simple warp floats technique in these next two straps and turned out two gorgeous designs.

Mental note: never fear the half revolution on the warping board…a lot of these clever warp designs that Annie has created require half revolutions when winding a single-plane warp which is something I usually just don’t bother with to avoid having knots at my starting end (not a problem with circular warps)but, then again, not really a problem with single-plane warps either especially if you plan on starting with a fringe.

More plain-weave beauties…

And  one last supplementary warp color burst and a two-color warp float strap that is one of my favorites.

Have this got you all keen to warp up something on for your inkle or backstrap looms? If you are in need of even more inspiration check out Annie’s Flickr guitar strap album.

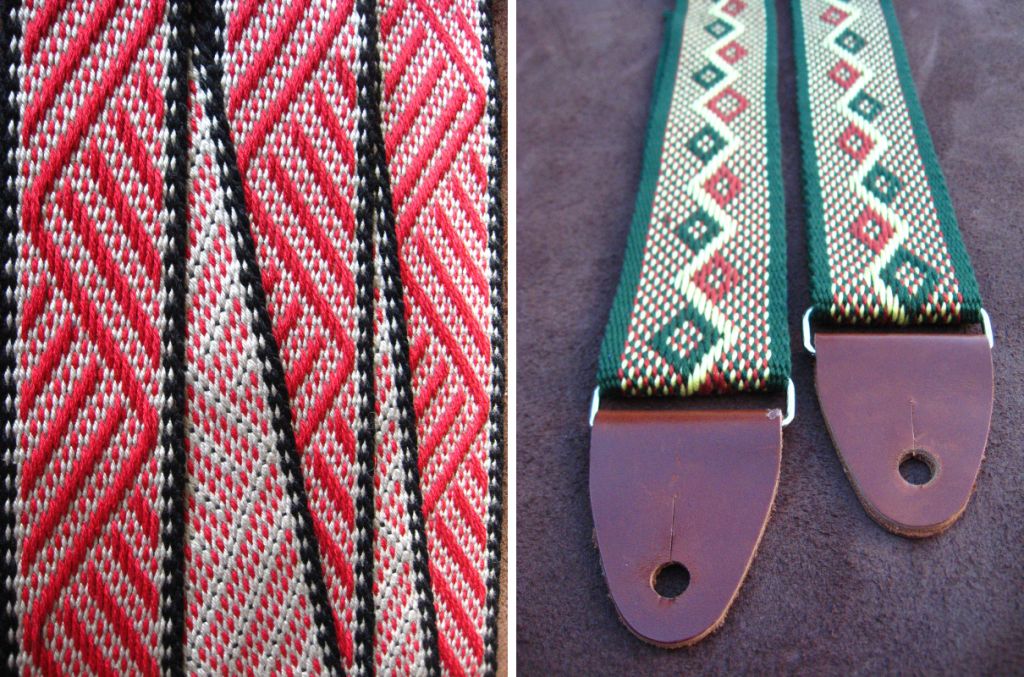
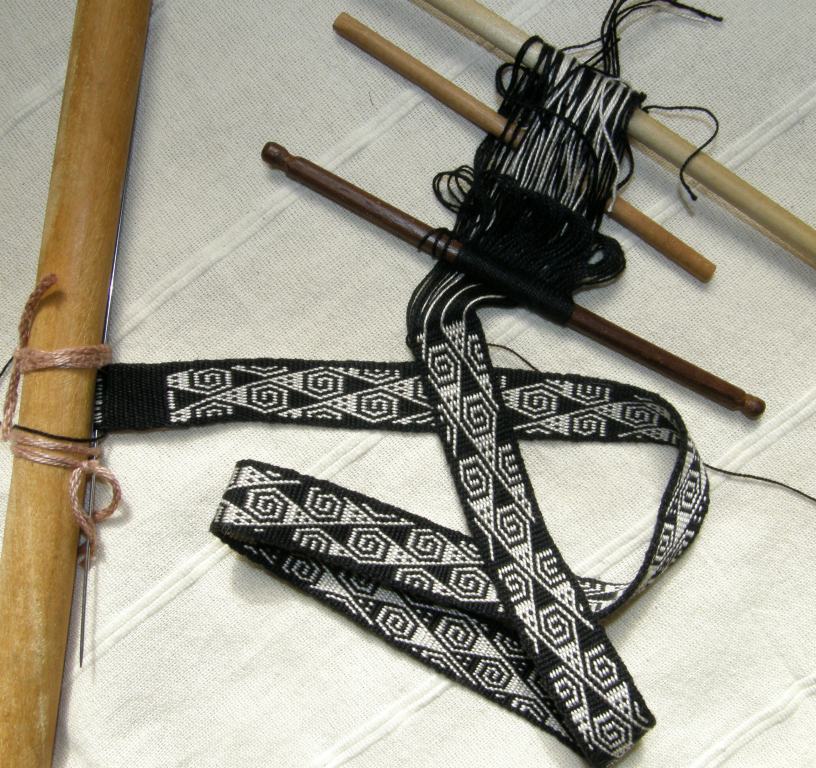
I was asked recently to make a guitar strap for a friend. I chose to make it in my favorite pick-up technique…you guessed it, pebble weave. I added in a couple of extra heddles which made it quite fast to weave.

 I happened to mention to Annie that I had to make a guitar strap and the fact that I would need to buy the hardware to finish it. In the mail arrived a package from her with all the pieces necessary to complete my project. What I didn’t realize at the time is that she actually cut the leather pieces and put it all together herself. Better still, she is selling this now here so you can weave your own guitar strap and have everything you need to finish it off beautifully.

I definitely owe my boyfriend a new guitar strap. The pebble weave one I made him is constantly being confiscated and taken with me on the road to show friends.

There has been some buzz in the inkle and backstrap groups about Anne Dixon’s book which is due out next summer I believe.

I am happy that I will get to meet her at the Braids 2012 conference in Manchester next August….400 warp-faced weaves. Imagine!

It seems so far away now but time is bound to fly. And what about Convergence and Maryland Sheep and Wool? Are you planning to go? I hope I will meet some of you at at least one of these events.

Well, back to my red, black and white pebbly Starry Night piece and hopefully I will have the start of piece number two in this series to show you next week.

Backstrap Weaving – To Float or not to Float

An inkle loom? I bet you didn’t expect to see that here! I have been playing with my Ashford inklette this week…but more about that later!

I have this star motif memorized now! You would think so after having woven seventeen of them and then another seventeen of the mirrored version.

I am really enjoying weaving this wide piece.

I love using the big swords and hearing the clacking sound they make as I insert one to hold the picked-up warps while withdrawing the other. I like the feel of the chunky polished wood and I like the look of all those string heddles neatly lined up across the warp.

The wideness of the warp which is very close to my body width makes me feel even more that I am part of the loom itself and I like that the opening of the sheds feels more natural now and less of a workout.

I guess that I am just over halfway now…at least with the weaving part. I am thinking of finishing it with weft twining and trying to work a similar star pattern into the twining. And then I wouldn’t mind adding a tubular woven band to the edges.

So, this may not be truly finished for some time.

In any case, I am already charting my design for the next piece in this wide red, black and white set and am taking inspiration from the chamantos which are ponchos worn by the huasos of central Chile.

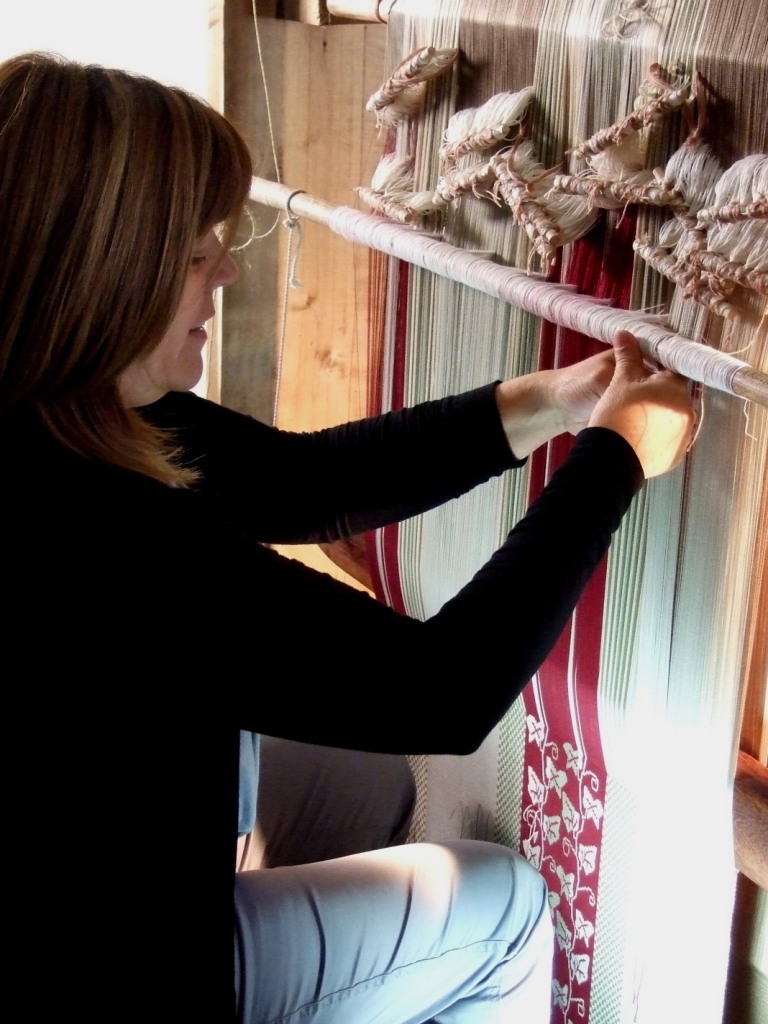
An online friend who lives in Chile has allowed me to use the picture she took of a chamantera at work at her loom.

I am excited about this next project as I have not woven designs like these before and can’t wait to see how they turn out. Of course there will be a good deal of sampling beforehand.

And I can’t help but think ahead to the next pieces after that!

We will be starting a new weave-along in the Ravelry group in January. One of the themes that I have suggested so far is ikat so I will try to incorporate some of that in one of the pieces in this set.

Again, much sampling will be done before I try ikat in one of these large pieces. I have only done three or four ikat experiments so far so, naturally, there is still A LOT to be learned .

I guess I have been a fan of this bold color scheme for some time. Here’s another pebble piece I made some time ago with these colors.

It certainly keeps appearing in my life…the Montagnard weavers use a lot of black which beautifully sets off the red and white twined designs that adorn the edges of their pieces.

Many of the Bedouin pieces I have seen online and in books make a lot of use of these three colors. My online friend Tracy, who lives in Doha Qatar, is constantly sharing  pictures of Bedouin textiles she sees with us on Ravelry . The ones below, which Tracy photographed, are from Oman, (on the left) and Syria.


I remember back in 1993 or 1994 when I first went to live in Chile, before I could learn Navajo weaving or make my first trip to Peru, I knocked together a wooden frame, hammered in some nails and made some small tapestries using a cardboard rigid heddle, (it wasn’t very rigid!) cotton warp and acrylic weft yarn.

I had no resources at the time and all I knew was that I wanted to weave something “ethnic” and so the cover of the Split Enz CD with its Maori designs was my inspiration!

I made a small tapestry pillow cover using the motifs. I so wish I still had those early weavings. Many things got left behind when I moved up to Bolivia.

Only last month I was in the library of the Textile Museum in DC and found a book with charts of a lot of twined Maori pieces including ones with very similar designs to those on that old CD cover. I expect I will be making something with those one of these days.

There are a lot of curves in those Maori motifs and that is one thing I learned from twining letters…it is not too difficult to make figures with curves.

That’s another reason to love the warp substitution technique whether it be the single layer or the double-weave version…with enough threads to work with, you can produce all kinds of shapes.

I have been sampling for a future double-weave project and trying to get the scale sorted out for the #10 crochet cotton that I want to use. For example, I have been trying to figure the ratio of warps to weft shots to make a square, sampling to see how the thickness of a two-warp vertical line compares to that of a single weft-shot horizontal line among other considerations.

Again…I am just loving the backstrap loom and the way it enables me to make small samples.

At left you can see the Abba Yohanni motif that I wove some time ago. The original card-woven motif on the curtain in the cave church in Ethiopia is pretty much square whereas you can see that mine is elongated.

Can you tell that I didn’t sample before I wove this motif into the wall hanging?

The solution was pretty easy after all. All that was needed was to weave only one row for the horizontal lines instead of two and that was enough to change it into a more square-ish figure.

Below is the improved Abba Yohanni motif now looking more like it should. The diamonds in the four corners are my own invention.

Figures that comprise pure horizontals and verticals are fairly easy to chart and I have been finding other interesting knot-like designs with these features online.

It’s the curves that are troublesome!…trying to get the horizontals and verticals to behave in such a way that they give the illusion of a curve. Even getting the right angle for diagonals can be challenging. It seems that the vast majority of Celtic knot designs in my books include these pesky curves.

Fortunately I really like messing around with these kinds of things.

I went through all this when I did tapestry weaving in Chile and was trying to figure out how to make just the right angles for diagonals so that I could weave the design on a Mexican piece that I had seen in Joanne Hall’s book.

The resulting piece is at left. I would have used red for the background, to have my favored red, black and white combo,  except that my Wild and Woolly yarn order to Chile somehow got messed up and that pinky color arrived instead of the Ganado Red that I had wanted.

So, I have been sampling…only one sample done so far and still a long way to go to get the desired result but I expect I have learned enough from this to get it pretty close to right next time.

Yes, I love double weave…those clean crisp designs on the solid color backgrounds on both faces. It is, after all, just two layers of plain warp-faced weaving with substituted warps. It is easy to chart and I find it one of the easiest patterning techniques to “read” as I weave.

I have had a lot of fun using it for African and South American inspired motifs….

…as well as designs from Mexico (again from Joanne Hall’s book).

Supplementary weft inlay motifs like the ones from Bhutan on the bag I made above right can be easily woven in double weave. They conveniently use exactly the same charting system (although the reverse is not always true, that is, not all double weave designs will translate well into inlay as the floats in the inlay technique need to be kept short).

I have been able to take elements of motifs woven in other techniques like the simple warp float patterns I wove on the placemats above and weave them into matching mug rugs in double weave.

Cell phone pouches are nice double weave projects. The designs on the one on the right, which are based on Guarani motifs, are quite curvy.

Here are a couple of projects made by my online weaving friends Traudi and Sharon.

Traudi charted and wove the designs on her green and yellow mug rugs. Sharon created a series of butterfly motifs for double weave projects. This is just one of four that she showed me.

And how did Traudi reach this point? She started off with the warp substitution technique. Below you can see a band that she made using the Bedouin shajarah motifs charted here as well as the Bolivian flowers charted on the double weave page. She also created designs of her own.

I think that the word “double” in double weave for some people may immediately bring forth ideas of something complex and difficult. In warp-faced weaving, it isn’t!

You are basically doing plain weave with two sheds as you would normally, except that you are using doubled threads, one in each of two colors.

To create patterns, you simply drop one of the two threads…the color that you don’t want to have appear in your pattern. The solid color borders will also be warped with doubled threads as shown above.

You only need to drop warps to create the shed for the upper layer. After doing a special maneuver, the pattern shed for the lower layer forms automatically. Only one weft is needed to weave first the upper layer and then the lower.

This technique’s “little brother” is the simple warp substitution technique which Traudi used to weave her band. The same kind of warp is used except that the solid color borders are not warped with doubled threads.

As in double weave, the pattern shed is created by simply dropping the warps that are not needed to form the design. The warps that are dropped simply hang below.

While I recommend the simple warp substitution technique as a good warm-up before moving on to double weave, it is those discarded warps that form long floats on the back of the textile that most people don’t like.

I guess that’s the price you pay to have a smooth “float-less” front face on the band.

You can see at left how long and awkward the floats can be.

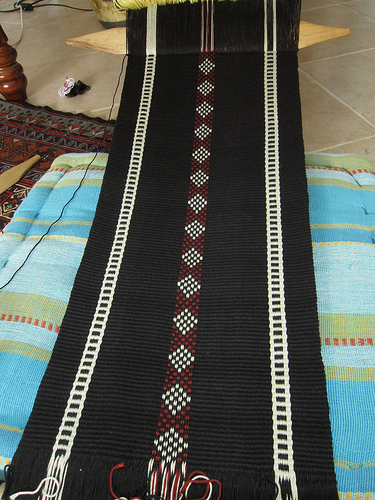
If you read my post last week, you will remember that Tracy showed us a beautiful textile from Oman which has been woven with the simple warp substitution technique. I showed it earlier in this post but it is worth seeing again don’t you think?…

Both the bands of patterning on this piece have been woven with the warp substitution technique. The Bedouin call the style of patterning in the center band shajarah and the checked pattern al’ouerjan. You can see some close-up examples that I wove below. The al’ouerjan pattern is a partial warp substitution design in that only the red and white sections are warped as doubled threads. The blacks are all single warps.

My samples would have unsightly floats on the back if Tracy had not shown us the back of the Omani textile which showed how the weavers use a second fine weft to secure the floats. This is the first time that Tracy has seen this in use and she suspects that designers in the cooperative store that sells these weavings are encouraging the weavers to use this second weft to make the textiles more attractive. The technique is not used in traditional Bedouin pieces.

So here is how it is done…very simple!!

I decided to put this on my Ashford inklette, just for something different. Here is the draft…(the split squares show where two threads are wound together as one. The borders are not included).

(I am sure that inkle weavers are familiar with this style of draft. Winding a circular warp on the inkle loom or for a backstrap loom with this pattern is very straightforward. I will create a new page on this blog for next week showing how to wind this for a non-circular, or single-plane warp, for the backstrap loom using both two and four stakes.)

…and I used non traditional colors.

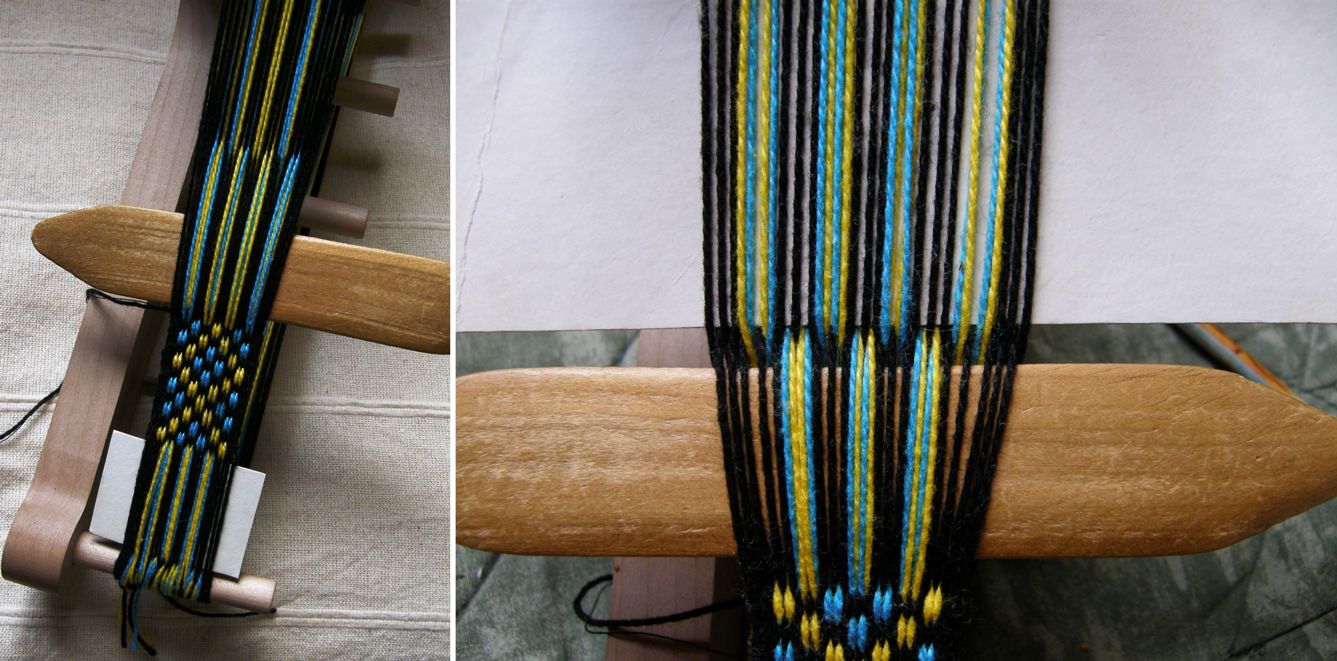
Above you can see the cross. Note that the yellow and blue threads have been warped together as one thread.

Above left you can see one of the sheds opened. From each pair of yellow and blue warps, one warp must be dropped and one kept to form the pattern shed. Then the weft is passed as shown above right.

Then I reopened the original shed and passed a second fine weft (I used some tatting thread which is about sewing thread weight). You can see on the back how this fine thread secures the warp floats. Compare it to the following samples where the floats have not been secured…

And what about the shajarah style of patterning where all the warps are substituted? This is how it would look front and back as the Bedouin traditionally weave it…

And here it is using the system on the Omani co-op textile where the floats have been secured.

While the extra weft serves to secure the floats, it doesn’t really create a pretty second face. However, I think that it makes enough difference to enable you to use this patterning technique and create a very much more practical piece even though you would probably still prefer to have the back hidden from view.  So, although you may not want to use it for a guitar strap, you may find it works well for a bag or cell phone pouch. You won’t have to worry about things getting caught on the floats. Bear in mind that the resulting band is fairly thick as you are, after all, using doubled threads.

I hope that I have inspired you to try this technique. (See the tutorials for simple warp substitution and double weave). Give the simple warp substitution a try and maybe you will be tempted to go on to double weave so you can have two pretty float-less faces.

I am in the process of charting more beautiful designs from my friend Pam’s gorgeous rug from Uzbekistan to add to the warp substitution and double weave pages. They will go up soon.

Backstrap Weaving – Travel Tidbits from Massachusetts

Well, I am here in Massachusetts with my friend Pam in her peaceful home in a lovely rural area. It was a rough trip with burning smells in the aircraft cabin forcing the flight to land in Orlando where swarms of Brazilian children clutching Mickey Mouse dolls were also stranded due to thunderstorms. This meant arriving in Boston in the wee hours of the morning where I probably caught about 90 minutes of sleep on the airport floor before the early flight check-ins brought in the excited hordes.

But…I am here and I have a few tidbits to share…some interesting things that I have seen in the day and a half I have been here so far.

Firstly, the skies cleared today and I got to go out and see Pam’s indigo crop. Hopefully we will harvest some leaves and do some dyeing during my stay. Pam has done it before with her own plants and so I am looking forward to learning a lot.

We pulled off a leaf today and scrunched it about and left it to see if there were any signs of blue as this is apparently a way to see if the leaves are ready for picking and, yep, a few hours later when we remembered to go look at it, the signs were there.

And this is what we are going to dye….silk! all the way from Uzbekistan.

Here is the silk with its coating of sericin. I had no idea that this is how it looks and feels…stiffish…before being scoured with washing soda in simmering water.

Fortunately Pam also has a lot of beautiful soft scoured silk all ready to be skeined for dyeing.

I spent the afternoon revisiting Pam’s collection of textiles from Uzbekistan. I posted them in a previous blog post but getting to see them again with fresh eyes is always welcome. Even though these pieces were all bought on the three trips that Pam has made to Uzbekistan, some of the textiles actually originated in Turkmenistan.

The rug and rug piece which has been sewn into a bag caught my eye as both have been made with the warp substitution technique. Who cares about long floats on the back when you have weaving in this beautiful handspun yarn and gorgeous color combinations.

This is one of several rugs on the floor of the office in which I am sleeping. I love the fact that the long floats on the back of the piece give me a chance to feel and closely inspect the yarn.

This is a piece of rug that has been made into a bag. You can see both faces of the fabric. I just love those washed-out reds and blues. The rug was cut and then a woven band was folded lengthwise and sewn to the raw edges to cover and protect them.

The strap is interesting. Doesn’t that look like finger weaving?

I am pretty sure that this motif was done in three-color warp substitution. You can just make out two colors in the motif along with the red background. Only by looking on the other side where the colors were still bright you could clearly see the orange and green warp threads that alternate in this design.

This bag is my favorite…

I am definitely going to cut a fancy flap and add some tassels to the next bag I make. I have just been getting confident with cutting and edging rounded flaps. Now look at this shape! This piece, which Pam says used to be part of a rug, is woven using the two-color alternating warp float method which I have been calling, for lack of a better name, “warp floats galore”. You may recognize the “S” motif from a belt, cell phone pouch and notebook cover that I made. The woven band has been sewn on beautifully and it all feels very secure.

Little “comb” patterns separate the warp float bands and a simple warp substitution design has been woven into the edging band.

The fabulous tassels…one has embroidery on the outside and the one on the right includes copper wire in its wrapping.

Here is a close-up of some of the warp float designs.

The bag strap has the same simple warp substitution design that appears on the edging. There is so much to be enjoyed in this one piece!

There is plenty more to show and tell from Pam’s lovely weaving space and home but I told you that this would just be about tidbits and so I will end with something that Pam’s friend Joan showed me on  a quick visit to her home in Worcester. I stayed with Joan and her husband Attila last spring. Joan introduced me to Saori weaving and took me to see Dar Ku, a Burmese weaver now settled in the US.

Joan is involved with new settlers in her area coming from all parts of the world. She has recently made friends with a basket weaver from Burundi as well as with textile weavers from Bhutan. An Ethiopian lady showed her how she spins cotton and gave her a spindle, some of her spun thread and a piece of Ethiopian woven cloth…all gorgeous!

 A close up of the end of the spindle and the woven cloth…I didn’t have the right conditions in which to photograph this well.

Unfortunately, lack of time won’t permit a return visit with Burmese weaver Dar Ku but I have posted a video I took last spring of Dar Ku at her backstrap loom weaving a supplementary weft design on warp-faced fabric.

I am so glad to be finally able to show this. It took forever to upload!

She weaves with the wrong side of the cloth facing her and carries her supplementary weft from place to place across the back to weave the parts of the pattern. She has a very soft beat and her tension seems to be quite relaxed.

I am told that these weavers usually weave with their legs braced against something and that this has been difficult to set up in their homes. For now they are just doing without the foot brace. I am sure it must feel weird for them weaving that way.

I wove once with Salasaca weavers in a shop rather than in their home where they have everything set up. They spent the whole time scrabbling about on the floor with their heels trying to get some purchase so that they could push and tension the warp more. Dar Ku on the other hand looks quite at home weaving with her feet crossed and not pushing against anything.

I love the way she opens the pattern heddles so delicately and smoothly. Everything just pops open so easily! It looks like the most relaxing effortless thing in the world. It is lovely to watch.

The Ravelry backstrap weavers and my other online weaving friends are hard at it turning out gorgeous projects…

How’s this for contrast…Jennifer is weaving a myriad of colored cotton stripes while Tracy just finished a pebble weave hanging with her handspun wool.
Verena has also been weaving pebble weave and hopes to sew this into a pouch.

Verena was my student here at Pam’s place last spring and has been getting on very well with her pebble weave since then.

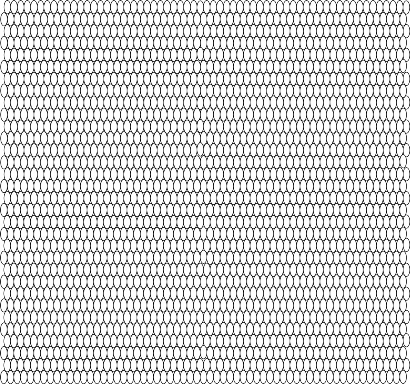
And lastly, I have some charting paper to share.

Lately, I have been charting my double weave, warp substitution and supplementary weft patterns on paper with elongated ovals rather than diamonds.

I made a sheet of ovals on a drawing program that I have and have posted it on this page for you all to use.

I am so used to the diamonds but I think that these ovals may be easier to use. I have had people tell me that they go cross-eyed with the diamonds!

I hope that this new charting paper helps.

Here is what it looks like. The page with the full version is is linked above.

Back with more travel tidbits next week.

Backstrap Weaving – What’s on the Other Side?

I have been looking at and thinking about what is on the “other side” of woven cloth and about the different attitudes of weavers from different cultures to what can be seen on the “wrong side” of the fabric. Some weaving structures are completely reversible as is the case of most complementary warp structures.

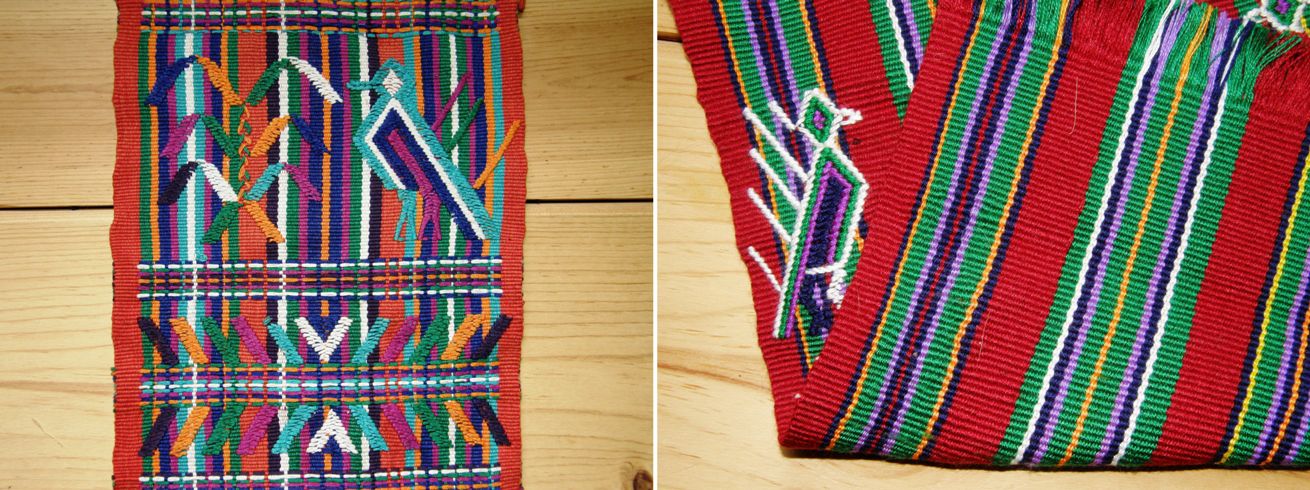
You can see both sides of my pebble weave piece at left and can probably appreciate that sometimes it is difficult to decide which side to make the “right” one as I had to in the case of this guitar strap when putting on the length adjustment buckle. As this is being sent to friend, I have actually left the decision up to her and only pinned the fabric in place around the buckle.
I always start with what I expect to be the right side facing me as I weave and find that sometimes I completely change my mind abut which side I like best once the piece is off the loom.

The wrong side of the weaving can also reveal just the information that is needed to be able to quickly identify the weaving structure.

For a while I was scratching my head over pictures of the yurt band that my friend Lisa had bought thinking it was pebble weave until she eventually sent me a picture of what was obviously its wrong side and I was then able to see that it had been woven using what I call simple warp floats.

At that time I didn’t much care for techniques that didn’t produce two “good” sides but who could resist trying to weave these gorgeous yurt band patterns?

Then it was a matter of getting the charting paper out, searching the net for more images of these bands and getting down to weave.

I must admit that lately I have gone a little crazy about this technique as I find more and more examples of its use in places like southern Iran, Mexico and tropical lowland Peru.

This weaving structure produces a definite right side. However, even though the wrong side with its exposed wefts looks nothing like the upper face, it can still be quite appealing depending on the color weft that you choose to use.
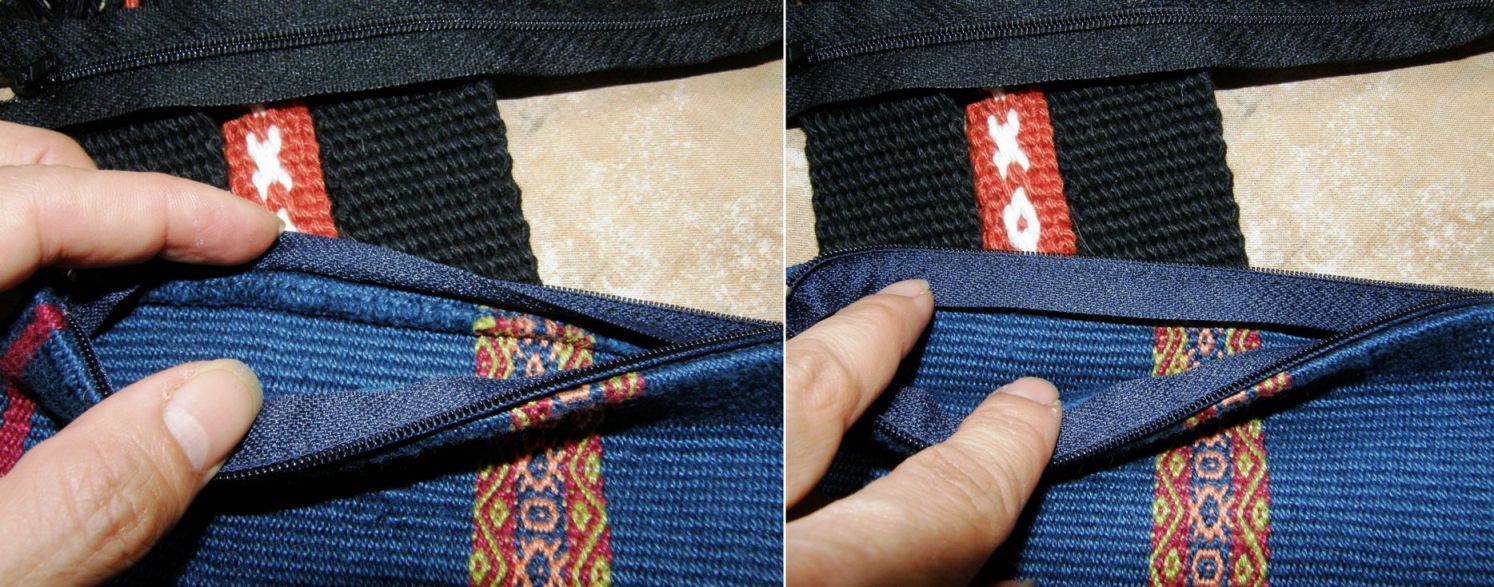
In the case of the yurt bands, only one side of the band is visible anyway when it is wrapped around a yurt. The piece I wove above right was made into a zippered purse and so no one needs to know what the inside of the purse looks like.

I am guessing that the day will come when there is a nasty spill on one of the place mats pictured above left and that I will be wishing that I could just flip it over and have the same design on the other side…oh well.

I might mention here that I just received my copy of The Journal for Weavers. Spinners and Dyers from the UK which has a beautiful article on  Kyrgyz textiles by Stephanie Bunn which includes yurt bands made in this kermé technique. She quotes a Kyrgzy person who says “Kyrgyz weavers are all mathematicians”. Bunn  then goes on to say “I found that trying to make the rhythmic pattern of kermé was the kind of experience that made me want to weep, although time improved matters.” You can read that article here.

I am infinitely grateful that I was taught the base of this technique by my wonderfully patient weaving teachers in coastal Ecuador and so taking the next step to  kermé was relatively easy.
The two pieces if weaving below have been woven in another technique with the same basic warp manipulations but their “back” sides are vastly different…


The motif above right is a smaller version of one of the Bedouin motifs on the belt above left.

The belt has been woven in warp-faced double weave and so the motifs are exactly the same on both faces with their colors reversed.

Unfortunately both sides will never be appreciated as only one face is ever seen! I wove this in double weave as this technique produces something sturdy enough to be used as a belt.

The camera strap I wove at left makes better use of this technique and I didn’t have to decide which face to make the “right” one.

Now look at the back of the piece above right which I show below…

This piece has been woven using the simple warp substitution technique which produces as you can see long floats. Most people do not have a good reaction to these long floats. I have to admit that I am not a big fan of them but it depends on your intended use for the piece. If this band were mounted on webbing, for example, it would make a good strap for a camera or a belt and it is a very simple weaving technique.

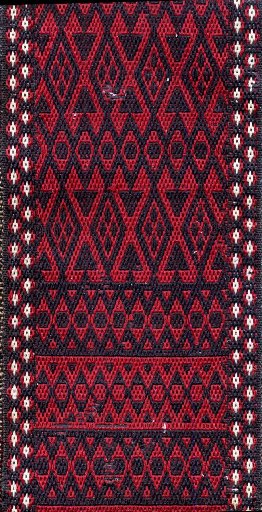
And this is where people in different cultures see things in different ways. While we may wrinkle our noses at the excessively long floats, the Bedouin people use this technique to weave motifs into very large pieces of fabric that are used as tent dividers. Both sides of the fabric are seen (although I have read that they are hung so that the  “right” side faces the men’s living area). They are not pieces of fabric that are being continually handled and so I guess that the long floats are not impractical.

You can see the very long warp floats on the back of the Bedouin piece that Tracy in Qatar sent me. Some of the warps have even broken through age or use….hard to say which. What I do love about these particular long floats is that I get to really handle and examine the Bedouin handspun wool.

And then what about all the different kinds of supplementary weft techniques? I have only just scratched the very surface in this having learned the inlay technique on warp-faced fabrics which produces a single face of pattern and a double faced technique from Guatemala .

The double-faced technique can be seen above left on a Guatemalan weaving. This particular technique, as far as I know, is unique to San Antonio Aguas Calientes. My reproduction on the right was glued down onto the cover of my notebook in which I documented the technique so the other equally pretty face cannot be seen!

Even the weavers in Guatemala don’t get to show off the other face as they use this technique largely on their huipiles (blouses) alongside single-faced techniques.

Small babies’ caps are also made with fabric woven using only this double-faced method.

This hair sash from Jacaltenango was woven with a supplementary weft technique that produces two equally beautiful faces.

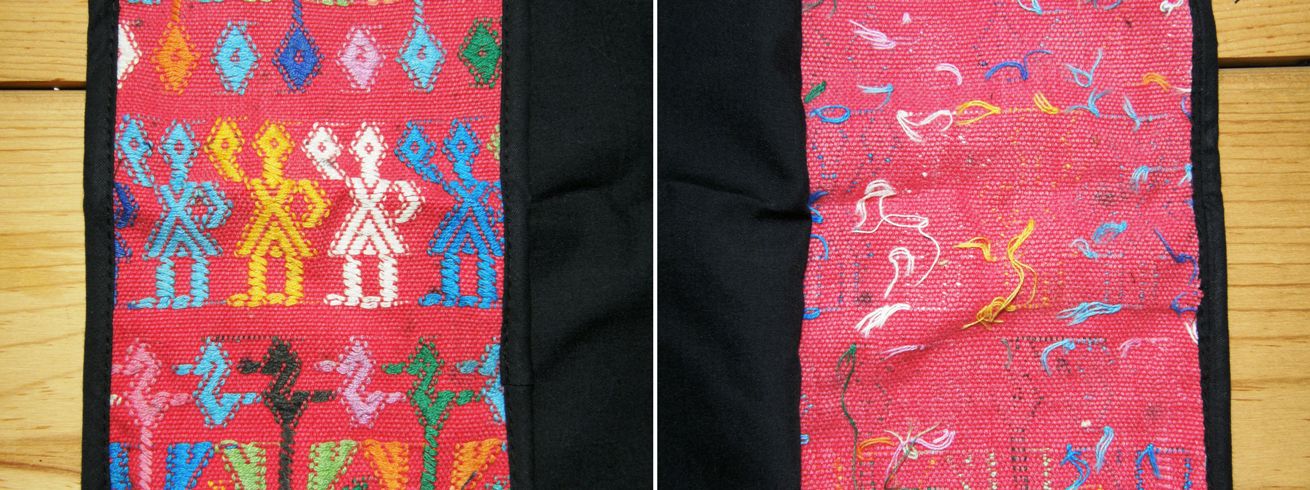
Sometimes the back of a piece patterned with supplementary wefts is left with small weft tails hanging…

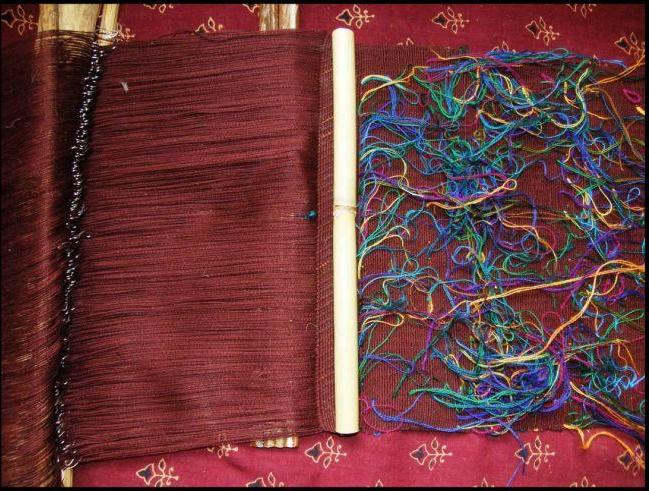
They can be a merry mess while the piece is in progress…

Or they can be cut right off and hidden entirely within the sheds so one would never know by looking at the back of the cloth that the other side was a riot of supplementary weft pattern. Look at the plain red back and colorful front of this hair sash from Aguacatan…

Look how much pattern weft material is used in those tassels!

When the weft patterning is particularly profuse the resulting weft tails on the back can be quite a sight! This is an old piece of huipil from, I was told, Chichcastenango. Many years of laundering have created quite a tangle of weft ends on the back. This is all quite acceptable to the Guatemalan weavers.

I was very much taken with the following Guatemalan belt that Teyacapan has on her Flickr page and asked her to photograph the back so I could see how the pattern had been worked.

I love the blocks of pattern that the weaver has used! As I was saying in last week’s post, the supplementary weft pattern does not have to be worked on a blank canvas. It looks like this weaver has worked her weft pattern on tiny strips of fine warp float designs.

How is this for a canvas for supplementary weft patterns?

These pieces are from the areas of Nebaj and Cajul in Guatemala and again show how one face of the fabric can be completely different to the other. You can choose to show your bright stripes one day (free of any weft ends) or birds flitting about the corn plants another.

Some weavers actually work doing their supplementary weft patterns with the wrong side of the fabric facing up.

I got to visit Burmese weaver Dar Ku on my last visit to the US. She was happy to demonstrate for me while giggling and saying “It’s easy, it’s easy”. Her beat is surprisingly light and she does indeed make it look easy. Of course we all know not to fall into that trap! What fun to turn the piece over and see the right side with its neat patterns.

Franco shared a video of Lahu weavers from Thailand weaving supplementary weft patterns into tremendously long warp-faced pieces. The weaver is using a single-faced technique laying the supplementary wefts from edge to edge within the pattern sheds controlled by heddles and pattern sticks.

Here is another nice video of supplementary weft patterning from Acatenango Guatemala…one of the many videos that Red Corn Tours posts to its Facebook page every week. I watched this happily while asking myself “What’s on the other side?” and then the videographer, good chap, filmed from under the loom and I got to see the other side. What happy colors!

This is what has caught my attention most recently. I fished this out from the hundreds of photos I took on my US trip last spring when I got to photograph some gorgeous textiles from Bhutan in the collection of Betty Davenport.

I wove some motifs from one of the pieces into one of my more recent projects and now I have my eye on doing something like these zippered purses which Betty made from her samples using patterning techniques from Bhutan.

The supplementary weft pattern has been worked on a twill (on the left) and balanced plain weave (on the right) ground. Aren’t these pieces striking? There has been some talk of twills in our Ravelry backstrap weaving group which is what turned my mind to this project…that and my recent dabbling in supplementary weft patterns on interesting ‘canvases”. What’s on the other side? I don’t know…I didn’t think to look!

I wove a small twill sample a long time ago on my backstrap loom.

I don’t know a whole lot about non-warp-faced weaves (but I am slowly learning!) and so I just looked at a picture of a twill  in my copy of Irene Emery’s Primary Structure of Fabrics and set up my loom with three sets of string heddles and a shed rod holding the warps in the four sheds. I am not sure if I got the sett right…it was all guess work.

Not having any kind of reed to use at that time, I spaced the warps by lashing between them on the loom bar. It worked well for this small sample using #3 crochet cotton for both warp and weft. I had just read a discussion on Weavolution about the use of floating selvedges and so decided to try one of those too. And, as usual, I used the tiny sample  as a business card pouch. I learned a lot!

Another one of these non-warp-faced weaves that I find quite easy to handle on the backstrap loom without the use of a reed is finnweave. It behaves well enough for me. I have had the benefit now of seeing ”in person” the Huichol bags woven in this technique in the collections of two of my friends in the US so I know what I need to be striving for.

This is 10″ wide and is one of the storage bags I planned to make this month. Having used up pretty much all my black thread on some unexpected distractions, I chose blue and yellow for this project instead of the planned black and white. The designs are taken from Huichol and Otomi bags and belts. The flower design is actually taken from traditional Scandinavian finnweave pieces. The Otomi use a motif  that is so very similar but I prefer the Scandinavian version.

I am using three sets of string heddles and a shed rod to hold the fourth shed. And what’s on the other side, you ask? This technique I am doing is not truly reversible. You could get away with showing certain motifs on both sides. They wouldn’t be mirror images but they would look okay. However, the patterns I have chosen are not really amongst those.

Now here is the other project about which I am CHOCHA!! (chocha is used here in Bolivia and Argentina to mean “exceedingly pleased”!). I guess a lot of the pleasure comes from the fact that I am not skilled with a sewing needle, don’t own a machine and have never sewn anything from my handwovens larger than cell phone pouches and eye glass cases and a couple of very box-like shoulder bags.

I just love how this all started as an experiment in ikat design with no intention whatsover to end up with a bag. I was bored with weaving the plain black piece of fabric with its two ikat strips and so added some supplementary weft patterns…motifs from a weaving from Bhutan in Betty Davenport’s collection. Then I decided I wanted to do something with it and the bag idea developed. I wove a strap and then another piece of plain black fabric for the back and finally a small piece of plain black for the flap.

How wonderful is the backstrap loom for enabling me to weave up the small pieces to put this bag together with very little waste.

Jentide from the Ravelry Backstrap Weaving Group showed us how she made a flat bottom for her tote bag and so I used that sewing technique and Amber had created a button hole in one of her bags so I did the same by separating the warp in the middle and weaving with two wefts. I wove a small supplementary weft motif on either side of the button hole.

I cut and shaped the flap edging it with a tubular band to cover the raw edge. The bag is still missing a zip. Zips are nice for the way they can hide raw edges.

However, I turned the fabric sideways to sew this latest bag and so have two nice clean selvedges at the top.

And if you haven’t seen enough black yet, here is the other thing that I am still working on…

Here is the supplementary weft pattern on its “spotty” canvas that I wrote about in detail last week. I added some weft twining in the middle and am still working on the weft twining at either end. I have no immediate plans for this piece but am bound to come up with something to further test and hopefully extend my meager sewing skills.

Now I am planning a tote bag in bright Guatemalan style stripes….enough black, right?!

Some progress from the third week of our backstrap plain-weave Weave-Along…

Marsha has chosen fall colors to make a piece which she says reminds her of Halloween, Thanksgiving and candy corn. Amber is making a tote bag by sewing two of her backstrap woven panels together. It is gorgeously simple and beautifully woven.

Misskineta, our newest active member, has started her first ever warp-faced piece while Tracy, fresh back from her summer vacation has jumped straight back into the loom with a lovely balanced piece which I believe is already off the loom. Janet is making progress on the panels for her indigo-dyed shawl. Her picture collages tell the story…

I dug out all my textile photos from my spring trip to get the shots of Dar Ku and Betty’s purses to post here and now have a whole lot more images and ideas swirling! Let’s see what materializes….