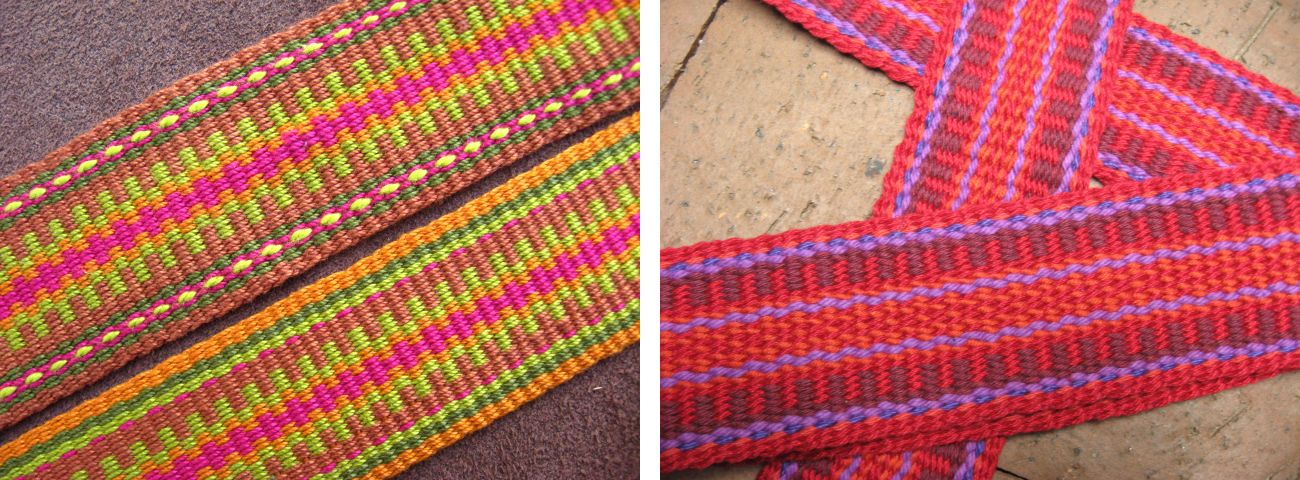
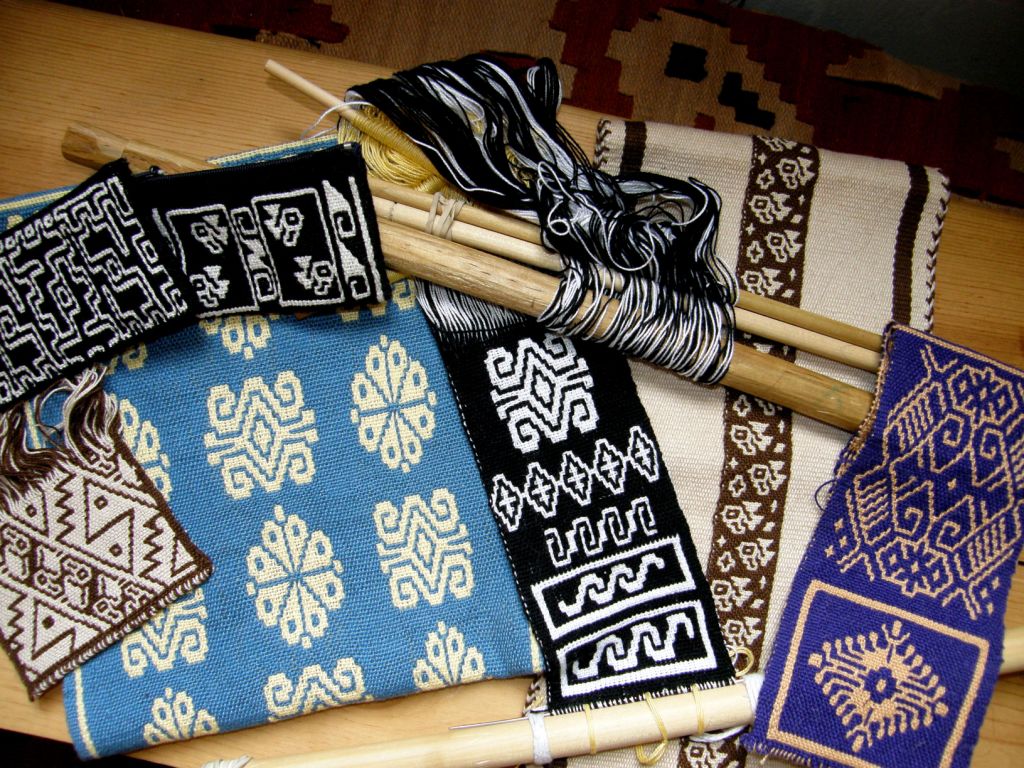
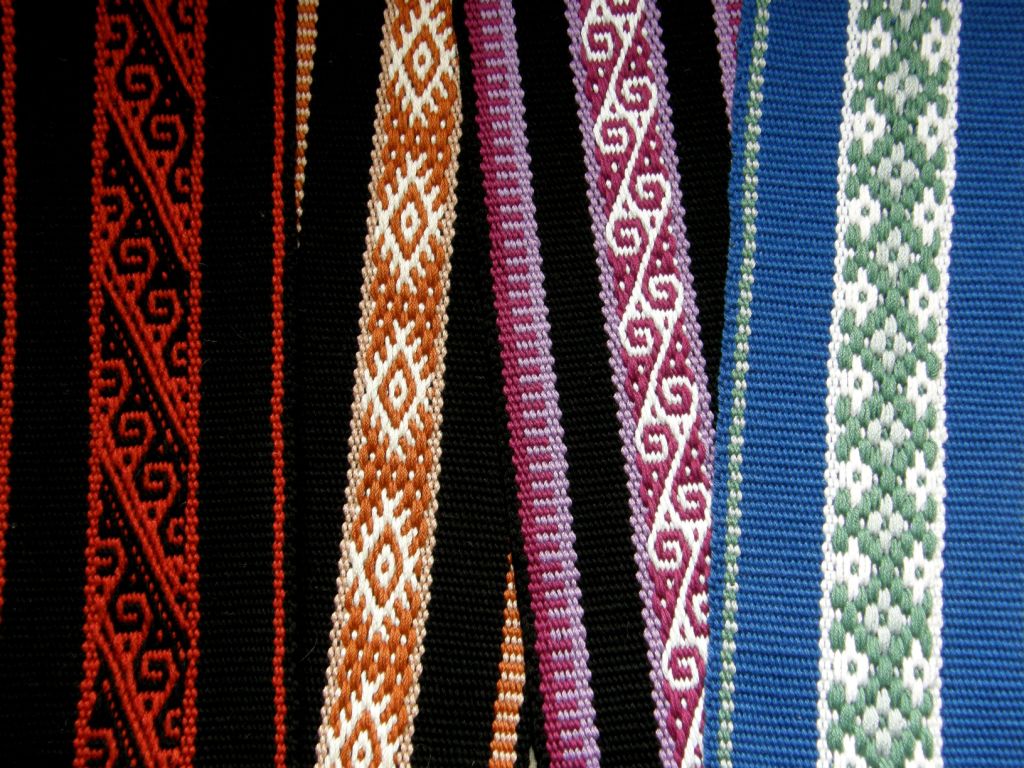
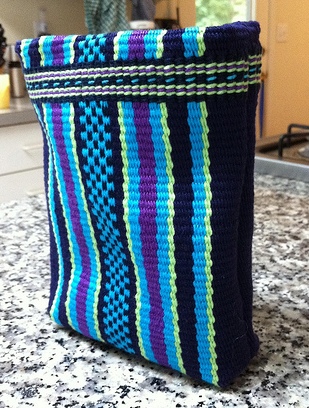
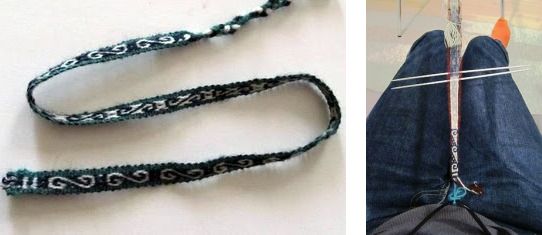
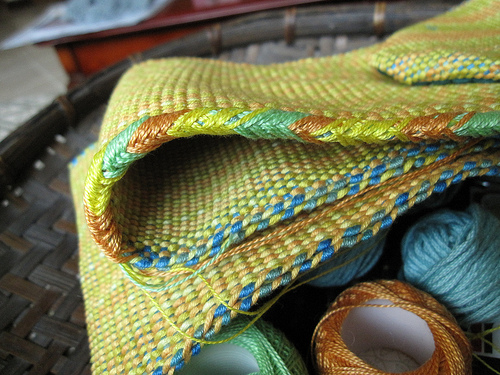
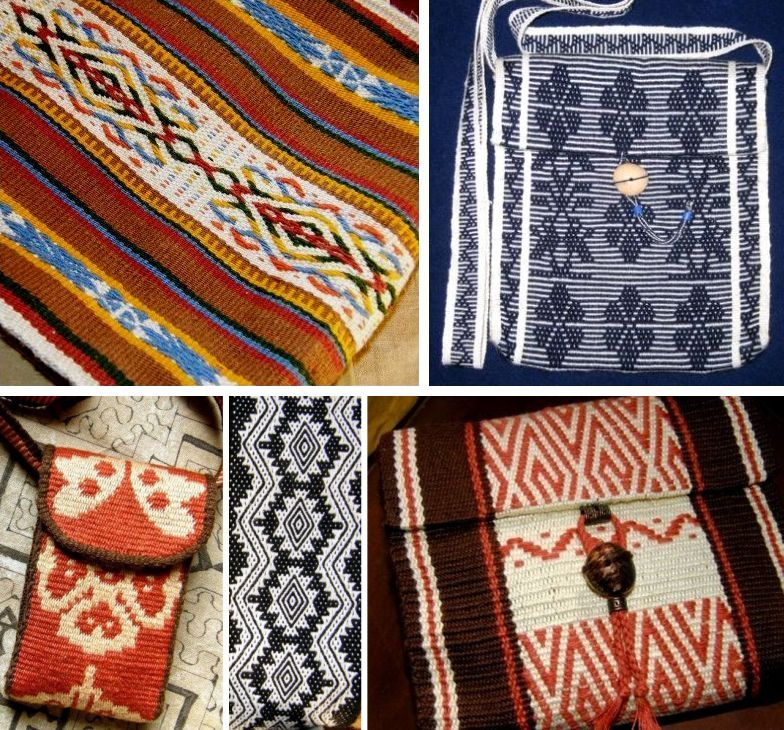
Backstrap Weaving – The Weaving Melting Pot

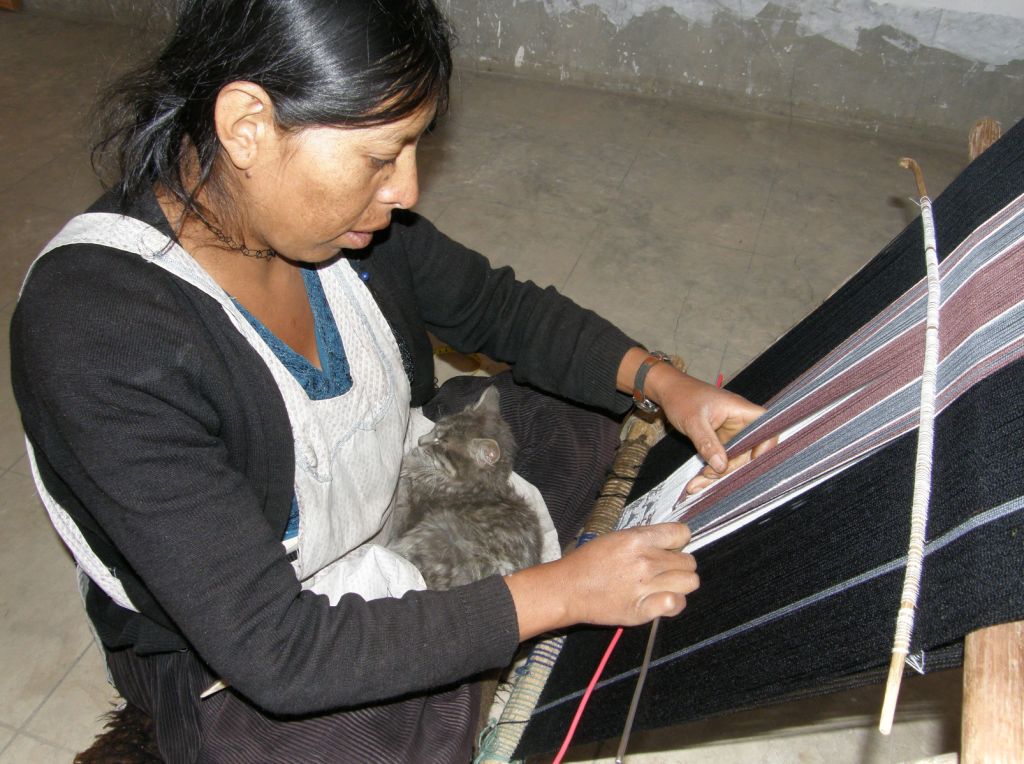
The Weaving Melting Pot….that is what I have bubbling away here. Every time I start a new piece on my backstrap loom I am so aware of the vast array of sources from which I have drawn technique and inspiration. I have studied weaving on a variety of simple looms here in  South America, in Central America and even in North America  and bring a little of everything to my work when I set up to weave on my loom of choice…the backstrap loom.
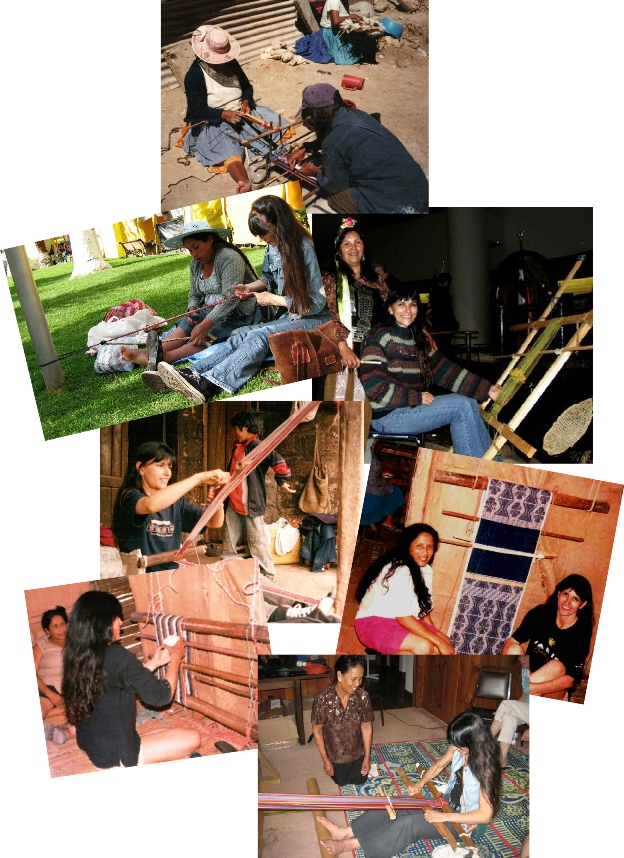
I even draw inspiration from the online weavers who work on floor looms…a handy tip about how to handle the two wefts in rep weave from Tom Knisely, ideas about finishing pieces from shadow weave weave-alongs, lessons in handling floating selvedges from discussions on twill, or from card-woven and inkle loom-woven warp patterned bands…all far removed from the Bolivian weaving environment in which I live.

They all go into the pot….stir, stir, stir….add a dash of ideas I have developed from my own experiments and onto the loom it goes. Some of my ideas having nothing to do with the traditional way of doing things……..
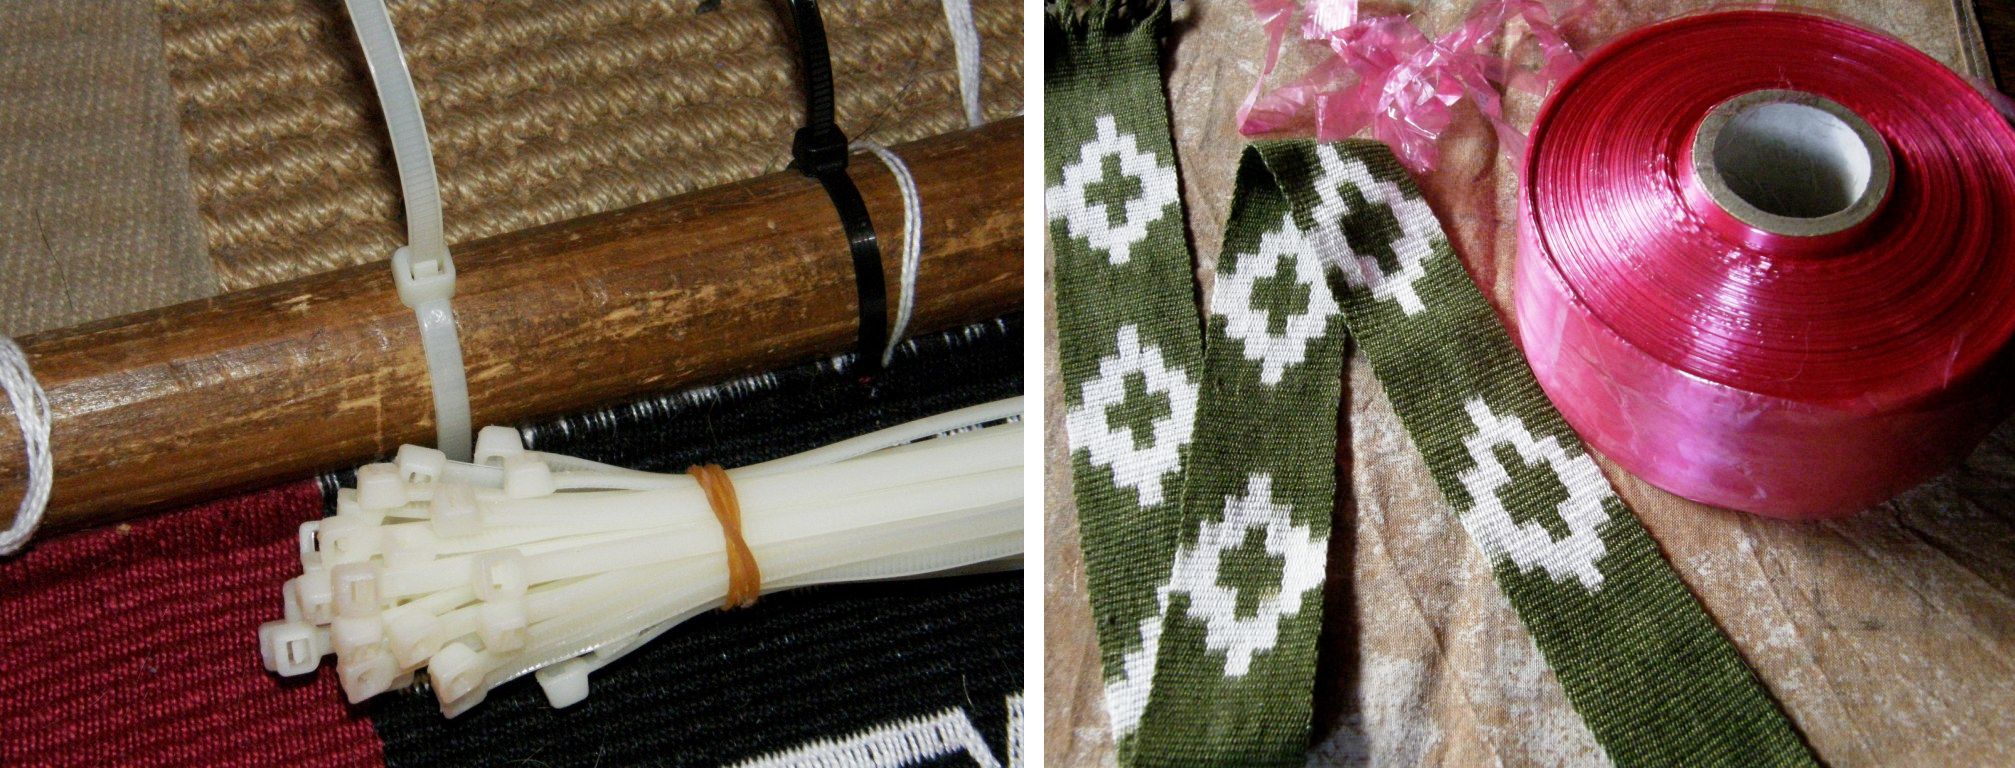
like using cable ties to lash my warp to the loom bar and a bicycle spoke instead of a yarn header cord. I was using cassette tape to wrap my warps for ikat until I was given “proper” ikat tape which seems acceptable in place of cabuya fiber and other natural materials in many “traditional” settings these days.

Plastic and metal??? One of the weavers I met in Candelaria found using what looked like a steel railway spike far more efficient than the traditional llama bone tool for beating in her weft. PVC pipe often replaces wooden shed rods.  It’s like the time I had a lovely wooden Navajo weaving loom made for me when I lived in southern Chile and used rope to tension the warp only to find that a lot of the Navajo weavers are using metal looms and turnbuckles for tensioning. After weaving for some time on that Navajo loom I found that copper pipe for the loom bars worked much better than wood anyway.

I travel from place to place and see things and bring back ideas to add to the ingredients that go into my weaving melting pot.

And now I am about to apply some Bolivian highland weaving technology to a weaving tradition on the other side of the world.

I am jumping the gun this week by sampling for the next piece in my red, black and white wall hanging series and I am concocting quiet a brew in the old melting pot.. I say jumping the gun as I am nowhere near finished the third piece which is coming along veeeeery slowly! The other two pieces while off the loom are not yet completely finished. But the temptation to  put an idea into action once it develops and starts churning in my head is irresistible!

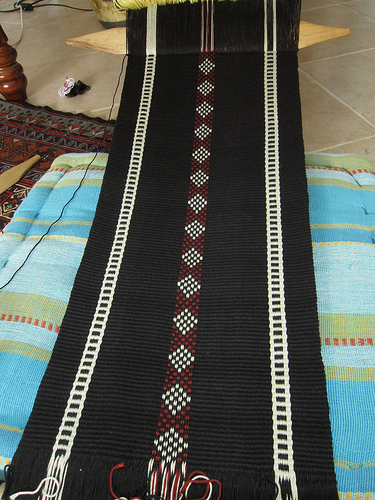
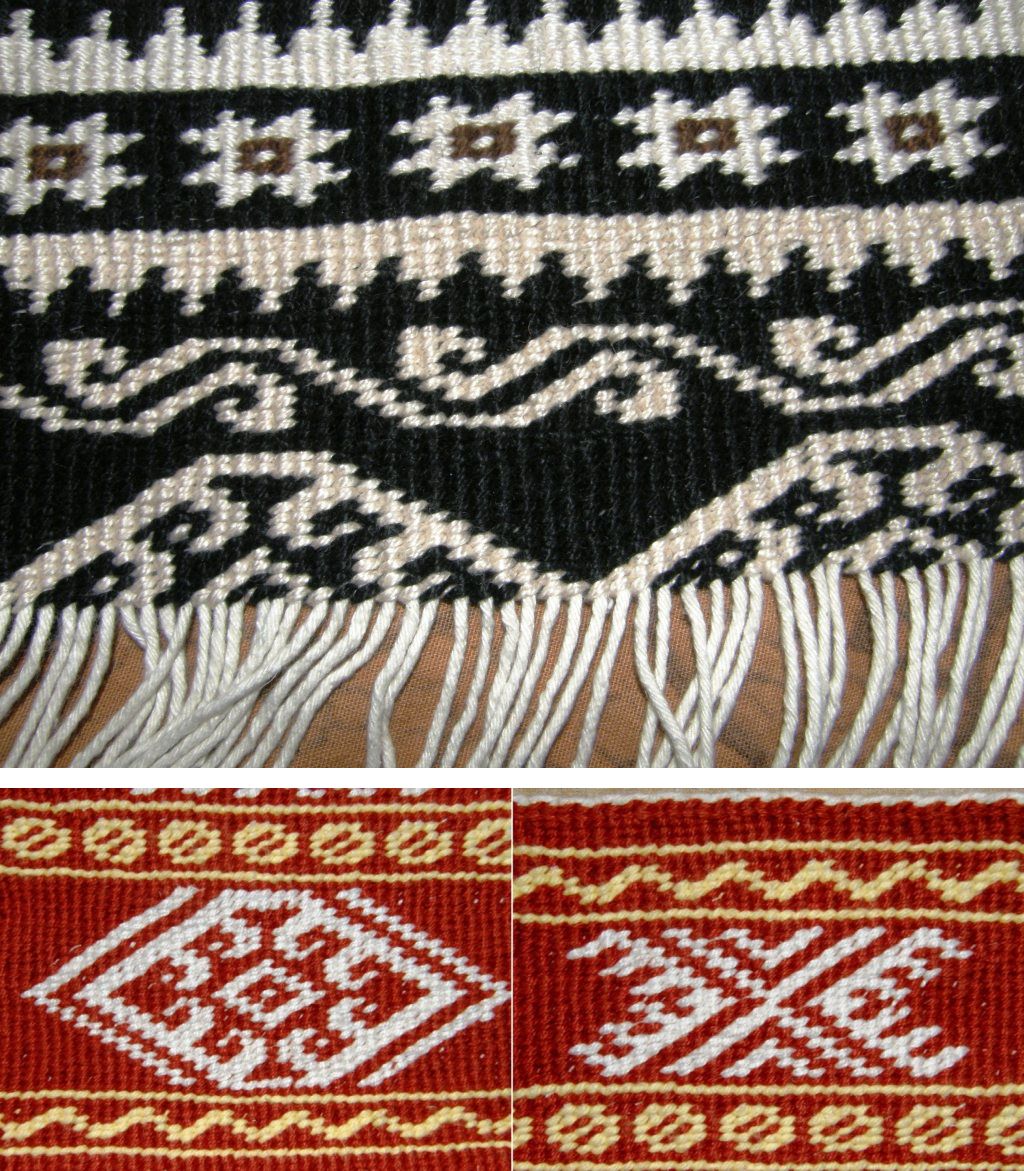
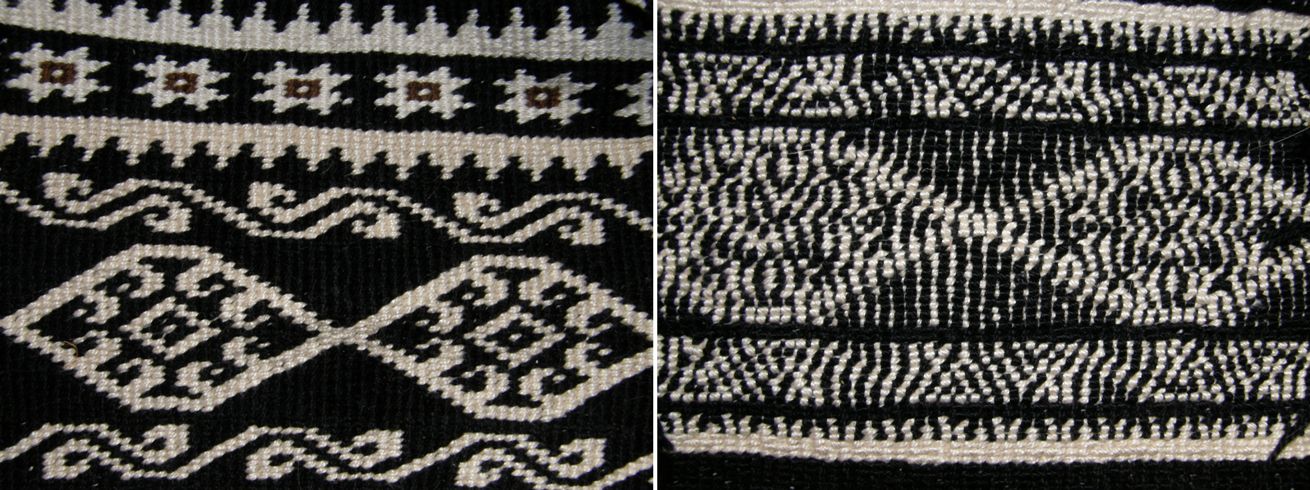
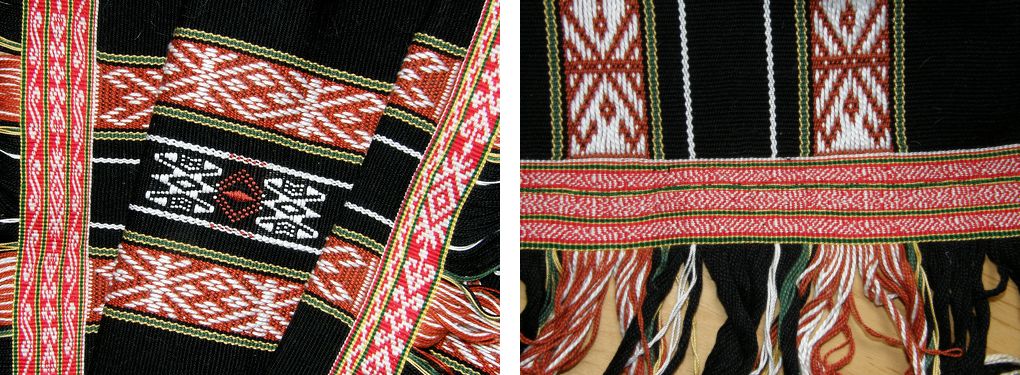
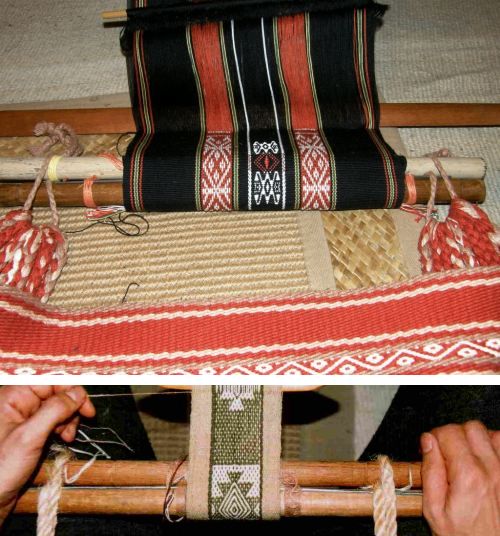
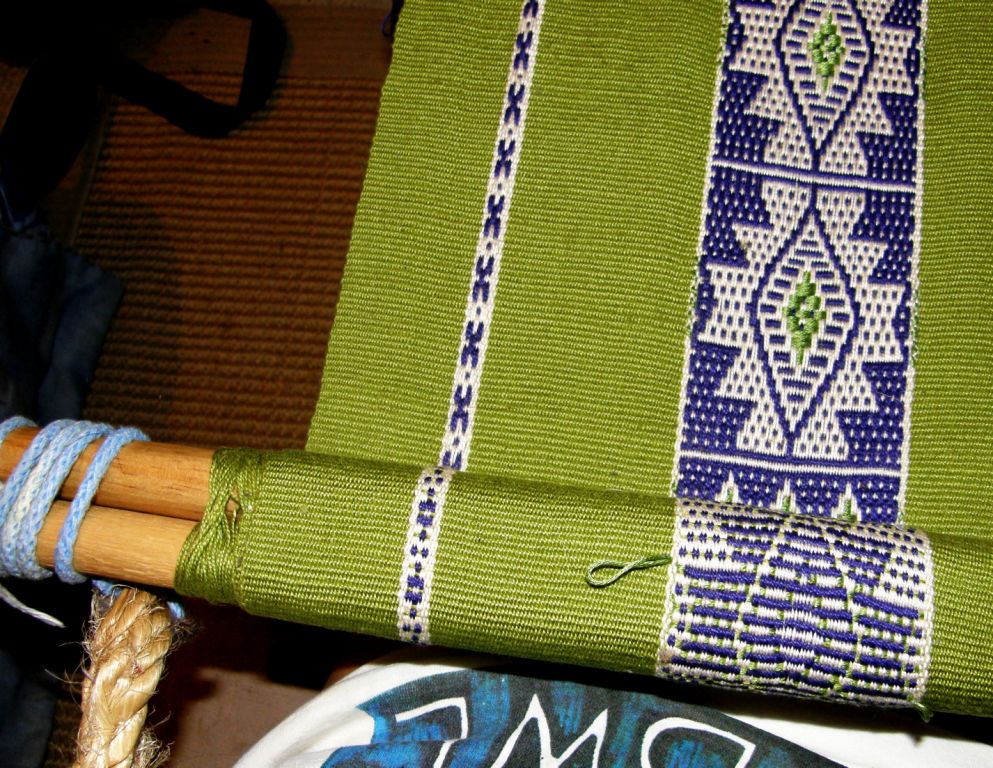
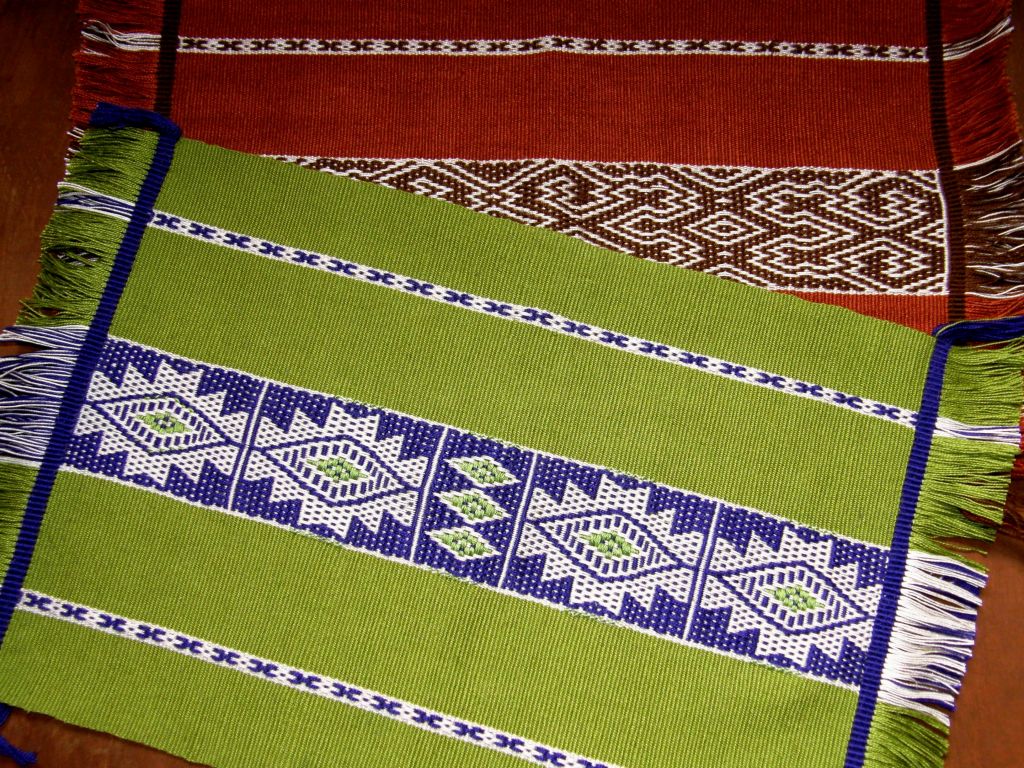
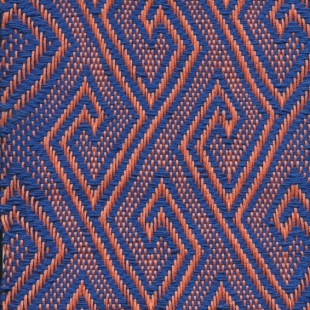
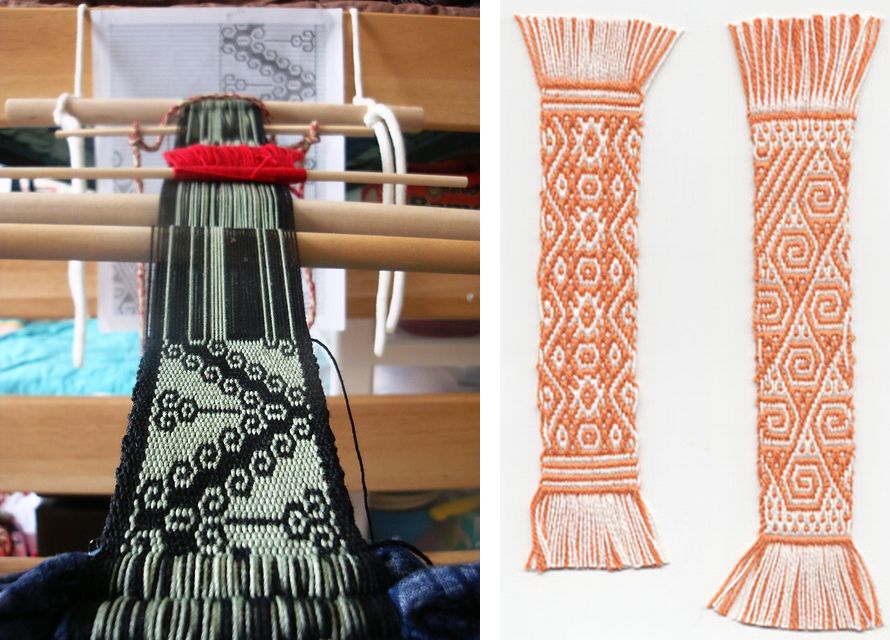
You can see the melting pot at work in the above pieces…I took a motif designed by a German weaver for tablet weaving and wove it in an Andean technique, Chilean ponchos called chamantos influenced the leaf design hanging to which I added weft twining which has nothing to do with Chilean ponchos and the piece inspired by si’ira  weavings of northern Columbia and Venezuela has more than a few of my own added touches.

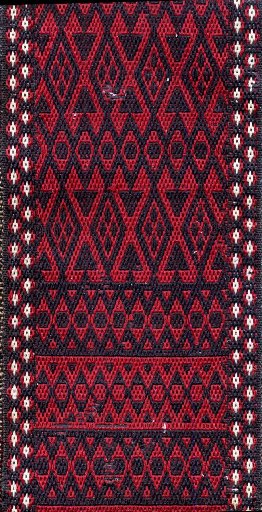
Some of the traditional colors of Bedouin weaving make that the perfect influence for what will be in the fourth piece in the wall hanging series… in red, black and white, of course.

It was a weird and wonderful path that led me to Bedouin weavings way back in October 2010. I was Googling weft twining techniques after having seen the twined work of Montagnard (Vietnamese hilltribe) backstrap weavers in North Carolina in August 2010.
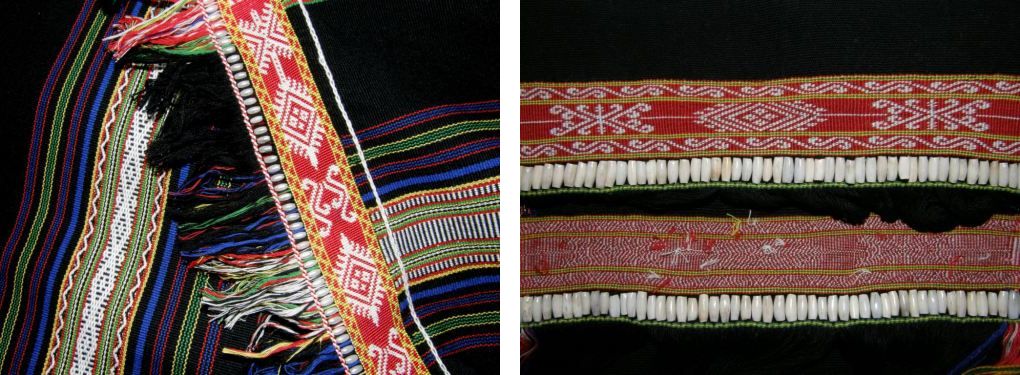
A book on the Taaniko twining practiced by the Maoris of New Zealand helped me to get started on my own off-loom experiments…. a Maori technique for Vietnamese patterns…straight out of the melting pot!
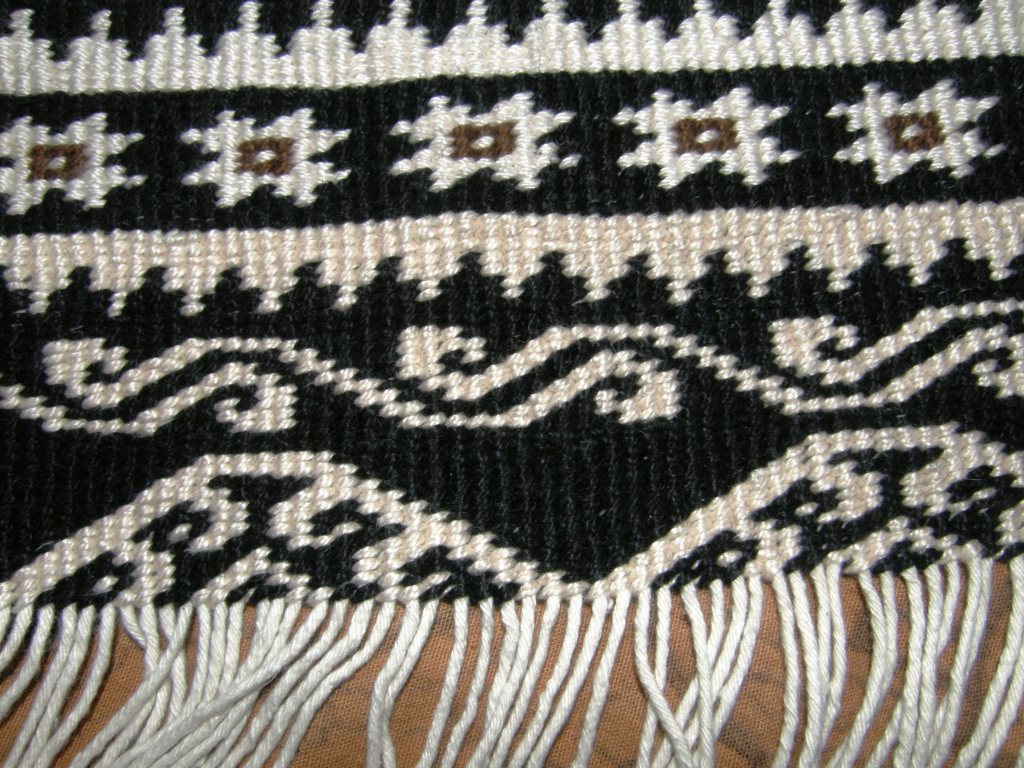
This piece has Montagnard designs as well as motifs found in both Bedouin weaving and twining. My Google searches led me to sites with Bedouin weaving and I was in love! I bought Joy Totah Hilden’s book on Bedouin weaving after finding her website and was pleased to be able to see images of the back of the woven pieces making the technique easy to identify as warp substitution which I already knew how to do. There is a link to a pdf  on Bedouin weaving by Hilden on my RESOURCES page.

It was clear from the book that the Bedouin do their twining  both on and off the loom and so I was interested in trying it on the loom…it’s so much easier when the warp is under tension, as far as I am concerned, and that enabled me to use much finer yarn than I had used for the off-loom piece.

Here is the first piece with its al’ouerjan (in which I had made a warping mistake) and shajarah patterns. The al’ouerjan pattern is the checkerboard type design on the sides.

The twined sections are sometimes worked in the middle of the woven piece as well as at both ends.
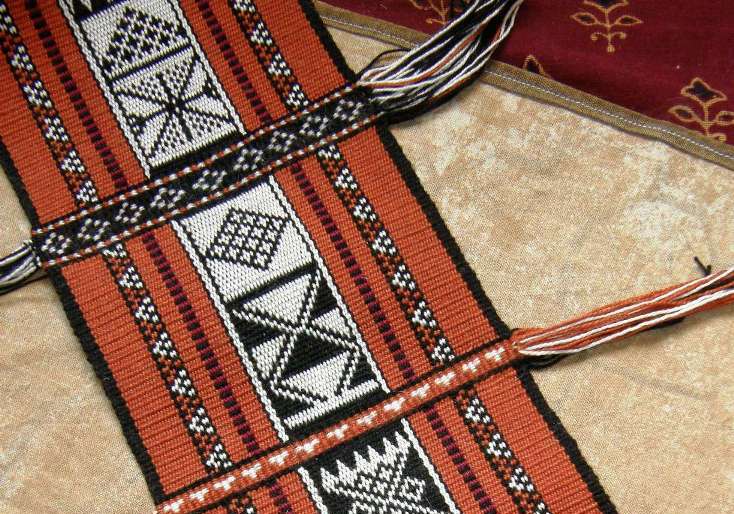
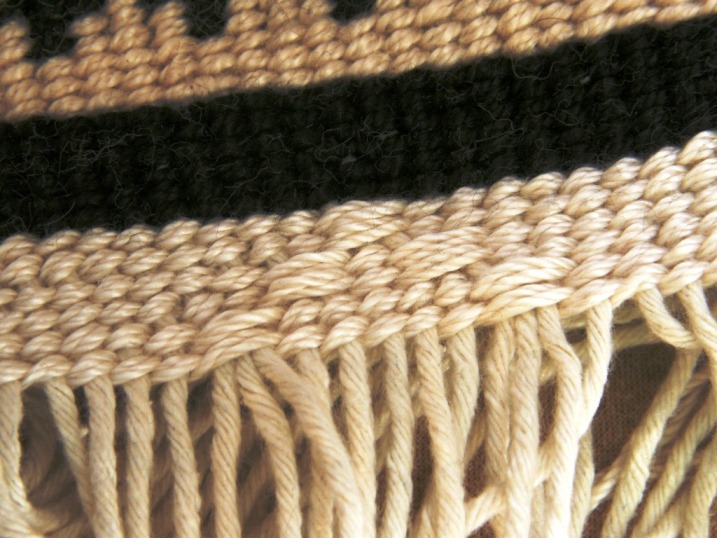
I then dove into the melting pot and added a finish of wrapped warp ends…

I enjoyed the process and I wanted to know more…both about weft twining in general and about Bedouin weaving.

I was especially curious as I found out from Betsy, who works with the Montagnard weavers in North Carolina, that their weft twining technique is done off-loom and this astonished me as the yarn they use for their designs is so very fine (Cebelia #20 or finer). I had to see and learn this! Betsy was happy to have me visit and I was able to learn from Jarai weaver, Ngach.

And in the meantime, Tracy, a member of the Backstrap Weaving Group on Ravelry, started showing us gorgeous pictures of Bedouin textiles from the souk in Doha Qatar where she currently lives and telling us about her experiences watching a Bedouin weaver at work.
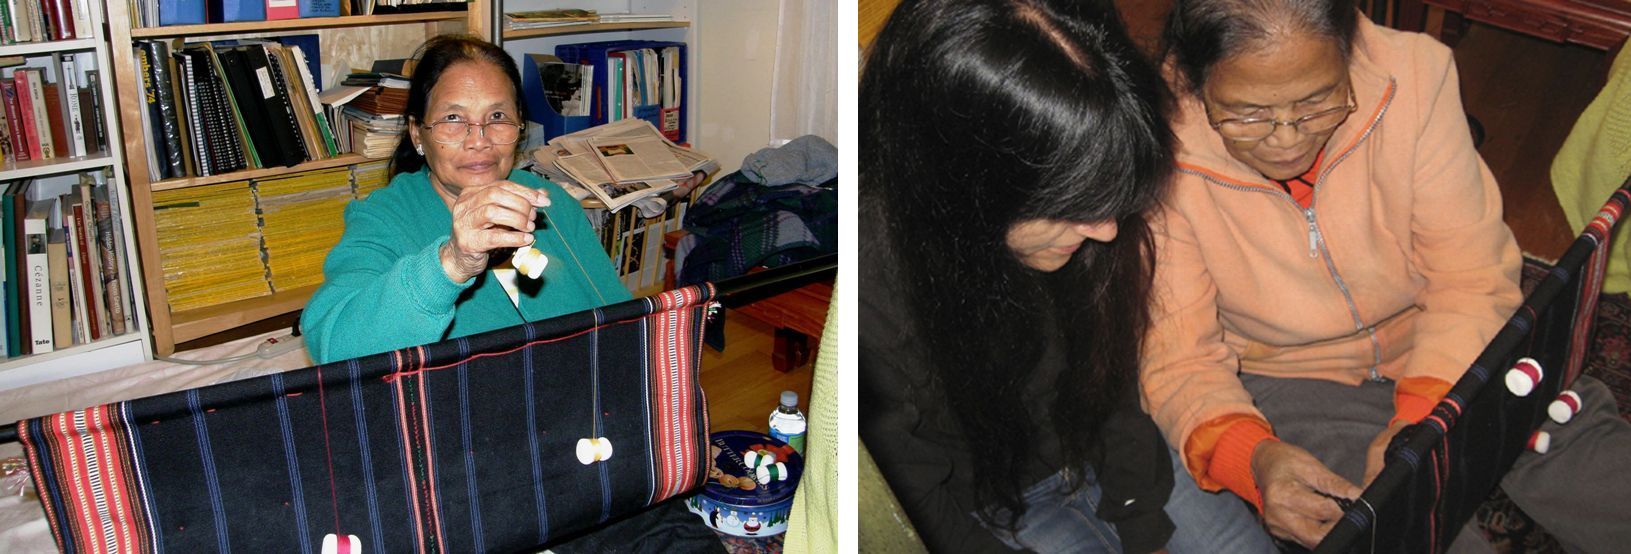
From books and images on the internet to suddenly finding myself seated next to Ngach, watching her bobbins twirl as she gracefully applied weft twined patterns to her large blanket piece off the loom, listening to her stories about her desire and determination as a young girl to learn to make the traditional kteh patterns. It was a dream come true.

Once back home, I stirred the tricks and tips I had witnessed with Ngach about color changes, hiding the ”bump” and other details into the pot and made my own kteh designs on my backstrap woven piece which you can see above.

I did it on the loom as my off-loom techniques still really needed some work! The advantage with off-loom twining is that several backstrap woven pieces once off the loom can be joined together and then the weft twining can be added along the edge of the entire piece. I have yet to do that and will definitely do so one of these days. I have my bobbins and thread ready!

Much later, the following year, came a golden gift in the form of  bag made from pieces of Bedouin weaving that Tracy sent to me through a friend who was visiting Bolivia.

Once again, imagine the thrill of getting to feel and smell the real thing…forgive me but that coarse handspun wool is just begging to be smelled! The bag is pictured above on the right next to the cotton piece that I made.

As you can see below, the floats that form in in the shajarah pattern area (the black and white design strip) are really very long! Some of them are even broken from possibly having gotten caught on things.

Now back to the sample I am weaving for the fourth wall hanging. I want to do a Bedouin-style piece but I do not want the long floats on the back. Tracy showed us images of pieces from a co-operative in Oman in which the weavers had found a way to tie down the floats  in the al’ouerjan parts (the checkerboard patterns) of their weaving possibly to make the pieces more attractive to foreign customers. It didn’t take long for me to see that they were using a  second fine weft to do so. This makes the woven cloth more practical too.

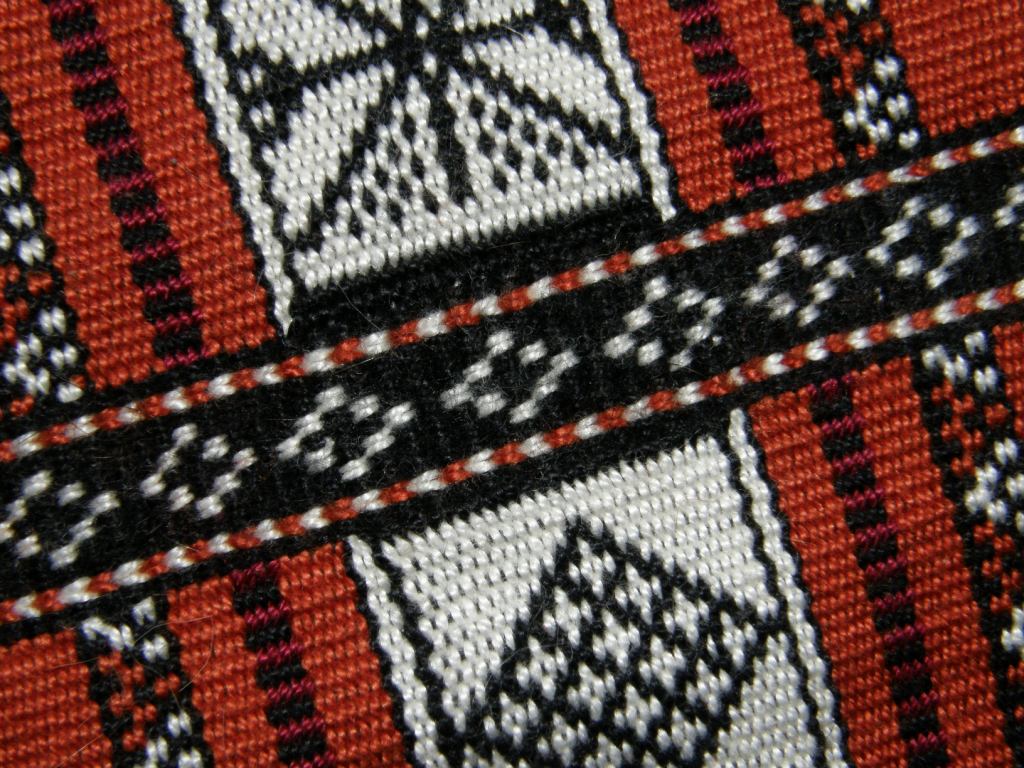
You can see the long floats that you typically get on the back of the fabric in the lower right hand corner of the image on the right and see how the appearance improves when the second fine weft is used. Unfortunately the second fine weft does not do much for improving the appearance of the shajarah patterns (the larger back and white patterns).
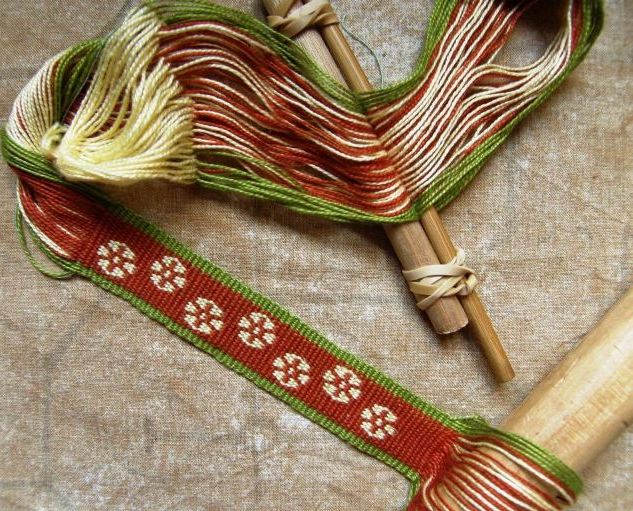
The solution to that is to go once more to the ingredients on the shelf and add some of the Bolivian highland weaving technology that I mentioned earlier to the mix. So I added embedded double weave to my sample, a technique I learned while studying with weavers in Potosi, Bolivia.

This technique allows you to weave sections of double weave alongside plain weave in the one piece. It is essentially the same warp substitution technique but with an extra step or two which basically insures, with the use of a second weft, that all the warps are interlaced with none left to float on either face.

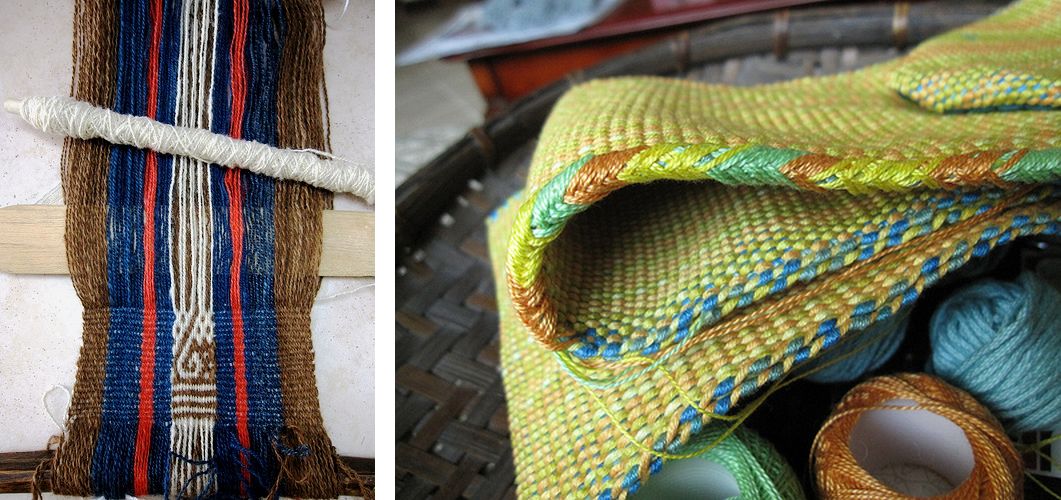
The two-color center section of the band at left is double weave alongside a plain-weave single-color border.

What I sometimes don’t like about the embedded double weave technique is the obvious transition in the fabric from plain weave to double…the climb from single layer to double layer and back again which naturally has to occur….it is sometimes more obvious than at other times depending quite often on the kind of yarn used, and I have been experimenting with various things to help soften that. I don’t want to make the entire piece double weave either.(The three-color double weave that would be required to weave the al’ouerjan pattern is bulky and unattractive).  And that is where I throw my very own bit of spice into the melting pot!

It is still in the experimental stage but what I am trying to do is combine double weave with plain weave, add the thin weft for tying down the al’ouerjan warp floats and make the transition from plain to  double weave section as subtle as possible with a trick I am trying out.
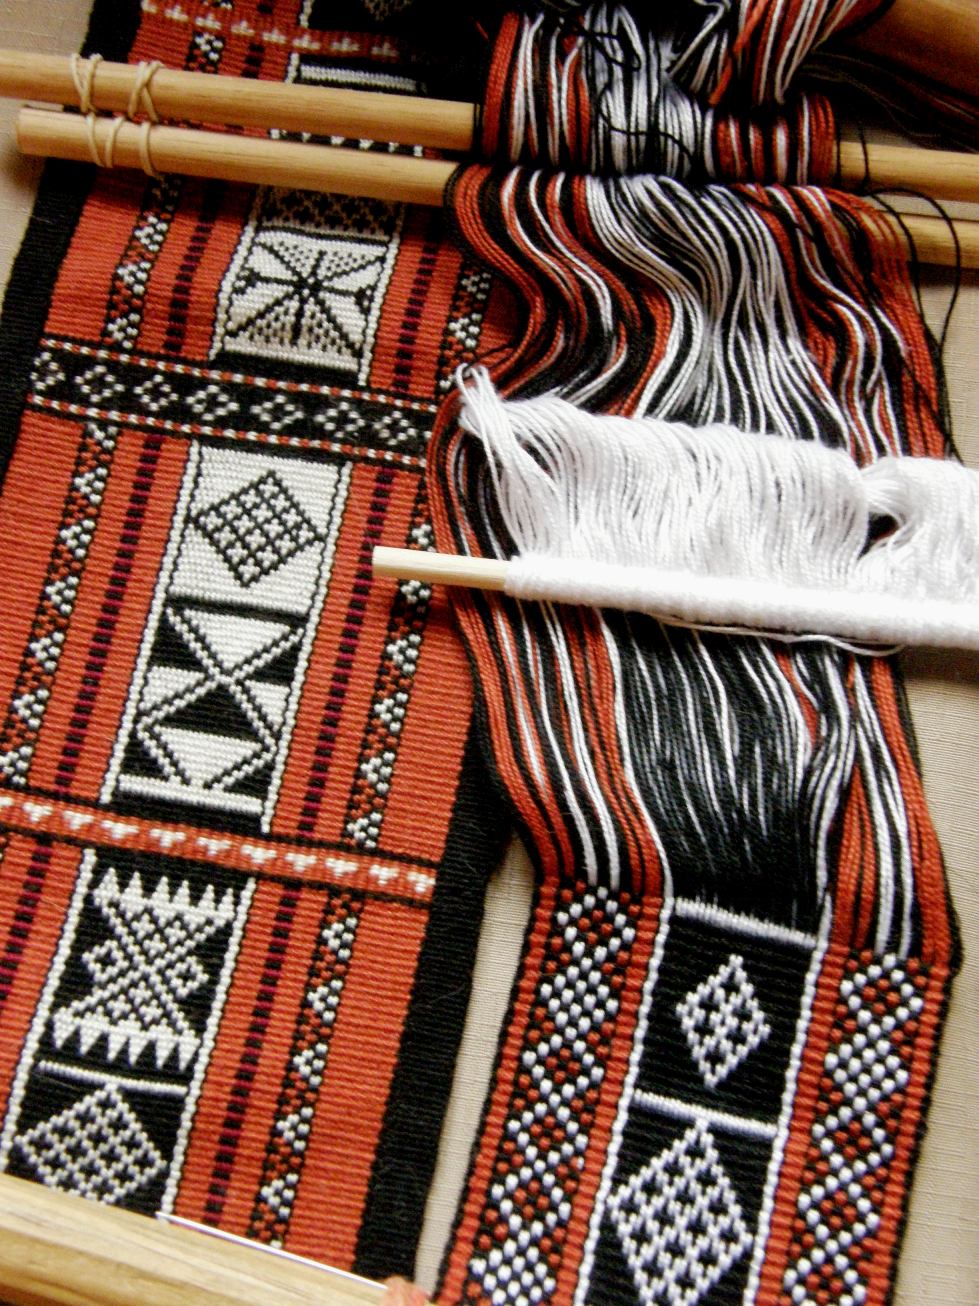
There is my first Bedouin piece on the left and the new sample on the right. The upper surfaces of both look the same and I don’t think you can tell that the center of the new sample is double weave.

The big difference is the back side of the fabric. My embedded double weave sample is on the left and my first sample with its long floats on the right. If this goes along well, I shall use this technique for my fourth wall hanging using the deeper shade of red that I have used for the other piece and incorporating more traditional Bedouin patterns.

So, enough red, black and white for goodness sake! Bring on some other colors. Here are projects from Ravelry group members and other online friends to save the day…

Oops! My bicycling friend Anna in Australia just happens to be using the same colors in a double weave piece. This is a Mapuche design from the book in Spanish by Enrique Taranto.
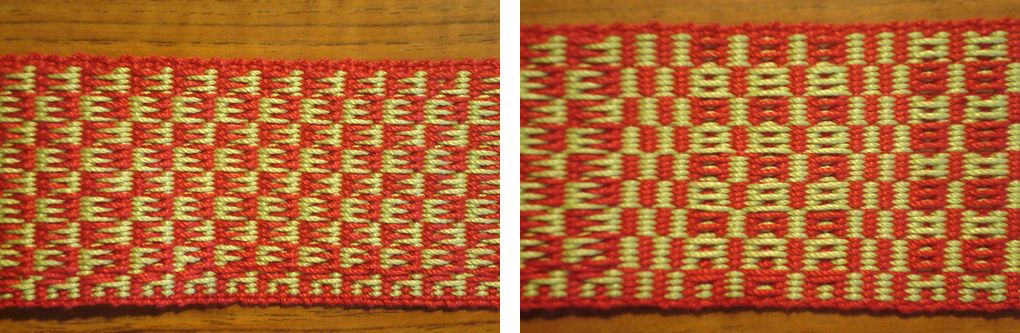
A new member to the Raverly group, Rob, showed us what he has been doing with simple warp floats inspired by a Guatemalan piece that Jennifer found on the Education and More website. You may remember that Bobbie wove a very large version of this in naturally dyed Guatemalan cotton thread that she bought from Education and More. Rob has added his own twist to the pattern at left.

Here are some of his other bands with simple warp floats and supplementary wefts. He used two supplementary wefts in different colors at the same time and says that one color stands out more than the other depending on the angle at which you view the piece….
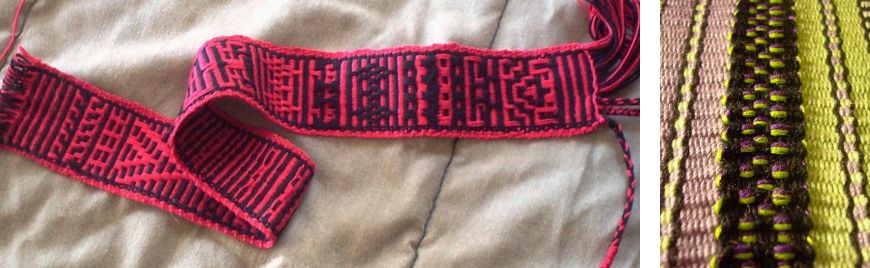
Another new member, Tracy, blew us away with her first ever piece made from her own handspun wool…we love her loom set-up!
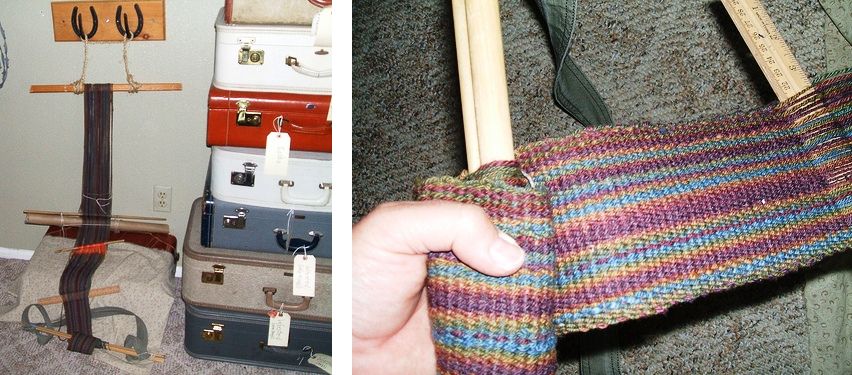
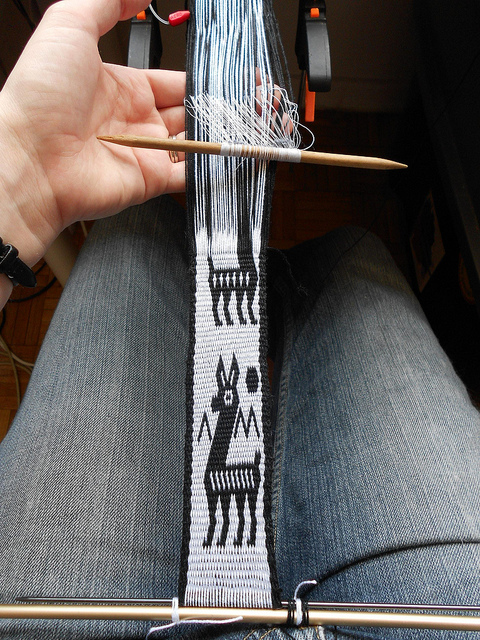
And Xav dove straight into double weave and the llama figures that I have charted here on the blog…her first ever backstrap woven band!
Jeen used her pebble weave experiments as embellishments on a couple of bags she completed. I love what she calls her “ball bag” and I think her use of variegated yarn for the border of her plain pebble weave band is so cool.

From Sweden Camila sent me pictures of her bands….

Some fun and clever designs with simple warp floats….she wove a pattern which is traditionally woven in a complementary- warp technique in the two-color simple warp float technique instead and it looks great!! On the right she has a pebble weave design from my book on her backstrap loom.

Well, I am off to continue my small sample as I think I can make something with it, weave a few rows on the third big wall hanging piece and see what unusual combination of ingredients might inspire the next piece on the loom…..
Backstrap Weaving – “Al Sadu” and Warping a Bedouin Pattern

I would like to share something that Alaa wrote in the Ravelry Backstrap Weaving Group this evening quoting from the book published in Kuwait  Al Sadu: The Techniques of Bedouin Weaving.

“The word Al Sadu in Ibn son of Mandhurs’ Lissan* Al Arab* The Tongue Language of the Arabone of the earliest known encyclopedia dictionaries of the 13 C denotes the extension of the hand towards an object, as when camels move forward with their forelegs. The word Sadu equally implies the movement of the head as in the way camels and horses move their heads thrust forward. Earlier, Al Jawhari (d. 398 Hijri) in his book Al Sahah also means the long and gentle stride of the camels. Al Sadu is the term used for warping and means what is extended.

In its widest linguistic meaning Al Sadu means: to extend or to stretch and spread, and, as used by Bedouin of Kuwait it means the process of wool weaving, the actual woven objects as well as the loom itself. Thus, it is an old Arabic term that evokes images and meanings derived from the desert environment and the Bedouin traditions.”

Extending, stretching and spreading…fitting words to have in mind when one thinks about the process of warping or even to apply to this idea of the Worldwide Weaving Web that I often refer to…which allows designs and textile techniques from people thousands of miles away in a dry sandy desert to enter the home of someone in humid jungly lowland Bolivia.

I read so many comments in the online weaving groups about the “joys and traumas” of warping. I don’t think I will ever think of it in quite the same way after that lovely description of the meaning of Al Sadu….that graceful extension of head and limb and thread….beautiful!

Some people love warping and see it as relaxing, some detest it, while others fear it.  And then there’s the old “back-to-front” versus “front-to-back” debate…that’s floor loom talk…I have little idea of what all that means but I do know that there usually isn’t just one right way to do things.

I love learning about the way warps are created for the simple looms I see in use here in South America and around the world, whether they be for backstrap weaving, or for the horizontal, vertical loom or leaning loom.

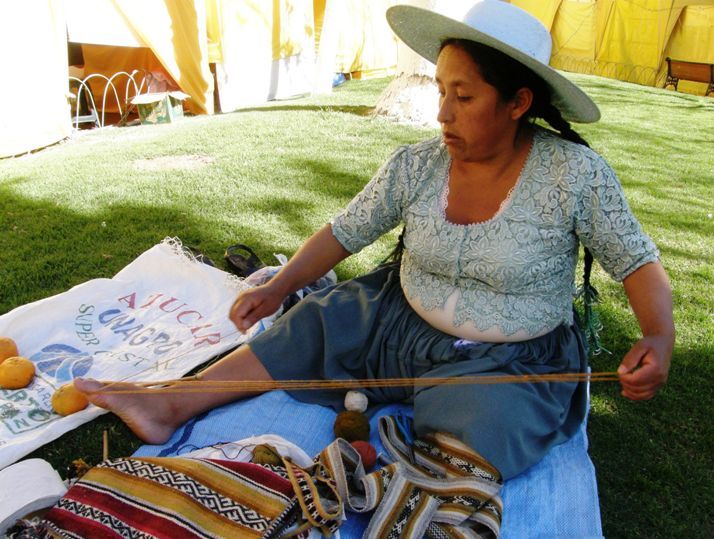
Sometimes all it takes is a toe and a forefinger…two points around which the threads can turn and measure out the length of the warp with a simple cross between.

For certain woven structures a startling amount of stakes are required so that the weaver can carefully place all the threads in their correct positions before the warp is transferred to the loom. Of course it also depends on whether the weaver is creating a circular, dovetailed, discontinuous or single-plane warp.

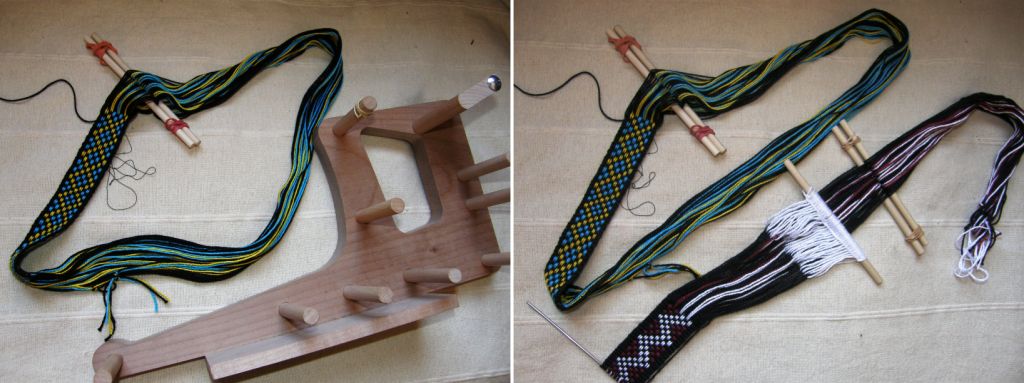
For those not familiar with circular warps, think of the inkle loom. You can see above left the very short sample warp I wound on my inklette and removed for this picture. When the band on the inkle loom has been woven, it is cut and opened up to its full length. Above right you see the same circular warp next to a warp that was created in a single plane for my backstrap loom. The finished inkle band will open out to be longer than the other one. Both kinds of warp are commonly used for backstrap weaving. A circular warp provides a practical way for long pieces to be woven on a backstrap or other loom without needing a large space in which to work.

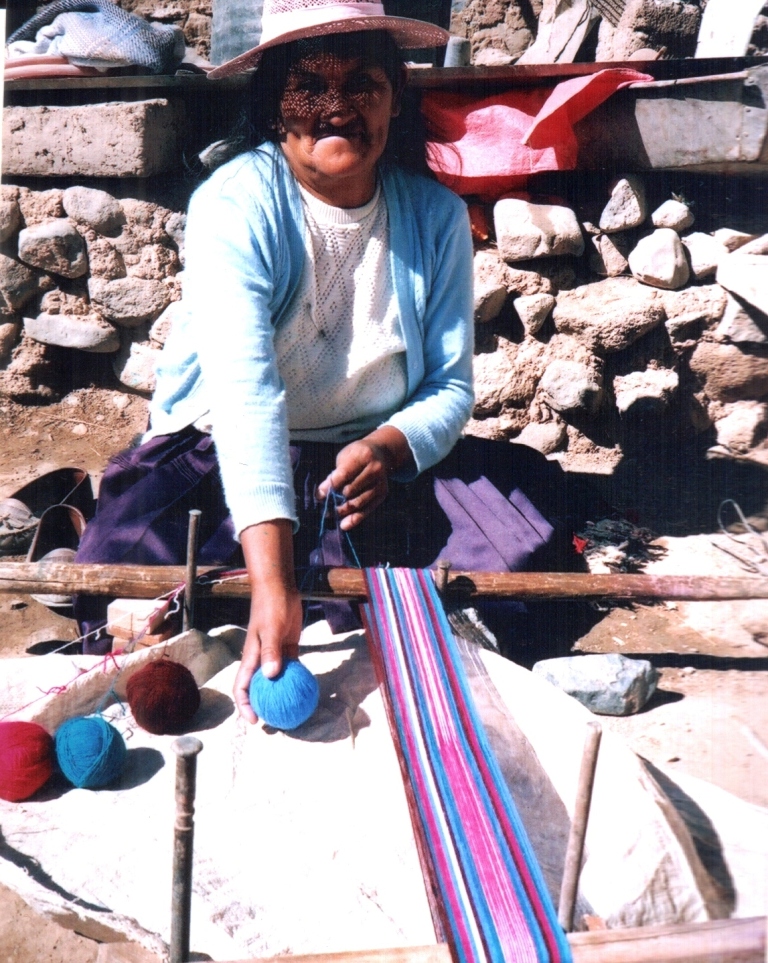
Warping for a large single-plane warp-faced piece may require two very long stakes between which the weaver walks carrying the thread. The weaver who was creating this warp in Chinchero was working alone. I have been told that often two weavers will sit, one at at each stake, and roll the ball of yarn to each other.

A belt with a complementary-warp pattern might need four stakes for its warp with the weaver sitting and carrying the threads at full stretch…

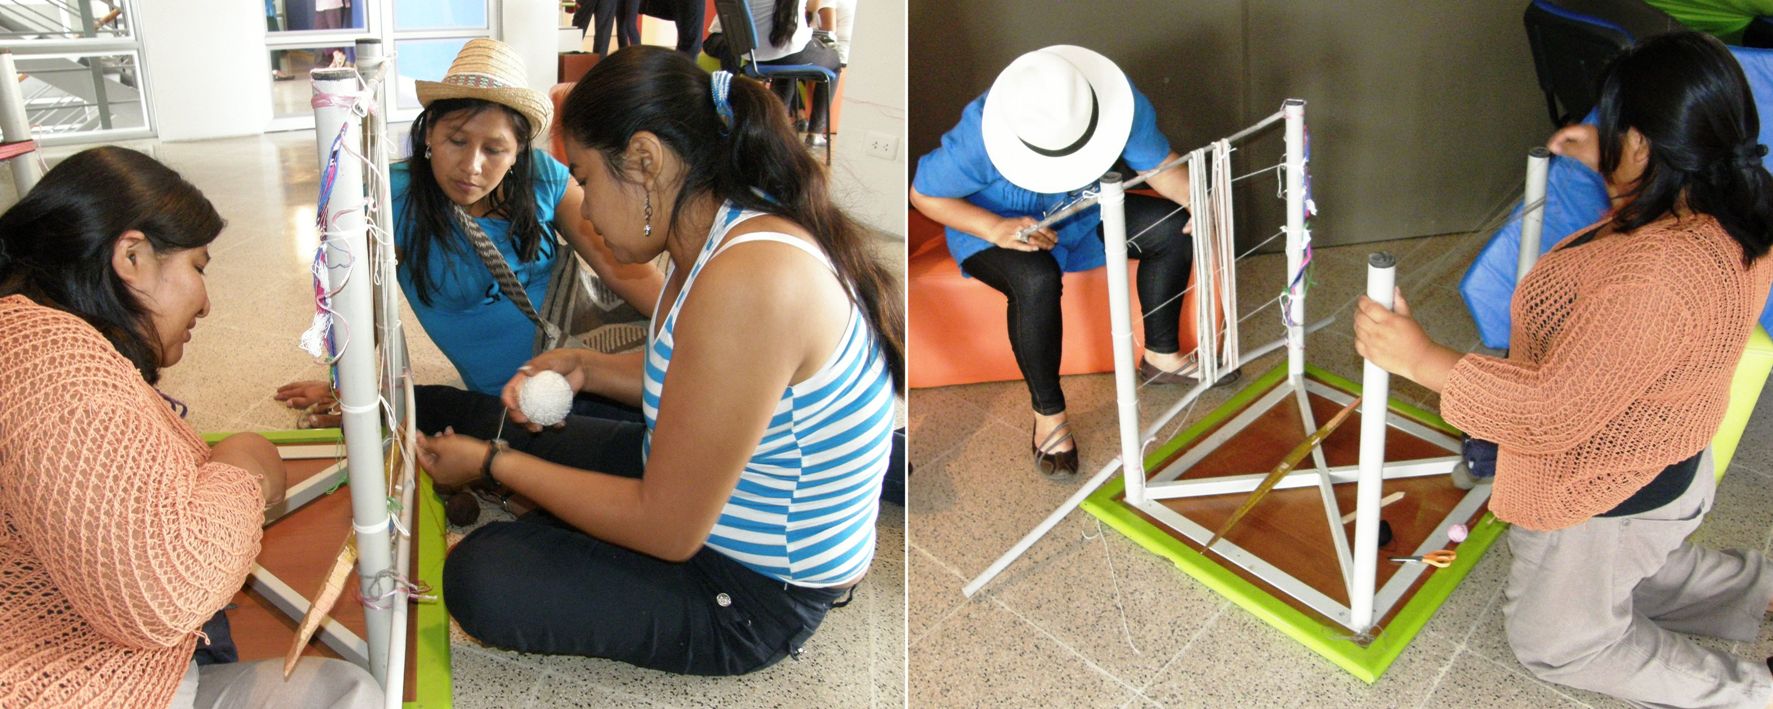
Some weavers, like my Montagnard teachers in the US, have a permanent warping set-up that stands on its own which they can pick up and transport from place to place. Below, Ju Nie is teaching other Montagnard ladies to make a circular warp in a community center. (picture by Andrew Young)

Her process will create the circular warp that you can see here…

The warp end nearest the weaver must be clamped or stabilized, as you can see, so that it won’t slide around the loom bar as the weaver beats.

I love the improvised warping set-ups…

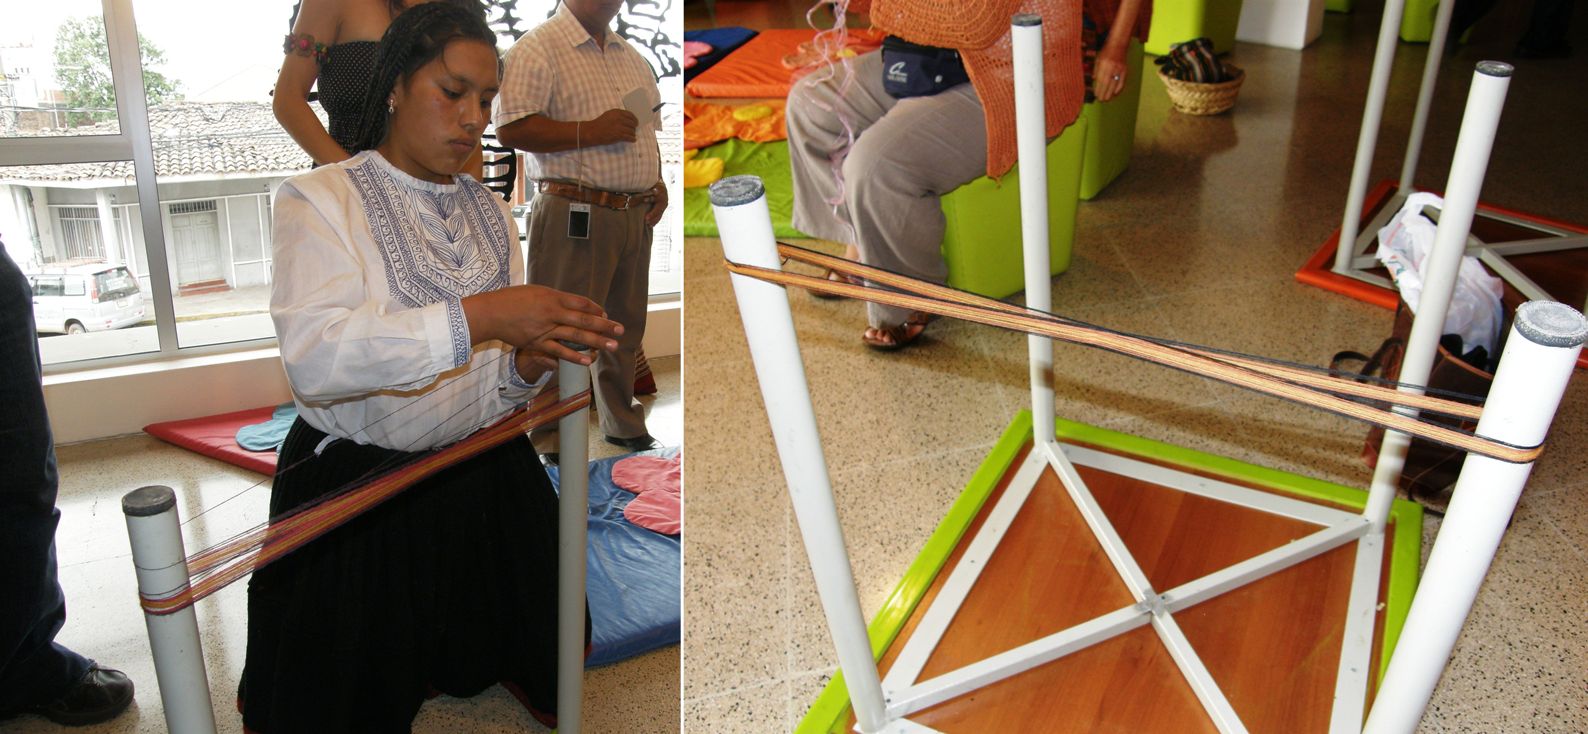
Indoors at a gathering of weavers in Santa Cruz, Bolivia, Chinchero weavers used table legs around which to warp practice bands.

The same table was even used by a Guarani weaver to demonstrate the dovetailed warp that she uses on her vertical loom. The dovetail warp occupies one end of the table while an Aymara weaver from Chile winds her single-plane warp on the other.

Often warping can involve more than one person. Above, Hilda and I in Potosi Bolivia, are warping the horizontal loom for warp-faced double weave embedded in plain weave. She is about to roll the ball of yarn to me so that I can turn it around the loom bar before rolling it back to her.

Mapuche weaver Marta and I warped together at the recent exhibit in DC which meant I couldn’t get a video of the process but warping with her rather than filming was much more fun!

Beth from Beer Sheva in Israel gave us a link to a wonderful set of videos on Bedouin weavers in Lakiya village in Israel. One of the videos shows how it takes three people and a lot of walking to warp their long horizontal looms for the making of warp-faced carpets.

You may remember the next video that I posted some time ago of the poncho weaver from Paraguay warping her tremendously long single-plane backstrap warp, carrying the thread up and down on her own for three hours.

I love watching that weaver at work!

Which all brings me to the warping tutorial I promised this week for the Bedouin al’ouerjan patterns which are woven with the warp substitution technique.

Tracy in Qatar and Helena in Brazil have been playing with these patterns as well as a couple of other members in the Ravelry backstrap group. You can see Tracy and Helena’s work above. We have all fallen in love with these patterns.

We had fun playing with one of the many versions of this pattern when I wove with friends in California. We combined the technique with weft twining.

And look at Tracy’s latest project!!

You will find the tutorial on warping the al’ouerjan patterns here. The weaving technique (warp substitution), which you will need to learn first, is detailed in a tutorial here. A tip for securing the warp floats that are typically created on the backs of pieces woven in this technique is within this blog post.

And, thanks to Alaa in Jordan and several other people who pointed out to me the Interweave newsletter this week that included a link to a  video on Bedouin weaving on the UNESCO site which is definitely worth watching. UNESCO were kind enough to give me the embed code but WordPress doesn’t like it! So, here’s the linkI just love how the loom is perched over mounds of desert sand. Nothing could be further removed from this moist jungly place in which I live.

Earlier I mentioned a link that Beth in Israel provided which leads to a page with several videos on the Bedouin weavers of the Lakiya Negev Weaving Project.

The one on finishing techniques is very nice. And here’s the link to the page with all eight videos.

I have a feeling we will be seeing many more projects inspired by Bedouin textiles in the Ravelry Backstrap Weaving group…a lot of black, red and white which also happens to be the color scheme of my latest pebble weave project. It is coming along…

Here it is all rolled up and reaching the end. It will be a wall hanging so it doesn’t need to be any specific length but I would like to weave as much as I can on it. I will change those thick cross sticks for thin ones and replace the end loom bar with piano wire and then lash that to the loom bar. That will give me more working space. I am still thinking about twining a design into the end.

In the meantime I am itching to warp up the next wide piece in these same colors…another wall hanging inspired by the Chilean chamantos.

And more things come into my inbox to inspire future pieces in this color scheme…

Roman K sent me this image of this beautiful man’s wool sash that he owns which is from western Podilia which Wikipedia tells me is in south-western Ukraine.

This sash has been woven in the simple two-color warp float technique but we are not sure as yet what kind of loom was used. Roman is a great resource for information on traditional folk clothing and embroidery. My online friend Sharon first sent me a link to his post on Central Asian embroideries and, while looking around his extensive website, it occurred to me that he may know something about the origin of the complementary warp weaving technique on some of the Russian Old Believer belts that I have been studying.

He has sent me pictures of other gorgeous sashes and belts which I will save for another post.

I know that my weaving friend Annie will be eyeing that sash. She is building a nice collection of sashes from around the world which I got to admire when I stayed with her this last fall. On top of that she weaves guitar straps and sashes of her own design on her inkle looms…emphasis on the plural…I think she has about seven inkle looms and is forever creating new and unique patterns.

It really seemed to me that her creative process was completely natural and effortless. There was no charting and not a calculator in sight. She just seems to pick up this color and that, move her skeins and balls of yarn around and then come up with something fabulous.

I think it is a wonderful opportunity to add a splash of color to the end of this blog post by showing you some of the guitar straps that Annie, aka AspinnerWeaver, creates and sells in her Etsy store.

These are done in plain weave with all the patterning created in the warping, letting the colors do the talking.

She has taken the supplementary warp technique and really run far with it working it into her own unique patterns.

Color!! She has made minimal but very effective use of the simple warp floats technique in these next two straps and turned out two gorgeous designs.

Mental note: never fear the half revolution on the warping board…a lot of these clever warp designs that Annie has created require half revolutions when winding a single-plane warp which is something I usually just don’t bother with to avoid having knots at my starting end (not a problem with circular warps)but, then again, not really a problem with single-plane warps either especially if you plan on starting with a fringe.

More plain-weave beauties…

And  one last supplementary warp color burst and a two-color warp float strap that is one of my favorites.

Have this got you all keen to warp up something on for your inkle or backstrap looms? If you are in need of even more inspiration check out Annie’s Flickr guitar strap album.

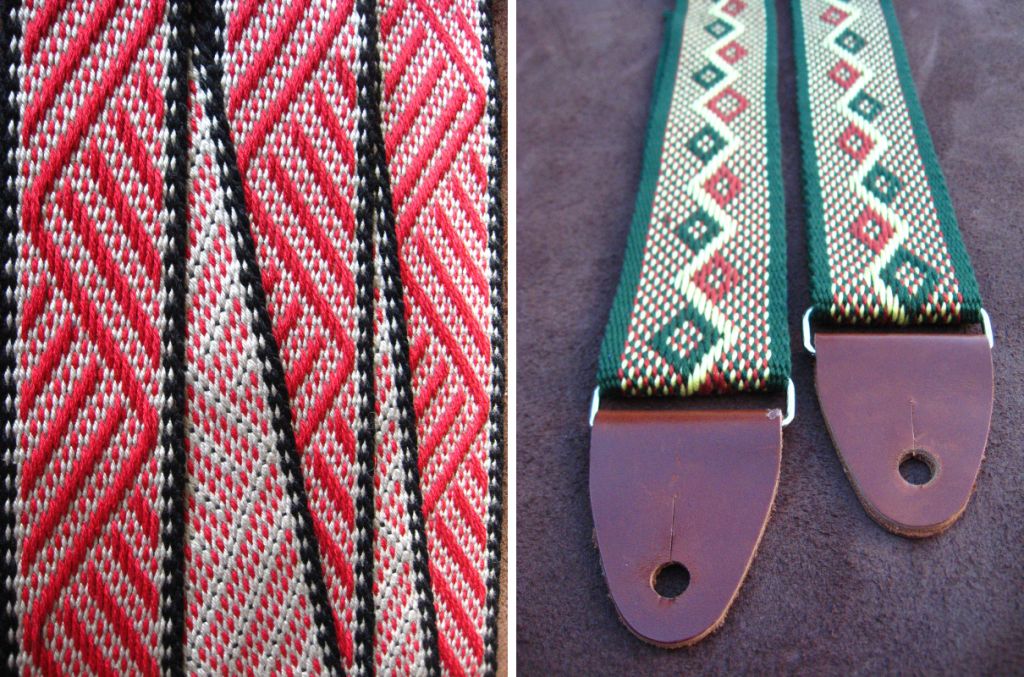
I was asked recently to make a guitar strap for a friend. I chose to make it in my favorite pick-up technique…you guessed it, pebble weave. I added in a couple of extra heddles which made it quite fast to weave.

 I happened to mention to Annie that I had to make a guitar strap and the fact that I would need to buy the hardware to finish it. In the mail arrived a package from her with all the pieces necessary to complete my project. What I didn’t realize at the time is that she actually cut the leather pieces and put it all together herself. Better still, she is selling this now here so you can weave your own guitar strap and have everything you need to finish it off beautifully.

I definitely owe my boyfriend a new guitar strap. The pebble weave one I made him is constantly being confiscated and taken with me on the road to show friends.

There has been some buzz in the inkle and backstrap groups about Anne Dixon’s book which is due out next summer I believe.

I am happy that I will get to meet her at the Braids 2012 conference in Manchester next August….400 warp-faced weaves. Imagine!

It seems so far away now but time is bound to fly. And what about Convergence and Maryland Sheep and Wool? Are you planning to go? I hope I will meet some of you at at least one of these events.

Well, back to my red, black and white pebbly Starry Night piece and hopefully I will have the start of piece number two in this series to show you next week.

Backstrap Weaving – Finnweave, Funweave and Finishes

FINNWEAVE, FUNWEAVE AND FINISHES

My finnweave piece is off the loom and is just the right size to make my storage bag. It will be a basic bag construction, simply folded in half and sewn together at the sides.

Then I will let it sit for a while to see what ideas I get about dressing it up….a strap will be needed, maybe some large tassels on each bottom corner and some kind of edging.

It is going to hold all the cds with photos from my recent travels. These are currently in a pile on the floor under my computer table which is on top of another pile of charts and booklets which is on top of another pile of….well, you get the idea.

Which is why I need another system. I am currently rearranging my wall hangings so I can hang my woven storage bags out of the reach of my cat.

I am hoping to have a bunch of these in different colors and structures to add to the “textile bazaar” feel of my room.

While this will be made into a usable product, I still feel that it should be filed in the category of “sample” as there are a few things about it with which I am not all together happy.

I have made a couple of other useful items from my samples such as, the two purses pictured at left, and I have all the pieces I have made here as reminders of how to chart designs or what to do and what not to do next time.

Give me some time and will probably sew all the samples up into something!

So, what am I unhappy about? Firstly, as I mentioned last week, my warps in the center of the piece were spaced wider than those along the sides so I know next time that I need to pay more attention to that.

The other thing is the separation of the layers. I know from doing warp-faced double weave that the two layers of fabric are not joined in places where there is no pick-up pattern but you really have to pinch the fabric and try to pull it apart to feel the separation of the layers in the warp-faced fabric.

However, in this balanced double weave structure, the separation of the layers is far more apparent and not something I like too much. I think it was a mistake weaving those long columns of motifs and leaving those long plain spaces between them. While, thankfully, the fabric doesn’t “billow” in the places where the layers are not attached (I have read that this is something that can happen), it does somehow feel unstable in those places.

The above sample designs have the pick-up better spaced across the width of the fabric. The narrow brown and white band, above right,  is a reproduction of a pre columbian piece from Peru and you can see how the weaver has added small spots, crosses and squiggles in the negative spaces around the bird motifs in order, I would imagine, to bind the two layers of cloth.

The lattice design in black and white (from an issue of Prairie Wool Companion) holds the layers together beautifully.

So, my next piece in this technique will have an all-over design and I have already found the one I would like to do on a Huichol bag. Now to chart it…I am not yet at the point where I can read the design straight off a photo but am getting closer! I might be able to do it with the actual cloth in my hands.

Of course, the fact that the layers in plain double weave don’t bind can be used to your advantage if you are wanting to make a seamless pouch (see the eyeglass case I made in this blog post).

From here I move on to what I call in the title of this blog “Funweave”. All weaving is fun for me but Jennifer in the Ravelry Backstrap Weaving Group reminded us all this week about how fun and satisfying it can be to weave using heavy yarn.

I wrote a post entitled Big Bang and Big Thread some time ago about this topic when I made four backstraps very quickly using 12wpi yarn – Plymouth Yarn Fantasy Naturale together with doubled Tahki Cotton Classic.

These were fast and fun to make with their pick-up patterns: pebble weave and simple warp float patterns but, hey, who needs pick-up patterns to make beautiful designs?

Look at that bag…what a beauty! Here is what Jennifer calls an ”eight-hour project” using Tahki Cotton Classic. The checkerboard design is programmed into the warp so that once the warp is on the loom it is all plain weave. She even did some weft twining. I have to tell you that weft twining is SLOW but not so bad when you are using yarn of this  weight and can work your way from one edge of the warp to the other relatively quickly.

She also made a backstrap using Plymouth Yarn Fantasy Naturale which is heavier than the Tahki Cotton Classic.

So, I decided this week to show you a little about basic weft twining and made a couple of videos.

My interest in this technique goes back a long way starting with Cheryl Samuel’s beautiful book on Chilkat dancing blankets and I have written about this in several previous posts.

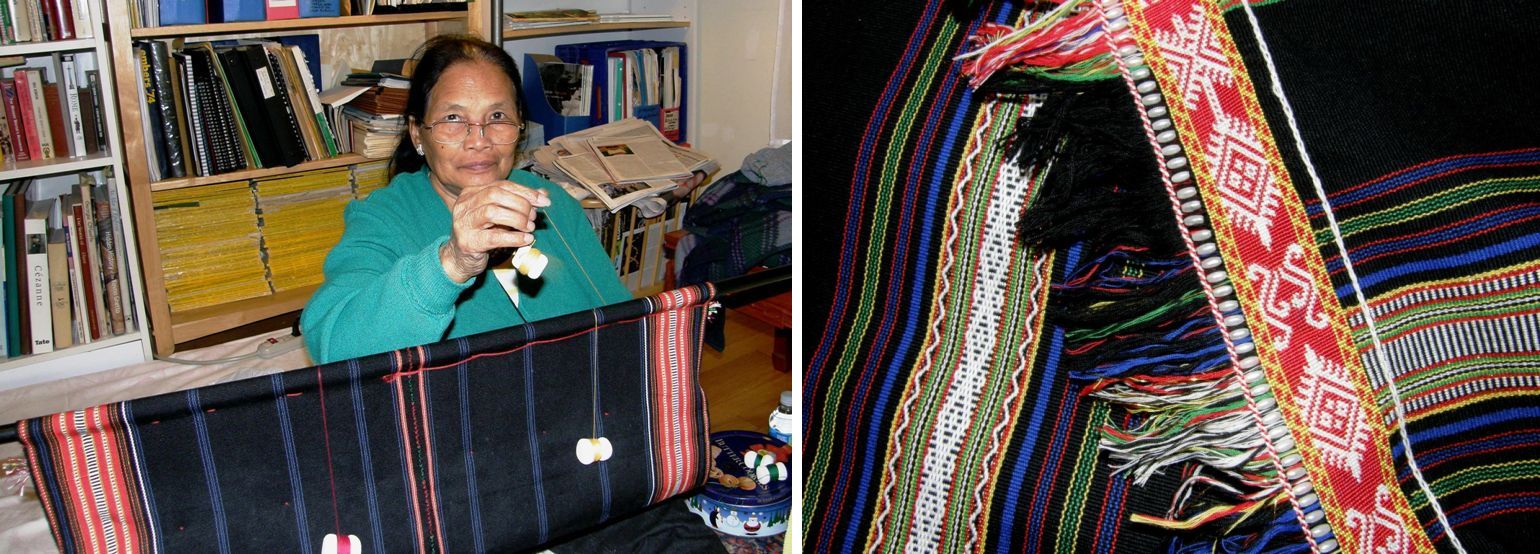
What got me out of the book pages and into the technique was seeing the twining on textiles made by the Montagnard (Vietnamese hilltribe) backstrap weavers. They call this twining technique kteh. Some of their traditional designs can be seen above left.

On my first visit I only got to see the designs and didn’t see how they were created and so I started on some off-loom twining experiments using thick yarn as weft twined around cotton string.

I copied some of the Montagnard designs as well as woven motifs from Bedouin textiles and played with one, two and three-color twining.

I also started some one-color textured twining but got distracted when the opportunity came to actually go and learn twining with the Montagnard weavers and so I will return to the textured twining one of these days.

The Montagnard weavers twine their pieces off-loom. They twine the edges of their skirts and blankets. To make these large pieces, several panels are woven and then sewn together. Then the twining is added along the edge of the connected panels. I also understand after having spoken with Ngach that there are specialists to whom weavers take their cloth to be twined. Ju Nie often sends her skirt fabric back to her sister in Vietnam who twines the edges and returns it.

Even small pieces are twined off loom. The fabric is hung on a specially made stand or on a bar which is rests on two pieces of furniture.

Here I am learning to twine with Jarai weaver Ngach. This is a beautiful way to twine. The thread that Ngach uses is fine and she has her wefts wound on bobbins. Her movements are fluid and graceful.


There is more detail on my second visit with the Montagnard weavers in this post.

Here is a short video I made of Ngach twining. After  you watch the instructional video I have made, you will better understand what she is doing in the different movements. Watch how she twists the wefts sometimes once and sometimes twice and note how tightly she holds the warps under tension. She has her woven piece sewn around the metal bar so she can pull down on the warps. This is something I couldn’t do with my off-loom lap twining.

I have tried both on and off-loom twining and find that I much prefer twining while my woven piece is still on the loom. For me, it is easier to twine around warps that are held under tension. This also allows me to twine in the middle of a weaving as the Bedouin often do.

Something I have yet to try which I have seen in Bedouin textiles is twining a design that is completely embedded in the cloth, that is, it does not travel from edge to edge but sits in the middle completely surrounded by weaving. (see here…although I can’t be sure if this is twining or in fact wrapping, soumak or some other technique that is worked in conjunction with a ground weft which would bind the whole piece of fabric together).  What do you all think?

I have made two videos showing two-color twining as I do it on the loom (not as I was taught by Ngach.) The first video shows how to twine with two colors and determine which color shows on the surface to create your pattern.

I am twining in the middle of a narrow band woven with yarn that is very similar to Plymouth Yarn Fantasy Naturale. I use the same yarn as the warp and weft for the twining and I twine around groups of six warps.

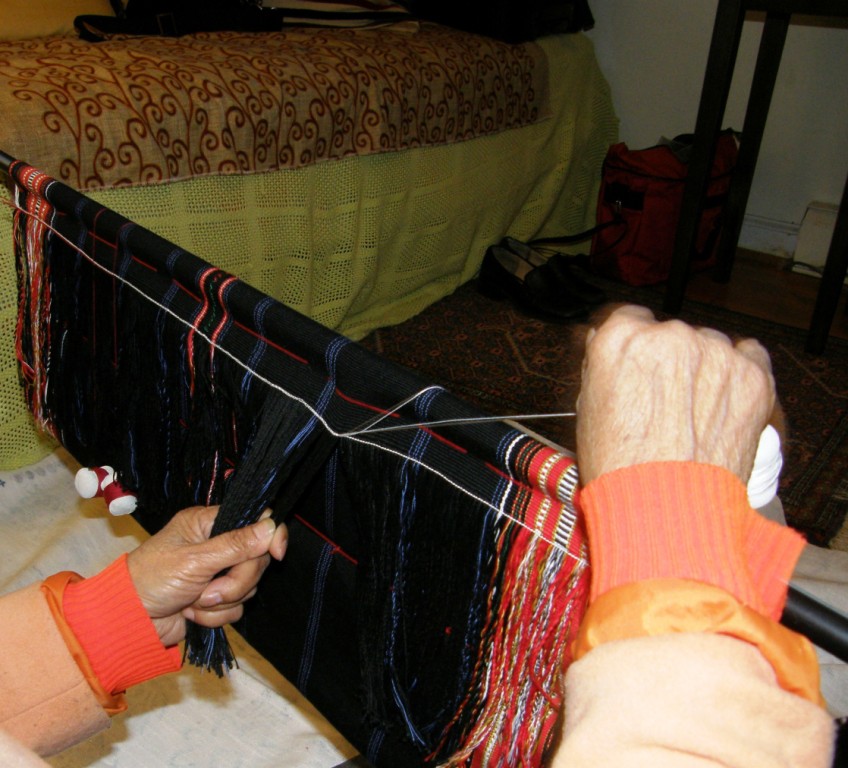
I am working sitting in my backstrap loom with the warp under tension.

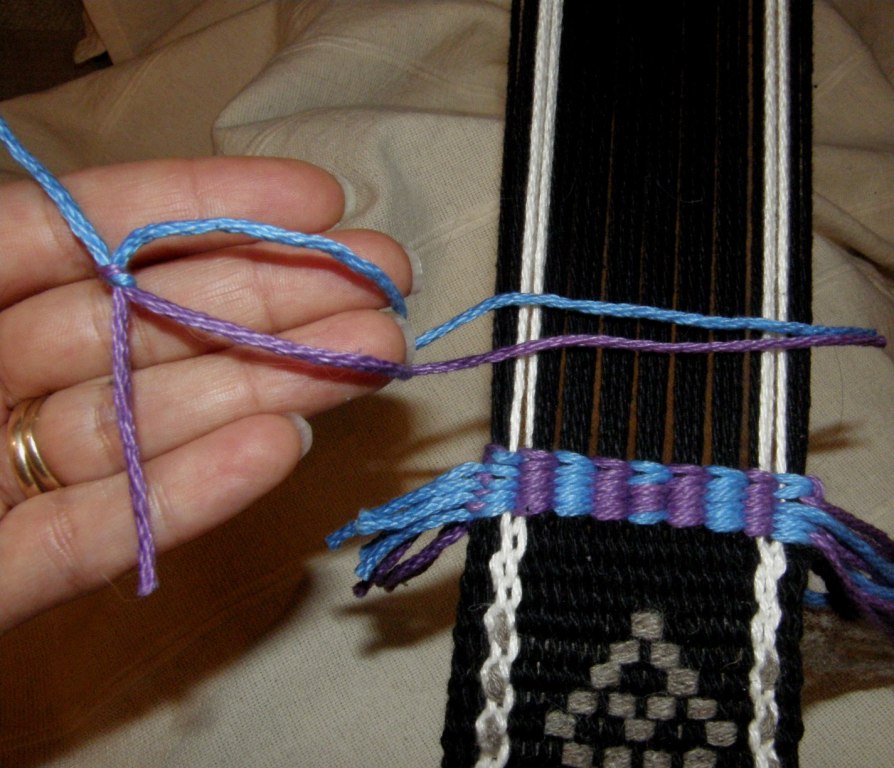
I start by tying the two strands of weft in a square knot. The Montagnard weavers twine from left to right leaving the weft tails hanging decoratively at both edges. If you are planning on sewing your piece and hiding the weft tails, you may want to start with a slip knot which you can later easily undo and therefore not have a bulky knot interfering with your seam.


If you look at the large picture of Jennifer’s bag earlier in this post, you will see that the twined wefts sit on the surface of the cloth at an angle.

The next video shows how to create two rows of twining at once with the wefts lying at opposite angles creating little “v”s.

To have this show up well, this kind of twining should be separated from the rest of the two-color twining by a row or two of single color preferably in a third contrast color. You can also stack several rows of this for a very nice effect.

You can see it in red and white on this piece I made surrounded by black.

I start by hooking the two threads together. By doing this, you won’t have starting tails.

If you prefer to have tails, you can just knot the four strands together. As for the length of the wefts, I will leave that up to you to figure by trial and error. Unless you really want to avoid wasting yarn, I would go with long wefts which can be trimmed later. Having long pieces of weft to hold and work with in your hands is easier than having short ones which you can’t quite grasp.

As you can see, the weft builds up around the warps in vertical columns. This means that any motif that has been drawn on a chart that is based on columns of squares can be used…motifs designed for cross stitch or knitting, for example. I choose to hide the little “bump” at the back of the fabric. I have seen Indonesian textiles that have the bump exposed and used as part of the design almost like little beads.

In the videos I am twining up and away from the weaving line but I have also on occasion, done it the other way around. I finish my weaving and then return to the start and twine around the unwoven warp ends at the beginning of the piece. The twining grows towards me rather than away. Both ways work equally well for me.

And what’s on the other side when you twine motifs? This is how the piece in the heavy yarn looks on both sides….

And here is the finer twining I did on the Montagnard-style piece that I wove…front and back. You will notice that the twined band is slightly wavy. As I had twined around groups of four warps, the twining actually turned out wider than the woven fabric. Since then, I have twined around groups of six warps and always used the same yarn as my warp and weft for the twining wefts. That works out perfectly.

An entire piece can be made up of twining. Those off-loom pieces that I made with the chunky yarn, with a bit more practice, could be used for mug rugs or sewn into bags. You can twine around a piece of cardboard and form a tube to create a seamless bag as my friend Franco did.

I twined around single strands of cotton string for those. The close-up at left will show you the material and a first attempt at some textured twining. For the piece in this picture I have used doubled strands of #3 crochet cotton for the weft.

Twining on a woven piece adds a nice bit of decoration and can strengthen an edge. I have not seen exactly how the woven Bedouin tent dividers are hung but wonder if they are hung from the twining in the mid sections of the weaving. I imagine those tent dividers are very heavy and perhaps the stronger, more rigid twined parts can support the weight of the hung weaving (pure speculation on my part).

I used twining in a single color to edge these placemats and mug rugs just for something different.

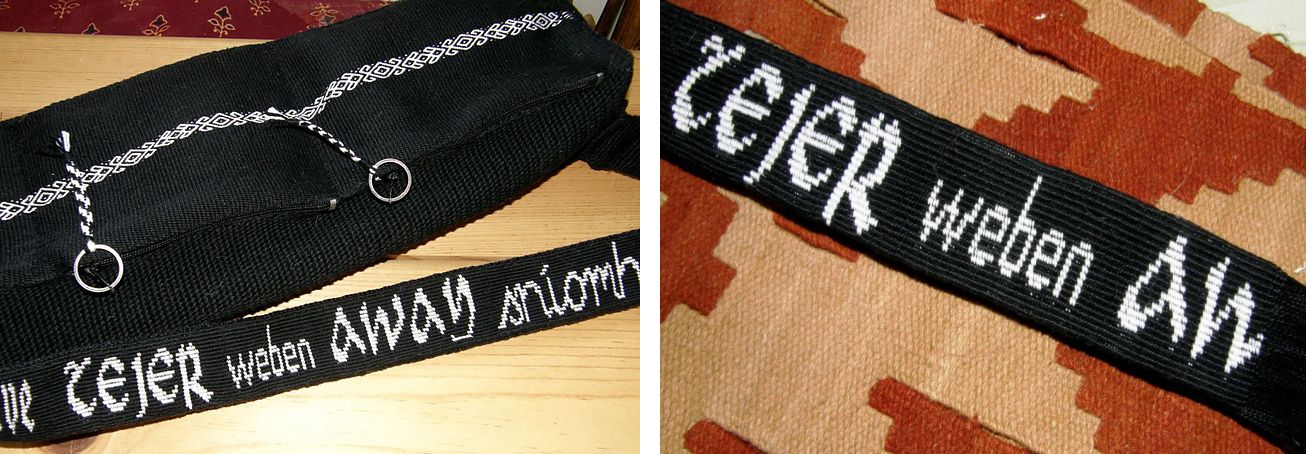
I wanted a sturdy shoulder strap for my loom bag and so twined the whole thing with #10 cotton. I twined in the word for ”weave” in different languages. The twining was done width-wise and all the weft ends were sandwiched between the twined band and another woven one which were sewn together.

Remember the “sausage” bag I made last week? Well I finished it by sewing in the zip and am still lamenting the fact that the twining ended up on the bottom!

It really holds a lot of stuff and will make a great toiletries bag for travel. The twined motif has three colors in the center and with practice you will see that it is not any harder to twine with three colors than with two.

And speaking of decorative finishing techniques, Tracy in the Ravelry group showed us the pretty herringbone stitch that she is working along the edge of one of her Weave Along projects. Tracy lives in Doha, Qatar and has made contact with a Bedouin weaver there who uses this finish on her woven pieces.

On the left you can see a pebble weave piece she is also currently working on using her homespun yarn.


Here are other Weave Along projects from the last couple of weeks…..As you know this Weave Along is all about PLAIN WEAVE.

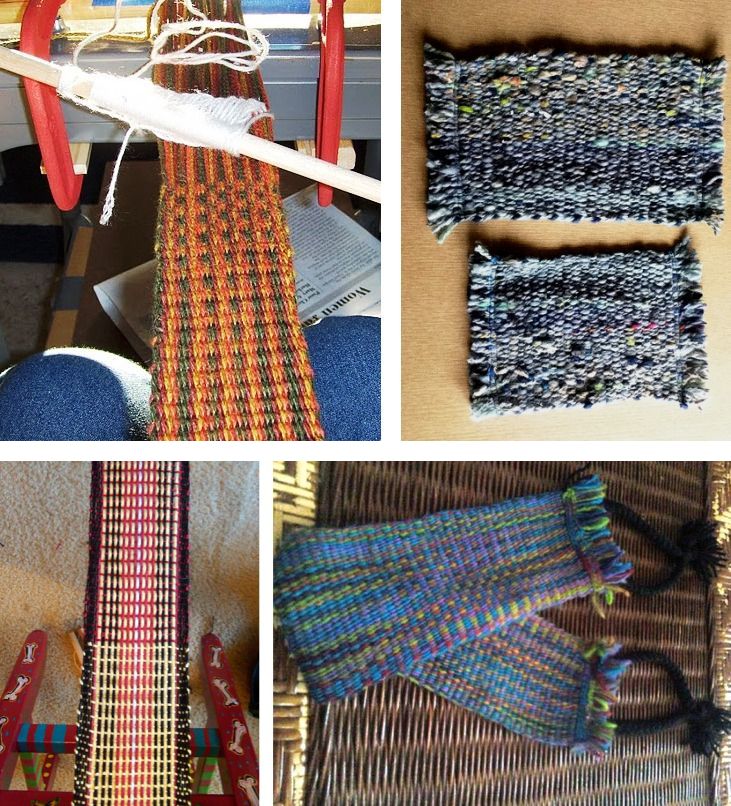
Peg and Cindy made their first bands. Cindy used her handspun. Ellen and Jenny made backstraps. Jenny used a semi rigid heddle on her backstrap loom.

Janet has both balanced and warp-faced projects on the go.

Marsha is doing both balanced and warp-faced double weave.

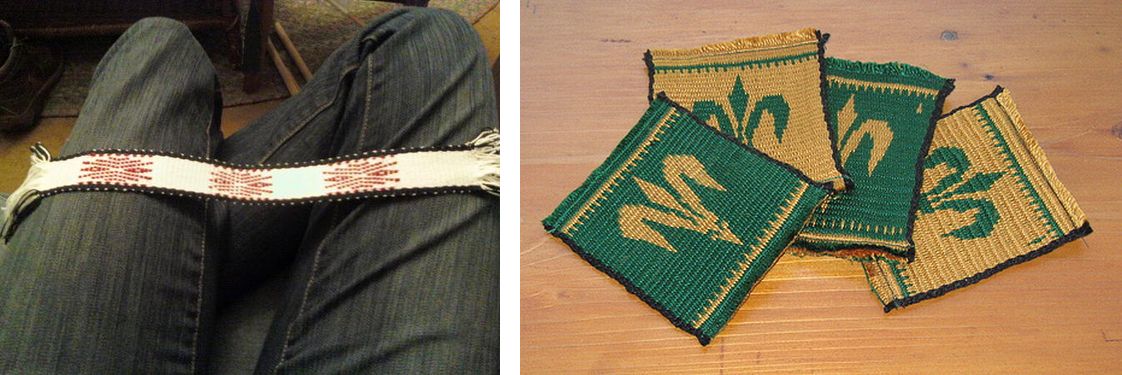
Ellen made a bookmark from her first supplementary weft band and Traudi made mug rugs charting  her own design in warp-faced double weave.

Susanna is weaving her first ever backstrap piece while Dyggvi is planning a Tibetan-style bag with bands made using the simple warp floats technique.

So, I hope you use the tutorial, twine away…and show me what you have made.


Backstrap Weaving – Oh, Those Sticky, Sticky Sheds.

Oh, those sticky, sticky sheds.

I am sure you all know what I am talking about if you have done warp-faced weaving with fiber like wool, llama or alpaca. I have not been heavily over-twisting my hand spun yarn and the advantage of that is a nice soft fabric but the disadvantage is hairy warps which make clearing the sheds a bit more challenging.

And it is not only the woolly stuff that can create this sticky problem. When I get into wide-ish warps with fine cotton, there is also a certain resistance, created by all those warps rubbing up closely against each other, to deal with too.  I had to apply a few different strategies to get the sheds to open on the warp pictured above.

So, this week I made a very short video on the “strumming” that I employ to help open the shed rod shed.

I am quite gentle with my strumming and just use my fingers for this width of warp.

After my video segment I have added a short clip of Felicia in Candelaria using the tip of her wooden tool to strum the warps on her oblique loom. When I start working on wider warps, I will need to use my wichuña (llama bone tool) to strum. For now I just like to use the ready-made tools that I have quite literally “on hand”.

I have added this video to the FAQ page on this topic. That page already has a video I made showing how to open the heddle shed on wide and/or sticky warps. Hopefully these tips will help you to create clean sheds without any kind of heddle wrestling and the pilling and possible warp breaks that that can cause.

I also added another thing to the FAQ pages behind the scenes in response to people who were having trouble rolling up their warps. There is an FAQ page here on my blog showing how to roll up your weaving as you advance so that you can always be in easy reach of the heddles and weaving line. The method I show is dependent on two things: the second stick which you use to roll up the weaving needs to be of similar girth to the loom bar and the cords on your backstrap loom need to be chunky.

However, some people just use string or twine for their backstrap cords and so I have put together some step-by-step pictures for another, and far more common, way to roll up the warp. You can see that here.

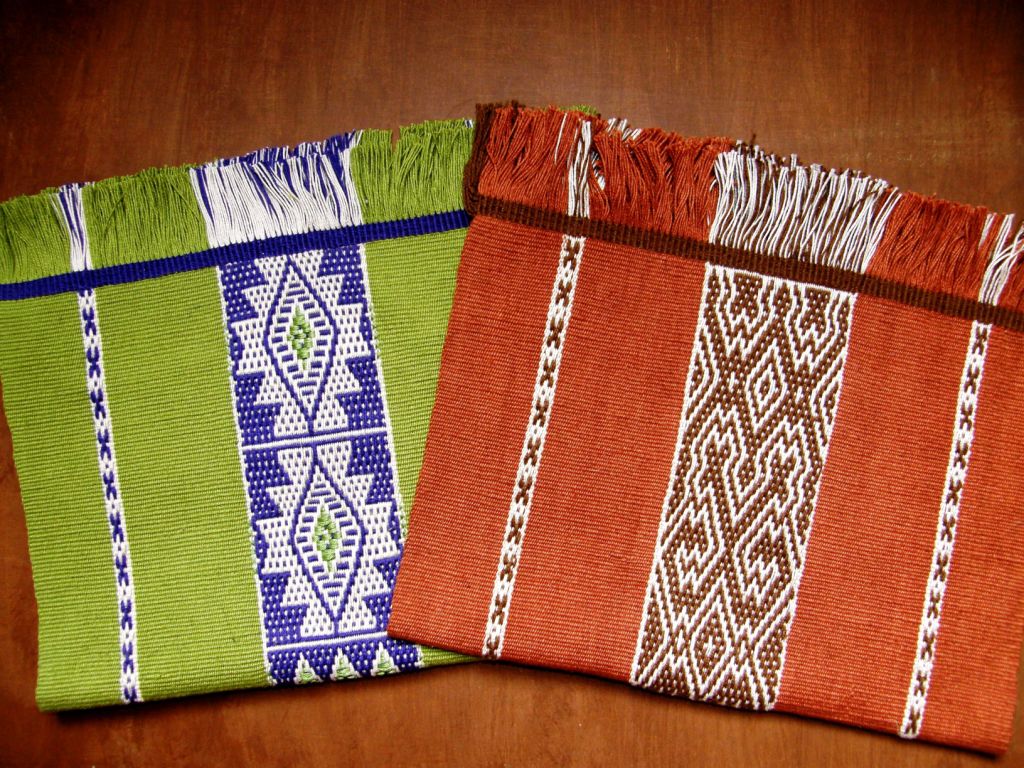
You may be wondering about this green apple and eggplant warp that keeps appearing in this post. That is the second place mat in the set of four that I am making.

The design is based on what I am assuming was a Mexican belt that I was shown when I was traveling in the US recently. The belt was also made in purple, green and white but the tones of purple and green were completely different to those I used and were subdued and worn with age. I used the same two-color alternating warp float technique. It all looks very pebbly but it isn’t pebble weave. This is not a complementary warp structure.

What I particularly liked about the Mexican belt was the weaver’s use of supplementary weft along with the warp floats to introduce a third color. Some of the supplementary wefts had in fact deteriorated thus exposing parts of the horizontal bars and I liked the way this looked and so incorporated a little of all these features in this place mat design.

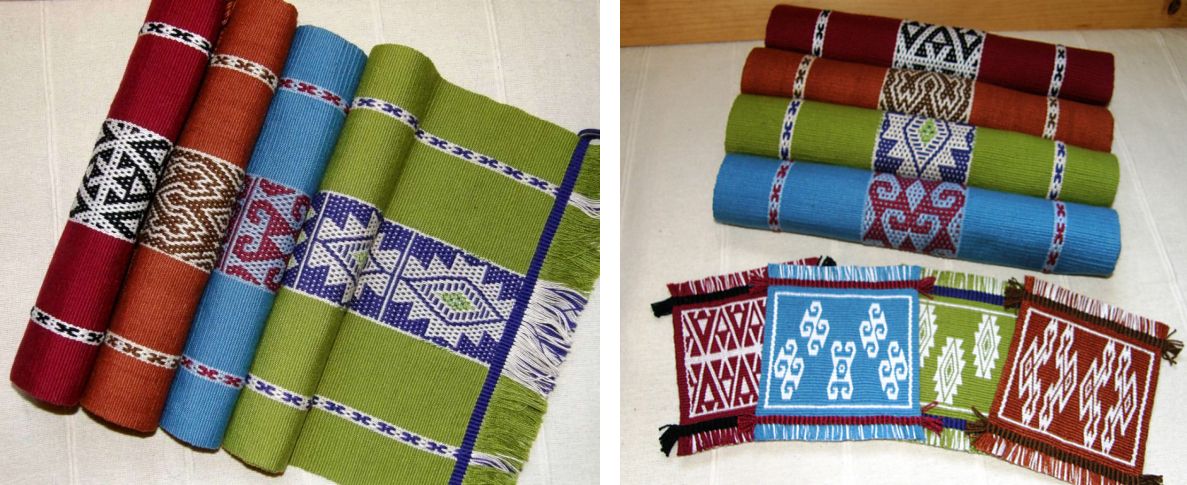
So, these two are part of a set. The first was influenced by Shipibo design of Peru. Could they be any more different?! I am looking forward to seeing a table with my four colorful and vastly different place mats and I am already planning the runner for the center. Actually, there are a few elements that tie these two pieces together. The pick-up technique in both is the same, that is, two-color alternating simple warp floats (or “warp floats galore” as I called it on my tutorials here). The little “X” design on the sides will be common to all as well as the weft-twined ends.

I have chosen the colors for the next one which are inspired by the culture from which I am taking its design…

I confess that I spent a lot more time at my loom this week than at the spindle. Maybe it’s because we have returned to our warm tropical splendor (although my Montagnard weaving teacher, Ju Nie, rolls up her warp for the summer and won’t touch it until cold winter weather once again keeps her indoors).

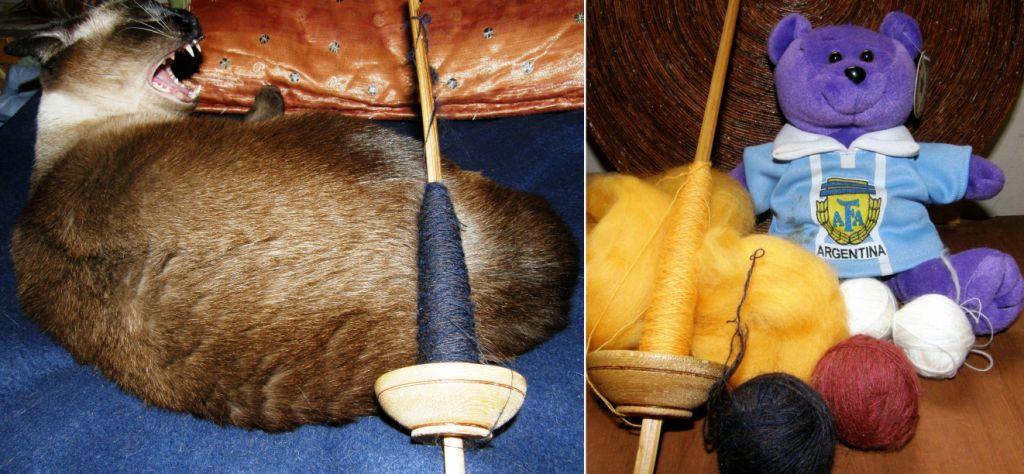
I did put in a bit of spinning everyday but have pretty much run out of colors in my Ashford prize package with which I would like to weave. Looks like I will need to do some dyeing which is always fun.

I don’t have access to this kind of prepared roving here in Santa Cruz and I really haven’t paid much attention to this stuff before.

I pulled out a strange blend of pink and brown from the package and was surprised to see the nice even kind of red that spinning it produced. Then there was an odd combination of what I am calling “Siamese cat brown” and “blankie blue” and that spun up into something rather nice too. Now you can see that I am into a straight yellow…a winner’s color in the Tour de Fleece. I can imagine combining all these colors in a piece.

The rest of the stuff in my bag will have to be dyed. As you may know, the Tour de Fleece is being run in conjunction with the Tour de France cycle race but there is very little interest in that over here when we have the Copa America in progress especially since I live with the Argentinean team’s number one fan.

I am very pleased about having woven this first Shipibo design in my place mat set as I would like to learn more about the textiles and the people who live in the lowland regions of South America and be able to show it all to you. Highland weaving, particularly that of the Cusco area, has been very well promoted and exposed to the world. It is a shame that not more is known by the general public about the textiles being produced by people in the lowland areas too.


Above are a few pieces I have made that have been influenced by textiles created by weavers living in the low-lying valleys, coastal regions or tropical interior of this continent.

These people include the Mapuche of central Chile and Argentina, the cotton weavers of coastal Ecuador, the Guarani of lowland Bolivia and the Huni Kuin, or Kene, of tropical lowland Brazil.

While I have used motifs of the Kene in my weavings, I have not used their technique and I give many thanks to Helena who introduced me to these people and their work.

Helena has woven pieces employing their techniques an example of which can be seen above. She also gave me a link to the following video showing the Kene at work.

I hope to be able to study one day with weavers of the Shipibo, Mapuche and other lowland cultures as I have with my weaving teachers here in lowland Bolivia and coastal Ecuador…thanks to Kathleen Klumpp who invited me to accompany her to Manabi province, Ecuador in 2007. And this is all just a tiny part of it.

And while I ponder the multitude of places  to see, weavers to meet and textiles to admire here in South America, where I have barely scratched the surface, I am forever grateful to have been able to meet and study with weavers from the other side of the planet like Ju Nie and Ngach from the highlands of Vietnam and Dar Ku of Myanmar.

Betsy Renfrew, who is working with backstrap weavers from various Vietnamese hilltribes who have now settled in the USA, has just put a new video on You Tube about the Montagnard weavers in her community in North Carolina.

Please take a moment to watch the video and I will also give you a glimpse here of Ju Nie and Ngach at work during my visits and the beautiful textiles that they now have the means and motivation to continue creating thanks to the work of people like Betsy. I also met Naomi Northrop of WRAP Weavers in Massachusetts who does similar work with weavers among communities of refugees from Myanmar.

And finally, here is Colleen’s (aka Pancha on Ravelry) daughter Kira Luna showing off “this key tool in her make-believe job as a fairy messenger”. Colleen wove the body of the messenger bag using the tutorial on a yurt band border in two-color warp floats and finished it with weft twining (I am so happy that folks are trying the weft twining!) The strap was woven in double weave with a Bolivian flower motif. How cute is this?! Maybe this fairy messenger will leave me a comment.

Backstrap Weaving – Suddenly Spring

And suddenly it was spring!

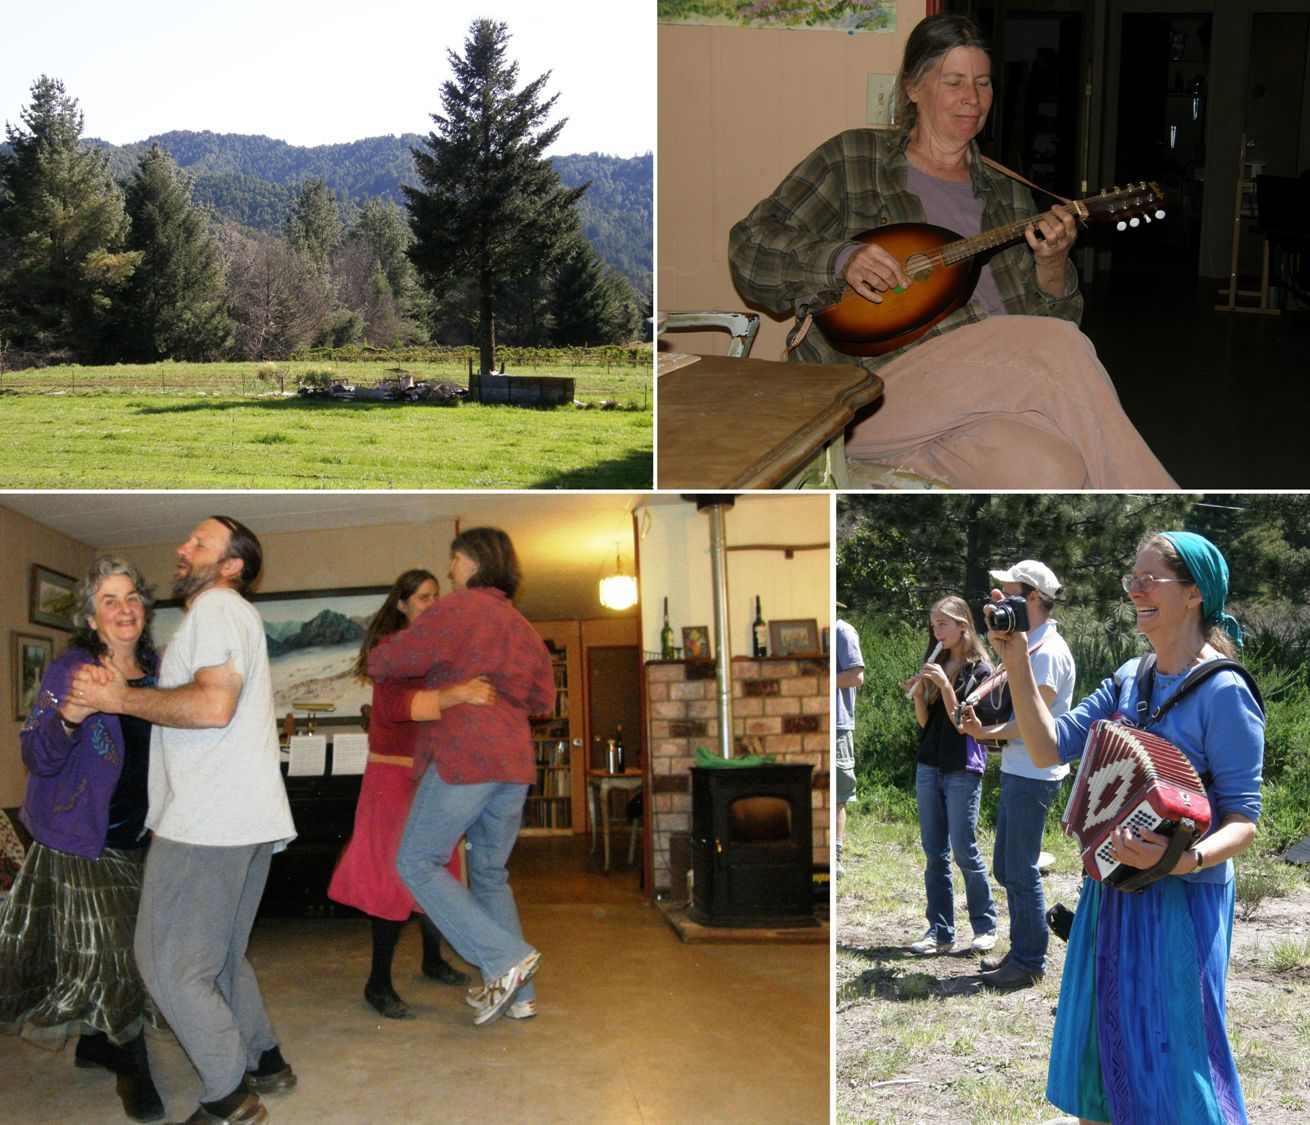
May Day…spring is here and a lovely day was spent outdoors at a couple of festivals around my friend Janet’s home in Humboldt County, California. I was happy to be out with my toes in the grass.

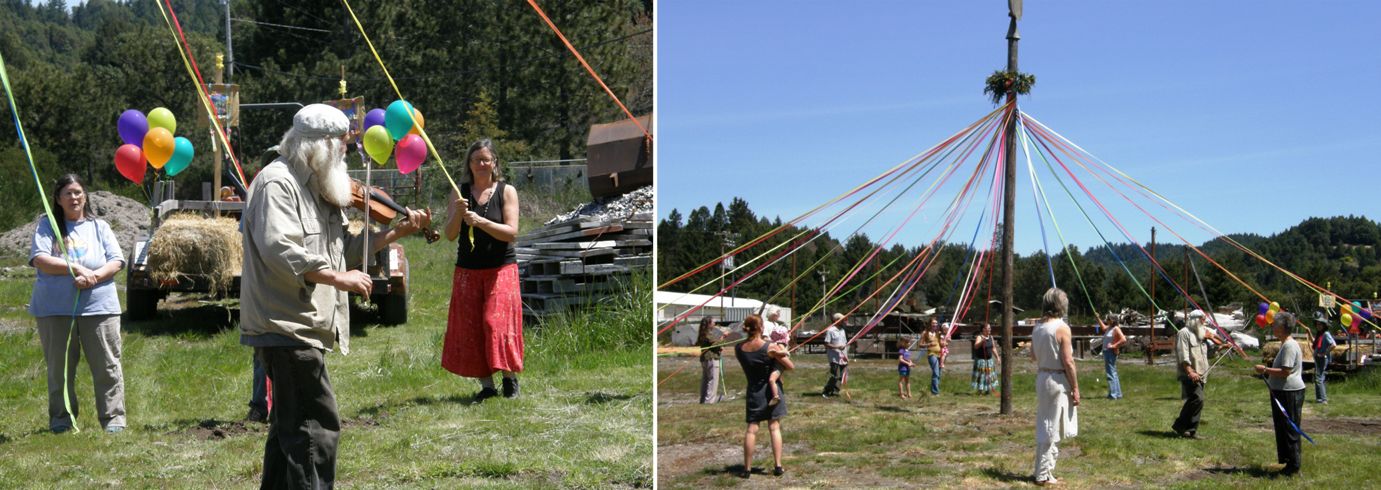
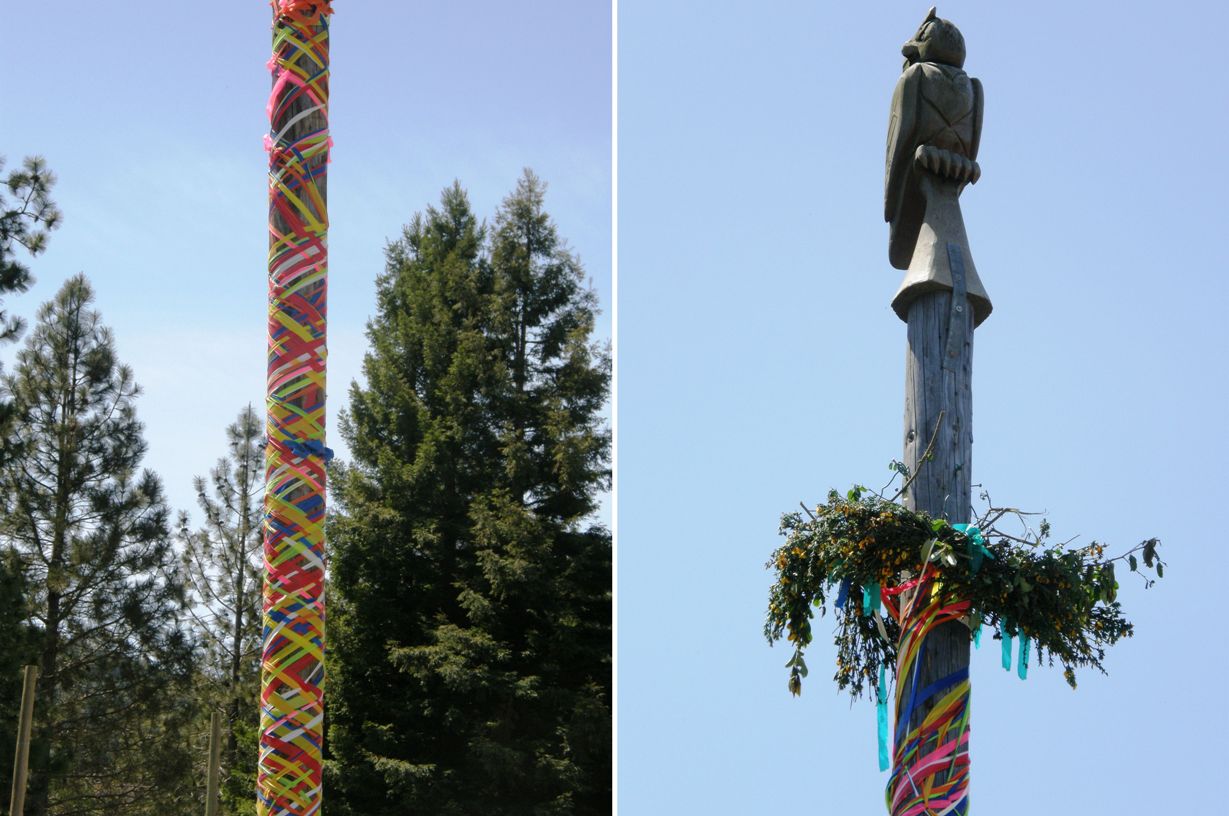
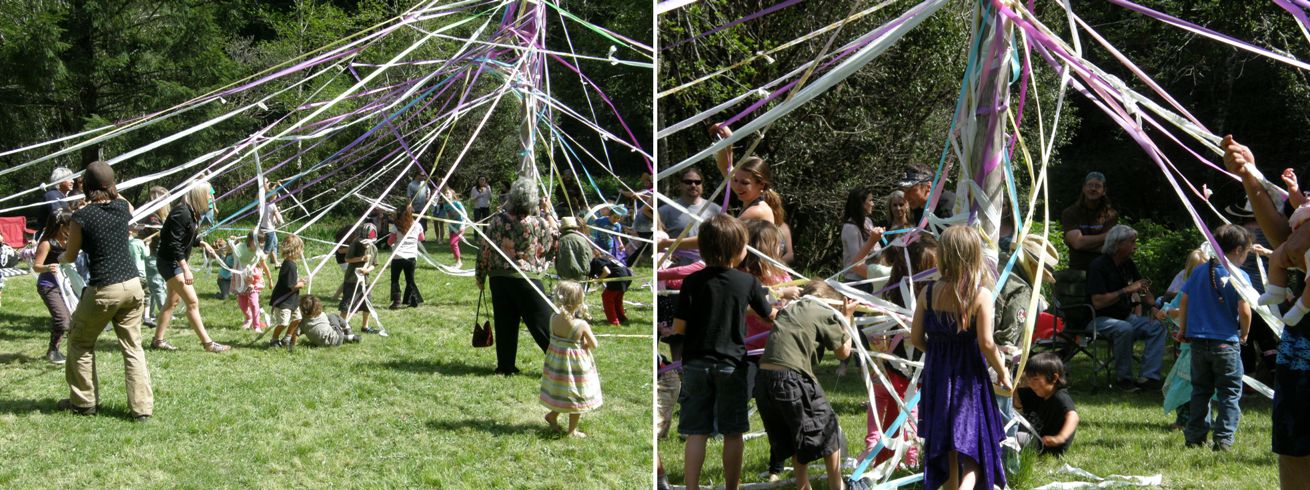
I had never attended a May Day festival before. I got to see the Maypole dance with participants of all ages weaving their colored ribbons as they danced around the pole.

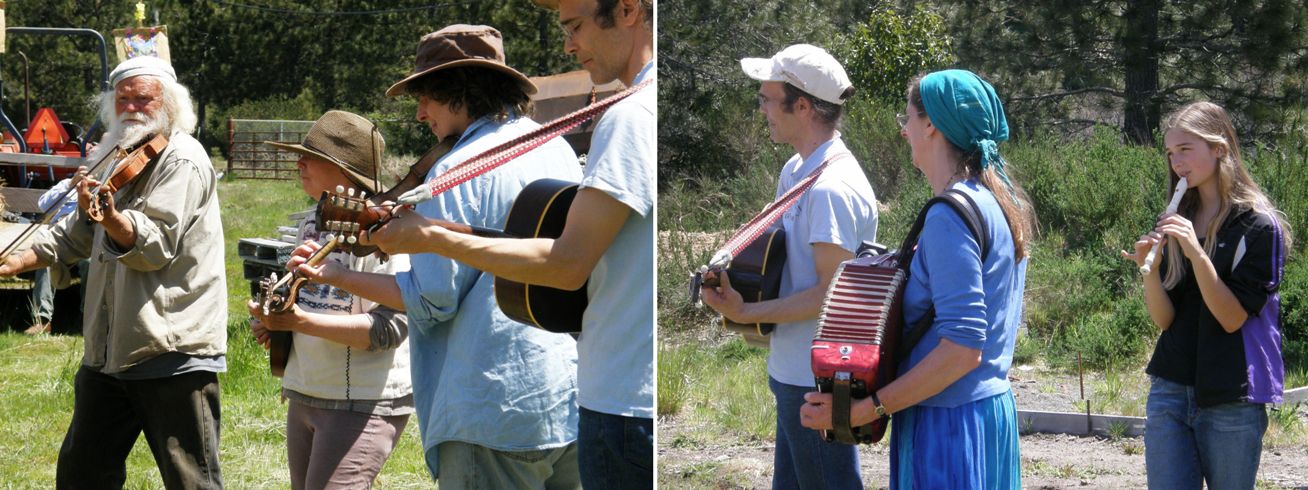
Everyone was “fiddled” into action by Joseph and a group of local musicians made up of Janet’s neighbors with Janet herself on mandolin kept the weavers’ feet moving. Janet’s neighborhood is full of talented musicians and singers.

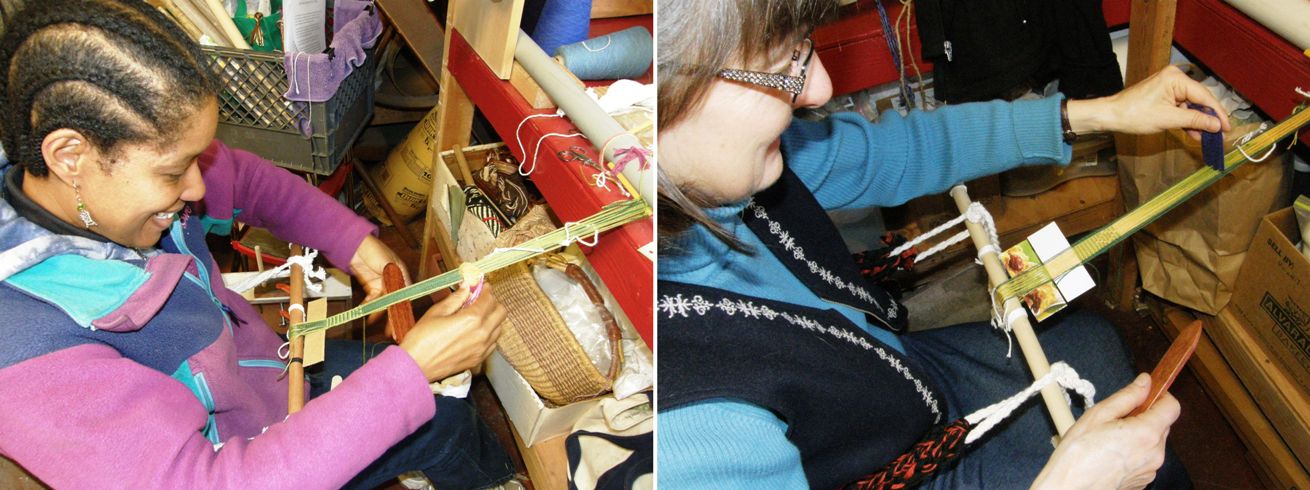
My online backstrap weaving friend Cookie, who had come up from the Bay area to weave with the group at Janet’s Mill, also took part and I was the photographer.

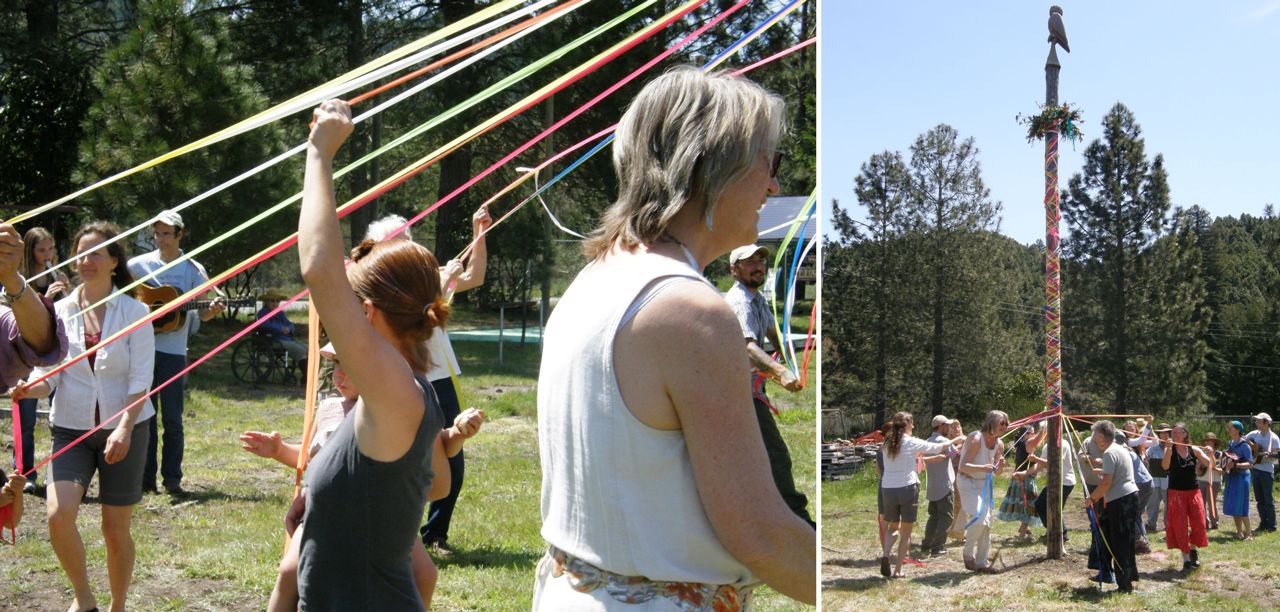
It was a very well organized dance and the weavers made a pretty wrapping for the Maypole.

Here is the “weaving” (or should it be called a braid?) that the dancers created.

I don’t know the origin of this tradition or what it is all supposed to mean and I don’t think anyone else did either…it was just a lot of fun and we couldn’t have asked for a more perfect day.

From there we took a hayride to a pond where we set little boats of lighted candles afloat and sang a song about a “river growing and flowing down to the sea” before enjoying the potluck lunch.

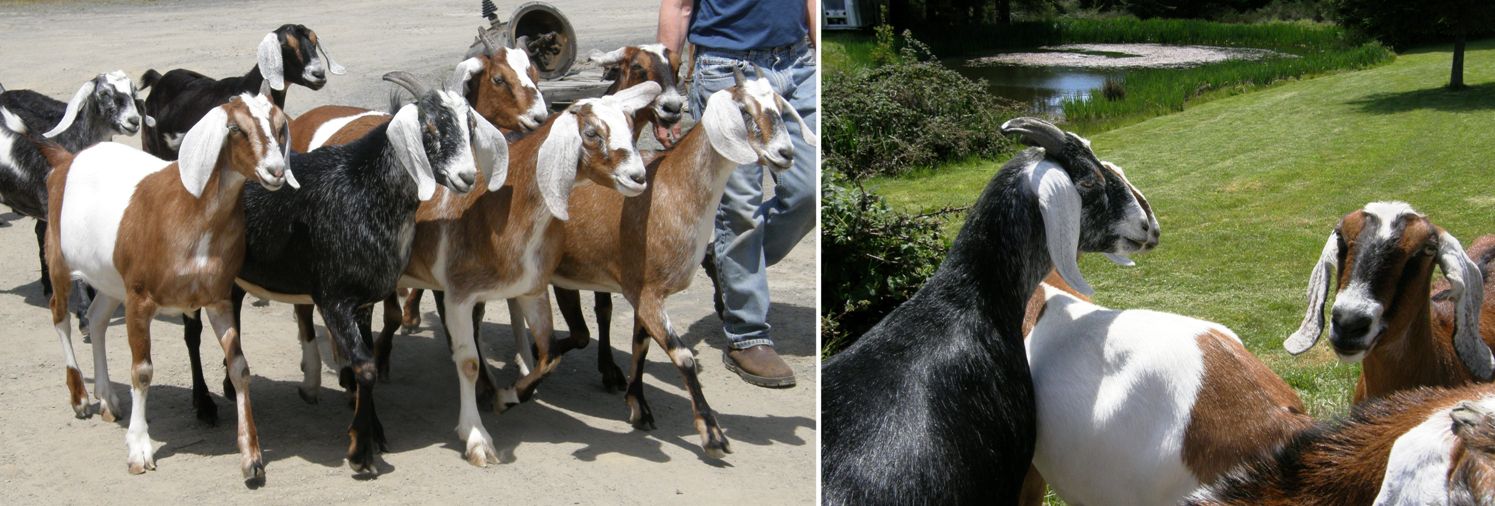
We had some unexpected visitors…these sleek, glossy and very friendly goats were out for an afternoon stroll and enjoyed nibbling the blackberry bushes while we lunched.

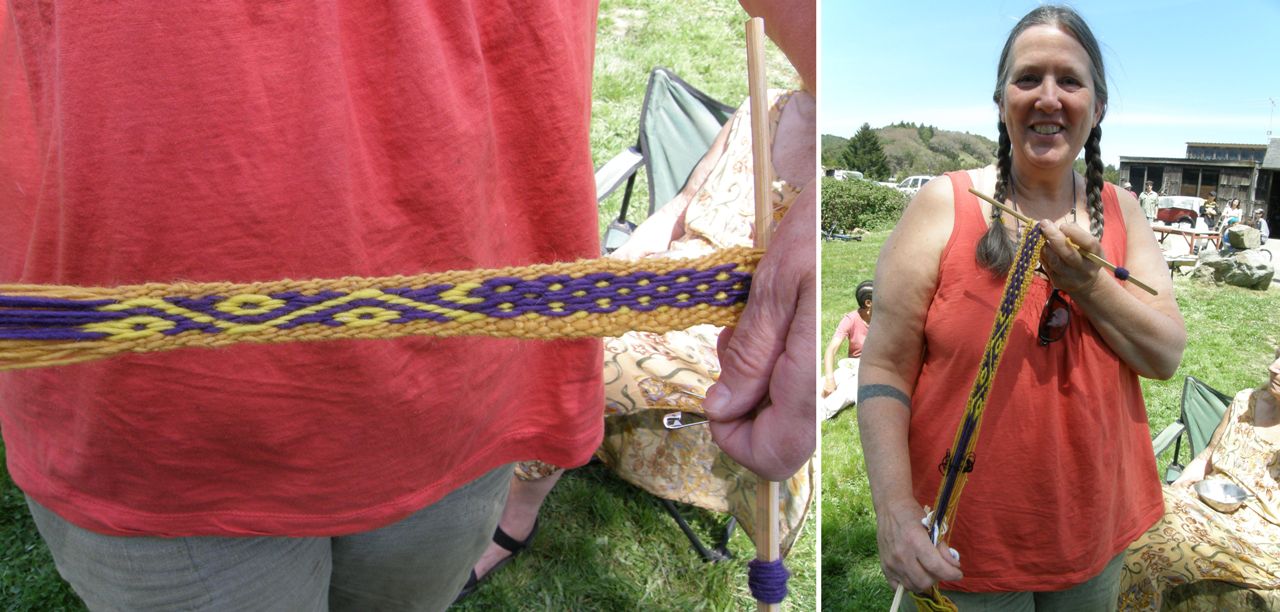
Most of the people from the backstrap weaving group were there and Gail brought the pebble weave band that she had gone straight home to weave after our time together had concluded. Now there’s a keen weaver and backstrap convert!

 Here Janet and I said goodbye to Cookie. She went home with the bands she had made in the weaving group and a lot of roving which she purchased from Janet to spin and weave into a backstrap.

From there we headed to another May Day festival with yet another Maypole dance. This one was something else all together! The musical instruments were somewhat different…

That’s Dennis at the bass. He was in our backstrap weaving group.

And the Maypole dancers/weavers, who were mostly little guys, started out chaotically and finished in a giggling heap with many of the weavers finding themselves bound to the Maypole and loving it!

Marimbas, flutes, upright bass, violins, guitars and mandolins…kids and dogs frolicking, good food and lots of sunshine.

It was a nice day and a nice end to the three weeks that Janet and I had spent together backstrap weaving with folks from southern to northern California.

The following day we drove up to Grant’s Pass in Oregon and parted ways. I took the bus to Portland and am staying just over the state line, over the Columbia River, in Washington at the home of Betty Davenport.

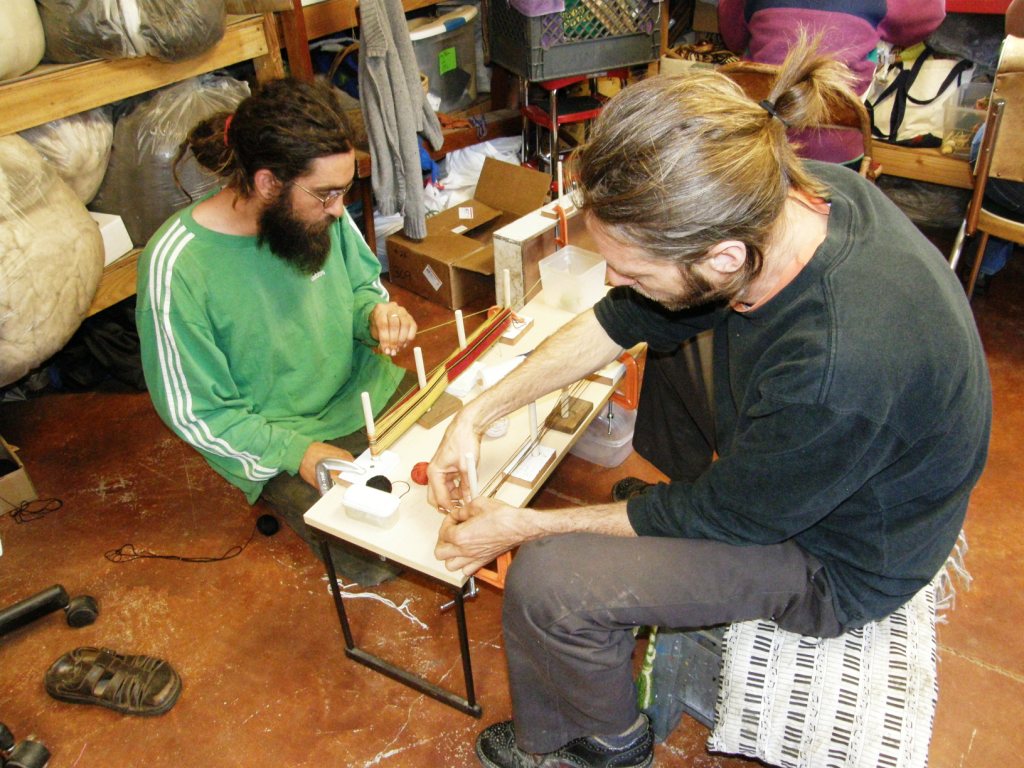
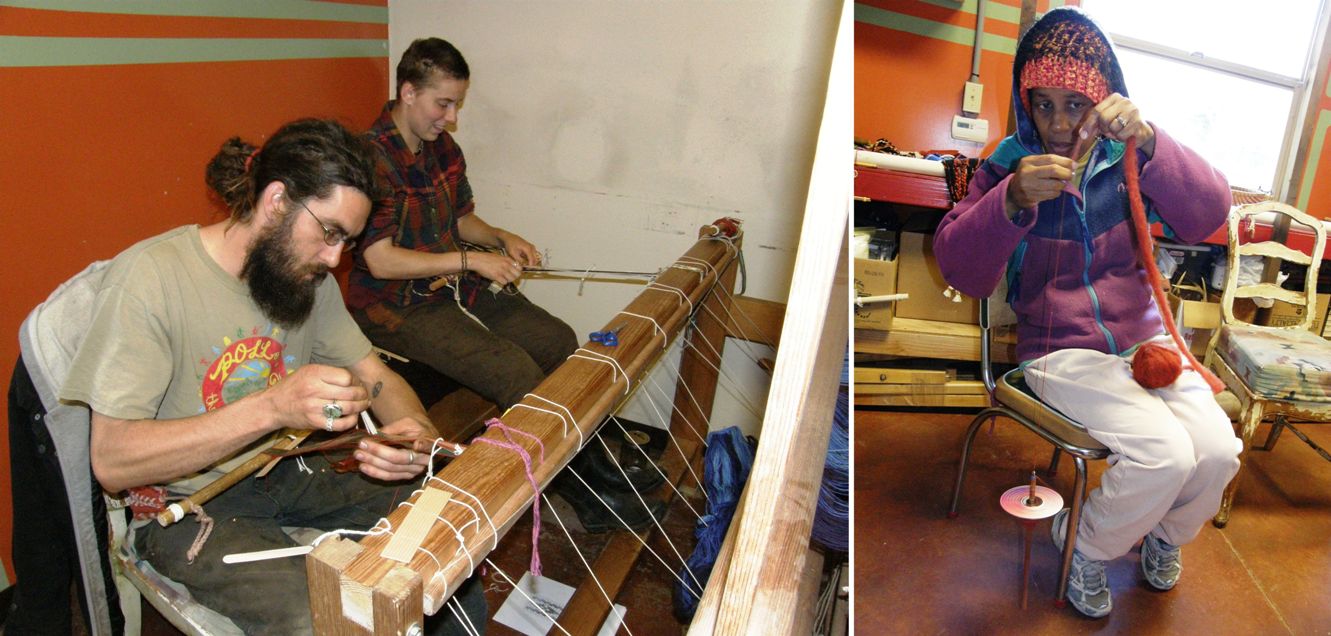
The weaving group at Janet’s Mill was fun. We had people come to weave for three days and a few day trippers came by too.

All of them were Janet’s friends, farmhands or neighbors. I had already woven with a couple of  them on my visit last year….neighbor Yani and Karen who just happens to be Bolivian and who lives at the Redwood Monastery.

It was fun to see those two again. Janet’s Mill was just the best place to weave in. We anchored the warps to shelves or to her floor loom.

Cookie and Janice are working here on warp float patterns.

Trying out four-stake warping.

Gail shows off her warp float band to Janet and that’s Tracy’s work on the right.

Janet warped a band in her own gorgeous handspun and wove in patterns using silk supplementary weft. It was beautiful!

Some unusual color combinations and warp arrangements were used. There are Dennis and Bev weaving together hooked up to Janet’s floor loom.

Getting the hang of those string heddles…..
Cookie was mad keen to make herself a new backstrap with her own handspun so she bought roving from Janet and started spinning straight away.
That spindle accompanied her everywhere and she had already spun and plied a good lot by the time she had to leave.
We took a stroll on the farm to pick asparagus for dinner. What a wonderful thing to be able to pick and eat food like that. Asparagus is great raw too!

There’s Cookie with spindle and asparagus in hand.

On the last day we got to use Janet’s handspun for pebble weave and we got to see how she combs and prepares for worsted spinning.

Her supplementary weft patterned piece turned out so well and she is spinning right now in preparation for Sara Lamb’s workshop on knotted pile at CNCH. Look at those gorgeous colors!

And with the final day came spring, the day before May Day. We got to stretch out on the grass for lunch and take a little extra time to admire some things that people had brought along to show.

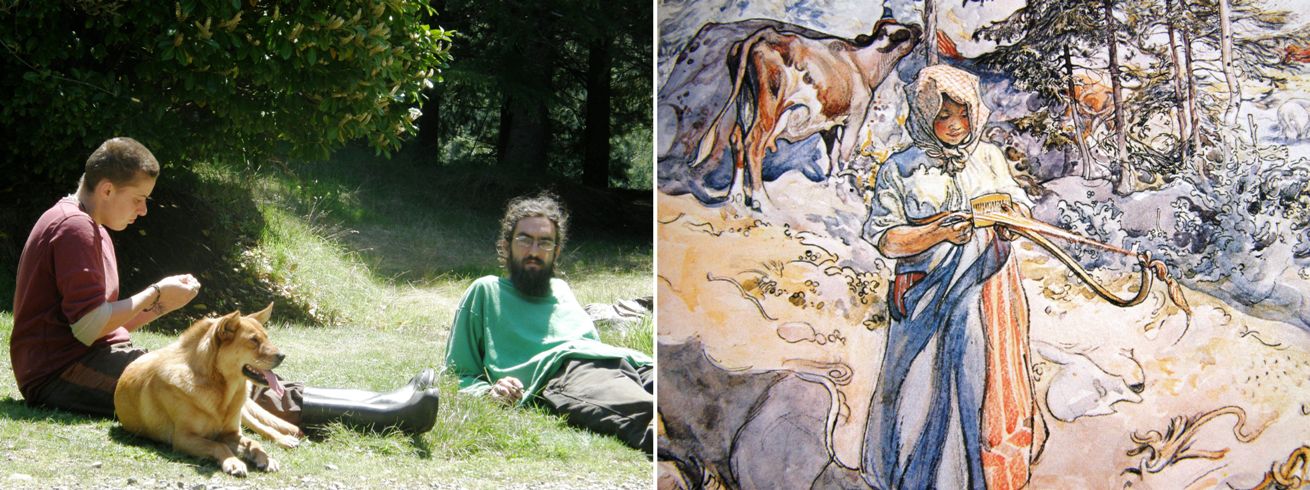
Tracy brought a book by Swedish artist Carl Larsson which included this great painting of a young weaver and her unusual loom. Having since Googled Carl Larsson, I see that he often included weavers in his artwork.

Janice brought a bag that she had made in needlepoint using an Anazasi design and Tracy showed a wonderful piece of tartan that she had made on her floor loom. Tracy is often commissioned to reproduce historical pieces but this is a new tartan that she has created which will be registered.

The time comes to move on and say goodbye to the farm, the fiber, the fun people, the music and the Irish dancing (yes!, I got to join in on the Tuesday night Irish dancing!).

Now I am up in Washington State…not my first visit here.

I spent three weeks in Seattle in 1992 on my way to Banff and Jasper National Parks. I got to Seattle on the Memorial Day weekend, went to the Folk Life Festival which was amazing and ended up staying! I never made it to the parks and got, what I later learned to be, three very rare weeks of dry weather.

As I speak it is raining hard outside and the wood is crackling in the fireplace. The spring sun hasn’t quite made it up here yet but I am enjoying Betty’s beautiful home on her tree farm in the woods.

And guess who is back in the backstrap loom? I am staying in Betty’s gorgeous studio flooded with natural light with a wall of windows looking over her blueberry field. We have Bolivian music playing and a woven treasure on every wall space. You can imagine I have been having a nice time and I will share all that with you next week. But let me introduce my new pet-withdrawal buddy – “Frank Sinatra” is his official shelter name but he is better known as “Trouble”.

Yesterday I gave a slide show for the Portland Handweavers Guild and got to meet two online backstrap weaving buddies from the Ravelry group who came along as guests…Bobbie and Jennifer with her husband Doug. We have a really nice warm community there in the Bcakstrap Weaving Group and both Jennifer and Bobbie have had a big hand in creating and maintaining that welcoming fun atmosphere. It was fun seeing some of their backstrap woven pieces in person. That’s Jennifer there in the middle.

Now Sally has come to stay at Betty’s place and we are  heading off to Linda Hendrickson’s studio tomorrow to backstrap weave. Sally brought along her pieces of Raven’s Tail and Chilkat weaving…yes! weft twining! How cool is that? But this is just a teaser as you will have to wait until next week for details. I also got to visit a wonderful Native American Art museum called “End of the Trail” on the way up to Oregon (thank you Janet and Larry!) and got to see my first Chilkat blanket up close and some amazing basketry, hats and other craft pieces…all being saved for next week, sorry!

Let me end by showing you what the Ravelry guys and online friends have been up to…

Amber, aka lavitaaj, is weaving the “rolling river’ design in double weave. I learned it in a complementary warp-float weave but it works beautifully in double weave. This is charted in Adele Cahlander’s book on Bolivian weaving. Helena in Brazil has woven a couple of bands using patterns she has seen on my blog…one is a pebble pattern that I put together for key fobs and the other is based on a Tarahumara design.

Dyggvi who is a new participator in the Ravelry group is weaving a balanced weave piece on her backstrap loom using tshirt strips as weft. Yonat sent me a picture of her progress on the sample bands we wove down in Santa Cruz.

Marsha completed a backstrap on her backstrap loom and has been teaching her friend Dana to weave on a backstrap loom…spreading the obsession! That’s Dana’s learning piece on the right.

Reetta in Finland has been weaving traditional Chinchero designs on narrow bands just as the young girls in the Cusco region of Peru learn to do.

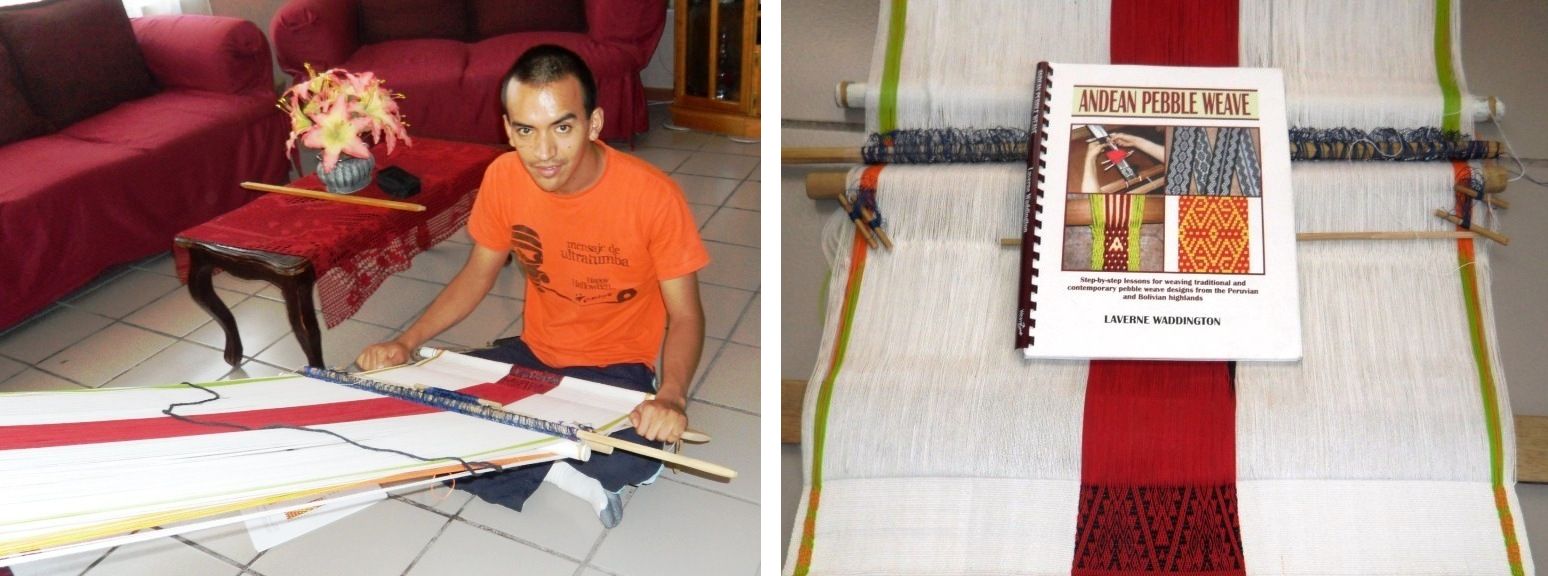
And Eladio in Mexico used my book to get himself started in Andean pebble weave and has now gone on to chart and weave his own designs on wide warps! What a stunning pattern.

How amazing is that! Red and black are always so spectacular together.

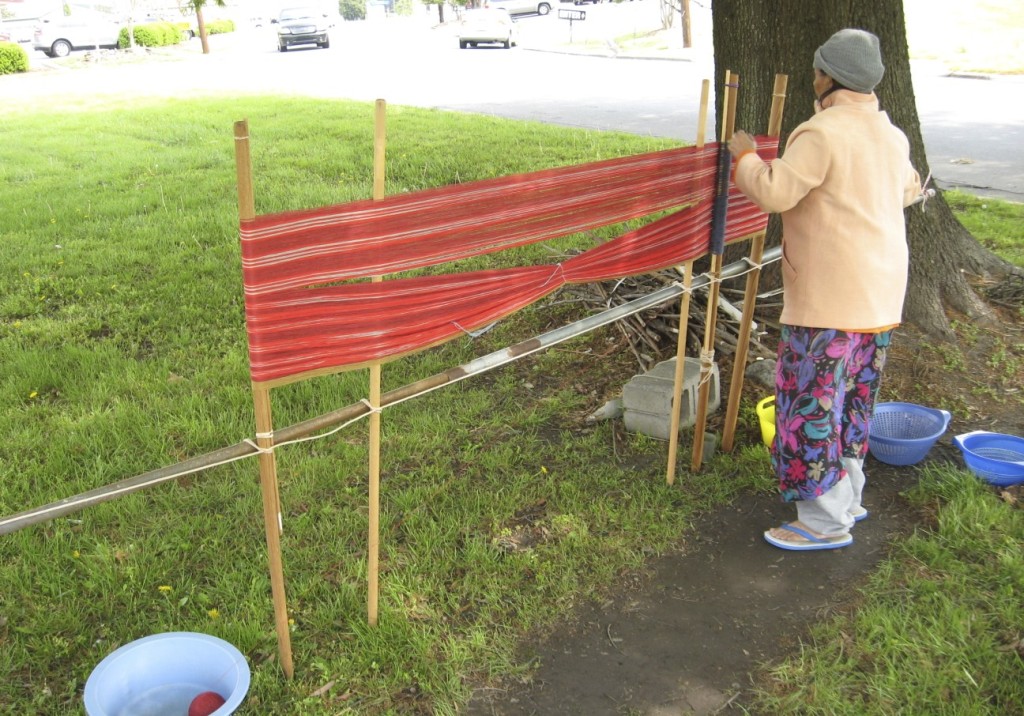
Betsy Renfrew sent me a picture of my Montagnard weaving teacher Ngach warping outside her home in North Carolina. Betsy arranged for the weavers to do a demonstration on the May Day weekend and I am looking forward to hearing how that went.

And finally, I ran across a nice video put together by Synergo Arts showing the ergonomic bench that they are having built in Guatemala for backstrap weavers to enable then to work at their backstrap looms more comfortably. Until now I had only seen pictures of this bench. It’s great to see it in action.

I am saving a lot of great stuff for next week’s blog post. See you then 🙂