“Click Click” weave weave! “Click Click” is the sound of the mouse as we navigate the internet finding all kinds of free resources for weaving. It is astounding how much information is out there and I struggle to keep the “click click” time to a minimum and the “whack whack” of the beater on my backstrap loom to a maximum. When I look at my blog stats behind the scenes I see that my tutorials are by far the most visited pages and wonder about all the people out there silently following along and hopefully making nice things on backstrap or other looms.
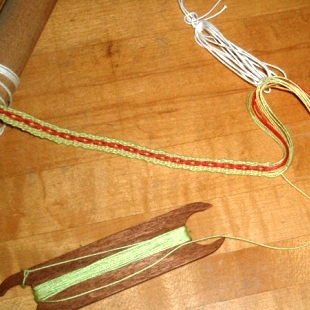
Every now and then I am surprised by a letter that makes its way into my email inbox from a weaver on the other side of the world showing me what he or she has been weaving using my tutorials.
They have been silent followers on the blog but manage to track me down to share what they have woven.
This week Anne triumphantly showed me her first ever pebble weave piece. This arrived late at night and her enthusiasm simply made my day!
Dwayne wrote to get some yarn tips, Anna, who came to spend time with me in Bolivia and who always stays in touch, sent me pictures of what she is up to and Natasha sent me a bunch of photos of her backstrap weaving adventures.
Take a look…
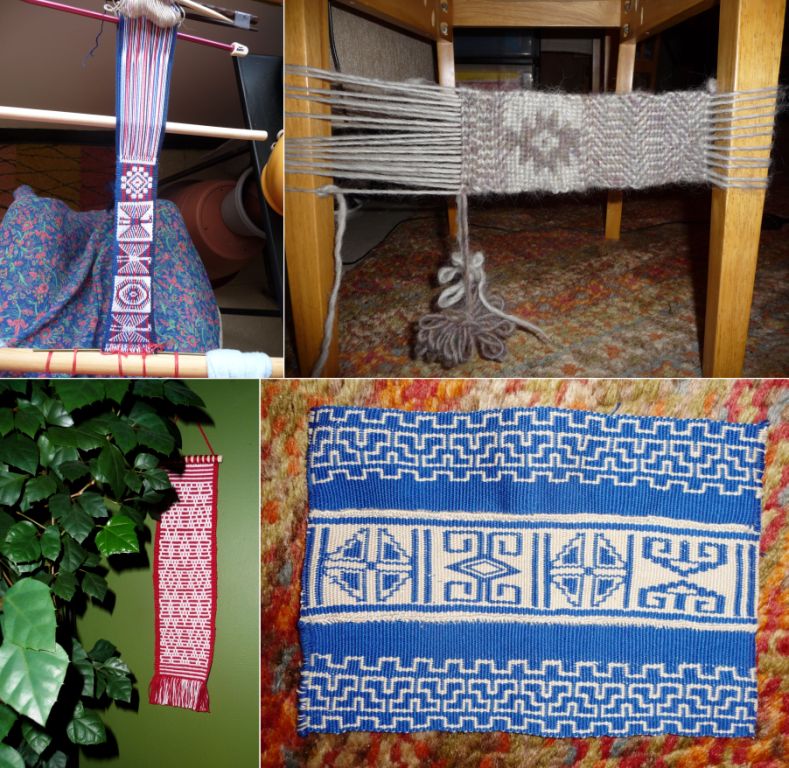
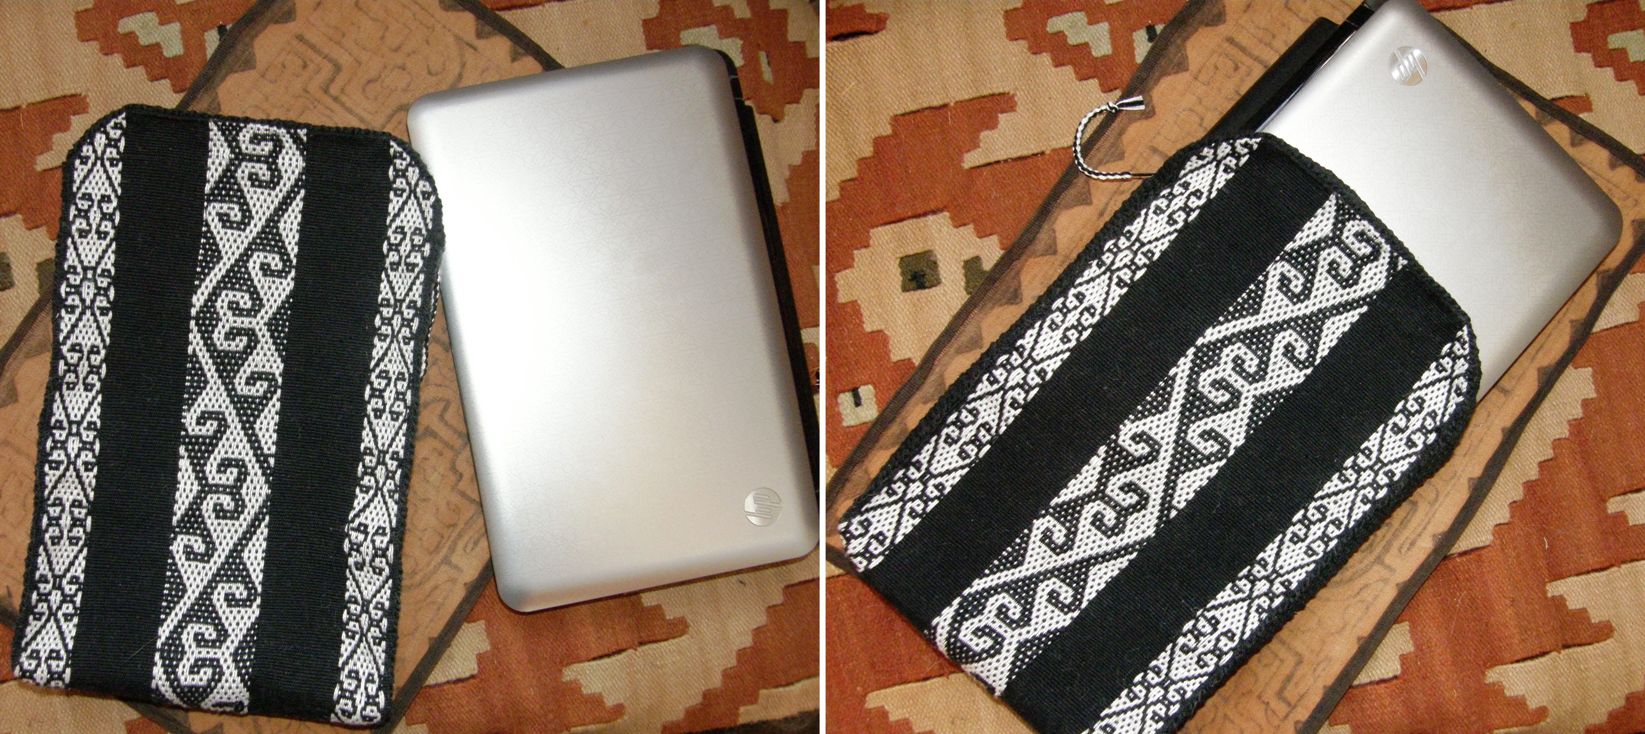
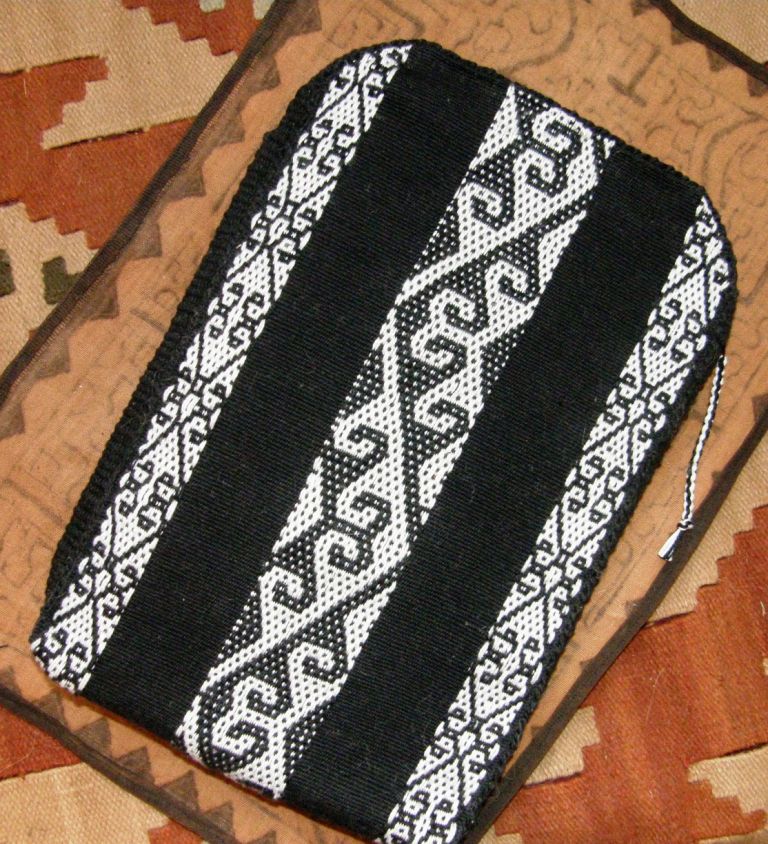
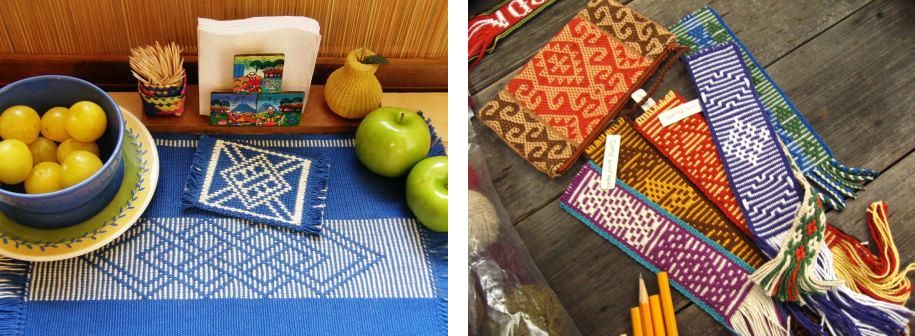
From top left you can see Natasha’s double weave band on her backstrap loom and next to it some weft twining (there are lots of posts here about that). She is hoping to create earflaps for a knitted hat with this twining. Below left is a hanging in simple warp float technique and finally she took the motifs from my Mexican mug rug pattern chart page and wove three bands which she put together with cross knit looping.
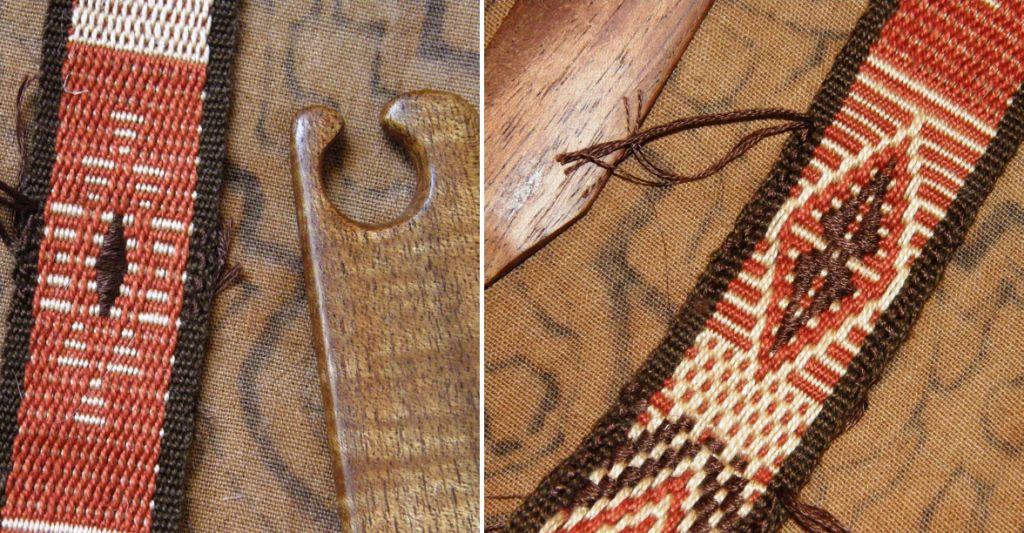
But this wasn’t her first encounter with pick up weaving. She has clearly mastered the supplementary warp technique. Just look at the Latvian design band at left which she wove on a backstrap loom for the first time.
You have no idea how wonderful it is to receive this kind of feedback from something that started with a simple “click click”.
It makes me smile when people tell me how they have struggled for days to get the technique to work and how fortunate I am to have been able to learn by watching people doing it here in South America. I think that sometimes they forget or don’t realize that my learning experiences involved quite a bit more than a simple “click click” in my living room!!
Here I am, for example, during the six weeks I spent with my teachers in Potosi, Bolivia learning double weave and a complementary warp patterning technique bent over the loom…
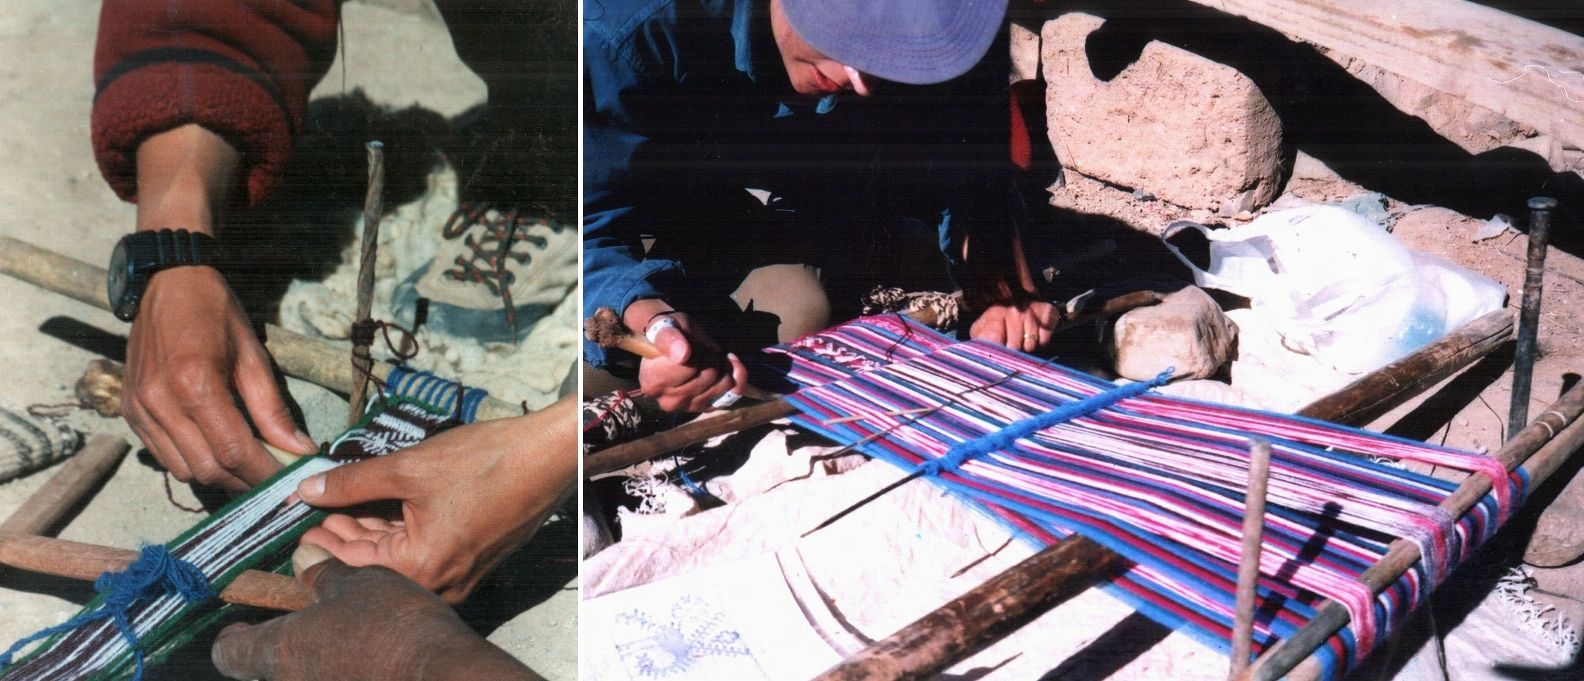 On the left I am learning the basics of double weave on a narrow band. My teachers wove this technique on a horizontal loom staked out on the ground. At this stage I wasn’t quite sure how to position myself at this awkward loom…one knee up and one down. Then it was on to the wider piece you can see on the right, on my knees on the hard baked ground up at 4000 meters. I spent some of the time quite ill. My teachers would offer me food and, as it would have been offensive to refuse, my poor gringa stomach suffered a lot! I lost a lot of weight on that trip! After rejoicing in the completion of the double weave piece for a day it was back down on my knees to learn another technique…
 You can see how strong the high altitude sun is…my hands are baked as brown as my teacher’s. Compare them to the picture on day one where I am weaving the band. So yes, I was lucky as I did get to watch and learn how to do this kind of weaving but most times there were no explanations! Most talk would be in a mix of Quechua and Spanish from my teachers but we formed a nice relationship, found things to share and laugh about and my six weeks there with Hilda and Julia were fun. Ah, the stories I could tell of the fun, mishaps, joy, lonely times, moving times, exciting and even scary encounters I have had along this journey learning to weave here!……
So, I aim to make my tutorials as visual as possible with both step-by-step pictures and in many cases videos so you too can watch and learn and I try to be as available as possible to answer questions and give further explanations in the online groups, here on the blog, on Facebook or through my personal email. And more recently, I have been traveling to meet weavers face-to-face…you just can’t beat that kind of contact and the chance to meet many of the silent visitors to this blog.
Fortunately there is time to weave too! So, this is what I have been up to this week…
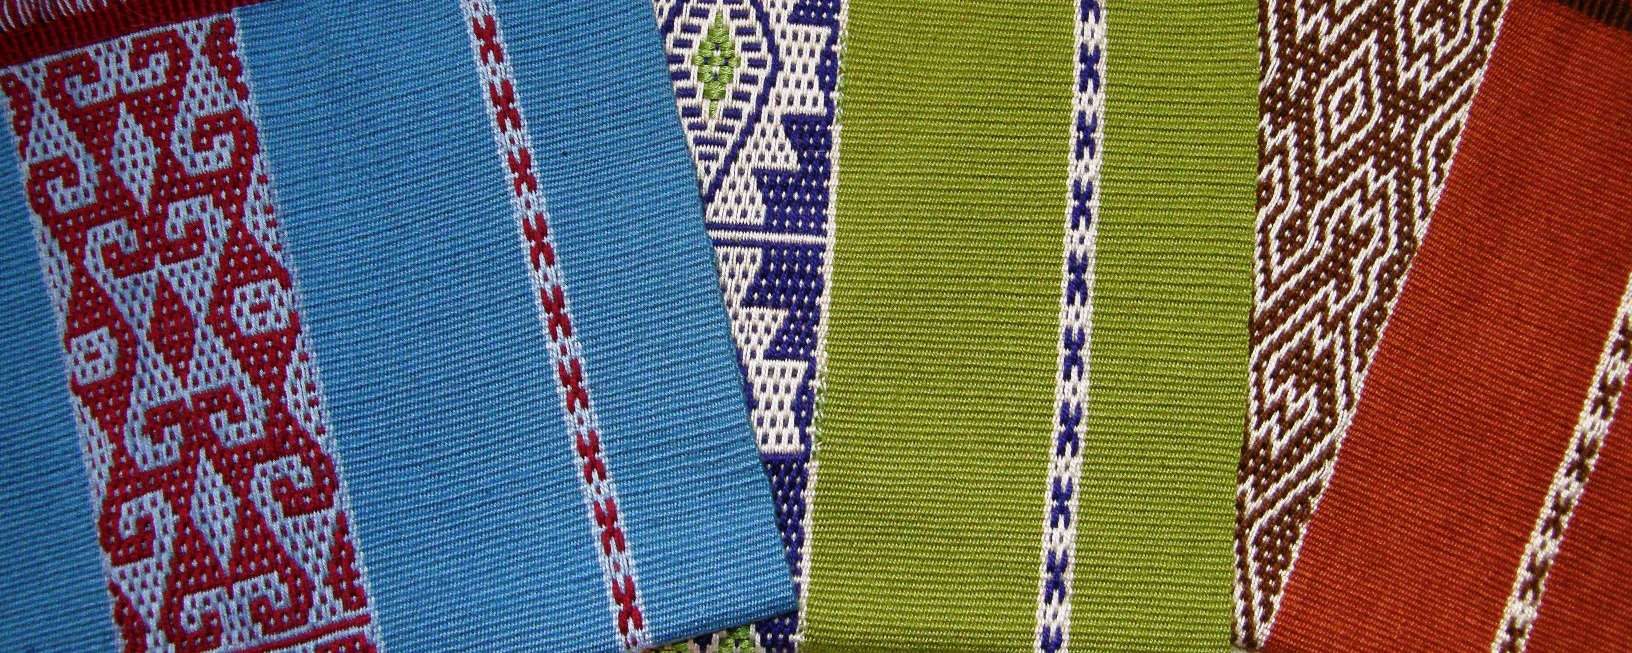 I finished the third in my set of place mats. I fiddled all day to get the blue for the patterned portion of the newest place mat using freeze dried indigo. Again, with a “click click” I found instructions and muddled my way through it. I don’t think I did it quite right as I had no way to measure the temperature of the dye bath but in the end I got the tone I was looking for. I have been wanting to weave red on blue for a long time as that is quite typical of a lot of the Central Asian pieces I have seen but the shades of blue that I can buy here just wouldn’t work well with the reds that I have available.
So, there are the three pieces so far…from left to right, a Central Asian yurt band design, a motif taken from a Mexican belt and a Shipibo pattern. The last one in this set will go on the loom this week. I have found the design I want to weave and chosen the colors and I will show that to you next week.

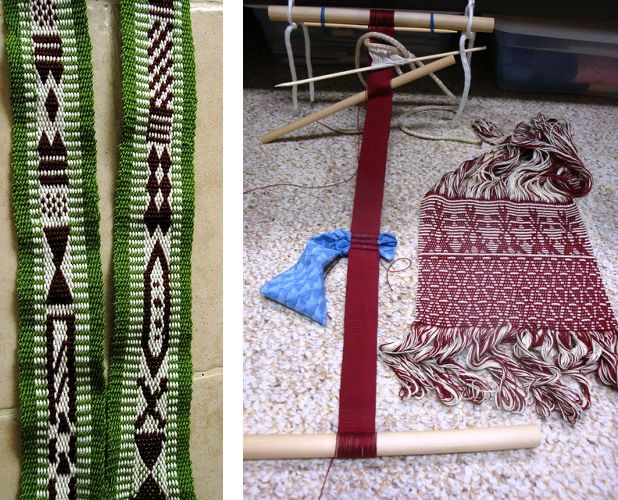
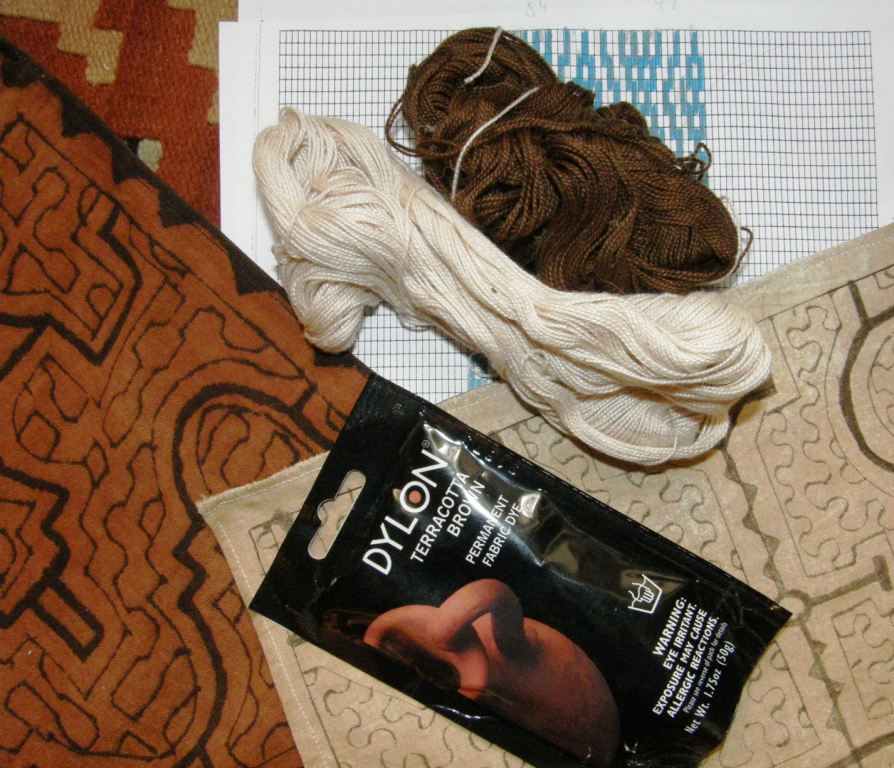
I kind of got into”dyeing mode” after the indigo day and also after having dyed that gorgeous terracotta color for the Shipibo piece. That is a Dylon cold water dye. I decided that since the package of Dylon was open, I may as well do an ikat experiment.
I played a bit with ikat some years ago. For some reason, which I will never understand, I decided back then that I should do it with my handspun llama fiber. As I had nothing else to use, I dyed my piece with a cotton dye which meant that the gorgeous Mexican chilli pepper red that I had been hoping to obtain turned out an awful Barbie pink which gave barely enough contrast to see the ikat pattern. I tied the warps with cassette tape after trying many things none of which were to my liking.
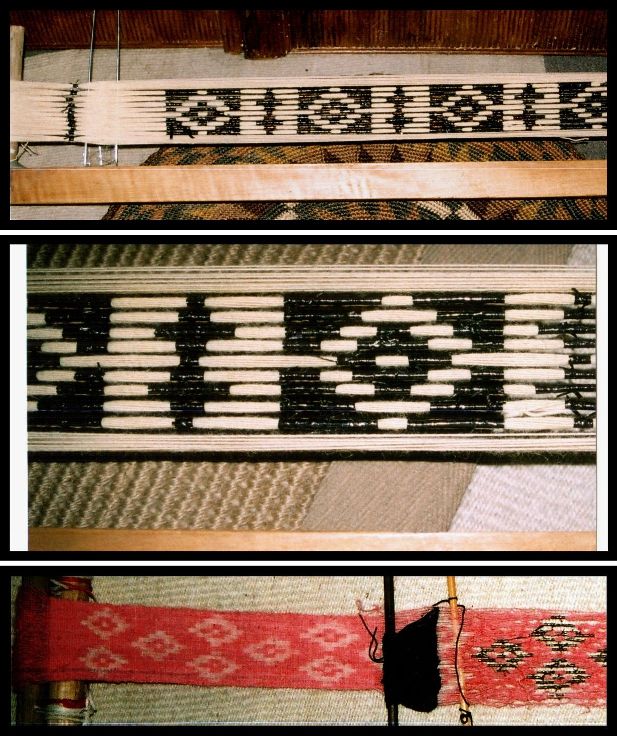 The uppermost project never got dyed after the Barbie incident and did not stand up to the test of time in my closet unfortunately. The lower piece went along just fine except I couldn’t stand the color and, as I can’t find it anywhere now I expect that it got tossed out at some point. I must have really hated it to have done that!
In my wanderings through Latin America I have seen ikat weaving here and there but have never been in the right place at the right time to see the preparation part in progress.
I guess the most time I spent in an ikat weaving area was in the towns and villages around Cuenca in Ecuador.
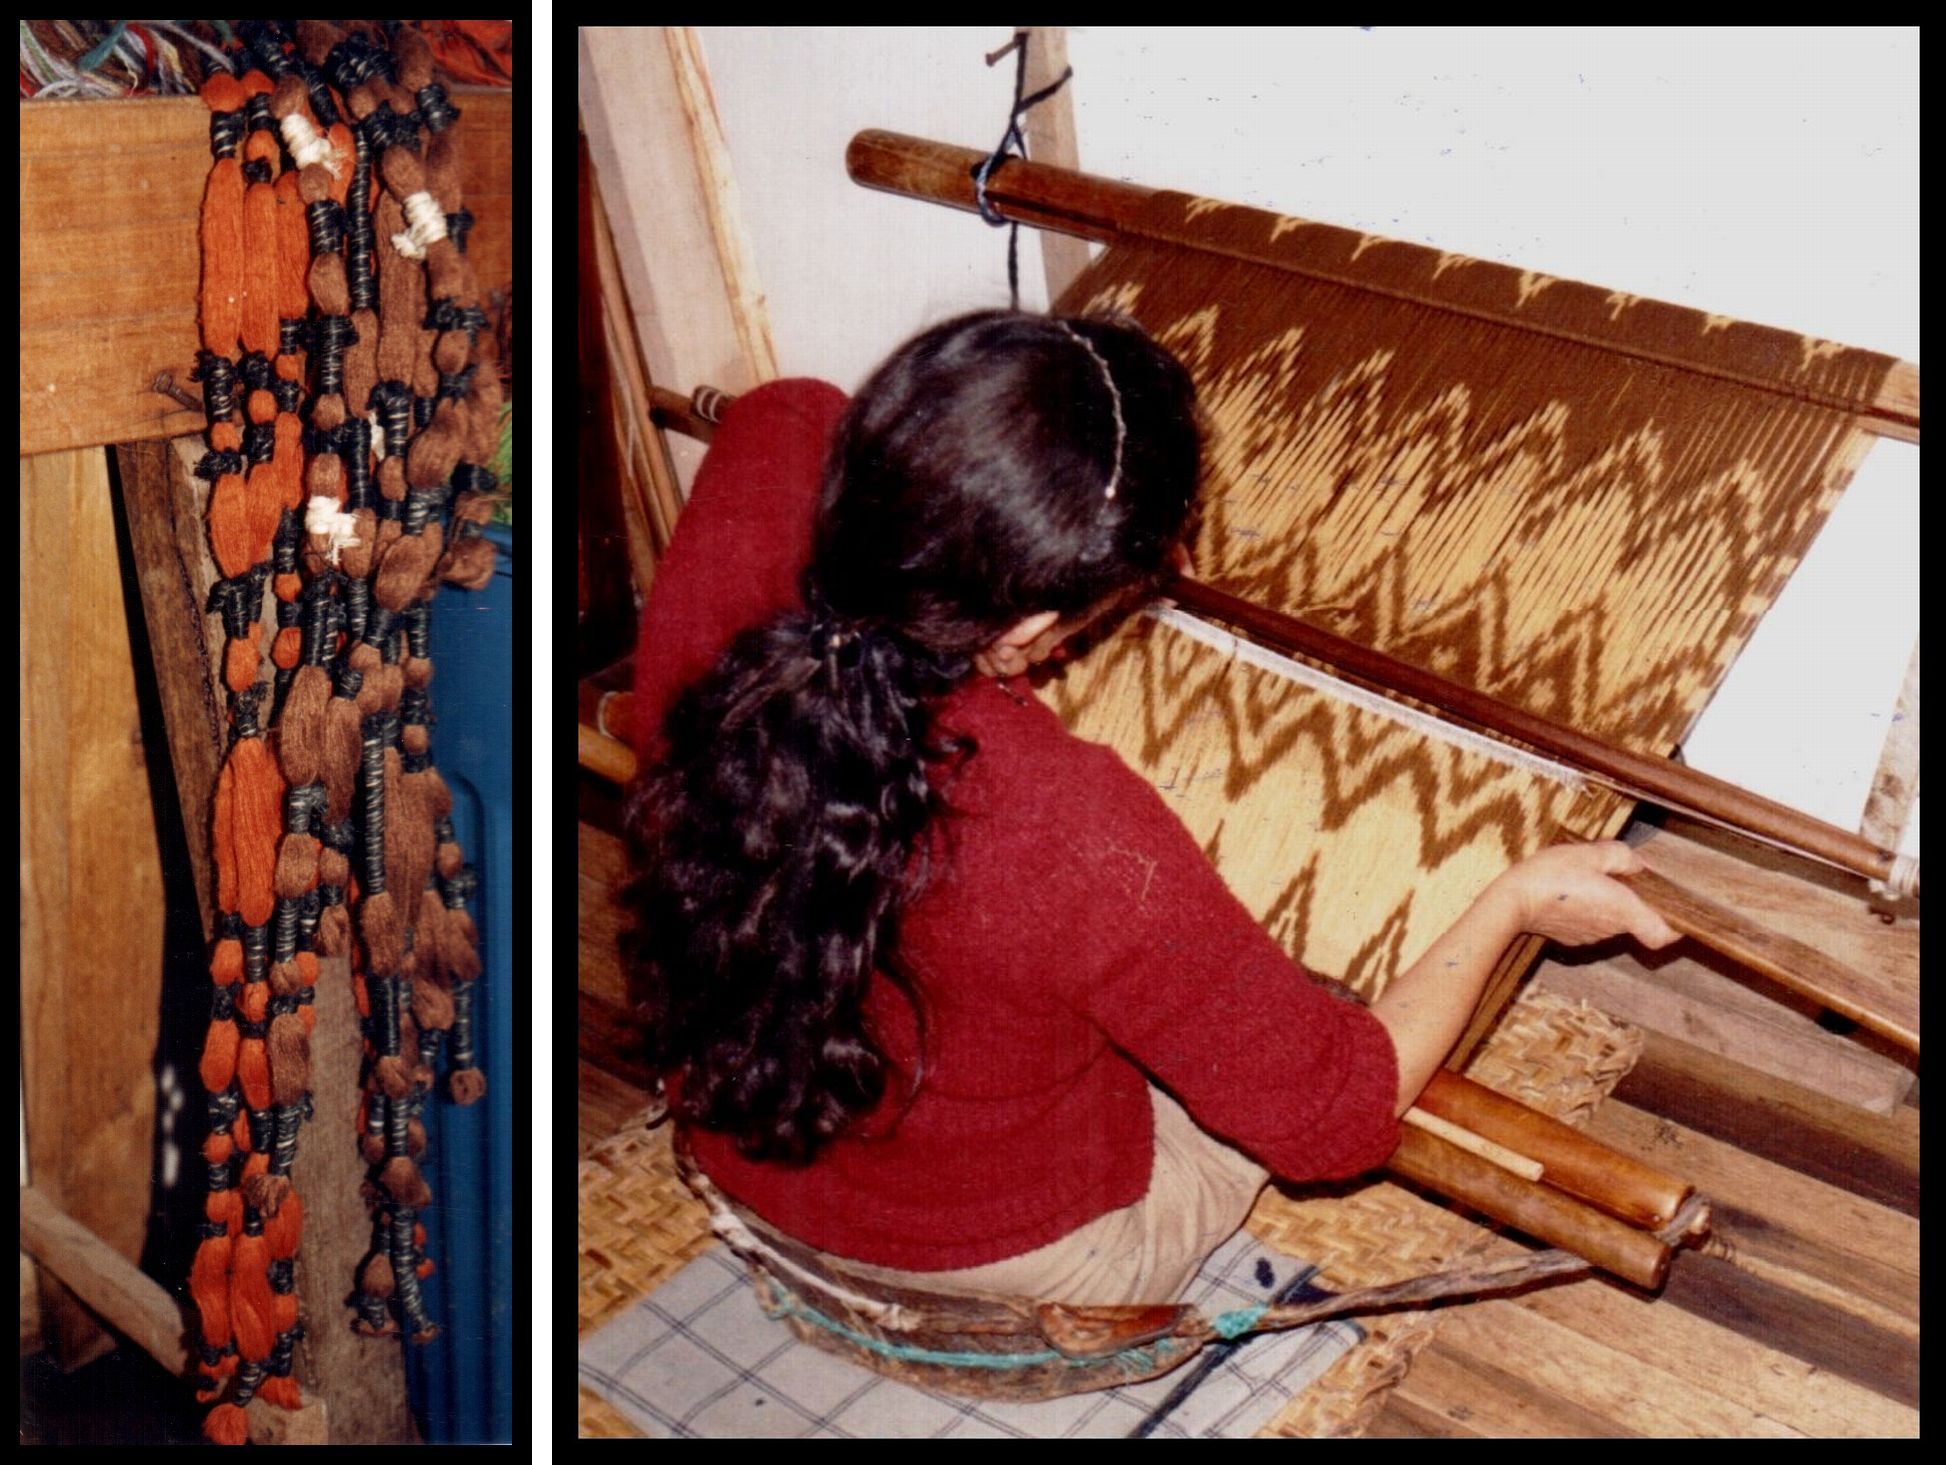 I was at least able to spend some time watching this weaver in Bulcay at her loom and see and handle one of her prepared warps. A lot of these pieces are woven specifically for tourists but local cholas wear a typical shawl or paño which is patterned with motifs in the ikat technique. The name cholo refers to the group of people who fall between indigenous and whites in the social-economic hierarchy. Besides the intricate ikat designs, an outstanding feature of these shawls is the long fringe which quite often measures a third to half the length of the shawl itself. Once the shawl is off the loom, the fringe is knotted in a decorative form and this work is often starched so that the beautiful designs can be more clearly seen.
 Dutch weaver Agaath, whom I met through this blog and then again in person at the Tinkuy, sent me this image of a woman knotting the fringe of an ikat shawl which she took on her own travels in Ecuador. The picture at right is one of the knotted motifs that are worked into the fringes. This textile is part of the collection of the late Dennis Penley, author of Paños de Gualaceo. Sometimes the fringes are knotted into a simple mesh onto which figures are embroidered which you can see below right.
 These pictures were also sent to me from Mr Penley’s collection.
I am told that the simple white and indigo-dyed cotton shawls are the oldest and I was able to see these in antique stores in Cuenca and in the museums but one day I was lucky to see a woman walking down the street in quite a hurry with one slung over her shoulder and only by trotting along behind her was I able to get a good look and a quick picture!
 I dream about being able to create ikat designs like these but there is no need to get crazy and go tying bunches of intricate designs all at once. One has to start somewhere, keep it simple and experiment. I think that even my Barbie band was over ambitious.
Someone who had a strong influence on me was Linda Hartshorn whom I met at CNCH last year. She showed me one of her ikat woven pieces…a carnival of gorgeous colored stripes with simple bands of ikat between. This taught me that the textile did not need to be all about ikat. The ikat patterning could be used simply as a decorative feature on a large piece of fabric. Here are a couple of photos of Linda’s ikat pieces which she has allowed me to show. My encounter with Linda also had me looking at color in new ways.
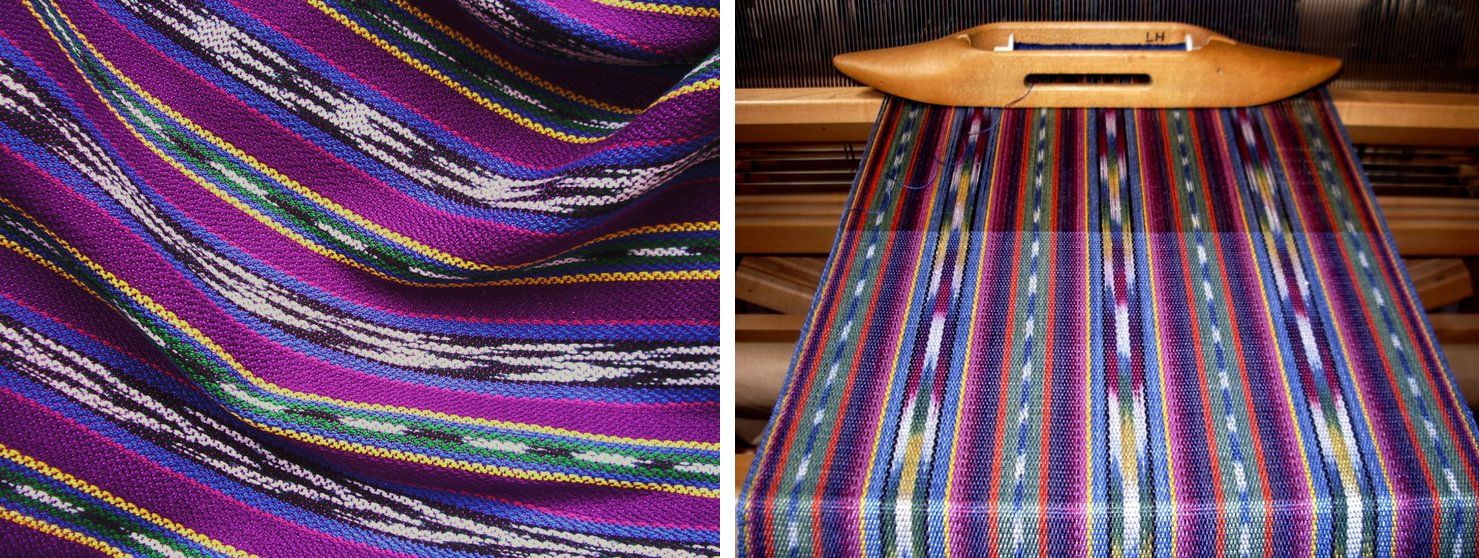 The piece on the left has been made with commercial cotton and the other is natural dyed silk. The next time I am in Linda’s neck of the woods (Humboldt County where my friend Janet lives) I think I really should take a dyeing class with her.
Anyway, I created a few strips of ikat and incorporated them in a wider piece of warp and decided to weave some supplementary weft motifs in the center. These designs are from Bhutan copied from a textile in a friend’s collection.. While I think the ikat could stand much improvement, and I have some ideas about how to go about doing that for the next experiment, I am on the whole very pleased with this piece. I wove this with my standard crochet cotton and used the appropriate dye this time!

This form of weft patterning is an inlay technique and so the design is not seen on the reverse of the fabric.
It was a fun project even though I am still working out the mystery of aligning the ikat design warps in both sheds. I didn’t use any of the aids that I have seen backstrap weavers use when doing ikat as I wanted to see how the warps behaved. In the next experiment I will use some of those “tricks”.
Another thing that I have just started playing with is the selvedges on double woven bands. I am trying out something looking at several Bolivian double weave bands that I have here to see if I can create a neater edge. As the weft in double weave has to turn and travel around the edge in order to pass through the shed in the lower layer it often pulls the edge warps out of position on its way particularly if those edge warps are a little slack. So, I am looking for something that can sort of bridge the gap between the upper and lower layers. I will show you the results of this experiment next week if, in fact, there is anything worth showing!
Here is what some of my online weaving buddies have been up to…
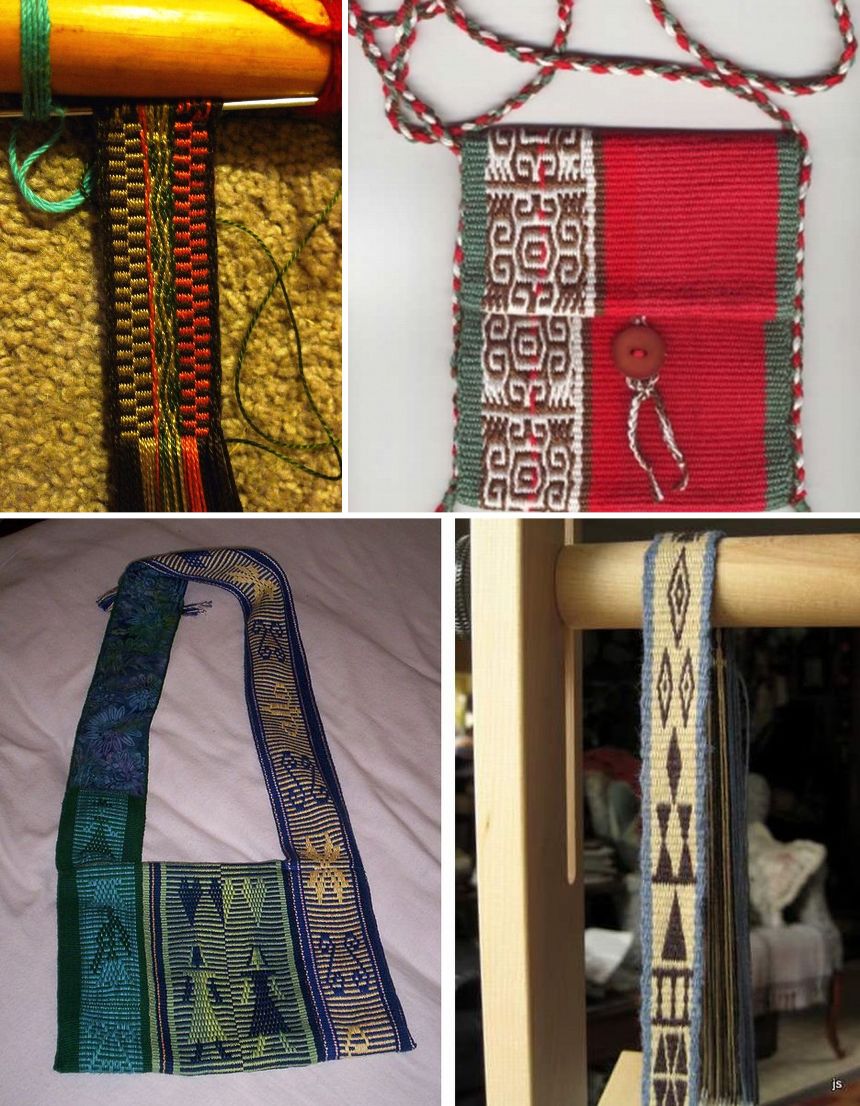
 At top left, Anna in Australia showed me the pebble weave motif she is doing bordered by an alternating comb design. This is cool! Helena in Brazil has made a purse using a design charted by Adele Cahlander. Marsha and Janet are both in the US and Marsha‘s super seamstress friend, Dana sewed three of her simple warp float bands into an amazing bag while Janet is using the tutorial here on my blog to practice double weave. She is weaving it and getting the technique well established on her inkle loom before transferring the skills to her backstrap loom.
The Ravelry group is still spinning away on the Tour de Fleece and, as tomorrow is “challenge” day they hope to warp their looms with their handspun and see how their yarn behaves. I hope my sticky sheds videos will come in handy!
We have a new member, Kathi Pecor aka fiberdance who is doing Saori style weaving on a backstrap loom using a sweet little rigid heddle segment which you can see at left.
And finally, I have embedded a beautiful video about handcrafts of Colombia. This was shared by two of my Facebook friends, Sharon and Danielle. I told you all some time ago about how little I knew about Colombia with a lot of my impressions being sadly tainted by stories of kidnapping and drug trafficking and all kinds of nastiness. And then I met a Colombian weaver at the Weavers’ Gathering that was held here in Santa Cruz some months ago and everything changed.
 This is a really lovely piece of video narrated in English and I hope you have time to take a look.
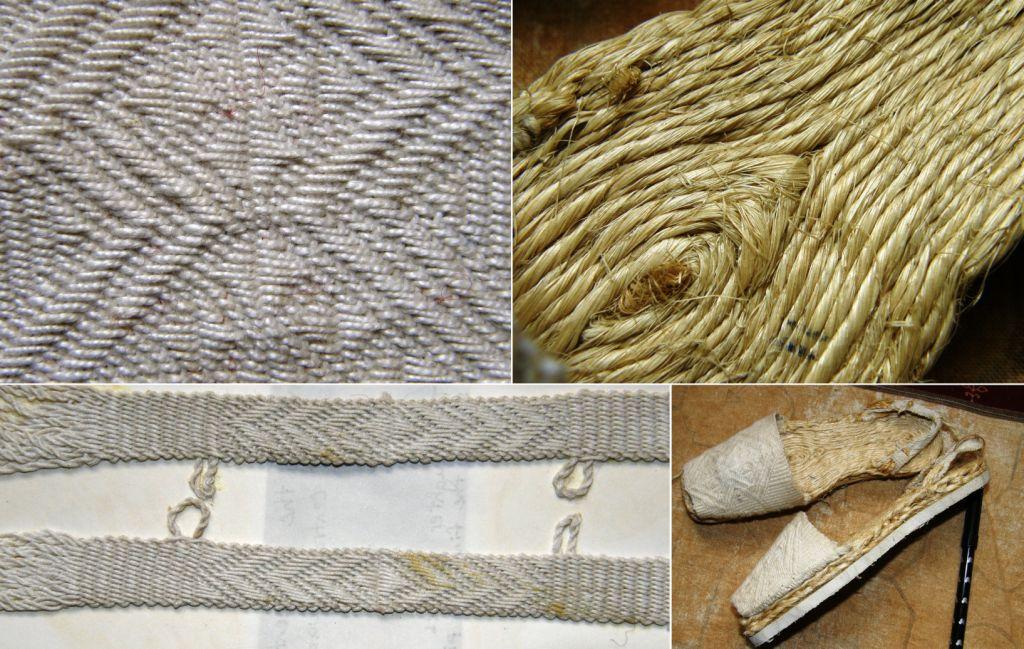
In the video I was excited to see alpargatas being made in what seems to be much the same way as they are in Ecuador.
I spent a lovely day in Ecuador visiting with one of the few remaining alpargata artisans. You can read about that in this post.
And so, here’s the video and thanks Sharon and Danielle for showing me this story with its haunting final phrase “I want to remember with my hands”.
THE HANDS OF COLOMBIA from Club Colombia on Vimeo.