Backstrap Weaving – Embroidery, Tatting, Quilting and, oh yes, the Backstrap Weaving :-)

Back home in Bolivia! My cat seems to have enjoyed her stay away in my absence in a home of Death Metal music fans… a noisy and action-packed home which also includes two kids and two parrots. She appears to need to sleep off all that excitement and has spent much of the last two days flat on her back with legs in the air, dead to the world.

Picture by Annie MacHale

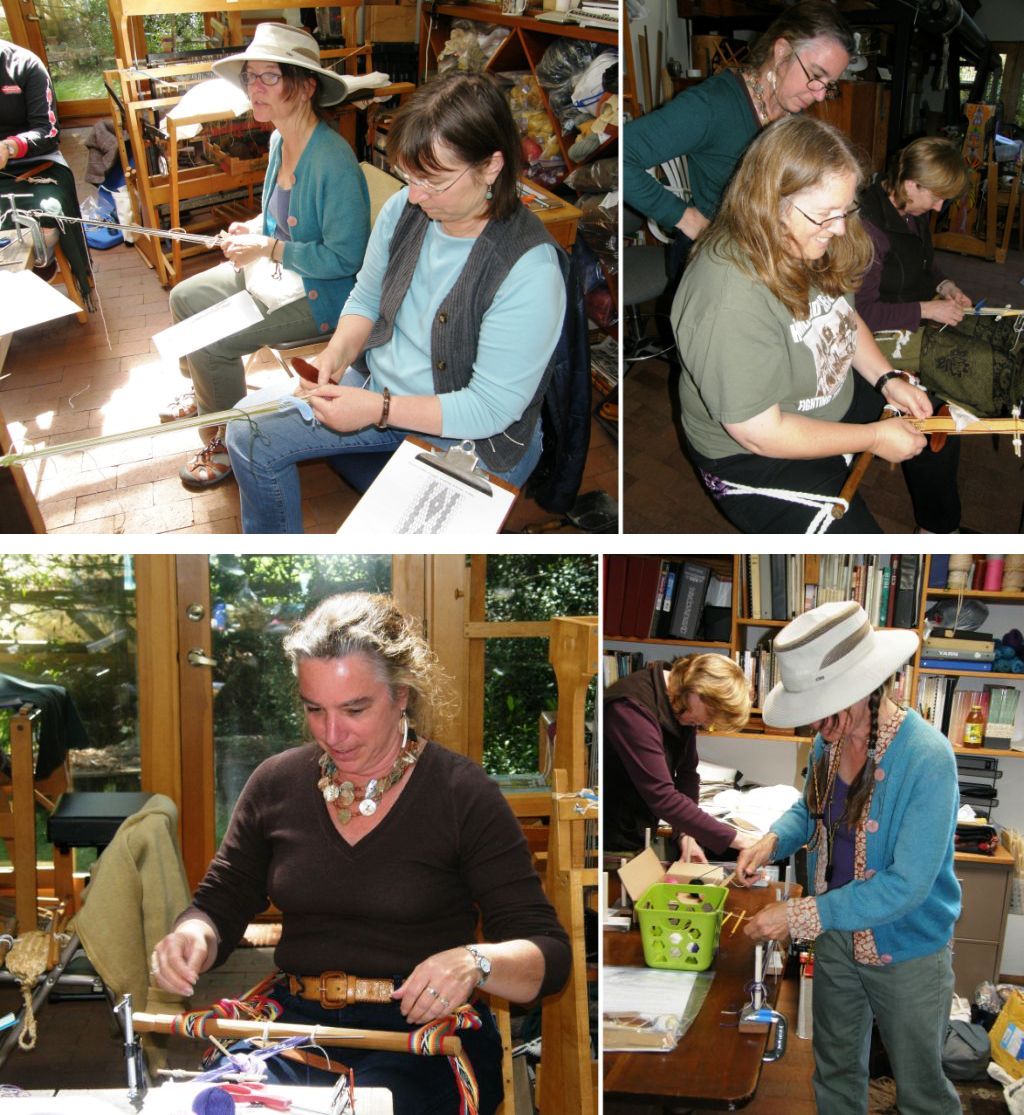
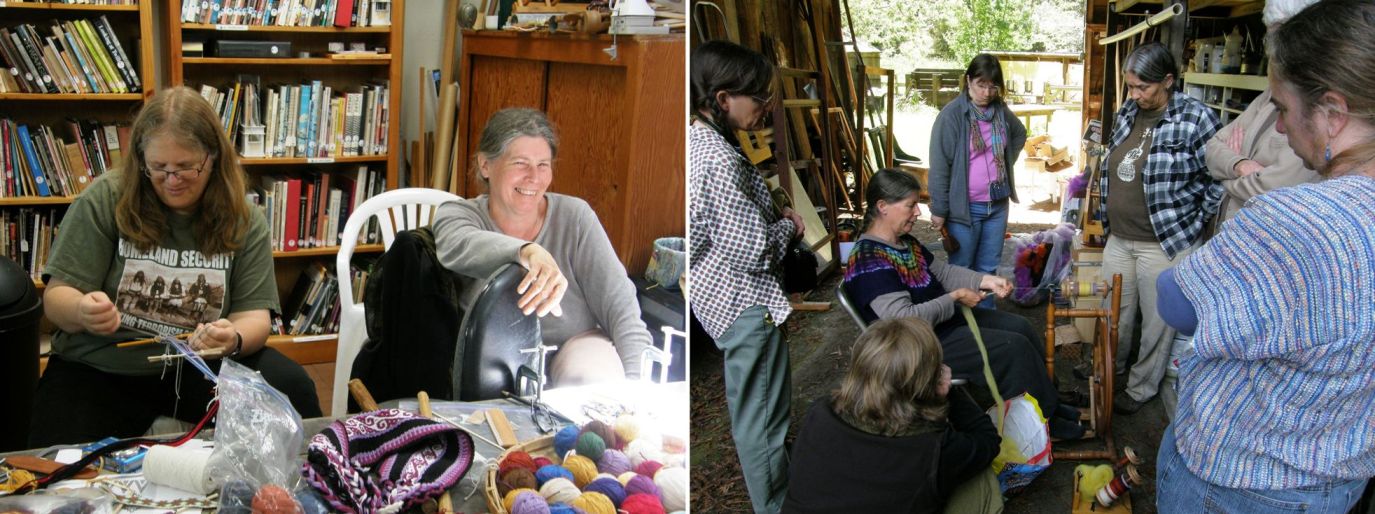
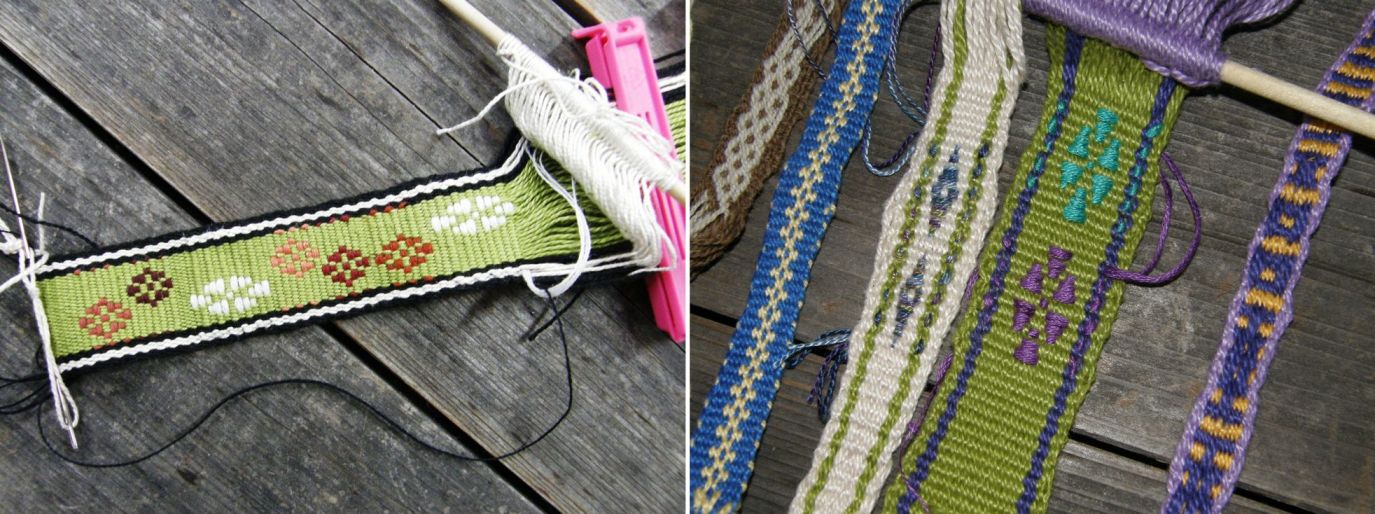
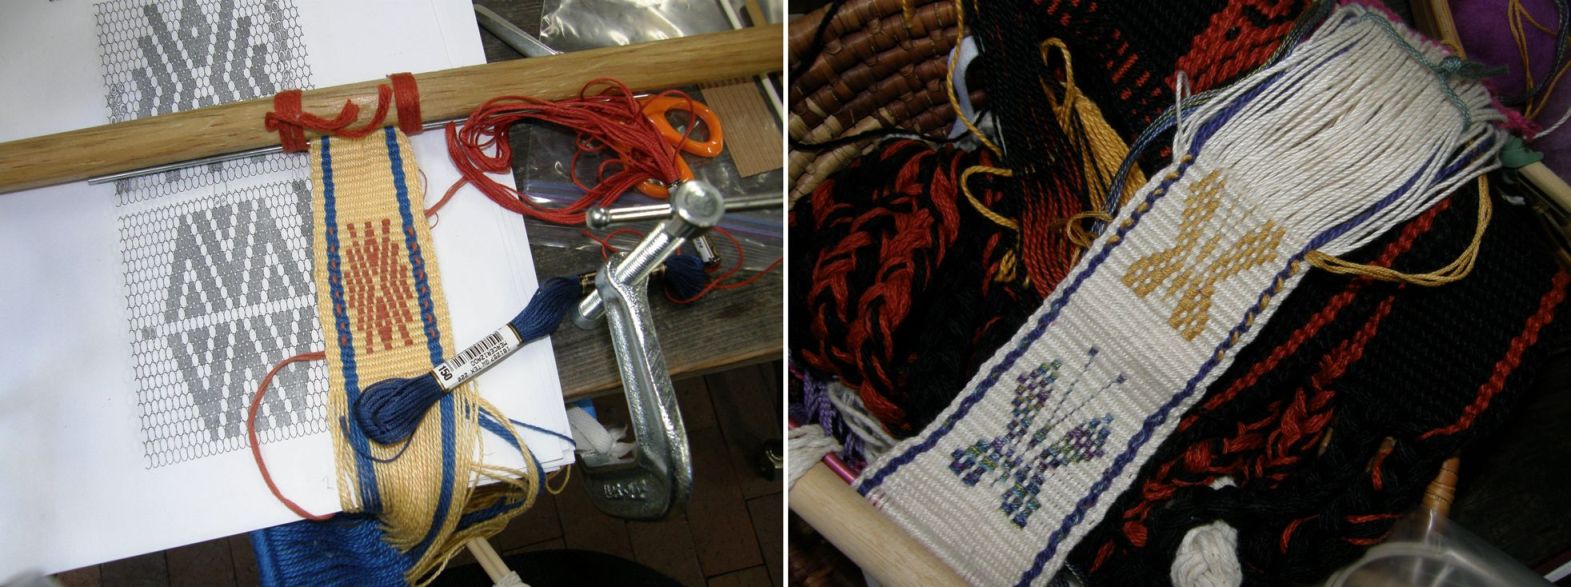
Black Sheep backstrap weaving groupAs for me…I need a rest after all the excitement too! Was it really a whole seven weeks ago that I arrived in California and wove with my friends there? We had a very productive time weaving supplementary-weft patterns and the intermesh technique and spent one relaxing afternoon looking at my images and videos of South American backstrap weavers.

My trip ended in the same area. It was great to meet up with my Ravelry friend, Cookie, once again. She had woven with me at Janet’s place up north two years ago and brought along the pebble weave backstrap that she had woven for herself in the meantime.
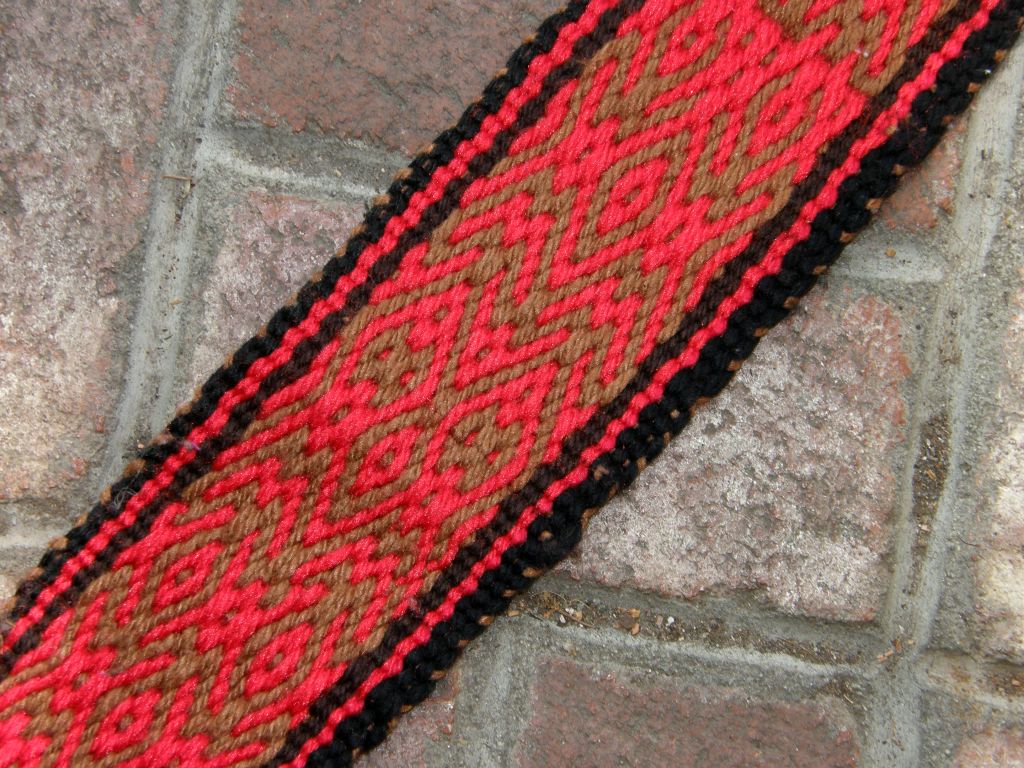
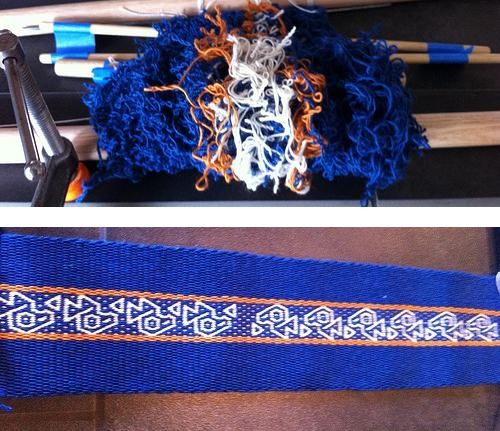
Cookie's backstrap with pebble weave

This is a great example of taking one of the simple 4-revolution patterns from my first book and expanding it by weaving it side by side as a reflection of itself. Cookie also added some other small elements which made the pattern unique. It was almost impossible to recognize the orignal 4-revolution motif. I love it when people create their own pebble weave designs. This is a great way to approach it – with baby steps – first adapt and enhance an existing design and from there go on to create a motif that is entrely your own.

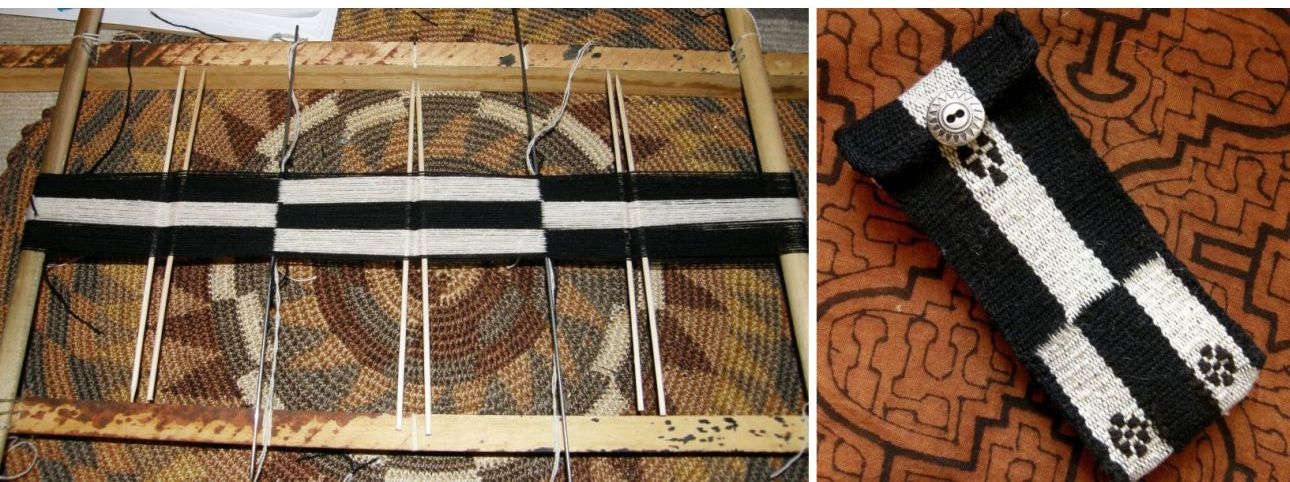
We used sticks to help pick up threads and pass the supplementary wefts. Cookie saw my Guatemalan pick-up stick and went on to create her own from chopsticks! See the original chopsticks on the right and then several versions of the pick-up stick that Cookie made.

Cookie's pick-up sticks from chop sticks

Days were spent weaving in Barbie’s home and I enjoyed my evenings staying with Kathleen. I got to stay in her cottage weaving studio in the garden and listen to the soothing sound of  the waterfall in the forest below. Kathleen’s home is decorated with textiles from Hungary, her husband’s homeland. Here are just a few of them.

hungarian embroidery and feltThe felt piece at top left comprises layers of wafer-thin pieces of felt using applique and reverse applique techniques. A Google search result tells me that this particular design falls into the category of Great Plain motifs, the Great Plain being the central plain of the Carpathian Basin. The motif dates back to the 18th century where it was first seen on the wool cloaks of the Hungarian shepherds.

I then uncovered a website which is a gold mine of information on embroidery techniques when I googled about Hungarian embroidery. This site is amazing! I will leave you to explore it. I will certainly be returning to it to learn more.

wood block for textile printsI can see myself doing embroidery one day should there come a time when I can’t weave with a backstrap loom anymore. As long as my eyesight is up to it!

I spent a fun afternoon with my weaving friend Dorothy. We went to an exhibit of Indian textiles at the San Jose Museum of Quilts and Textiles. It was a hands-on afternoon where we got to learn a little about Kantha embroidery. It was  an introductory session that any embroidery novice could handle just to get a taste as it is based on a simple running stitch. I attempted to embroider a classic paisley motif which is a mango shape. If I ever get it finished I shall show it to you.

We also got to play a little with hand-cut Indian wood blocks which are used to print designs on cloth. You can see the paisley pattern above. I think the wood blocks are a work of art in themselves. I also learned that you need to put some thought into the layout of the deisgn before stamping away like mad. I made a chaotic horrid mess!

I would love to know what embroidery stitch was used to create this piece that Dorothy bought from a Peruvian handcraft website.

dorothy's peruvian embroidery

The yarn was so fluffy that it was very difficult to isolate the path of the threads. The stitch had a braided look to it. I would love to know how to do it. Can anyone help?

dorothy's peruvian embroidery 1

palestinian cross stitch embroideryAt Gloria and Terese’s home, on my last night in the US, I saw this piece of Palestinian cross stitch embroidery that they had collected. I would love to know about the motif in the center. One pattern has been repeated from top to bottom while being rotated 90 degrees. Does anyone know about this motif and what it might represent? For more about these embroideries and the women who create them, take a look at this beautifully made site which has been put together with the support of the Red Cross of Iceland.

And, as always happens, when I learn a little about a new craft, examples of it seem to just fall out of the sky into my hands where ever I go! Not embroidery….tatting! One of the participants in the Indian texiles workshop was a tatter and showed me her work in progress. The larger of the two pieces will be a baby’s cap. I am in awe! Thank you, Vonnie, for teaching me to tatt.
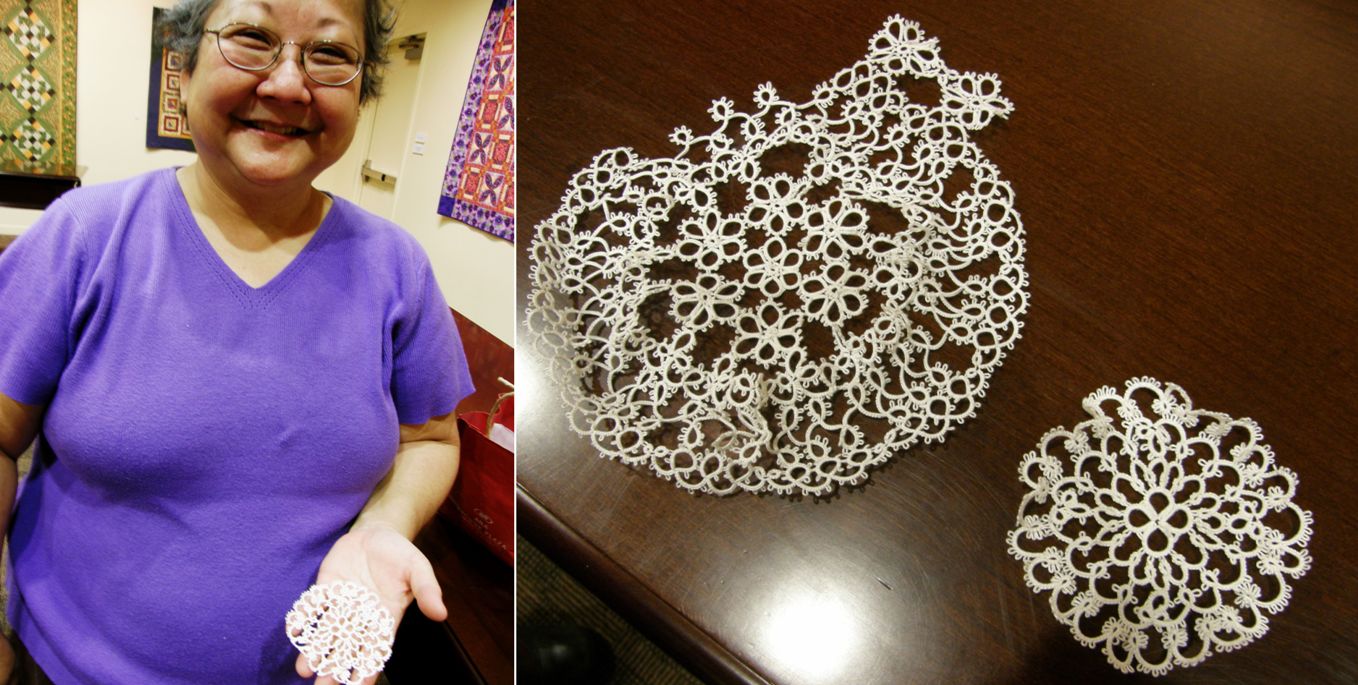
tatting

And then I was chatting with Rachel, the barber, in an old barber shop in downtown Santa Cruz California while staying with my weaving friend Annie (I had created a bangs emergency when I got over enthusiastic while cutting my own). The result of that encounter is this…

tatting shuttlesRachel had recently got these as part of a big purchase of sewing supplies at an estate sale and was happy to pass them on to me. I think I had better get a-tatting! I like the metal one the best with the wee hook on its ponited end. Now the challenge is to see how simple tatting can be applied to my weaving. My online weaving friend Carol, who lives in Nicaragua, told me that this same idea also recently occurred to her. I would probably use wool instead of the super fine thread that is usually used for tatting.

dovetailing of two color warpsFrom embroidery to tatting and now back to a bit of backstrap weaving.

You may remember the discontinuous-warp piece that I got to play on. I wrote about it in my last post and have written several posts, like this one, about the technique.

I need to point out that this warp is not mine to keep. I was simply put in charge of transporting it from Yonat to Dorothy, its new owner, and my fee for the service was being allowed to play on it a bit! In any case, Dorothy needed a hand getting it going and I was happy to be of help.

This warp was used in a workshop on the ticlla technique that was given by Nilda Callañaupa in the US in 1997 and the project was never finished. Dorothy and I both had a lot of fun playing with it.

I wove from the end that had been started in the workshop and got the weaving on the other end established so that Dorothy could continue. Of course all the sticks are really too long for this project but this was the way it had been set up in the workshop and we didn’t see any reason to change things.

dorothy weaving the ticlla pieceYou can see that the warp has been turned around and there is Dorothy with the llama bone tool in hand beating in the weft.

dovetail section of discontinuous warp projectDorothy was kind enough to have me stay for a few days and there was precious little time to weave this together as Dorothy teaches art during the day. Coming home from a tiring day teaching art to children is not really a good way to face a tricky piece of weaving. So, while Dorothy was at work, I removed the dovetail stick in the center that holds everything together. A thick piece of thread remained behind in place of the stick. Then the join had to be stabilized by weaving on each side of it as you can see above. It is now up to Dorothy to finish the piece.

discontinuous warp piece stabilizedShe will continue to weave until it is impossible to open the sheds any more using the shed rod and heddles. Before she gets to that point she will be able to make things a little easier by using a thinner shed rod and passing the weft on a needle. The final stage will have her needle-weaving, picking up every other thread on the blunt end of the needle so that she can create a shed and pass the final wefts shots. She will have to do this on both sides of the center as each panel is a separate four-selvedge piece connected by the central dovetail join.

I enjoyed the chance to weave with the beautiful, beautiful handspun yarn that Nilda brought with her from Peru. It was so lovely to be able to bring this weaving back to life again sixteen years after it had been started. Yonat, who has been holding this warp since the workshop, wrote to me to tell me about its owner who has since passed away…

I thought I would tell you about the loom:

The name of the previous owner was Jean Davidson.  She was an amazing artist, curious to no end with an amazing sense of color and structure.

Her unique talent was her chenille-style quilts. She was an awesome lady, and I just feel like her energy is bubbling in that project that you guys are playing with.

Yonat also gave me a link to a site which shows the quilts that were part of an exhibit held in Santa Cruz in 2008 called Dreaming the Earth in which Jean participated.

The pieces in the show were inspired by creation stories from 
the indigenous peoples of Australia to honor the Arboretum’s Australian 
garden.  Most of the stories upon which they based their quilts were drawn
from a collection of Australian Aborigonal folklore by K. Langloh Parker 
(Australian Legentary Tales, 1997) available online (http://www.sacred-
texts/aus/alt/index.htm)  Abbreviated versions of these stories may be found next to the photographs of each of the quilts.


The quilts are beautiful and the stories delightful. It is really worth taking a look at the site. How nice to be able to weave on this piece that Jean started.


seat for backstrap weaving
If you are wondering about Dorothy’s set-up for weaving that I showed earlier, let me tell you more.


She had that built following instructions by my online friend Sharon on her blog. Sharon is really talented when it comes to DIY and improvisation and she told me about a cool seat, foot rest and warp hitching post that she made so that she could sit on the floor with her back against the sofa and weave. I posted the link here, Dorothy saw it and had it made. I got to try it and it is very cool. I like being able to brace my feet against something although I am wondering about the strength of the foot brace. There it is again above with one of my demo warps in place and a cushion on the seat for extra comfort.
synergo arts ergonomic benchMeanwhile, Bobbie from the Ravelry Backstrap Weaving Group reports that she has bought, for around $30, all the parts necessary for making the ergonomic bench  for backstrap weavers according to the plans put online by Synergo Arts.


We all looking forward to seeing how that turns out.
You can find plans for the bench with instructions on how to use which include a video here.


Other interesting textiles that I saw on this trip…
Mark showed me a woven cotton saddlebag. It is from the Piura region of Peru and I had never seen anything like it before…the jaw-dropping diversity of Peruvian weaving!


The red and black designs are warp patterns. The other colors that fill in parts of the main motifs are supplementary wefts. I love it when warp float patterns and supplementary wefts are combined this way and have only seen that once in an old Mexican belt. The tails of the supplementary wefts were left hanging out on the inside of the saddlebag pockets. There is a similar piece on this site which is dated at 1930-39.
saddle bag piura peru
 And, this is a four-selvedge piece!
four selvedge cotton weaving
If you look very closely a little way above the paper label you will see where the very last weft shot would have been needle woven into place. Thinking about doing a four-selvedge piece with cotton makes my hair stand on end! I tried it once….maybe one day I will try again!


I have more to show but will leave it here for this week. Let me end with Jennifer taking up the love of the curious coil rod. She placed one on a band which had started its life on her inkle loom. After transferring it to her backstrap loom she was disappointed to see that it had developed a serious ridging problem…that old corrugated cardboard thing that I have discussed here many times and have finally managed to conquer.

Coil rod to the rescue! More about that next week…
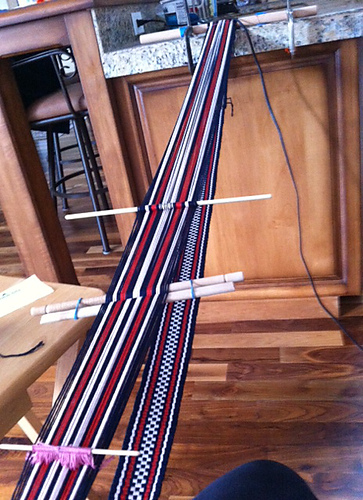
jennifer
This is going to be a beautiful guitar strap!


Well, it’s back to cleaning seven weeks of accumulated dust and getting things in order. Hopefully, I will be back at my loom soon.

Backstrap Weaving – What I love about sharing backstrap weaving

What do I like about sharing my weaving?   One of the best things for me is how much I manage to learn myself from my interaction with my weaving friends. And, there are many other things about it that I love, both tangible and intangible. Let me try to list at least some of the things that make this such a wonderful  experience…..

1.Receiving a picture like this via email shortly after weaving with a group:

Karen's pebbel weave bands backstrap weavingKaren, who wove Andean Pebble Weave with me,  sent this picture to show me what she has been up to since then. She completed the bands that we started together and wove more bands as she continues to work her way through my book. Not that many people rush home and weave and get to this point so quickly but it is just the simple fact that she wanted to show me what she has been doing and keep in touch that makes me really happy.

2.Getting a picture from an onlooker who captures the interest and delight on people’s faces while I am busy showing samples and talking:

134demoThis picture of (from left to right) Karen, Nan, Laura and Stephanie was taken by Franco. I miss some of these little moments while I have my eyes on the textiles.

3.Getting to spend “fiberholic” evenings with my friends, while chatting and cluttering up the place with WEAVING STUFF:

vonnie backstrap weavingMy friend, Vonnie, sits back at home with a very interested onlooker to weave a little on the band that we started itogether.

Vonnie showed me how she makes her tablet weaving a “weave anywhere any time” craft. As always, I am happiest on the floor.

tablet weaving at vonnie's houseI have a stretchy hair band around my neck to which the band is attached (this is just in case you are not wearing a belt to which you can attach) and the other end is hooked to my shoe lace. It was very comfortable!

4.Reconnecting with people I met on previous visits who have now become dear friends:

annie and barbara in santa cruzThat’s Annie and Barbara tackling a skein of hemp (next to Ginna). I  am here to just hang out for a few days with them. We will probably see that beautiful rusty red hemp woven into one of Annie’s gorgeous one-of-a-kind inkle woven guitar straps soon.

5.Meeting lots of fun and enthusiastic people who are interested in something about which I am passionate – backstrap weaving and South American textiles – and helping them to perhaps realize a dream or simply enjoy spending some time trying something completely different:

???????????????????????????????Stephanie, Betsy and Vonnie have just made their first set of string heddles and are putting their newly acquired skills to work  on a narrow band.

6.Having the opportunity to spend time with long-time online friends who have been so helpful, supportive and fun for years. If you are part of any fiber-related online weaving group, you are bound to know Franco Rios!:

franco backstrap weaving7.Putting faces to my more recent online acquaintances:

laura and nan backstrap weavingLaura is a fairly new member of the Ravelry Backstrap Weaving Group and we look forward to seeing more of her. She and her mother, Nan, came to weave together with me.

8.Exchanging ideas and learning new skills:

???????????????????????????????Vonnie knows tatting and now…., so do I! The picture above is, of course, of Vonnie’s fine work. However, I am rather proud of the way mine is coming along in both fine cotton and wool.

my tattingVonnie gave me a shuttle to take away and showed me how pospsicle sticks can do the trick nicely as well. When practicing with the heavier wool yarn, it is very easy to use the yarn straight off the ball rather than place it on any kind of shuttle. However, you can’t help enjoying looking elegant holding the wee shuttle daintily between thumb and forefinger.

lucet cord and braidVonnie taught me to make cord using a lucet (the wooden instruments seen on the left) and I taught her to make a braid using a piece of cardboard and the fill-the-gap technique, something I learned thanks to the ladies of the Braid Society that I met while in the UK. Here is a close-up of my cord and Vonnie’s braid:

lucet cord and vonnie's braidAnd, there are also surprising connections to other Ravelry group members. Vonnie showed me the sweetest homemade rigid heddle that group member Janet had made for her using a sushi mat. It is touching to see how many firm behind-the-scenes friendships form between members of the Ravelry groups.

jenat's heddle and my lucet giftAnd that is the pretty lucet that Vonnie gave me!

9.Coming to weave on a second morning and finding that people had woven at home on their own: 

admiring backstrap bands on day two of classLaura, Caroline, Vonnie and Betsy admire bands on the morning of our second day together that had grown in length overnight. Some of the patterns the ladies wove were of their own invention without the use of charts. Seeing that skill develop makes me exceedingly happy!

supplementary weft patterned bands10.Meeting someone new who shows me what she has managed to learn at home, either by using the free tutorials on this blog, or by following my books:

carolines pebble weave bandThat’s Caroline with a pebble weave band she has been weaving at home.

11.The trust and support that develops among the weavers as they work together. Folks applaud and encourage each other and, with this support, are able to accept little mistakes and mishaps with good humor: 

warping for backstrap weavingTeam warping: that’s Janet on the left with Caroline in the center warping under the watchful eye of her warping partner, Stephanie. This is where I get a chance to stand right back and enjoy watching how people work and solve problems together.

12.Seeing a first-time-ever weaver being nurtured by the rest of the group, taking to it and having fun and seeing the movements used by everyone…experienced weavers and beginners alike… to open the sheds and operate the loom become increasingly automatic and relaxed:

karen new weaverThere’s new weaver Karen working at opening the sheds. She soon learned that a sweater on her lap made a great tool tray.

backstrap weaving group sacramentoHere’s “Team Backstrap” enjoying the sun. We had some spectacular spring weather for us. Many thanks to Betsy and Franco for inviting everyone. Franco kept us entertained with various bird-spottings. We were working right by a large open door and could enjoy the outdoors without being out in the harsh sunlight.

13.Understanding a little more about people’s different learning styles.

14.All the cool stuff I get to do and see and the cool people I get to hang out with. Like…

redwoods sant cruz california…a) roaming around the redwoods….

santa cruz mission…b) admiring and exploring local sites such as the only building left of the mission in Santa Cruz established in 1791. That building would look very much at home in downtown Santa Cruz, Bolivia with its white adobe walls, wooden pillars and red tile roof. Many buildings where I live resemble this one although most are in a state of advanced decay with tropical greenery threatening to take them over….

tapestry in progress by Zapotec weaver sergio martinez…c) seeing other kinds of weaving and sometimes meeting their makers. I had the wonderful luck of being able to examine a tapestry in progress by Zapotec weaver Sergio Martinez. He weaves and shows his work in Old Folsom just down the road from Vonnie’s place. Unfortunately, Sergio had just left for the day when we arrived but I wrote to him to ask permission to show his weaving here and we have been corresponding. The piece in progress is an image from the Aztec codices. Sergio’s woven themes, as far as I could see, are very different to those used by Zenon and Jaime Hipolito whom I visited earlier in this trip. It was very interesting to see how widely the work of  Zapotec weaving artists can vary.

stitched shibori samples by rachelle weissshibori-like fabric in fasion…d) learning about other textile arts such as the art of stitched shibori at a workshop give by Rachelle Weiss at the Santa Cruz Handweavers Guild. Dyeing expert Kris Nardello assisted. It is a technique that historically was largely practiced in Japan and is a way to decorate cloth using dye-resist techniques.

The workshop was very well attended. Rachelle’s instruction and inspiring samples created a lot of excitement and chatter which made it a really fun morning. Participants learned three kinds of stitching techniques, some of which also involved folds, for creating wood grain, undulating lines and circular patterns. Everyone will return in June to complete their projects by pulling the stitiches to ruffle and pucker the cloth and then placing the pieces of fabric in the dye bath. I will have to take my kit home and play with it there….

It was fun to go on from there and find shibori-like fabric (at least to me eye!)  used for a dress in one of the trendy clothing stores along the main street of downtown Santa Cruz (pictured above).

A couple of days later, I visited with Barbara  and she showed me a gorgeous piece of shibori cloth that she had created and sewn into a garment.

barbaras shiboriShe had used techniques that we had not seen with Rachelle. Rather than creating areas of resist and then dyeing the fabric, she applied bleach. You can see how leaves were placed on the black fabric and then bleach was sprayed around creating the reddish background. Pieces were clamped to the cloth to create the bar-like patterns which I think look like sticks of bamboo.

The fabric has been used to create a jacket with simple twisted yarn ties for closures. That was in Barbara’s pre-braiding days. Now she will be able to replace those simple ties with some kind of fabulous braided tie using her takadai or marudai skills. Here are some of her examples created on the marudai and takadai…

barara's tkadai and marudai samplesMy day spent at Barbara’s was her regular twining get-together with Yonat. Both Yonat and Barbara weave with me on every visit and it was nice to see what they had learned when Ravenstail twining expert Cheryl Samuel visited the area. You know how much I love twining! A Google search tells me that Ravenstail is a type of twining and surface braiding that was used by native Americans along the Pacific Northwest coast to create dance aprons, blankets and robes.

Barbara had obviously been very much absorbed with this since last fall as she has already made these three adorable pouches…

??????????????????????I learned a few tricks while Yonat and Barbara worked for making the ending of the twining neater. The basic technique of twisting the “wefts” and changing colors is the same as the technique I use to create the twined patterns that I use on my backstrap weavings. However, there are many specialised moves involved with creating the patterns that you see above with their outlines and embellishments.

yonat's ravenstail leggings??????????????????????Yonat and Barbara are each working on a project to make traditional leggings. This is Yonat’s piece. The working frame alone is a thing of beauty. Barbara’s husband made hers and Peggy’s husband made a few for various members of the group.

ravenstail frameLook at the  inlay work created by Peggy’s husband! What you are seeing there is the lid of a tool box that he cleverly incorporated into the basic framework. The frame comes apart easily so that Yonat can pick up her work and take it home at the end of her study day with Barbara.

And, while the ladies were twining, I got to weave on a discontinuous-warp project that was part of a workshop given to members of the Santa Cruz guild by Nilda Callañaupa way back in 1997! This particular piece was not touched after the workshop and its owner has since passed away. Yonat has been keeping it and is now passing on to another of our backstrap group members, Dorothy. On its way to Dorothy, it fell into my lap and I just had to weave on it! I will be spending this weekend with Dorothy and we will get to play with this together.

discontinuous warp backstrap loomI hadn’t taken a backstrap to Barbara’s place and so just used a piece of cord. It was pretty comfortable, believe it or not! The wool yarn was quite friendly and I got quite a bit woven before lunch. What was unusual for me to see was that this had been warped to include complementary-warp pick-up patterning. All the discontinuous-warp pieces that I have had the luck to examine so far have been either plain warp-faced weaving or patterned with supplementary warps.

discontinuous warp backstrap weavingThe horizontal bars that you see above tell us that the piece was warped for complementary-warp pick-up. Yonat, who also took the workshop back in 1997 remembers having woven a double-faced hooked “s” pattern on her piece. Barbara was also in that workshop and neither of them have worked on their pieces since. I am happy to report that they now feel those unfinished pieces calling to them and, hopefully, they will get motivated to get back to work on them with confidence sixteen years after the original workshop. (By the way, the piece is posed on top of Yonat’s latest clasped weft project in which she used the technique to create a beautiful landscape.)

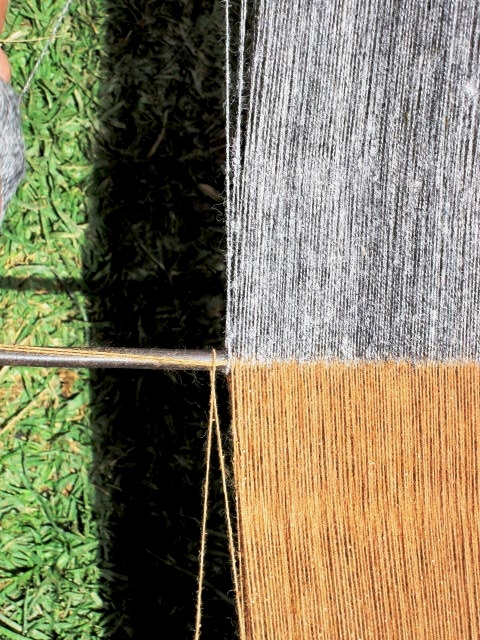
dovetailing of two color warpsIt was interesting to see how the two colored warp threads in the pattern area were carried while warping. You can see that they were wound together as one thread. They were then separated into two sheds when the heddles were installed.

So….on one short visit with a couple of my now, very dear weaving friends I learned about SO much!…shibori techniques, ravenstail techniques and a bit more about warping for discontinuous-warp projects.

tablet woven wool bands…e) getting ideas from weaving friends and the fun stuff they have lying around.

I saw a bunch of very long wool tablet-woven bands overflowing from a basket in Annie’s living room. Annie acquired these after a deceased guild member’s belonging were given away at a meeting. Each band is ten feet long. Who knows what the weaver’s intention was for these but I am seeing some kind of interlaced project along the lines of the fabulous weaving bench cover I showed here some weeks ago.

The colors are so rich and appealing. What if these were laid out vertically and interlaced with sandy colored bands running horizontally….oh, yes!

Let me show you what Jennifer Williams, aka inkledpink, made by interlacng some inkle-woven bands…

Jennifer williams inkledpink

So, what do I love about sharing backstrap weaving with people? What’s NOT to love?!


Backstrap Weaving – Encuentro de Tejedores de las Americas – Part Two – the cloth and the looms.

Read Part One of this story here.

ARE YOU GOING TO WEAVE TODAY?

I probably make a thorough nuisance of myself at weaving events like the Encuentro de Tejedores in Cusco Peru earlier this month. I have so many questions and want to be into everything and not miss a thing.

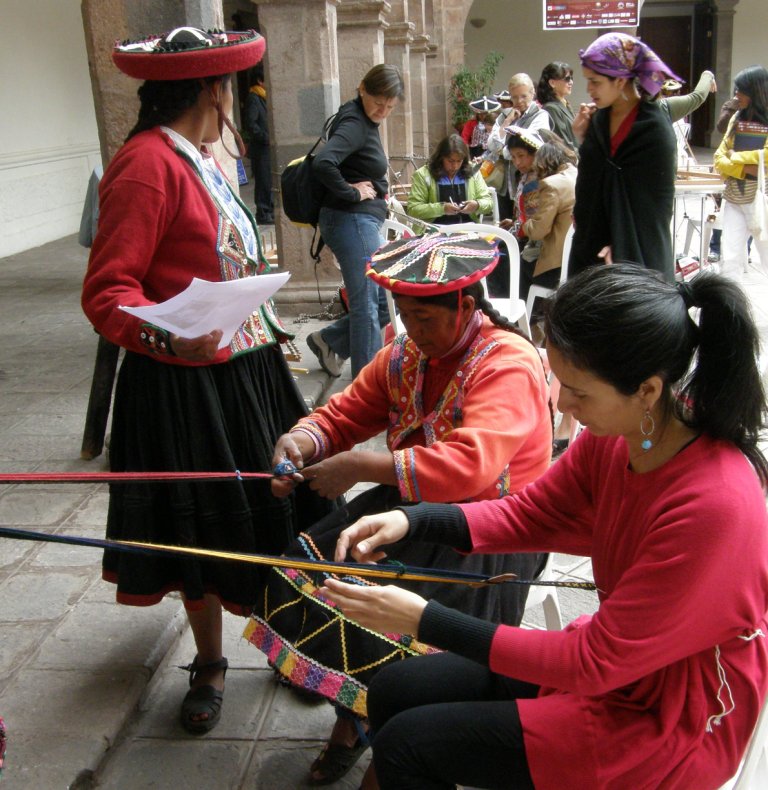
Calm and serene despite being in the very heart of the city of Cusco, the venue for the conference was beautiful both by day and night. There were plenty of pillars to which looms could be attached for weaving displays and shaded areas under the arches where weavers could show their textiles.

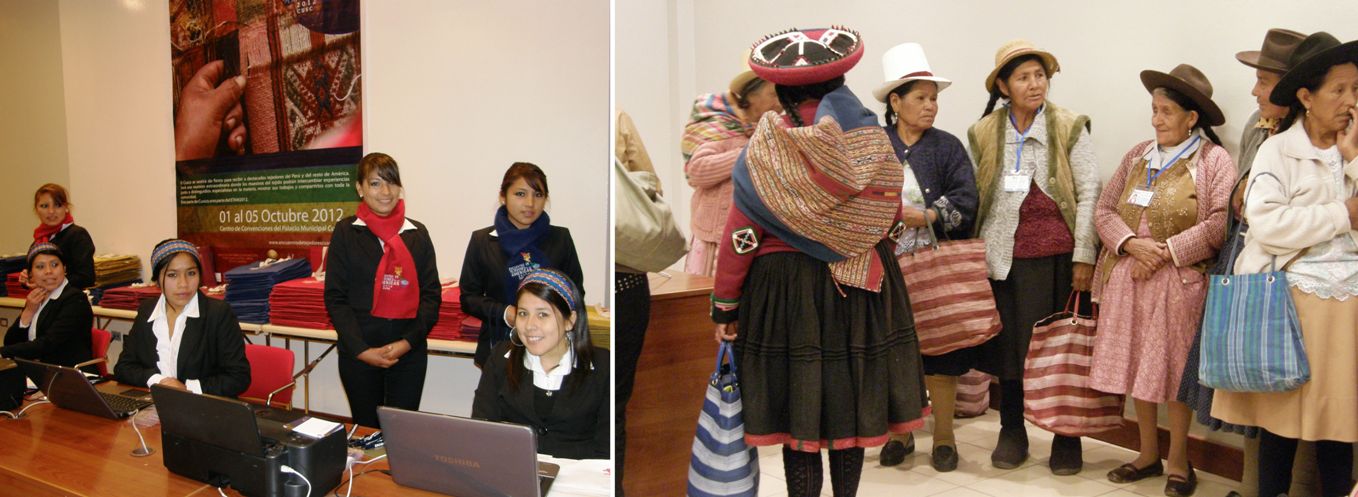
 Bright and early on day one, I registered along with other participants. The receptionists, looking smart in their uniforms with colored conference scarves and headbands, were efficient and clearly trained to be able to handle anything. The whole process was very slick and it was interesting to hear all the different Spanish accents and Quechua being spoken in the line-up of participants from all over Peru and South America. I recognized fondly the accent from Chile where I lived for five years as well as the song of the Argentinean-style of speaking used by my ex-boyfriend and the special way that Bolivian highlanders pronounce “rr”.

I then stepped outside to the courtyard to another world…a buzz of colorful activity… where I watched all the stands being assembled by weavers from all over Peru, Bolivia and Latin America, saw all the marvelous textiles emerging from travel sacks and being arranged and labeled, touched the fiber, tools and implements which were used to create the colorful cloth and spoke with the creators themselves. Some of them seemed somewhat overwhelmed by the high level of interest in and admiration for activities that are quite normal and commonplace, almost passing without remark, in the communities, villages and towns where they live.

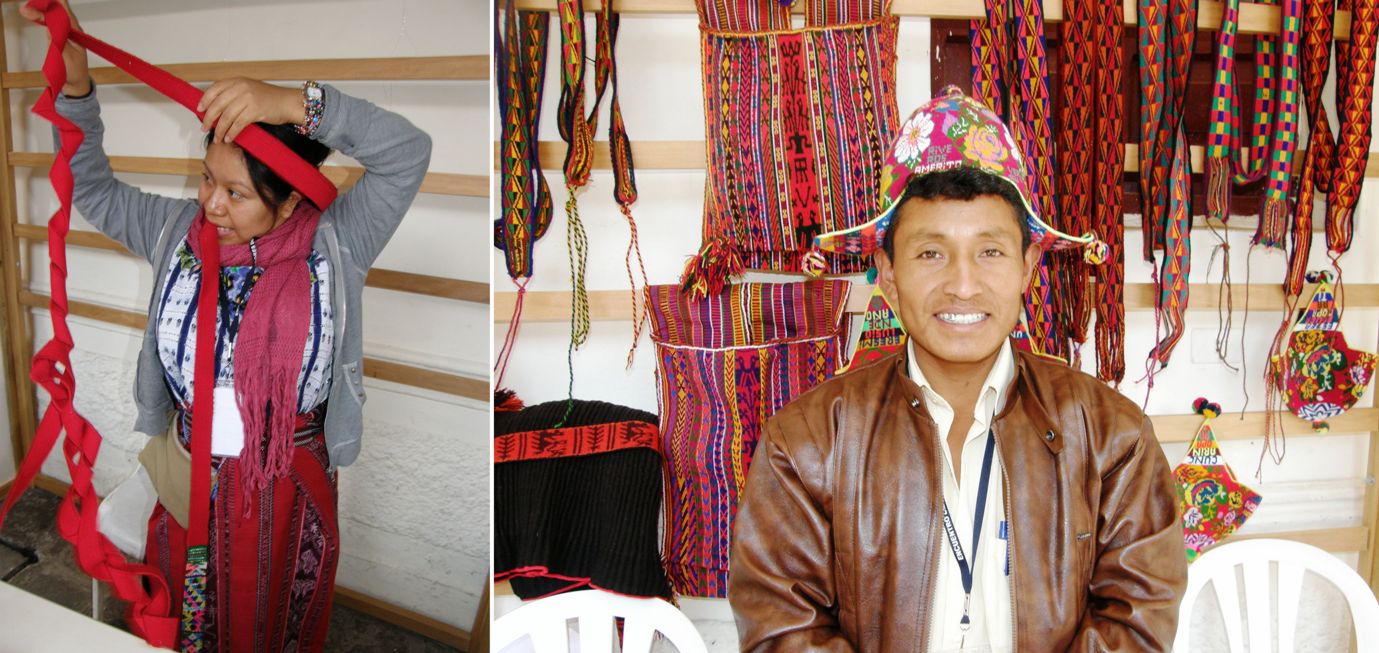
Weavers and knitters from Taquile Island wearing and displaying their textiles and the creators of the wonderful ikat pañones of Tacabamba, Peru

The question that I really wanted to ask everyone right there and then is “Are you going to weave today?” Is today the day when we will get to sit by you and see how you created all these exquisite textiles? And all the while the  excitement is building as I see more and more gorgeous textiles and looms being extracted and arranged. I had already seen at least ten things that I wanted to explore further after having passed just once quickly by each of the twenty-two half-erected stands.

Weavers and spinners from the Navajo Nation, my friend from the Tinkuy, DY, and TahNibaa and Albina from San Ignacio de Loyola showing the crocheted “chullos” and the belt loom full of sticks which is typical of her community. 
The Chol Chol Foundation of Chile was present bringing with them textiles made by the Mapuche weavers that they support including a spectacular ikat- patterned “manta cacique”. Lowland areas of Peru were also well represented with a group of Matsigenka cotton spinners and weavers from Echarate, Bajo Urubamba.

The looms!……

A horizontal loom with a broad belt patterned with double weave and complementary-warp pick-up patterns of Taquile Island and a backstrap loom with a cotton warp-float piece in progress from Echarate.
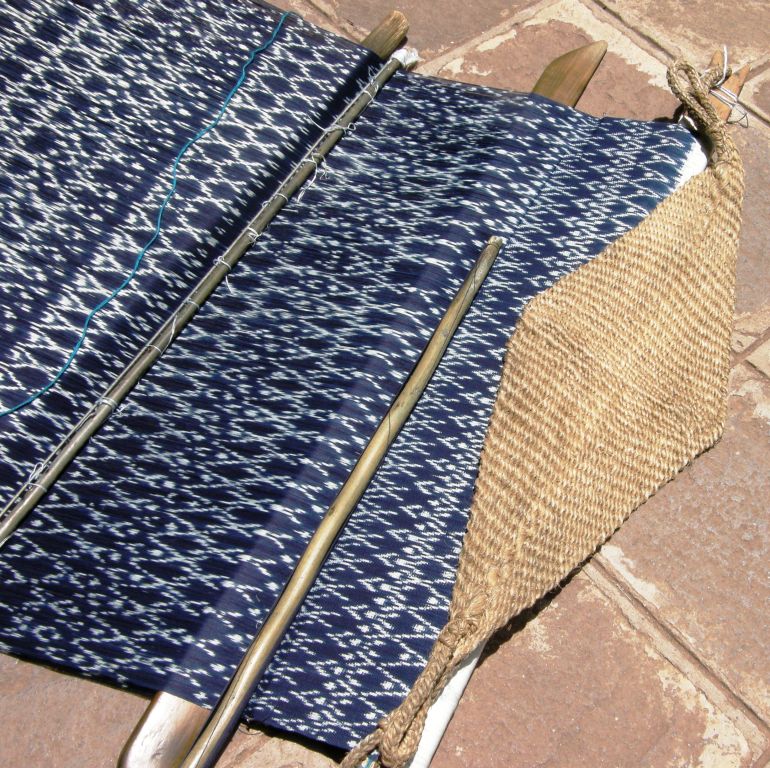
The simple backstrap loom of Tacabamba, Peru on which the indigo ikat-patterned “pañones” are woven.  The process of creating a pañon is anything but simple. They are up to one-meter wide, covered with tiny motifs and have patterns knotted into their fringes.
A floor loom from Ayacucho, Peru with a tapestry in progress and the leaning vertical loom of Tarabuco, Bolivia.
The cotton weavers of Chiclayo managed to preserve their native cotton despite the fact that its cultivation was banned for many years in Peru. The backstrap loom is used to weave their natural brown and white cotton into saddle bags, belts and table ware for their own use. The Guatemalan loom from Santiago Atitlan holds brocaded cotton cloth destined for the typical woman’s blouse or “huipil”. Panels are sewn together and the neckline embroidered with birds.

Wide warps, narrow warps and everything in between… A Tinkipaya weaver’s leaning vertical loom, holding fabric covered n complementary-warp pick-up patterns, rests on the ground. A weaver from Pitumarca speedily edges her finished woven lliclla with a tubular woven band using three sets of string heddles and a shed loop.

A backstrap weaver from Ayacucho, Peru, creates a belt patterned with supplementary warps. She uses a forked stick to hold a secondary cross, the manipulation of which helps her to open the heddle shed quickly and efficiently. The wide backstrap loom parked against the pillar is from Tanta, Peru where handspun alpaca yarn is often combined with bright synthetic threads to make shawls, ponchos and blankets.

And then there was that tantalizing backstrap loom with its twenty-four heddle sticks…Señora Araceli, are you going to weave today?

First Araceli has to make the twenty-four sets of heddles on this fresh warp. The pattern has already been picked up and saved on sticks.

Just before lunchtime one day when we were indoors listening to speakers, I got the uneasy feeling that I really needed to be somewhere. I got up and tip-toed out at the start of the morning’s final presentation by Manos del Uruguay to find Araceli seated and preparing her warp for an afternoon session of weaving.

Well, you know that I am fascinated by the entire process and so I was happy to be able to sit alone with her and watch her make her heddles. I was tickled to see that she makes her heddles with the extra security hitch just as I have chosen to do. I have seen and learned so many ways to make string heddles for backstrap and other kinds of weaving and this method is by far my current favorite. I always say “current” as who knows what cool new method I will find tomorrow.

Here is a short video clip of Araceli making her heddles. She certainly has a smooth and elegant way of doing so. I know some people don’t like making heddles and dread that part of the process…I like it!

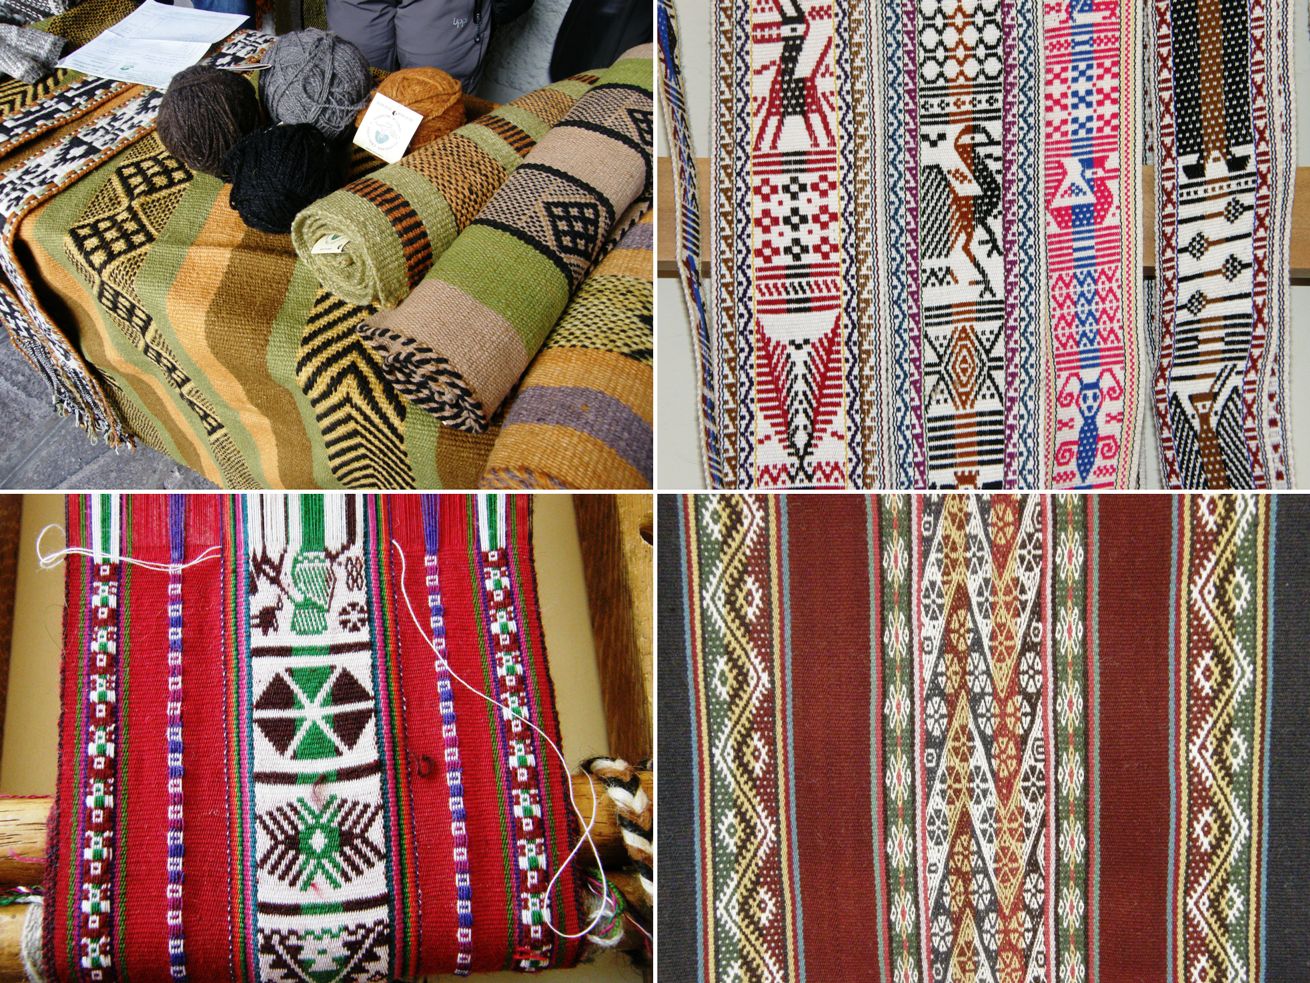
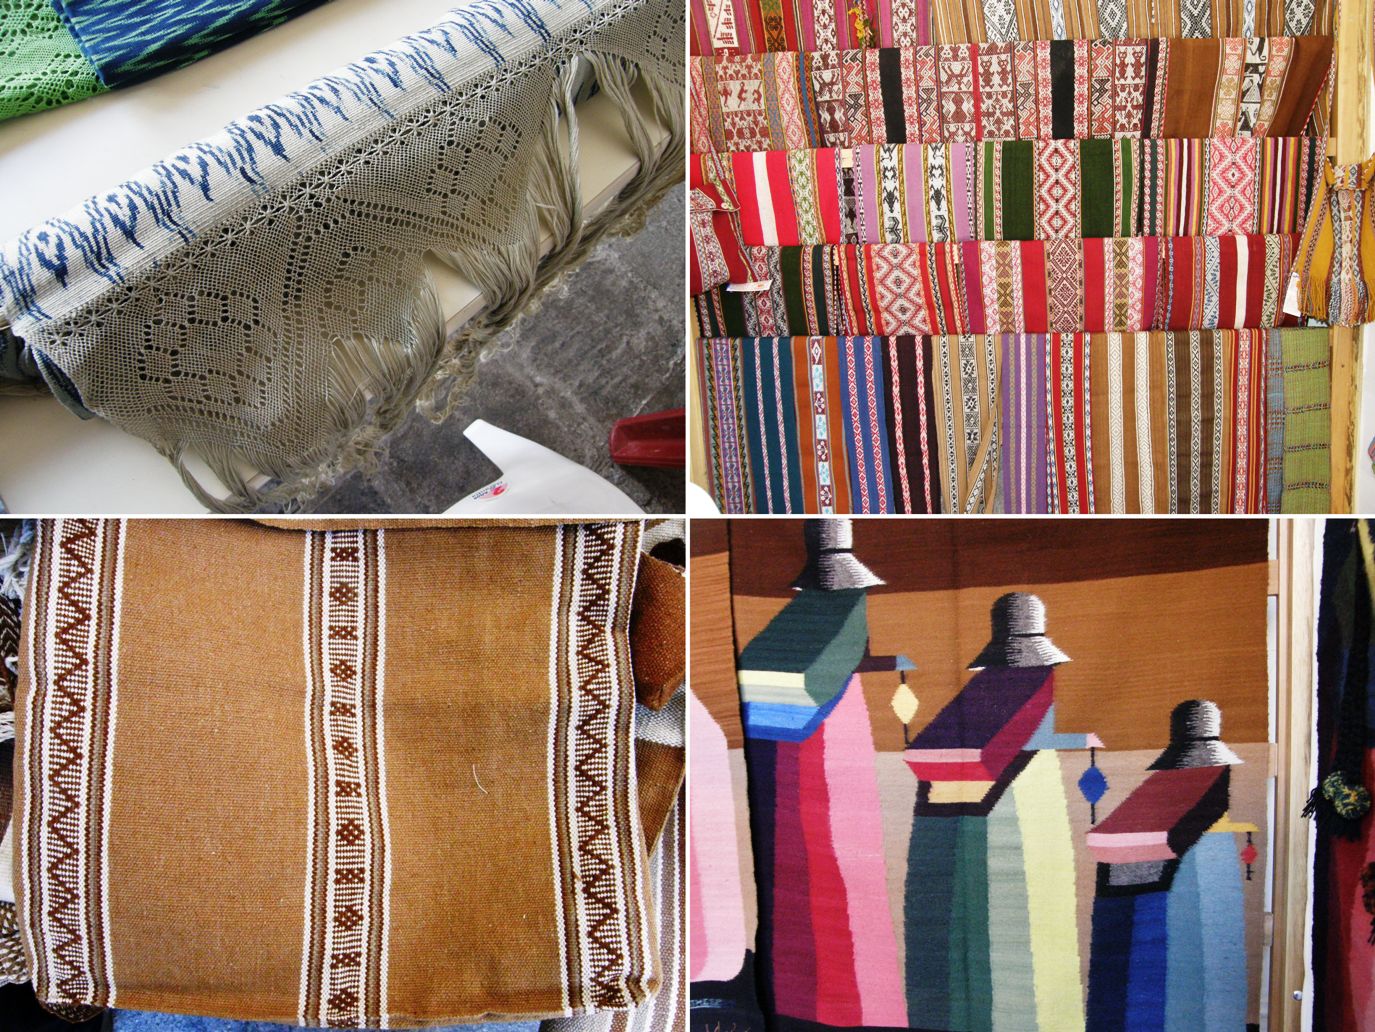
And what about the woven cloth produced by these looms and the pieces produced by talented hands using knotting, braiding and crochet?

Head gear…Crocheted “chullo” from Peru and a woven hatband from Bolivia.

There are four countries represented here….cloth from Mapuche weavers in Chile,  Salasaca, Ecuador,  Taquile Island, Peru and Tinkipaya, Bolivia.

Cloth from different corners of Peru. The variety!

Of course, each piece has its story and it was those stories that we were told in the weavers’ own words in the seminar sessions that were held in the mornings and afternoons. The stories were very inspiring and educational, often with very personal touches which brought life and meaning to the fabric that simply could not be transmitted from the market stall or loom alone. All told of hope, perseverance, strengthening of ethnic identity and a revival of pride in oneself and culture and were often very moving.

The faja sara ( the one created with the twenty-four string heddles) has its own fascinating story. It is part of an unbroken weaving tradition that dates back at least 500 years to Incan times. The belt is described in the chronicles of Mercedarian Friar Martín de Murúa in 1590 A.D. and the knowledge of how to create one has been passed on ancestrally over all these years.

Lynn Meisch has written an article about her research on these belts here. We were told by the weavers that the name “sara’ comes from the verb ”sarear”, although I have never come across this verb before, which means to choose, or in a weaving context,  to pick-up.

Interesting to me from a structural point of view is the rolled edge of the belts which is surprisingly easy to create. I am guessing that it serves the same purpose as the woven bands I have seen added to other textiles in that it strengthens the edge. When I was in Holland, Marijke van Epen and I followed Mirja Wark’s explanation of the rolled edge used by the Wayuu people of the Guajira Peninsula in Colombia and Venezuela and the way the weavers of the sara belts create theirs is equally as interesting and practical.

Here is Araceli in action with a band of spectators. When doubt was expressed by the onlookers about the quality of the cloth since Araceli does not use a ruki, the llama bone tool, to beat in her weft, Araceli immediately invited them all to feel the belt. They were all surprised and impressed by the firmness of the weave. It is a very dense piece of weaving.

The poncho shown above is from Catamarca Argentina and represents the recovery of the exquisitely fine work done with handspun vicuña fiber on floor looms which has the made the poncho Catamarqueño famous for centuries.

Two people weave the pieces side by side and have to coordinate the strength of their beat perfectly to maintain a consistent weave. With the fine vicuña thread a piece that measures 2 meters by 1.30 meters weighs only 320 grams and takes up to eight months to complete.

Fine vicuña shawls are also woven and embroidered using designs copied from old colonial textiles.

We had a chance one afternoon to handle and clean pieces of vicuna fiber and everyone was invited to try their hand at spinning it on the  25cm spindles.

More cloth…..

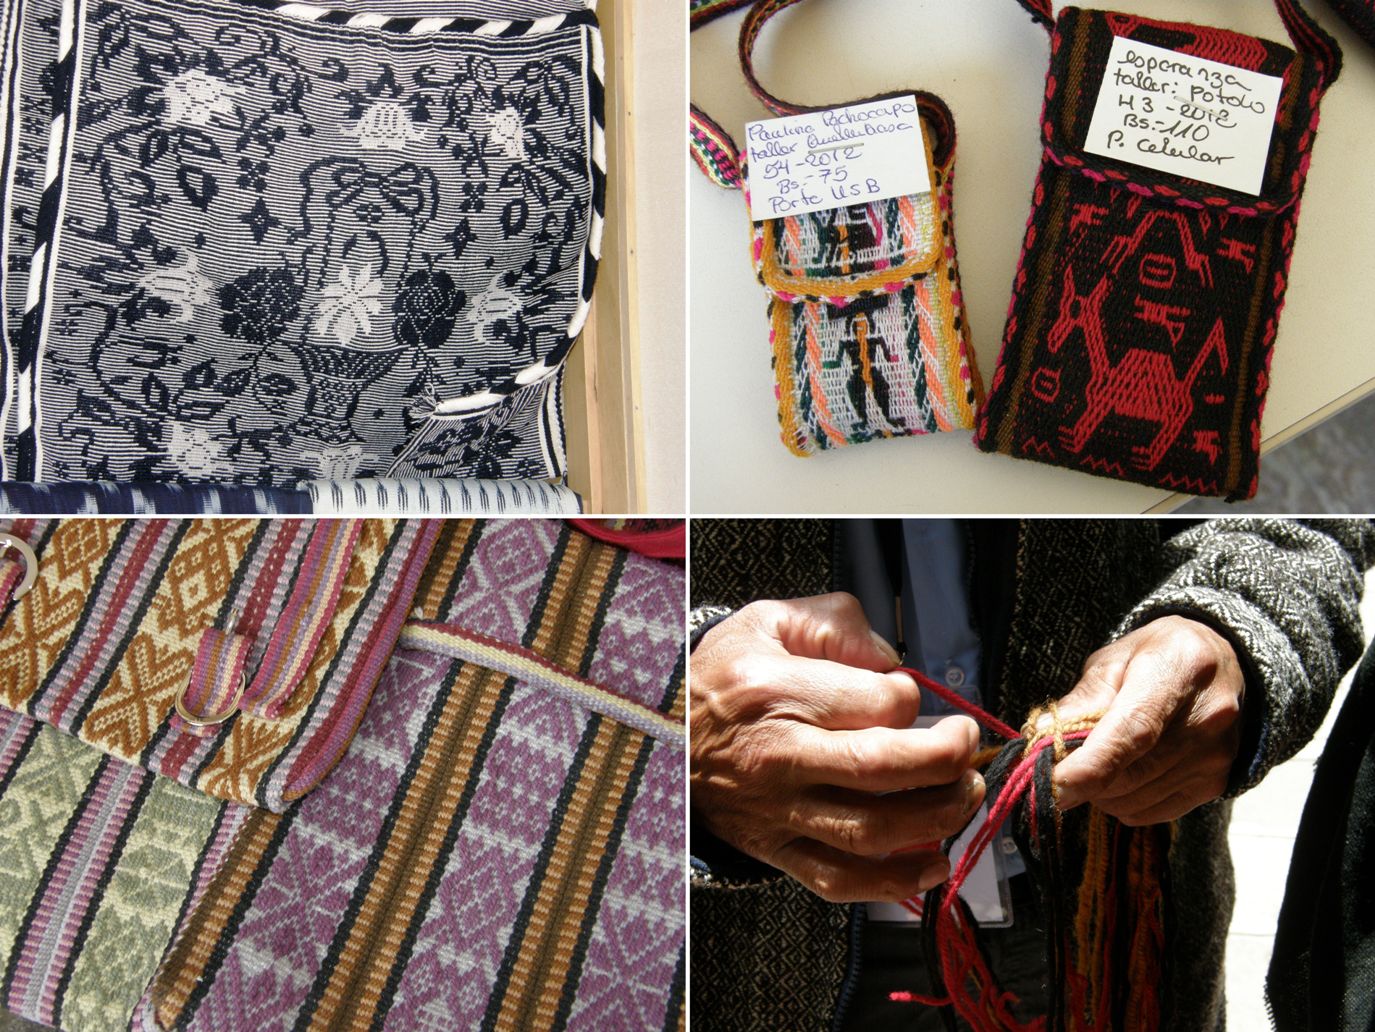
…. a bulsico , or cotton double-pocket saddle bag from San Ignacio de Loyola with beautiful patterns in simple warp floats worked in two colors. The weavers from Tarabuco and Potolo in Bolivia of course brought large fine examples of their textiles. I decided to show you here some very small and practical pieces that they also brought to sell. The tiny USB pouch is from Tarabuco and the cell phone pouch with its woven khuru figures is from Potolo.

The supplementary-warp patterned pieces in lovely pastel colors are from Ayacucho, Peru and the last shot is of an impromptu sling-braiding demonstration from one of the Peruvian presenters in the coffee break.

More lessons along the way…

Diana from Santiago Atitlan in Guatemala showed me how to wrap her hair and head with a woven hair sash. You can see that most of the band is plain red with just the last part, which will be seen on the outside, decorated with pattern. Albina’s husband showed me how married men wear the typical chullo of his home…with the flaps standing out sideways. A single man will wear his with the flaps pointing out front and back.

So, now you have seen a selection of the stands, looms and textiles and heard a few backgroud tidbits about some of the weavings and the people who produce them. You are probably dying now to see the weavers in action, right?

ARE YOU GOING TO WEAVE TODAY?

Sorry, but I am saving that segment for the next blog post as uploading the video will be so much easier for me when I am in the US.

In the meantime I am packed and ready to leave tomorrow and I did manage to finish the discontinuous warp piece that I started in the workshop on the last day of the Encuentro. Handling alpaca fiber is not a nice business in this heat with sweaty hands, I can tell you!

Here is my ticlla piece off the loom and all curled up…

The overspun alpaca yarn made the grey and black panels curl in and the other two panels curl under. You can see my finish line on the white panel. I ended up removing one weft as I had packed too many in. I really need to remove two as now I have two wefts in the same shed. The finish line isn’t as noticeable on the other panels. I am really pleased with this!

I wove and sewed on a tubular band to the edges….… in the same way as the Pitumarca weaver that I showed earlier in this post, using three sets of string heddles and a shed loop. See how nicely the piece lies flat now? I hemmed the sides before applying the tubular band because I didn’t like the way the warp stripe at the edge was interfering with the color of the tubular band.

Here’s a better look at the tubular band and that lovely dovetail join of colors…

Done! I am keen to try this all again!

See you next time from the US 🙂

Backstrap Weaving – Encuentro de Tejedores de Las Americas – Part One – The Workshop

Back from Cusco!

Bleary-eyed from the long road trip and slightly spinning out from the altitude, I had a little time to wander the streets of Cusco on the Sunday of my arrival before the start of the weavers’conference on October 1. The trip from my home to my hostel had involved fourteen changes of transport including an overnight bus ride, the highlight of which was watching the big ol’ yellow harvest moon rising over Lake Titicaca. Stunning! I don’t think I have ever seen such an intensely bright moon before.

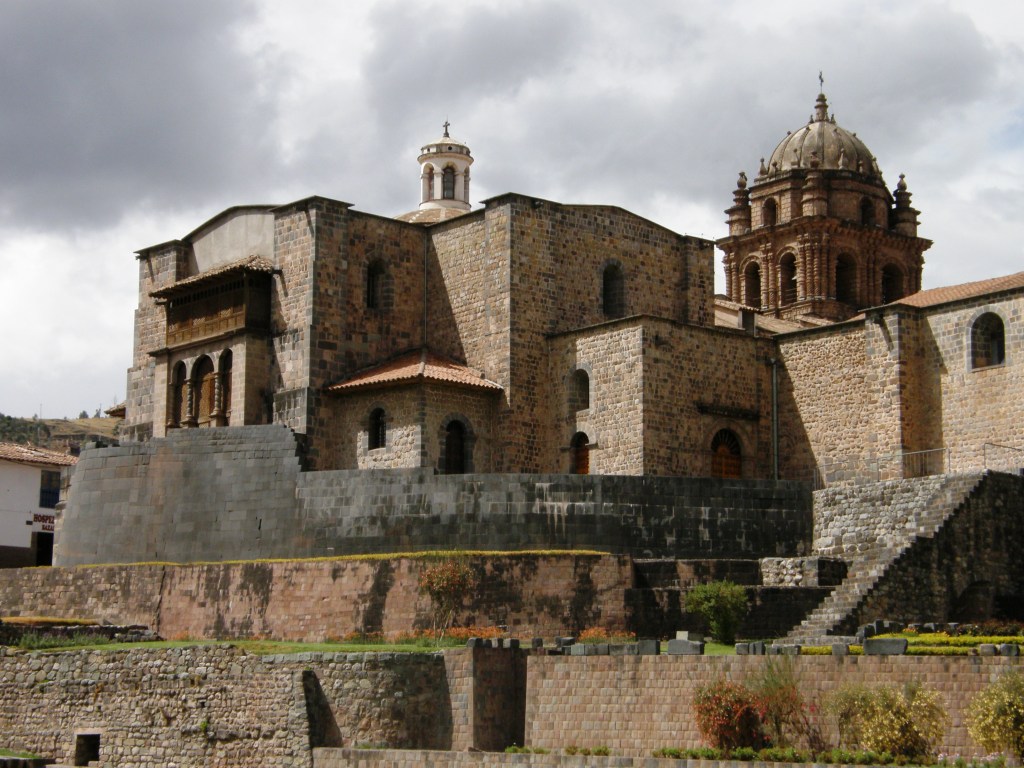
Needless to say, there is plenty to tell about that journey and my first hours in town but it will all have to wait.  Of course a trip to the CTTC (Centro de Textiles Tradicionales de Cusco) was a must. The walk down to the CTTC is impressive in itself. It sits right next to this…

This is the church of Santo Domingo built by the Spanish colonists on top of the stonework foundations of the demolished Inca temple Qorikancha. The inca stonework has apparently survived earthquakes which the Spanish construction was not able to withstand.

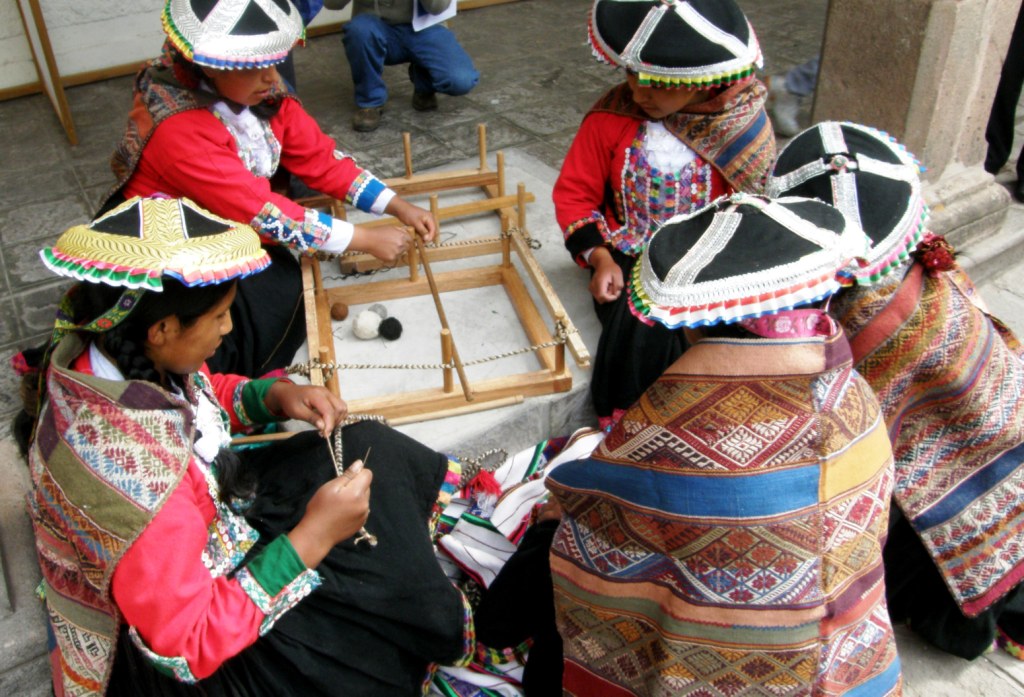
The CTTC is one of those strange and wonderful black holes where you lose all sense of time! I sat with the weavers all afternoon and learned so much. A weaver from Chahuaytire let me sit by and watch while she wove and sewed a tubular band to the edge of a finished weaving. You can see how a thread toward the end of the cloth extends to her toe which helps the weaver hold the cloth taut as she sews.

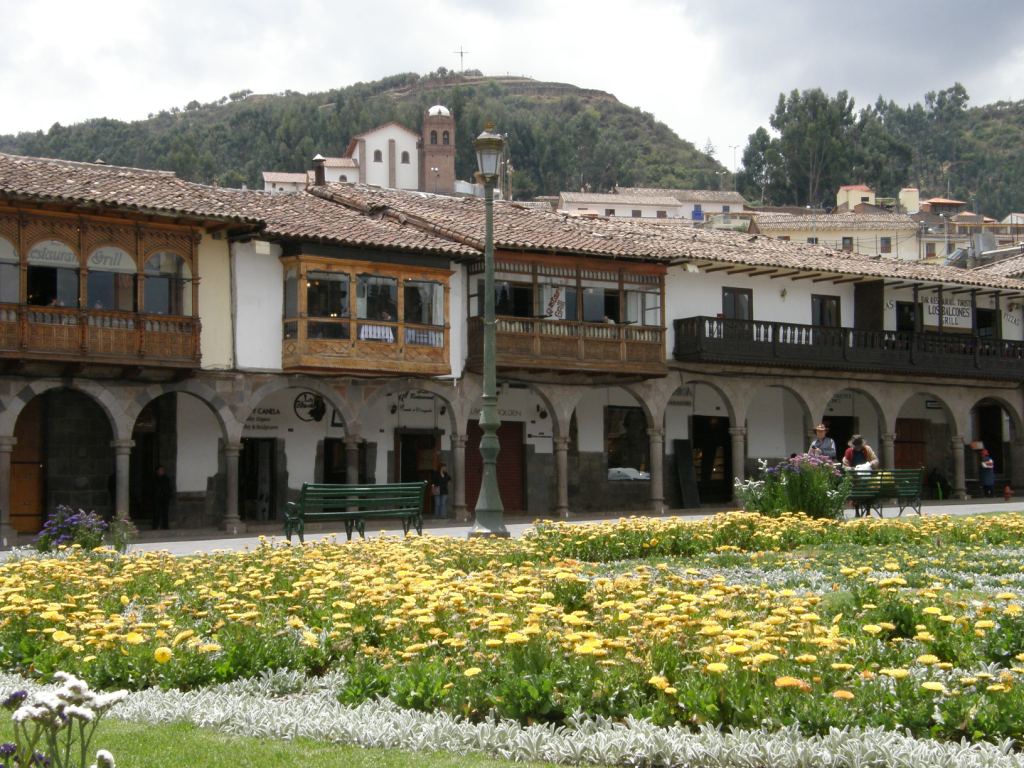
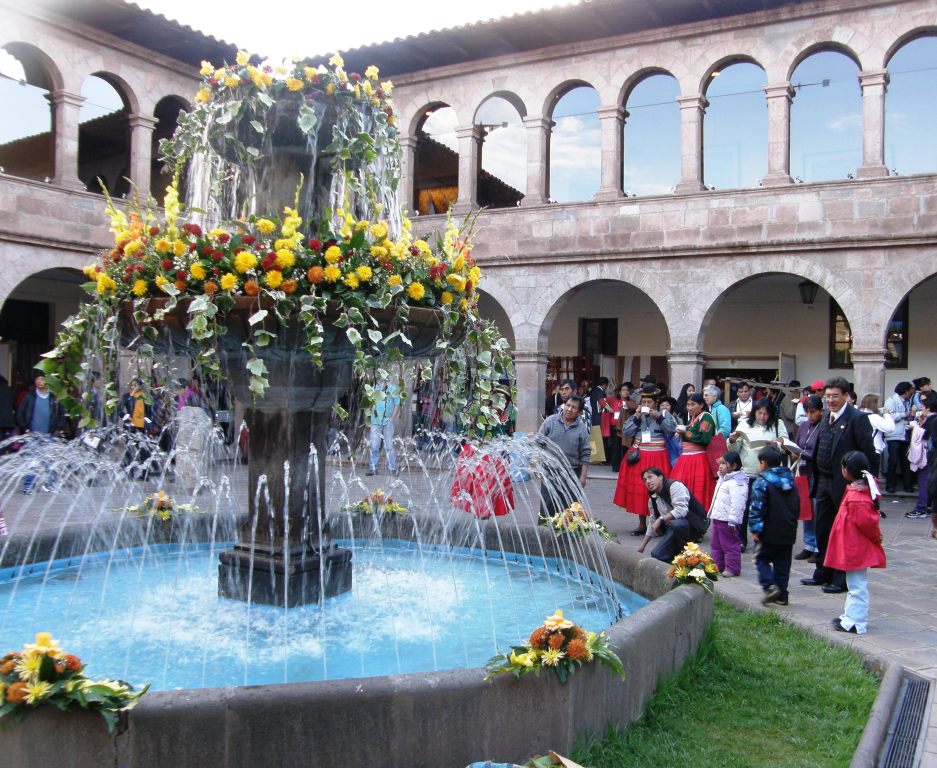
Eventually, fatigue started to set in and I spent a little while in the evening trying not to nod off in the pleasant flower-laden main square of Cusco before admitting defeat and crawling into bed. I had no trouble sleeping in my cheapo “party hostel” in a room with seven strangers!

But back to the present for a moment….I had fully expected to slip back into the old routine when I got back home late last Sunday. I thought that I would have no problem spending a couple of days going through and editing my pictures from The Encuentro de Tejedores de las Americas and that I would get my blog post out on Thursday night as usual. You would think that I would be bouncing around with energy with all those rich red blood cells that I must have grown during my week up at high altitude. Unfortunately it doesn’t work that way!  I was tired after the week of intense activity and the long road trip back and very much wilted by the Santa Cruz heat.

However, the thing that was most to blame for my failure to get back on track quickly was this…

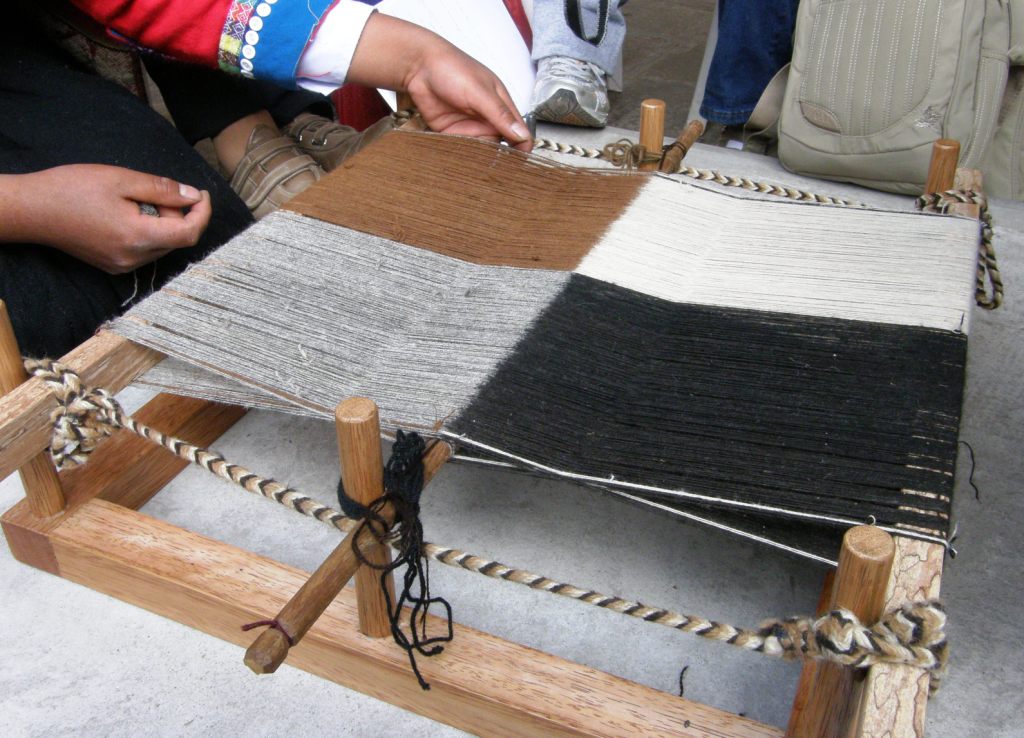
This is one my favorite souvenirs of the trip… the piece on which I worked on the last day of the conference which was Workshop Day. The weaving technique is called ticlla, or, discontinuous warp, and it allows changes of color along the length of the warp.  As you can see above, the piece is divided into panels of color along its length. The white panel changes to black and the grey to brown. Both halves of the piece, that is, the grey and white and the black and brown, will be woven with four selvedges.

It was very exciting arriving on Friday morning and seeing these sitting on the table…..and yes, I was the first one to get there!

And there were our teachers from Pitumarca sitting in conference, possibly reviewing some teaching strategies, each wearing a stunning lliclla decorated with pick-up patterns on panels of discontinuous warps. If you think that they look very young, you are right! Our two instructors, Janet and Petra are twenty-two and eighteen years old. Janet has been weaving for fourteen years and started weaving ticlla when she was twelve.

We were split into groups and Janet and Petra showed my group the warping process. This process of warping is something that I had only ever seen in pictures some of which, like the one below, had been taken and sent to me by my friend DY when she visited Pitumarca in 2010.

The pictures were enough for me to be able to make some small experiments of my own with this technique at home but there is, of course, nothing like seeing the whole thing unfold before your eyes. How much nicer and simpler it is when there are two pairs of hands at work! I warped three panels on my own at home and had to call several toes into use to hold tension on warps of one color while my two hands worked with warps in another color.

Janet, the more talkative of our two instructors, explained that the natural alpaca colors that we were using are called yoro (white), ch’umpi (brown), o’que (grey) and yana (black) in Quechua. How deftly the two ladies passed the balls of yarn back and forth falling naturally into a rhythm which they were able to maintain even as we plied them with questions.

Black and grey warp threads are being wound simultaneously with each color following its own figure-eight path. They are passed in turn around a central rod in dovetail fashion. This allows the creation of panels of different colors. Each half of the piece will have its own shed rod and set of heddles and will be woven with four selvedges.

While we watched the creation of this warp, other ladies from Pitumarca were busy setting up the prepared warps on which each of us would weave. We stood up from the demonstration to find twelve warps stretched out and ready to go.

The pretty courtyard of the convention center was conveniently surrounded by pillars to which we could attach our looms.

And now you will find that there is a sudden lack of photographs on my part…I was far too absorbed in my weaving to stop and take pictures! Here’s one I took on a short break…nearby, weavers from Chinchero were giving a workshop on making jakimas with pick-up patterns.

Above you can see a couple of jakima students with their instructor. Beyond them you can see my “pillar partner”, Marcela with the head scarf and cloak of her Mapuche people in Chile. There is something special about sitting all day and weaving next to someone who shares your passion. The preceding four days of conference had been hectic…so much to see and do. This last day allowed us all to slow down and take some time to talk and get to know each other while working at our looms. Janet had to come and pry us out of our chairs to take a lunch break.

The discontinuous warp piece had been started with a few rows of weaving at each loom bar as well as at the center cord that held the dovetailed warps.  Therefore, the four selvedges on each half of the piece had been set. Our task, therefore, was to weave to fill in the gap between the loom bar and the center.  As the gap got smaller and smaller, naturally it became increasingly difficult to open the sheds and pass the weft. The later part of the afternoon session of the workshop was spent watching a demonstration of how to go about creating sheds and passing the weft as the space in which to work decreased.

I have to tell you that there are no secrets or magic solutions to this…it’s simply a matter of plain old determination, tenacity and patience. When the shed rod is too big for the small space in which you are working, replace it with a thinner one. When the shuttle is too thick for the shed you are creating, pass the weft on a needle. When it is impossible to open the shed by pulling on the heddle rod, remove the heddles and rod and create the shed thread by thread with the blunt end of the needle. Save the shed on a stick and then pass two wefts…one on the each side of the gap.

Plod along like this and you will slowly but surely get there!

By the way, I was not happy at first about having to use brown weft to weave the grey and white panels as the brown could be seen slightly between the white warps. However, once I got to the needle-weaving stage I was very grateful to have that contrasting color weft as it clearly showed me under which warps I needed to pass the needle. It is much harder to see the warps for needle-picking in the grey section than in the white. I am guessing that doing the other half (the black and brown one) is going to be REALLY tough as the black will be hard to see and I won’t have the benefit of contrasting color weft in the brown section…oh boy.

Here I was at home on Monday inching my way to closing the gap. The metal rod is a long Navajo weaving tool that I have that came in very handy with its flattened shovel-like nose. It held the shed open while I passed the two wefts on the needles.When that rod became too thick for the shed, I changed to an umbrella rib. It was all guess work and experiments at this stage as Janet did not get to this point in our class. We ran out of time.

The final weft went in alone on a needle…over, under, over, under. It’s funny that I had expected the finish area to be noticeable because the wefts would not be as tightly packed as they are in the rest of the piece. As it turns out, it is exactly the opposite! I packed in too many wefts in the gap and that part is more tightly woven than the rest! Do I dare undo all that hard work and remove two wefts? I don’t think so!!

Now to attack the other side. I have high hopes of finishing this before I leave for the US next Wednesday. I want to attach a patterned tubular band around the piece.

Here is a video of Janet showing her skill with the needle as she teaches us how to go picking up the warps to create a shed…

So that was the Workshop Day. What about the rest of the conference? Oh my gosh…I have SO much to show and tell but this is enough for this first installment…my loom is calling as well as prep for my US trip. I plan to write more before I leave about….

one meter-wide backstrap woven pieces, backstrap looms with 24 heddles, gorgeous ponchos made from handspun vicuña fiber, cotton ikat-patterned shawls with intricate knotted fringes, double weave on horizontal looms, Tinkipaya weavings, cotton weavers from the lowlands dyeing their yarn with strange and amazing substances, all kinds of ways to set up and operate backstrap looms and make string heddles, tapestries from Ayacucho, new books…. and lots of weavers, wonderful weavers interacting and learning from each other! I met some of my blog followers from Chile and Argentina…what fun!

A couple of pictures to finish…I can’t resist!…a weaver and spinner from Puno, Peru shows Navajo weaver and spinner DY Begay how to spin yarn “Puno style” using DY’s Navajo spindle. This created a lot of laughter and fun…hand movements and sound effects overcame all language barriers.

After another long day, a weaver from Tinkipaya, Bolivia who uses a leaning vertical loom, contemplates the backstrap loom with its twenty-four string heddles used to weave the traditional belt of San Ignacio de Loyola, Peru. More about that next time! I wonder what she was thinking.

Backstrap Weaving – From Santa Cruz to Santa Cruz

Guess where…

I seem to be really lucky when I go to San Francisco and get mist-free morning views of the bridge.

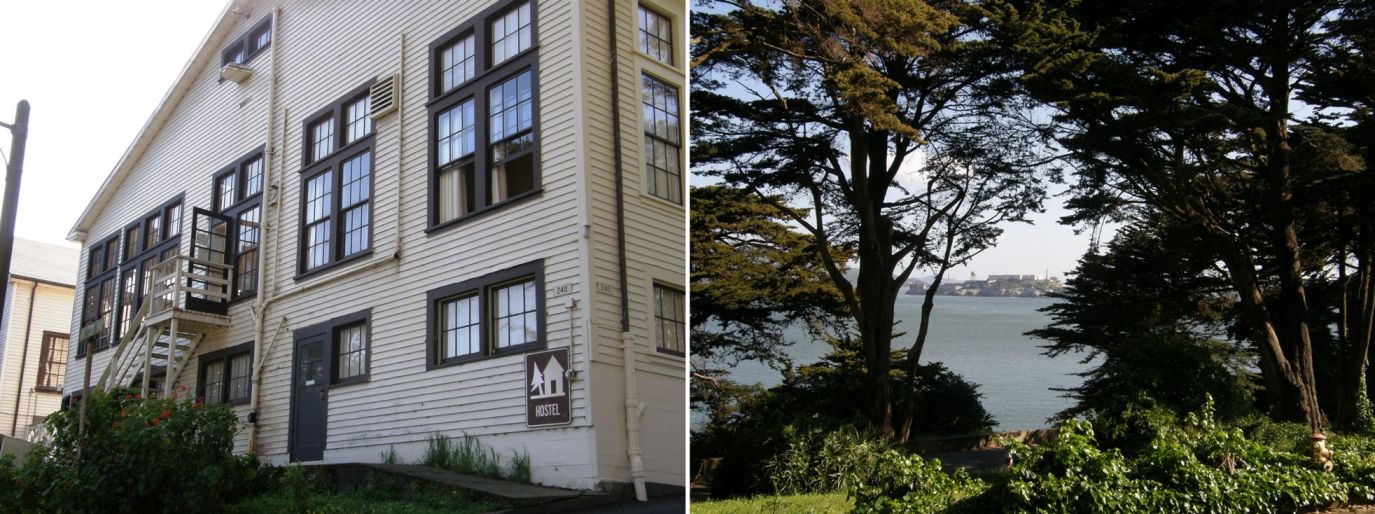
 I spent a night here at the Fort Mason Youth Hostel…what a great place, quite a change from the downtown hostel where I have stayed before. Actually, I stayed at this same hostel way back in 1992 on the first day of a 7-month backpacking and hiking tour of the US. Phew! That takes me back!

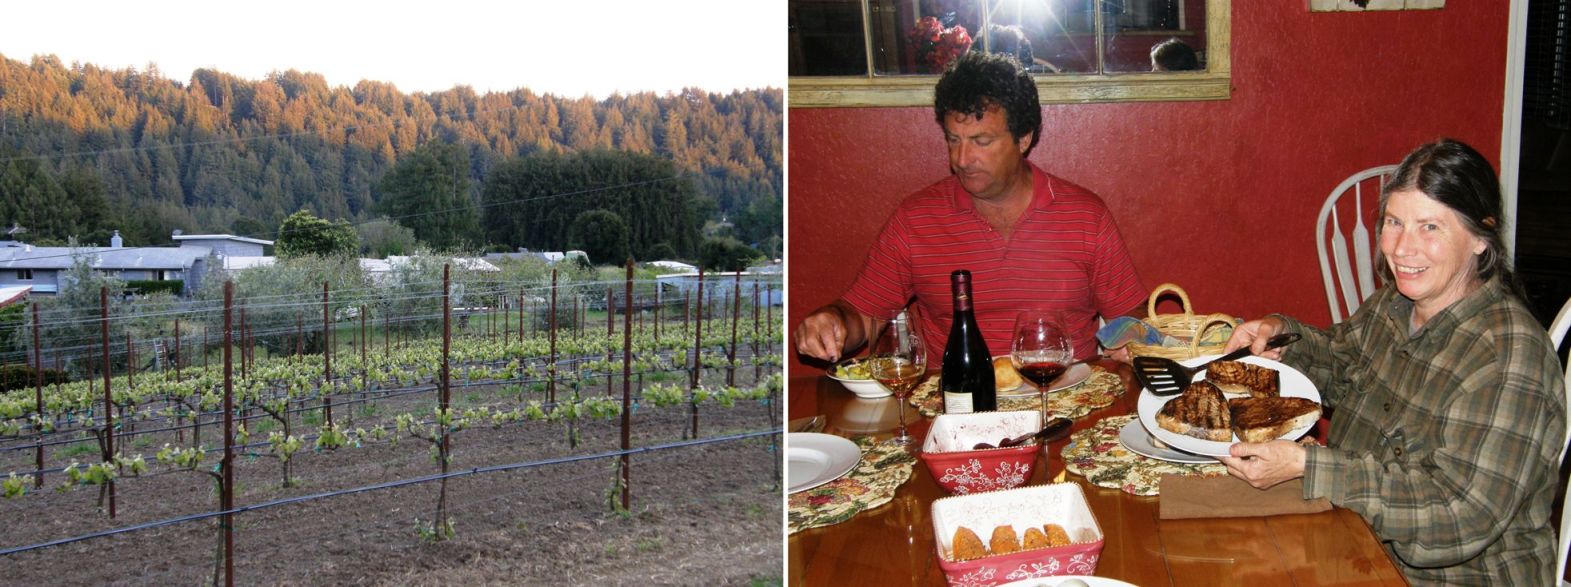
My friend Janet picked me up and we headed down south to Santa Cruz (yep, from Santa Cruz Bolivia to Santa Cruz CA) to stay with Janet’s cousin on the winery that she and her husband own. Lucky us, except that neither Janet nor I are wine drinkers! But we got to enjoy the beautiful landscape.The winery is perched on a hill surrounded by Redwood forest and has sweeping views down to the ocean and across the bay to Monterey which are especially nice when viewed from the hot tub 🙂

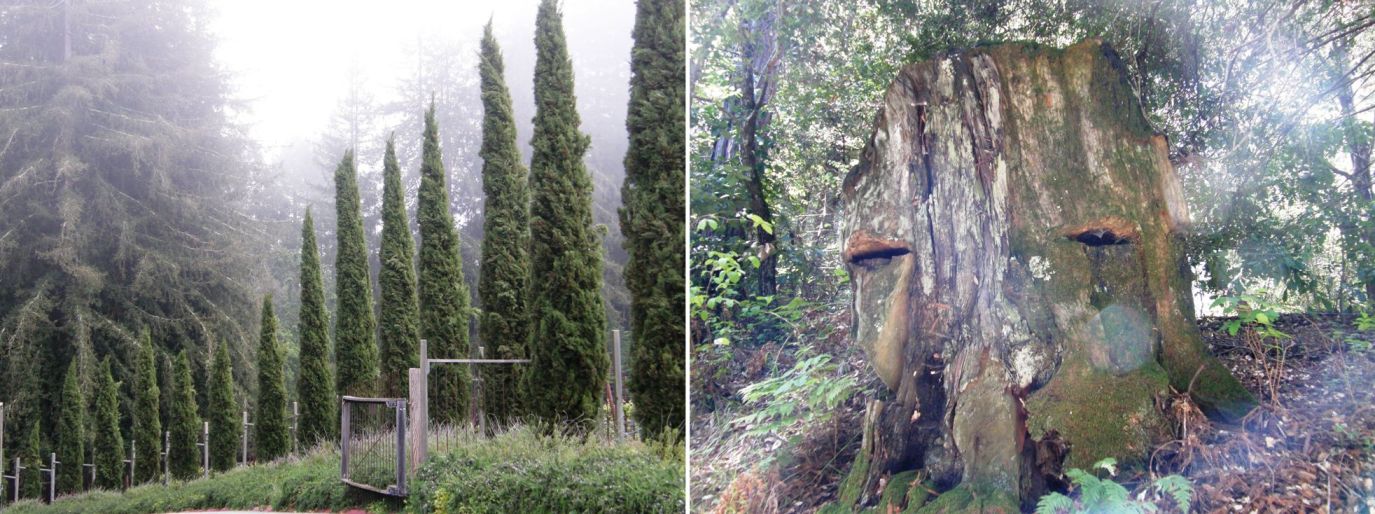
Eerie morning mists with weird faces emerging from the Redwoods.

The mists would rise to reveal Suzie’s pretty flower-laden patio which had a lovely Mediterranean feel. (or at least what I would imagine it to be. It is one of my dreams to be on the Mediterranean, perhaps Malta or some place like that).

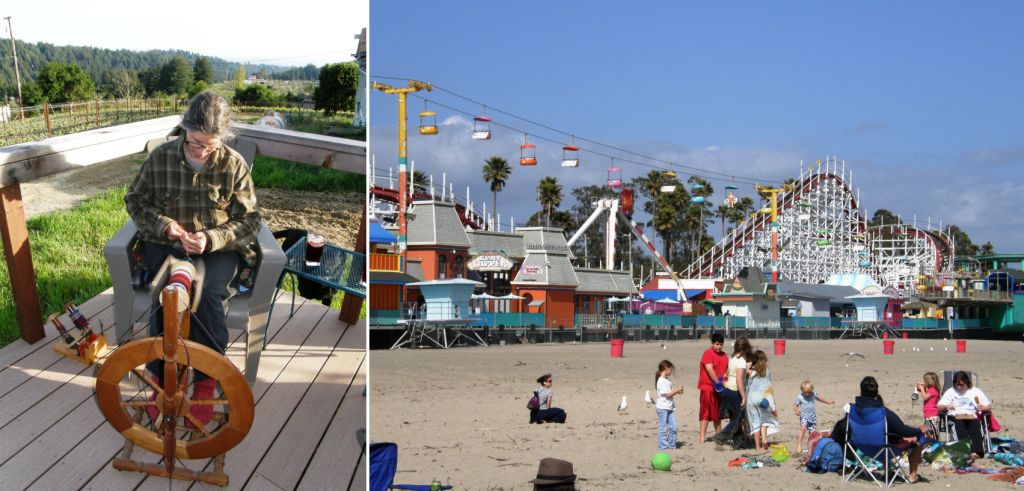
Sunny afternoons were spent spinning and lazing on the porch or hanging out  at the beach and Santa Cruz Boardwalk. The Boardwalk has a fantastic old carousel.

The sunsets brought a gentle glow and we sure enjoyed the swordfish steaks.

Forgive me but I just had to include this next picture. I am a cat person and usually don’t care at all for the small yappy dogs but these two guys were just adorable!

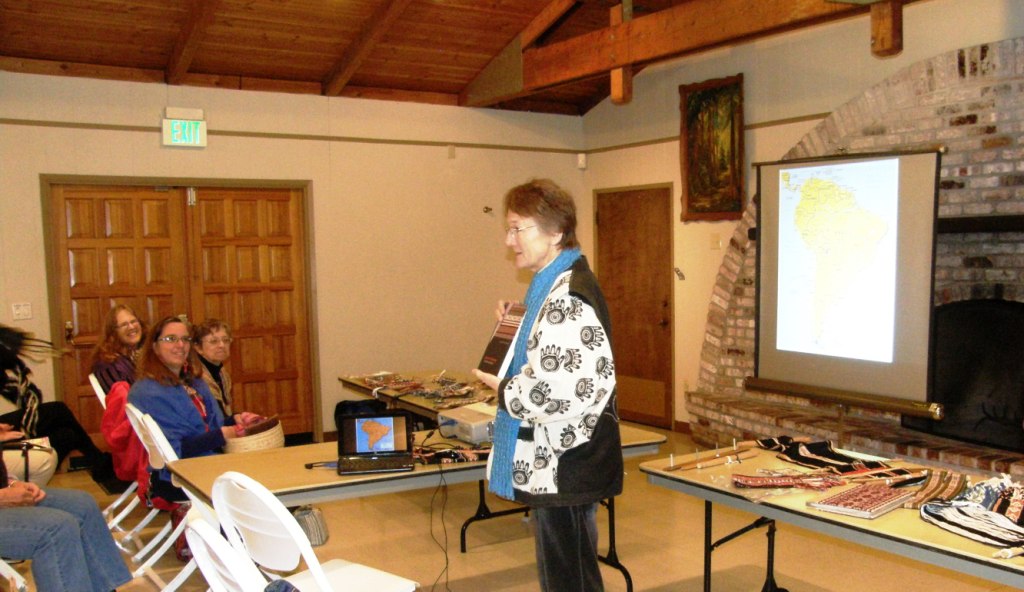
Then it was on to a visit with the Santa Cruz Handweavers Guild for a show-and-tell by members and a slide show by me.

Here, guild president Gudrun is showing her husband’s newly published book called “Quantum Computing” for which he chose to use images of her beautiful card-woven bands on the cover.

My slide presentation took people on a wee tour of the Bolivian high and lowlands, around the continent and then deep into the textiles, and my experiences learning to weave them. At the same time I got the chance to get reacquainted with some people I had met at CNCH last year as well as meet a lot of new folks.

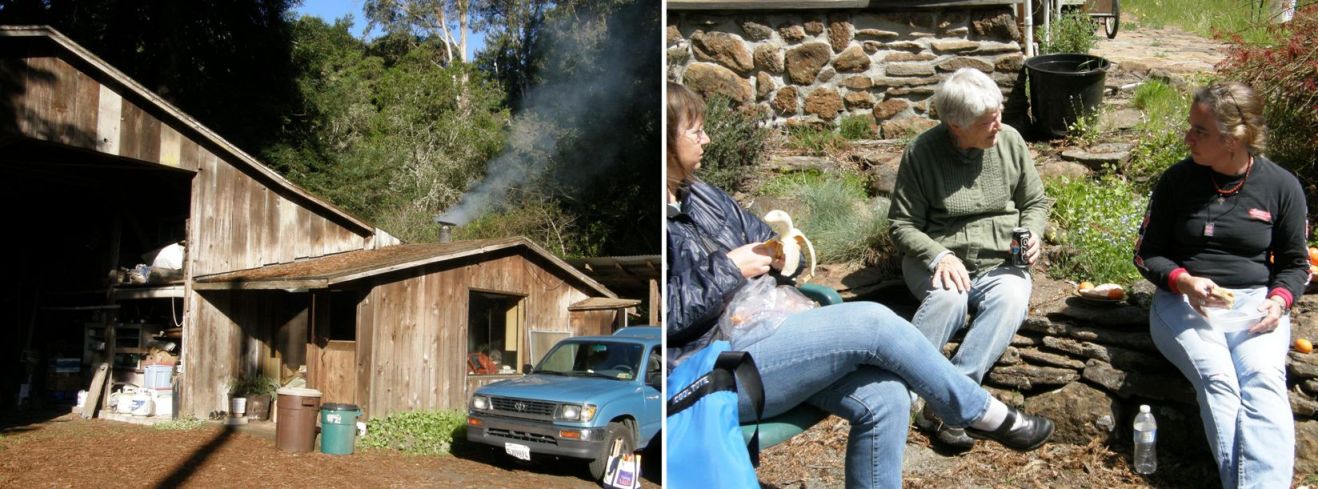
The following three days were spent weaving at Martha’s beautiful cabin in the woods. That little cabin with the smoke curling out of the chimney warmly greeted us each morning. Martha would join us and entertain us with her tales in her sunny garden for our lunch breaks.

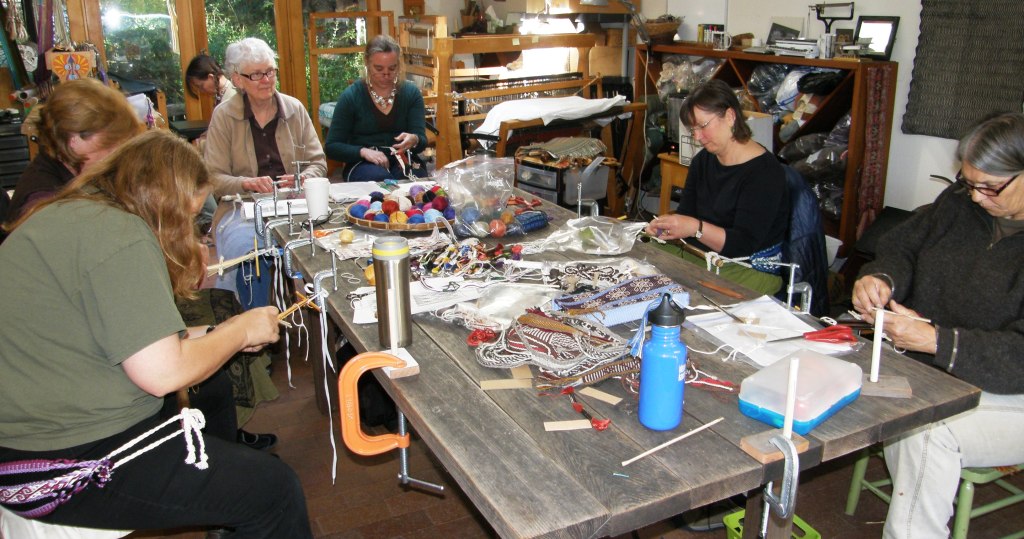
And here’s the gang of backstrap weavers and then with Martha popping in to make a matching bookend with me.

And yes, we did some weaving too. There is everyone “banding together”.

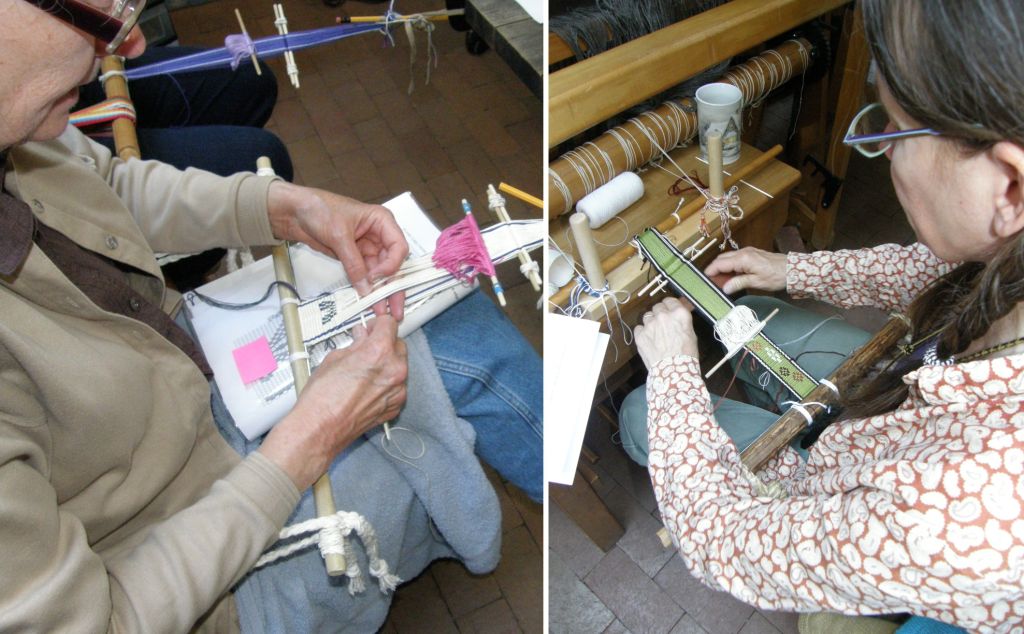
We wove “barefoot“-style and later with loom bars. Annie was happy to get to use a loom that she had bought in Guatemala as well as one of her own woven sashes as a backstrap.  Yonat, above right, dove straight in and warped up for the widest motif. Ingrid, with hat, is practicing four-stake warping. That’s Ingrid Crickmore whom I met at CNCH last year. Ingrid is into all things braided and was using her pieces as loom ties during the workshop. The best news is that she has a blog with tutorials on loop braiding and will soon be adding video.

There’s Yonat on the left and Janet. We got to work with Janet’s handspun on day three when she also gave a combing and spinning demo with special tips for spinning for backstrap weaving and everyone loved her yarn.

Smiles from Dorothy and Annie, some “aha”s and a brow furrowed with concentration.

What was interesting and educational for me was the way people chose their colors and placed their designs…no two were alike. I get to learn too in these situations and I have some new color combinations circling in my mind. A friend had asked me to make him a guitar strap with southwest colors and, thanks to Janet, I now have the perfect combo.

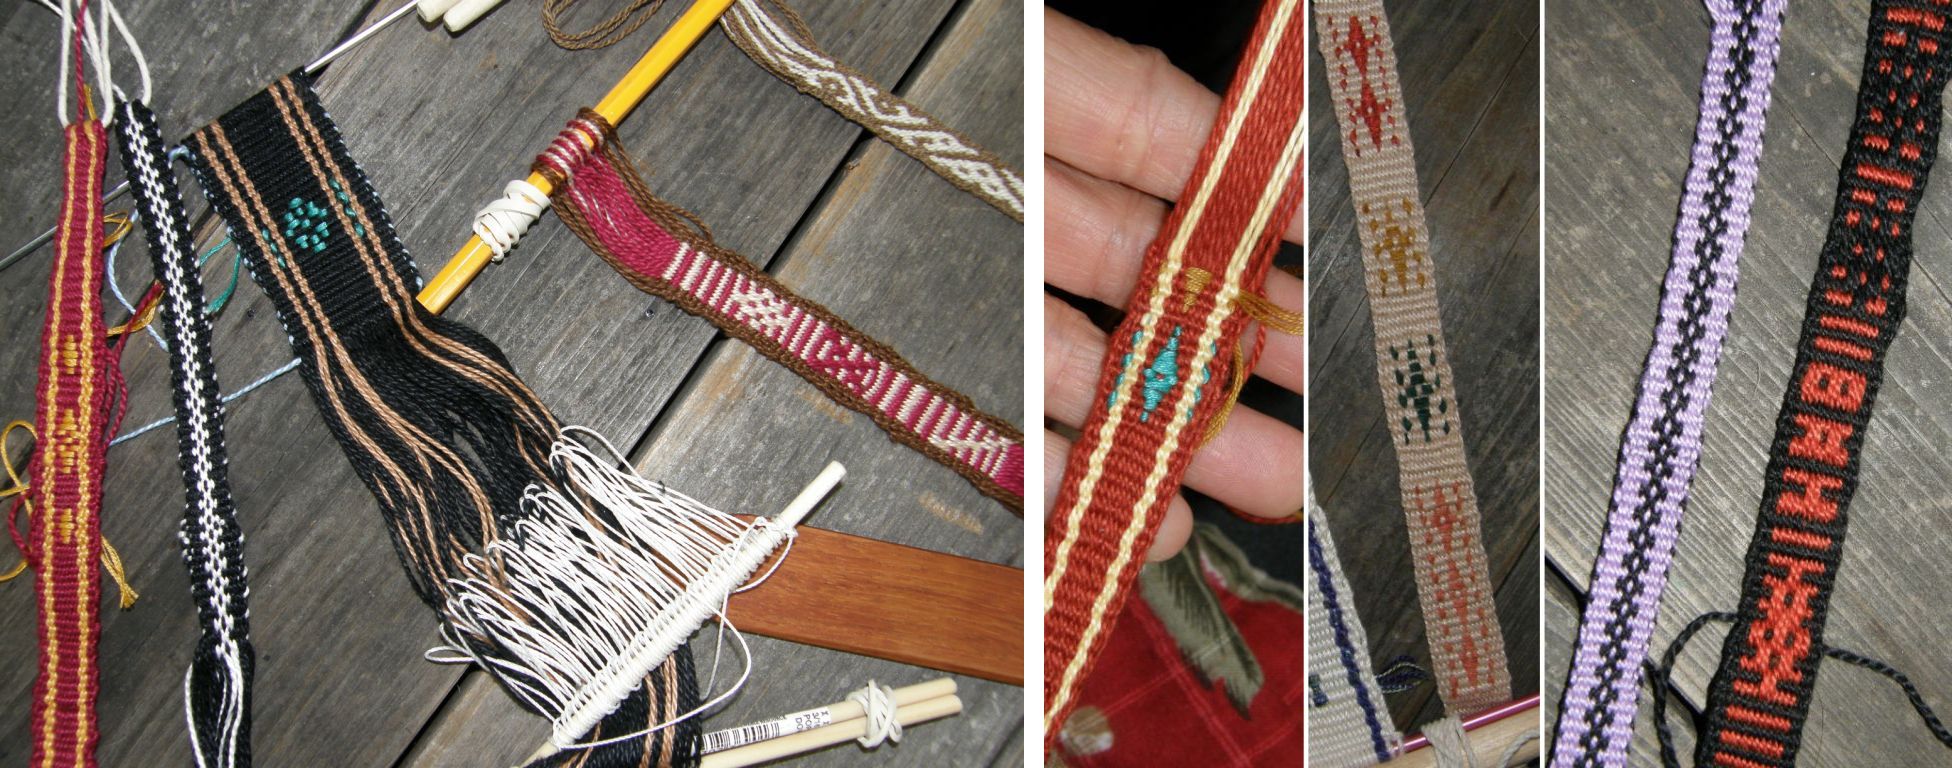
Plain weave bands patterned with warp stripes and supplementary wefts, simple warp floats in cotton and pebble weave in handspun wool.

Barbara and Ingrid are at work above showing one of the many cool things about backstrap weaving…you can make short warps quickly and easily for the tiniest projects like a one-of-a-kind key fob or book mark.

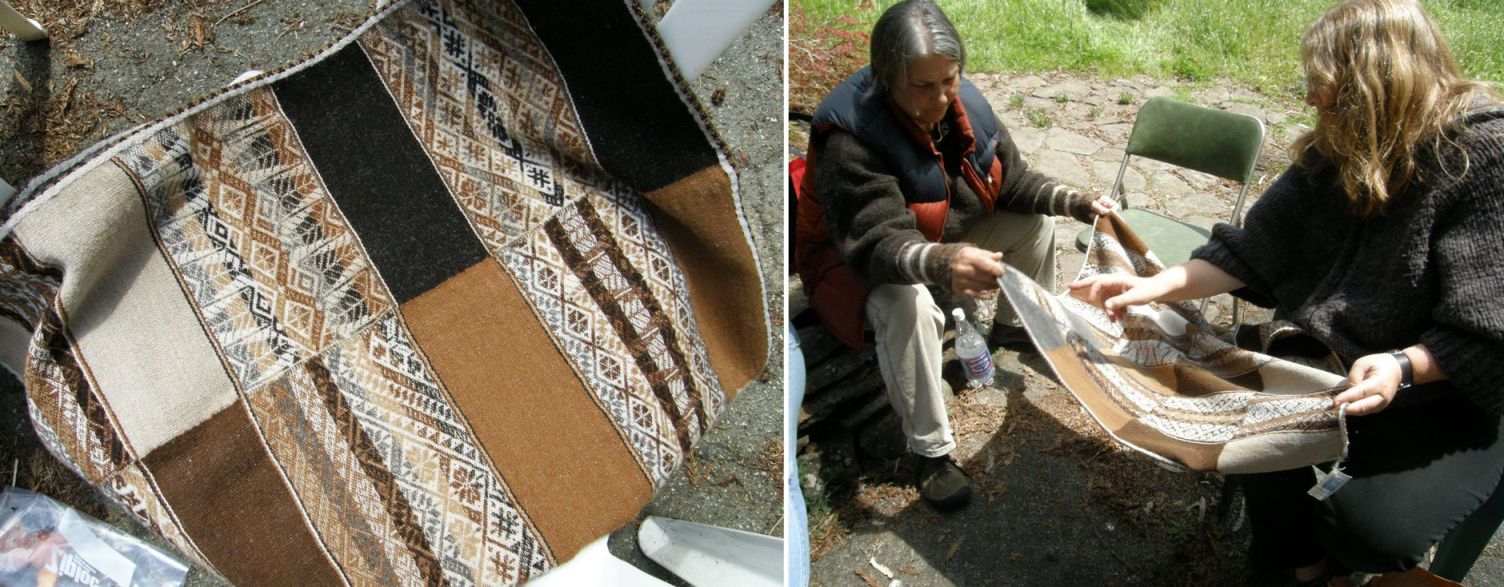
During lunch break there was much to see as Martha would bring out textiles from her South American collection. Here is THE textile which I blogged about last week…

Read more about it here.

But, what I didn’t know was that she was saving the best for the last day….

This is another one of those spectacular discontinuous warp pieces from Pitumarca, Peru. From what I have seen, Pitumarca specializes in supplementary warp patterning on these discontinuous warp, or scaffolded, pieces but this one has been done with three colors in the pattern and it is doubled faced. Wow.

There are four panels, red, blue, green and yellow, each with its triple color supplementary warp pattern.

I should have just saved this for a blog post of its own entitled “Even more Speechless”. It’s hard to take your eyes off it, right?

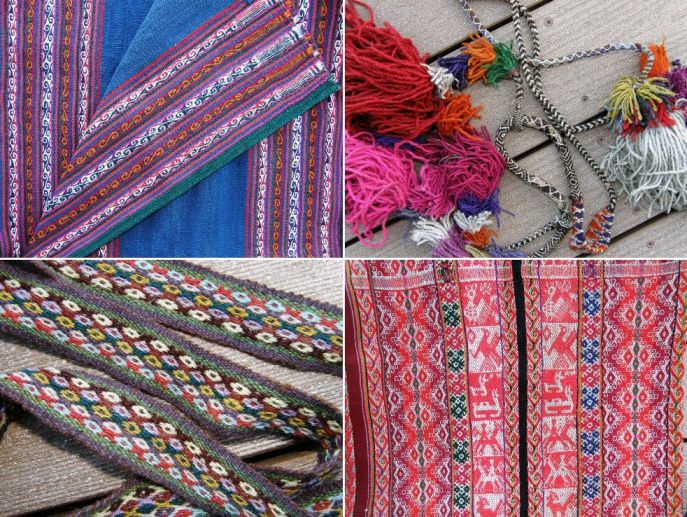
I told you last week that Martha gave me two tubs full of textiles to take back to the winery and peruse. I will show you bits from those tubs in future blog posts but here is just a taste…

I really like the bag strap with the multiple tanka choros and those braids….!!

But best of all we got to see what Martha herself has been working on…
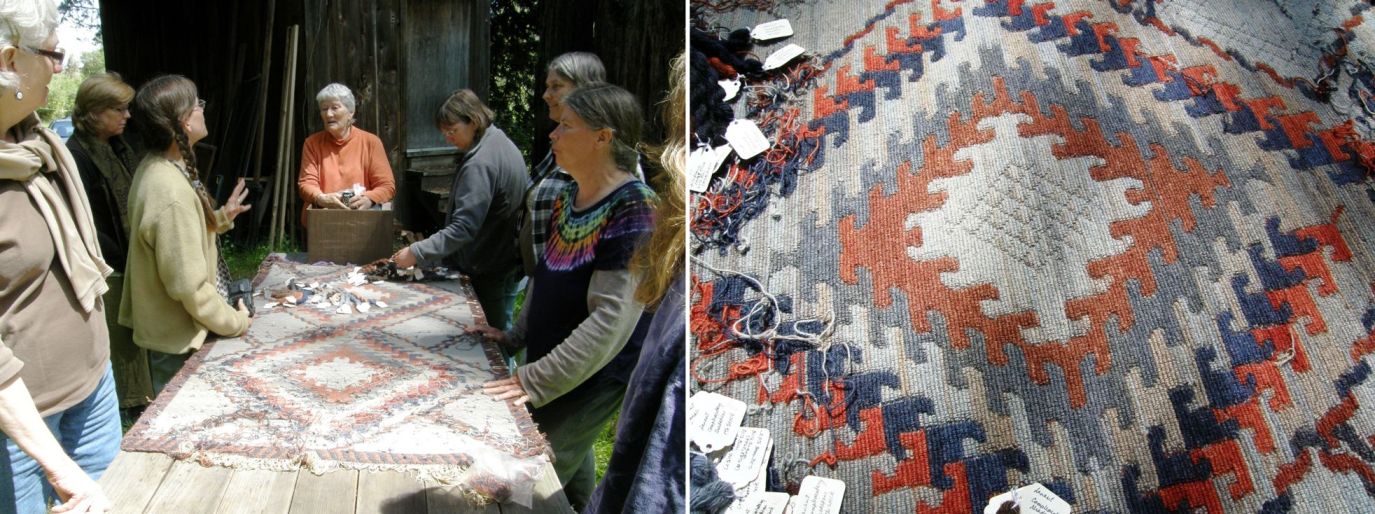
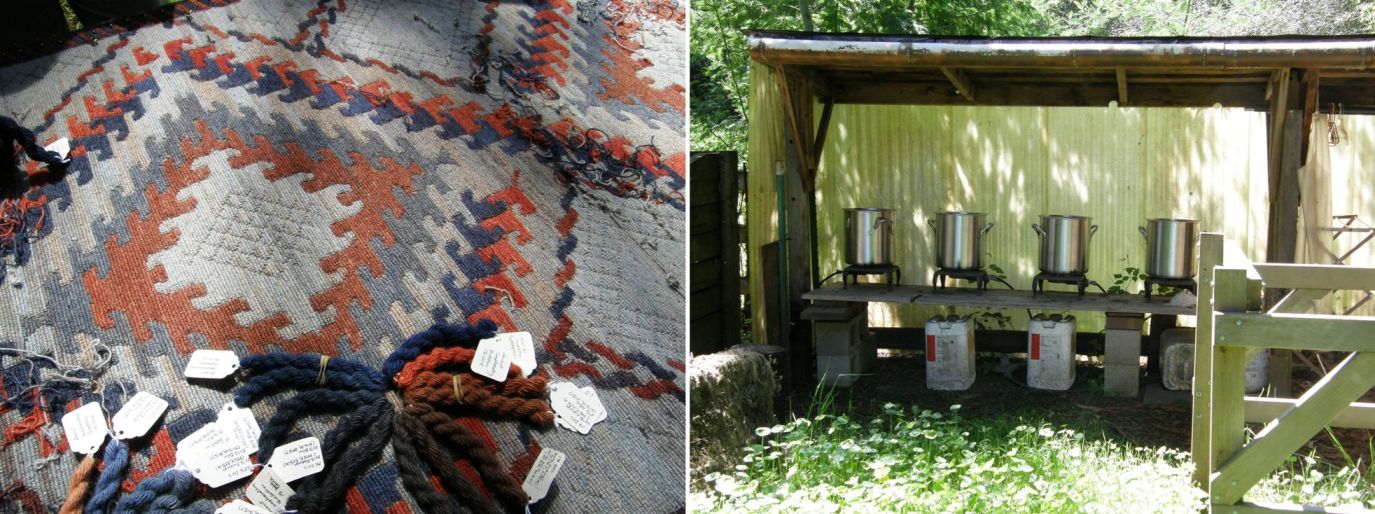
Firstly, the colors! I have been admiring the yurt bands of Central Asia and wishing that I could somehow use those dusty sun-bleached tones of red and blue that evolve after years of having been stretched around the yurt and exposed to the elements. Well, Martha has just gone ahead and dyed her own. The colors are just gorgeous!

With a lot of patience, dedication and know-how she has come up with just the right hues. I was SO envious! The rug above is her latest work. It is a combination of weft twining and wrapping. One of the twined strands wraps around the other to give a raised surface on a flat ground of twining. I think I understood how it works. That’s on the list to play with when I get home.

As for the colors…I’ll keep dreaming. Maybe I will get into that kind of precision dyeing one day.

One of the highlights of this trip was spending more time with Annie MacHale. You may know her as ASpinnerweaver and she is on my blogroll but I think of her as the Queen of Sashes. She is one creative lady with an irresistible bubbly laugh.

Janet and I got to see her sash collection and hear the stories that go with them, rummage through her yarn stash and go from one inkle loom to the next in her living room/studio checking out her works-in-progress…and the books!!

One thing I have been wanting to promote while on this US tour is the lesser known weavings of the lowland areas of South America. We have all become so familiar with the textiles of one  particular region of highland Peru through the hard work of Nilda Callañaupa and the CTTC. I have had the fortune to study with weavers in lowland areas too most notably in Santa Cruz where I live and in coastal Ecuador. The weaving may not be as technically sophisticated as the work being done in the Cusco area but is every bit as note worthy and often sadly neglected.

It seems that the work of the Shipibo people is calling to me from various sources. Just before I left home I found an image of a textile which the photographer had bought in Ecuador but which she believes was made by the Shipibo people of the lowland jungle areas of Peru and this is something I would like to investigate. It is woven with a technique that I have only seen used in South American textiles in images in books of textiles of northern Argentina that are no longer produced.

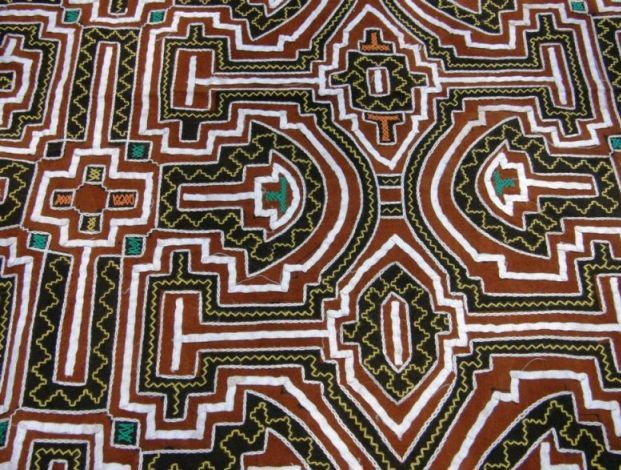
At the weaving get-together Yonat brought, amongst other things, Shipibo textiles to show that she has in her own personal collection…beautiful embroidered and appliqued pieces (above) with very distinctive designs. I only have some small painted pieces of Shipibo cloth at home. This is what Yonat brought…

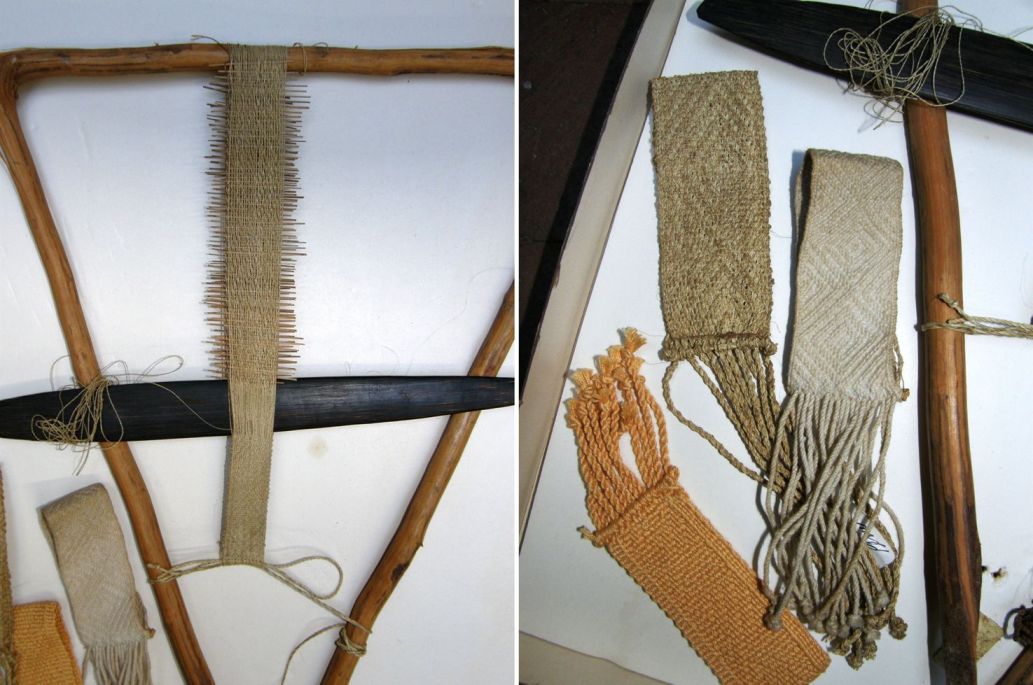
And then Martha showed me this…

This too is a Shipibo piece and  part of the late Anne Blinks’s collection and something which she had studied. The wonderfully simple branch loom holds a piece of fabric which was probably destined to be a wristlet. The completed woven pieces around it are wristlets, some of which are Anne Blinks’s reproductions. You can see the enormous quantity of fine patterning sticks that have been inserted in the warp to program the design. This was amazing! I love the fact that it is just one color and that the pattern shows as a fine texture. I love the sword/beater too.

See all the fun stuff I got into!

A million thanks to everyone who brought textiles and so willingly shared them with me and the group. There was always a frantic effort on my part to take photos of everything. Peggy also brought some interesting bands that she had bought in Oaxaca.

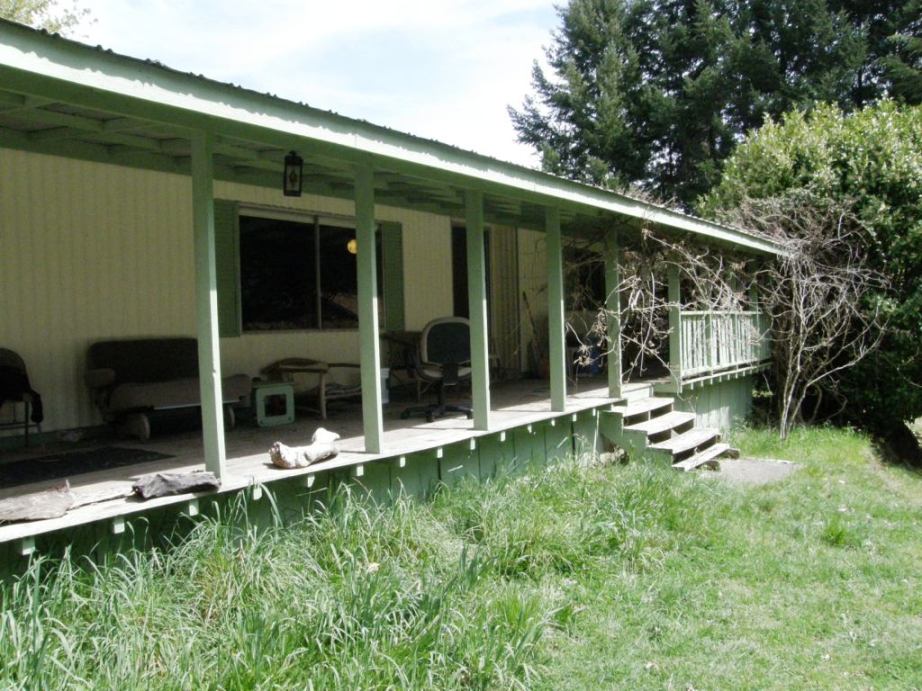
Now I am up on Janet’s farm in Humboldt County and we are planning a weavers’ gathering here. Take a look at that porch…isn’t that the most perfect backstrap weaving site? I put a cushion on the floor and tied up to one of those posts, nicely shaded while I got to wiggle my toes in the sun. For warping I clamped pegs to the edge of the porch and stood down in the garden. Perfect!

Janet’s husband has a family heirloom coverlet. This was especially thrilling to me as I had seen these in the Folk Art Museum in Williamsburg last year behind glass. I read how they were made with both cotton and wool, the white being cotton and the blue wool and could make out the balanced double weave. Now I have had the chance to touch one and drape it across my lap…a whole different experience.

So that is where I am at so far. We are off to Eureka tomorrow to meet some other weavers and do some backstrap weaving and so I have been able to squeeze in this blog post. Before I go I wanted to show you some things that have been going on in the Ravelry Backstrap Weaving Group…


The Spin Along is still going and Jennifer respun some commercial wool and showed us its ‘kinkiness” before it could be stretched out on her backstrap loom and woven into this lovely piece.


Marsha and Carinefile are both doing Double weave. Marsha’s piece on the left is a guitar strap with the musician’s name woven in and Carinefile has made the sampler that goes with the tutorial here.

Jentide and Melisende made Sami bands. These are traditionally woven on backstrap looms using a small rigid heddle but, as you can see, they can be perfectly adapted to inkle looms.

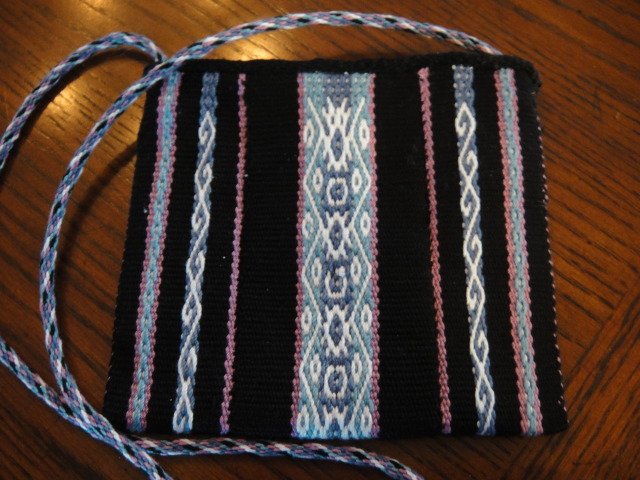
And Bobbie completed a pebble weave bag…


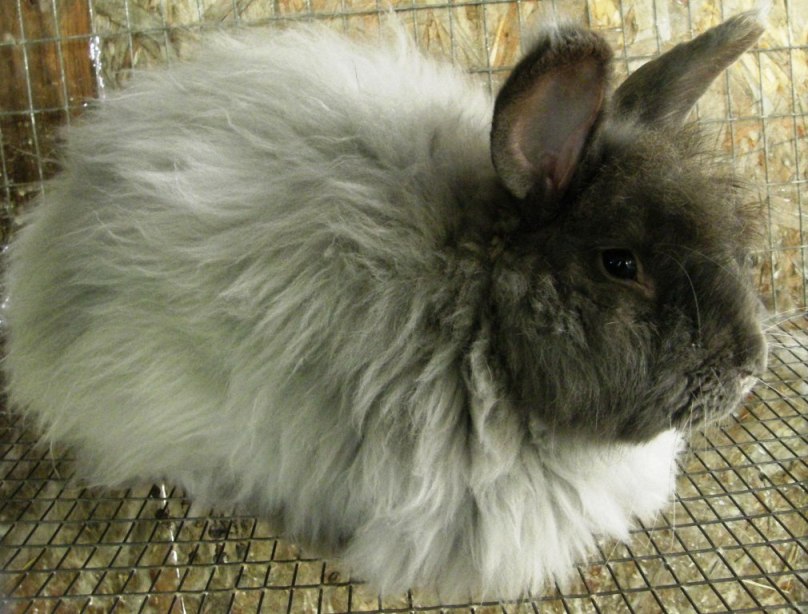
And if you are in an “Eastery” mood from looking at one of Janet’s bunnies, I wrote a post for Easter last year about a colorful Semana Santa, or Holy Week, that I spent in Guatemala in ’08 in three different areas, full of color and beautiful people and textiles.

You can see it here.


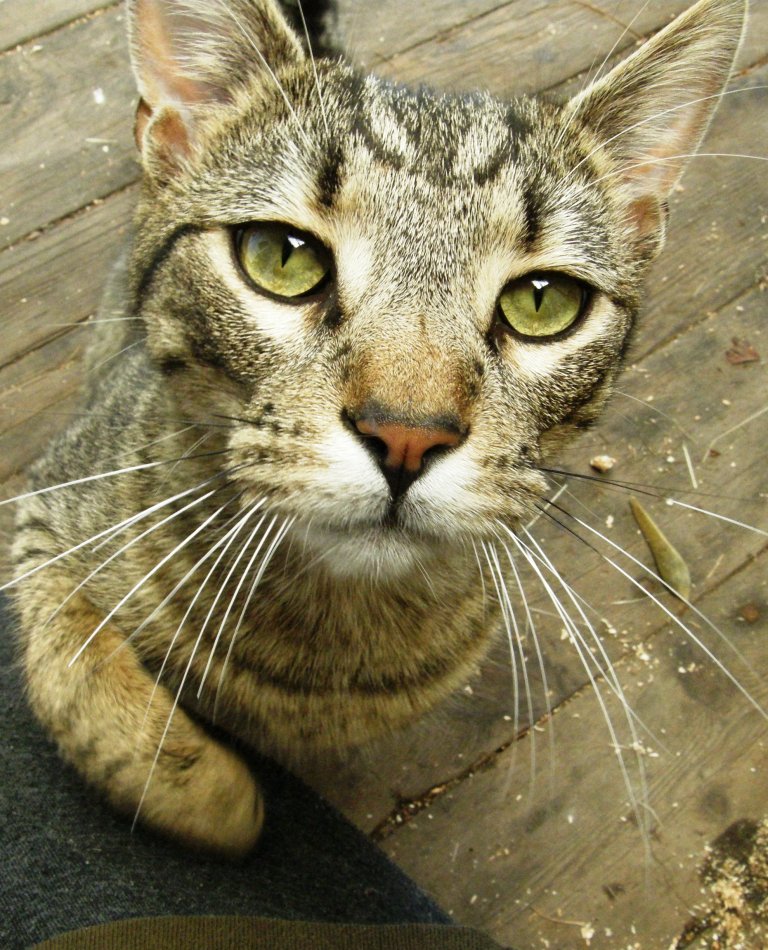
Meanwhile, Mike the Mouser is kindly helping me deal with pet withdrawals.