Inspiration arrived from north, south and somewhere in-between this week.
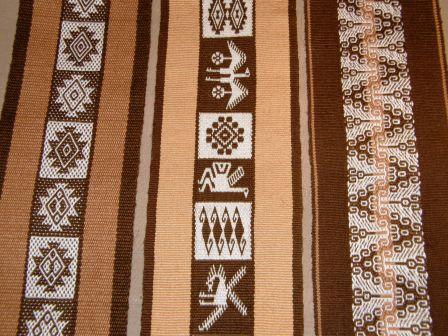
First, my friend Anna who has been bicycling with her boyfriend Alistair from Alaska to Ushuaia sent me some pictures of pre-Columbian fragments in balanced double weave that she spotted on display in a cafe in El Calafate in the very south part of continental Argentina. The pieces were behind glass and not easy to photograph but I have never seen such large figures woven in this technique before.
 There are my favorite little birds again along with a human figure and a llama. They are certainly a long way from home down there in the Argentinean Patagonia. Another piece that showed up far from home was this…
 This piece is part of an exhibit of tribal arts and textiles in San Francisco which a weaving friend photographed for me. It is a piece of Swedish finnweave…funny that Sweden is not a country that springs to my mind when someone mentions”tribal”! So, this was my visitor from the far northern lands.
 Then, between the southern end of Argentina and Sweden in the far north came patterns from Mexico in balanced double weave. I got the copy I ordered of Atwater’s Finnweave and the Mexican Double Weave which has both Mexican and traditional Swedish pattern charts.
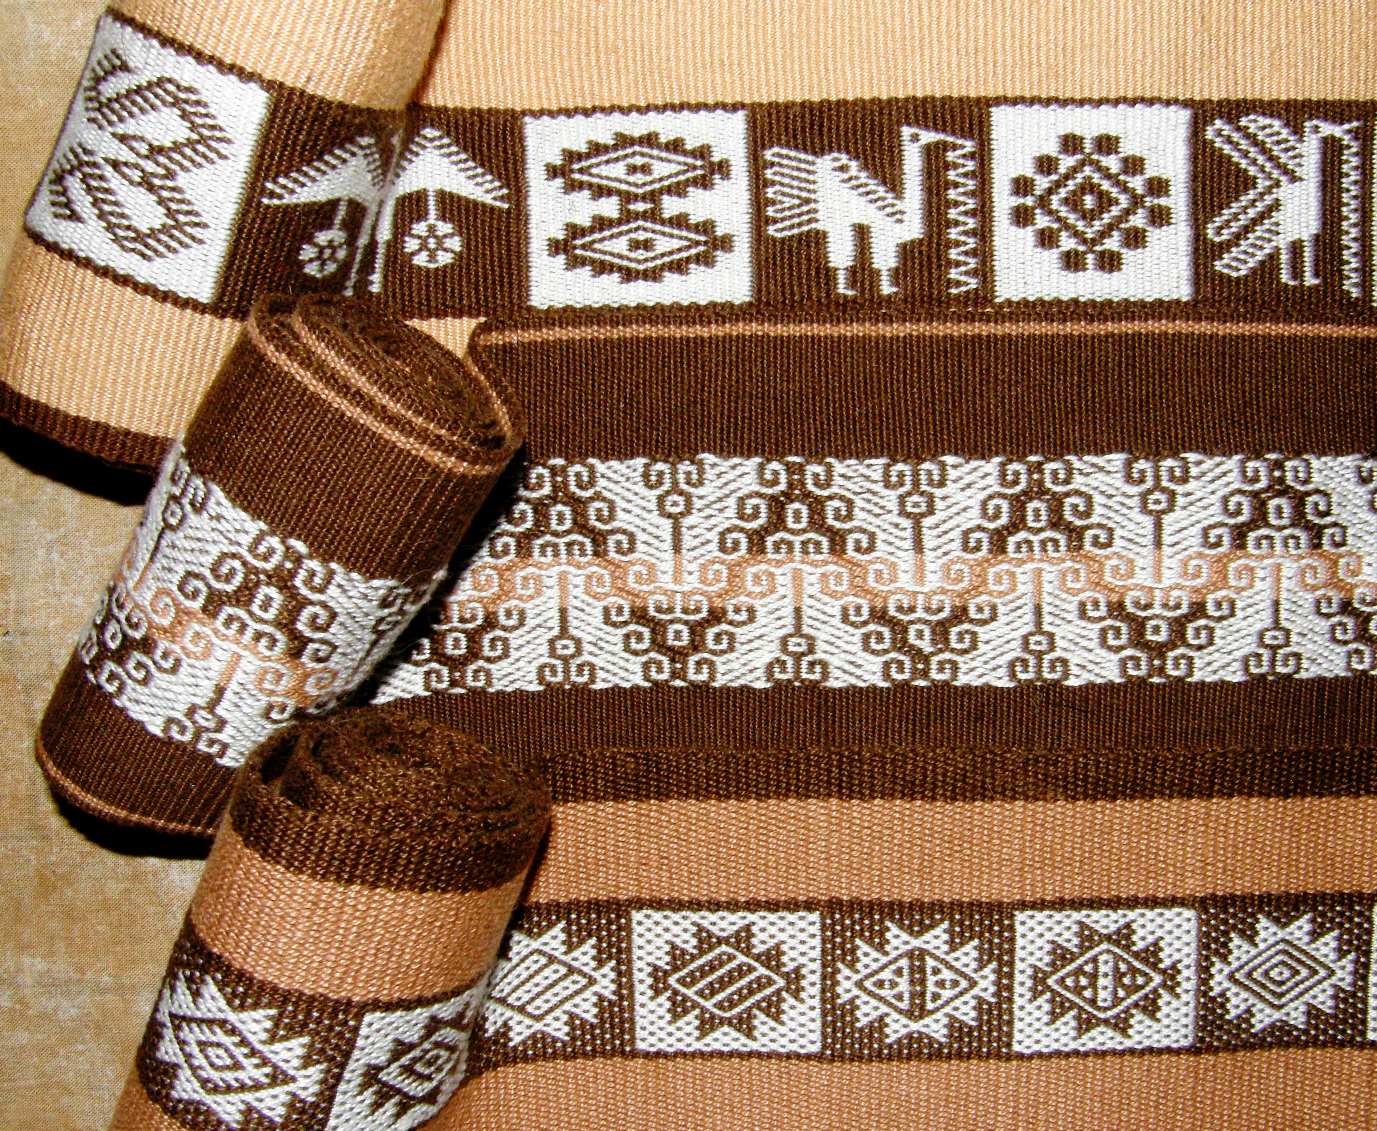
My ultimate goal with all this recent focus on the balanced double weave pick up technique is to add to an ongoing project which involves weaving nine sashes representing the weaving techniques that I have come across here in South America. Three of these nine can be seen above.
Nine, of course, does not even begin to cover it and this may end up being a life long work as I learn more and more patterning methods. I had been hoping to span the continent with the techniques on my collection of sashes but had gotten stuck in eastern lowland Bolivia unable to proceed eastward. I knew nothing about Brazil. However, my involvement in Weavolution enabled me to meet Helena who introduced me to the work of the Huni Kuin people of tropical Brazil and I can now go on to learn more about their work and hopefully one day weave a sash using their techniques too.
So here is where I am at, getting closer and closer to the design I will use on the fourth sash. Yet another sample and more refinements to be made, but I think that I have settled into this technique now and can trust my measurements to be consistent for the final project.
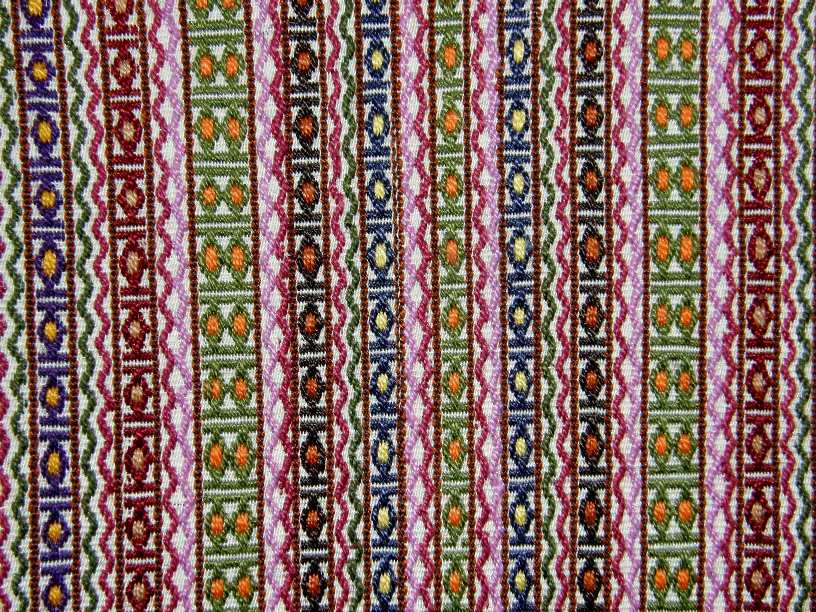
 I have two textile fragments on which I am basing this design bought at two different times and in two different countries. The design is exactly the same on both but the density of the fabric is completely different…two different weavers with two different beats.
 The person who wove the piece on the right had a much firmer beat and used a closer sett. The beige stripe on the right of her piece is, in fact, warp faced double weave and that little segment is a tube. The piece on the left is much more light and airy. So, which way is “correct”? I guess that being so used to the firmness of warp faced weaving, I am more comfortable with a heavier beat that produces a fabric more like the one on the right and that is how I am choosing to go on my sash project.
So my discontinued sash project has been revived. This project is in some ways a casualty of my entry to the world of online weaving groups and all its distractions but, on the other hand, I have learned so much from the groups which can enhance and enrich it.
Speaking of distractions, I threw all finnweave aside yesterday to take a look at the online workshop on Sami band weaving in the Yahoo bands and braids group. Sue Foulkes has been providing notes throughout February on the techniques of traditional Sami band weaving. Sami bands are woven on a body-tensioned loom using a small rigid heddle to create two sheds. They are warp faced and decorated with pick up patterns using supplementary warp threads.
I decided to try it using string heddles and a shed rod.
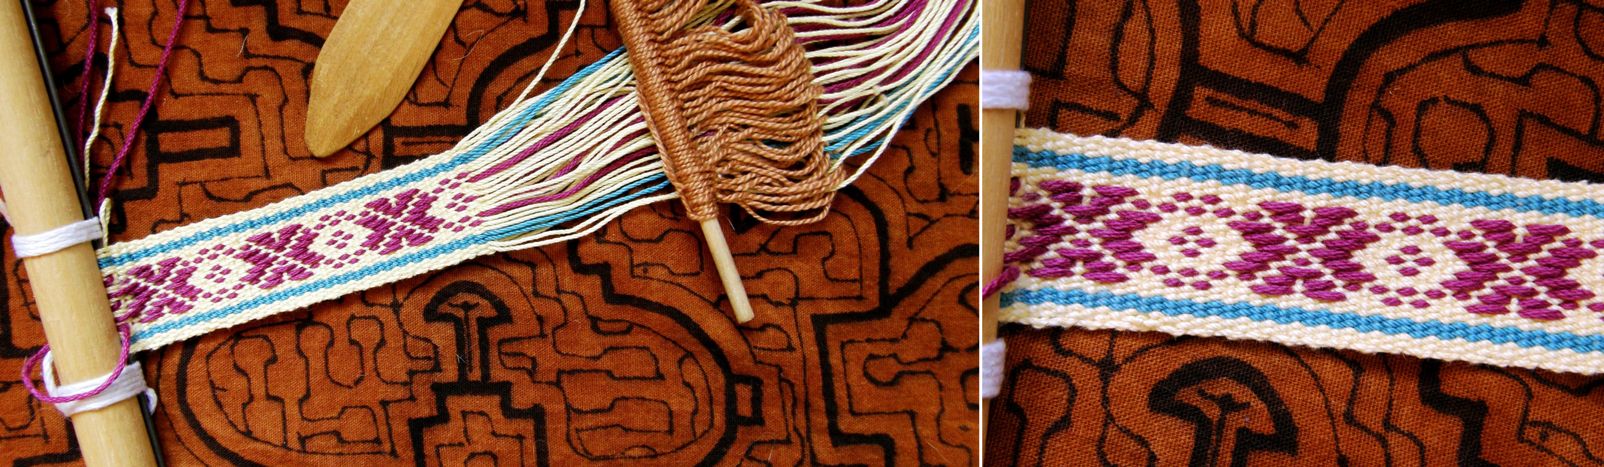 It’s fast and fun! Sue recommends using a pattern thread that is twice as thick as the ground weave thread for best results. I think my pink thread is probably about one and a half times as thick as the yellow. The pink is Tahki Cotton Classic and the yellow and blue are Coats Royale #3. I didn’t use the border threading suggested by Sue.
I have to admit that the technique is not new to me although it differs slightly from what I learned in Huancayo (from weavers from Ayacucho) and Cabanaconde in Peru. In the Sami method that Sue teaches, only the pattern warps are picked and dropped. In Peru, both my teachers taught me to also manipulate some of the warps in the ground weave and each of my two teachers had her own version.
I have never been a big fan of this technique but, as it is one that I would like to include in my sash project, I think that it is time I embraced it and found something that I like doing with it. I think that part of the problem is that in the areas where I first learned it, it is often used to weave very irregular figures which result in long floats on the back of the fabric, something which I really dislike.
 Above left you can see figures woven with supplementary warp threads on a textile from Ayacucho. The orange and blue bands are those I wove while learning with my teachers in Huancayo and the white and blue one is what I wove with a teacher in Cabanaconde.
I also learned to weave patterns using supplementary warps in Salasaca in Ecuador as this is how their traditional belts are woven.
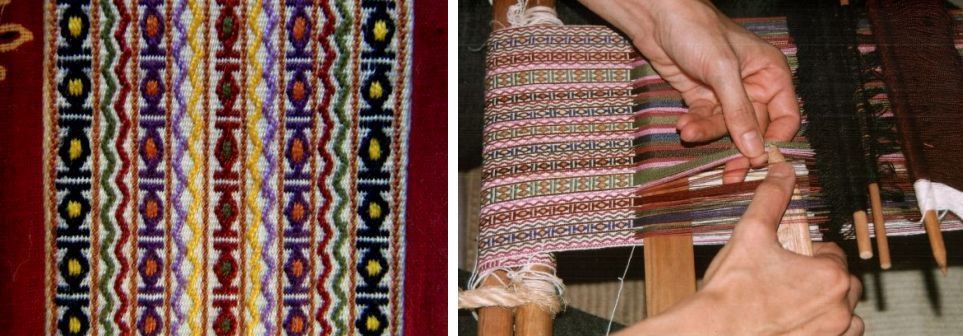
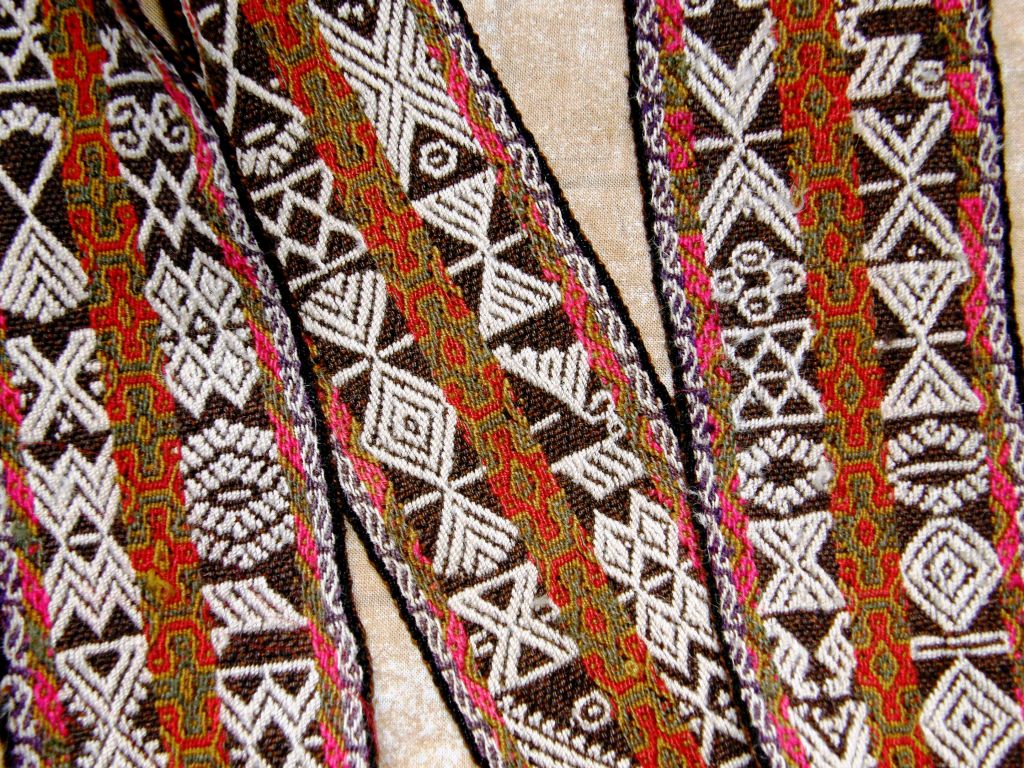
I bought a lovely belt on my first ever trip to Cusco partly decorated with supplementary warps.
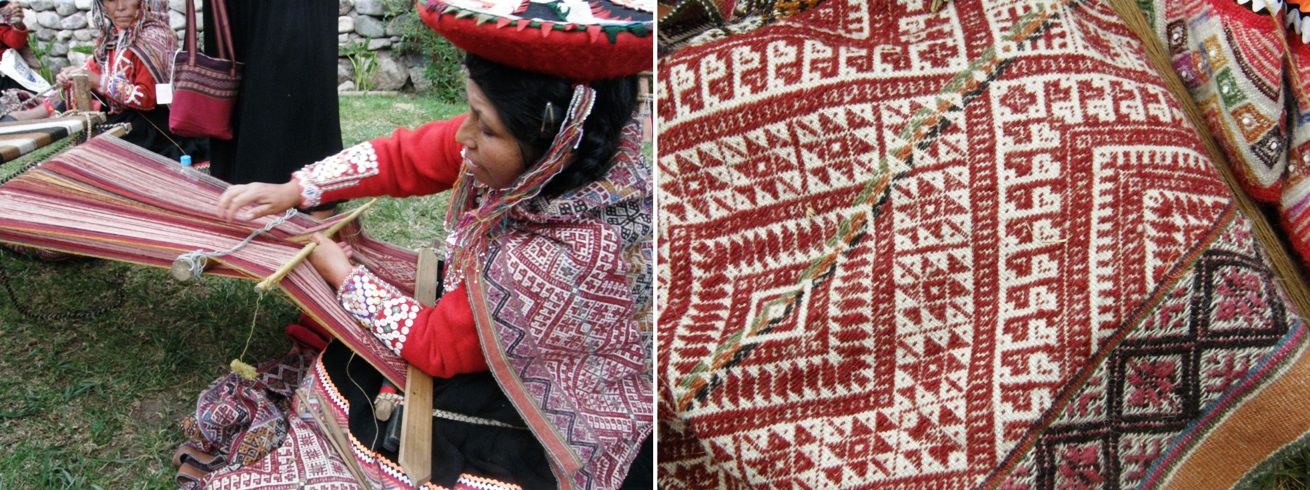
Attending the Tinkuy de Tejedores last November in Chinchero, Peru gave me a chance to see weavers from communities in Cusco using these patterning techniques, like this lady from Accha Alta…
 I guess the designs that I have most liked in this technique have been those woven by the Mapuche people of central Chile and Argentina.
Although I have several books about Mapuche weaving and have been able to experiment with some of their designs, I think I have always hoped that I would one day go to Chile to one of the small Mapuche settlements and learn from the weavers themselves. The small purses I made at left are decorated with Mapuche designs.
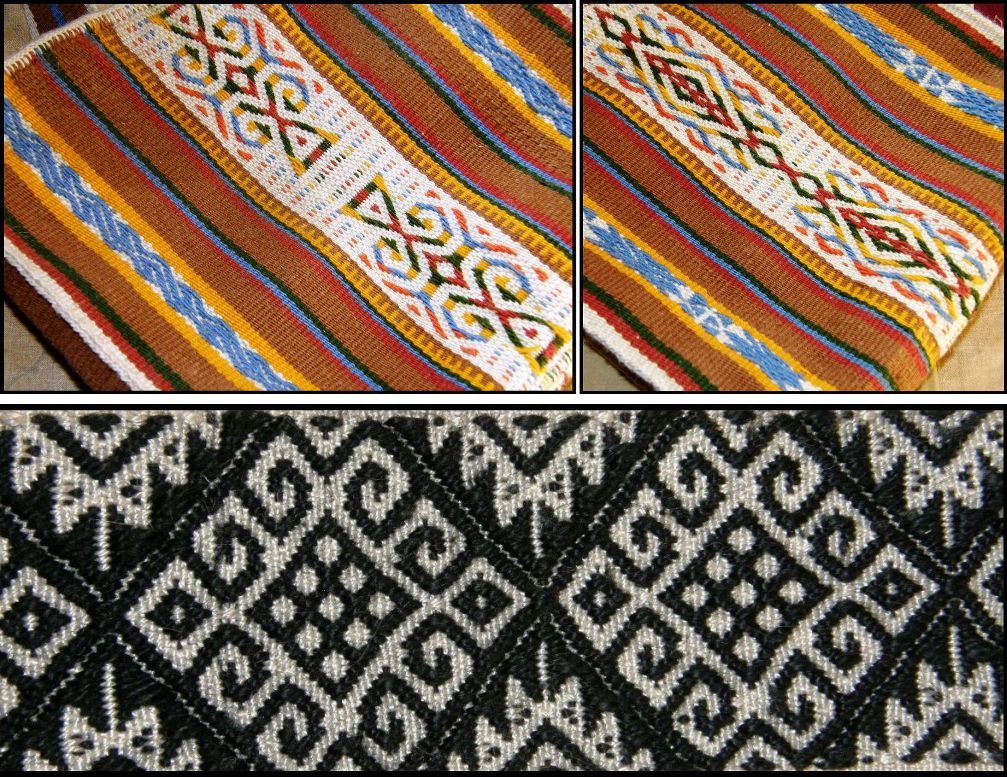
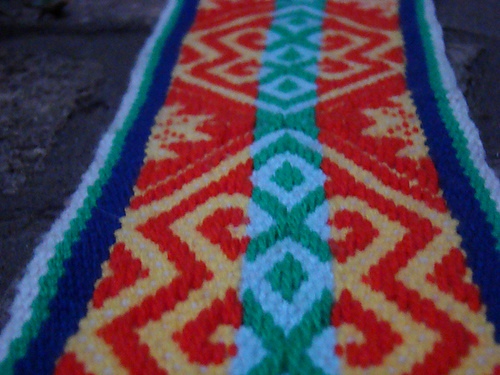 Above are two examples of things I made using supplementary warp patterning and Mapuche designs…a shoulder bag made in colorful wool and a sample band in cotton.
Recently on Weavolution, Luchita, who lives in Argentina, showed the beautiful Mapuche design band she wove at left using a vertical loom based on the traditional Mapuche ones.
Another reason to get re-acquainted with this technique is to be able to weave some of the beautiful designs used on the belts of the Russian Old Believers.
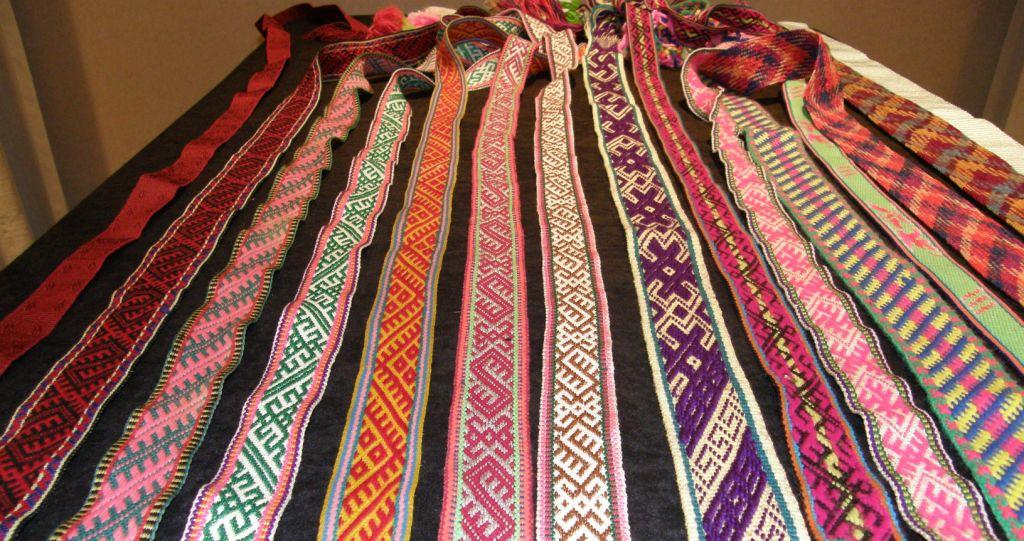 Books like these ones below are full of these wonderful patterns from the northern lands…
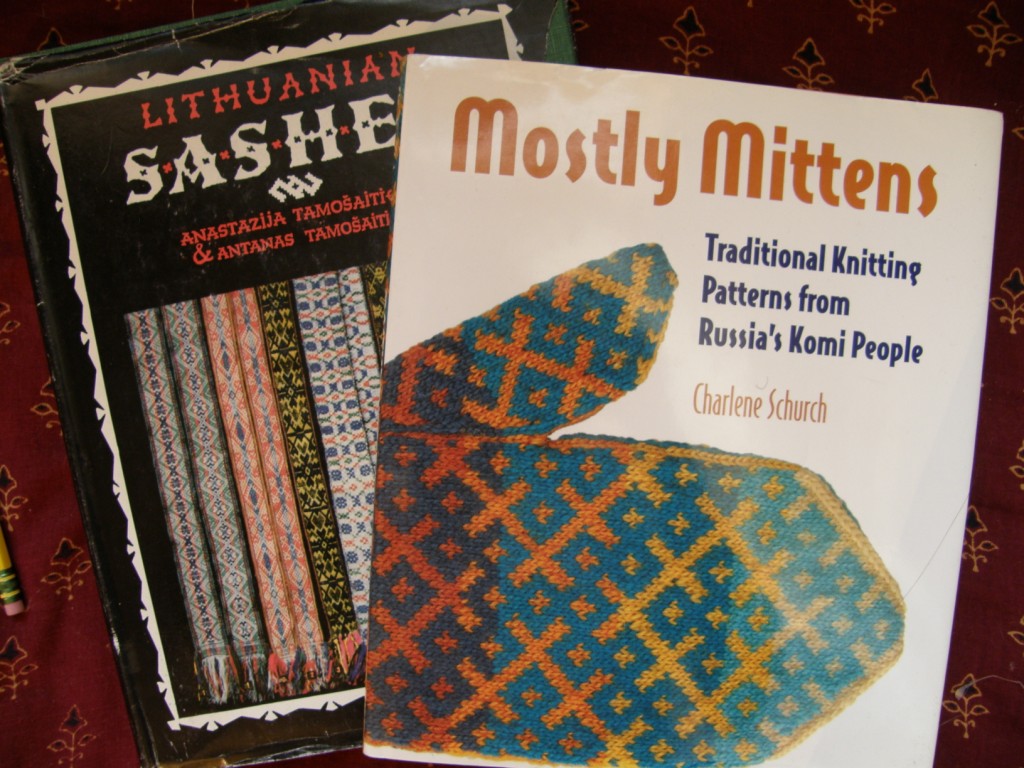 I learned of the Komi people after seeing some beautiful knitting projects on Ravelry and learned that they were also weavers. The mitten book gives me access to some of the traditional patterns which would be easy to adapt to weaving. The book on Lithuanian sashes was a much treasured gift from weaver Annie MacHale. (ASpinnerweaver).
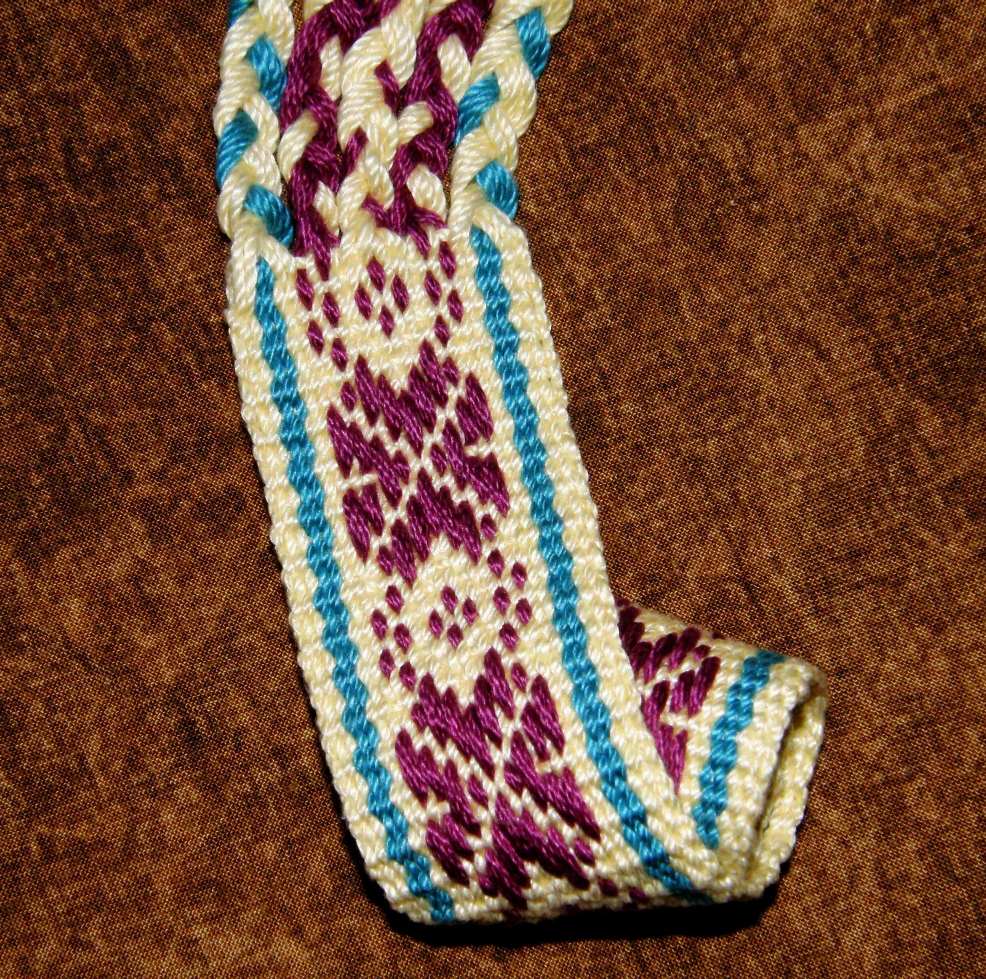 So, if this technique and these kinds of patterns appeal to you, take a free class with Sue Foulkes in the Yahoo bands and braids group or, if you prefer, Sue has a book on Sami Bands available here.
I can’t guarantee that this is exactly the same technique used to produce all the bands and sashes that I have shown here, but learning the structure used to produce Sami bands will give you a good start in supplementary warp patterning.
There were slight regional differences in the technique even within Peru.
I finished my first band with braids and can use it as a bookmark.
From Scandinavia to the Middle East….Tracy aka himalaya left us in the Weave Along to travel and then returned to her present home in Qatar via Damascus, Syria where she went looking at textiles. She shared some pictures with us knowing of my interest in twining…
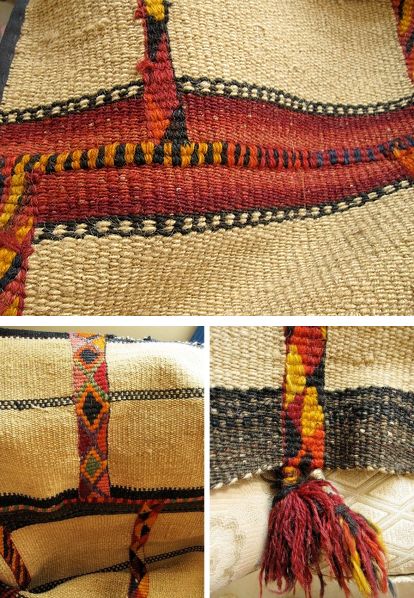 This beautiful piece now adorns her sofa. I am guessing that the colored bands have been twined. I love the tassels they have made with the ends of the twining yarn. I can never figure out what to do with those pesky ends. I also love the big bold stitches that have been used to join the panels. This piece was woven as a tent divider and Tracy told us that, according to Joy Totah Hilden in her book Bedouin Weaving of Saudi Arabia and its Neighbors, these dividers are used to separate the male and female living areas with the most beautiful side being exposed to the men in order to show off the woman’s weaving skills.
No doubt Tracy will post more pictures of these textiles on her blog. Take a look now at the beautiful images of Damascan doors she has posted there.
 Jennifer, who is also one of the Weave Along gang, made a nice find when she discovered articles by Adele Cahlander on crossed warp bands and tubular bands (seen at left) in the Weaver’s Journal which are available as free downloads here (page 10) and here (page 38).
What a good thing as the out-of-print book on this topic seems to be very hard to find these days.
Between finnweave and Sami band weaving I got in a bit of twining on the strap that was supposed to finish off my loom bag.
I am half way through the Nigerian words for “weave” and have now decided to add some zippered pockets to the back panel of the bag for storing belt shuttles and such things that would otherwise be left to rattle around in the bottom of the long bag. This plan is turning in my head now as I try to figure the best way to go about it.
I also decided quite suddenly to dive into another discontinuous warp experiment. You may remember the wonderful discontinuous warp pieces that I got to see being woven at Convergence and at the Tinkuy de Tejedores last year by weavers from Pitumarca, Peru.

This is how these kinds of pieces are warped. DY Begay has kindly allowed me to use these pictures she took on a visit to the community of Pitumarca.
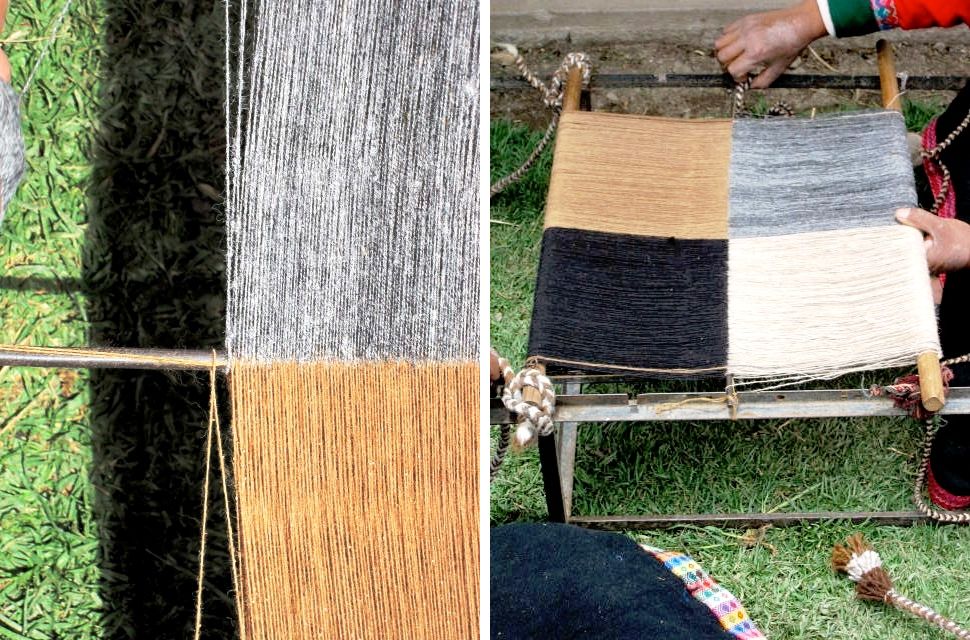
 This technique allows you to weave joined panels of different colored fabric, something which is not normally possible in basic warp faced weaving. You can see these master weavers above creating intricate pick up designs within the panels…mind blowing!
My goal was much simpler!!
I just wanted to weave a few joined panels and create an acceptable panel with four selvedges.
In my first attempt I used cotton.
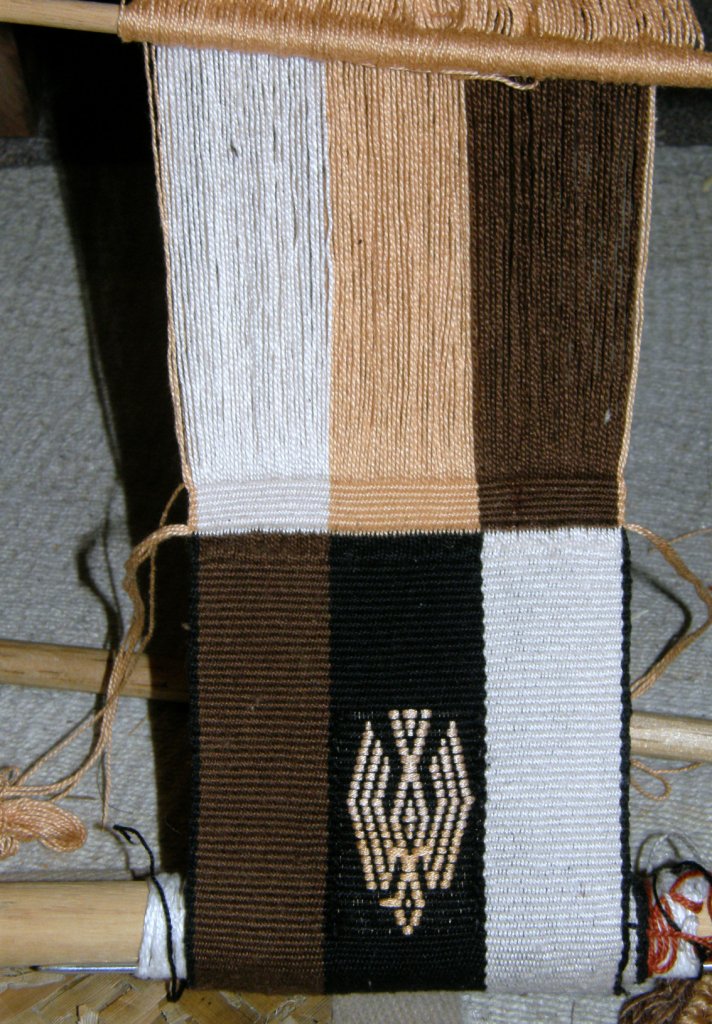
Creating the joined panels was not so hard but finishing the four-selvedged piece proved almost impossible in cotton, Well, I did it but it was a horrid mess. I added a bit of decoration using supplementary weft.
I abandoned the project shortly after reaching the point you see above.
 This did not produce a sample that can be made into anything. It just serves as a reminder of what not to do next time!
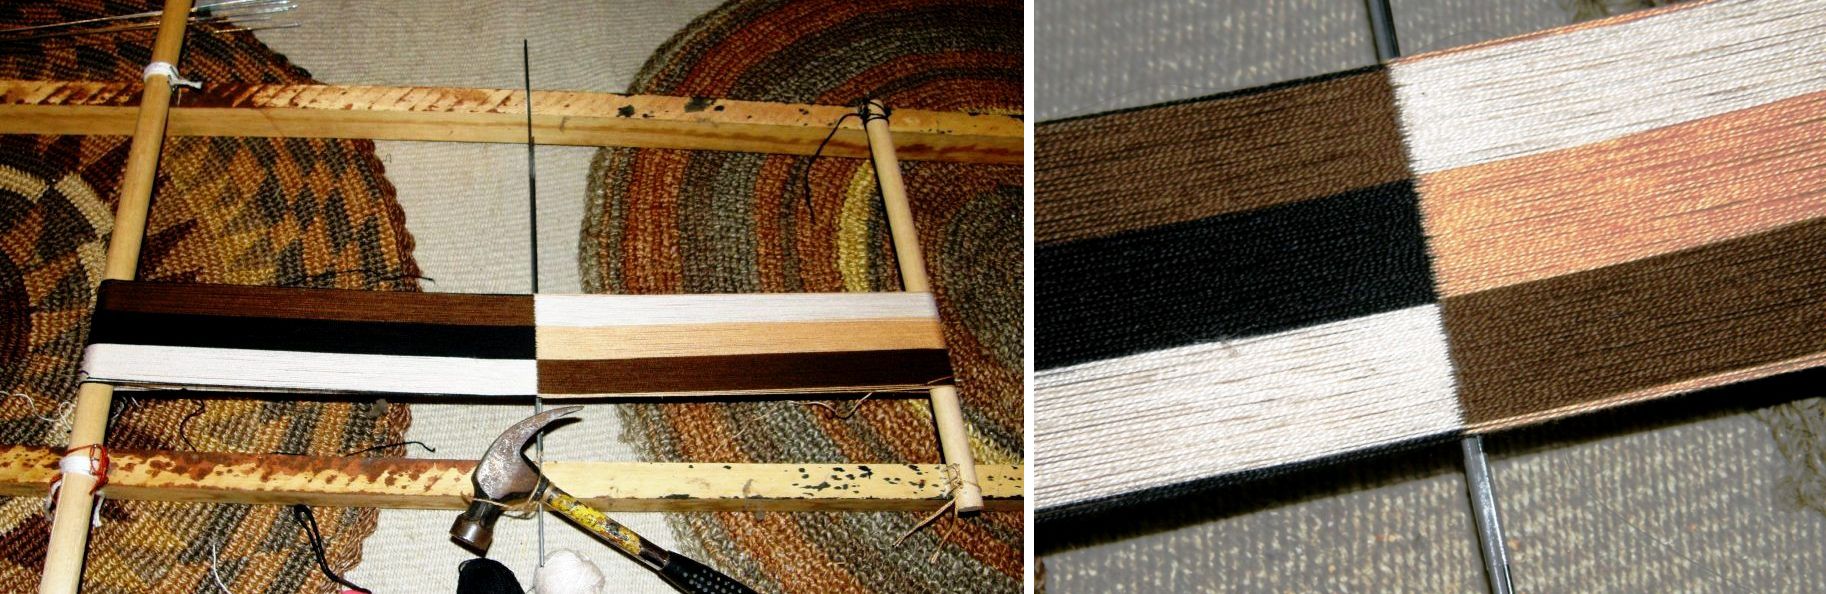
Attempt number two came this week but this time in wool. My friend Claudia had given me some wool yarn while I was visiting her in the US which I overspun while there to make it suitable for warp faced weaving.
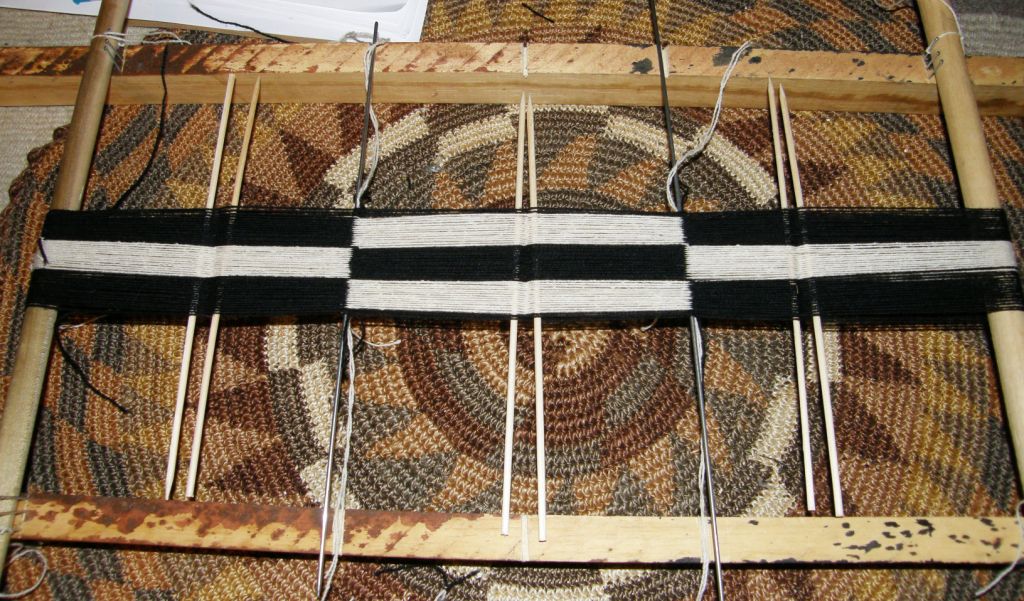
I went with three panels this time, the first and last would have fringe and only the center one would have four selvedges. I planned plain weave with some patterning with a supplementary weft…keeping things as simple as possible. I laid in yarn along with the metal warping rods so that when the rods were removed, the yarn would be there to take their places (something I neglected to do on the first attempt which forced me to get creative!)
Here is the result off the loom. I used eight strands of my handspun llama singles for the supplementary weft which worked really well. I have never seen wool used as a supplementary weft here and it was Phil in the Weave Along group who gave me this idea. He wove a snake design in wool using several tones of natural wool thread as his supplementary weft and it looked great.
 The join worked well. The bumpy bit in the panel in the center picture shows the final weft passes that went in to close the four-selvedged piece. An experienced four-selvedge weaver would probably have squeezed in a few more wefts but I was done at that point!
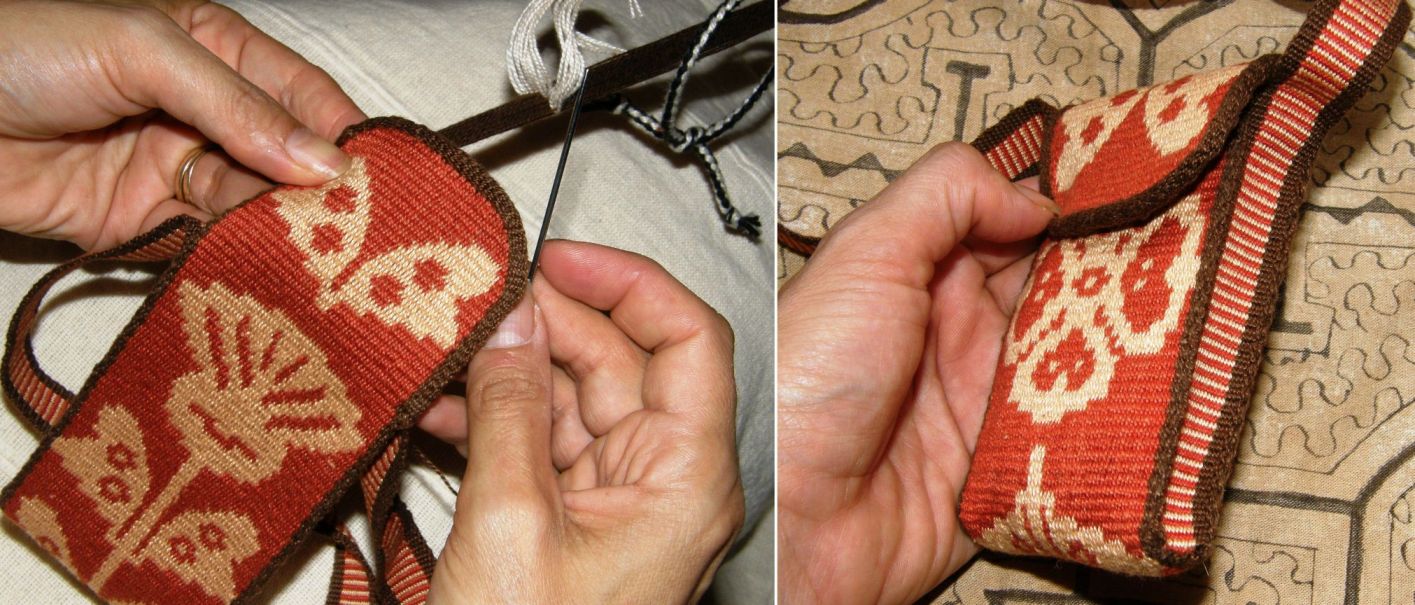
So, I was quite pleased with this second attempt and learned a lot and I even got to make something from the sample. No, not a cell phone pouch….an eyeglass case.
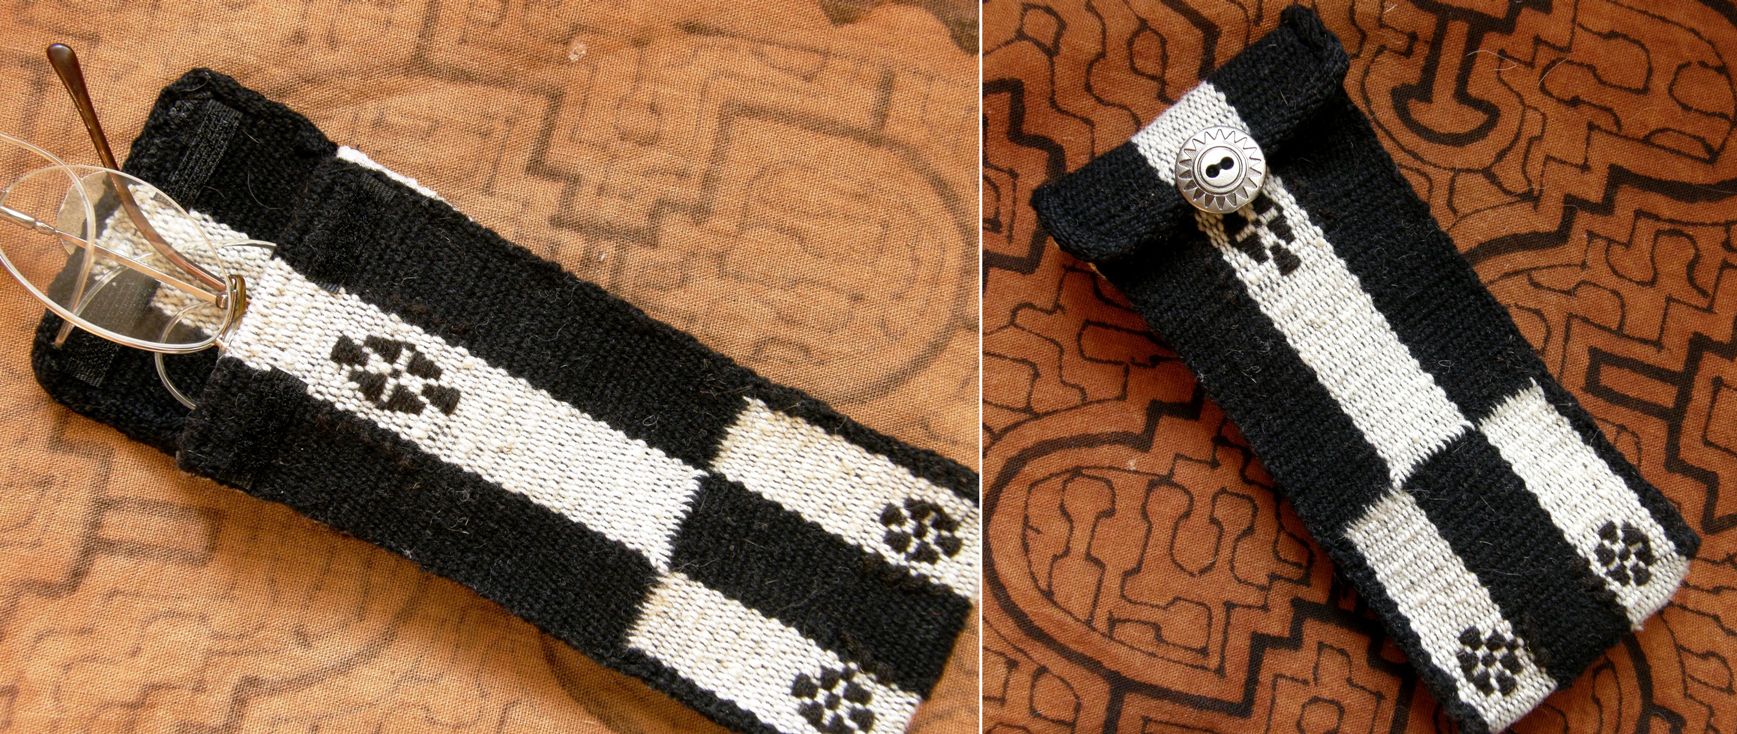 I wove a band with the same wool to make the sides. The bumpy bit mentioned above conveniently positioned itself at the bottom where the piece folds.
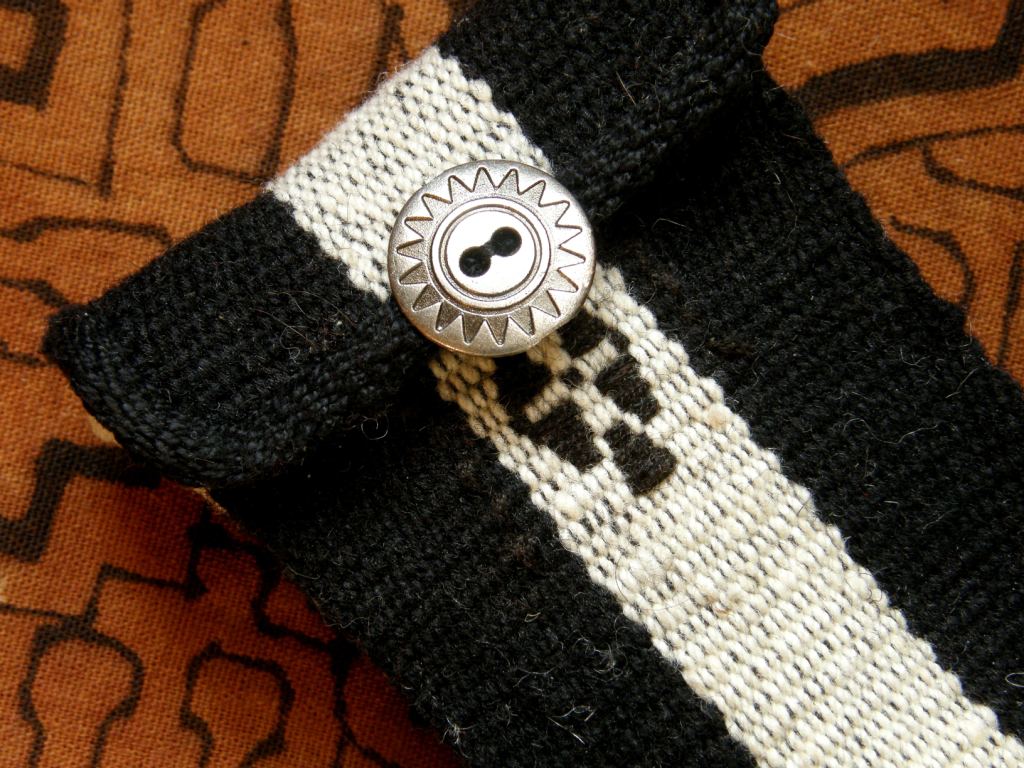 The flap is edged with a woven band which I wove and sewed on using the weft as the sewing thread and this protects one of the raw edges. The other edge is turned and sewn to the inside. The button is just decorative. Two velcro tabs hold the flap in place.
It was a fun project. I don’t know what my next step in the discontinuous warp study will be. I am determined to do this in baby steps. First I need to overspin more wool.
The Weave Along….yes, we are still going! but we have all decided on March 6th as the grand finale so we can end with a bang rather than with a whimper. Weave Alongs usually just kind of come to a sputtering halt. Everyone is planning a ”secret” project to show on the last day and I am hoping that folks will have a little to say about their progress and what they learned as well as offer tips and tricks about the equipment and the weaving techniques for others to come along and benefit from later.
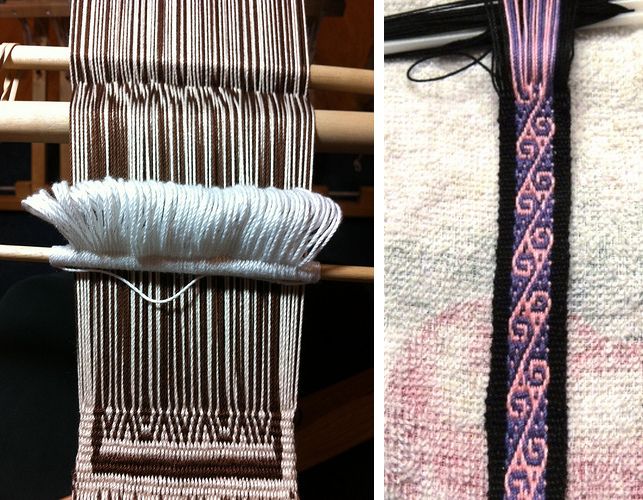 Jennifer is weaving her first mug rugs in double weave while Bobbie had her “aha!” moment with pebble weave and wove one of the more difficult designs.
 Linda is taking her first steps in simple warp floats after having practiced bands with horizontal bars and popsicletote is working her way through the first pebble weave lessons.
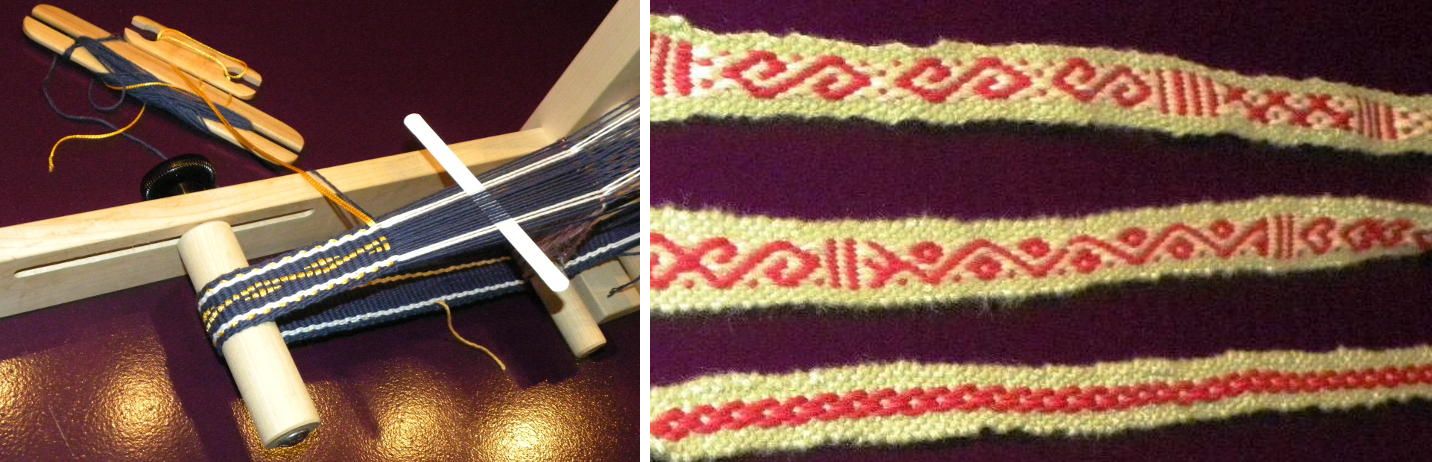 Sandrine runs the Tricofolk forum in French and has visited and commented on my blog before. I hope she doesn’t mind seeing her work here. She has been doing pebble weave on her inkle loom and has finished quite a few samples there on the right. On the loom at left she is doing a supplementary weft pattern using one of the pattern charts here.
 I just found out that Linda Hendrickson’s new book How to Make Ply-Split Baskets is available. I got to see the book and some of Linda’s baskets at Convergence. The book has superbly clear and beautiful step-by-step photos and the baskets are gorgeous. Go to Linda’s site where you can see pictures of all twelve baskets and read about them and order the book. Check out her card woven calligraphy while you are there.
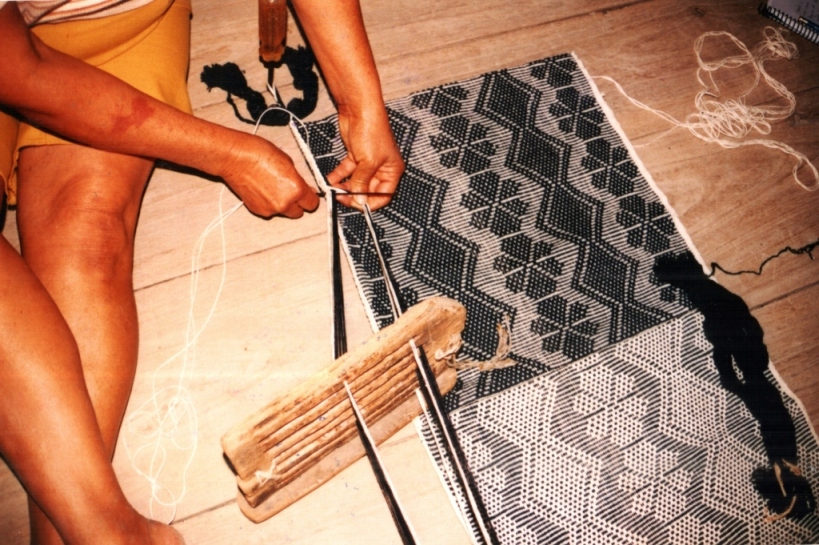
I hope to do a tutorial very soon on attaching bands to edges using the weave-and-sew method and I will leave you with some pictures of this. I use a warp with string heddles and a shed loop as I was taught here. Look at how my teachers in Ecuador sew bands to the edges of their cotton saddlebags using a nifty homemade rigid heddle that slides sideways to create the sheds. There is no one right way!