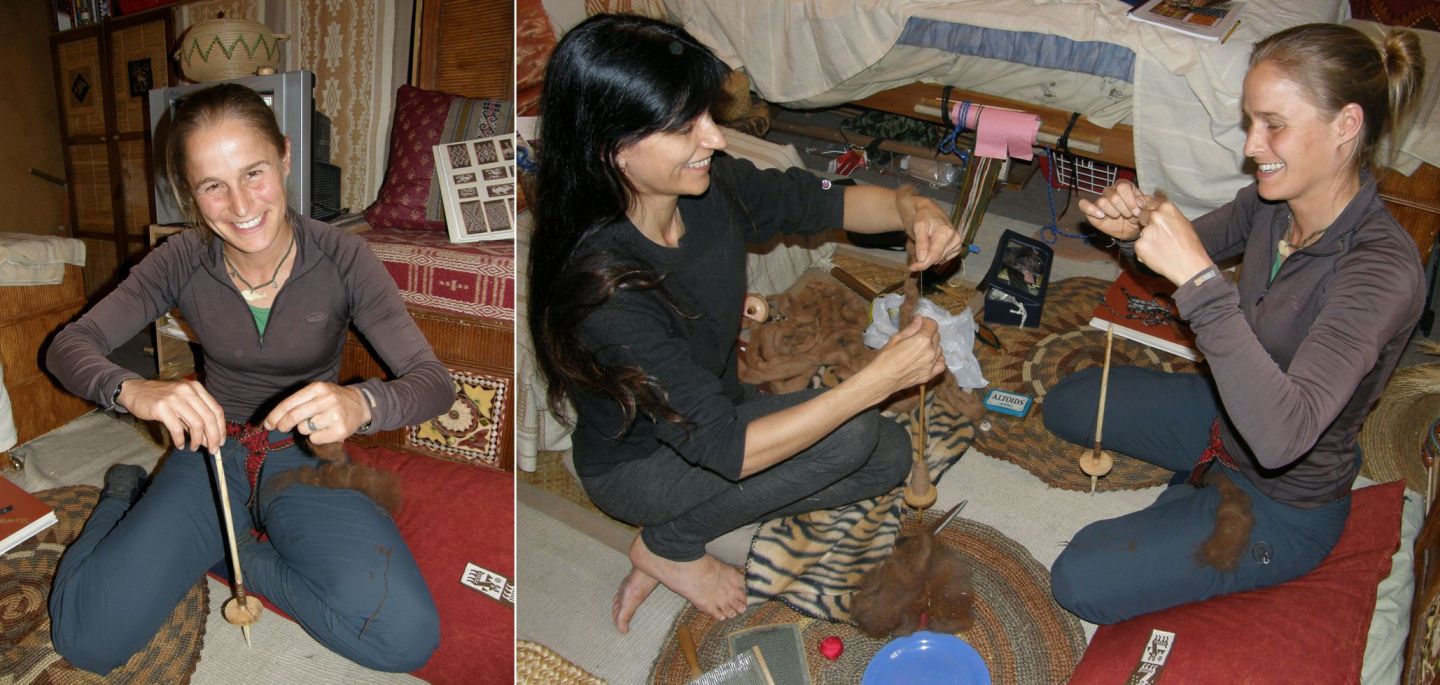
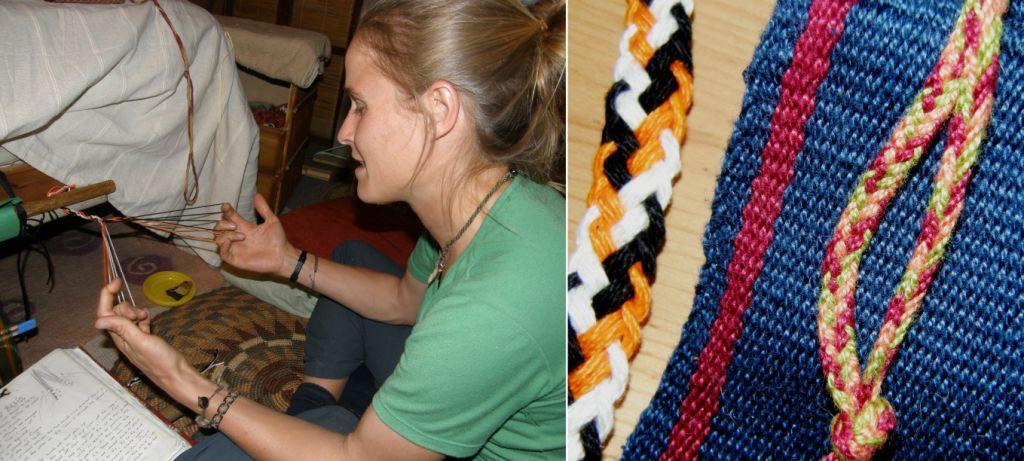
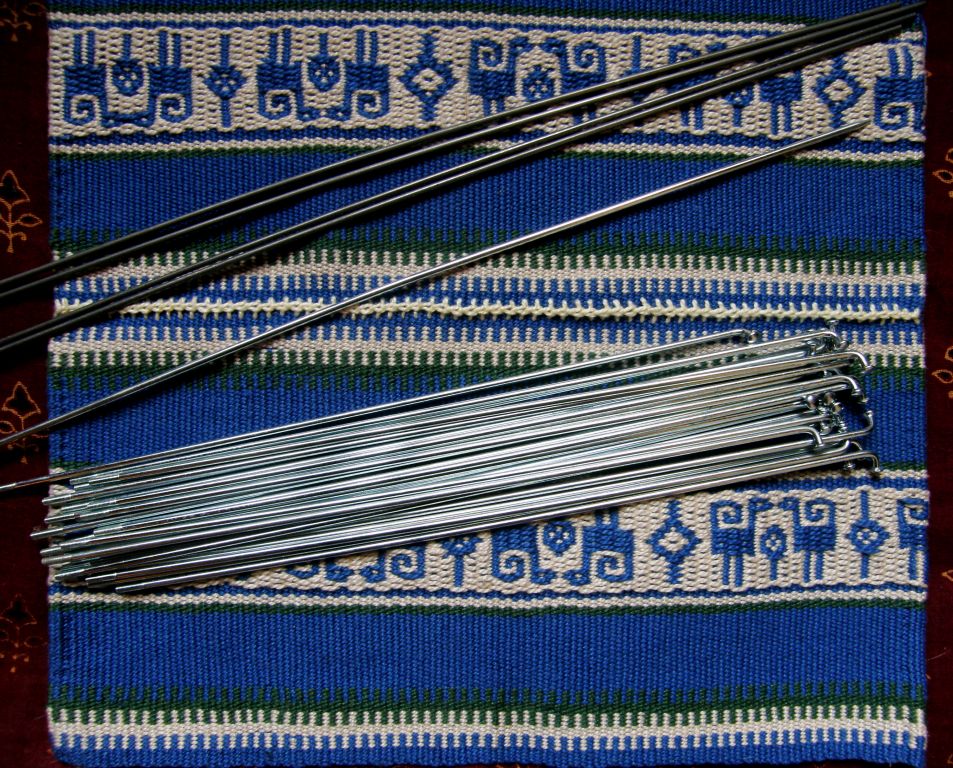
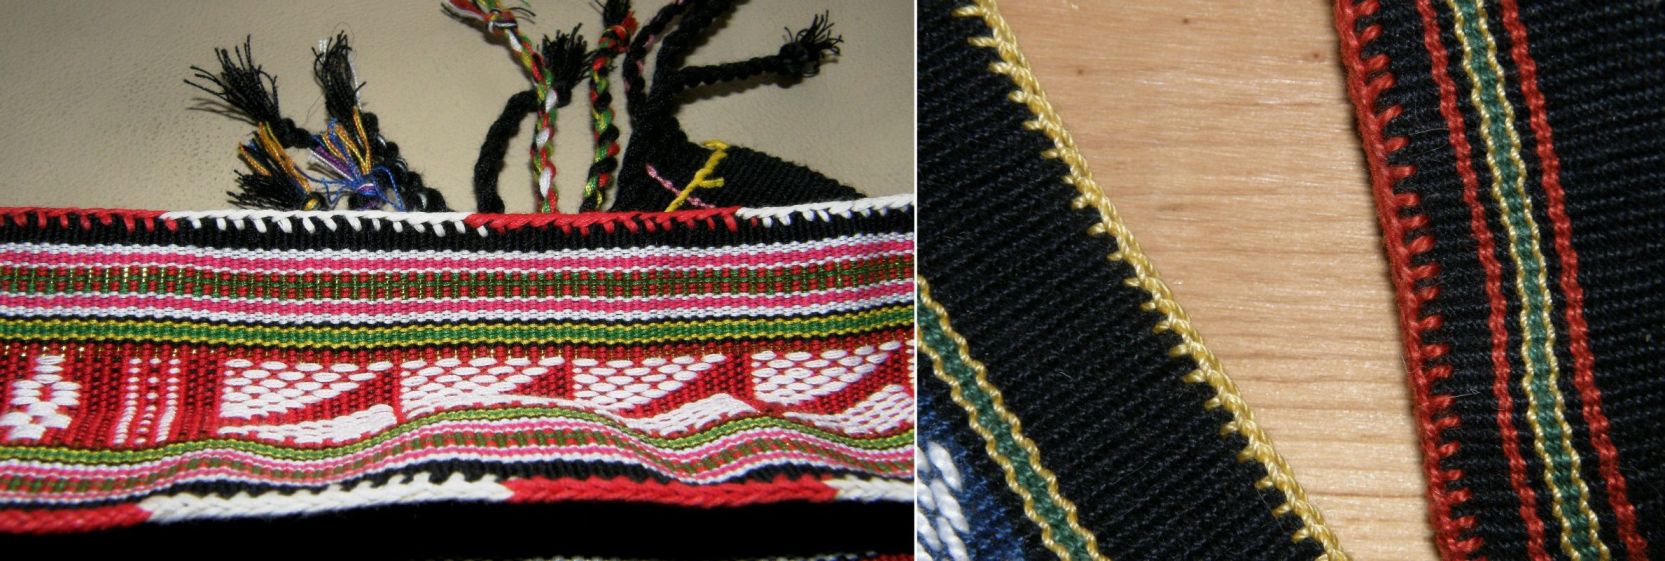
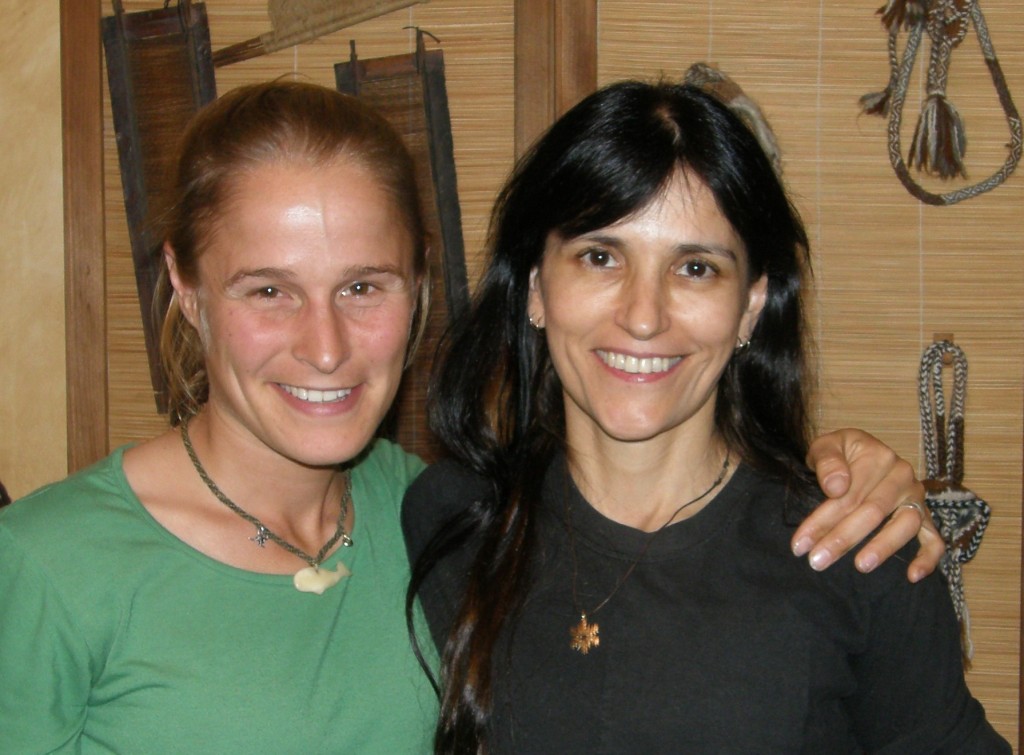
Different places, different customs…are you one for grits, biscuits and sweet tea or bagels, lox and giant mugs of coffee for breakfast? I love seeing all these different things when I am traveling. Different “tribes”, different places, different customs…

Christmas, Hanukkah or Festivus?
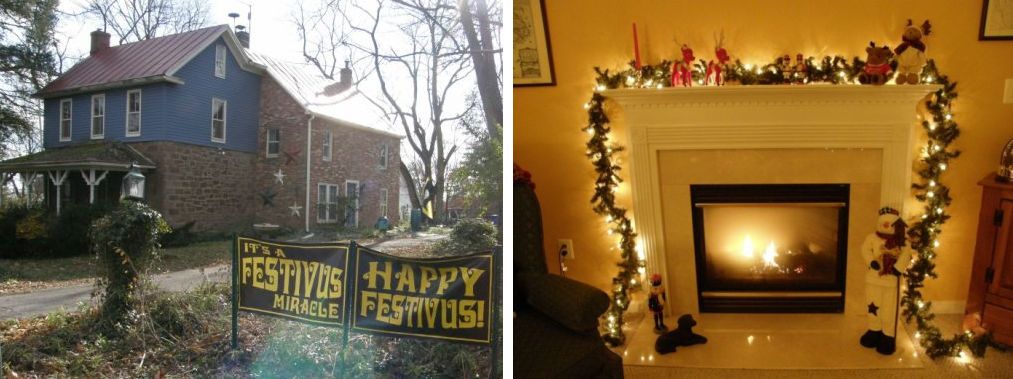
I had fun the weekend after Thanksgiving helping to decorate the tree in Claudia’s home and then we ran into this Festivus sign (for the Seinfeld fans out there) in Poolesville. Maybe the Festivus pole will make its appearance soon.
I am enjoying the cold weather here in the US getting wrapped up in scarves and gloves. It makes me nostalgic for my skiing days. I have been invited to spend a week in colonial Williamsburg with Claudia and friends and I hope it snows.
In the meantime, I have more to show and tell about the time I spent with the Montagnard weavers in North Carolina. They are all grouped under the general French title of “Montagnard” but Ngach, a Jarai women, tells me that the hill area of Vietnam is home to over sixty different tribes with their many similarities and differences in customs, textiles and weaving styles. I was able to meet people from the Jarai, Rhade , Bunong and Koho tribes during my stay.
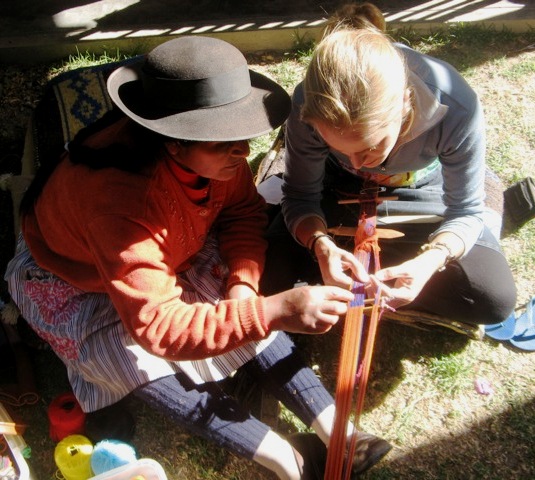
My twining classes were with Ngach from the Jarai tribe and Ju who is Rhade. I ended up spending more time with Ngach who seems to have had more experience with the kteh technique and whose eyesight is better able to deal with the fine threads that are used.
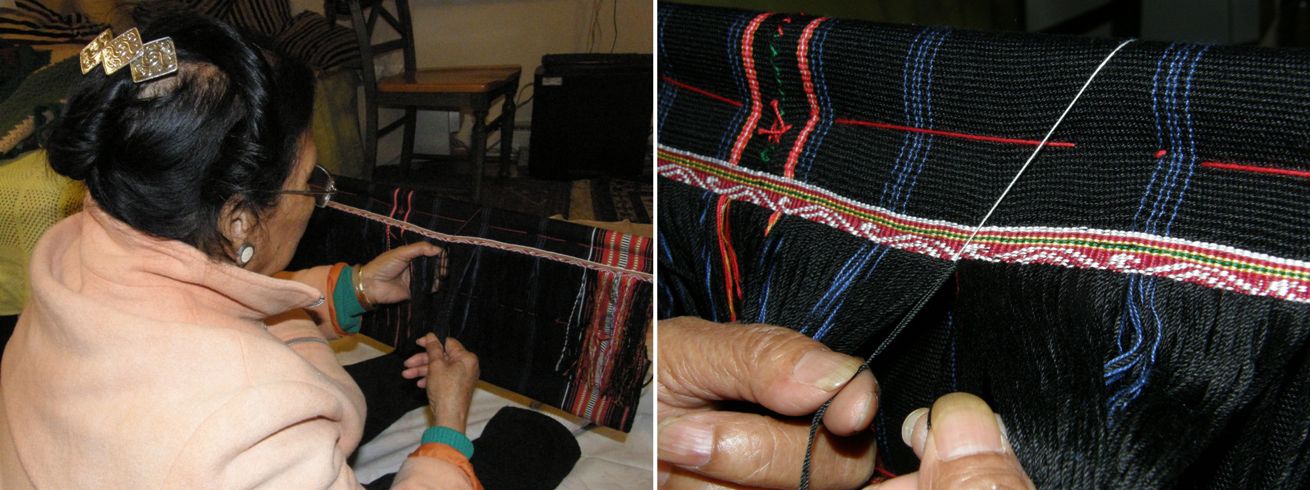
We twined this small border design on a child’s skirt as that is all that time would allow. Normally this would be followed by a large central design three to four times the width of this one and then finished with the same border. Ngach was a wonderful teacher, as I said last week, with a quick eye for catching my mistakes and a lot of attention to detail.
She would start a row and work it to the midway point and then let me take over and finish copying the design while she went back and started the next row. So, pretty much the entire left side of the work is Ngach’s and the right side is mine. You can certainly tell the difference between the two halves.
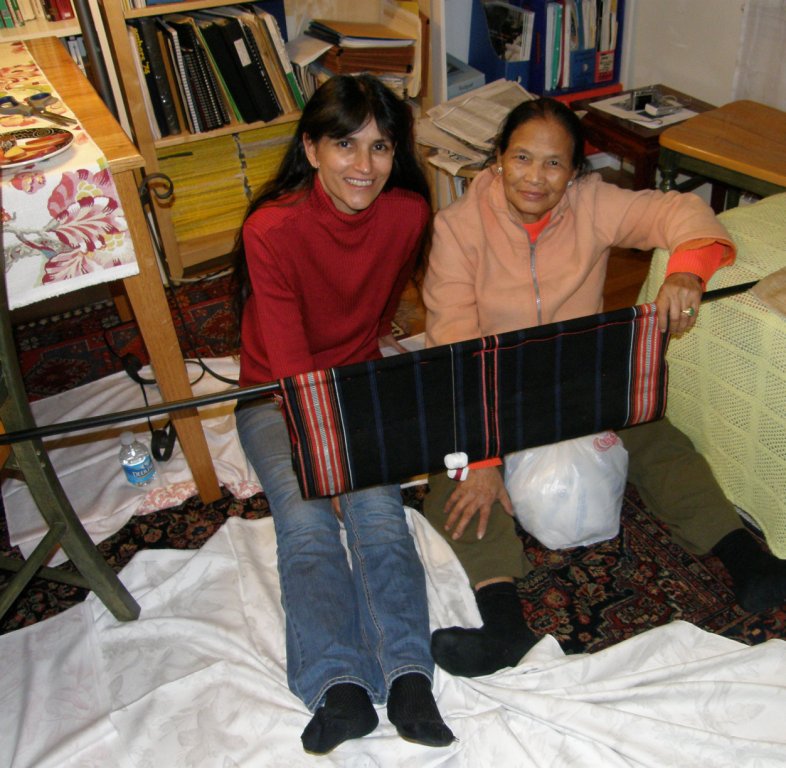 She asked me a lot of questions about Bolivia and was pleased and surprised by the similarities in climate, vegetation and food between the hills of Vietnam and lowland Bolivia. I showed her pictures of llamas from the highlands, weavers and weavings of Peru and Bolivia and told her about the custom of chewing coca leaves. She would ask me again and again to repeat the words in English so that she could tell, I imagine, all the stories to her husband when she got home.
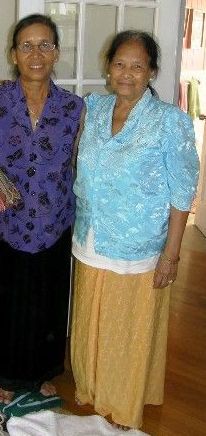 She then shared a story with me about how she had learned the kteh technique at the age of ten.
She was visiting her sister-in-law in her village who happened to be doing kteh that day and immediately fell in love with the designs and insisted on being allowed to sit and watch and try it. She stayed all morning instead of going home to prepare the rice for lunch as was her duty.
Eventually, angry messages and threats of slaps, in Ngach’s words, started arriving from her mother who had come home to find that lunch preparations were not underway. Both Ngach and her sister-in-law decided that it would be better for her stay on and pratice the kteh in the hope, I suspect, that her mother’s anger would pass. I don’t know what happened when she got home but Ngach soon became the one to whom other weavers would bring their finished loin cloths and other woven pieces so that she could make the intricate twined patterns. she would be paid with a leg or pork or sometimes cash.
She told me of one time that she stayed awake all night thinking about and planning her design and then got up in the morning to go straight to the store to buy her thread so she could get to work.
I think I really lucked out having Ngach as my teacher!
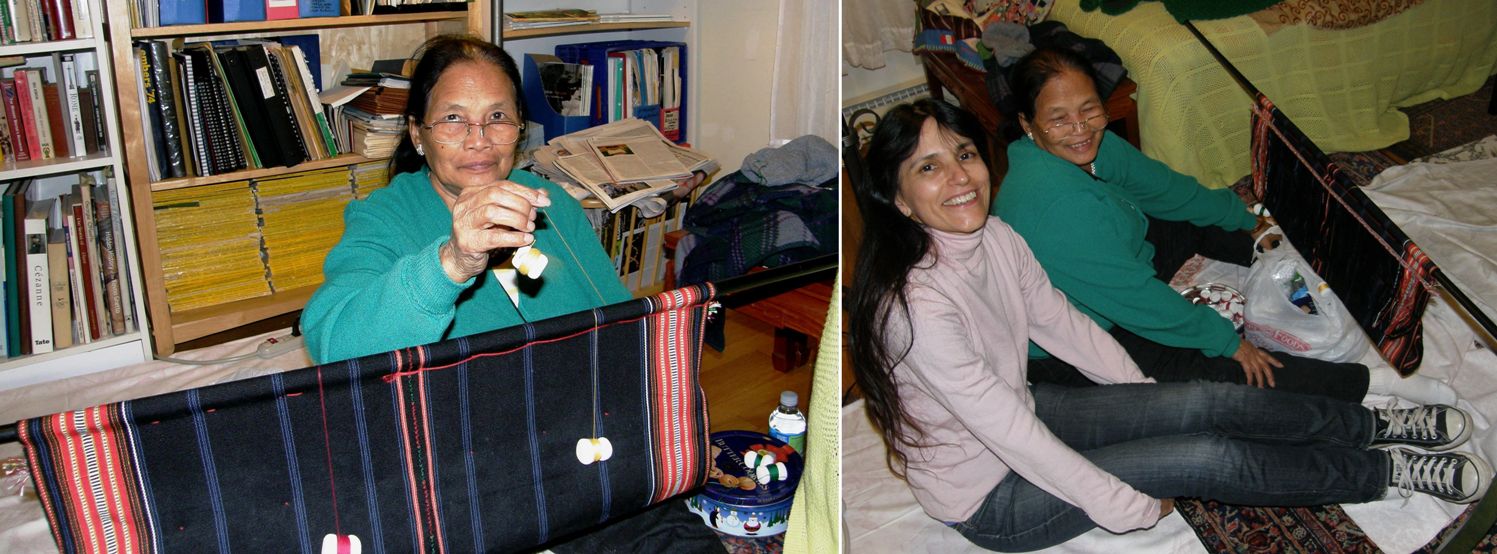
 And she softened and finally agreed to sell me two of her lovely cement bobbins. She also has wooden ones from Vietnam but I have not seen her use those. The cement ones are a little heavier and feel really nice in the hands although they can be a bit rough on the thread.
And here is the design finished with only the border stripes to go…that’s the easy part.
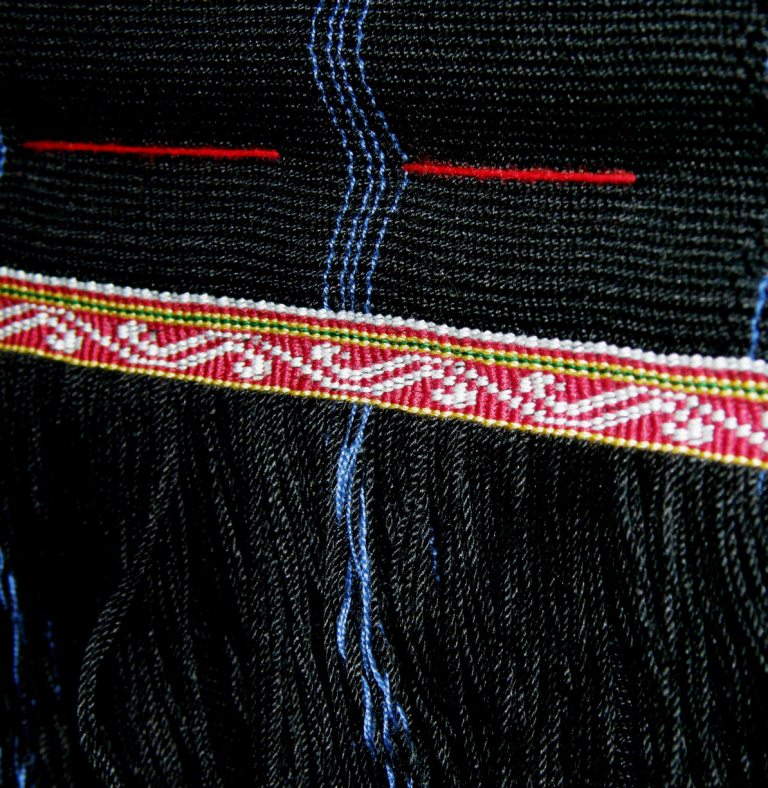
Betsy Renfrew, who is working with the Montagnard weavers and who made all this possible for me, has several books on the textiles of the hill tribe weavers of Vietnam. I had just been admiring a particularly beautiful piece, which was labeled as Maa in one of the books and which unfortunately was not detailed enough to allow me to see the technique, when in came Rah and her daughter Sel who are of the Bunong tribe (Betsy has found many variations of the spelling of this name), armed with a woven basket full of Bunong textiles. There was a piece with the very same technique that I had been squinting at in the book.
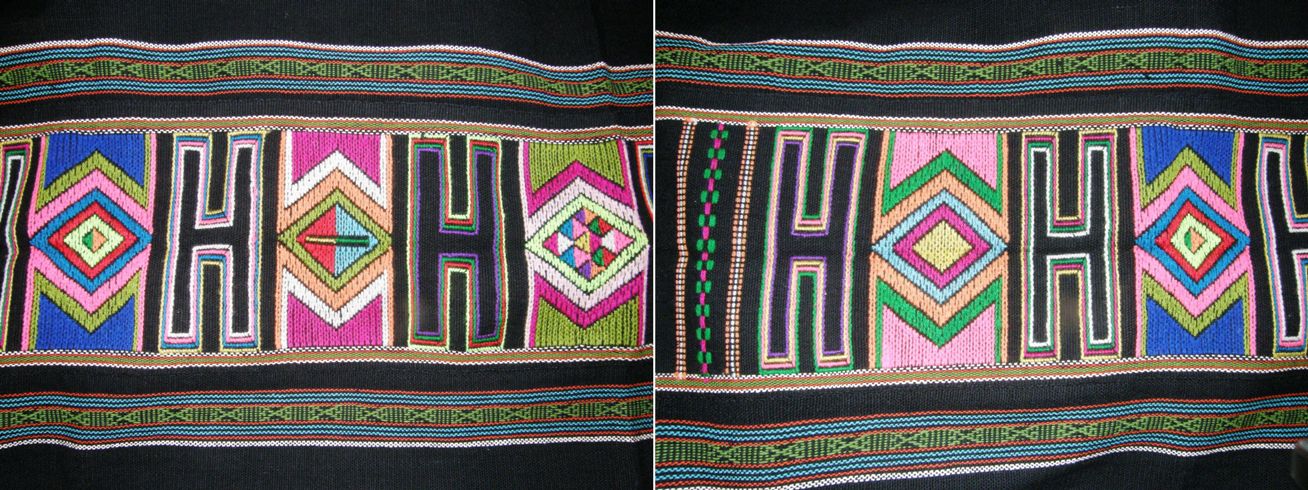
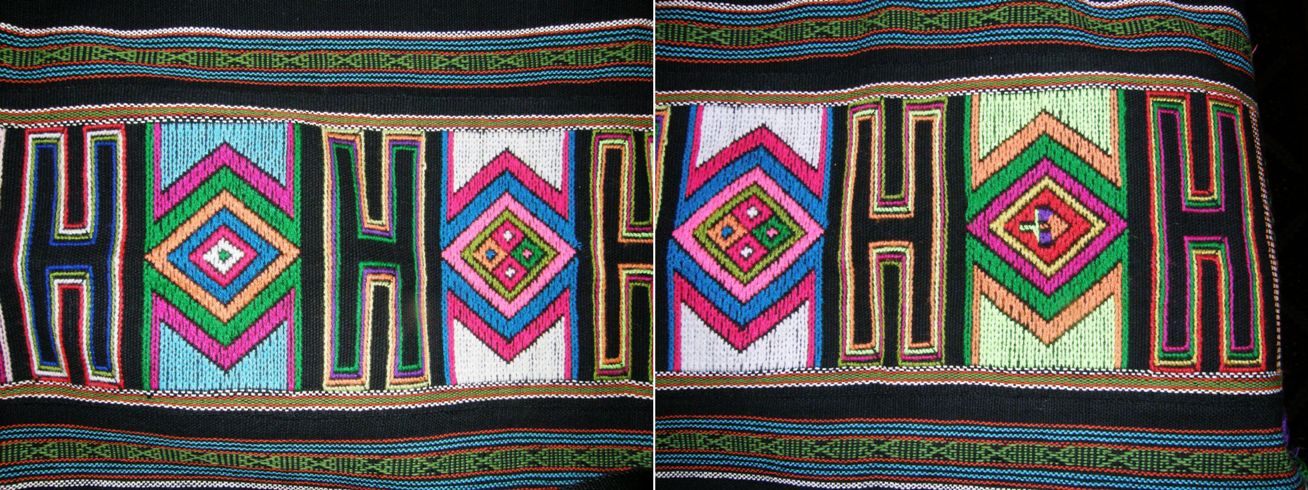
 Above you can see the work on the central panel of Rah’s gorgeous skirt.
Rah understands English quite well but has difficulty expressing herself.
I don’t think she had any problem understanding my excitement over this piece and my desire to learn how to do the patterning technique.
However, her fourteen year old daughter Sel told me that, although her mom would love to teach me, unfortunately she had not woven this particular piece nor had she ever learned this kind of patterning.
It had been sent over from Vietnam. Sel was happy to show off the baby carrier that her mother had made for her – a piece for which she has an obvious strong attachment and affection. Her blouse was woven by her mom too.

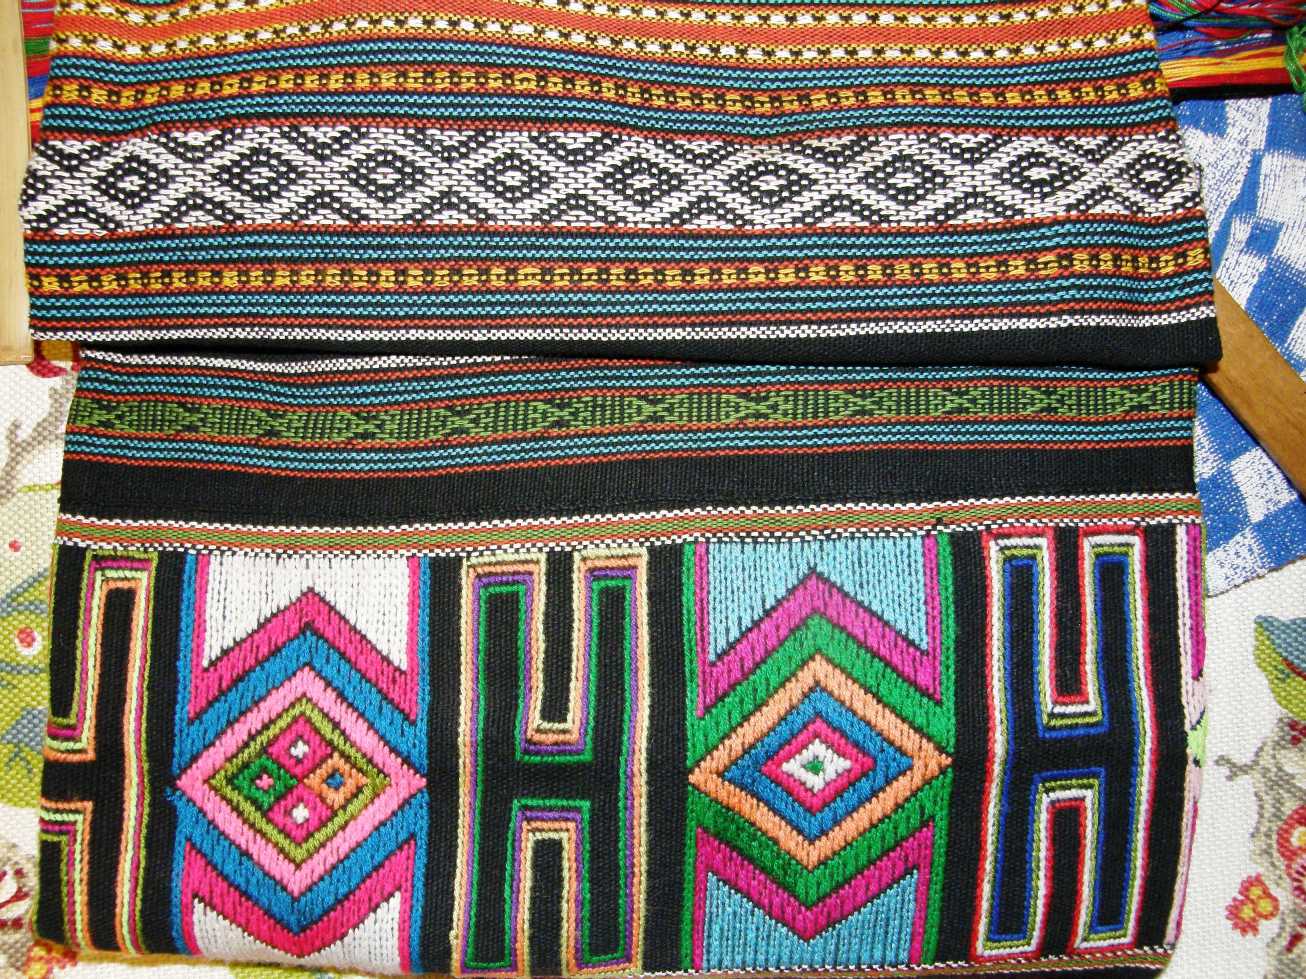
There are examples of Bunong skirts on the Tribal Trappings website where the structure is described as “a soumak-like technique”. As I am now the happy owner of Marla Mallett’s wonderful book on woven structures, I am hoping to perhaps be able to pin it down from her pictures and descriptions. It could be countered soumak but I need to look at this more closely. Any thoughts from my readers would be very much welcomed.
In many ways the patterns resemble those that are created using one of the warp wrapping techniques I learned in Guatemala. The main difference is that the Guatemalan style is worked in a shed on a warp faced ground weave and does not show on the back of the piece. The Bunong piece has a balanced ground weave.

Here is the beautiful “backpack” ‘basket in which some of the textiles had been brought to Betsy’s home…
 Rah enjoyed watching videos that Betsy has made of Montagnard weaver Ju Nie at work at her loom. Sel said that Rah had had a loom at one stage here in North Carolina but also said that some of the loom parts had been confiscated by airline security when they had attempted to bring them over from Vietnam. We are hoping that she may feel inclined to take it up weaving again and that even Sel may decide that she would like to learn.
One more look at that gorgeous skirt piece, this time showing some of the other float patterns…
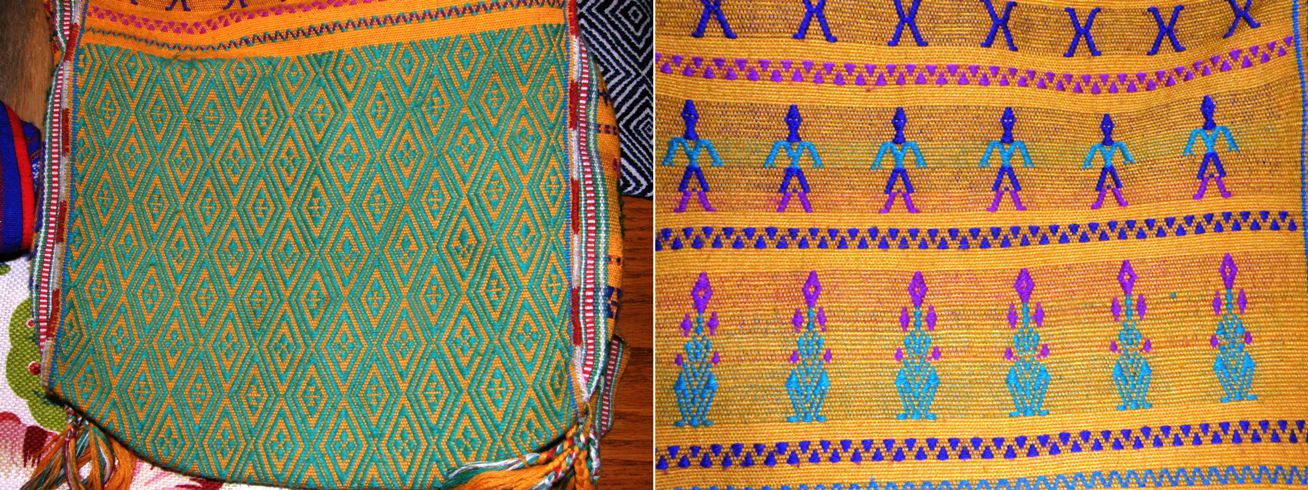
I loved this next piece too – a bag that Rah and Sel brought to show with all-over supplementary weft pattering on the body and supplementary weft patterned figures on the flap…
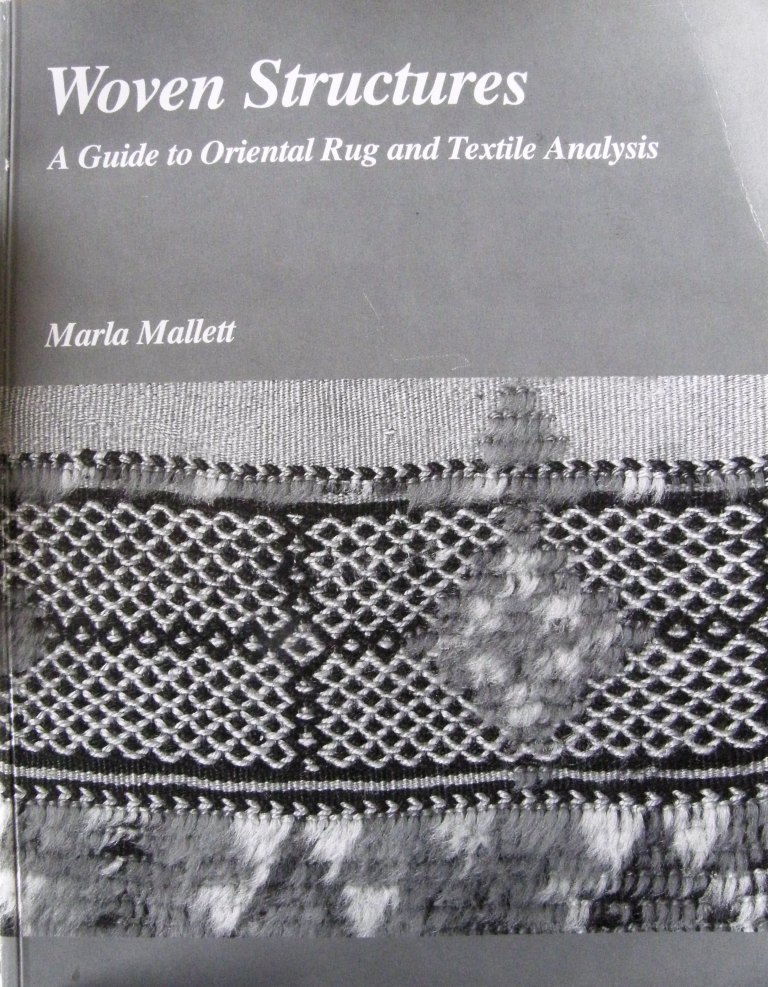 As I mentioned earlier, I was happy to be able to swap my Andean Pebble Weave book for the first edition of Marla Mallett’s book with someone who had recently purchased the second edition although I must say I am itching to find out what I am missing from the updated version!
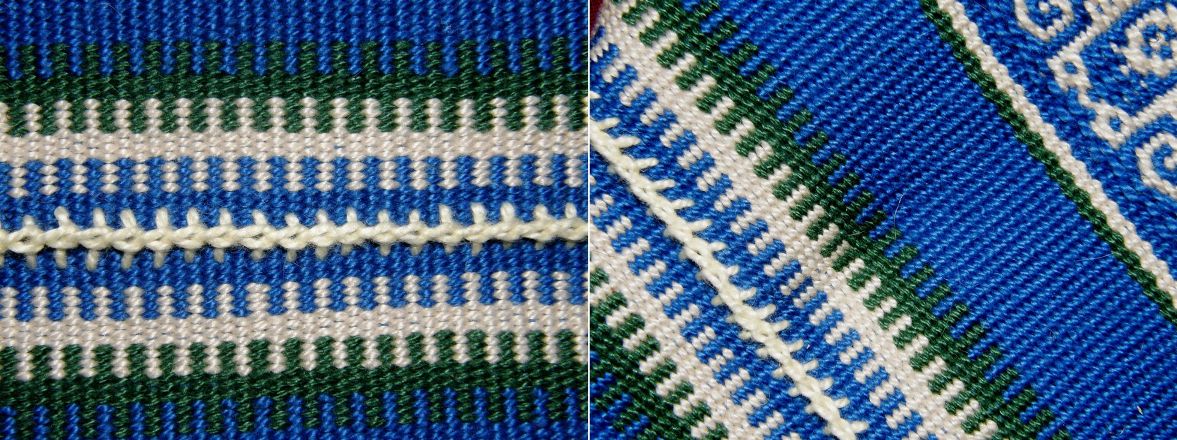
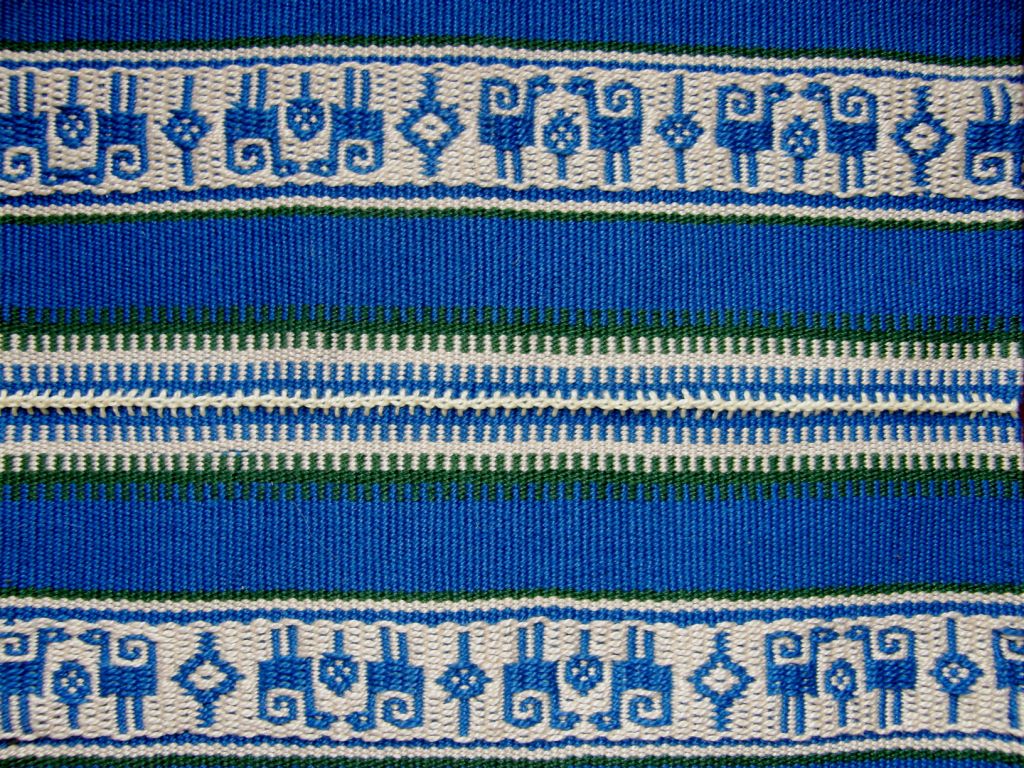
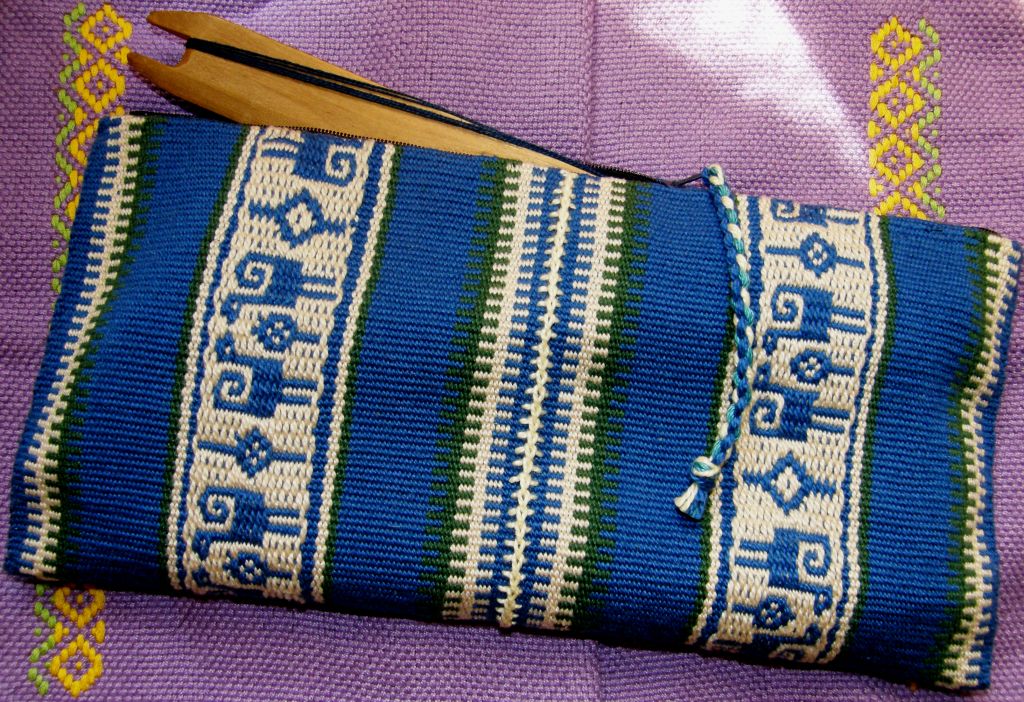
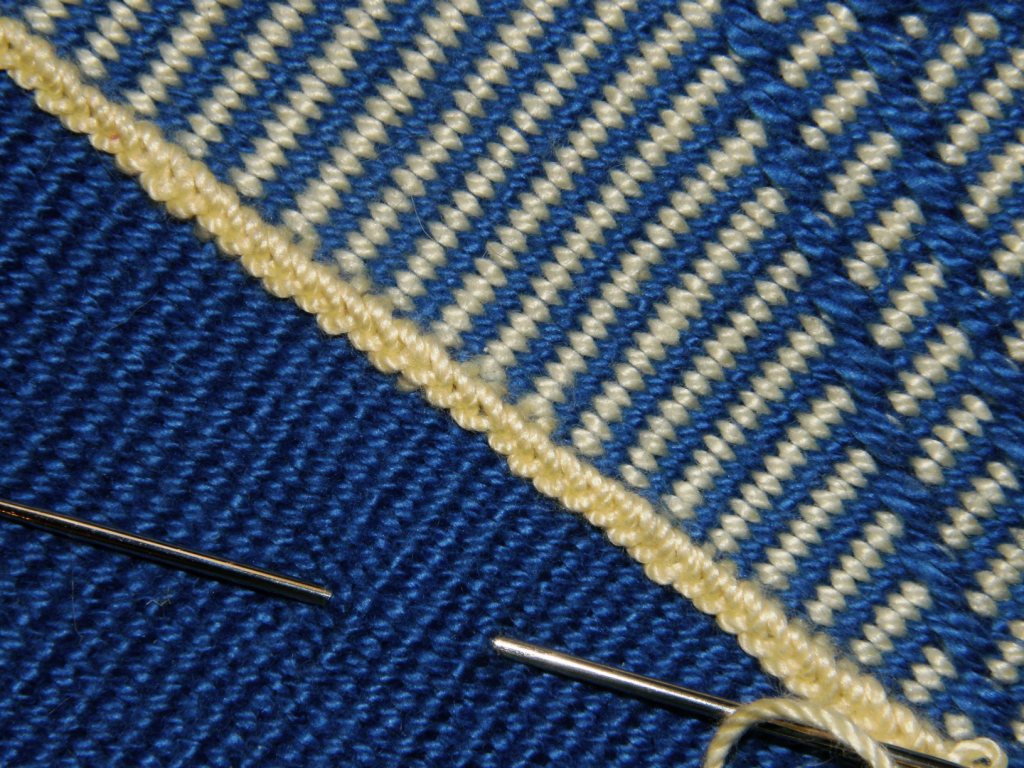
I simply haven’t had time to take a close look at it but one thing I did notice is that the cross knit looping ”stitch” which is often used by the Montagnard weavers to join their blanket and skirt panels or edge bags is a well known stitch in the world of embroidery known as the “Van Dyke stitch”. After seeing Ju’s blanket panels so effectively joined with this stitch I used it myself to join two of my woven pieces to make a tool bag.
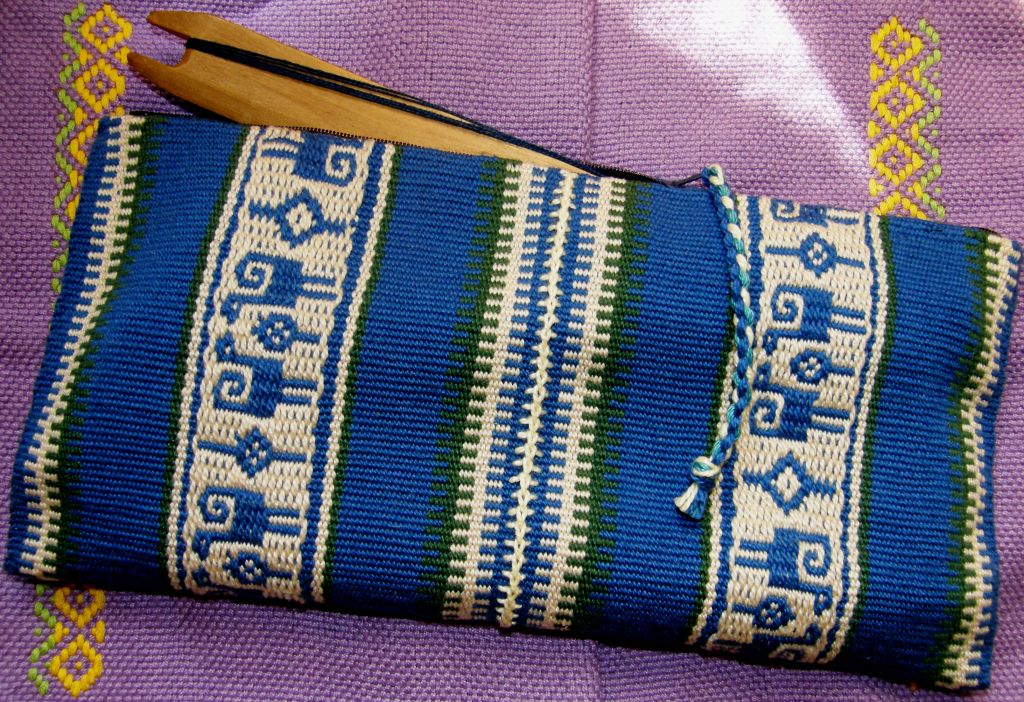
A closer view…
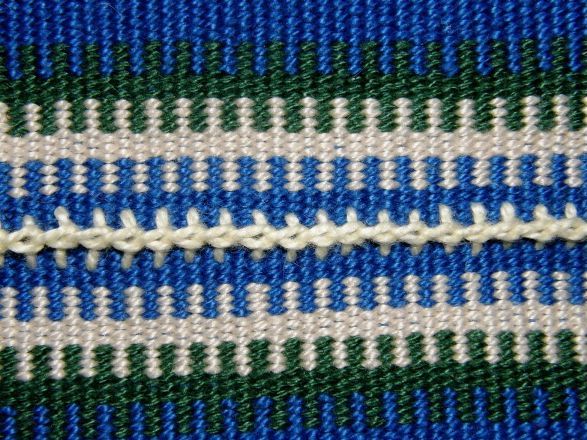
For those of you who would like to try this on your own work, I found a great video tutorial on Van Dyke stitch and I particularly like the way she starts the stitch which is not at all like the way I was taught by the weavers in Bolivia.
Marla Mallett shows an example of it on a south Persian bag. It’s amazing how these techniques show up across the globe. The Bunong weavers use it too and Rah’s bags were edged with it.
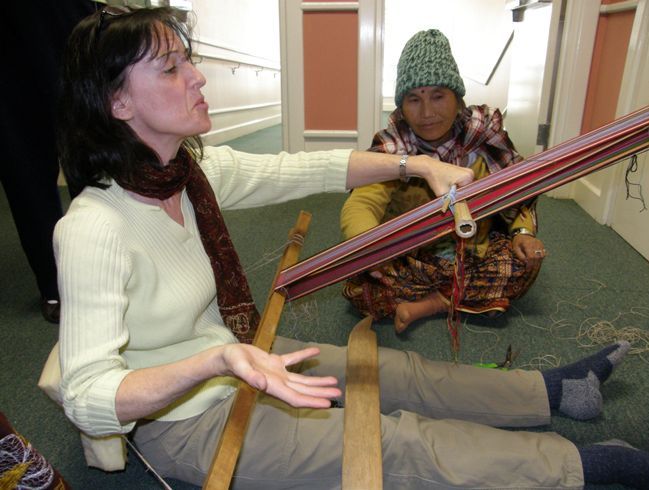
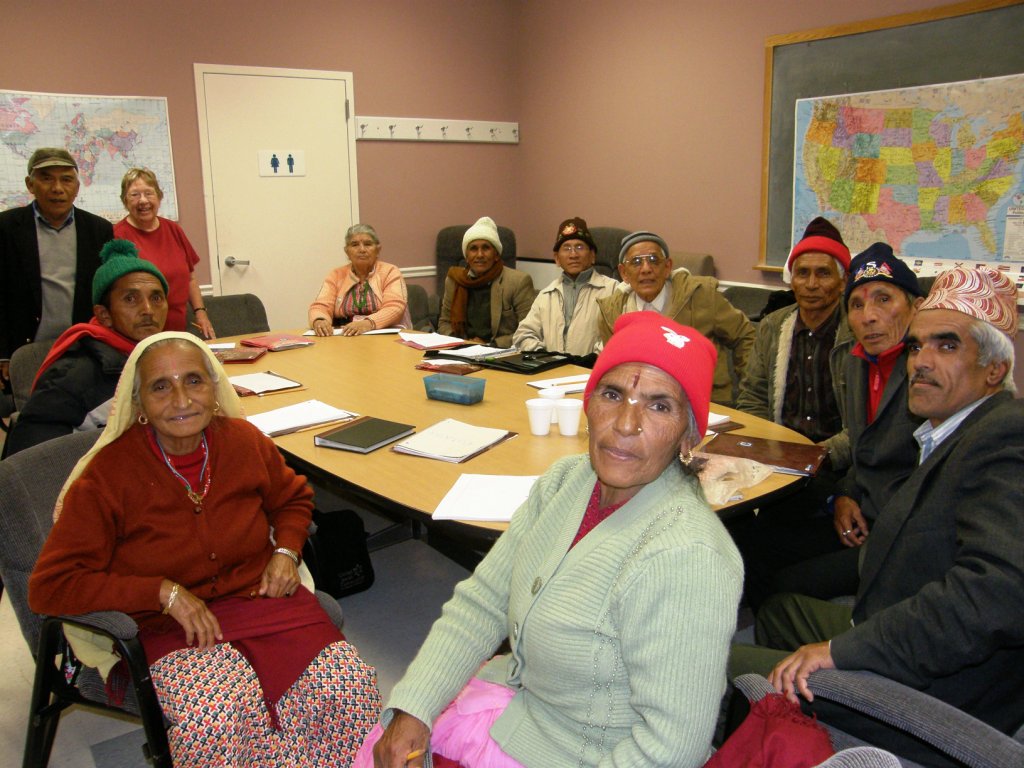
 My visit with Betsy also included an afternoon at the Seniors Center where a group of Bhutanese ladies and gents, recently brought here from refugee camps in Nepal, have English classes with teacher Mary Ellen. Betsy had organized to give a weaving demonstration during their class and so we took along the loom on which Betsy has been learning from Ju and a narrow double weave piece still on the loom that I have been working on while on the road. Again, Betsy is hoping to find weavers in this group who may like to take up weaving in their new home here in the US.
The demonstration certainly aroused a lot of interest and chatter with two ladies in particular very keen to help Betsy manage her loom. Betsy is learning to weave a narrow band on a very large loom which is not at all suited to this size of weaving. The loom, therefore, is very unwieldy. Ju weaves two bands at once side by side on these large looms to help overcome this problem.
One of Betsy’s helpers indicated with gestures that she weaves much wider pieces in Bhutan and showed the way she throws the shuttle across the warp. She patiently sat by while Betsy explained that she was just learning and still having problems opening the sheds until, finally, the urge to lend a hand became too great.
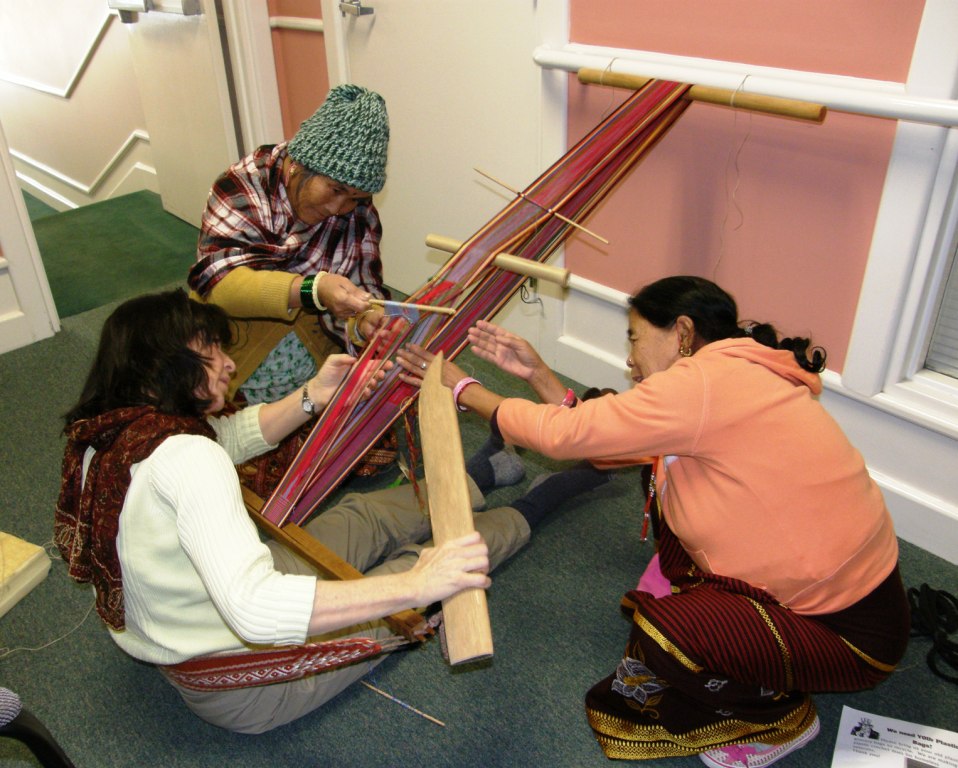
Above Ranmaya and Bhimaya Gurung are helping Betsy to open that nasty heddle shed.
 Poshupati (I am guessing the spelling) came along to act as translator.
He told me that he used to be the director of an artisan training center in the refugee camp that taught weaving and leather work amongst other skills.
Once most of the class members had returned to continue their lesson of “family” vocabulary with Mary Ellen, we were left alone with Ranmaya and Bhimaya and our looms and got along just fine without our translator.
I was surprised to find that I could remember a few words of Nepali from my two trips there in the eighties like the words for “finished”, “thank you” and “sister” which seemed to be a word used for any female companion.
One of the big problems with Betsy’s loom was the fact that the heddle stick kept falling out. This was not due to poor heddle making but rather to the fact that the loom bars are so wide that it is difficult to manipulate the sheds without tipping everything from side to side.
I told you all in a previous post about how Ju and Ngach set up their heddles during the warping process rather than later once the warp is on the loom. It is a tremendous time saver but I am far too fond of my string heddles with their extra hitch to adopt this method. I did, however, try it at home just to see if I understood how it is done.
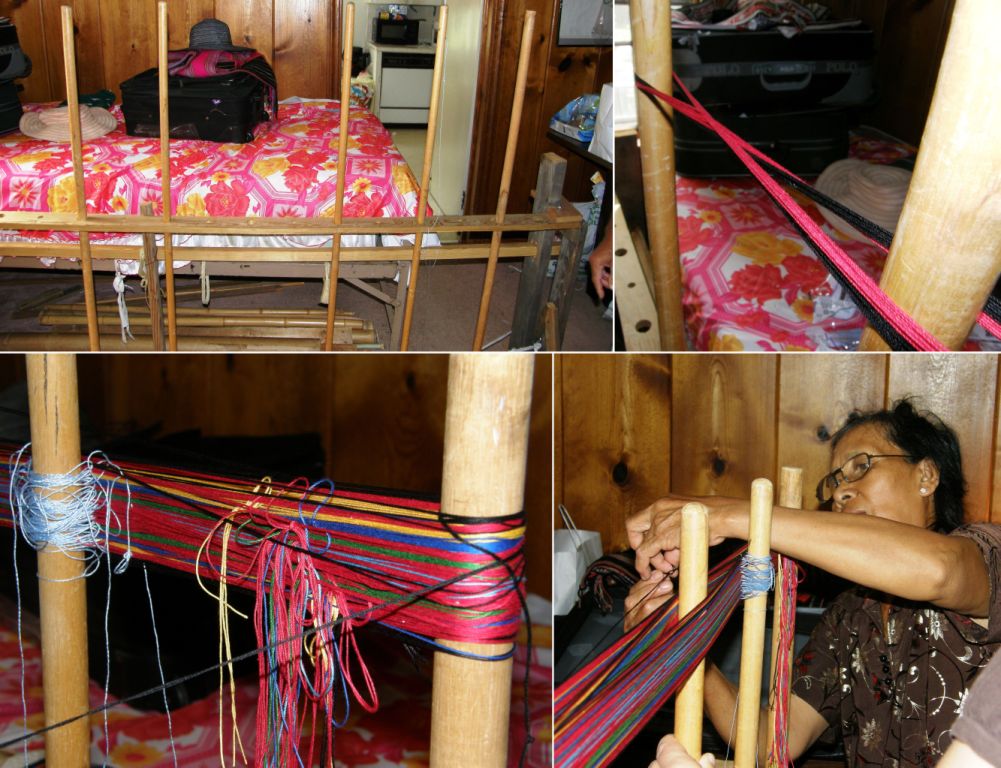
Here is a short video clip that I made on my last visit with Ju in August in which you can see her winding the warp and making her heddles as she goes. The stick she is using ensures that the heddles are of equal lengths.
BACK IN MARYLAND…….
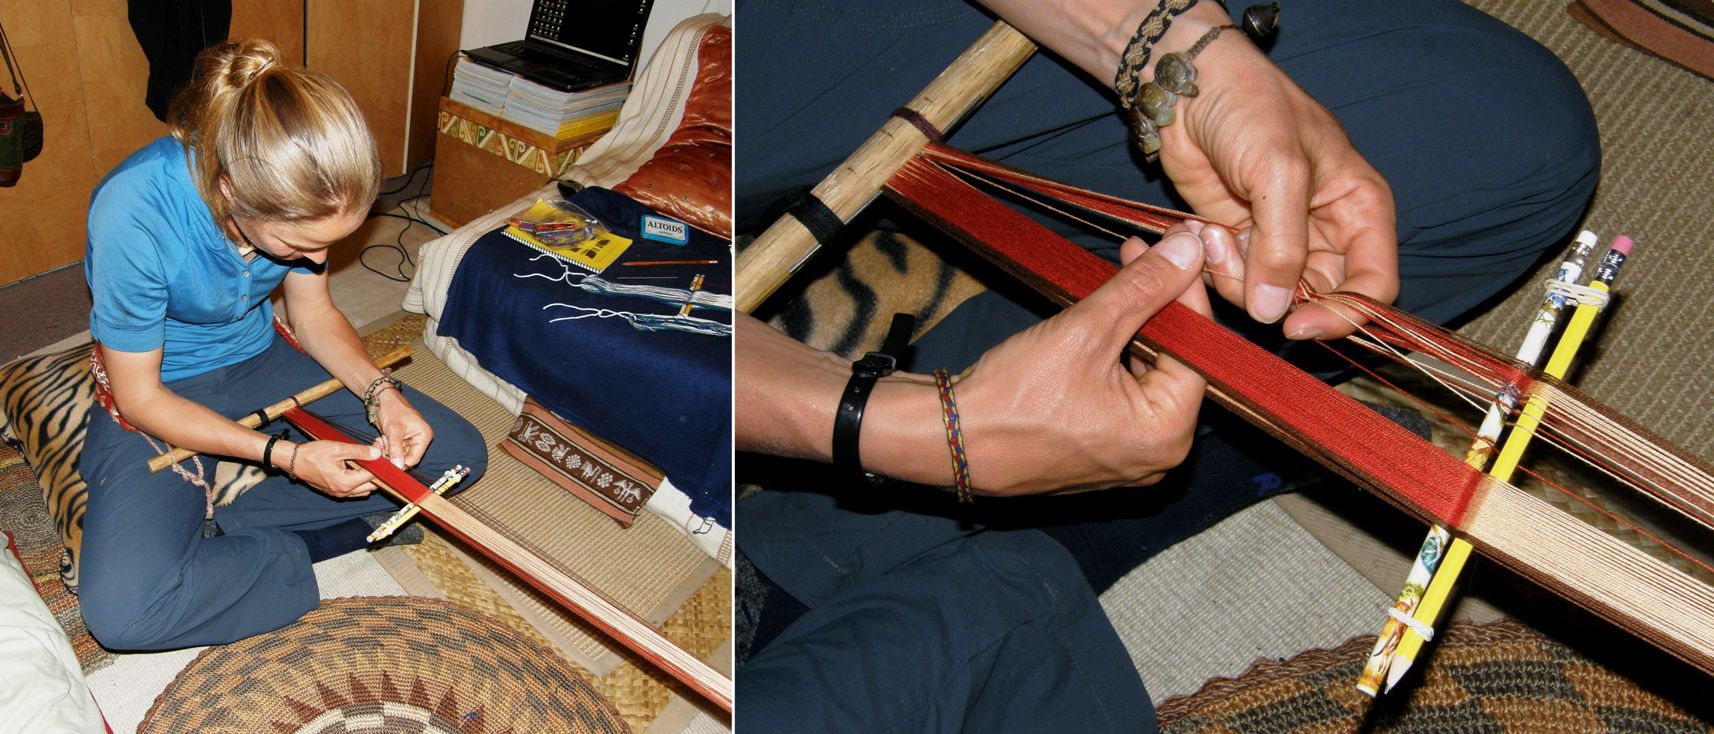
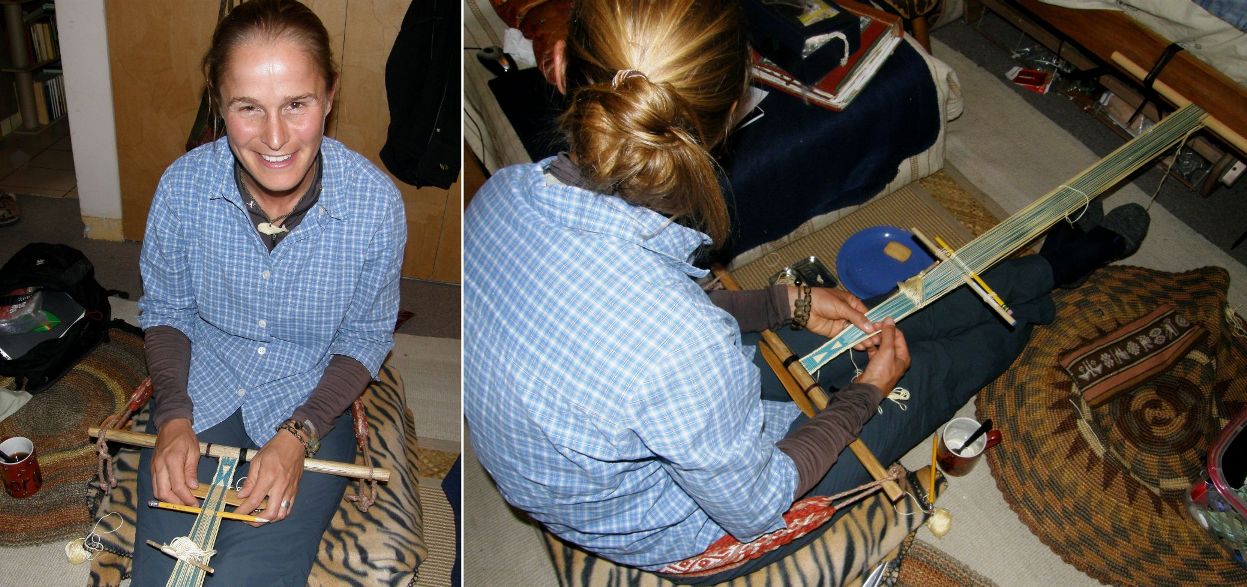
Claudia has been coming along well with her tubular woven bands to the point where she doesn’t need my help any more. I suspect she will have the directions memorized soon.
 I made another trip to the Textile Museum so that I could revisit the Central Asian ikat exhibit with a guide and use the museum’s library. The tour was good, our guide enthusiastic, but I was disappointed not to find any information on what appeared to be warp twined bands on the edges of some of the garments. I seem to be twining mad at the moment.
In the library I got to see David Fraser’s work “A Guide to Weft Twining and Related Structures with Interacting Wefts” which, sadly, can’t be had for under $300 these days but, then again, there it was in the library for me to peruse for free. It was quite a coincidence to find a mail from a Weavolution member a couple of days after with a link to a site which gave a virtual version of the talk which David Fraser had given on the weft twining in what he calls plateau bags at the Textile Museum in August.
There is a great photo here on the same site which I really like of a woman twining a bag in much the same way as I have been doing at home with the piece simply held in her lap…no loom and no tools, except that she twines with the warps extending away from her.
Upstairs in the Education Room at the museum, the only place, the guide told me, where one can take photos, I was able to clear up my confusion about the different kinds of ikats.
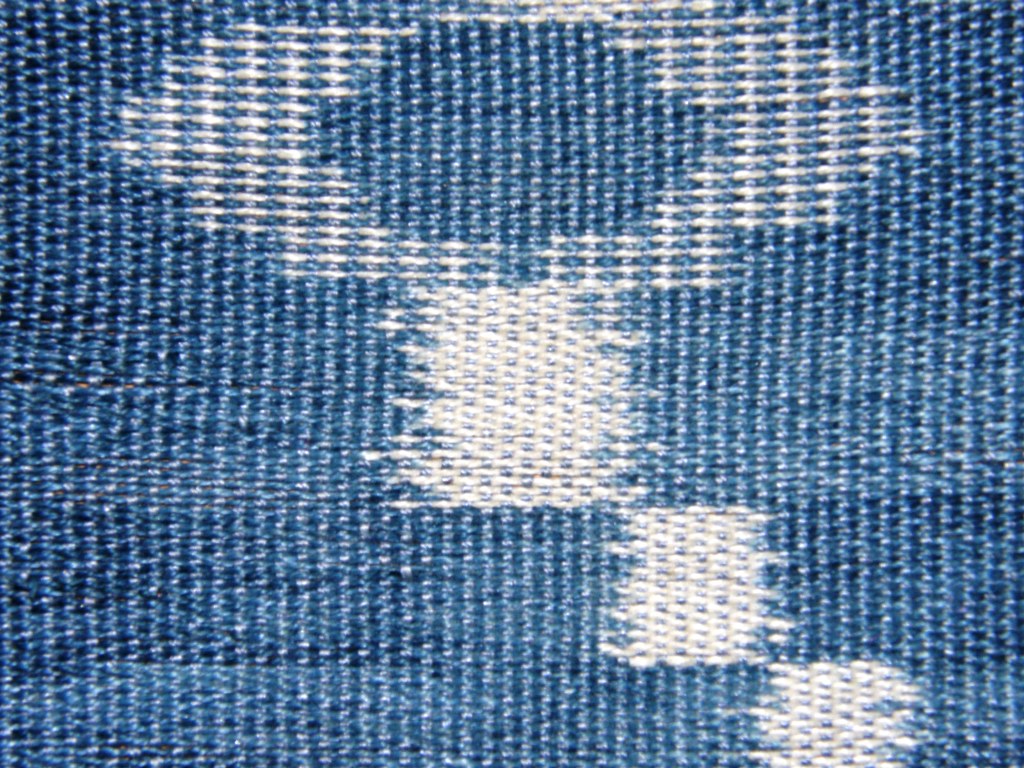
This is weft ikat where horizontal resist dyed yarns are predominant in the fabric.
 Both warp and weft yarns can be resist dyed separately and then used to create independent designs in a balanced weave fabric. This is called compound ikat.
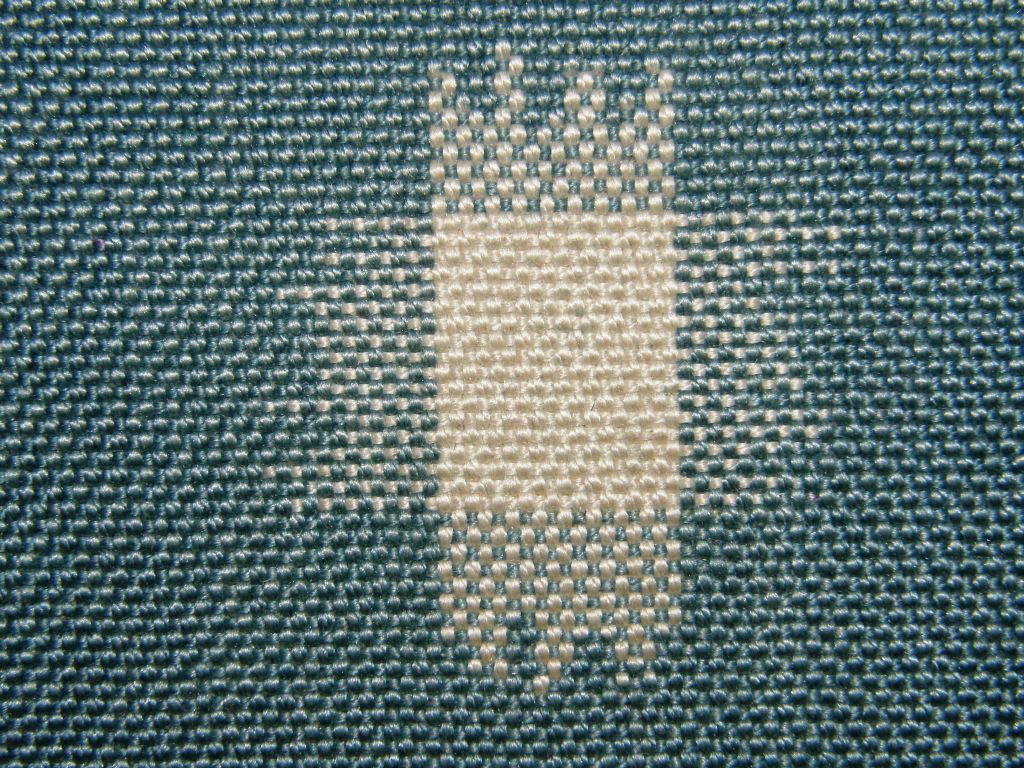 In double ikat the weave structure is balanced and resist dyed warps and wefts meet to produce a single design.
I don’t think I had ever seen a piece of just weft ikat fabric until once again along came someone at Weavolution with a link to a gem of a video on traditional Laos weaver Bounxou Duoheuang and her inlay work. Wait until you see the piece of weft ikat that she prepares towards the end of the video.
I will finish off here by showing once again the wonders of the online Worldwide Weaving Guild which is, by the way, the way I first found out about Betsy’s work with the Montagnard weavers. This week I would like to show you what Tracy has been up on her backstrap loom in Qatar. Check this out!!
 I was going to give you the whole story here but Tracy has covered it on her blog with lots of background and details so you can read about what it took to produce this gorgeous piece.
 Above is a sneak peek at the work in progress but you really need to read the story of how this all came to be. Note the plastic tape that she uses for her heddles.
And here is the amazing backstrap that a friend gave her as she took her first steps in backstrap weaving. Does anyone have an idea about its possible place of origin?
Next there’s a balanced weave piece on the loom that I know is already off the loom and done.

I am saving a few more stories from the Montagnard weavers for next week’s writings from colonial Williamsburg. Let it snow, let it snow, let it snow!
I have a million thanks for Betsy Renfrew and Andrew Young who hosted me during my stay in North Carolina and made all these encounters with the Montagnard people possible.