And suddenly it was spring!
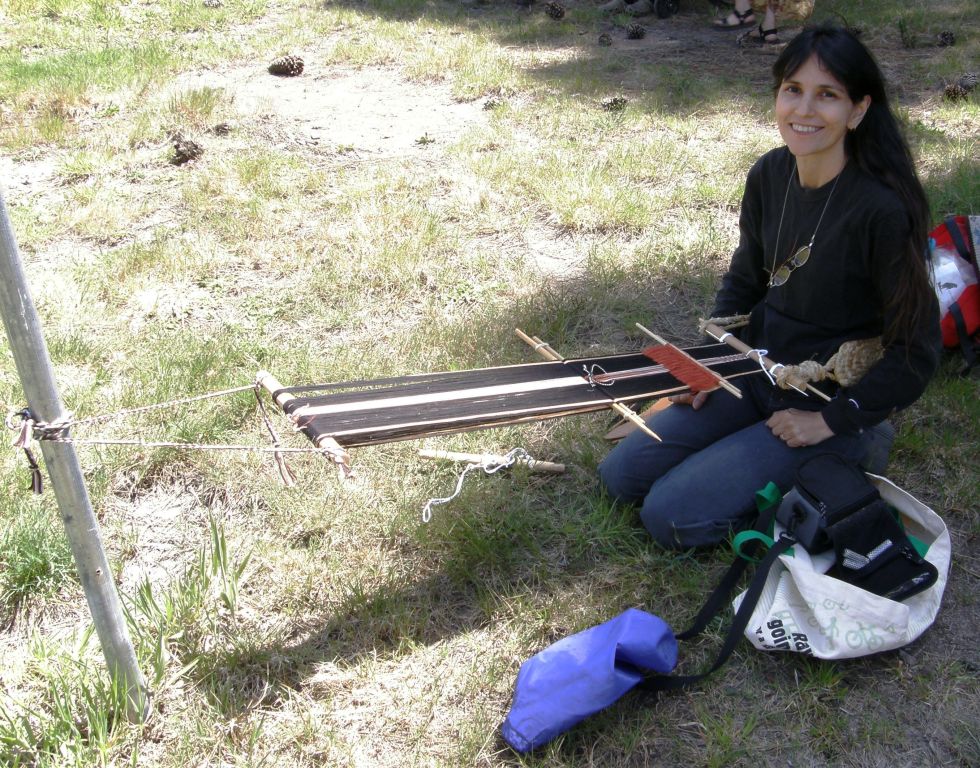
May Day…spring is here and a lovely day was spent outdoors at a couple of festivals around my friend Janet’s home in Humboldt County, California. I was happy to be out with my toes in the grass.
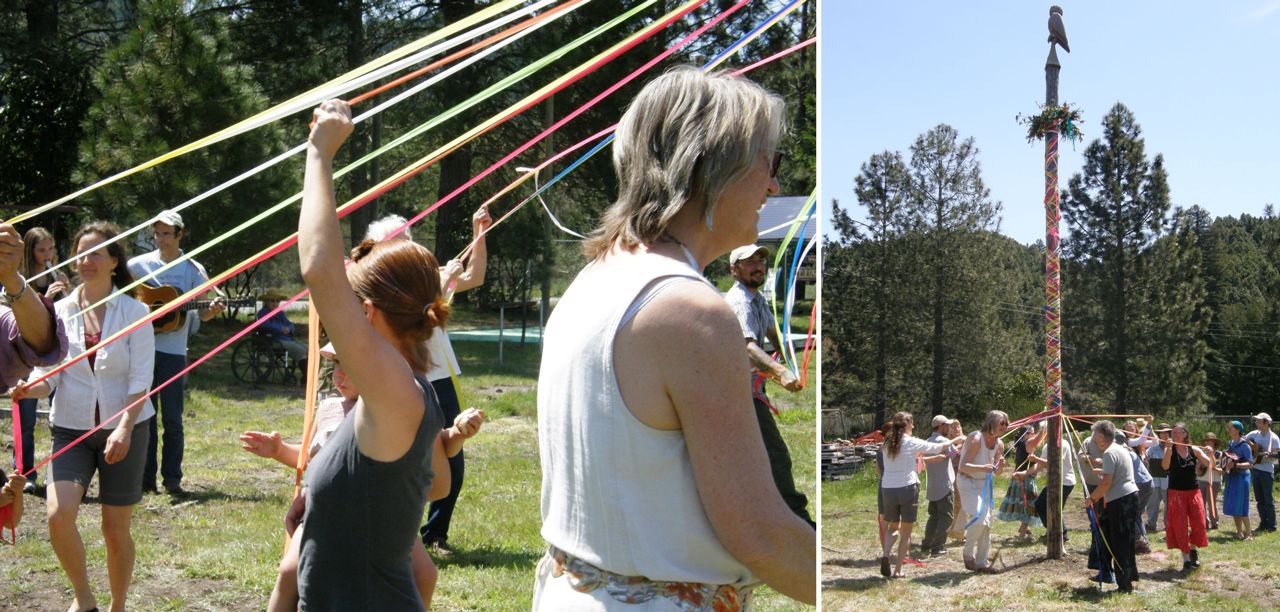
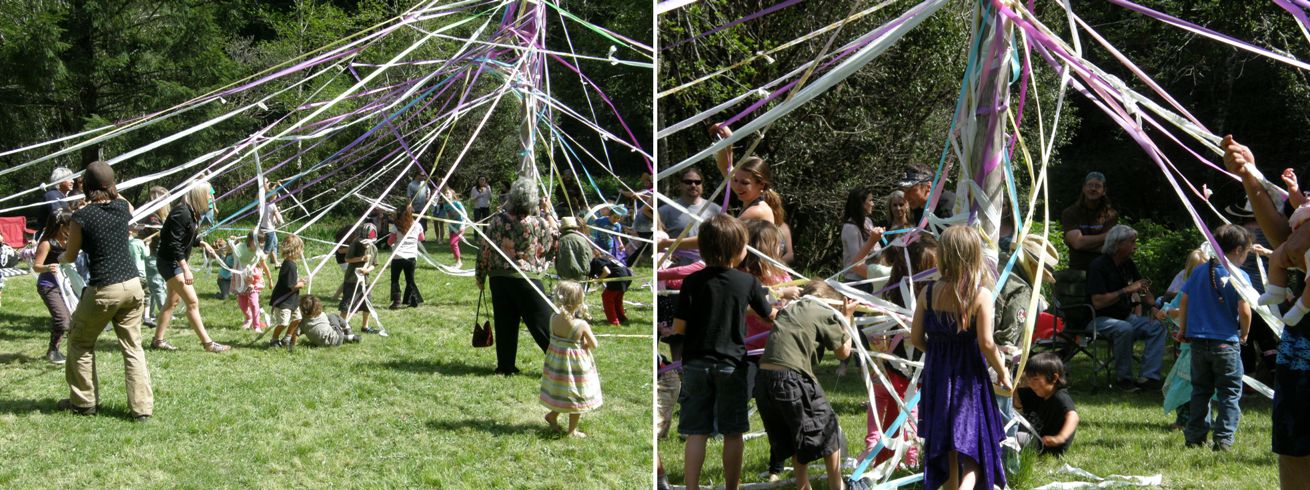
I had never attended a May Day festival before. I got to see the Maypole dance with participants of all ages weaving their colored ribbons as they danced around the pole.
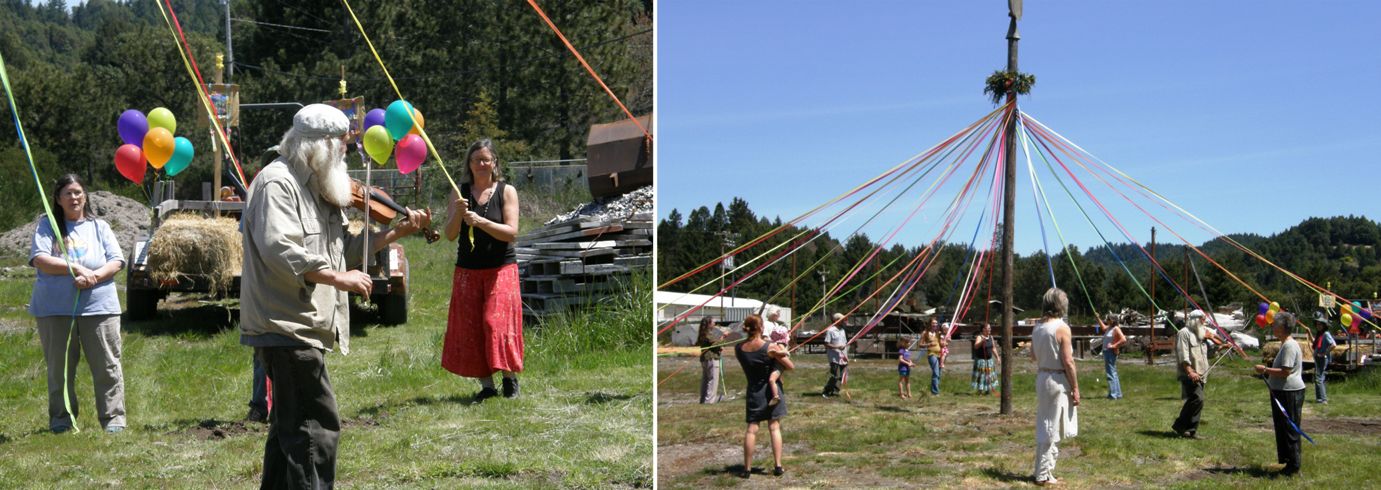 Everyone was “fiddled” into action by Joseph and a group of local musicians made up of Janet’s neighbors with Janet herself on mandolin kept the weavers’ feet moving. Janet’s neighborhood is full of talented musicians and singers.
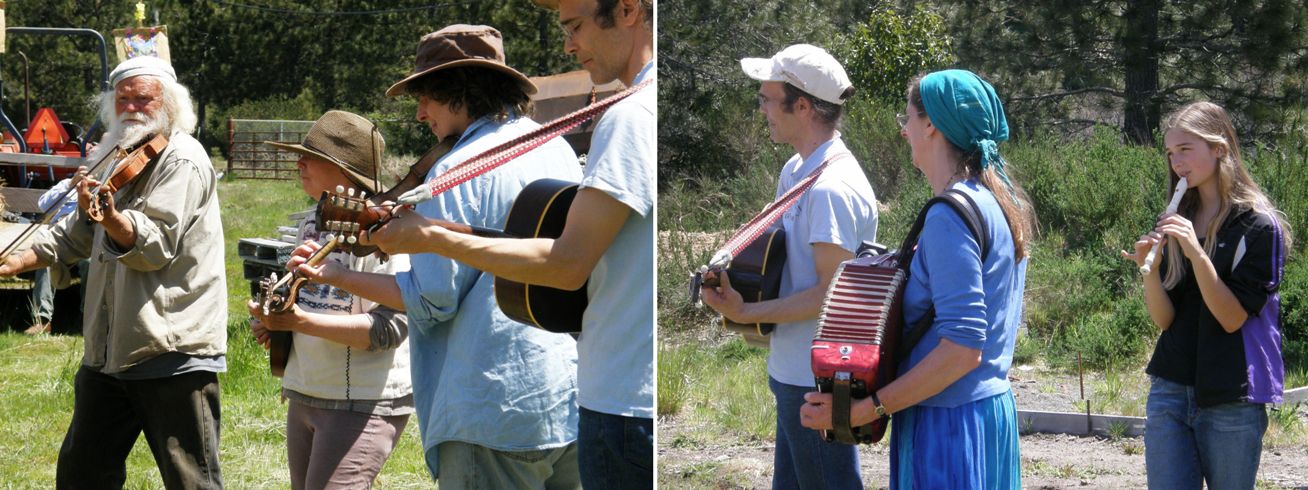 My online backstrap weaving friend Cookie, who had come up from the Bay area to weave with the group at Janet’s Mill, also took part and I was the photographer.
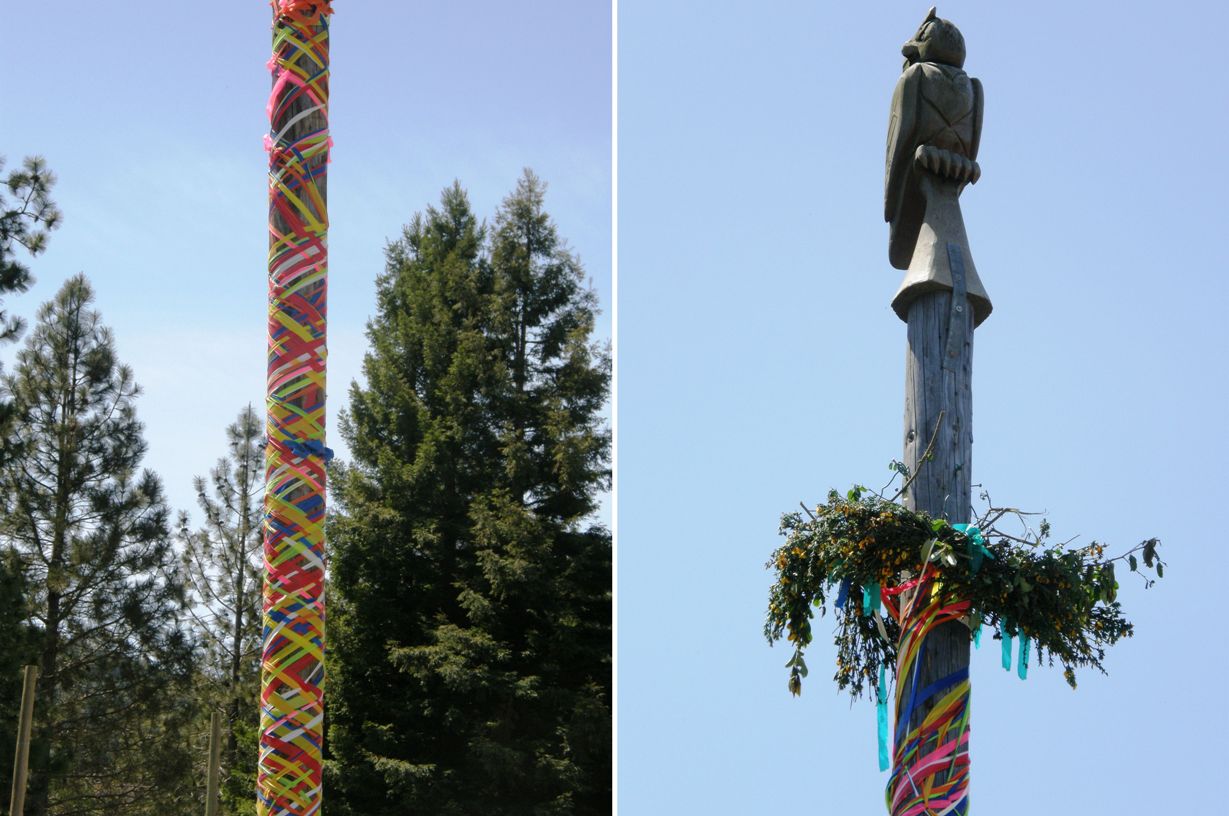
It was a very well organized dance and the weavers made a pretty wrapping for the Maypole.
 Here is the “weaving” (or should it be called a braid?) that the dancers created.
 I don’t know the origin of this tradition or what it is all supposed to mean and I don’t think anyone else did either…it was just a lot of fun and we couldn’t have asked for a more perfect day.
From there we took a hayride to a pond where we set little boats of lighted candles afloat and sang a song about a “river growing and flowing down to the sea” before enjoying the potluck lunch.
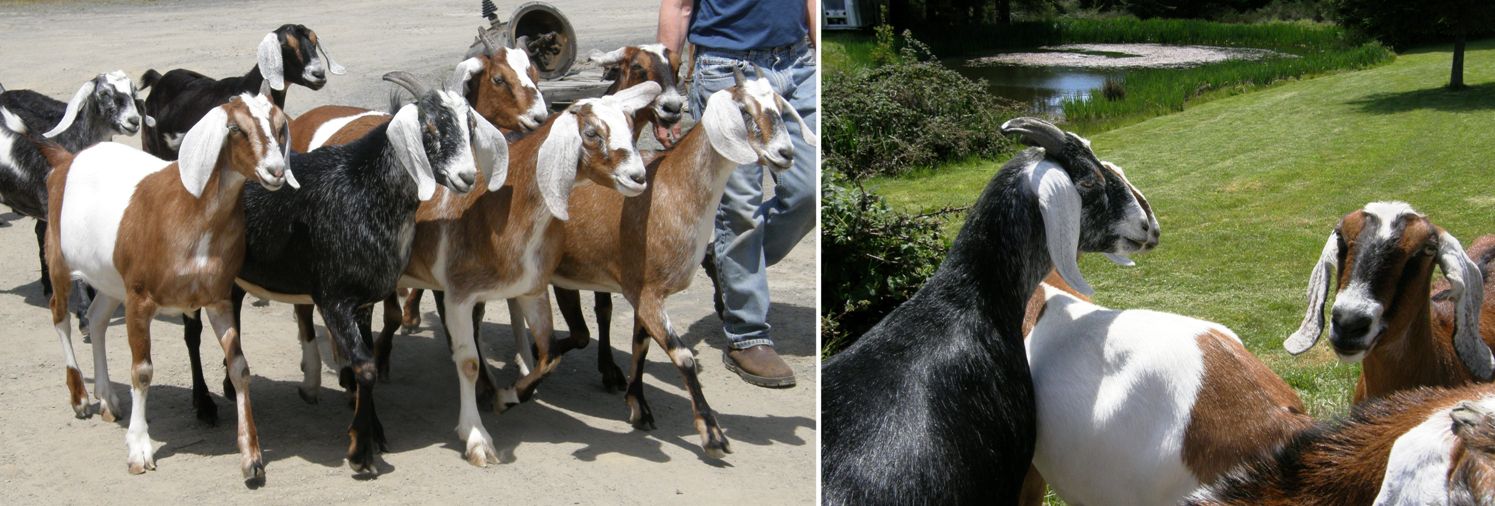
We had some unexpected visitors…these sleek, glossy and very friendly goats were out for an afternoon stroll and enjoyed nibbling the blackberry bushes while we lunched.
Most of the people from the backstrap weaving group were there and Gail brought the pebble weave band that she had gone straight home to weave after our time together had concluded. Now there’s a keen weaver and backstrap convert!
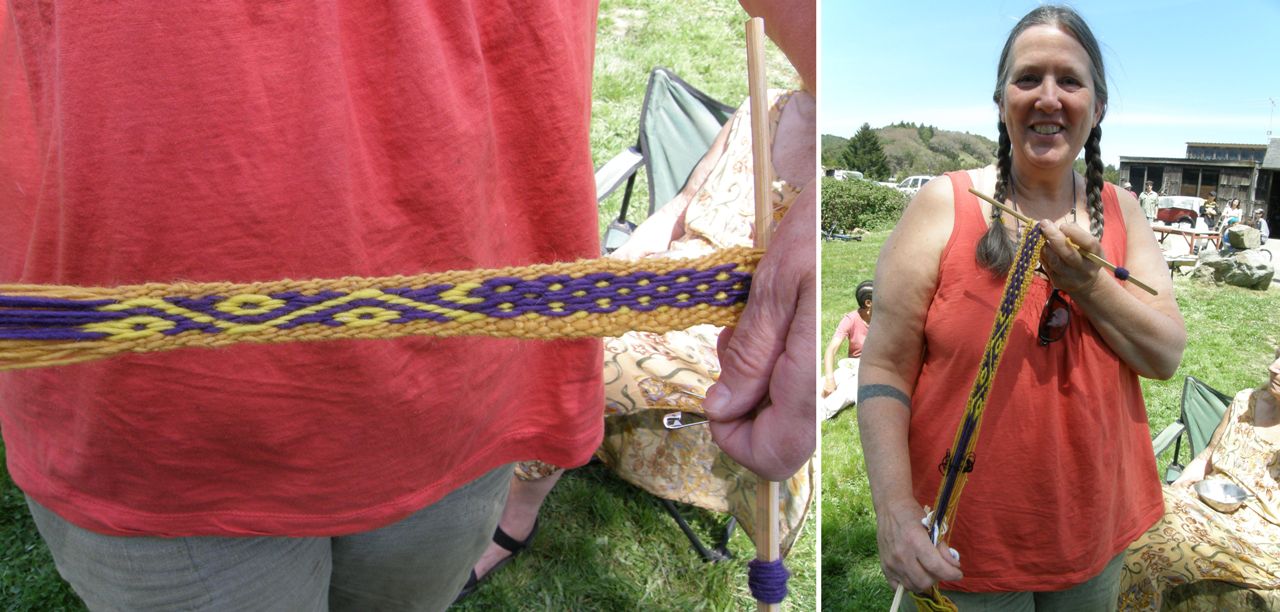 Here Janet and I said goodbye to Cookie. She went home with the bands she had made in the weaving group and a lot of roving which she purchased from Janet to spin and weave into a backstrap.
From there we headed to another May Day festival with yet another Maypole dance. This one was something else all together! The musical instruments were somewhat different…
 That’s Dennis at the bass. He was in our backstrap weaving group.
And the Maypole dancers/weavers, who were mostly little guys, started out chaotically and finished in a giggling heap with many of the weavers finding themselves bound to the Maypole and loving it!
 Marimbas, flutes, upright bass, violins, guitars and mandolins…kids and dogs frolicking, good food and lots of sunshine.
It was a nice day and a nice end to the three weeks that Janet and I had spent together backstrap weaving with folks from southern to northern California.
The following day we drove up to Grant’s Pass in Oregon and parted ways. I took the bus to Portland and am staying just over the state line, over the Columbia River, in Washington at the home of Betty Davenport.
 The weaving group at Janet’s Mill was fun. We had people come to weave for three days and a few day trippers came by too.
All of them were Janet’s friends, farmhands or neighbors. I had already woven with a couple of them on my visit last year….neighbor Yani and Karen who just happens to be Bolivian and who lives at the Redwood Monastery.
It was fun to see those two again. Janet’s Mill was just the best place to weave in. We anchored the warps to shelves or to her floor loom.
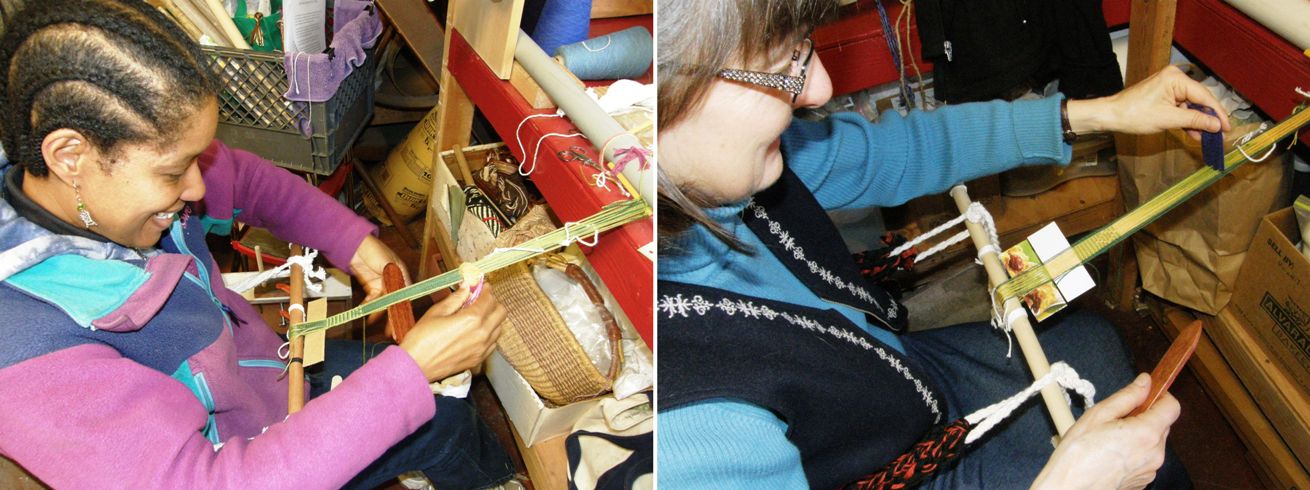 Cookie and Janice are working here on warp float patterns.
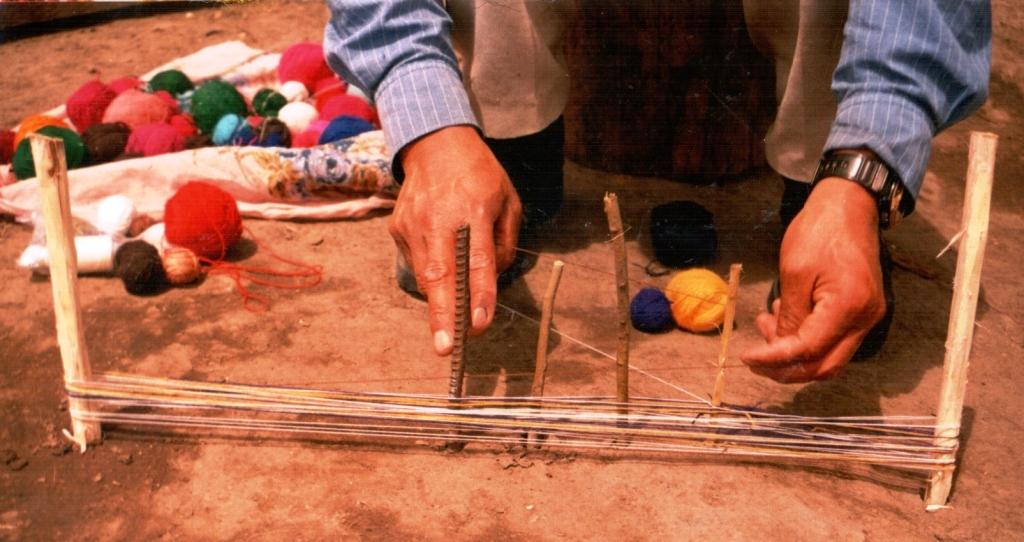
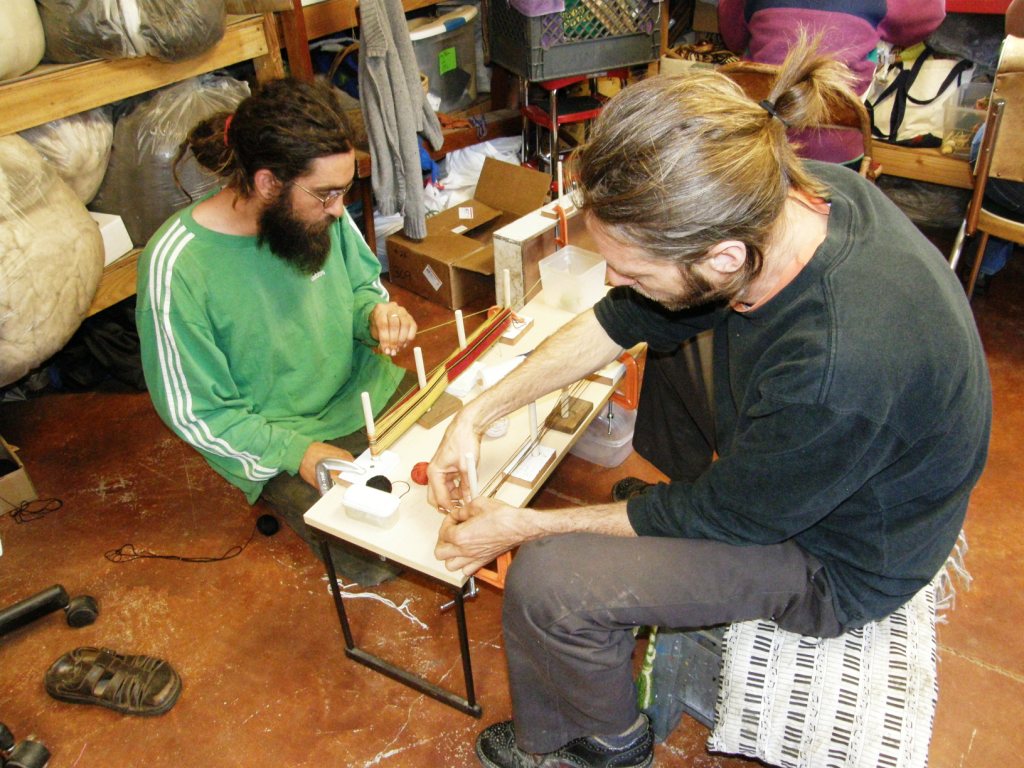 Trying out four-stake warping.
 Gail shows off her warp float band to Janet and that’s Tracy’s work on the right.
 Janet warped a band in her own gorgeous handspun and wove in patterns using silk supplementary weft. It was beautiful!
 Some unusual color combinations and warp arrangements were used. There are Dennis and Bev weaving together hooked up to Janet’s floor loom.
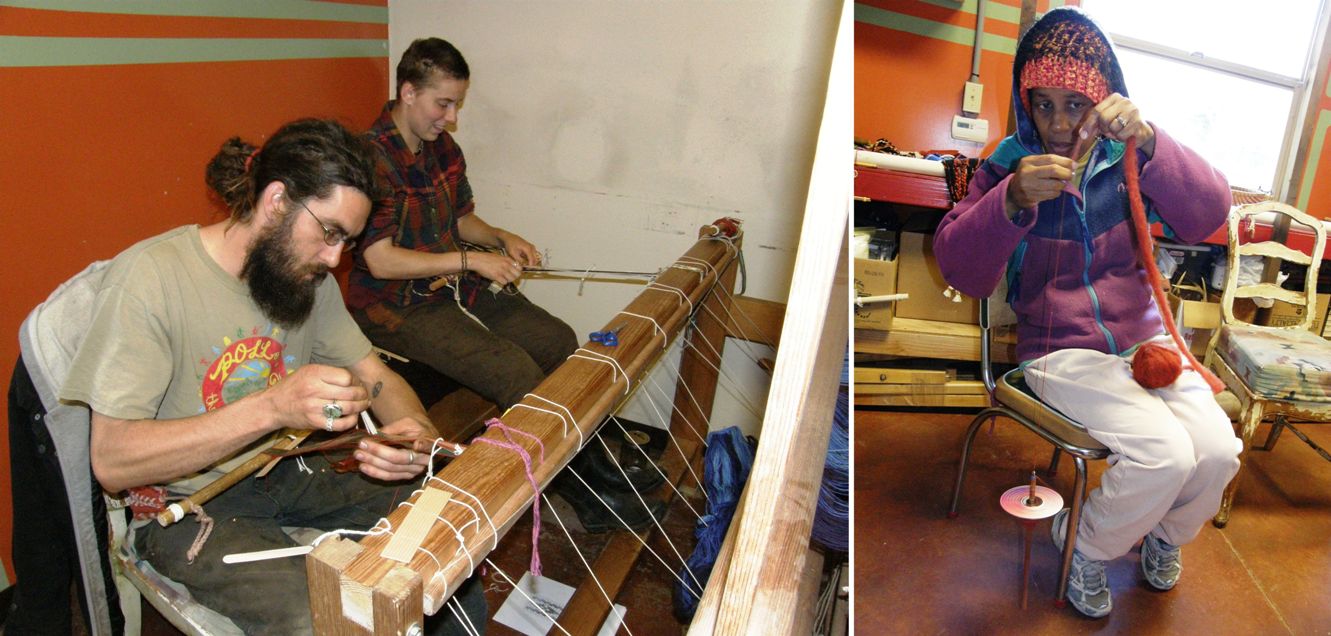 Getting the hang of those string heddles…..
 Cookie was mad keen to make herself a new backstrap with her own handspun so she bought roving from Janet and started spinning straight away.
That spindle accompanied her everywhere and she had already spun and plied a good lot by the time she had to leave.
We took a stroll on the farm to pick asparagus for dinner. What a wonderful thing to be able to pick and eat food like that. Asparagus is great raw too!
There’s Cookie with spindle and asparagus in hand.
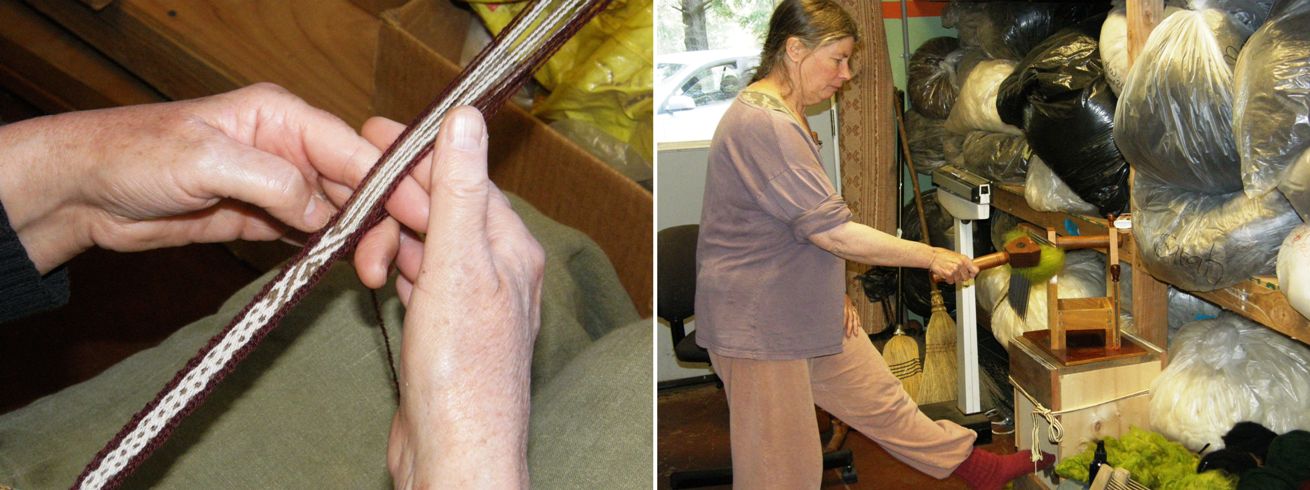 On the last day we got to use Janet’s handspun for pebble weave and we got to see how she combs and prepares for worsted spinning.
Her supplementary weft patterned piece turned out so well and she is spinning right now in preparation for Sara Lamb’s workshop on knotted pile at CNCH. Look at those gorgeous colors!
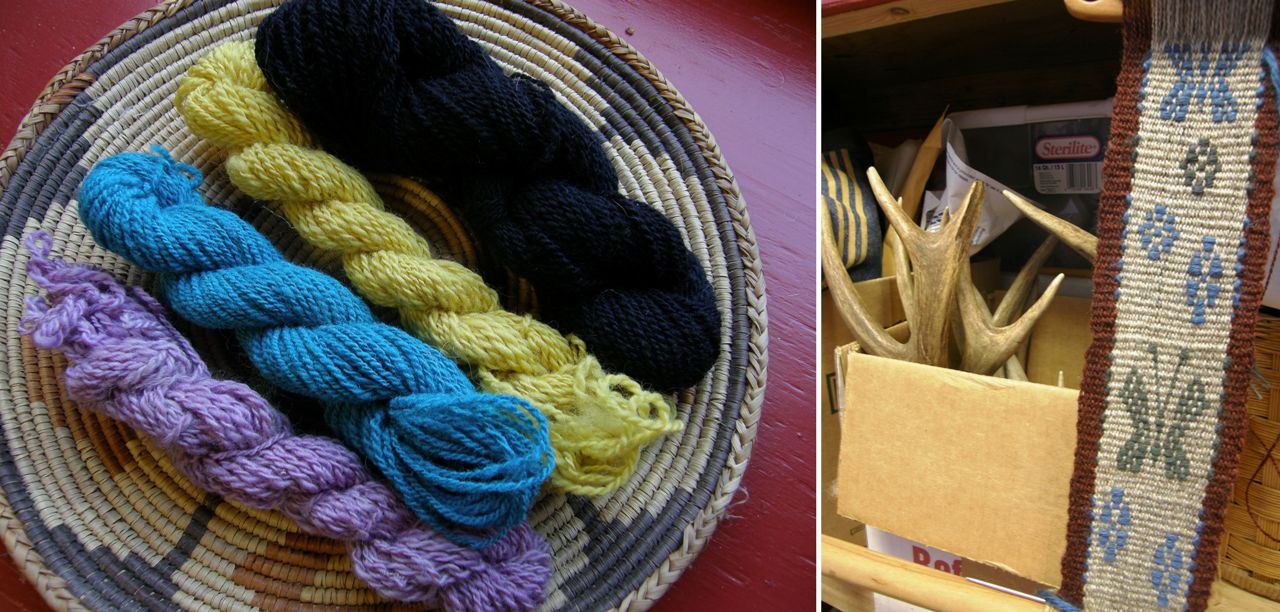
And with the final day came spring, the day before May Day. We got to stretch out on the grass for lunch and take a little extra time to admire some things that people had brought along to show.
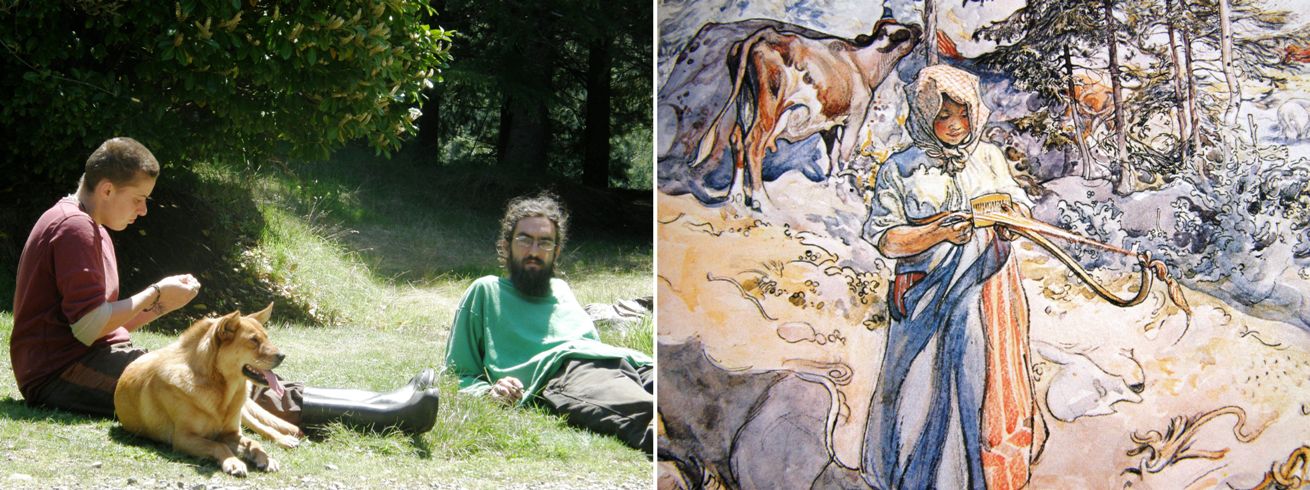 Tracy brought a book by Swedish artist Carl Larsson which included this great painting of a young weaver and her unusual loom. Having since Googled Carl Larsson, I see that he often included weavers in his artwork.
 Janice brought a bag that she had made in needlepoint using an Anazasi design and Tracy showed a wonderful piece of tartan that she had made on her floor loom. Tracy is often commissioned to reproduce historical pieces but this is a new tartan that she has created which will be registered.
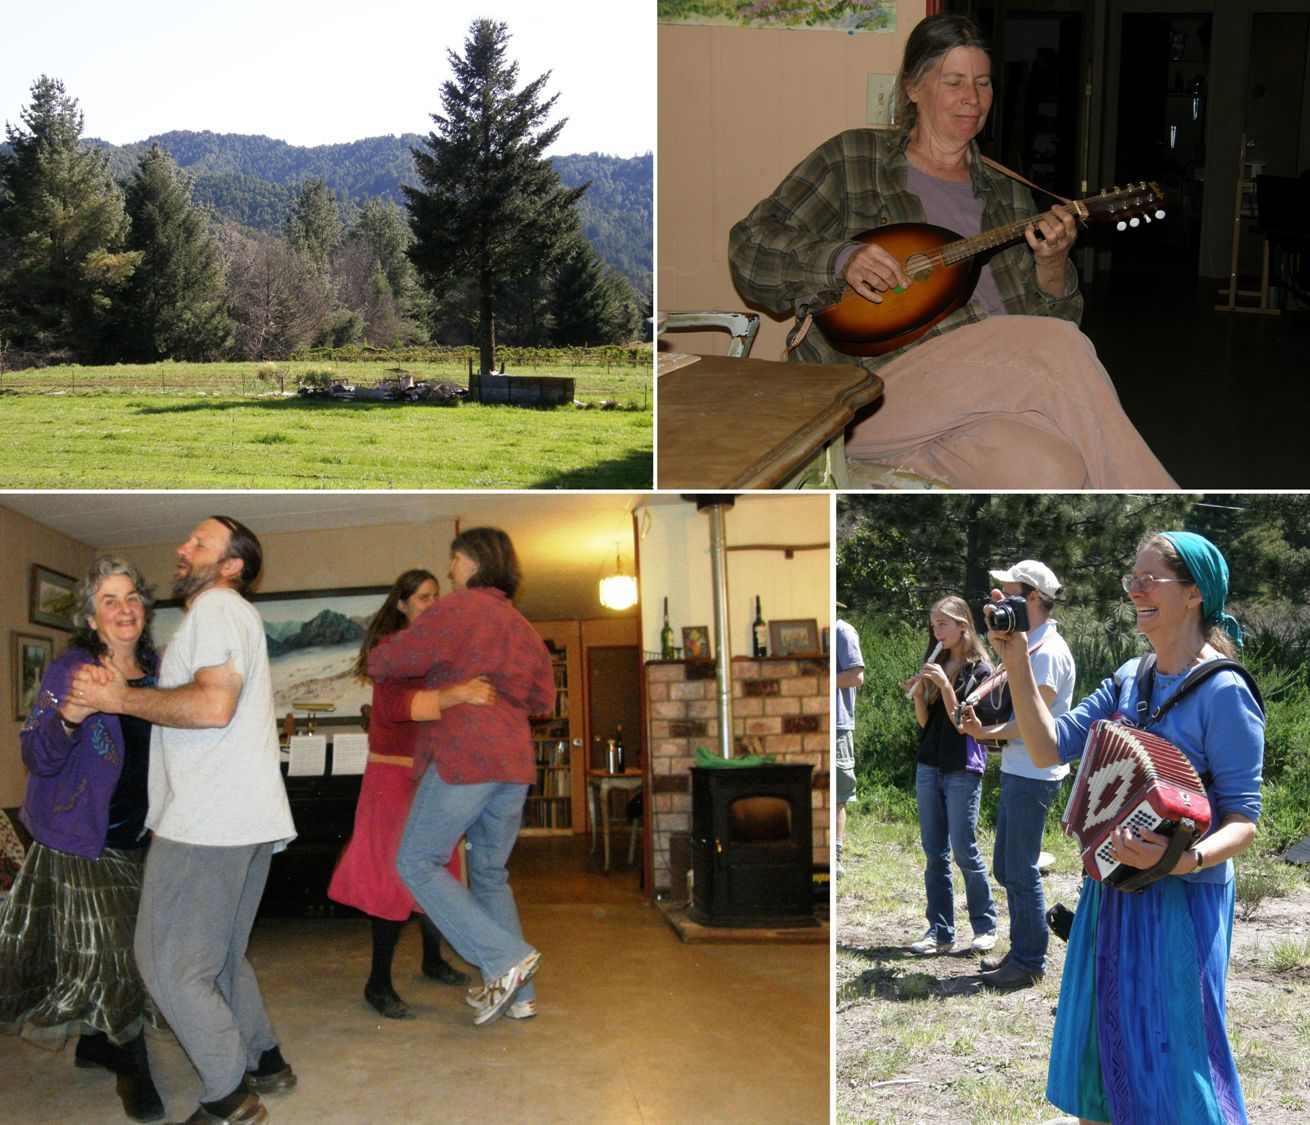 The time comes to move on and say goodbye to the farm, the fiber, the fun people, the music and the Irish dancing (yes!, I got to join in on the Tuesday night Irish dancing!).
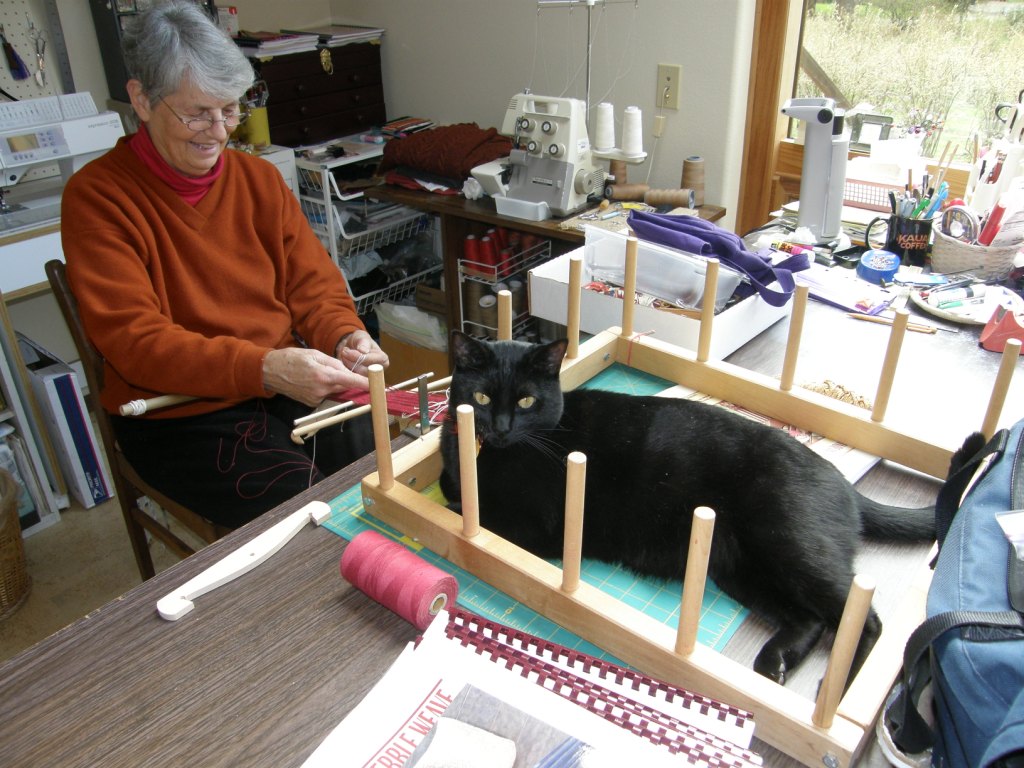 Now I am up in Washington State…not my first visit here.
I spent three weeks in Seattle in 1992 on my way to Banff and Jasper National Parks. I got to Seattle on the Memorial Day weekend, went to the Folk Life Festival which was amazing and ended up staying! I never made it to the parks and got, what I later learned to be, three very rare weeks of dry weather.
As I speak it is raining hard outside and the wood is crackling in the fireplace. The spring sun hasn’t quite made it up here yet but I am enjoying Betty’s beautiful home on her tree farm in the woods.
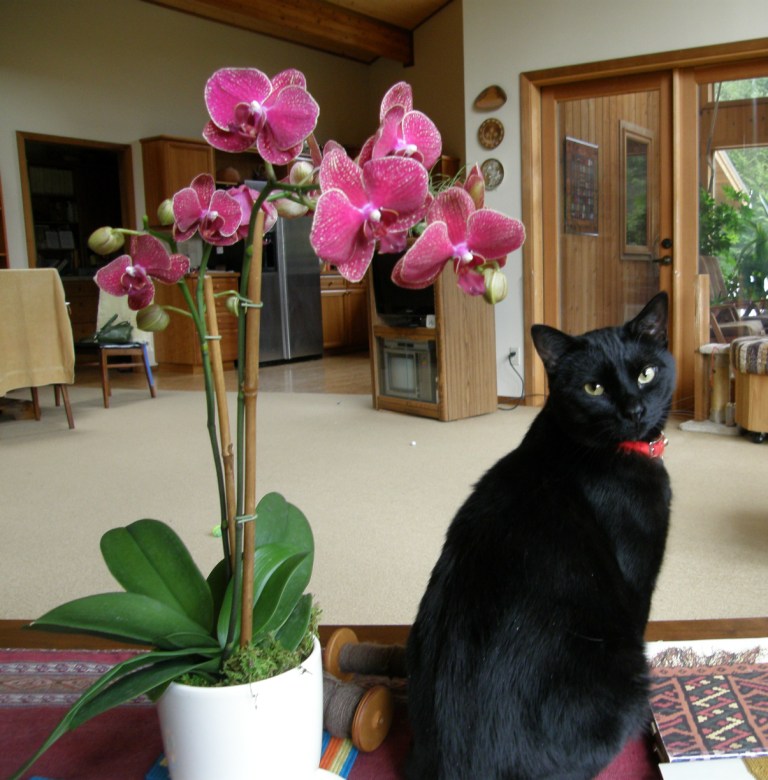
And guess who is back in the backstrap loom? I am staying in Betty’s gorgeous studio flooded with natural light with a wall of windows looking over her blueberry field. We have Bolivian music playing and a woven treasure on every wall space. You can imagine I have been having a nice time and I will share all that with you next week. But let me introduce my new pet-withdrawal buddy – “Frank Sinatra” is his official shelter name but he is better known as “Trouble”.
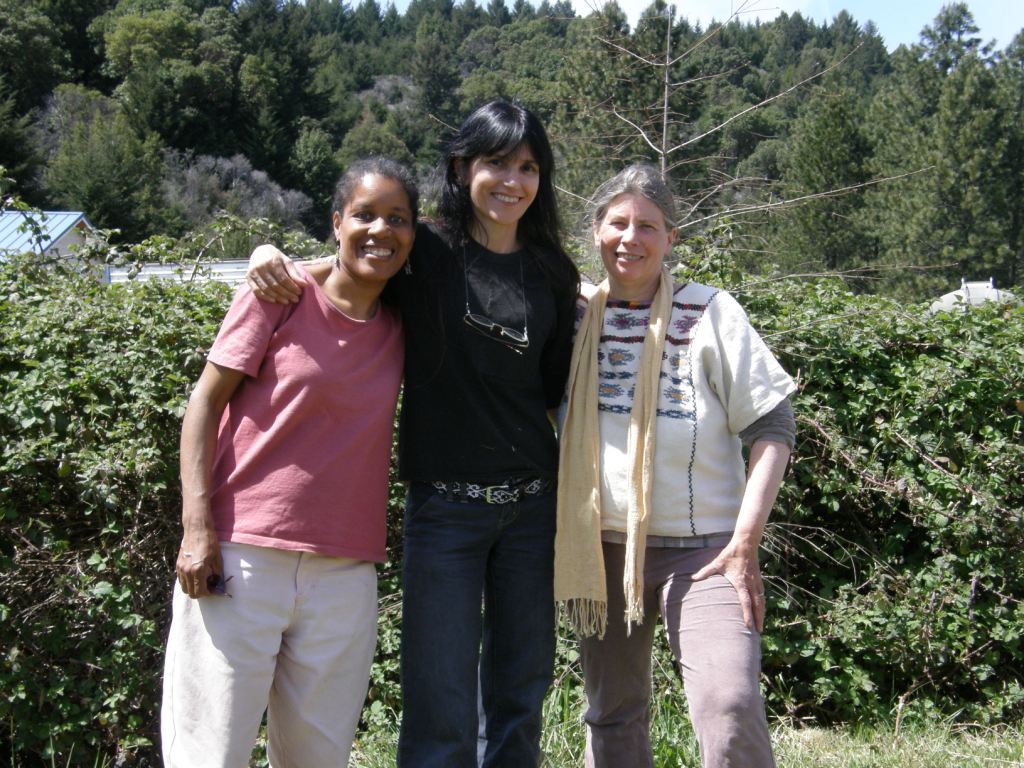
 Yesterday I gave a slide show for the Portland Handweavers Guild and got to meet two online backstrap weaving buddies from the Ravelry group who came along as guests…Bobbie and Jennifer with her husband Doug. We have a really nice warm community there in the Bcakstrap Weaving Group and both Jennifer and Bobbie have had a big hand in creating and maintaining that welcoming fun atmosphere. It was fun seeing some of their backstrap woven pieces in person. That’s Jennifer there in the middle.

Now Sally has come to stay at Betty’s place and we are heading off to Linda Hendrickson’s studio tomorrow to backstrap weave. Sally brought along her pieces of Raven’s Tail and Chilkat weaving…yes! weft twining! How cool is that? But this is just a teaser as you will have to wait until next week for details. I also got to visit a wonderful Native American Art museum called “End of the Trail” on the way up to Oregon (thank you Janet and Larry!) and got to see my first Chilkat blanket up close and some amazing basketry, hats and other craft pieces…all being saved for next week, sorry!
Let me end by showing you what the Ravelry guys and online friends have been up to…
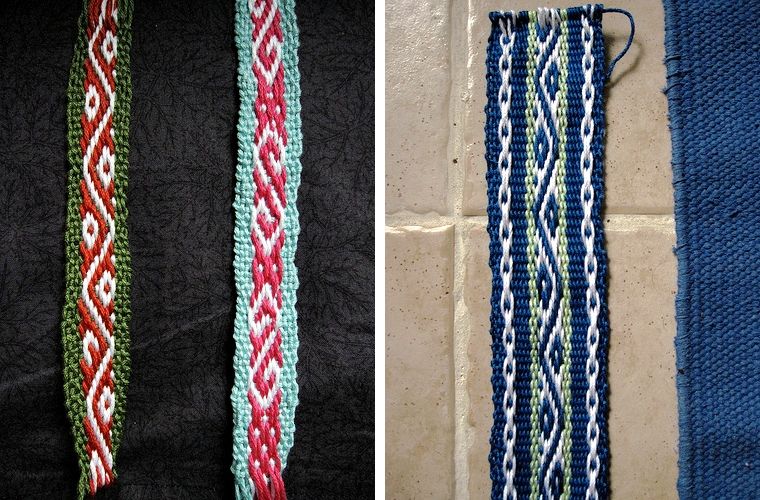
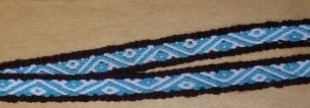
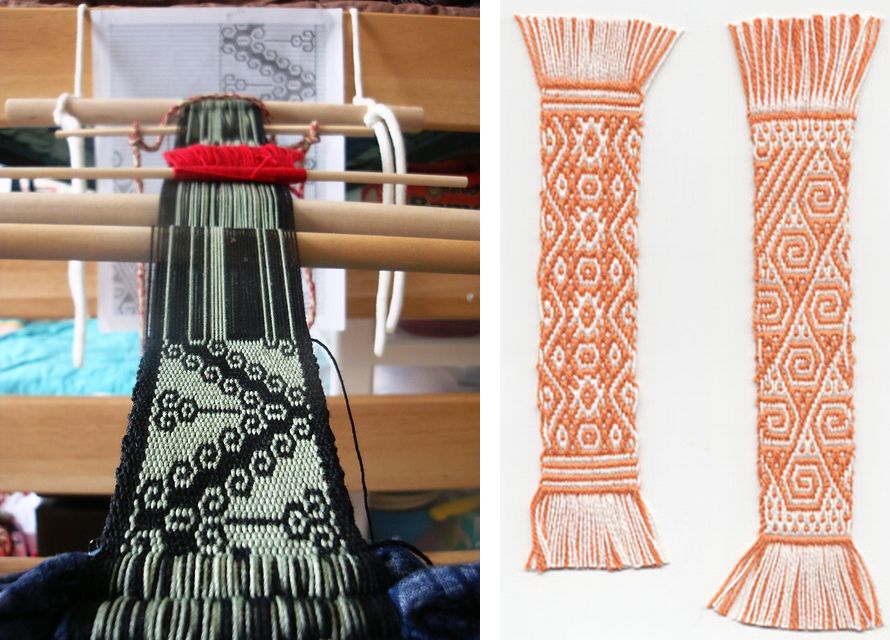 Amber, aka lavitaaj, is weaving the “rolling river’ design in double weave. I learned it in a complementary warp-float weave but it works beautifully in double weave. This is charted in Adele Cahlander’s book on Bolivian weaving. Helena in Brazil has woven a couple of bands using patterns she has seen on my blog…one is a pebble pattern that I put together for key fobs and the other is based on a Tarahumara design.
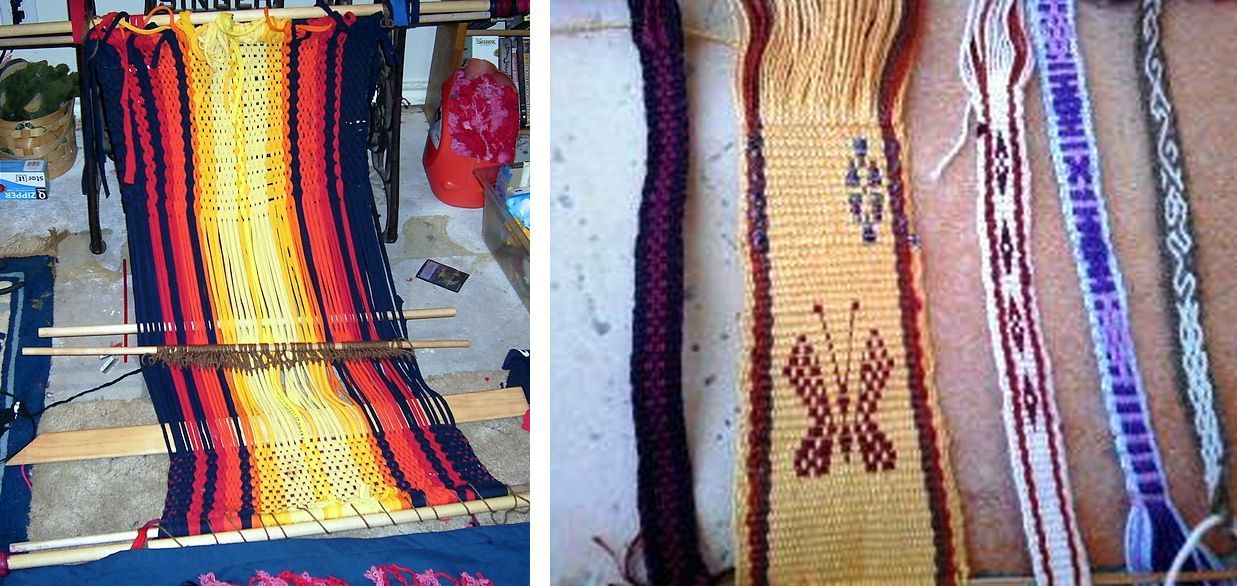 Dyggvi who is a new participator in the Ravelry group is weaving a balanced weave piece on her backstrap loom using tshirt strips as weft. Yonat sent me a picture of her progress on the sample bands we wove down in Santa Cruz.
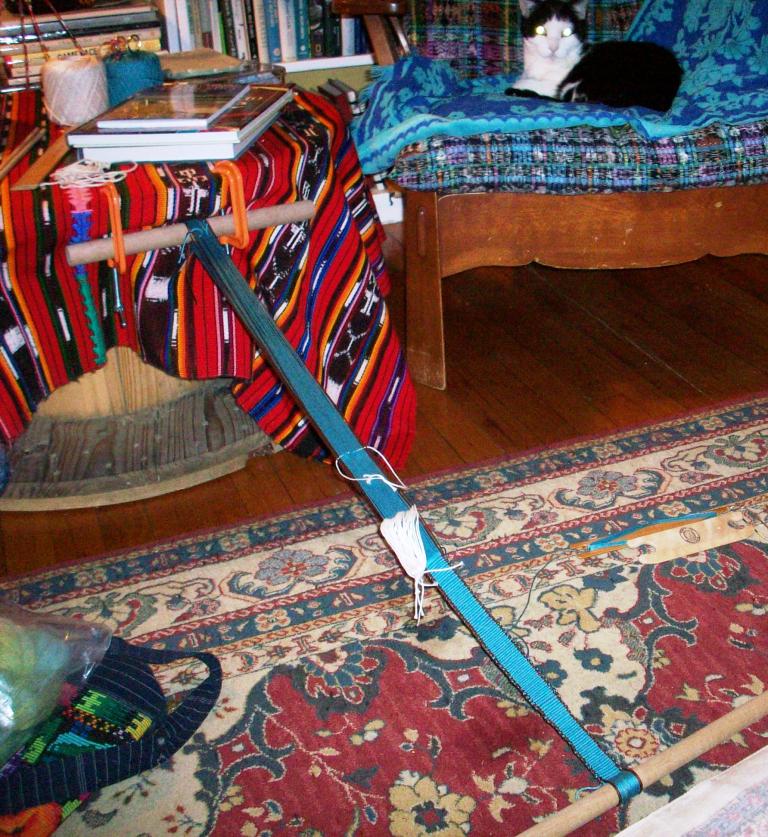
 Marsha completed a backstrap on her backstrap loom and has been teaching her friend Dana to weave on a backstrap loom…spreading the obsession! That’s Dana’s learning piece on the right.
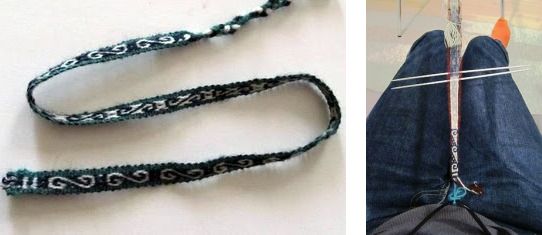 Reetta in Finland has been weaving traditional Chinchero designs on narrow bands just as the young girls in the Cusco region of Peru learn to do.
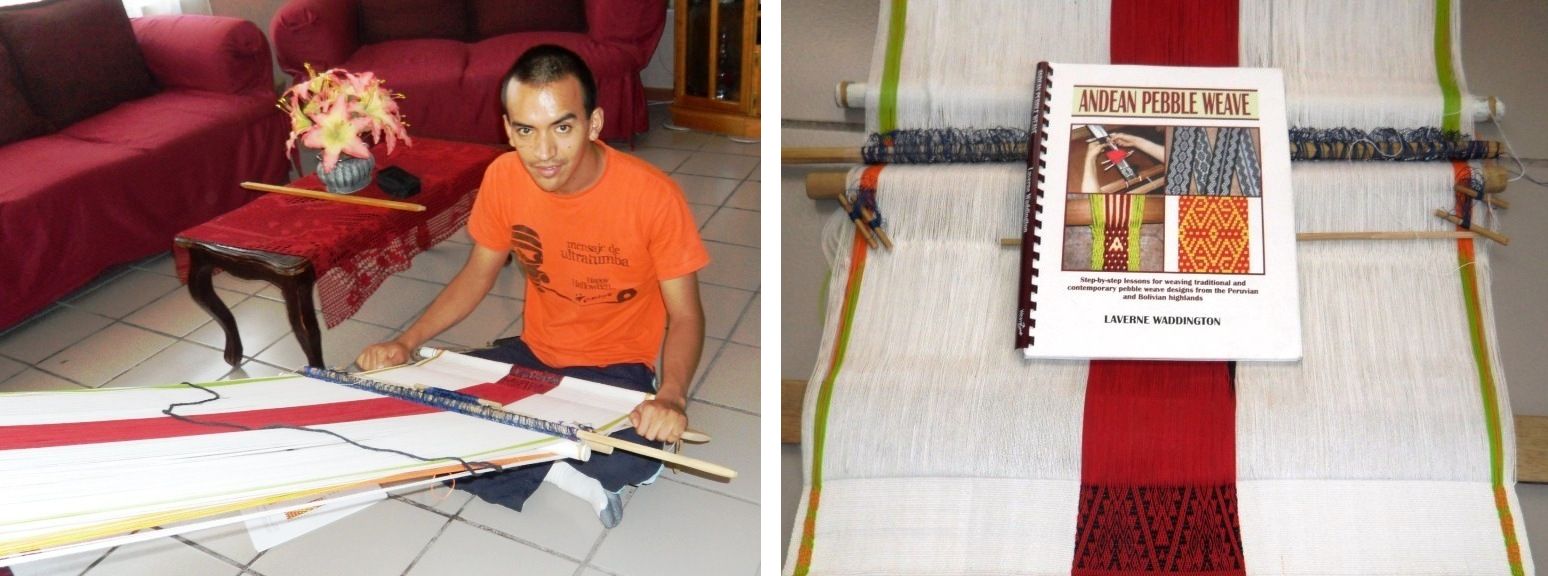 And Eladio in Mexico used my book to get himself started in Andean pebble weave and has now gone on to chart and weave his own designs on wide warps! What a stunning pattern.
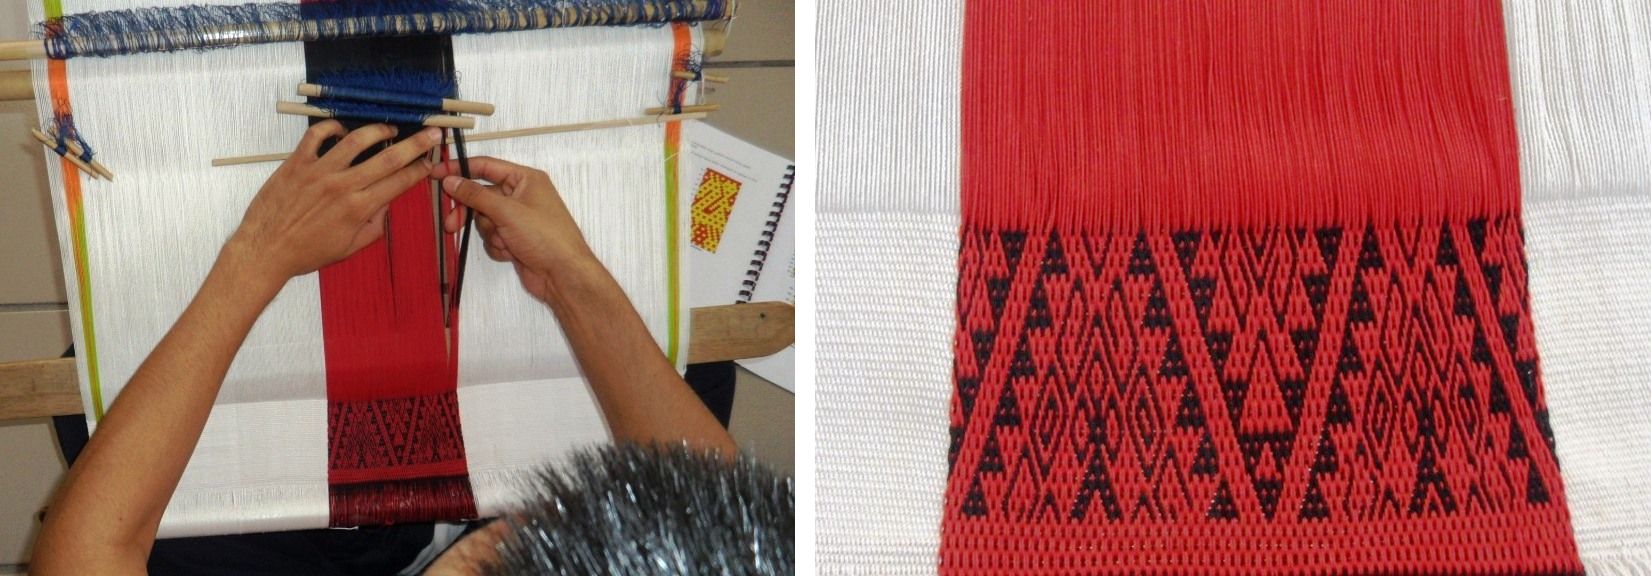 How amazing is that! Red and black are always so spectacular together.
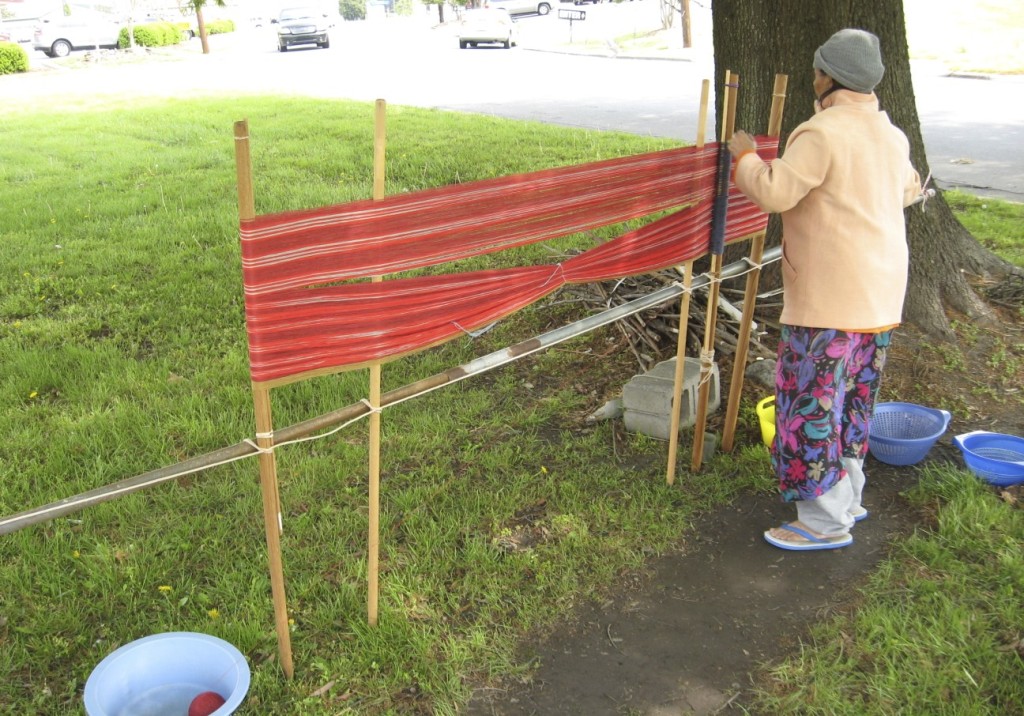
Betsy Renfrew sent me a picture of my Montagnard weaving teacher Ngach warping outside her home in North Carolina. Betsy arranged for the weavers to do a demonstration on the May Day weekend and I am looking forward to hearing how that went.
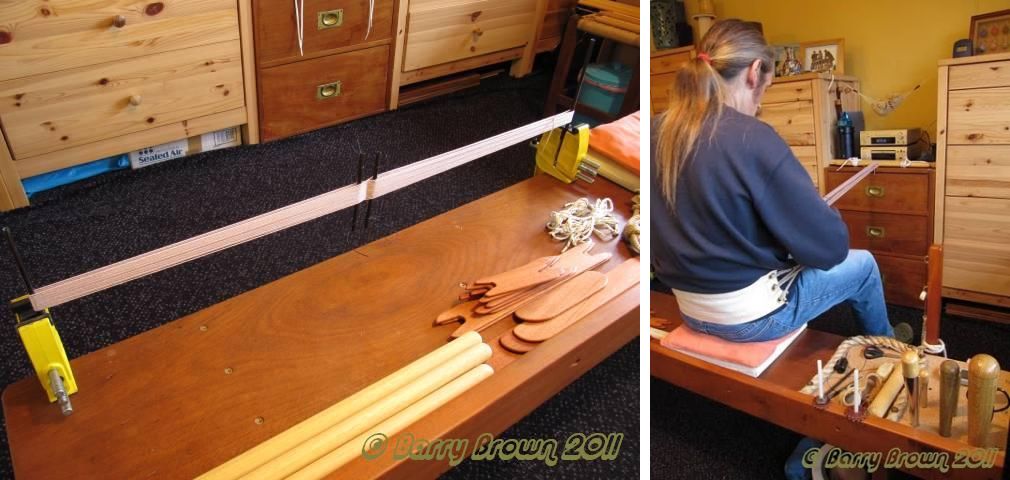
 And finally, I ran across a nice video put together by Synergo Arts showing the ergonomic bench that they are having built in Guatemala for backstrap weavers to enable then to work at their backstrap looms more comfortably. Until now I had only seen pictures of this bench. It’s great to see it in action.
I am saving a lot of great stuff for next week’s blog post. See you then 🙂