Backstrap Weaving – Building skills and resources.

BUILDING SKILLS AND RESOURCES

I have been busy behind the scenes building  the resource pages on this blog. I am about three quarters of the way to finishing the “Frequently Asked Questions” pages which will deal with fifteen or so topics related to making your own backstrap loom and weaving on it.
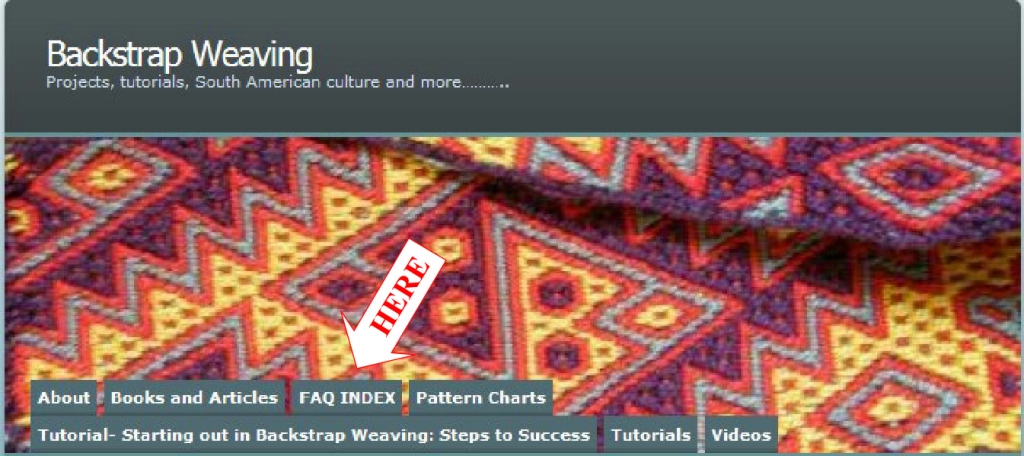
You can access the index by clicking on the FAQ INDEX tab on the header image. There you will find links to the finished pages or you can go directly to each page by clicking on one of the topics on the sidebar.
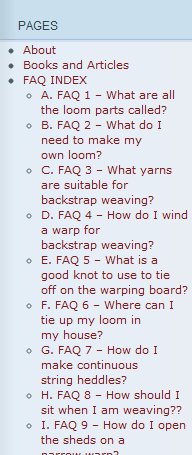
The pages include explanations with photos, links and images. I hope that you find them useful and please feel free to ask any questions, add information from your own experience or suggest other topics by leaving me a comment here on the blog or the relevant FAQ page.

And….I will be translating all the tutorials to Spanish and putting those on new pages too. (Y….voy a traducir todos los tutoriales a español y los voy a poner en paginas nuevas también).

So, that was my keyboard activity for this week along with writing an article and getting some pages done for my next book!

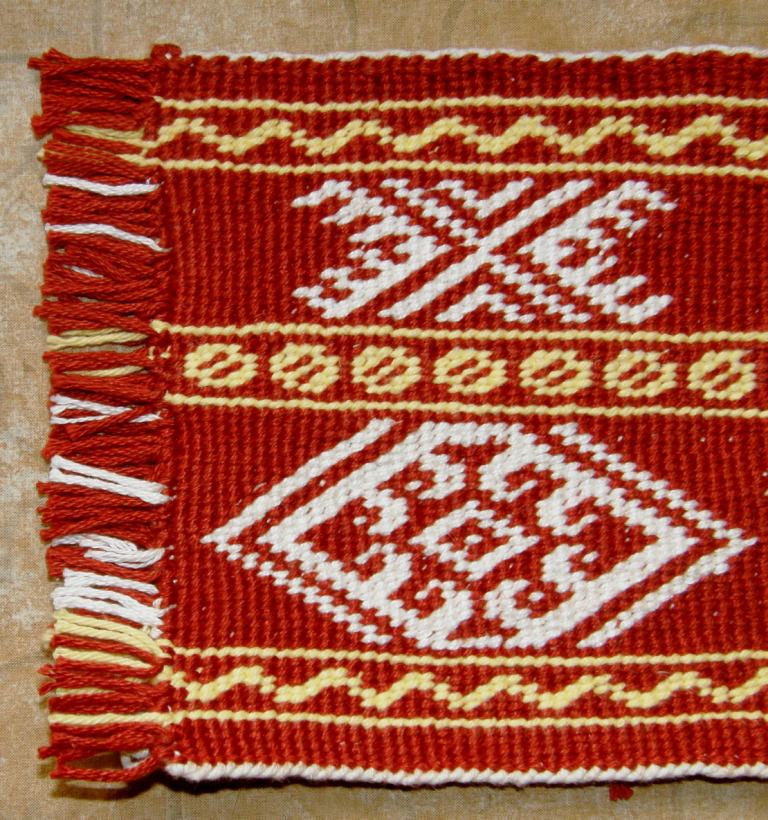
As for 0n-the-loom activity, I was asked to weave some bookmarks for a friend. I was told what design to use but the colors were left to me. I got to use some more of the Turkish cotton that I bought recently and I can’t say enough about how beautiful it is to weave with. It is only for special projects, though, definitely not for sampling as it is a bit pricey. Details can be found on the FAQ 3 page which answers the question “What yarns are suitable for backstrap weaving?”
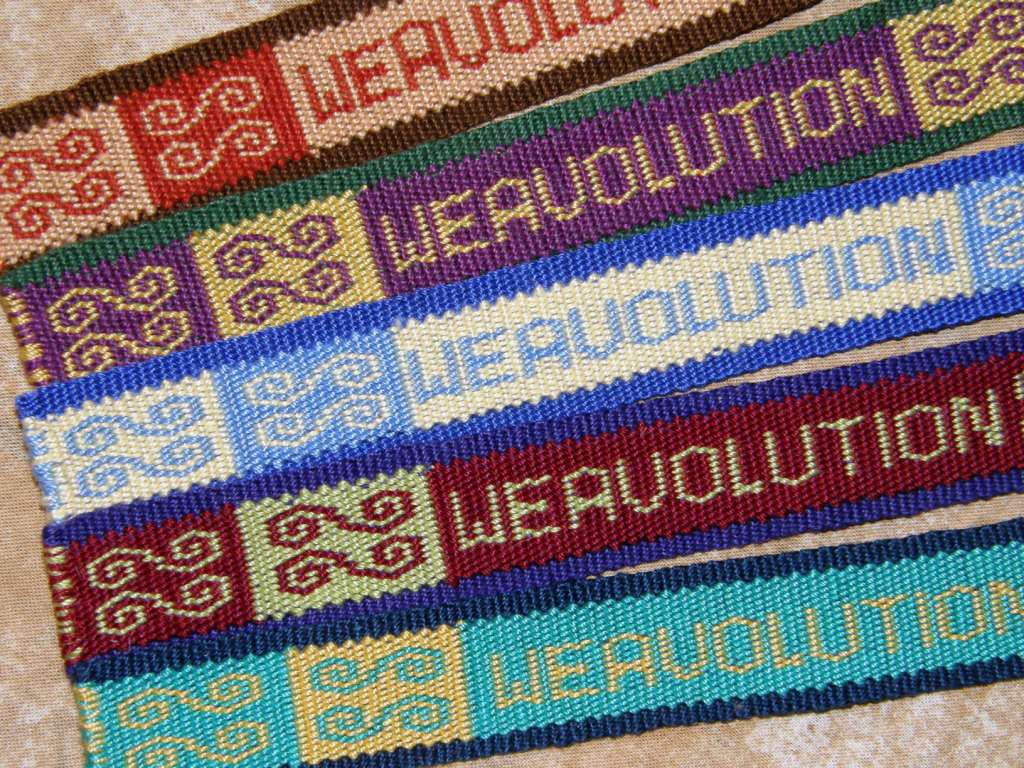
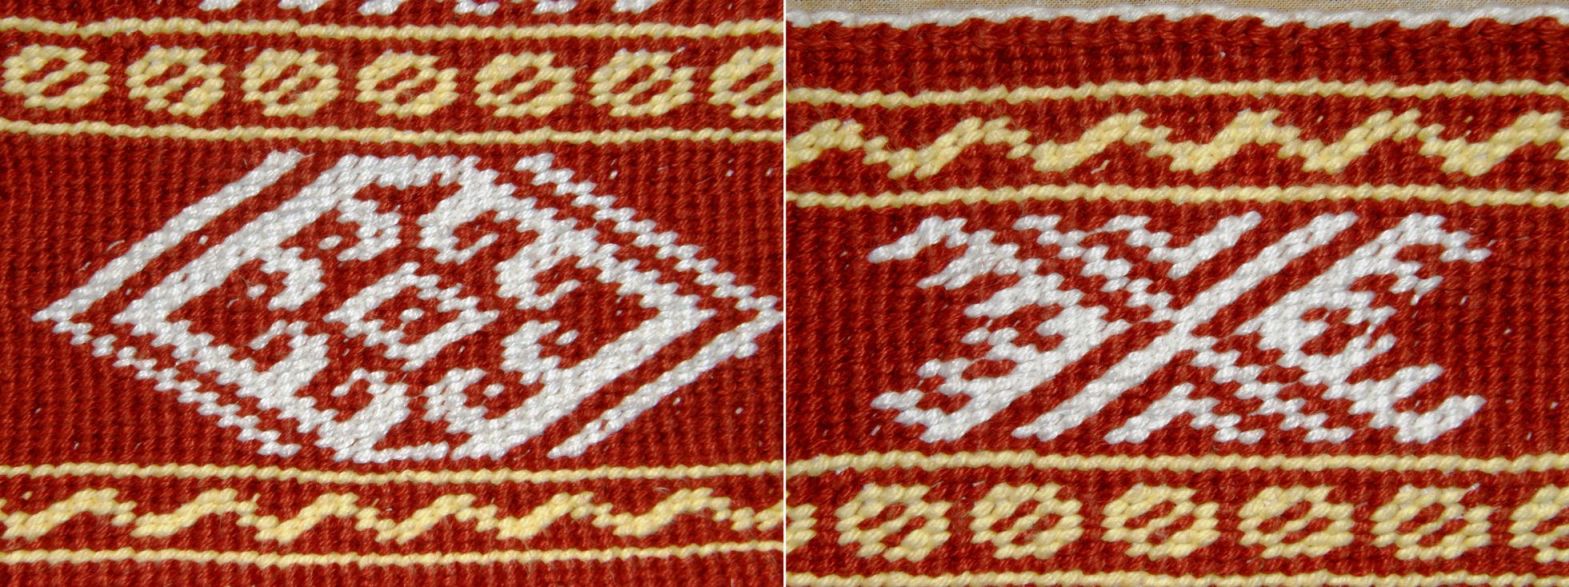
These have been woven in double weave. As the borders are plain weave I used two wefts. One weft wove the borders and upper layer of the double weave and the other wove the lower layer. Lettering is really easy to do in double weave and although these letters I invented are very basic, they can be very effective. I have charted them out for you all to use. Most of the letters are in the following two images and I am sure that you can invent the ones that are missing. You can, of course, weave the letters after following my tutorial for one weft double weave.
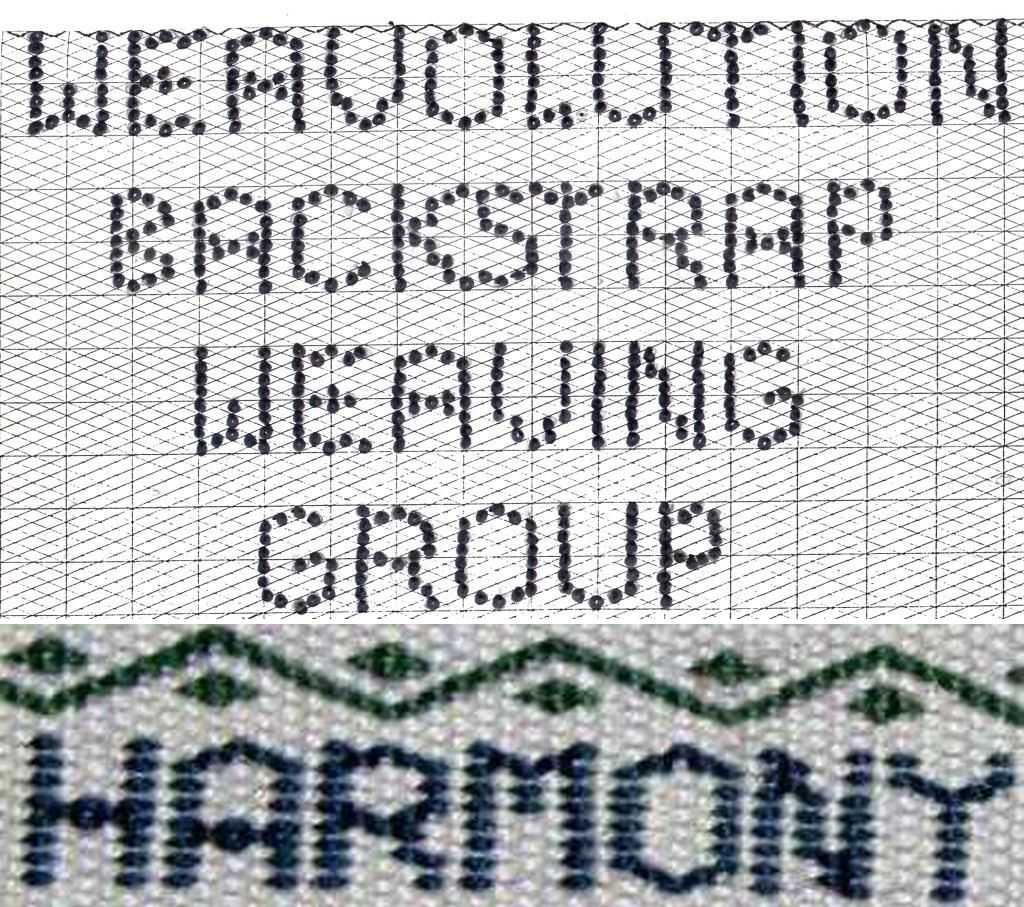
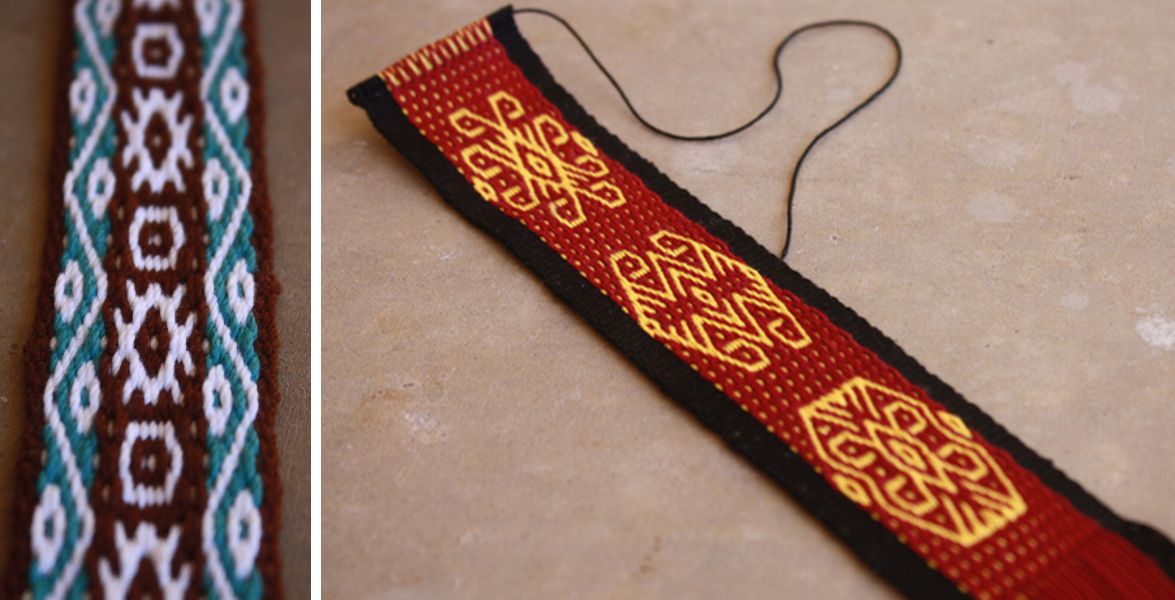
Other woven messages can be done in the Montagnard style lettering. I learned this warp float weave by studying a band I bought from some Montagnard weavers that I met in the US on a recent visit.

This is a “looser” weave and the resulting band is quite flexible unlike the double weave which is very firm.

Next week I will do a tutorial on this warp float lettering.

You have probably heard me mention before my love of the letters that Linda Hendrickson has charted in her book Please Weave a Message.
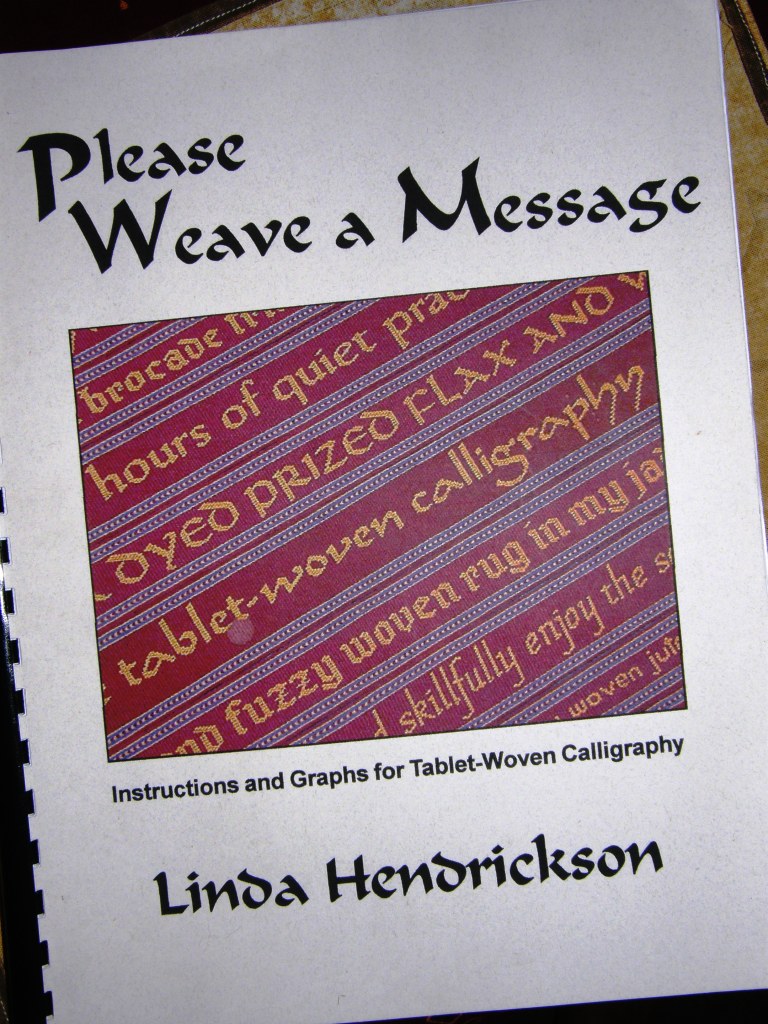
I got this book hoping that I would be able to use the charts for double weave but found that the “stitches” produced in card weaving sit one on top of the other as opposed to those in double weave that are staggered from left to right. This meant that I would have to adapt Linda’s charts for double weave. I did adapt many of the letters but they were seriously altered and just did not look as nice as Linda’s but now I have had an idea!

I realize now, after my recent experiments with weft twining, that weft twined “stitches” also sit one on the top of the other and that I should, therefore, be able to use Linda’s charts to twine letters and messages. I am not sure how much the slant on the weft twined stitches will affect the appearance of the letters but I can’t wait to try it out.

I haven’t done so yet as I am still building my weft twining skills while working on another project this week with slightly finer yarn.
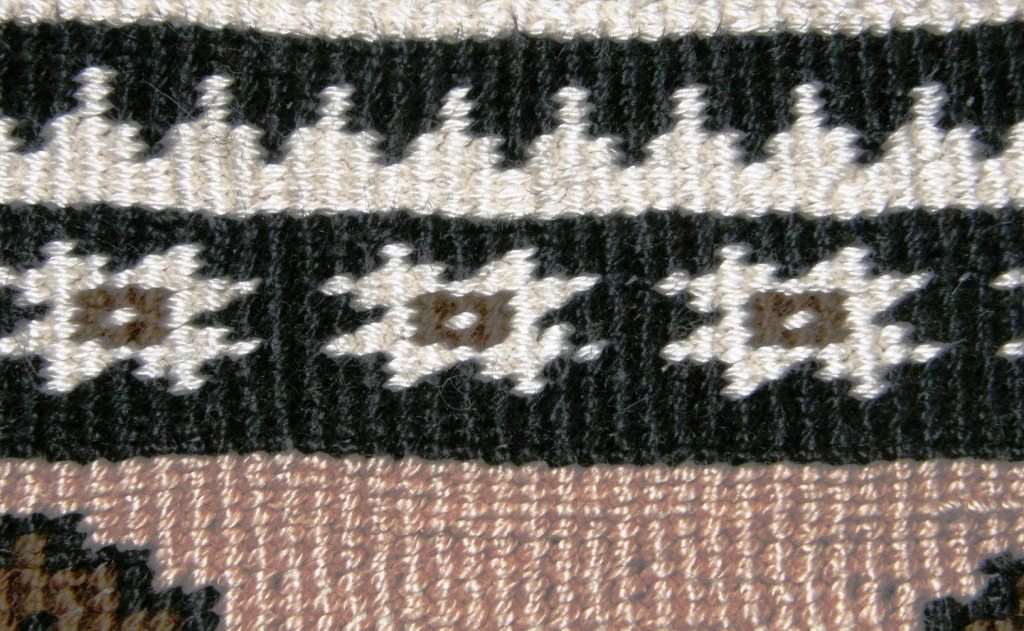
This time I am using three and sometimes four colors at a time and it is a little cumbersome but I do like the results. The design has been inspired by pieces in a book on Bedouin weaving. From a distance this looks pretty much like a piece of tapestry. Many things amuse me about this technique….firstly, it is something new, secondly, it helps me to better understand what the Montagnard weavers are doing at the edges of their warp-faced weavings and thirdly, it is an off loom technique that does not require tools apart from one’s own hands.

I am grateful to Bonnie Datta who told me that a chapter of Peter Collingwood’s book The Techniques of Rug Weaving is devoted to twining…both warp and weft. The book can be downloaded for free here. The opening line of the chapter reads….Twining is not weaving,… so that settles that debate!

It shows some ways to turn the wefts at the edges for rug making which I must try as that is something with which I am still battling. The piece that I am working on now is still a “skills builder” but, who knows, I might be able to make something useful out of it.

As far as lettering goes, my boyfriend’s mother asked me a long time ago to make something for her. She is from Cochabamba in the Bolivian highlands and, although she was raised speaking Spanish, both her mother and grandparents were bilingual, speaking both Spanish and Quechua. She told me that there are three lines that comprise the “Law of the Qechua” which go…


which translate to… Don’t steal; Don’t lie; Don’t be lazy. She would like me to weave these words into a wall hanging for her. Well, I might not weave them, I might twine them.

What I am really leading up to with my twining experiments is weaving a double weave piece on my backstrap loom with twined edges where the design on the twined edge matches the double weave motifs. There is much skill-building to be done before that point. Hmm…I am not sure if I am less adventurous now or wiser. I am sure that in years gone by I would have launched myself straight into this and not bothered with the “skill-building”!

In the meantime I have been admiring some ikat pieces from Sumba which I found online which have very broad twined edges. They leave the wefts tails hanging out at the sides as fringe. I am trying to hide the weft ends so I can have smooth neat edges, without much success, I might add!

This has led me to look at other twisty twined off loom techniques and especially one that is practiced right here in Santa Cruz where I live by the Ayoreo people. Actually, I have always wanted to learn about this but gave up some time ago trying to find a willing teacher. Maybe it is time to try again.
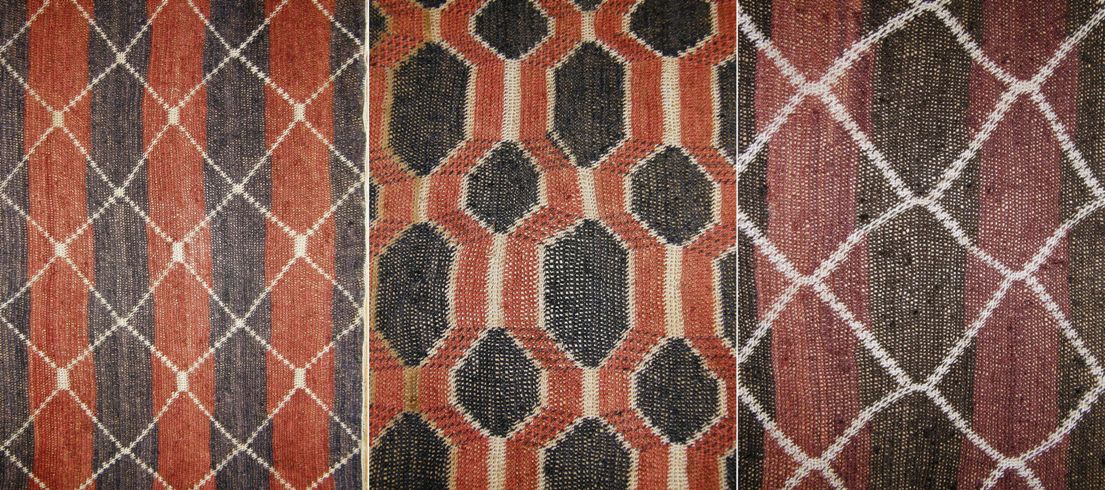
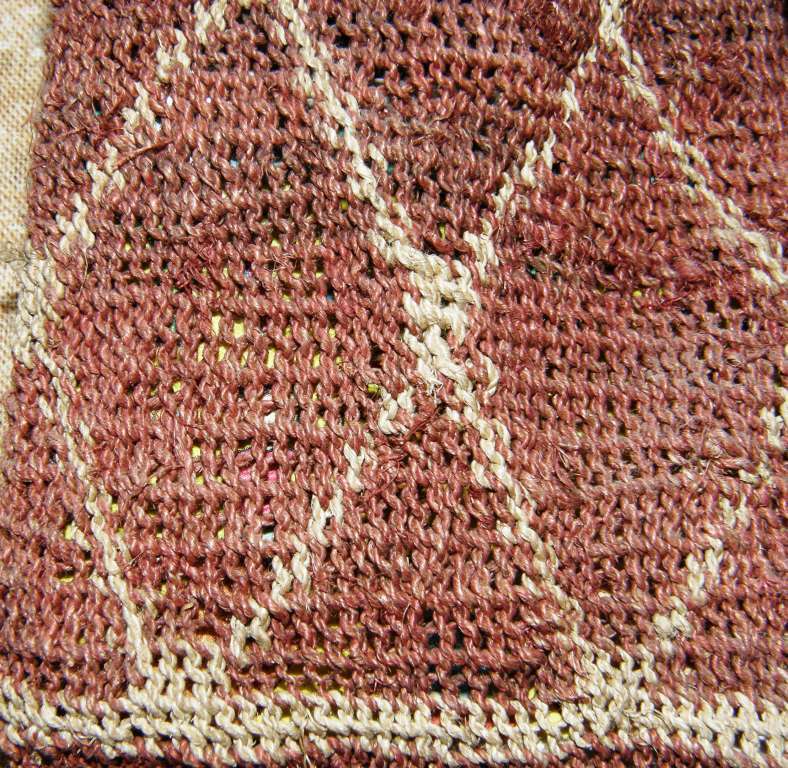
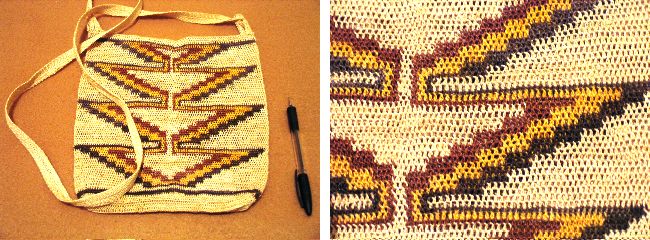
Information about the Ayoreo people is sketchy. Population estimates in different sources range from seventeen hundred to four thousand Ayoreo people, distributed amongst seven to ten clans living in the area known as the Chaco. They use off loom netting, twining and knotting techniques, sometimes with the aid of a needle, to make a type of shoulder bag called utebetai using a fiber called garabatá fino from the Bromelia Hieronymil plant. The fiber is twisted by rolling it on the thigh using ashes to take away some of its stickiness. It is plied and may be also dyed before use.

I have three of these bags but have opened them out to use as wall hangings.

According to a booklet put out by CANOB (Central Ayorea Nativa del Oriente Boliviano), the designs used in the pieces represent seven clans. The motifs include representations of the patterns on armadillo shells, clouds, snake skins and the eyes of a jaguar.

Miniature pieces are also made which are said to be used to carry talismans.

Even if I don’t make something like this myself, I would like to sit down with the ladies and watch the process and document it. Sometimes they are seen working with the fiber in the street but unfortunately I have not found them very open to my questioning or hanging about in the past.

The Ayoreo also use weft twining to make bags and carve beautifully simple bowls.
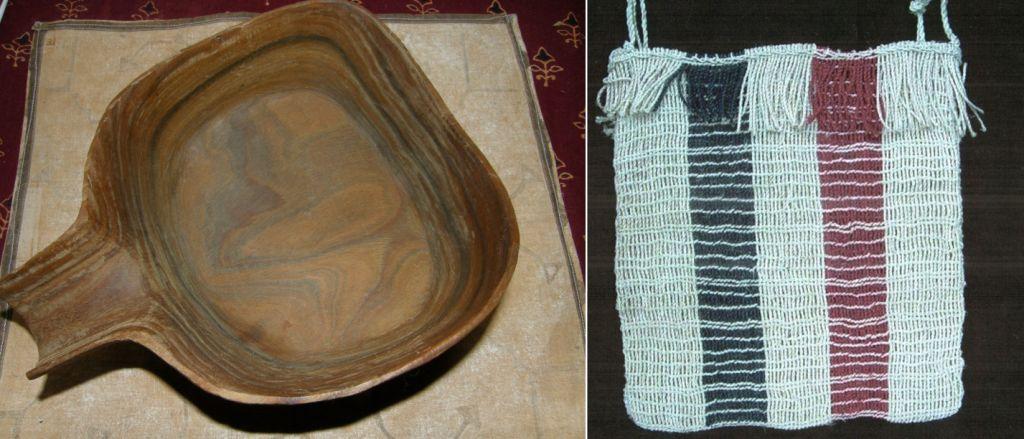
My friend Kathleen sent me pictures some time ago of bags called chácaras, which are said to be of Mayan origin, being made in Panama by the Ngöbe and Buglé people. The fiber is from the Aechmea magdalenae plant and is also twisted by rolling on the leg. The netting method appears to be the same although their color palette is quite different.
To finish this week I have some projects to show you from Marsha Knox who is in the Backstrap Weaving Group at Weavolution and Eladio Salas Torres who lives in Mexico and follows my blog.

Marsha used a tapestry loom to weave a band patterned with simple warp floats. I know that Marsha had a few false starts with this but she persevered and I thank her for showing us how warp faced bands can be woven on a tapestry loom.

Eladio has woven a wide piece incorporating three strips of simple warp floats using patterns from my blog. The red and black together look stunning!
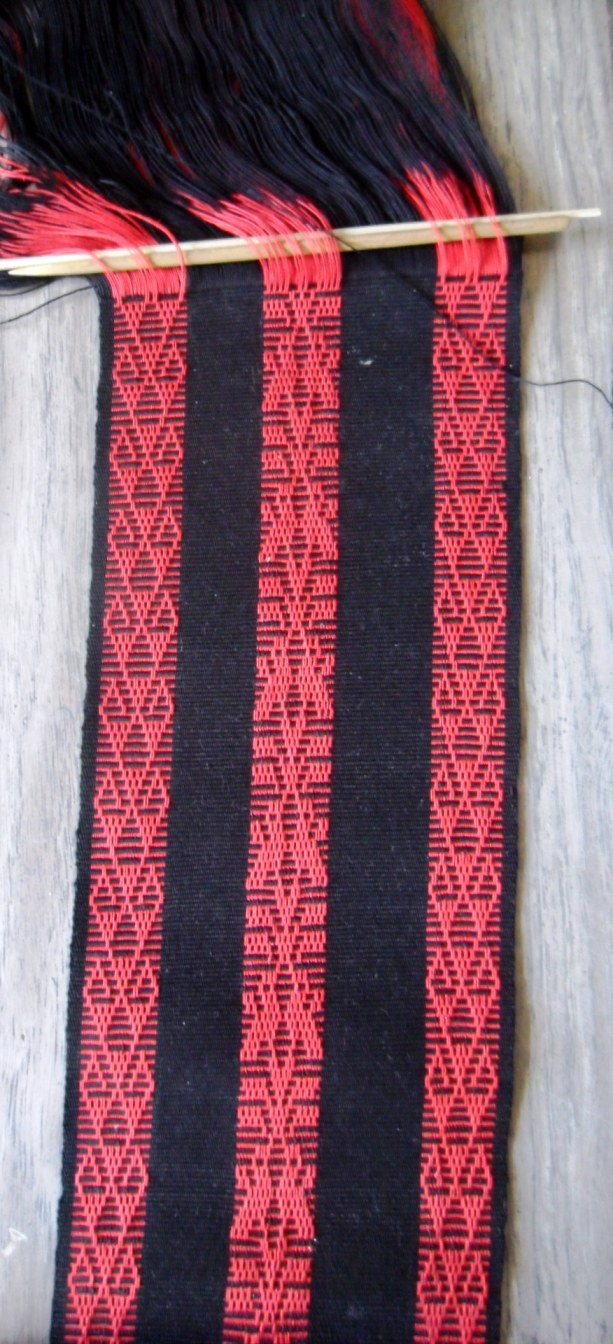
He is using the double bird design from coastal Ecuador and a hook design that I adapted. He also sent me a picture of himself at his loom. I LOVE getting photos like this!

It looks like he is using a cardboard roll for his shed rod and maybe pvc pipe or wood for his loom bar and roll up stick. I wish I could sit cross legged like that! He has just bought my pebble weave book and I am sure we are going to be seeing pebble weave bands from him soon.

NEWS AND STUFF…

Here is the link to the most recent Synergo Arts newsletter about their latest progress with the ergonomic bench in Guatemala.

Backstrap Weaving – Weft twining: the learning process

WEFT TWINING: THE LEARNING PROCESS.

It has been a long time since I have learned something fiber related that it is completely new to me. As fun and interesting as it is, it has reminded me of just how much time is involved in practicing something so you can get to the stage where you are making something even half decent.

It is great finding weavings from different cultures online, finding that I know the technique and being able to chart and weave it like the  Tarahumara band that I wove last week. When I visited the Montagnard weavers I saw a variation of a  pick up technique that I already knew so it was not difficult to come home and weave it.

Tarahumara design band and Montagnard pick up patterned piece

However, I also saw that the Vietnamese ladies were working with weft twining, something that I had not tried nor seen worked before. Unfortunately I didn’t get to see the process and so I needed to come home and dive into my books in order to learn something about it.

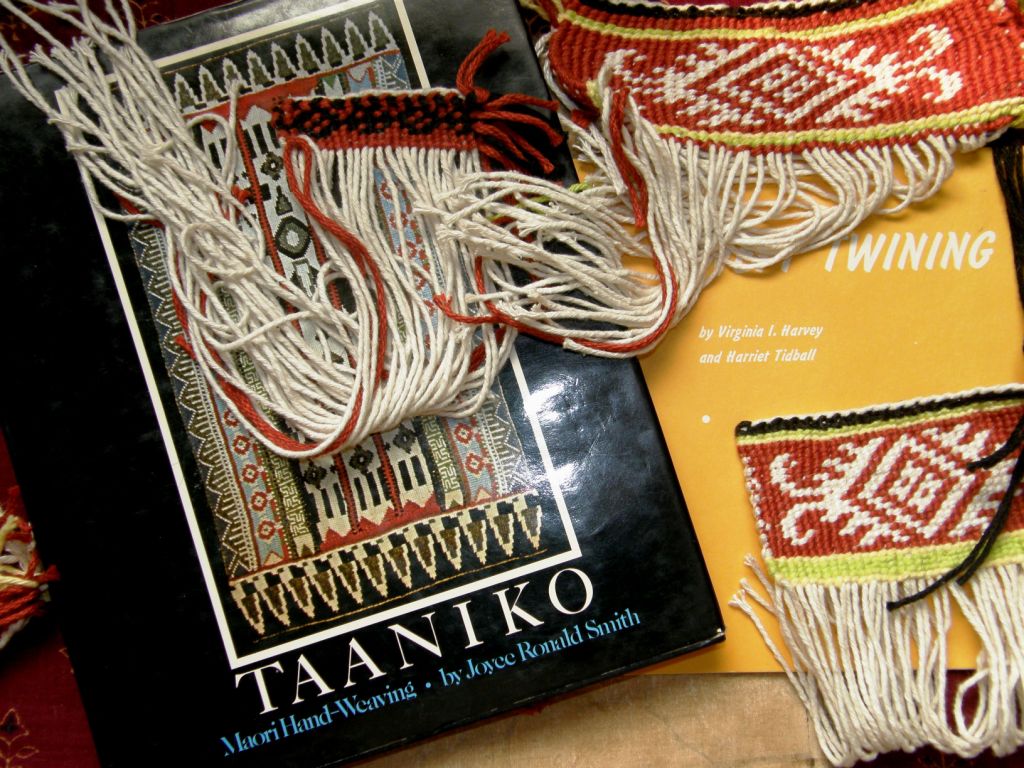
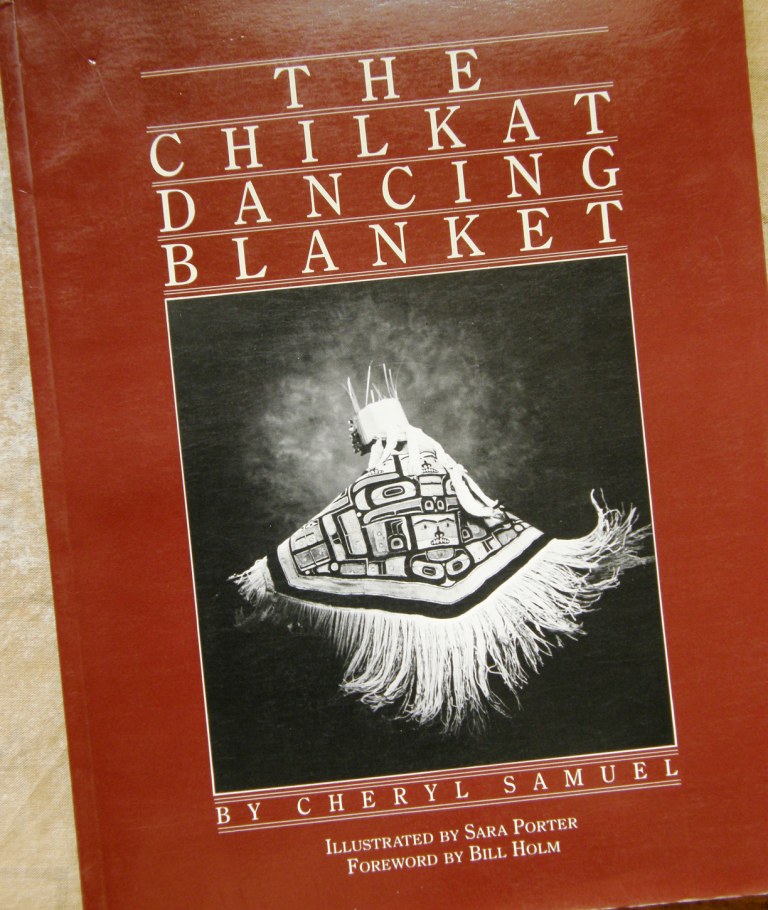
This is a technique that has interested me for a long time. I bought Cheryl Samuel’s gorgeous book on weft twined Chilkat blankets from that wonderful newspaper-like catalog that Unicorn books used to put out back in the 90s. It is a stunning piece of work with beautiful illustrations – a joy to look at even if you don’t actually use it to make anything.  Making a Chilkat blanket was perhaps a little daunting and so later I got a book on the Taaniko weft twining practiced by the Maori people of New Zealand. This seemed a lot more manageable. The book has fabulously clear step-by-step drawings but the disappointing lack of a variety of traditional Maori designs left me uninspired to try the technique.

More recently, my friend Caroline in Australia sent me a monograph on weft twining by Virginia Harvey and Harriet Tidball which has proved to be very useful.

Seeing the fine designs worked by the Montagnard weavers into the edges of their woven blankets and shirts was the motivation I needed to finally get down and learn how to do weft twining. Being able to touch the textiles and meet the weavers made all the difference.

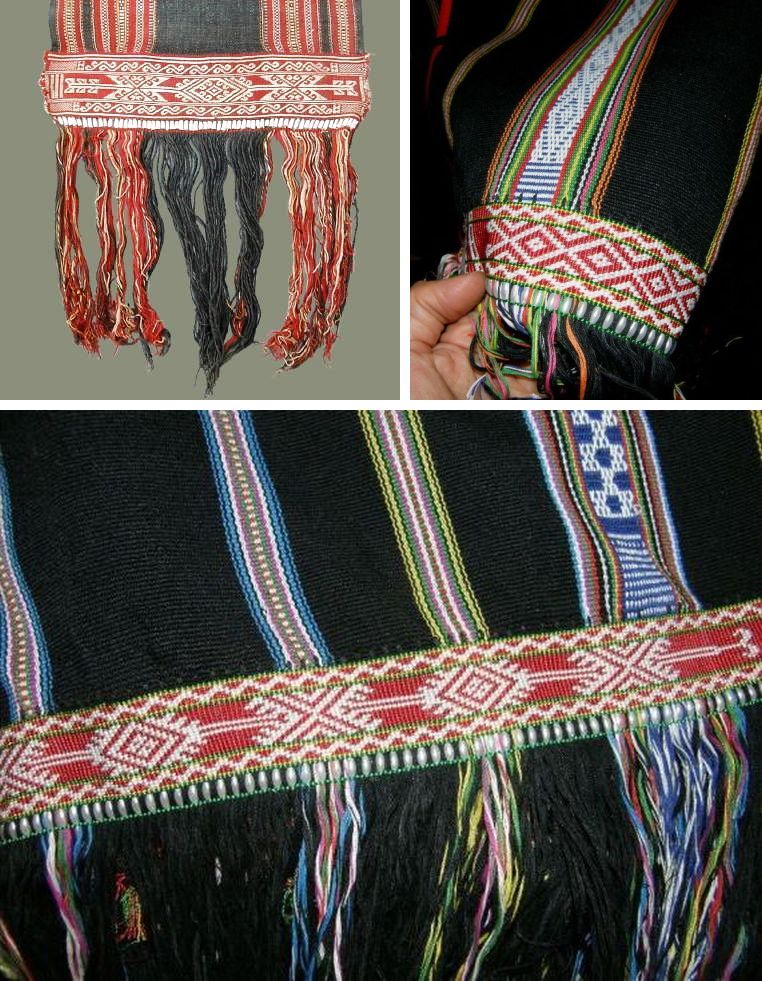
Susan Stem shared the image above left with me of a loin cloth with a red and white weft twined edge. The other two examples were made by Montagnard weaver Nach Rahlan.

I remember being amazed when Betsy Renfrew, who is working with the Montagnard weavers, told me that this weft twining called kteh is worked off the loom. However, after reading my books and searching online, I have found that this is more often the case than not. Now that I have tried the technique myself, I don’t see any need to have the warps stretched out taut and can just hold everything in my lap. Maori weavers apparently have the top of the piece stretched out between two vertical stakes with the warps hanging down loosely.

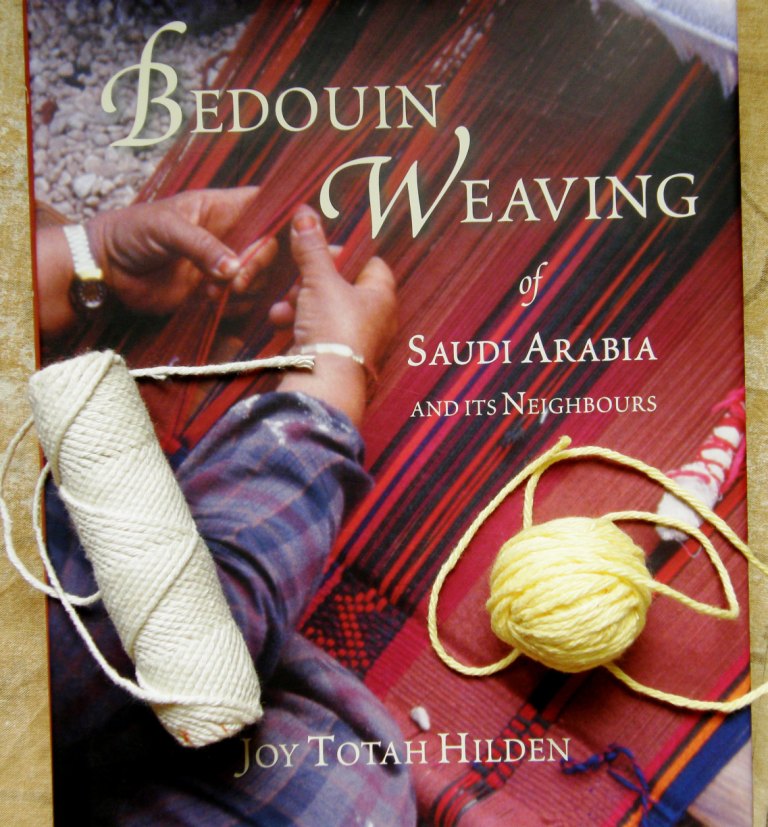
And how is this for wonderful timing… the book you see at left, which I had ordered online and which has information about weft twining, arrived today. I can’t wait to get into this! Author Joy Totah Hilden has a wonderful website on Beduin weaving (she chooses to use that spelling) with seven pages devoted to weft twining which include images and instructional diagrams on the technique. The roll of cotton string which you see on top of the book is what I used for my warp and the yellow ball is Sugar and Cream cotton which served as my weft.

In her book Joy Totah Hilden describes weft twining as “the oldest weaving technique known in the world”. She quotes Mary Atwater who says “Twined weaving is so ancient that it may be said to have no history”. There is a discussion in a forum online about whether it is , in fact, classified as weaving. In any case, the results are beautiful!

So after a considerable amount of reading and trying to visualize the process, I got my materials together and started. This is one of the lowest tech techniques ever! That roll of string, the ball of yarn and my hands is all that I needed…no needles, pins, stakes or hooks. Okay, you do need one more thing in abundance: patience, as this is a slow technique.

I would liken it to learning to knit or crochet. The basic moves are not difficult but you have to figure out how you are going to hold and tension everything and you need to practice it a lot to get into a rhythm and settle into your own personal tension. You are all thumbs at first, tension is all over the place and the results are not too pretty! Basically you are taking two wefts,  generally in two different colors, from one edge of the warp to the other twisting them as you go so that they encircle each warp.The twist is single or double depending on which color you need on the upper surface of the piece to form the pattern.

Working without a loom, the loose warps are controlled and held under tension by the left hand while the right hand twists the wefts.

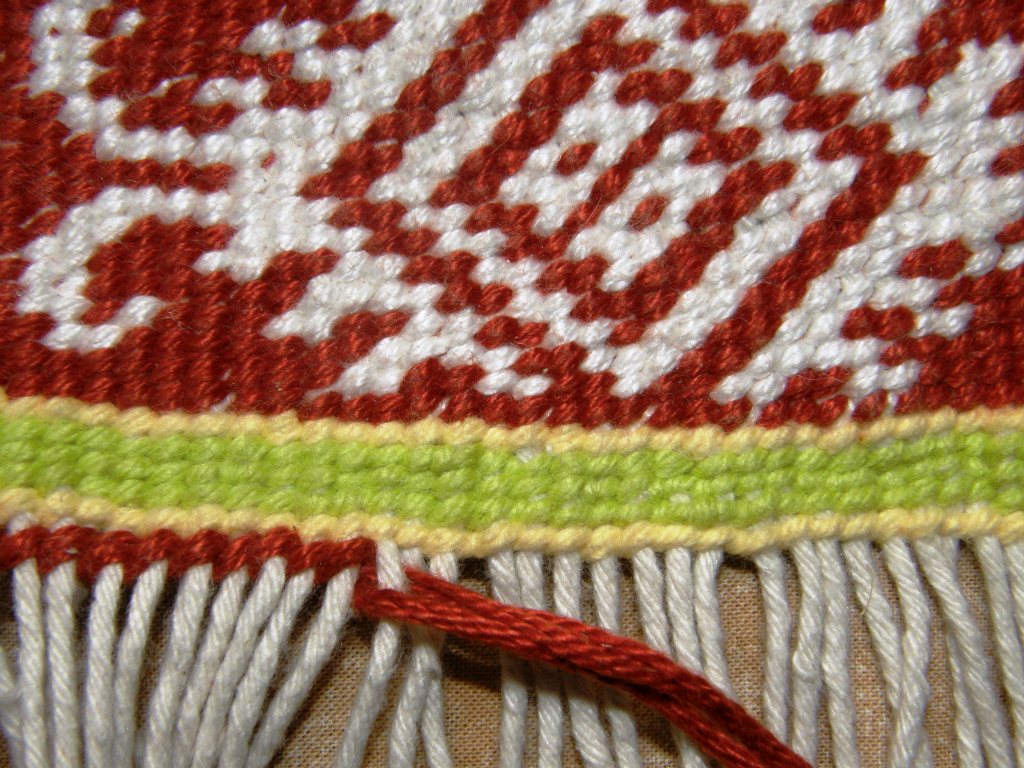
I soon got bored with my first red and black piece with a small design from the Taaniko book. What I really wanted to make were some of the Montagnard designs. The good thing is that the designs are really easy to chart on basic squared paper. You can see the great variation in tension between the two red and white samples above as I slowly got used to doing the twining and settled into a consistent rhythm and tension.

The Taaniko book teaches you to first twine from left to right one row at a time tying off the yarn once the right hand edge is reached and then beginning again from the left side. This results in a series of knots down the right edge. This has you twisting the  yarn with your right hand while holding the warps with the left. The idea is to eventually become ambidextrous in order to be able to reach the right edge, turn, and go back in the other direction twisting instead with the  left hand.

Well I am sorry to say that I simply don’t have the patience for this part of the learning process and so I just flip the work over and return with the back side facing me twisting with my right hand all the way. You soon learn how to read the pattern equally well from the back side (this is a single faced technique).

As you can see above, the resulting “stitches” are slanted which means that diagonal lines in the design take on a different appearance depending on which way they are slanting. I thought at first that I must be doing something wrong but a close inspection of the Montagnard pieces showed that their designs have exactly the same appearance.

Getting increasingly adventurous I created a wider warp and charted one of the motifs from the photo that Susan Stem had given me. This is not a completely faithful reproduction as I could not see the details well enough in the picture. I chose some small border motifs from the Montagnard pieces, a Maori border and another main Montagnard motif and lumped them all together in the one piece.

Ideally, you would work with weft long enough to twine back and forward and finish the whole piece but this length of warp would be very difficult to handle. You eventually have to finish at one edge and knot the wefts there, take more weft and start again.

Now what to do with all those knots and tails? From what I have read, it is common practice to cover the knobbly knotted edges with braid or add a fringe or tassels along the entire edge. In the picture below, I added a fringe along one edge to see how that looked.

That doesn’t look too bad although you can see that the edge in general needs a lot of improvement. What I might do for the next piece is add a Navajo-style twining down the side.

My first weaving experience was with Navajo-style tapestry and this is one of my early pieces. I always loved the way this twining looked on the sides. I would like to see if this helps smooth out some of the lumps and bumps in the edges of my weft twined work.

So now I have an even better appreciation of the work that the Montagnard weavers are doing creating the weft twined edges on their weavings. Of course they are working with much much finer yarns and their warp is the fringe of their woven piece. They use several strands of their fine warp yarn as one warp for the twining.

Maybe I will get down to finer yarns eventually but for now I am content to continue with the chunky stuff and I would like to make some of the designs from my new book. I love the colors of these pieces..all those sun faded reds, blues and mustard yellows that work so well together. Now to start planning a piece that can be made into something useful. The result is very sturdy and would actually make a brilliant backstrap, belt or bookbag.

That was my week of practical work and then there was the charting. I have plans to reproduce the Huichol piece at left that I photographed at the National Museum of the American Indian. It has been woven in balanced double weave.

I have woven this technique only once before from a ready made chart but I don’t have enough experience with the structure to be able to chart it directly from a textile so there will be a lot of experimenting and sampling before this project gets off the ground.

Actually there are some charts in an old issue of Prairie Weave Companion which I should probably weave first to get my hand back in. One of the charts is of a Chinese lattice work design – gorgeous!

As usual I will leave you with some work done by members of the online backstrap groups on Weavolution and Ravelry.

Kimberly, whom I met at Convergence, has taken to Andean pebble weave in a big way following my book…

The band on the left is made with size 3 crochet cotton and the one on the right size 10 – Coats Royale  – beautiful rich colors.

Carinefile in Belgium made a backstrap following my article in WeaveZine and Evelyn has been pebble weaving.

I see many more days of weft twining and charting Middle Eastern designs coming up hopefully with improvements in my technique. If all goes well, I will have a balanced double weave project underway too and there is a supplementary weft piece taking shape in my mind after having seen a yurt band online. Oh and there’s another Tarahumara piece that I would love to tackle….!